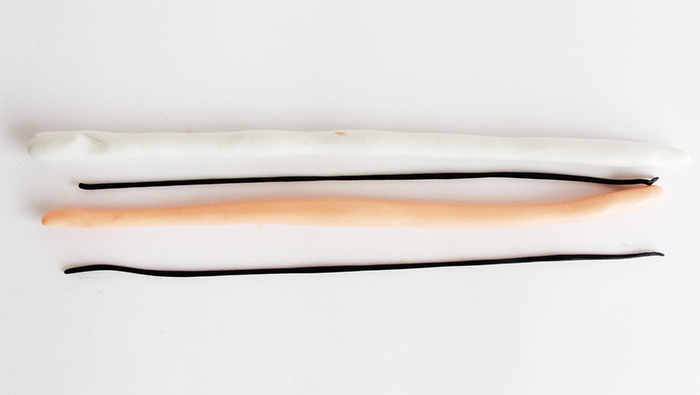
Take the clay and roll each color. Make thinner rolls for the black and bigger for the white and pink.
You can switch the pink for any other color you like.

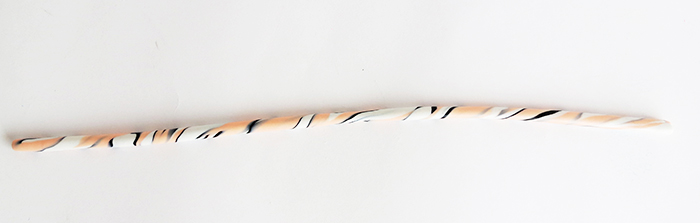
Twist all the color together and roll them into a long snake. Fold the snake in two, twist both ends together. Take the twist and roll it again.
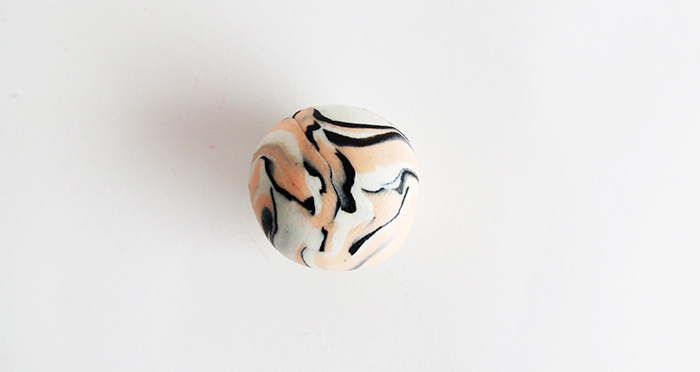
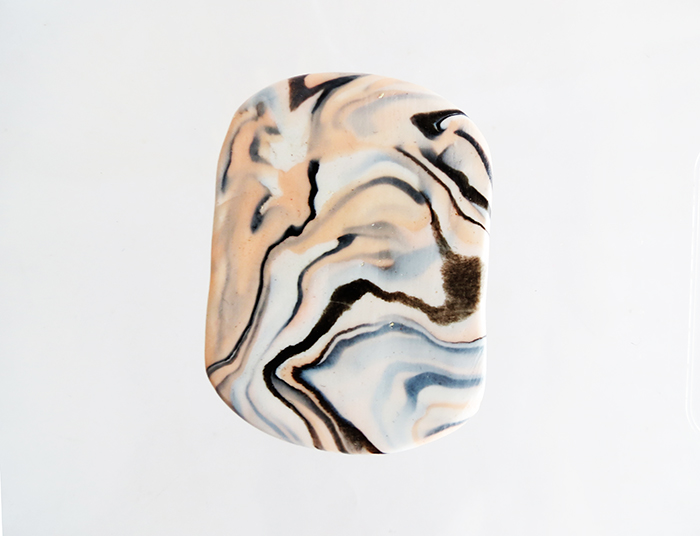
Make a ball with the clay then extend it. You can use your fingers or a rolling pin to do so.
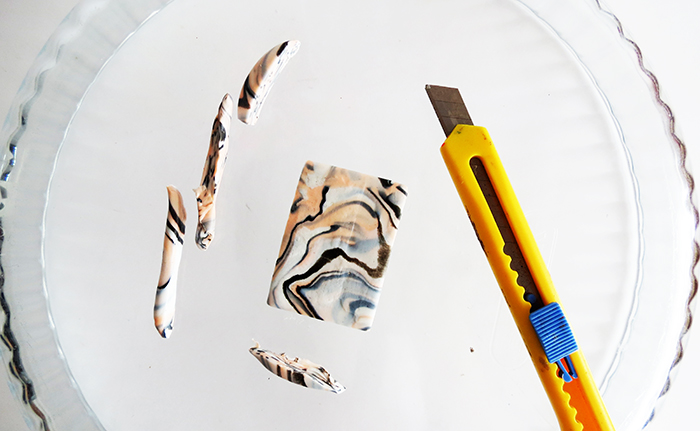
Cut the clay into the shape you want. Here I made a rectangle of 1 1/4′ X 1 3/4′ (45mm x 30mm)
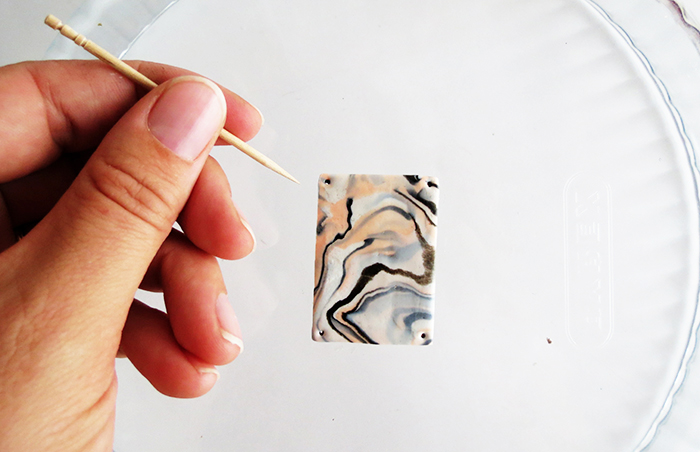
Use a toothpick to make small holes at each corner. And bake in the oven following the instructions on the clay package.
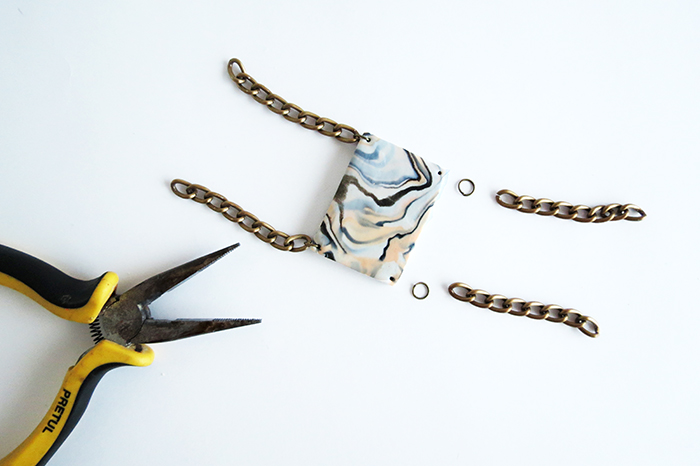
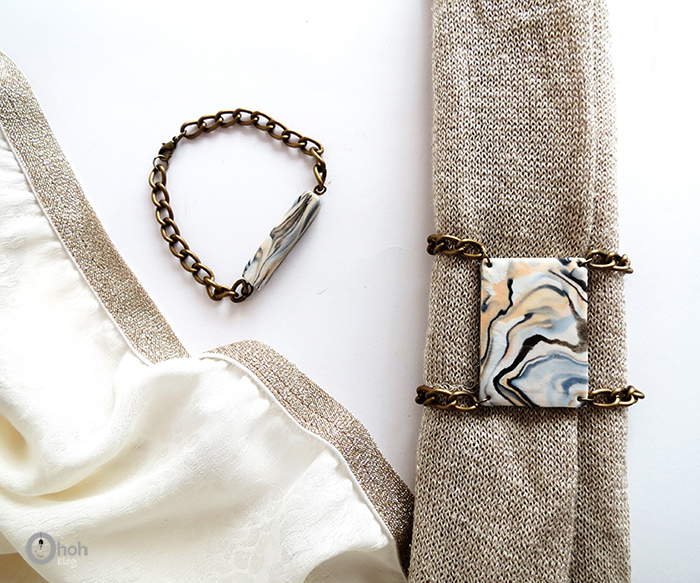
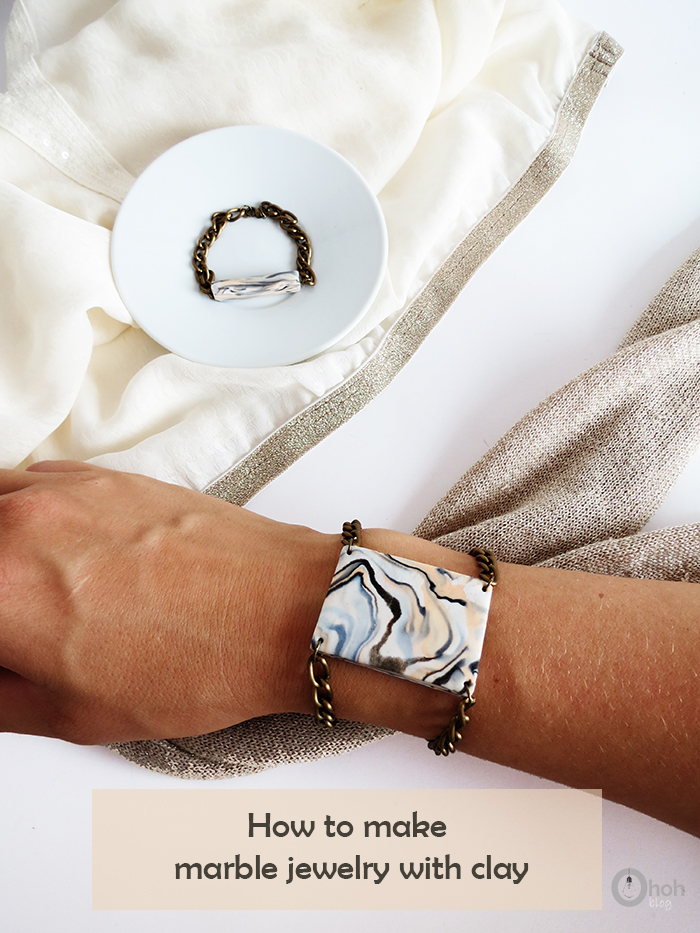
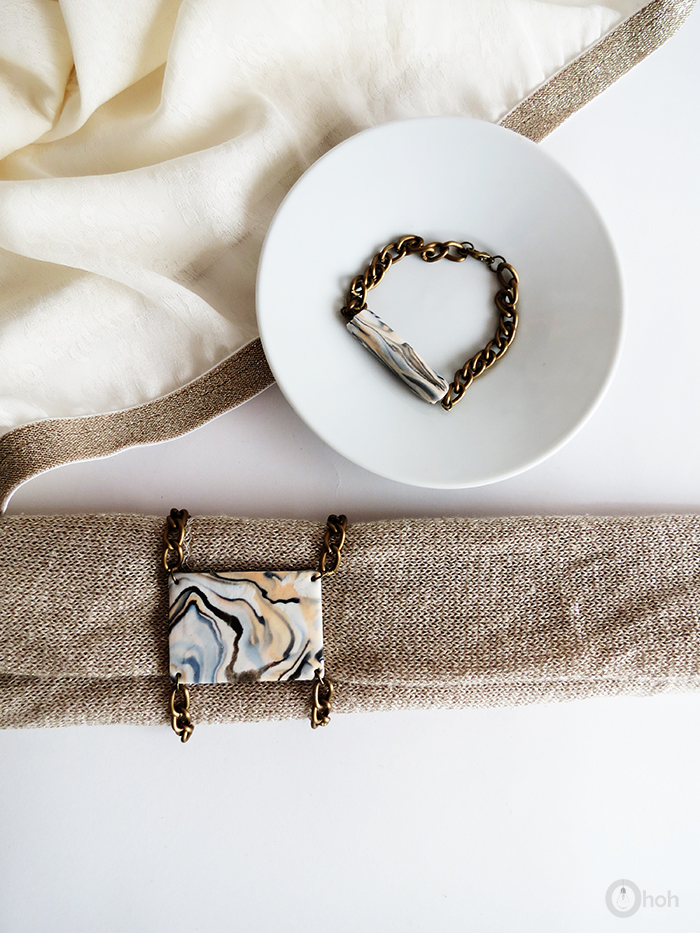
Once it’s baked, use jewelry rings to attach a chain at each corner. Add the claps, and done! For the bracelet stays with the marble on top, its length must be at the exact size of your wrist. Otherwise the bracelet will turn down. You have to experiment and adjust the chain by removing or adding links if necessary.
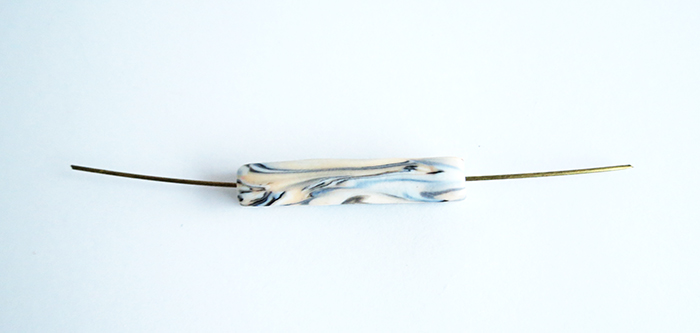
For the second bracelet; roll a piece of clay and push a piece of jewelry wire through it. Bake it in the oven.
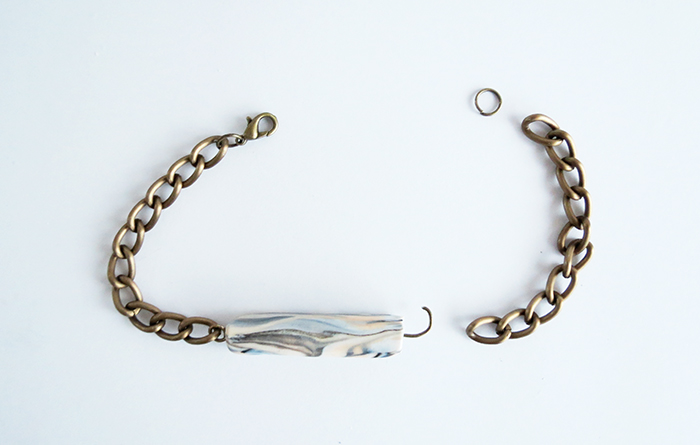
When it’s baked a cooled down, fold the ends of the wire and attached a chain on each side. Adds clasps. Et voila!
I love to work with clay, It’s been a long time since the last project! I’m pretty sure I will come with an other clay tutorial pretty soon! I hope you enjoy it!