January is a cold month for most so I like to use the indoor time to get a head start on “Spring Cleaning.” Because come Spring I want to be outside! This is a good time to go through the studio (house in general) and de-clutter, donate unwanted items, and organize. This can be a lot when I have a studio full of supplies and not that large of a space to work with. It’s all about getting creative with how you store and organize your materials. Here are a few of my go-to products, projects, and hacks that instantly make it easy and visually appealing to keep studio supplies organized!


Ruler Rack: When it comes to my cutting table I like it clear. Initially I would have my rulers in a different spot but now I use Dritz Ruler Rack. It keeps the rulers and templates organized, within easy reach, and off of my work space. It has 10 different slots for all the different types of rulers.

Bobbin Ring: Bobbins…they tangle up and can get lost or put anywhere (who else finds bobbins in random locations around the house?). I usually had a little container I’d place them in but this always lead to a tangled mess. I saw this Dritz Bobbin Ring on IG and instantly got this. It keeps them secure, tangle free, and it’s an artsy way to see all the colors.
Thread rack: I’ve had this Thread Rack for years (I have 3 now) and it’s one of my favorite studio storage products. Because I sew and embroidery I have a lot of thread so this is essential for keeping them organized and tangle free. I have 2 other ones that are just for embroidery thread and color coordinated.
Magnetic Pin Caddy: Stores pins and easy pick up with the magnet.
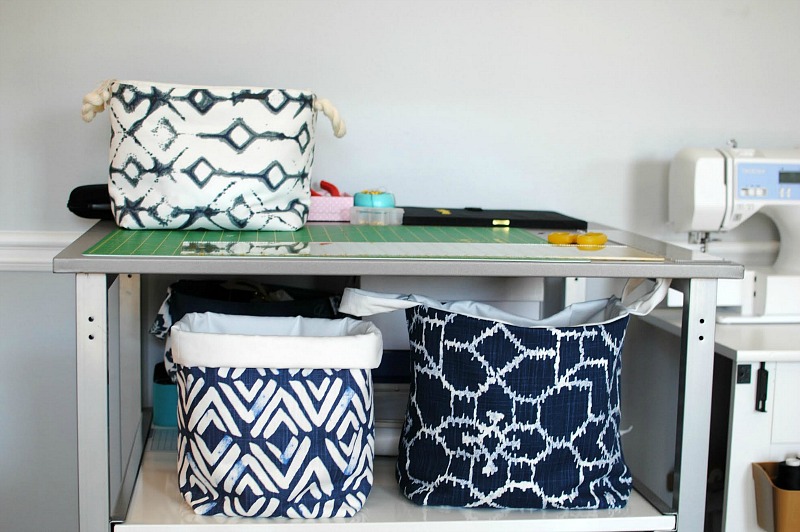
I’m a huge bin/ fabric basket fanatic. I have all types and make (& buy) them all the time. I use them for scraps, patterns, specific projects, materials, pretty much everything. These are easy to make and a visually appealing way to store supplies. Here are a couple tutorials of fabric baskets you can use to make your own: here, here, and here.
One thing I use a lot is this scrap caddy. I have it by my sewing machine at all times. I place thread and all the little scraps that add up. It helps with all the sweeping too. Make your own in this quick tutorial below.


Fold right sides together and sew (1/2″ seam allowance). It’s a good idea to finish the seam allowance raw edges. I serged mine, but if you don’t have a serger use a bias tape or even Dritz Fold-Over elastic over the seam allowance.
Fold the top hem over 1/2″, press, and stitch.

Pin bottom circle right sides together with main bucket piece. Sew (1/4″ seam allowance).

If you don’t have a serger, finish the seam allowance with a Fold-Over Elastic or bias tape.
Other good projects that work for all spaces not just the studio: