Galaxy nails are all the rage right now, and with good reason – they’re bold, unique and very of-the-moment. And surprisingly, they’re easy to achieve yourself! No airbrushing involved, just a few different types of nail polish and some glitter. Keep reading to check out the simple tutorial.

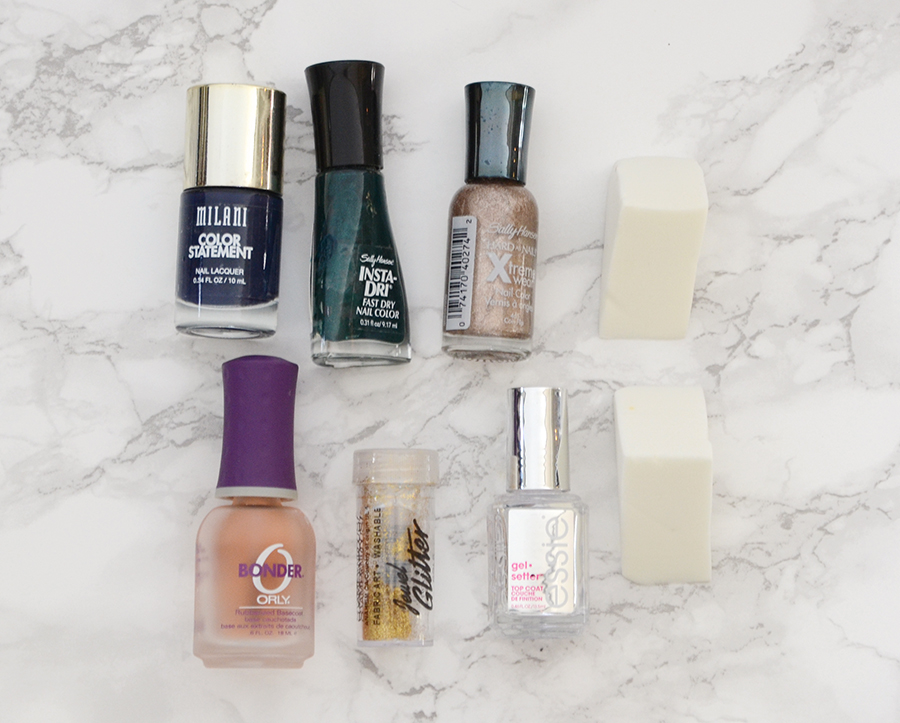
Here’s what you’ll need for your galaxy nails:
- Navy blue, dark green and metallic gold nail polish
- Your favorite base and top coat polishes
- Fine gold glitter
- Makeup sponges
- Old paintbrush and polish remover (not pictured)
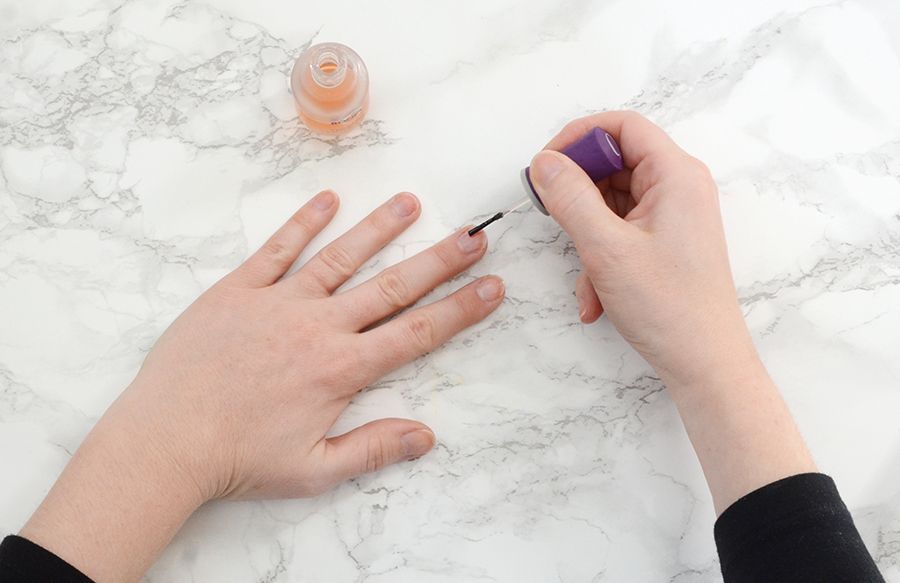
Begin by prepping your nails with a base coat. I like to use Bonder by Orly because it has a rubberized finish.
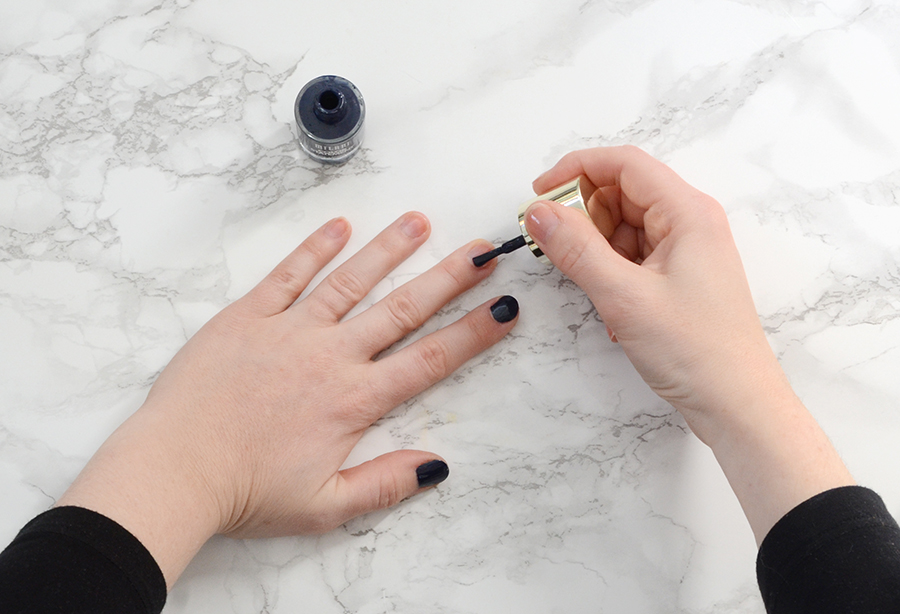
Next, paint a coat of navy blue polish on each nail. Let it dry completely.
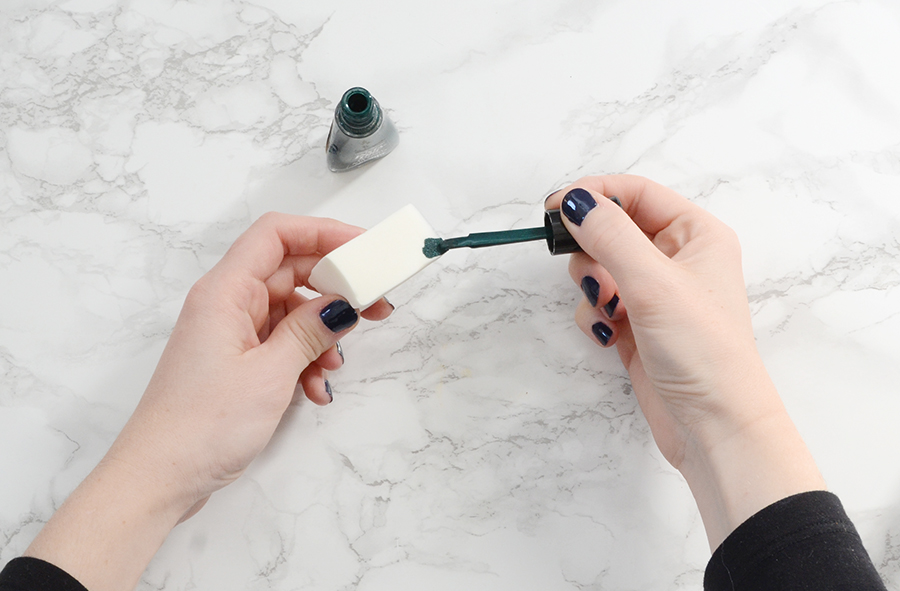
Apply a thin layer of green polish to the corner of a makeup sponge.
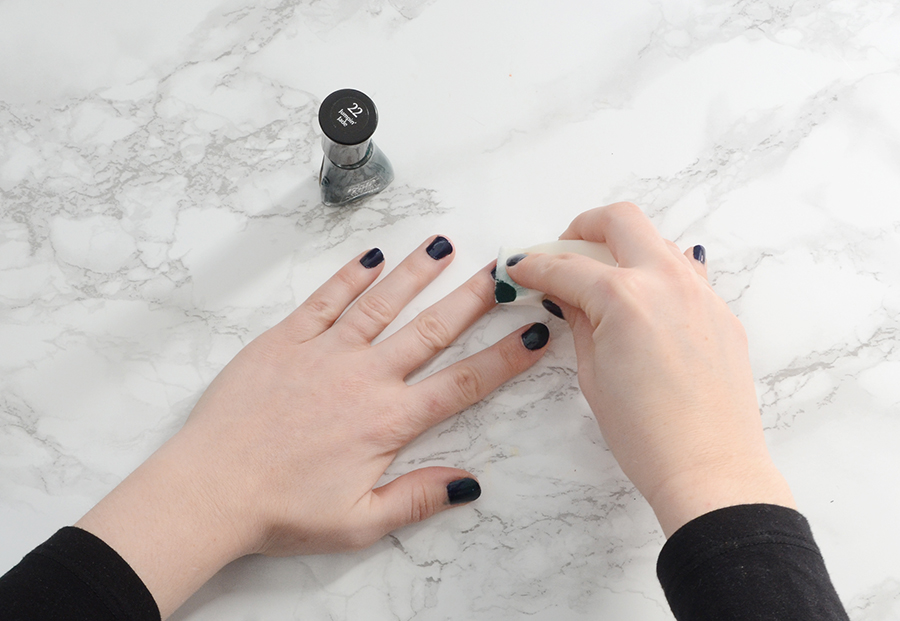
Gently touch the sponge to each nail, adding subtle splotches of color. If the color is fading, add more polish to the sponge on continue on with the process. Again, let your nails dry completely.
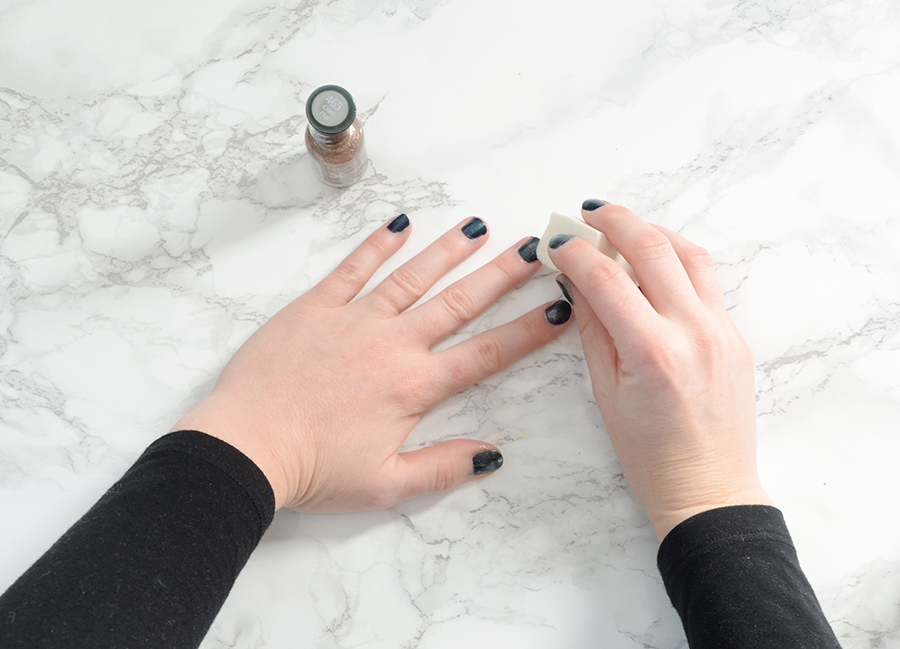
Now grab your metallic gold polish, and repeat the same process. Now you should really be noticing that galaxy vibe.

Now you’ll add a top coat – I prefer Essie’s Gel-Setter top coat (it’s not actually gel polish, but it dries really quickly just like gel). Add the top coat to one nail, and then sprinkle the gold glitter over it. Move on to the the next nail and repeat the process. You’ll want to do each nail individually, otherwise the polish will dry and the glitter won’t stick.
Let it dry and then put one more top coat over everything.
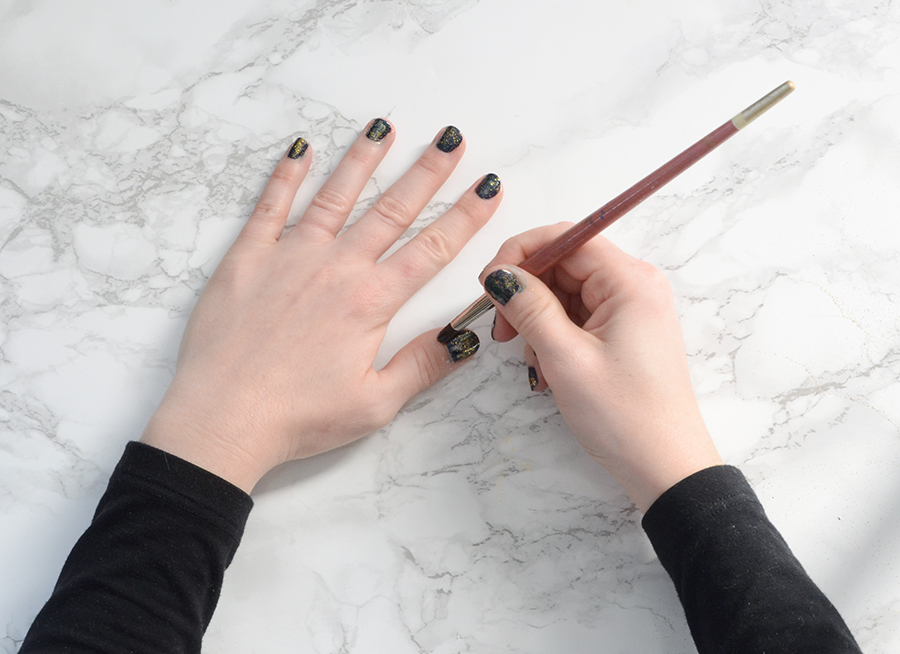
Lastly, use an old paintbrush to get rid of any excess polish around your nails using nail polish remover.

And voilà – your galaxy nails are complete! Feel free to experiment with the colors… this technique would look great with a black polish and silver glitter, or you could even try bright colors for a warmer look. I might try larger glitter pieces next time for some variety. Have fun with it!

The post Galaxy Nails Tutorial appeared first on DIYs.com.