This paint and play teeny-tiny home project is full of ideas you could extend to your actual abode.
In association with Resene.
You will need
Click on this link to download the free guide, template and inventory of the materials and tools required to build this teeny-tiny home: Teeny-tiny home guide.
Get the look
– Use the Resene paint colours and effects on these pages to decorate your teeny-tiny home, or translate them to your actual house. Decorate the main elements of the teeny-tiny home exterior (or consider this paint effect for a life-size interior space) by applying a coat of Resene Lumbersider in Resene Creme De La Creme, leaving it to dry, then applying a second coat.
– Next, pour half a tin of Resene FX Paint Effects Medium into a container and add half of a testpot of Resene Lumbersider tinted with Resene Tua Tua. (The more paint you mix with the medium, the more solid the effect will be; use less paint for a more subtle effect.) Dip in a sponge, then dab it on a piece of paper to evenly distribute the paint across it. Dab onto your painted surfaces in a random pattern, leaving some of the basecoat showing through.
– When that’s dry, repeat the process with Resene FX Paint Effects Medium and a testpot of Resene Lumbersider in Resene Awaroa Bay.
– To create the terrazzo look we’ve used in the kitchen, bedroom and bathroom of our teeny-tiny home, apply two coats of Resene SpaceCote Low Sheen Kitchen & Bathroom in Resene Merino and allow to dry. Dipping a small paintbrush into each testpot one by one, dot small ‘stone chips’ of varying sizes and shapes over the top. When dry, apply a coat of Resene FX Paint Effects Medium mixed with Resene Lumbersider in Resene Tua Tua; we used the leftover paint from the exterior of our teeny-tiny home and applied it in the same way.
– For the rust effect we used for structural details of our teeny-tiny home, use a wide bristle brush to apply two coats of Resene FX Faux Rust Effect in random directions, allowing at least four hours’ drying time between coats. When dry, use a brush to apply two coats of Resene FX Faux Rust Effect Activator in random strokes until the basecoat is entirely covered, applying the second coat of the activator as soon as the first has dried.
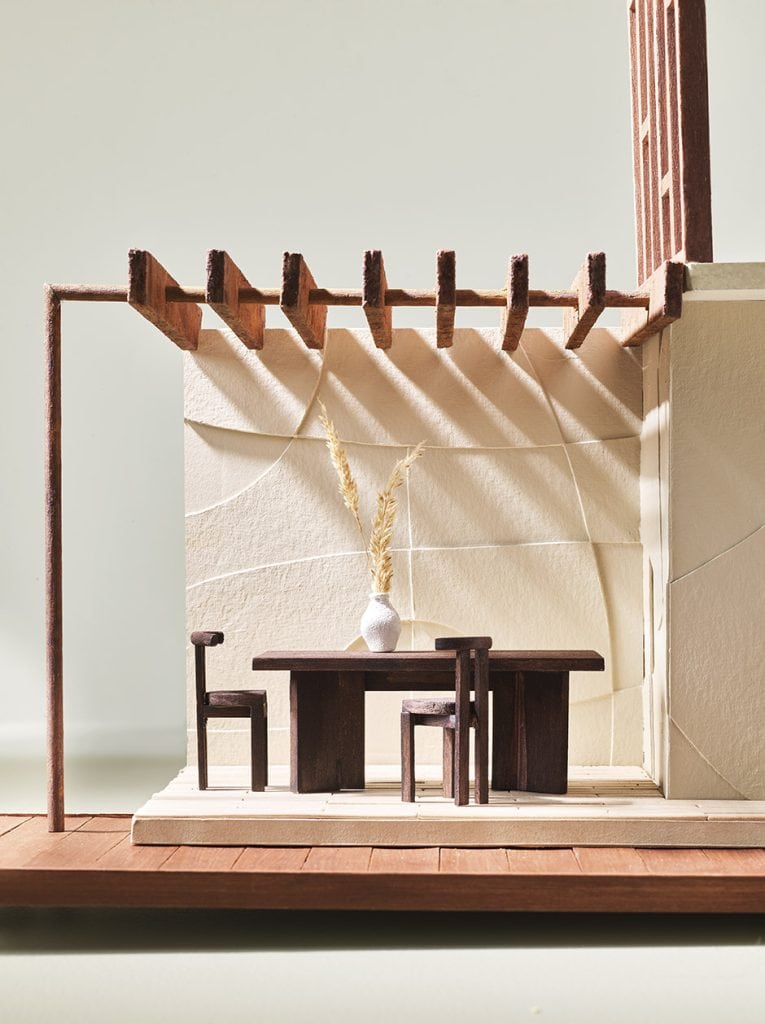
MAIN IMAGE: Backdrop in Resene SpaceCote Low Sheen in Resene Hindsight; roof in Resene Summit Roof in Resene Ironstone; exterior in Resene Lumbersider in Resene Creme De La Creme, Resene FX Paint Effects Medium mixed with Resene Lumbersider in Resene Tua Tua and Resene FX Paint Effects Medium mixed with Resene Lumbersider in Resene Awaroa Bay, resene.co.nz/colorshops. ABOVE: Backdrop in Resene SpaceCote Low Sheen in Resene Hindsight; roof in Resene FX Faux Rust Effect; walls in Resene Lumbersider in Resene Tua Tua; furniture in Resene Colorwood in Resene Deep Oak; floor in Resene Colorwood Whitewash in Resene Breathe Easy; deck in Resene Woodsman Decking Oil Stain in Resene Timberland, resene.co.nz/colorshops. ABOVE: DECORATIVE ITEMS, FROM LEFT Chairs inspired by the Torii chair by Bensen, from $1507, timwebberdesign.com. Table inspired by the Tatamu table, from $5950, cittadesign.com. All other items see downloadable PDF guide.
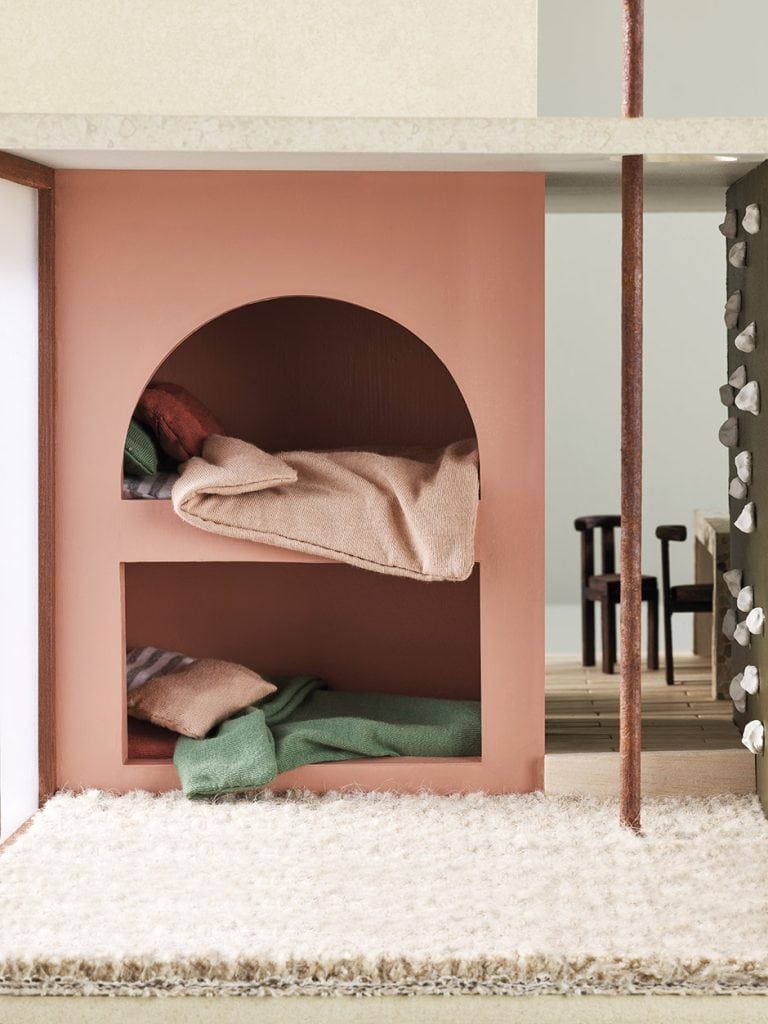
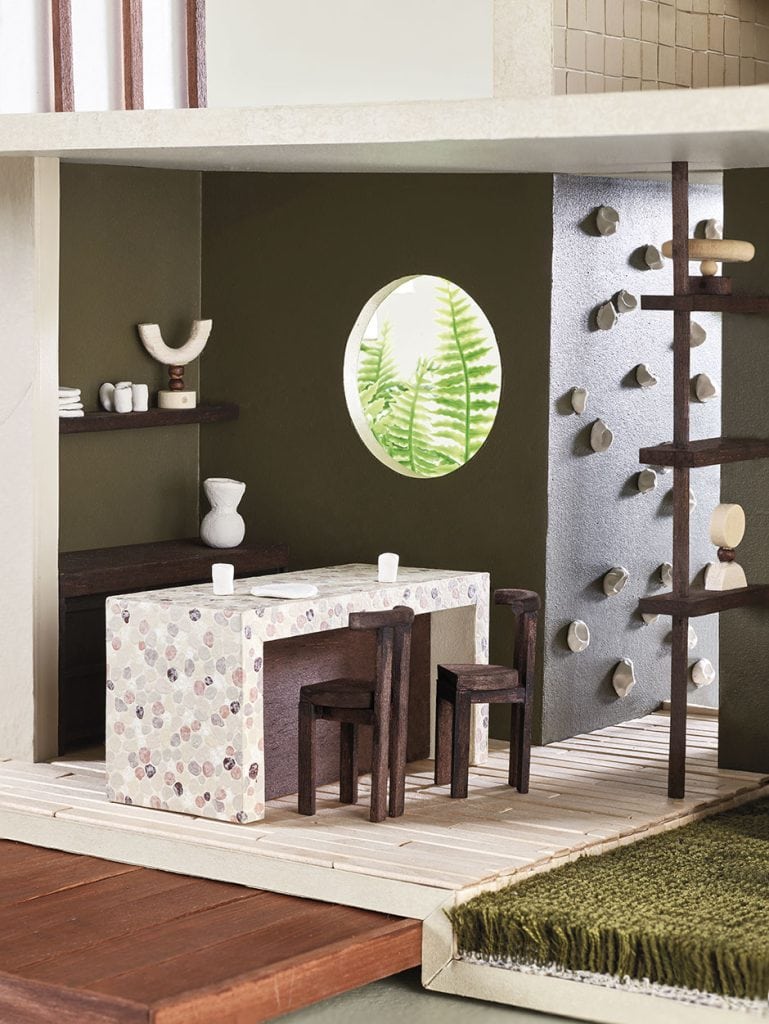
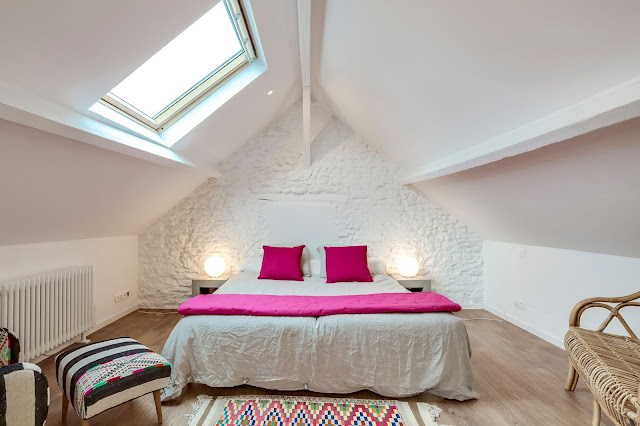
TOP: Window frame in Resene Woodsman Decking Oil Stain in Resene Timberland; ceiling and floor in Resene Colorwood Whitewash in Resene Breathe Easy; bunks in Resene Lumbersider in Resene Summer Rose; fireman’s pole in Resene FX Faux Rust Effect; stools in Resene Colorwood in Resene Deep Oak; resene.co.nz/colorshops. TOP: DECORATIVE ITEMS, FROM LEFT Bedding made from samples of fitted sheets, from $110 each, pillowcases, $90 each, and duvet covers, from $160 each, dehei.co. Carpet made from a sample of a Woollen Basket Weave rug, from $3495, nodirugs.com. All other items see downloadable PDF guide. ABOVE: Deck in Resene Woodsman Decking Oil Stain in Resene Timberland; ceiling and floor in Resene Colorwood Whitewash in Resene Breathe Easy; walls in Resene Lumbersider in Resene Rewilding; island in Resene SpaceCote Low Sheen Kitchen & Bathroom in Resene Merino, with ‘terrazzo’ in Resene Lumbersider in Resene Creme De La Creme, Resene Lumbersider in Resene Tua Tua, Resene Lumbersider in Resene Awaroa Bay, Resene Lumbersider in Resene Athena, Resene Lumbersider in Resene Foundation, Resene Lumbersider in Resene Summer Rose, Resene Lumbersider in Resene Trek and Resene FX Paint Effects Medium mixed with Resene Lumbersider in Resene Tua Tua; cabinetry and stools in Resene Colorwood in Resene Deep Oak, resene.co.nz/colorshops. ABOVE: DECORATIVE ITEMS Find similar faux foliage at your local dollar store. Carpet made from a sample of a Bamboo Silk Blend rug, from $5995, nodirugs.com. All other items see downloadable PDF guide.
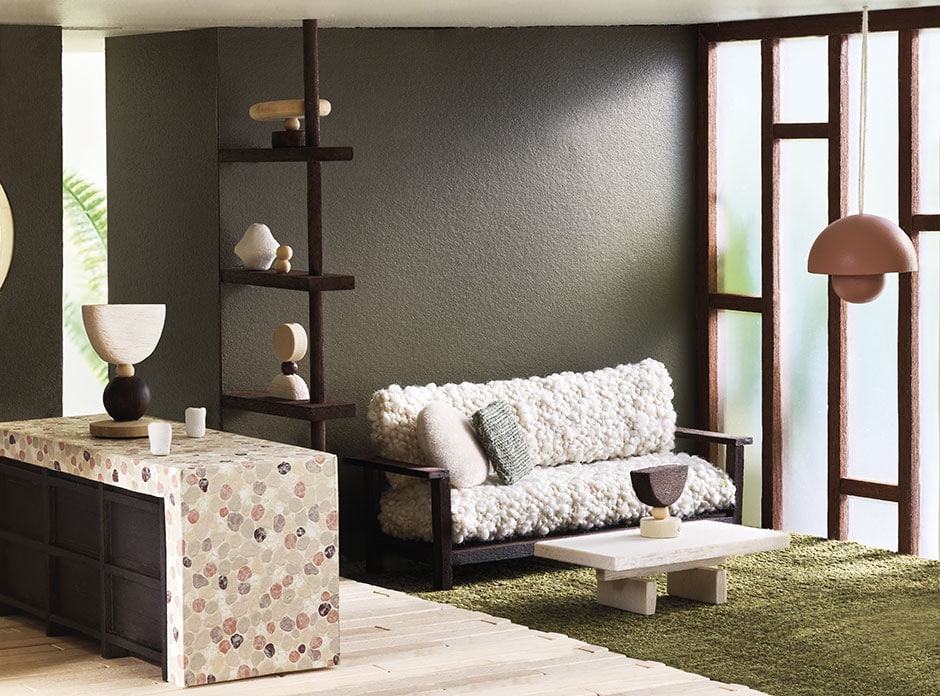
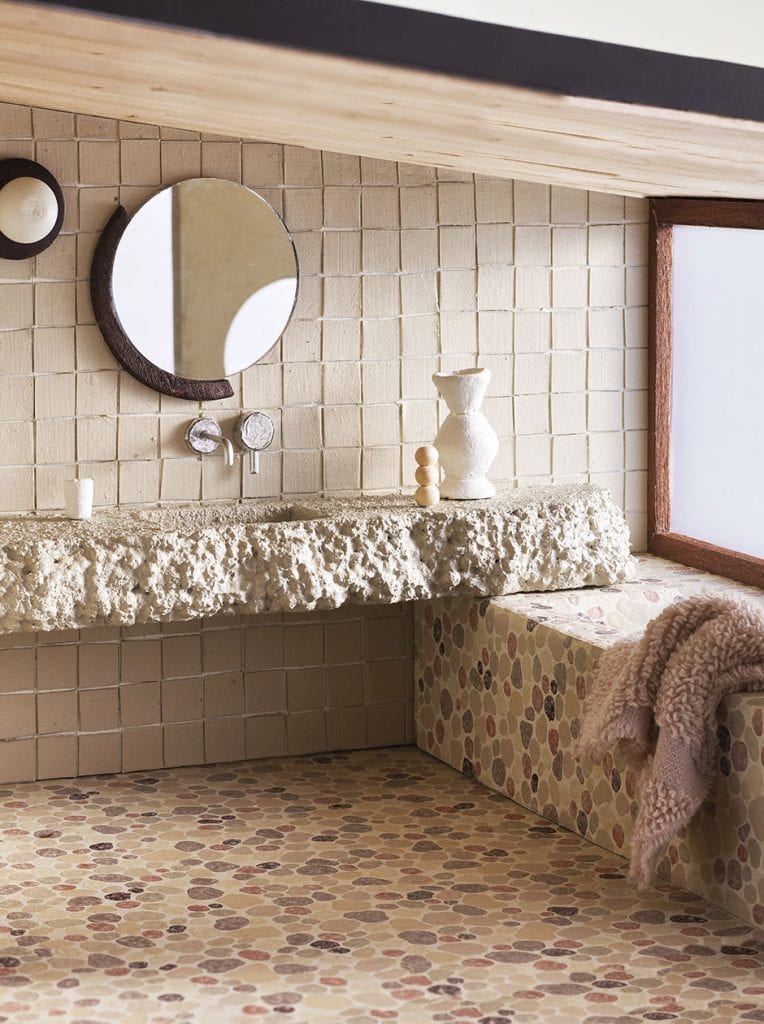
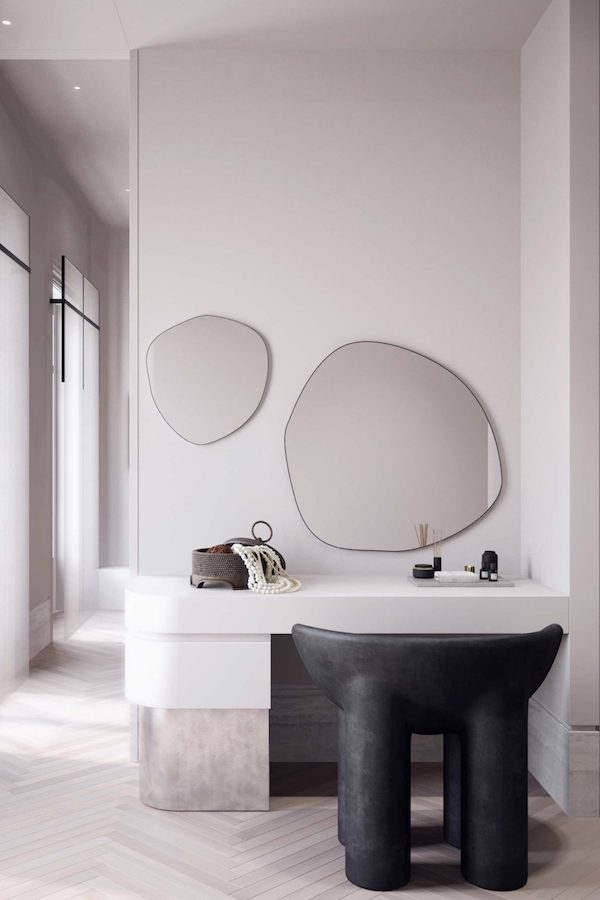
TOP: Kitchen see previous credit. Ceiling in Resene Colorwood Whitewash in Resene Breathe Easy; walls in Resene Lumbersider in Resene Rewilding; shelving and sofa in Resene Colorwood in Resene Deep Oak; coffee table in Resene Colorwood Whitewash in Resene Breathe Easy; window frames in Resene Woodsman Decking Oil Stain in Resene Timberland; pendant light in Resene Lumbersider in Resene Summer Rose, resene.co.nz/colorshops. TOP: DECORATIVE ITEMS, FROM LEFT Sofa in Ovis Ivory fabric, POA, warwick.co.nz, inspired by Heirloom sofa, from $6260, woodwrights.co.nz. Cushions in Casimir Pearl and Tesoro Cactus fabric, POA, warwick.co.nz. Coffee table inspired by Plane coffee table by Jamie McLellan, from $6475, resident.co.nz. Carpet made from a sample of a Bamboo Silk Blend rug, from $5995, nodirugs.com. Pendant light inspired by the Flowerpot VP7 pendant by &tradition, $900, cultdesign.co.nz. Find similar faux foliage at your local dollar store. All other items see downloadable PDF guide. ABOVE: Light bulb and wall in Resene SpaceCote Low Sheen Kitchen & Bathroom in Resene Merino (the ‘grout’) and Resene SpaceCote Low Sheen Kitchen & Bathroom in Resene Tua Tua (the ‘tiles’); light and mirror surrounds in Resene Colorwood in Resene Deep Oak; vanity in Resene SpaceCote Low Sheen Kitchen & Bathroom in Resene Awaroa Bay; floor and bath see previous credit, resene.co.nz/colorshops. ABOVE: DECORATIVE ITEMS, FROM LEFT Towel made from a sample of a Cove bath towel, $90, shopbaina.com. All other items see downloadable PDF guide.
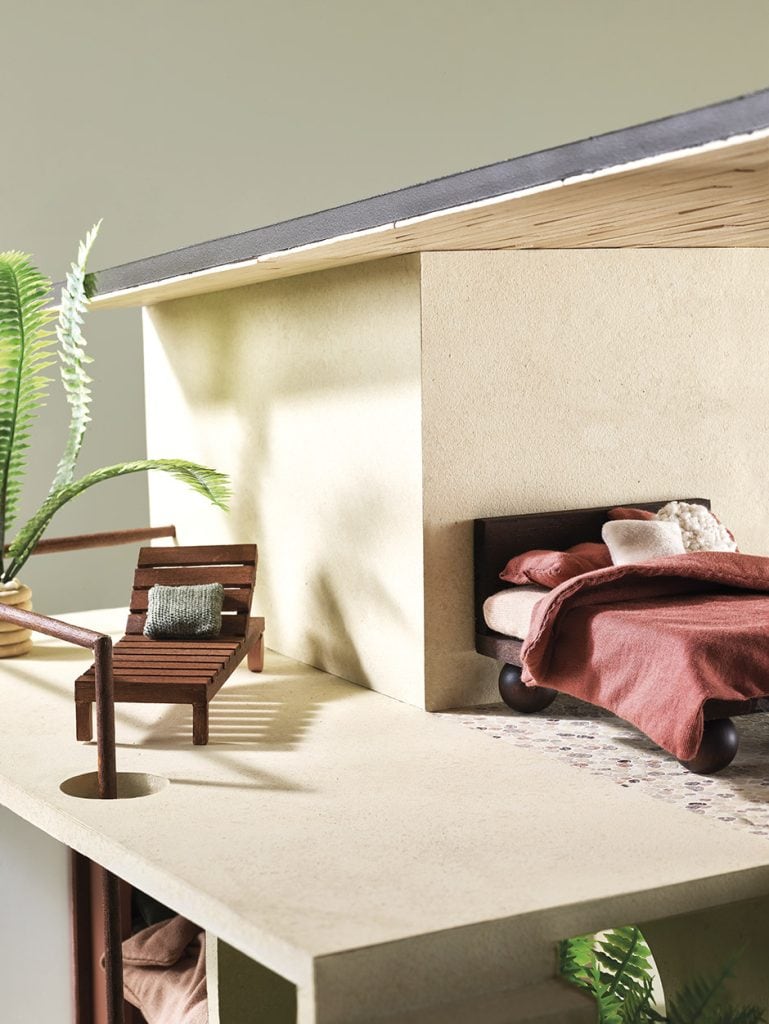
ABOVE: Railing in Resene FX Faux Rust Effect; lounger in Resene Woodsman Decking Oil Stain in Resene Timberland; exterior walls and floor and interior walls in Resene Lumbersider in Resene Creme De La Creme, Resene FX Paint Effects Medium with Resene Lumbersider in Resene Tua Tua and Resene FX Paint Effects Medium with Resene Lumbersider in Resene Awaroa Bay; bed in Resene Colorwood in Resene Deep Oak; bedroom floor see kitchen above, resene.co.nz/colorshops. ABOVE: DECORATIVE ITEMS, FROM LEFT Find similar faux foliage at your local dollar store. Cushions in Casimir Pearl and Tesoro Cactus fabric, POA, warwick.co.nz. Bed inspired by Yoko bed by Sarah Ellison, from $5650, slowstore.co.nz. Bedding made from samples of a fitted sheet, from $126, pillowcase, $90, and duvet cover, from $160, dehei.co. All other items see downloadable PDF guide.
Click this link for your downloadable PDF guide: Teeny-tiny home guide.
Making & styling Sam van Kan
Photography Melanie Jenkins
The post Resene paint project: DIY tiny home appeared first on homestyle magazine.