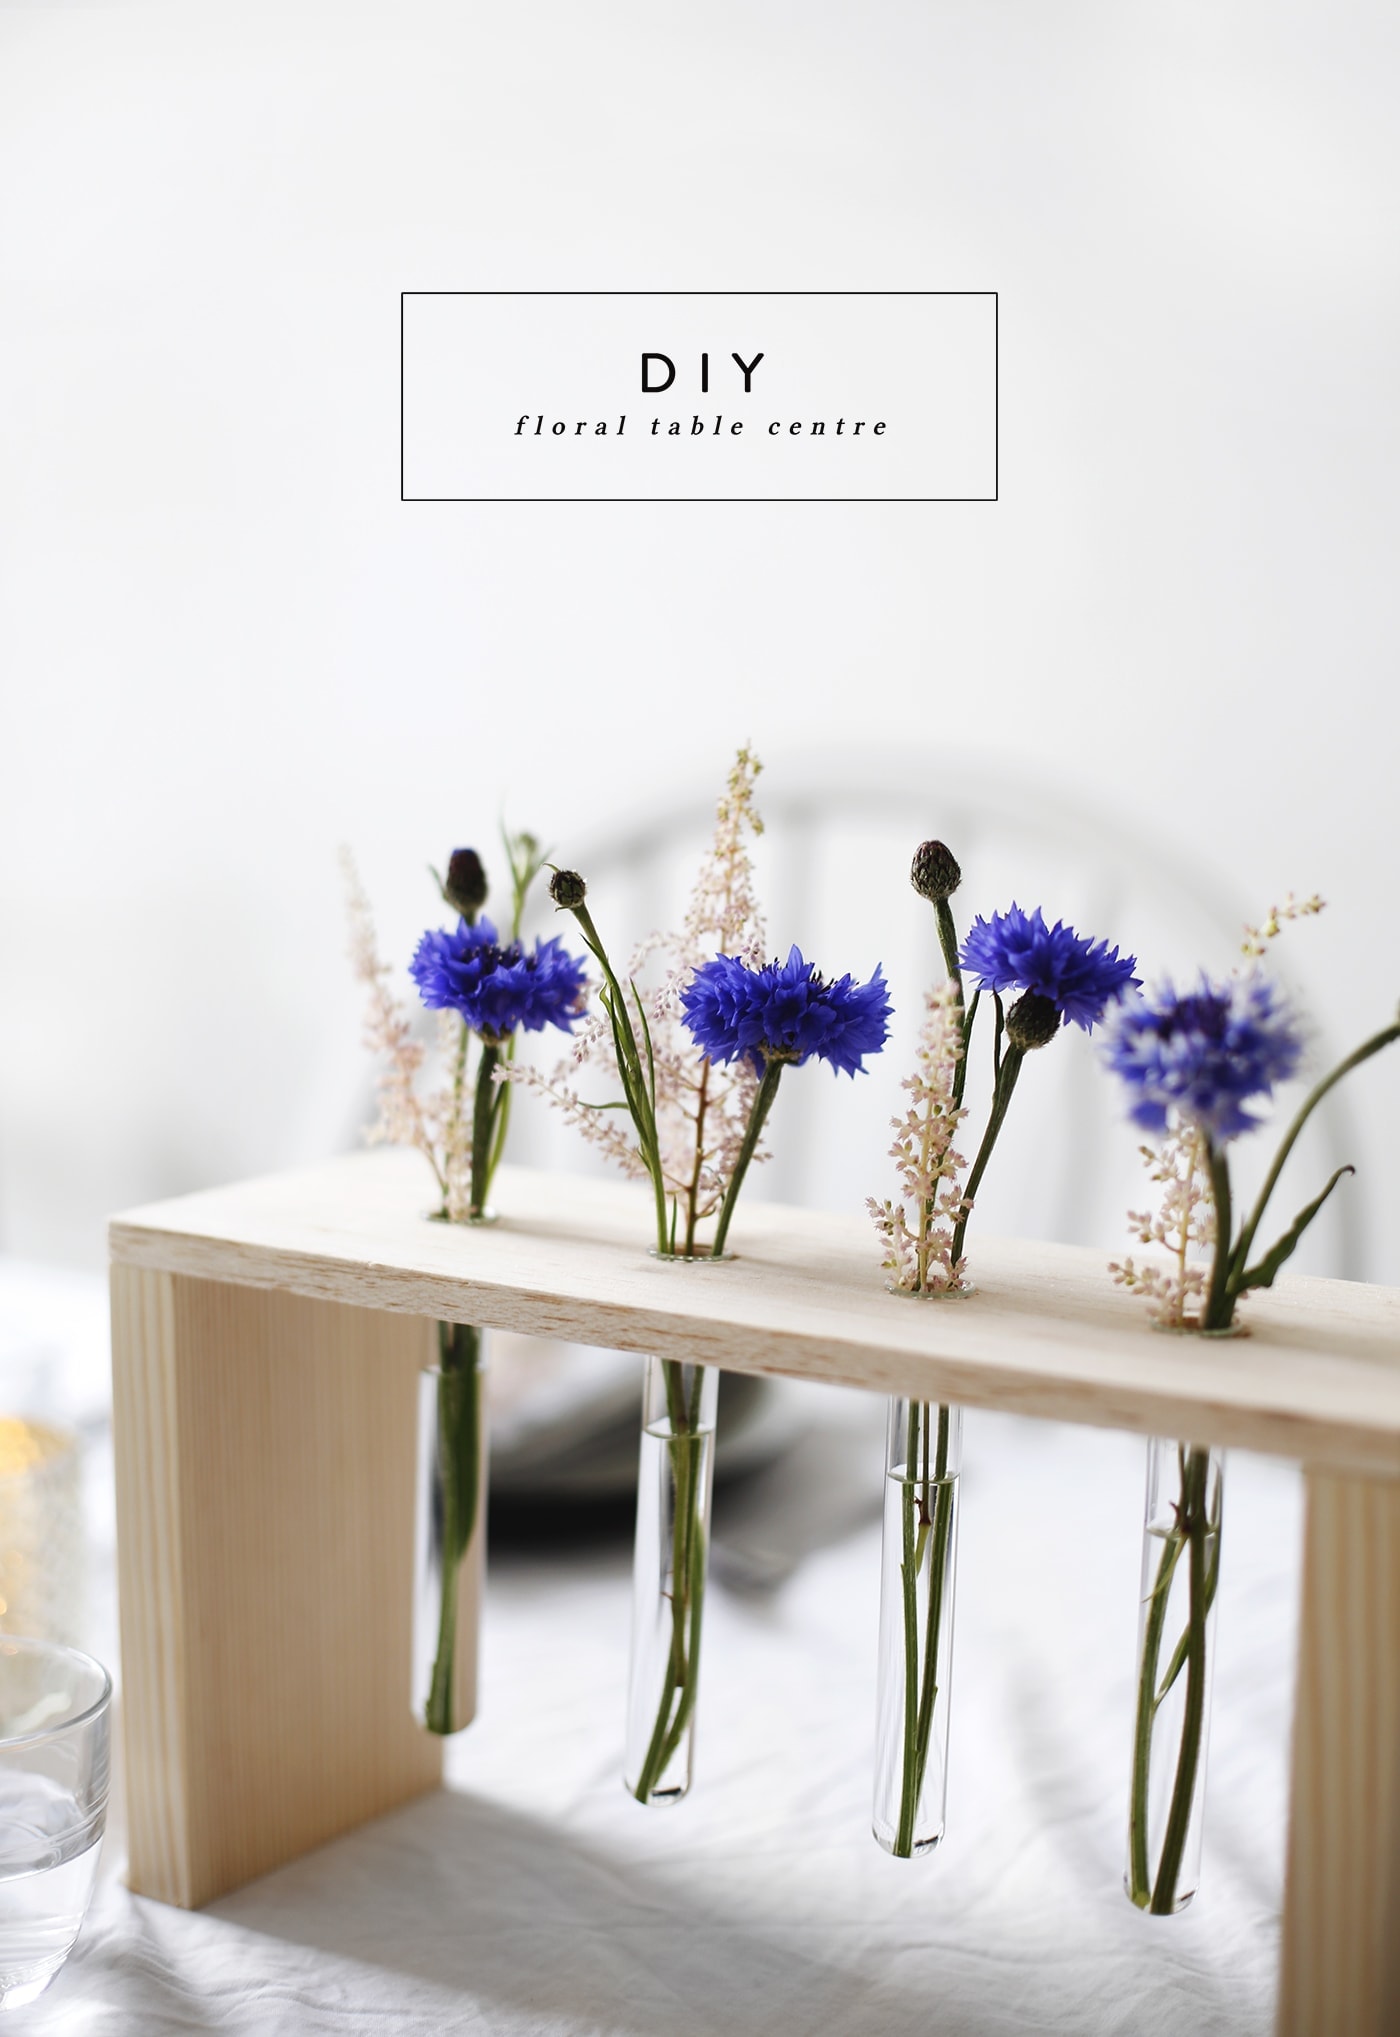
Hi guys! That’s right, I’m bringing you another wood based DIY because as you can see I’m pretty pumped about discovering the best wood glue ever. There are yet more wood tutorials to come so hold off getting bored just a little bit longer! I promise to sprinkle some other ones in between.
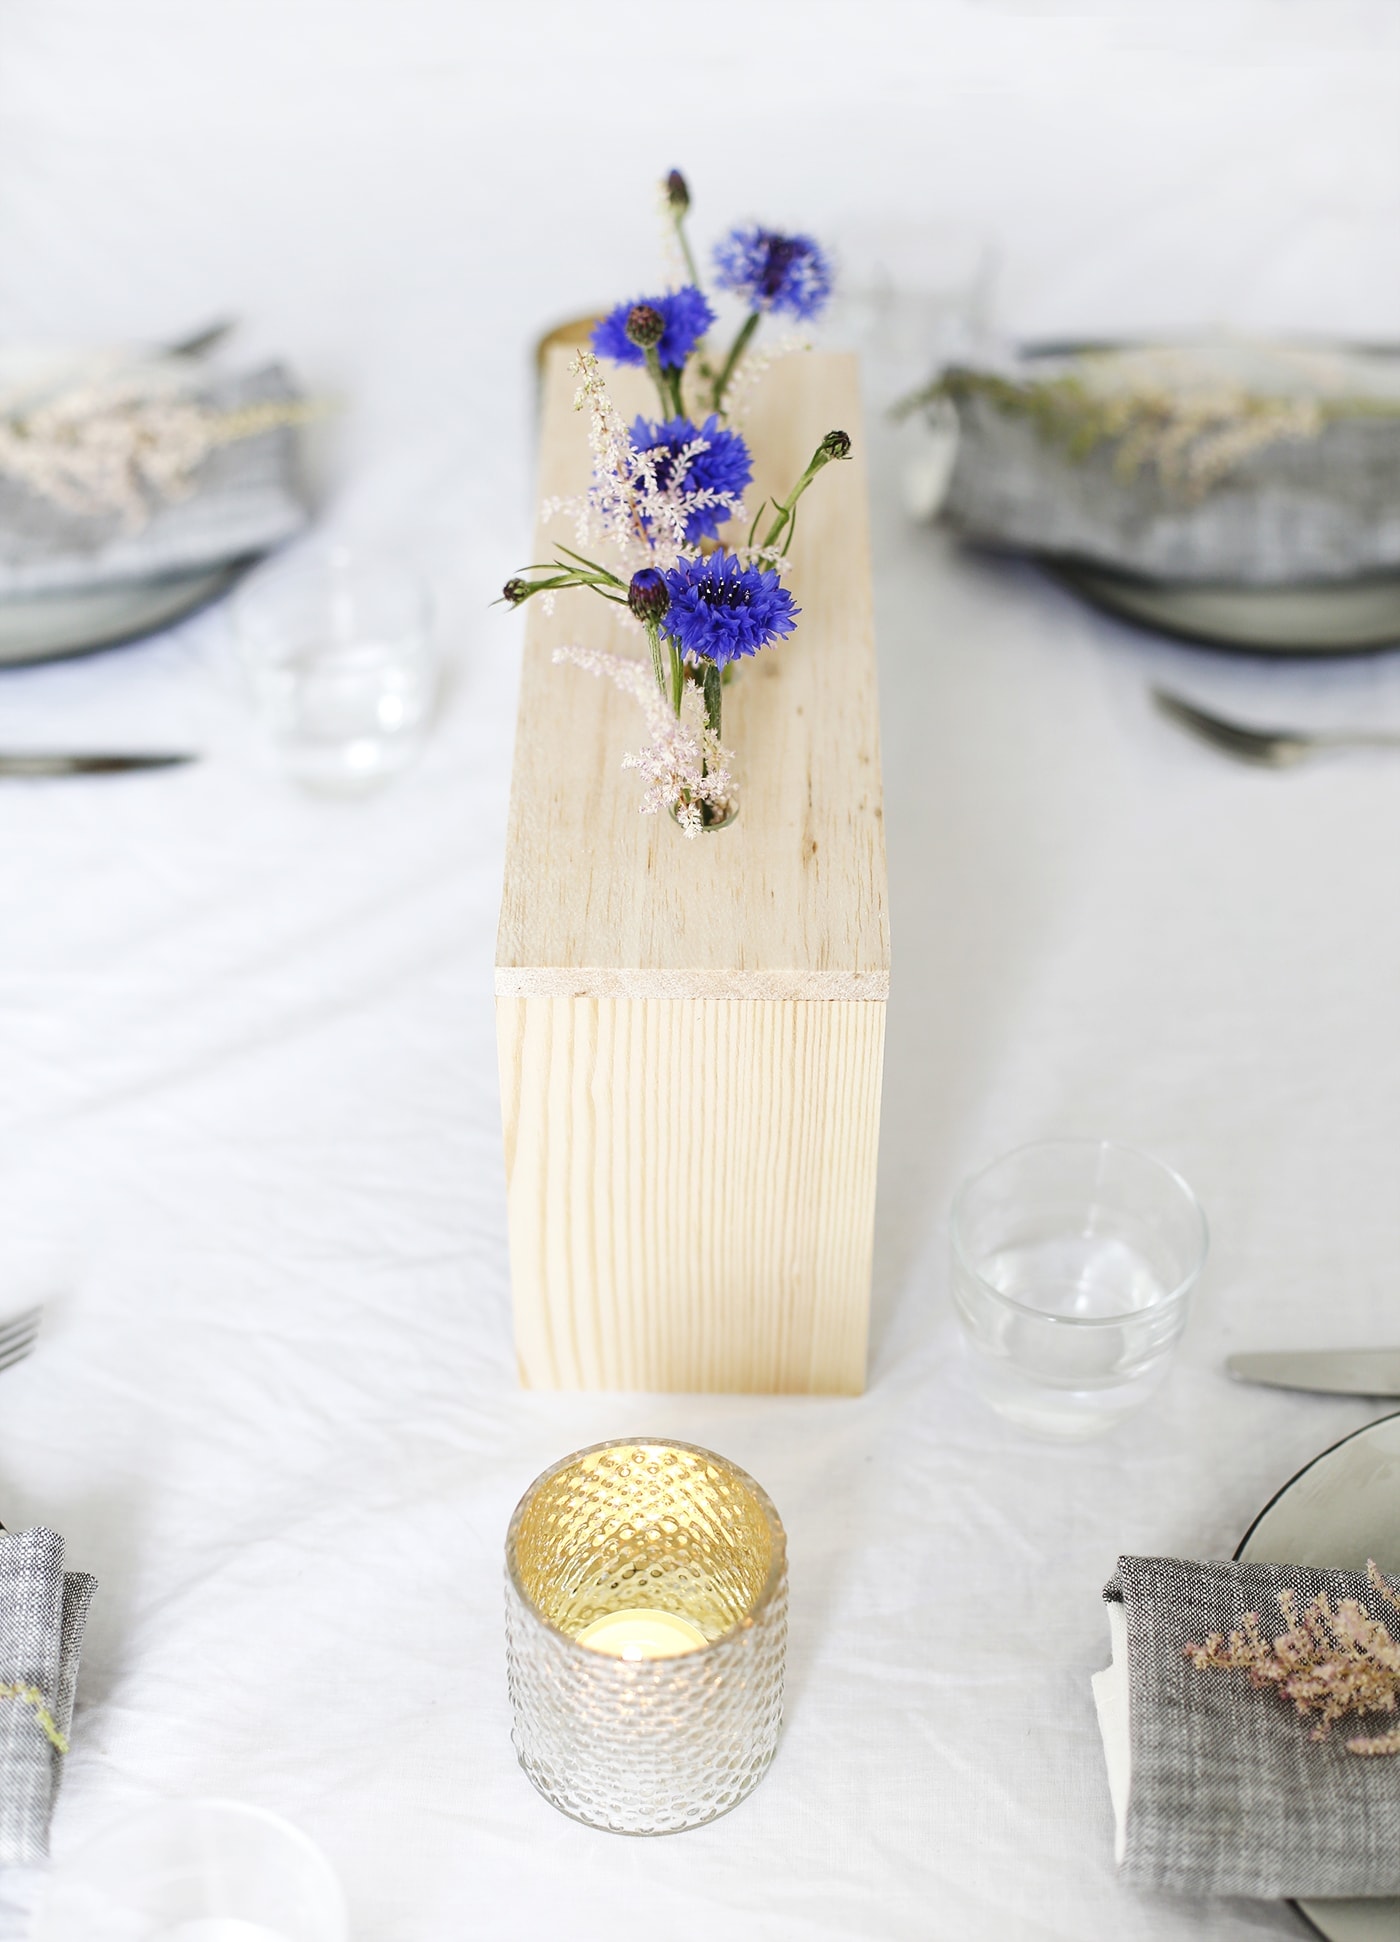
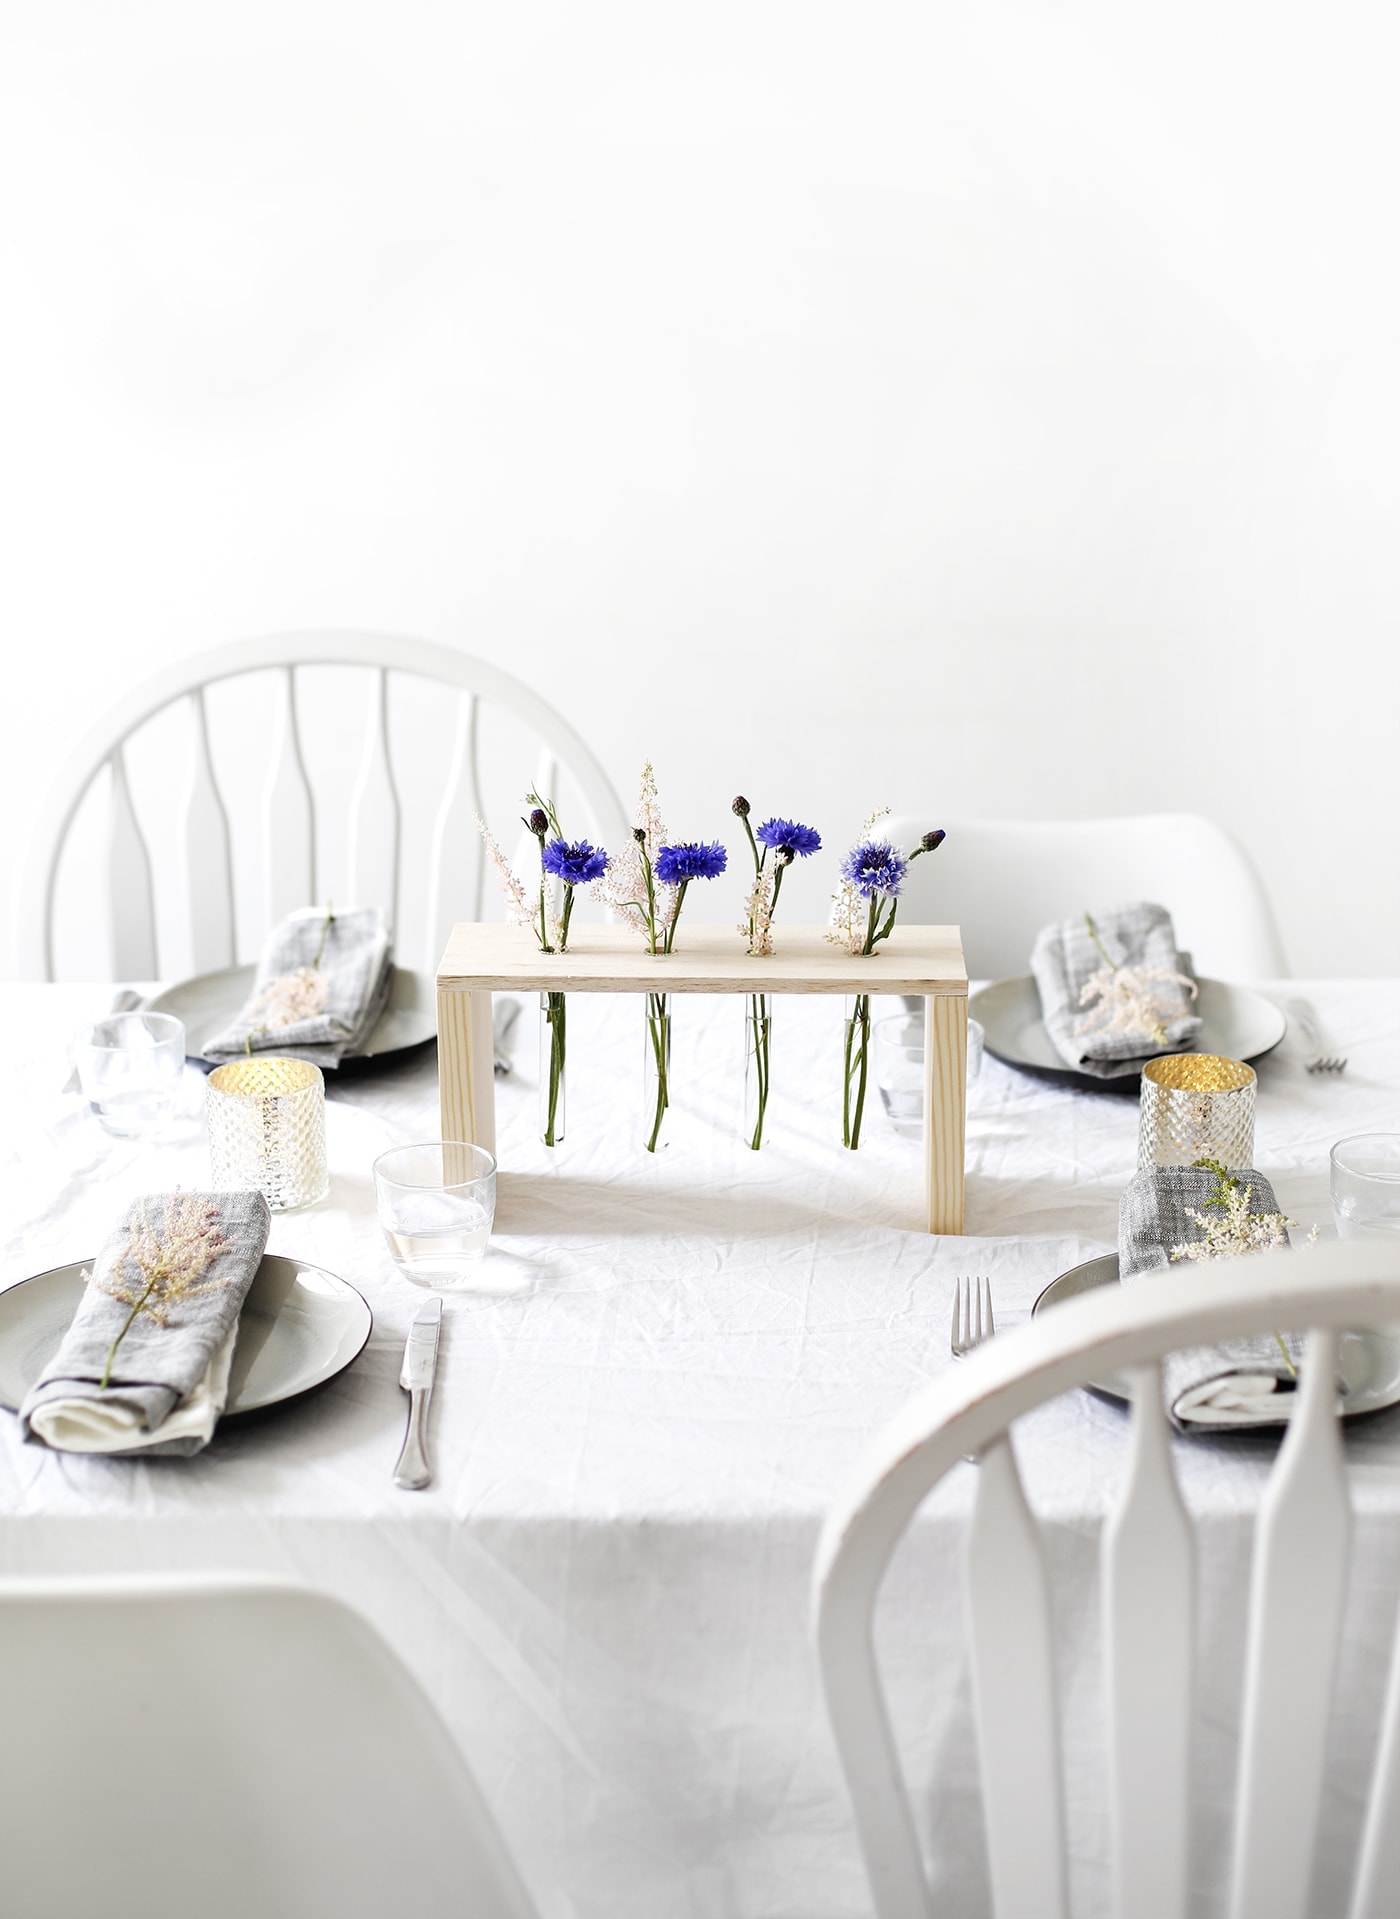
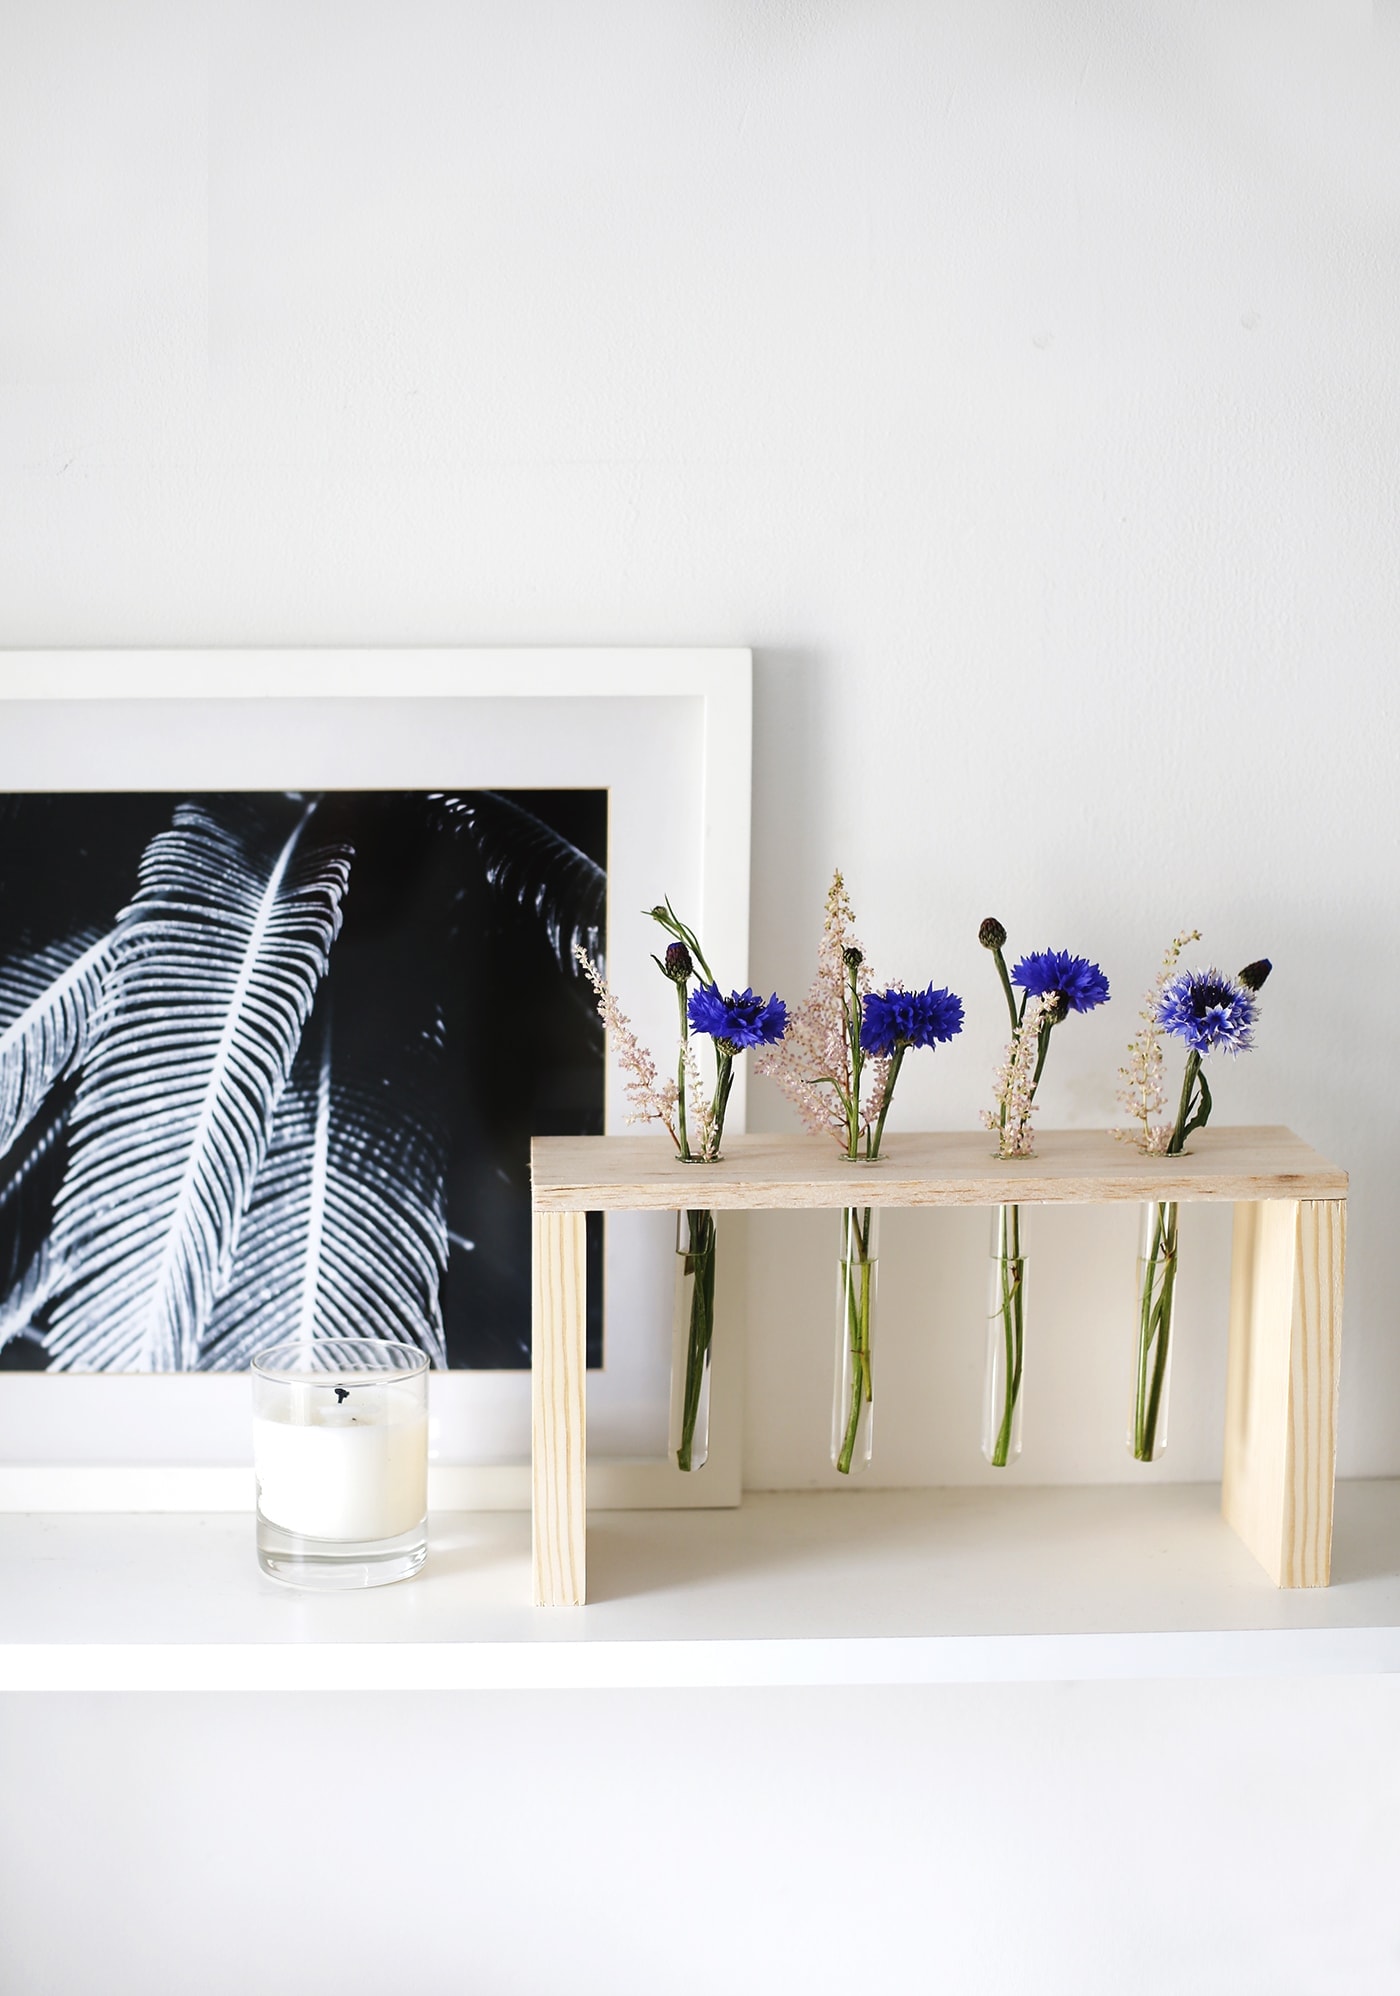
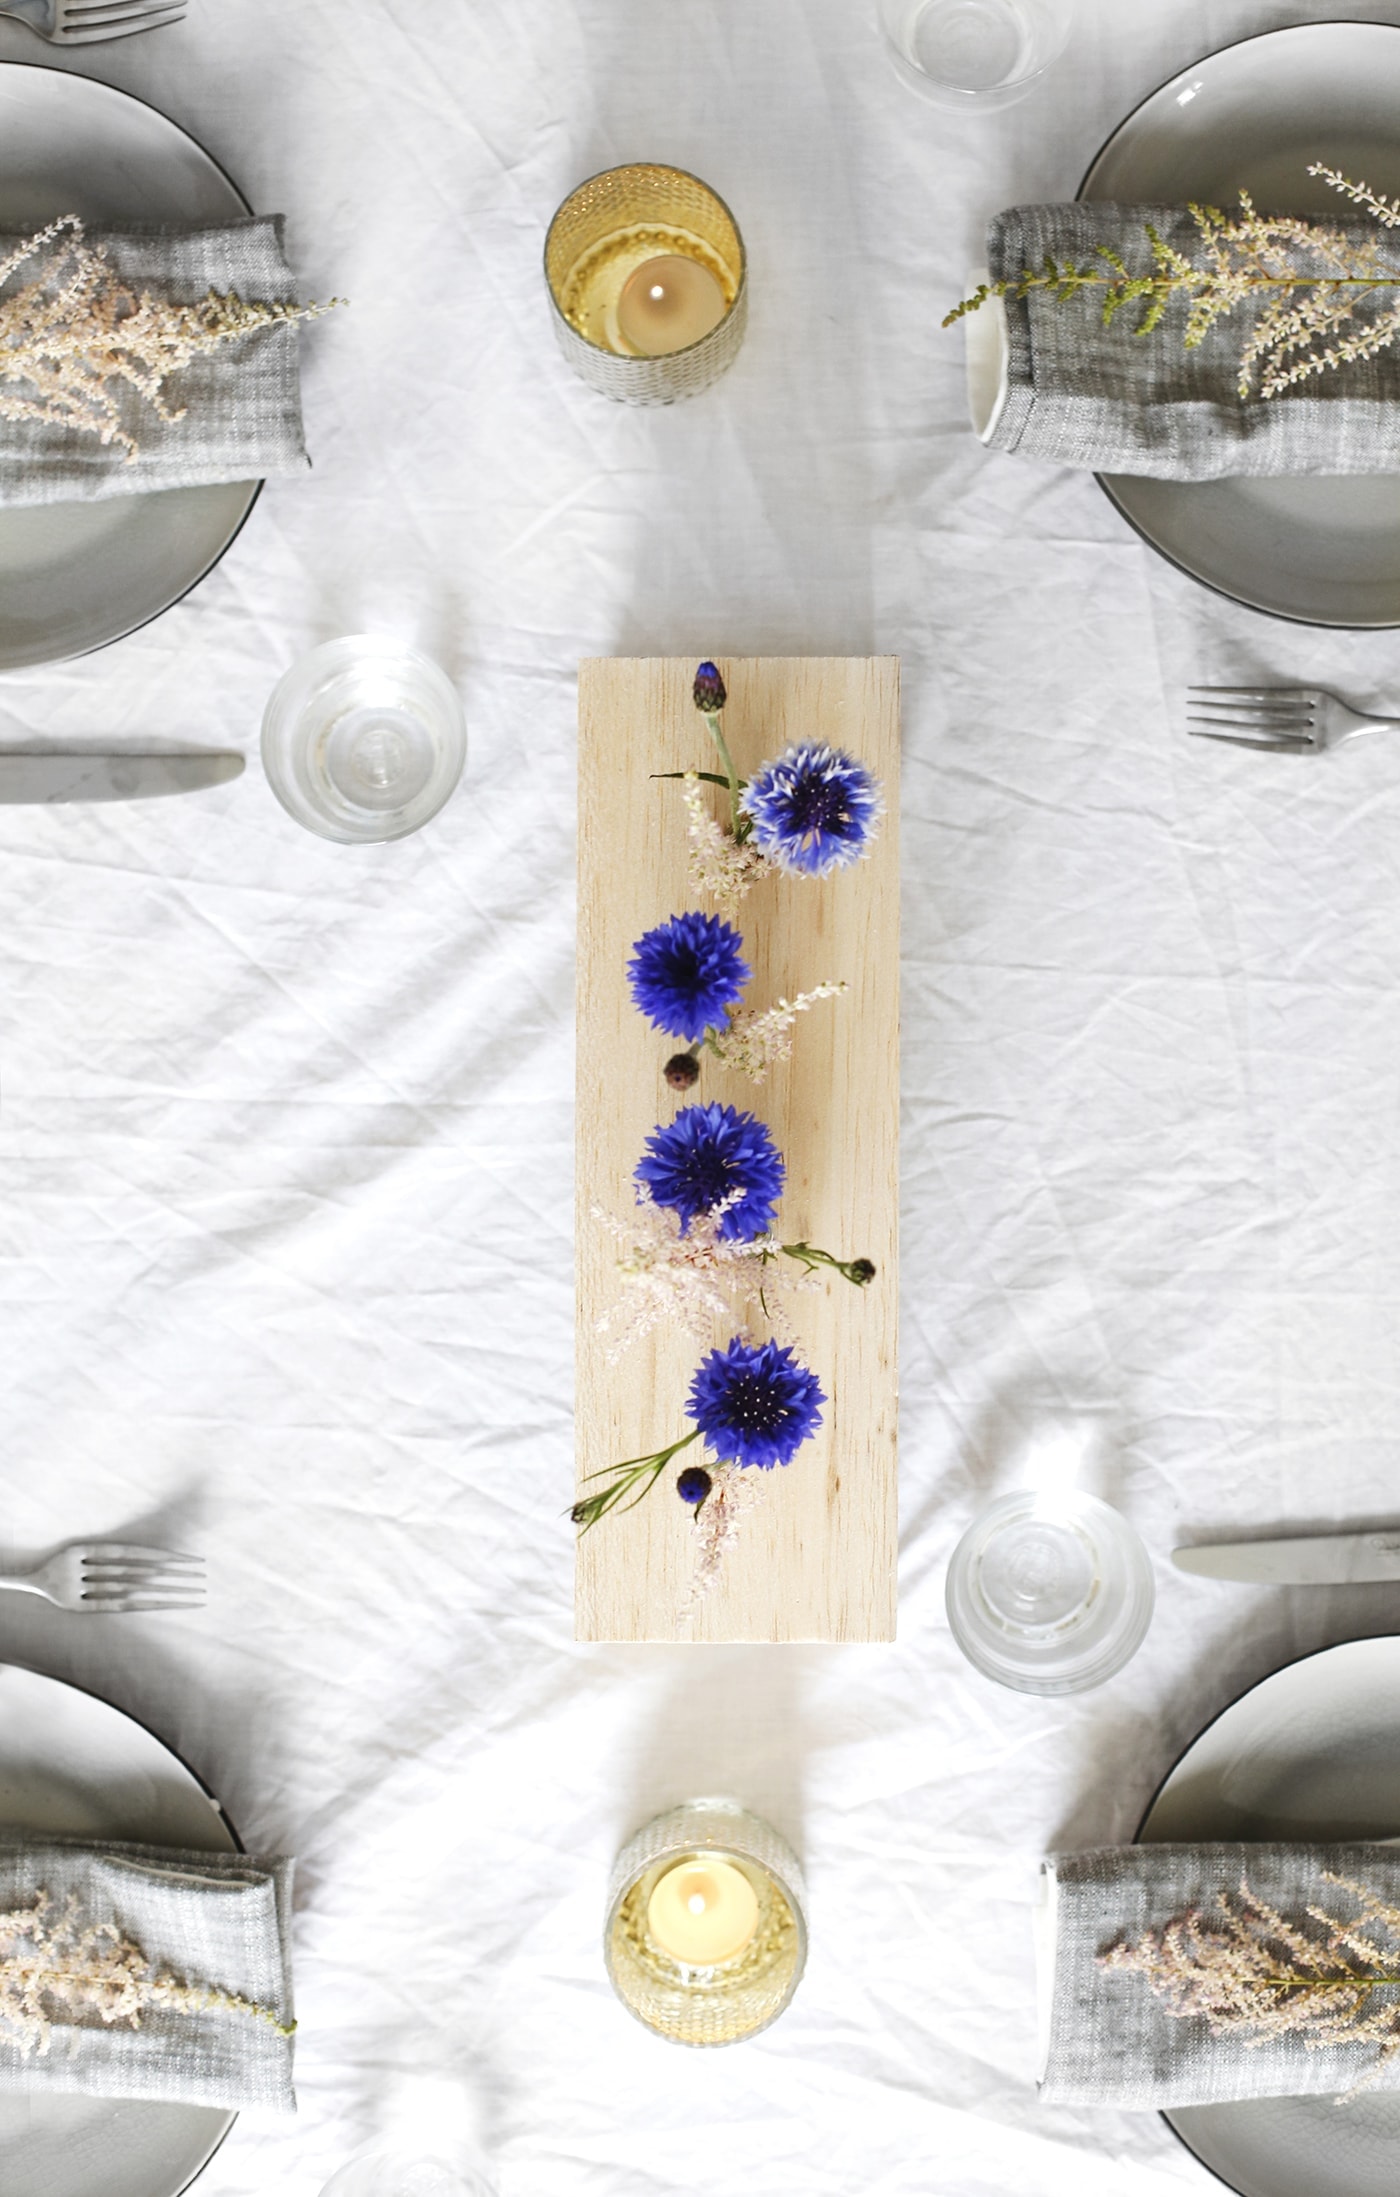
This DIY idea is ridiculously straightforward and adds a little somethin’ somethin’ to any table centre but would equally make a lovely arrangement to sit on your shelves. I’m almost certain it would look really striking with Eucalyptus leaves nestled in the test tubes too, so your options are open for styling it up as you wish. There’s no longer any need for test tubes to be resigned to a dusty old science lab.
Materials:
- Glass rimmed test tubes
- Roughly 1cm thick wooden plank (I used balsa wood but a harder wood like pine might be better)
- Smaller wood sections the same width as the above plank and tall enough to hold your test tubes without them touching the ground.
- Ruler
- Pen
- Power drill with suitable round drill bit to match the width of your test tubes
- Strong wood glue
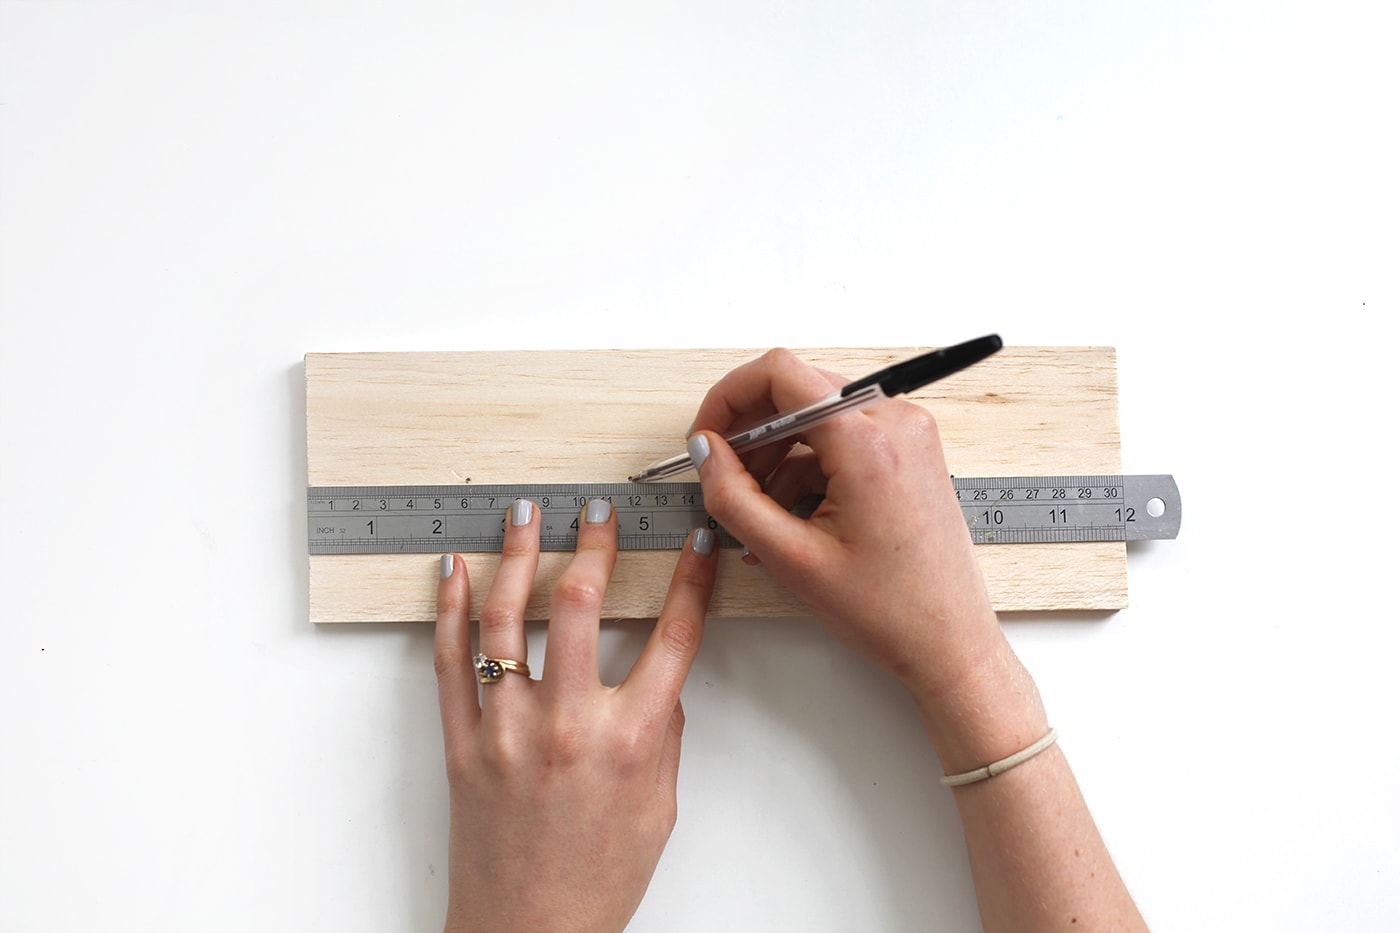
Start by measuring your plank of wood and dividing that measurement by five. This will allow you to mark four points, evenly spaced across the wood.
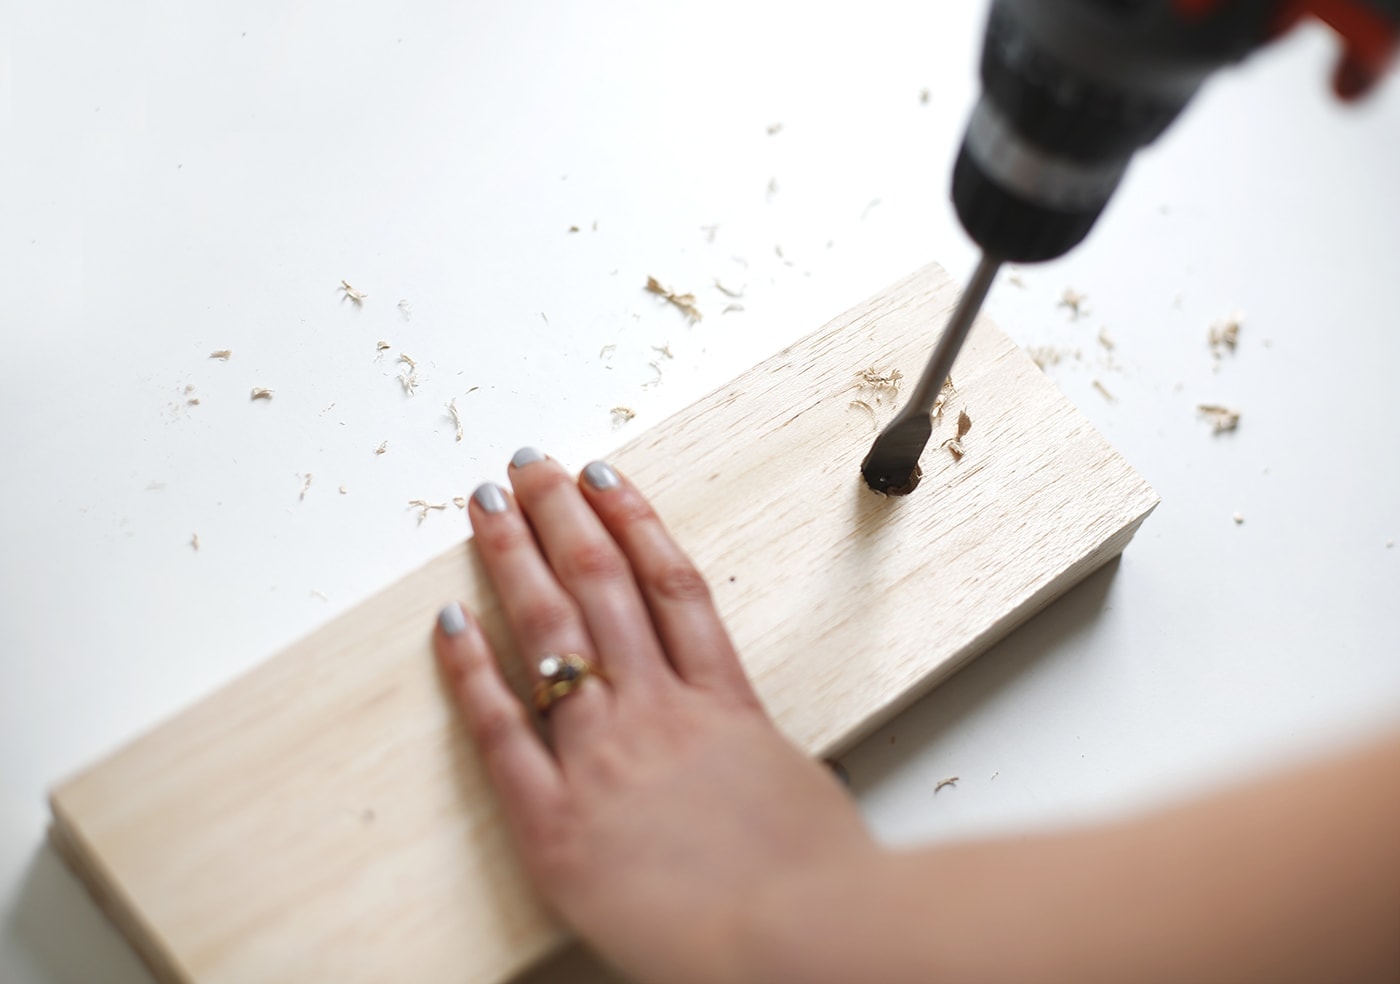
Then drill into the wood, using the points as a centre point for each hole. I used a spare piece of wood underneath to make sure my table underneath was protected. If the edges are rough then just sad them slightly.
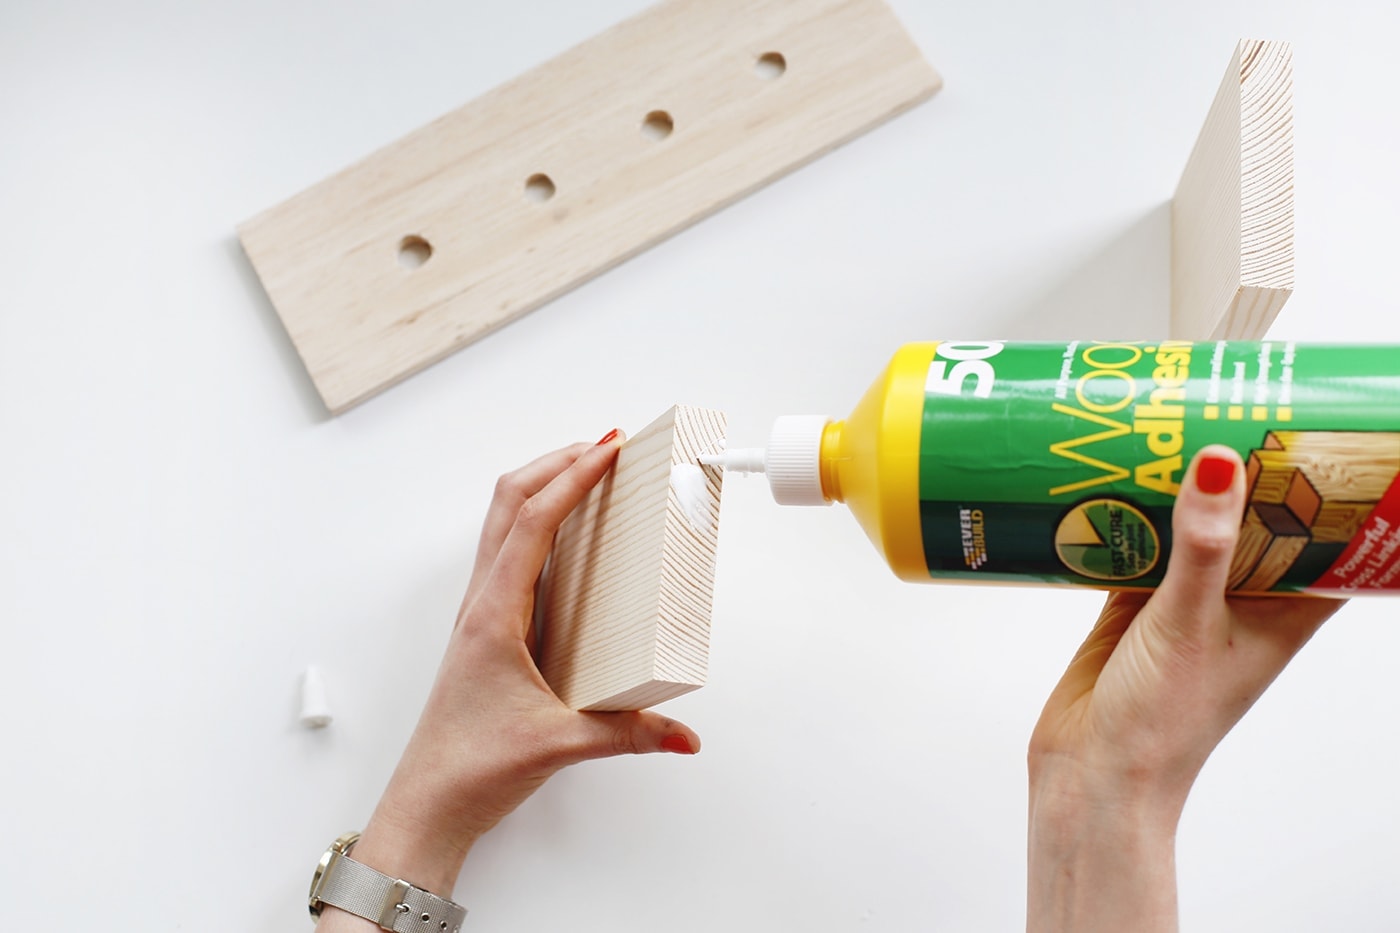
Glue the tops of both your smaller wooden sections. Cover the edge with a thin layer and leave for 10 seconds so it becomes tacky.
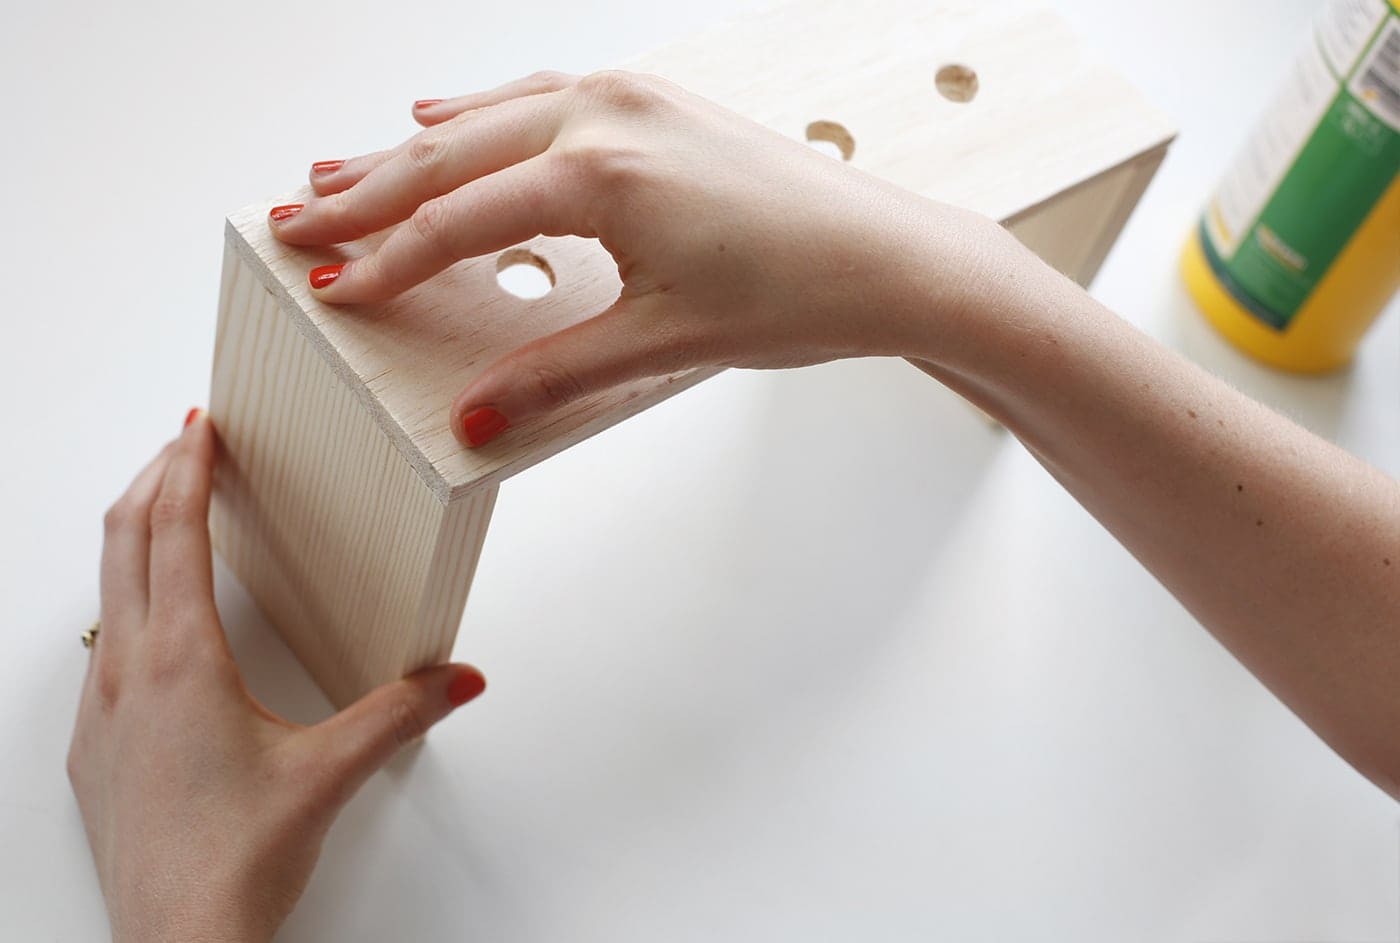
Then place your top wood piece on to the glued sides. Align all the corners and edges and press down. I left a pile of coasters on either side while the glue dried. You don’t want it to be too heavy or it might collapse before it’s set.
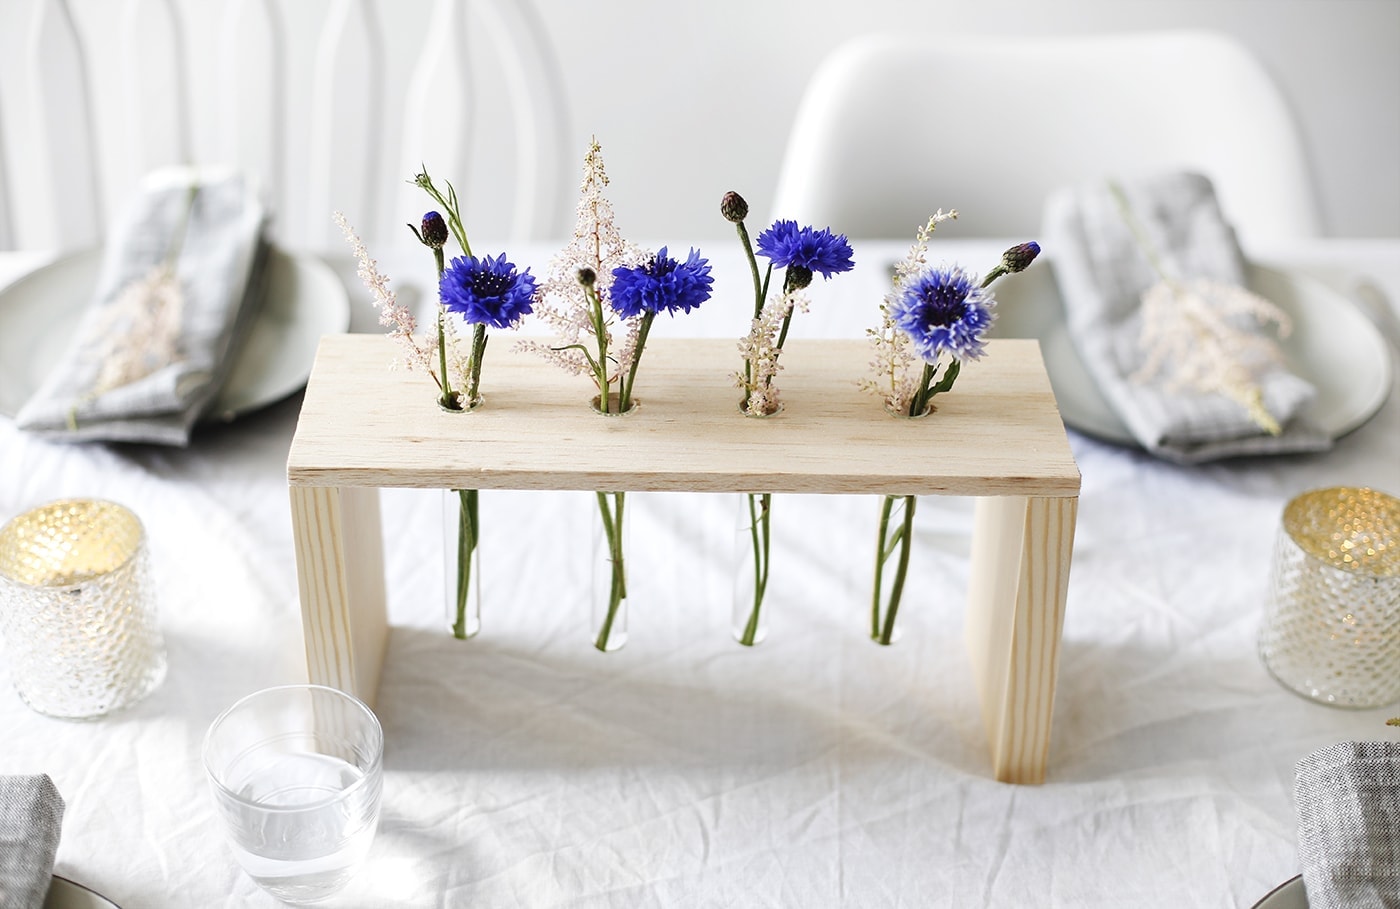
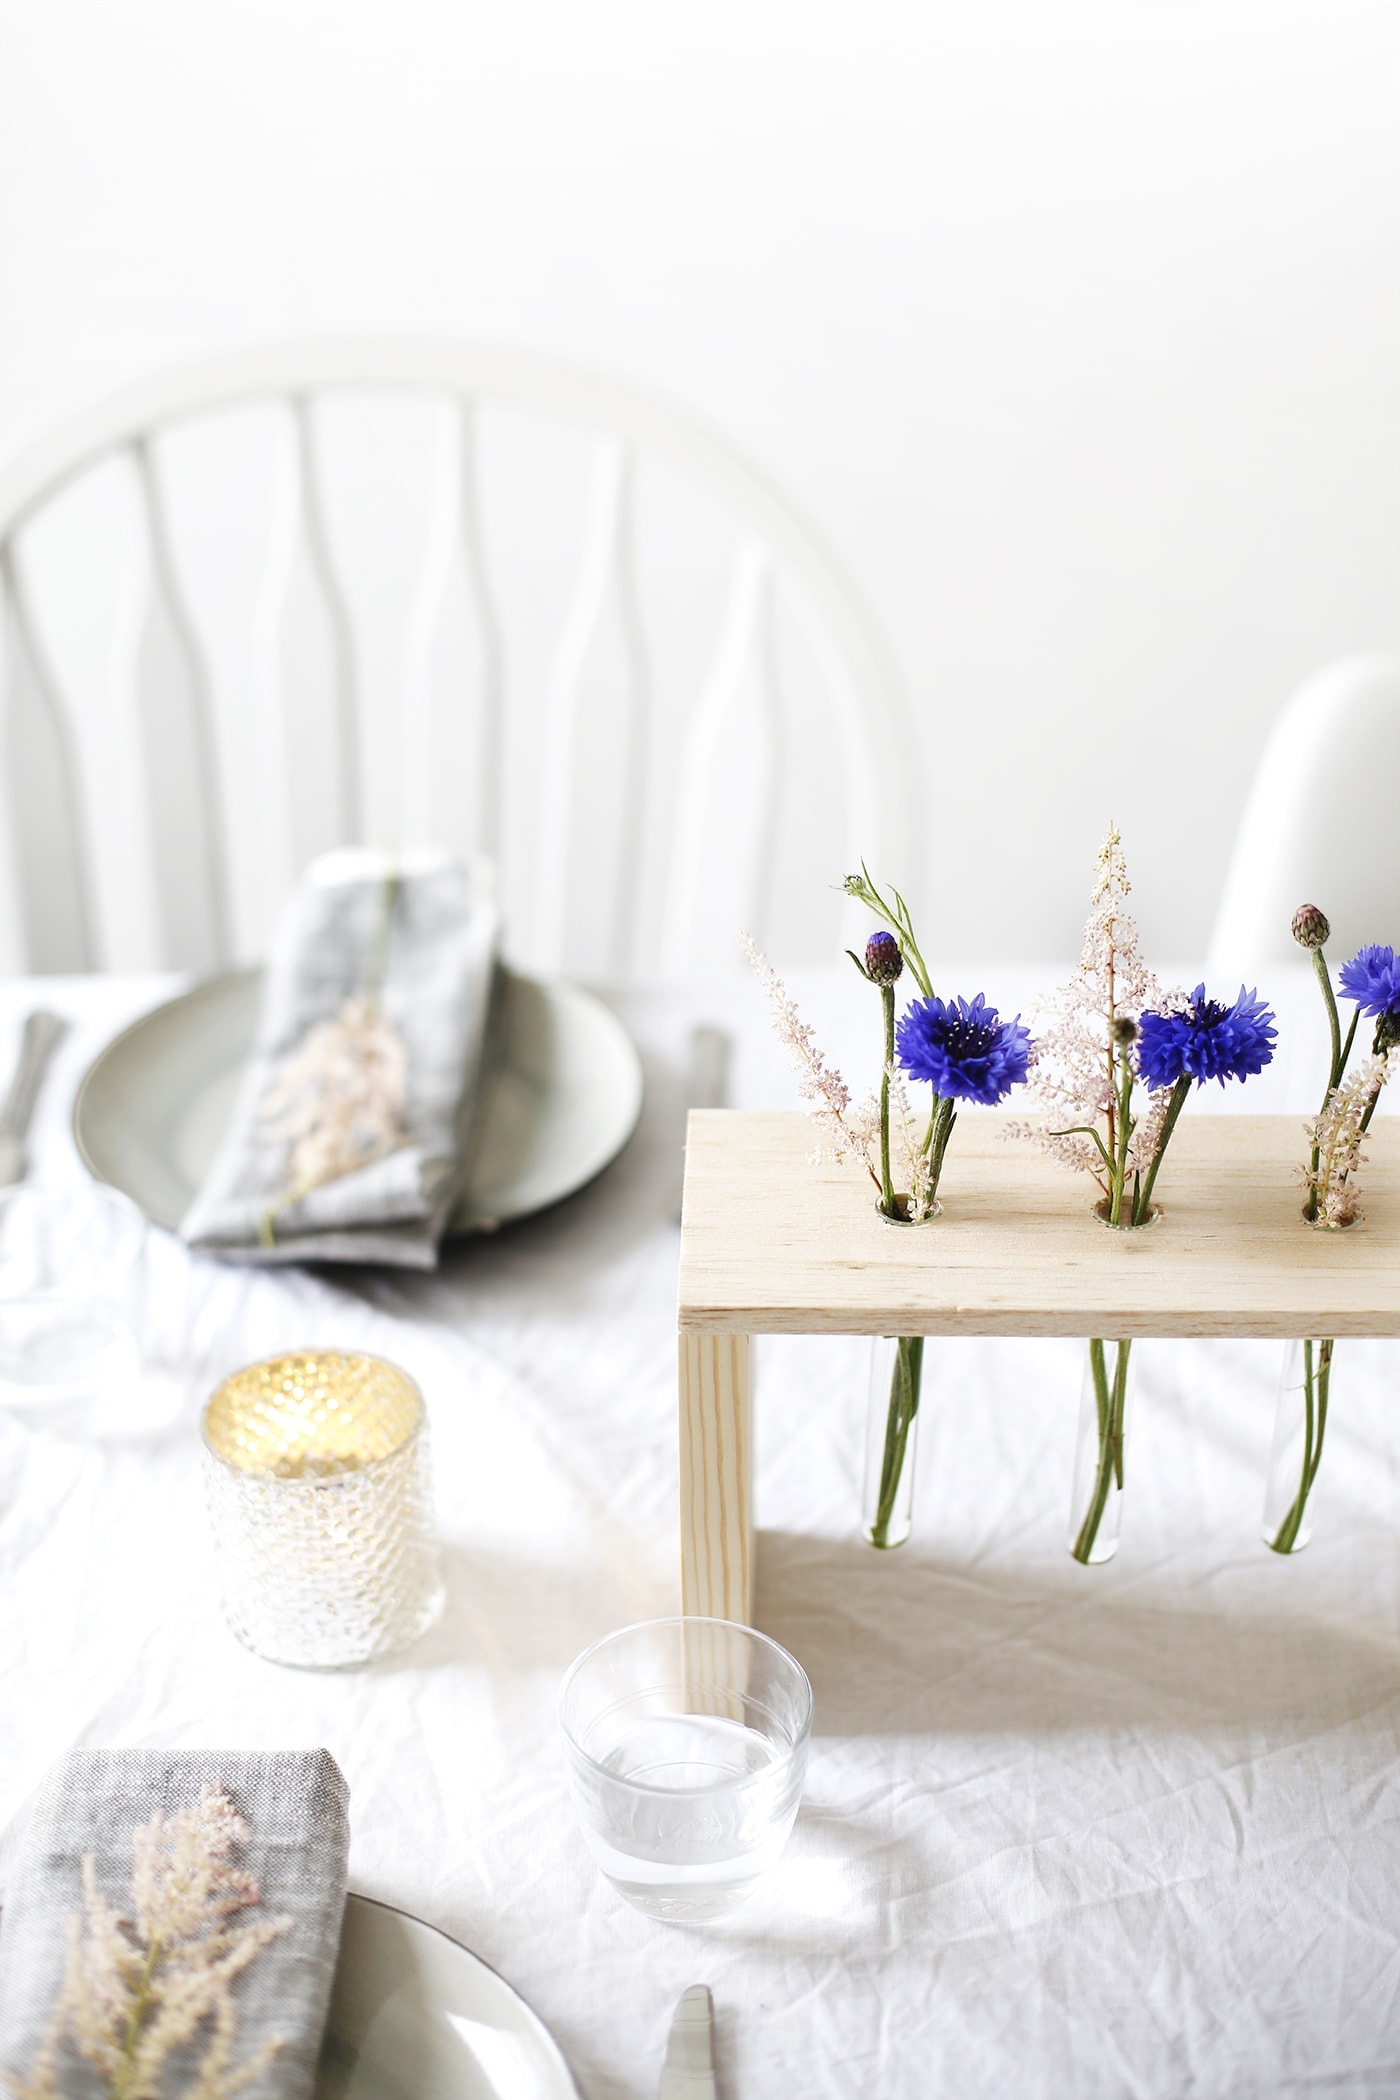
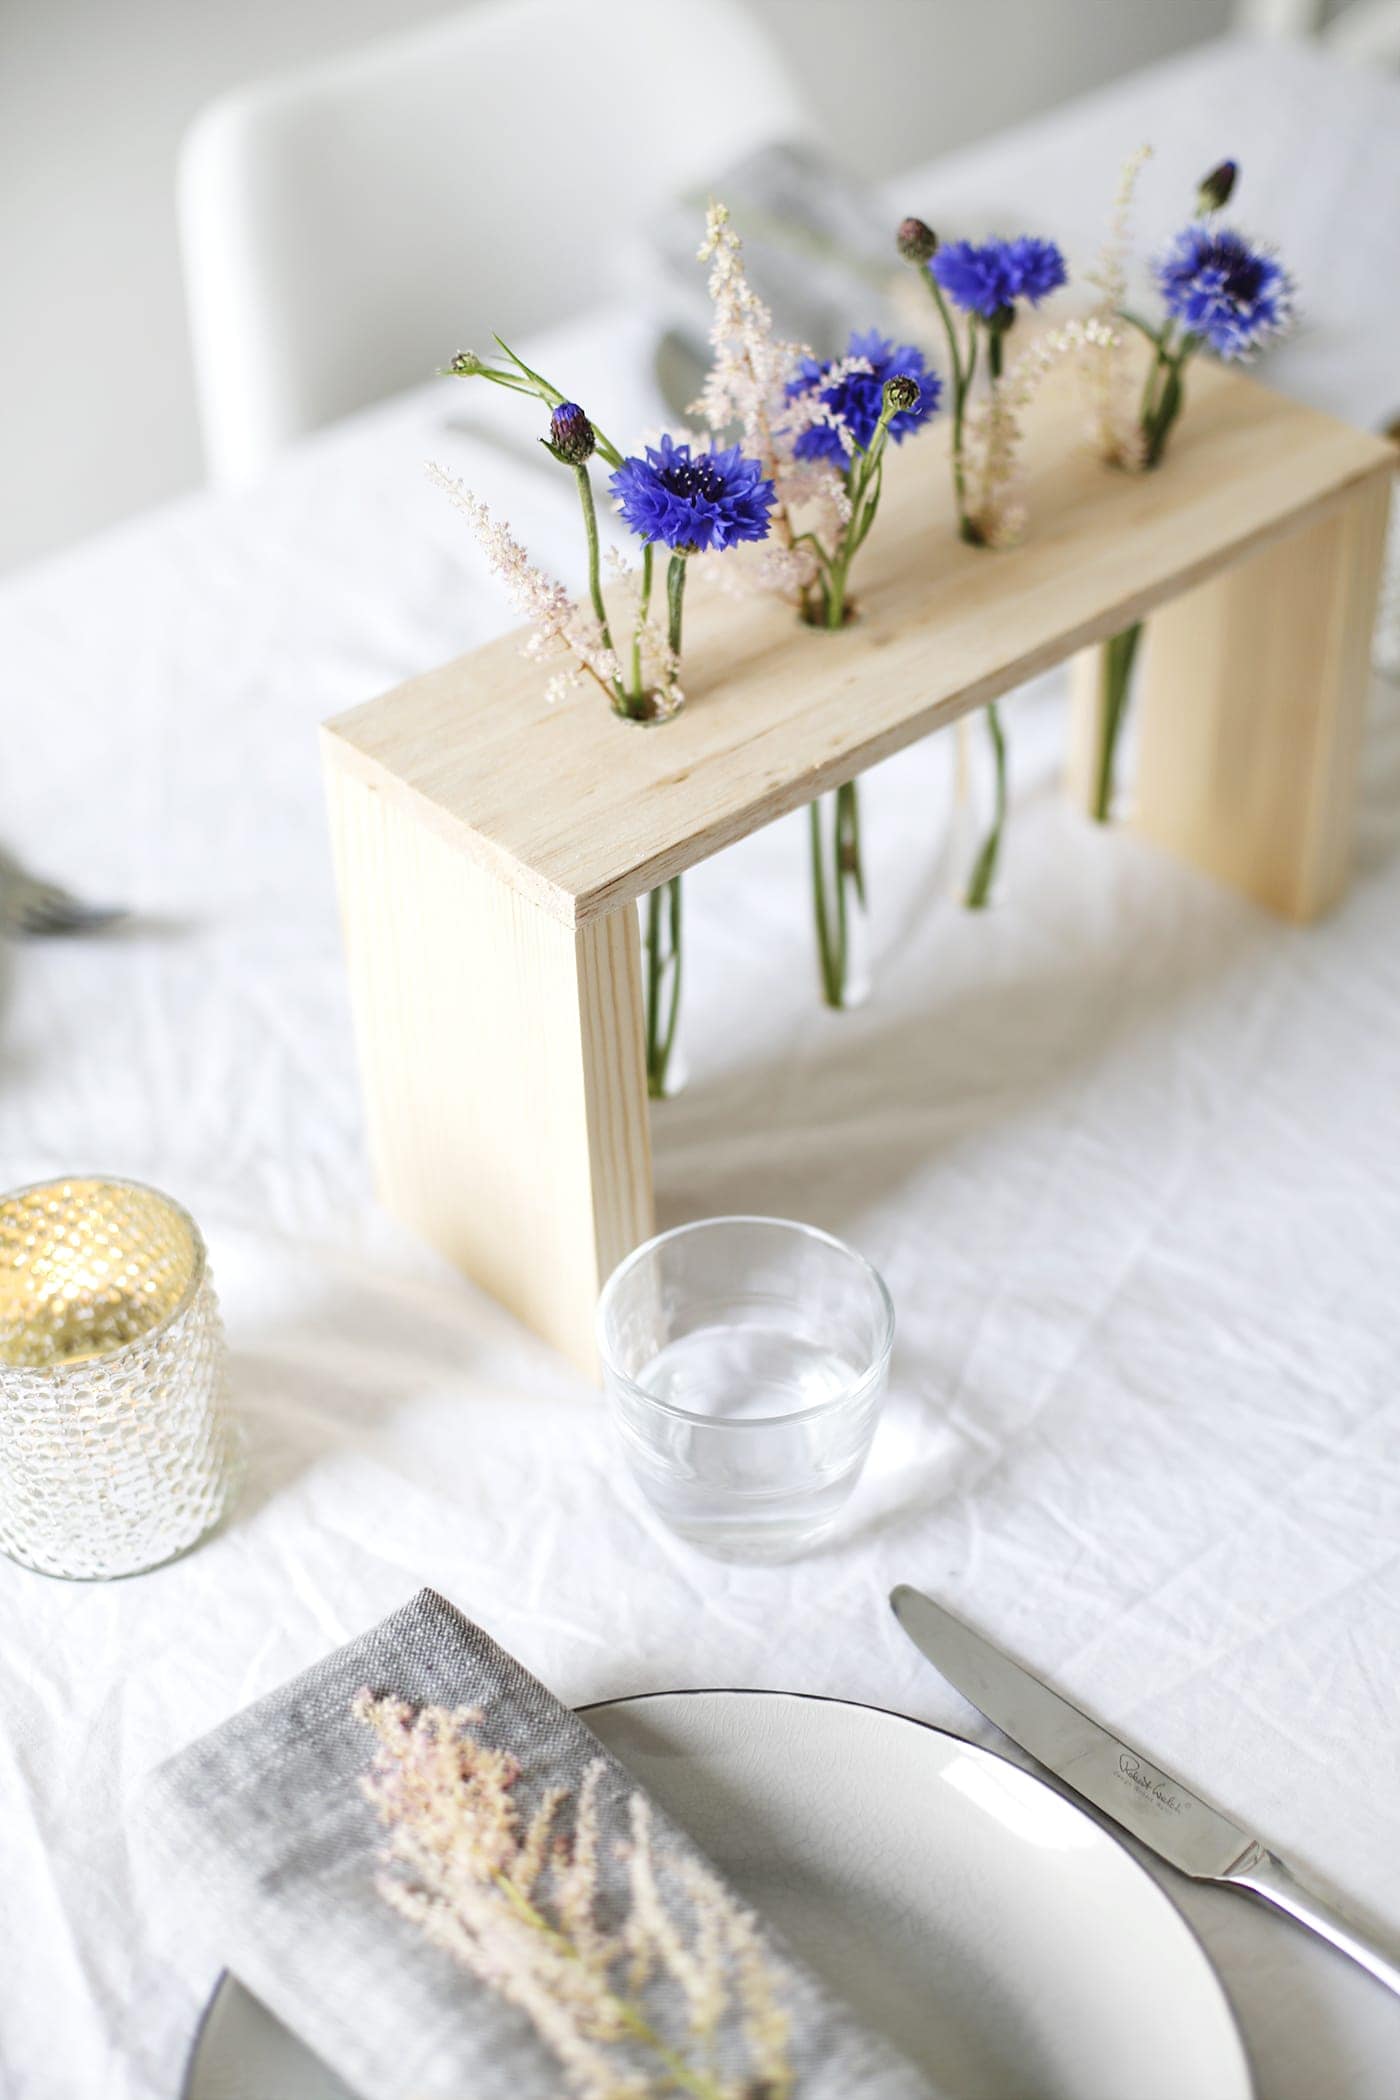
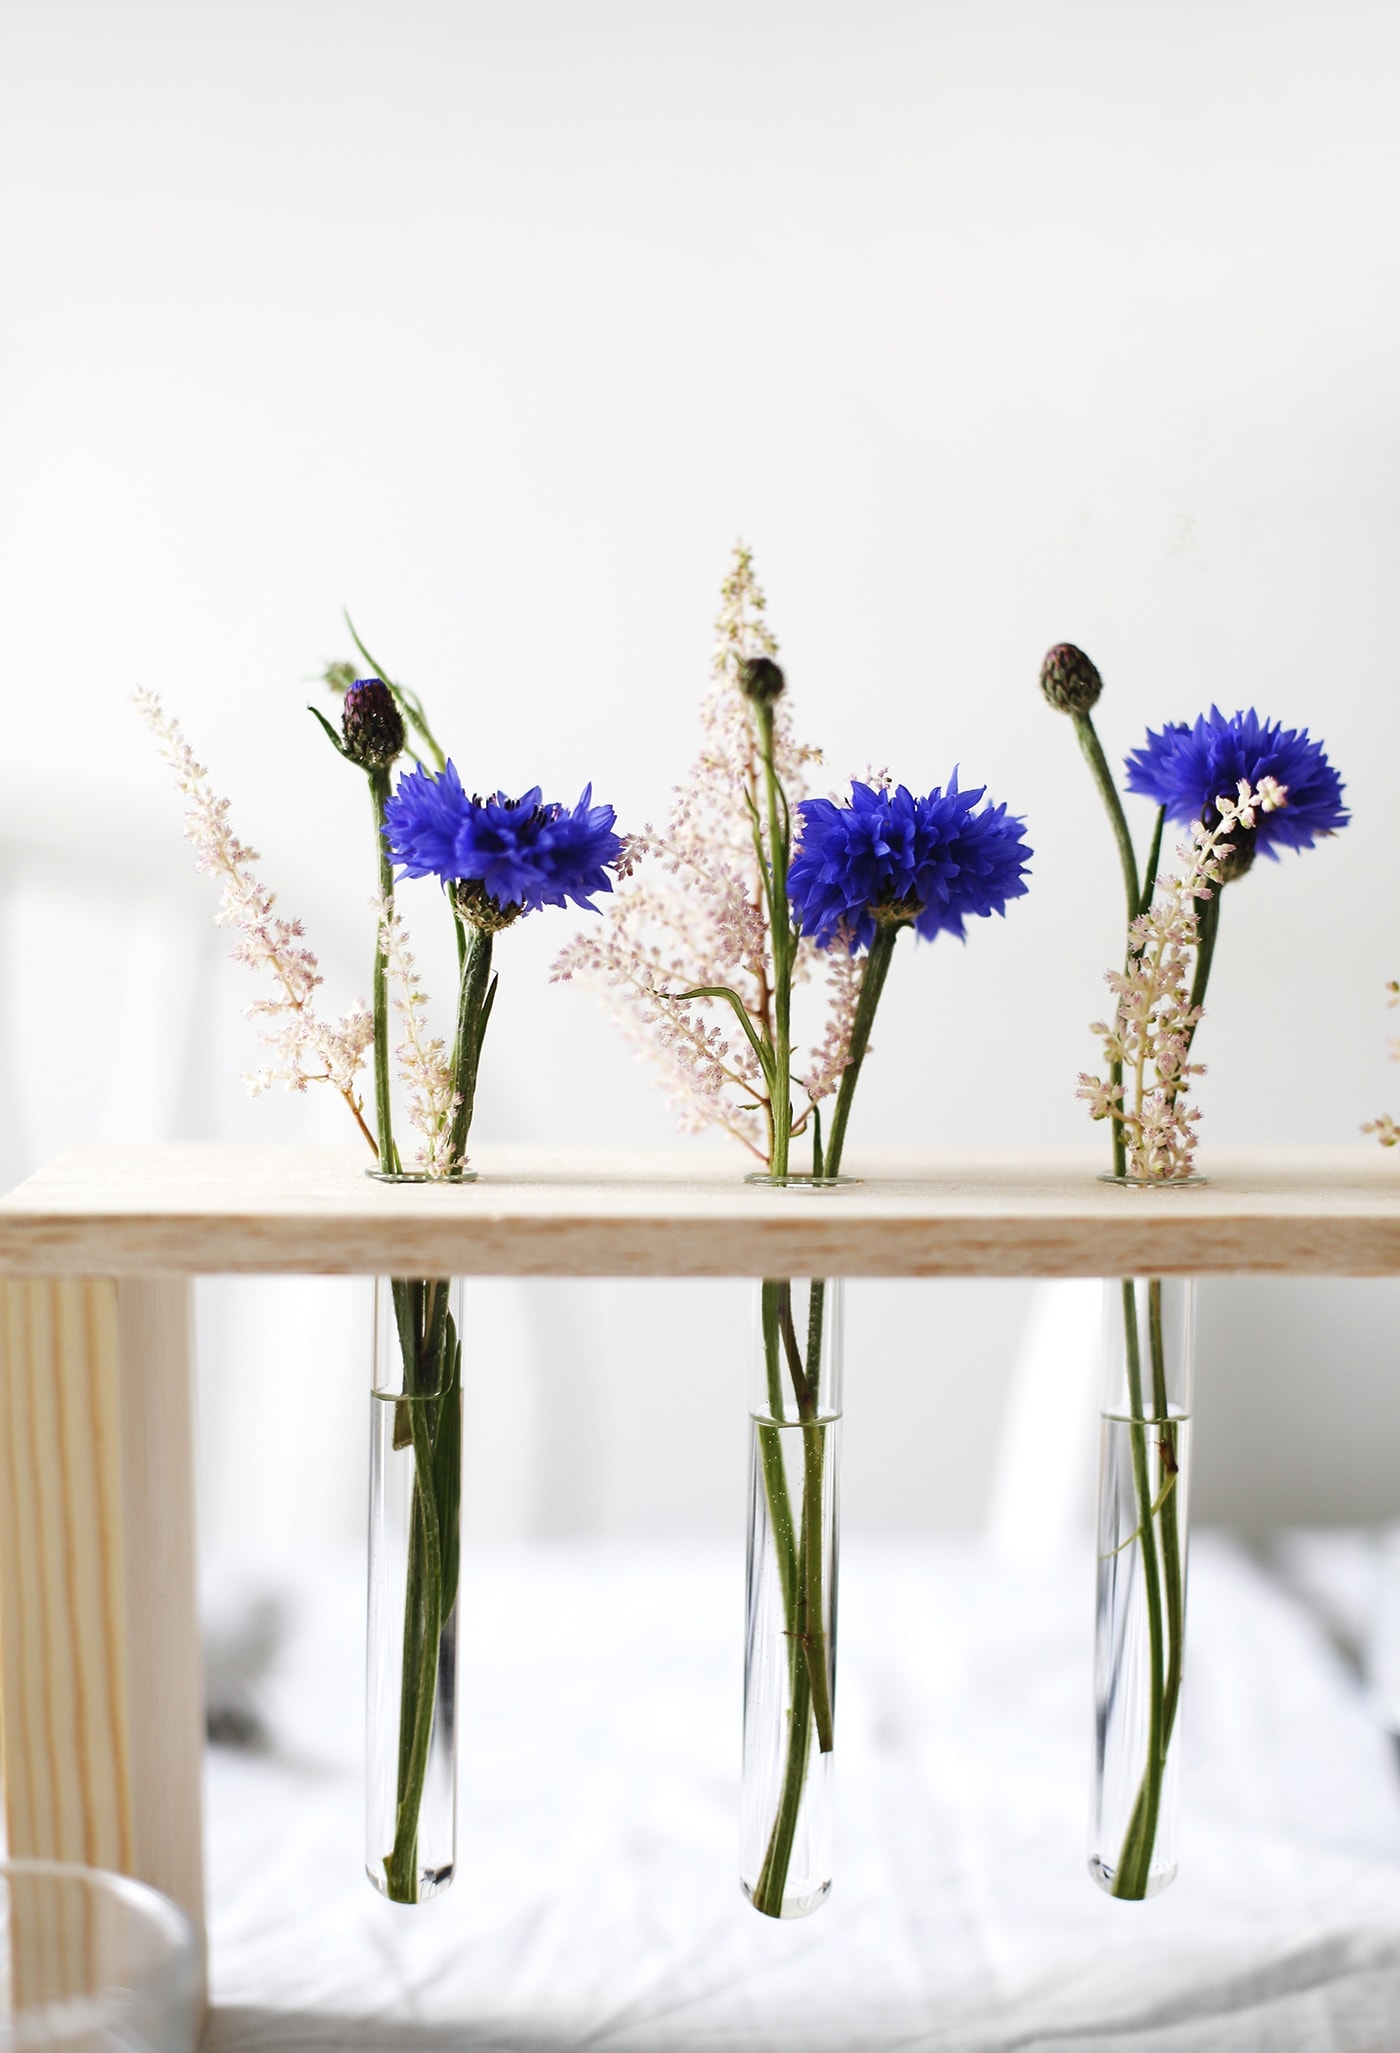
Push your test tubes through the holes and they should sit nicely with the rims stopping them from going through the holes completely. Fill with your favourite flowers and your done, done and done!

I hope you enjoyed this tutorial! It really was as easy as I made out, right? You could even paint the wood sections if you fancied a particular colour for your home and obviously you can pick flowers to suit. Give it a whirl and do tag me if you share it so I can check out your handy work. I love seeing your creations!