Repotting an indoor palm plant (Arecaceae) is challenging for inexperienced gardeners, but it’s essential for keeping the plant happy and thriving. Read on to learn how to transplant an indoor palm plant into a new container without killing it.
The growth rate of palm plants changes dramatically depending on whether they are potted or planted outdoors. To keep your potted Arecaceae indoors, it’s essential to repot it every 2-3 years. Most palms have delicate roots that break off easily, so extra care is necessary when transplanting them to new homes.
This article describes the supplies and step-by-step instructions for repotting an indoor palm plant. It also lists the most common reasons for transferring the Arecaceae to a new container, tips for managing palm plant transplant shock, and more helpful information.
Why should I repot an indoor palm plant?
Indoor palm plants love having their roots slightly confined, but they eventually become root-bound when they outgrow their pot and try to become trees. Most ideally grow about 10 inches (25 cm) annually. So the root system develops quickly to support this growth. Keeping the indoor palm slightly root-bound slows down its growth rate. Here are the signs that indicate a root-bound Arecaceae:
- Roots poking out the drainage holes: Check the pot’s bottom for any roots coming out of the drainage holes. These indicate an overgrown root system and will eventually push the whole palm out of its container, so you must move it to a new home.
- Reduced growth: A slowly growing palm indicates an overdeveloped root system with no space to grow. In severe cases, the palm stops growing. Fix this issue by transferring the Arecaceae to a larger container.
- Deformed or cracked pot: An overgrown root system may cause the pot to deform or break in its attempt to stretch out and look for more soil.
- Depleted soil: All plants eventually use up all potting mix nutrients, and no amount of fertilization can fix it. Fix this problem by removing the depleted soil and replacing it with a fresh one.
- Sickly-looking palm plant: The lack of growing space and nutrients affect the palm plant’s health and appearance. Signs include discolored leaves or browning edges or tips.
- Soil doesn’t retain moisture: The palm’s roots and soil fight for growing space. As the roots take up more space, there will be less soil to retain moisture. Water the palm; if it goes right through the soil, you must replace the potting mix.
- Root rot: Root-bound plants need constant watering. But the overwhelming humidity promotes fungi and bacteria growth, causing root rot. Additionally, root rot is caused by improper air circulation due to insufficient soil. Repotting your indoor palm plant to a bigger container will help prevent root rot.
Supplies for repotting an indoor palm plant
- A new pot about 2-3 in (5-8 cm) bigger than the current one with at least one drainage hole. Reuse the current pot if it’s intact to prevent the palm plant from growing any further when your goal is to change the potting mix. But clean the old pot with soap and water to prevent the spread of bacteria from the old potting mix.
- A porous material, such as wood, rocks, or cardboard, to improve drainage.
- A wire mesh to keep the porous material from falling through the pot’s drainage hole.
- for indoor palm plants or cacti. The Arecaceae prefers a loose, porous potting mix. Make your own by combining leaf mold, shredded bark, and peat moss.
- A slow-release fertilizer to help the palm recover faster.
- Gardening shears to remove any dead, damaged, or sickly roots.
- Gardening gloves to protect your hands and have a better grip on the plant’s stem.
- A trowel to dislodge the palm from its current container.
- Tarp or newspapers to keep the working area clean of dirt.
How do I repot an indoor palm plant?
Check out these step-by-step instructions for repotting an indoor palm plant:
- Choose the right season: Spring or early summer is the best time for moving an indoor palm plant to a new home.
- Spread the tarp: Prepare the working area by covering it with a tarp or newspaper.
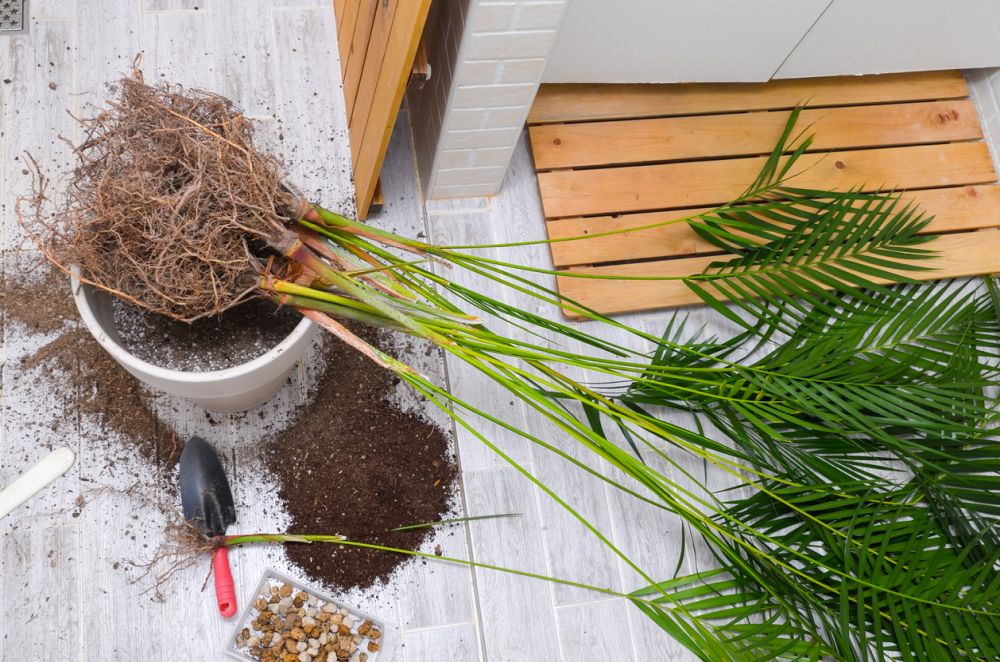
- Remove the palm plant from its pot: Lay the pot on its side and grab the palm by the base of the trunk. Gently tug on the stem with one hand while tapping on the pot’s bottom with the other. If stuck, run a trowel along the pot’s edges to dislodge the soil.
- Tend to the roots: Use your fingers to untangle the root ball, especially if it’s tangled around itself. Then remove any excess soil still sticking to the root ball.
- Cut the roots (optional): Cut away any sick, damaged, dead, or rotten roots with the garden shears. To prevent the palm from growing further, cut away some healthy roots, too, but not more than 25%.
- Prepare the soil mix: Mix the potting mix with the slow-release fertilizer. Check the packaging for measurements and ratios.
- Prepare the new pot: Line the pot’s bottom with wire mesh and cover it with a layer of porous material. Then add about 4-5 in (10-13 cm) of potting mix.
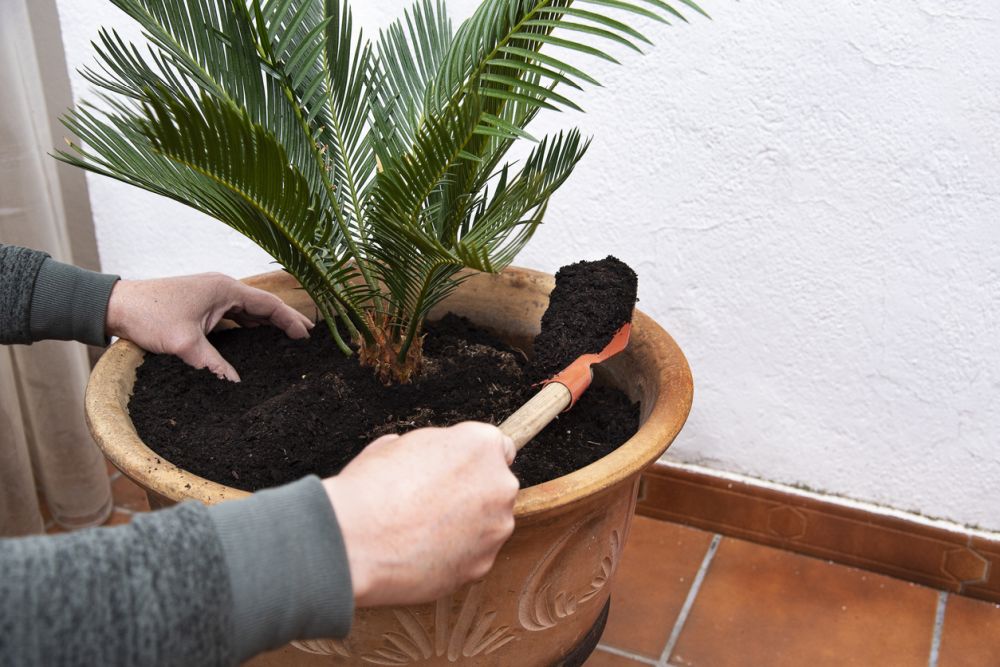
- Add the palm plant to its new pot: Place the palm so the root ball sits on top of the potting mix and add more soil until it sits about 2 inches (5 cm) below the pot’s rim. Fill in any gaps between the plant and pot sides. Use your hands to gently tamp the soil around the root ball without pressing too hard.
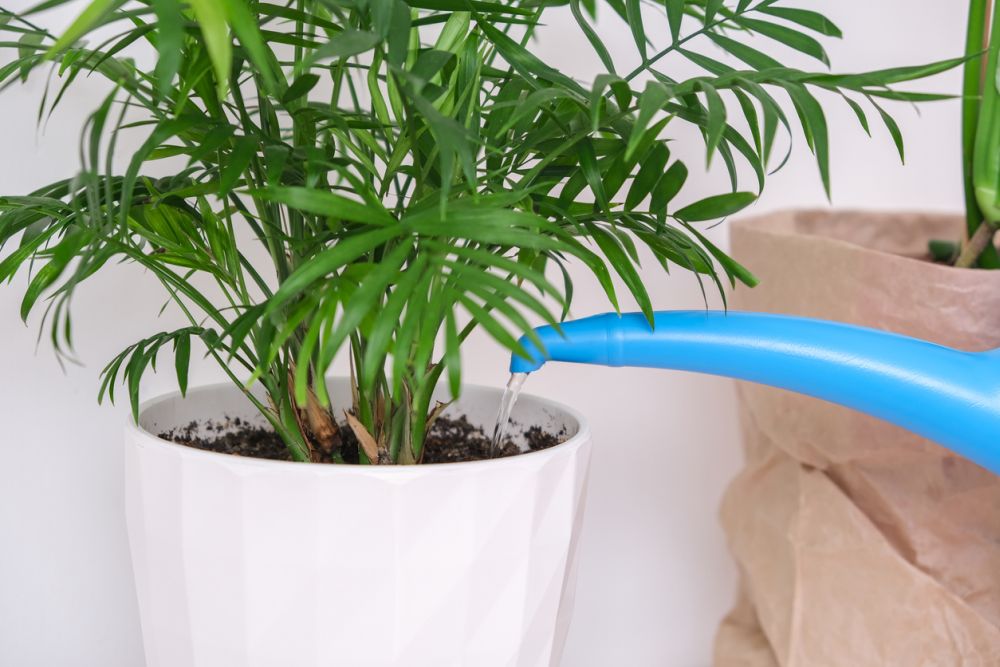
- Water the plant: Thoroughly water the palm plant right after repotting until it drips from the drainage holes.
Tips for managing palm plant transplant shock
Like most houseplants, indoor palm plants undergo a transplant shock after repotting. Transplant shock is caused by roots exposed to air and lasts 2-4 weeks. During this time, the palm is more sensitive to environmental changes and susceptible to pests and diseases. The palm may struggle during transplant shock, showing signs such as falling leaves. But it will soon recover. Follow these instructions to help your indoor palm plant go through transplant shock more easily:
- Water thoroughly but sparingly: Keep the soil moist for 2-4 weeks after repotting. This generally means watering once every 2-3 days.
- Avoid direct sunlight: Place the palm in indirect sunlight.
- Do not fertilize: You’ve already added slow-release fertilizer to the soil mix, so there’s no need for additional fertilization for at least 4 months.
- Keep a constant temperature: Place the repotted palm plant somewhere with constant temperatures of 70-80° F (21-27° C) during the day and at least 60° F (16° C) during the night.
- Maintain the right humidity: Depending on the palm plant variety, the ideal humidity ranges from 60% to 90%.
Find out more information about .
FAQs
Discover more useful info about repotting indoor palm plants:
Do palm trees need big pots?
Yes, palm plants need big pots to keep growing. However, many prefer keeping them in smaller pots to restrict their growth rate.
Do indoor palms like to be root-bound?
Yes, indoor palms love having their roots slightly confined. Eventually, you will have to repot them to bigger containers or trim the roots to limit their growth.
Why does my indoor palm tree have brown tips?
Brown tips are a sign that your indoor palm plant is getting older. It’s not a sign that something’s wrong, like in the case of other houseplants.
Why is my palm dying after repotting?
It’s normal for a palm plant to look like dying after repotting due to transplant shock. It happens due to roots being exposed to air. Continue caring for your palm plant; it will recover in 2-4 weeks.
Closing thoughts
Repotting an indoor palm plant isn’t that different from . It allows the plant to grow under a controlled environment while staying healthy and looking great. And with the proper caring conditions, your Arecaceae will soon recover from transplant shock.
The post appeared first on .


