.jpg)
I have been searching for an affordable wall sconce for the bathroom and haven’t been able to find one that I love. Finally I found these but I’m not big on grey so I decided to quickly share how to recover a lampshade with fabric! It’s honestly pretty easy and can be a game changer for thrifted lamps!
I love that you can change any lamp to better fit your space with this simple tutorial! You can use any pattern or color fabric to make a room pop or just use a different neutral like I did here that better fits your space. I am definitely going to use this on a few lamps at the cottage that have lampshades that are past their prime haha.
.jpg)
Materials Needed:
- fabric (I got this textured cotton at Wal-Mart)
- kraft paper roll (you can grab some from the dollar store)
- pencil
- ruler
- scissors
- glue
- water
- paint brush
- hot glue gun
- spray adhesive
How to Recover a Lampshade with Fabric:
- If the lamp shade has any extra fabric/trim along the edges, remove it.
- Lay lampshade out on rolled out kraft paper.
- Start at seam and slowly roll the shade, tracing along the bottom edge until you get back to the seam.
- Roll it back along the line you drew and repeat at the seam along the top of the shade.
- Connect lines along the end using a ruler.
- Use ruler to measure out about 1/2″ from the top and bottom edges and 1″ on one of the short sides and trace shape around previous shape.
- Cut out kraft paper pattern.
- Pin onto new fabric and trace shape.
- Cut out fabric.
- Use spray adhesive or a glue/water mixture to start attaching fabric to shade. I like to start with one of the straight edges right along the previous seam.
- Continue until you are almost to the other end. Fold 1/2″ of fabric under and glue in place. This will create a fold so you cannot see the raw edge once it is glued.
- Glue final edge in place. (I sometimes use a tiny line of hot glue here for extra security.)
- Along the top edge, fold 1/4″ of fabric in onto the rest of the extra fabric and hot glue in place.
- Now fold all of this extra fabric along the top down into the shade and glue in place.
- Repeat with the bottom.
.jpg)
.jpg)
The post How to Recover a Lampshade with Fabric appeared first on The Merrythought.
Related Posts
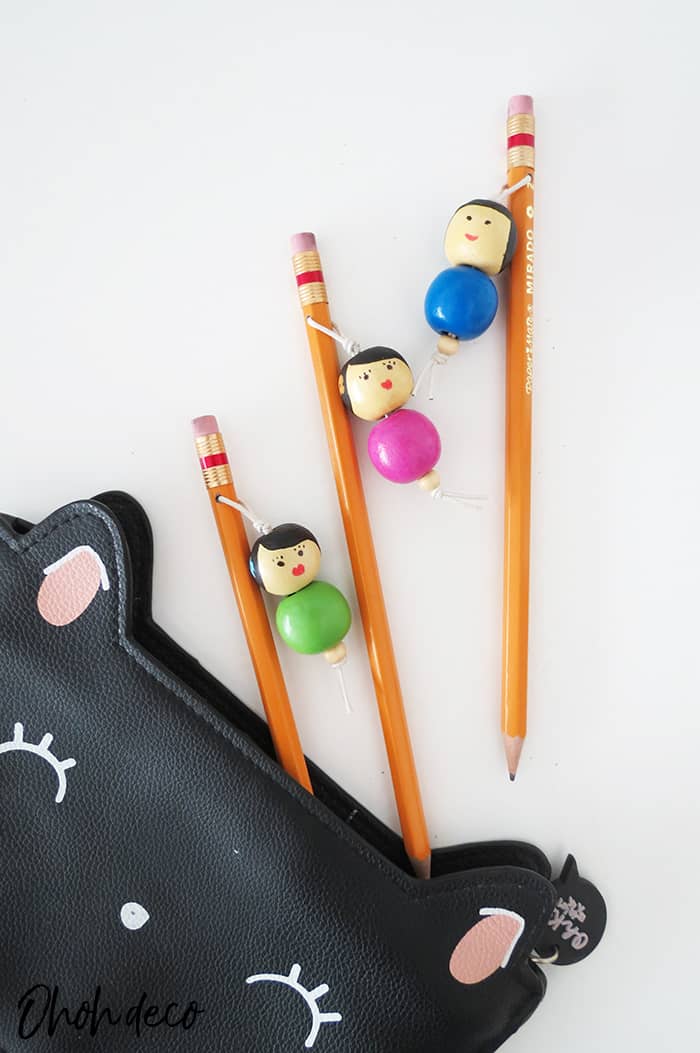
I’ve been eying wooden beads dolls on Pinterest for awhile...
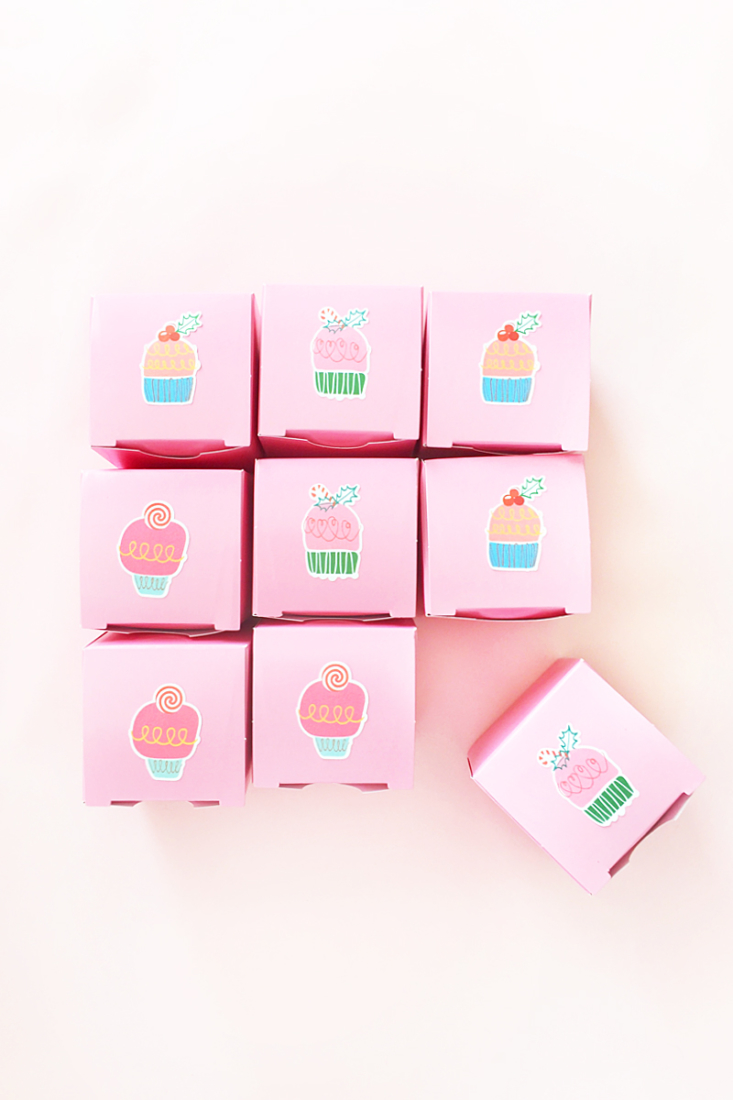
Before I leave to celebrate Christmas with my family and...
Romanity! It’s Roman humanity, and there’s a shiny new museum...
Amie sexagénaire, voici les meilleurs conseils des experts pour avoir...
Most valuable layers With the change of season comes a...
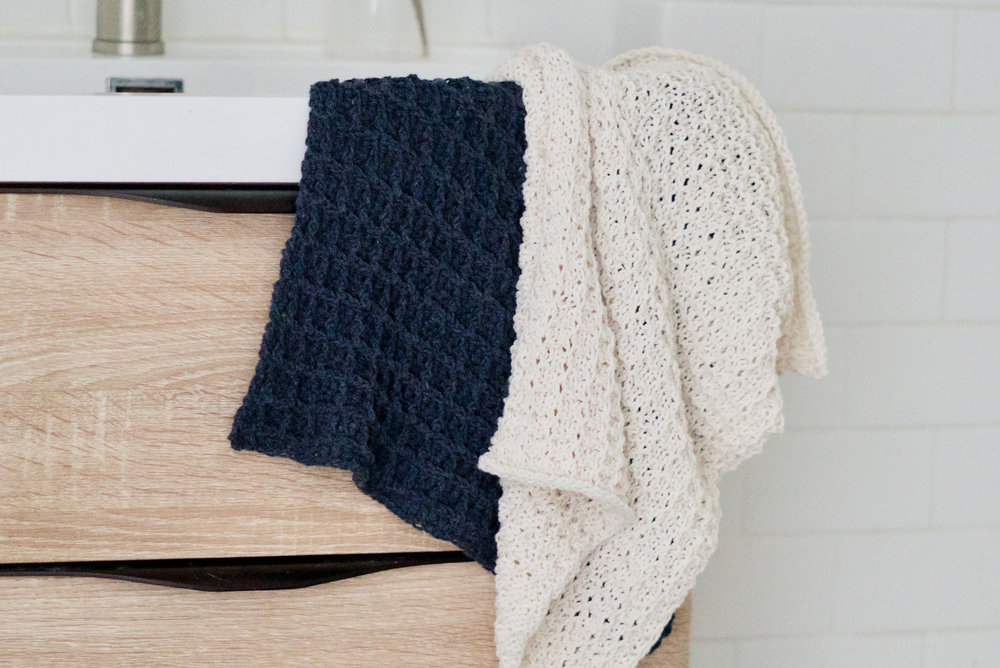
Last year for Earth Day I released two tea towel...


