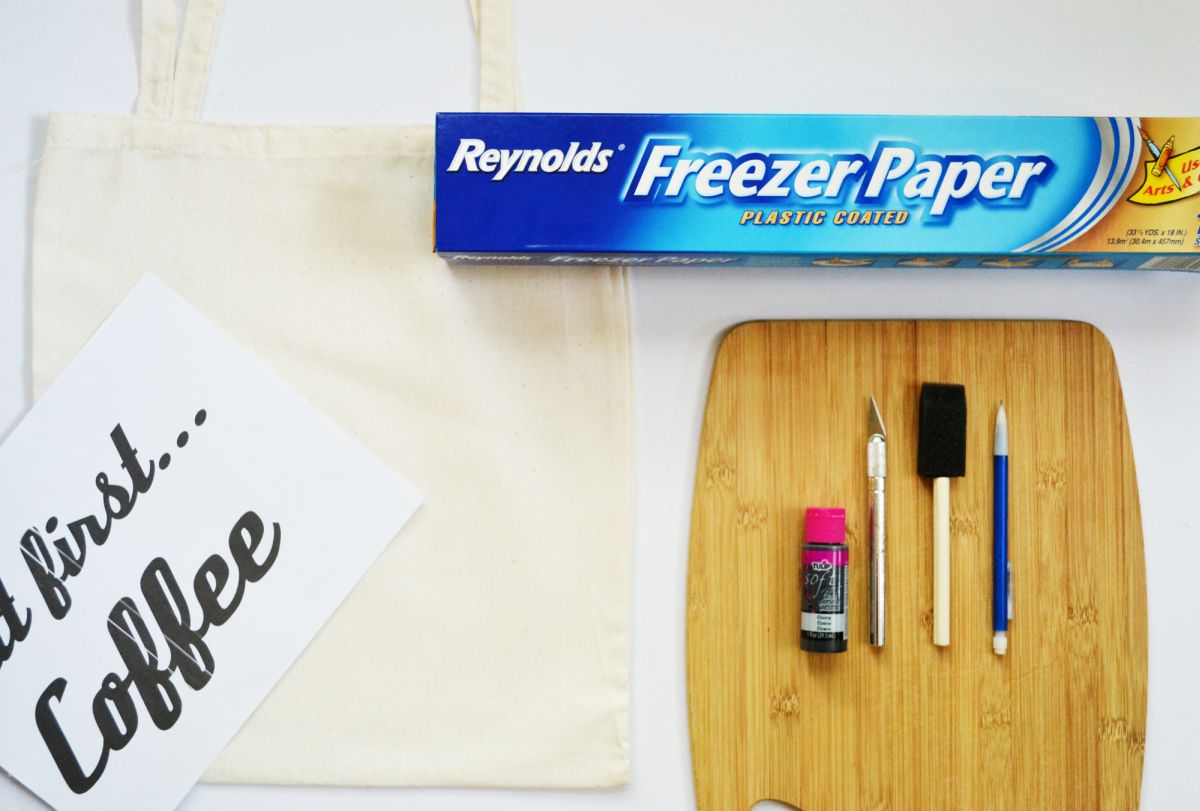
First, gather your materials. For this DIY experiment, you’ll need: a linen tote bag, or any type of fabric you want to use, a printout of your image, freezer paper, fabric paint, a craft knife, a cutting board, a sponge brush and a pencil.

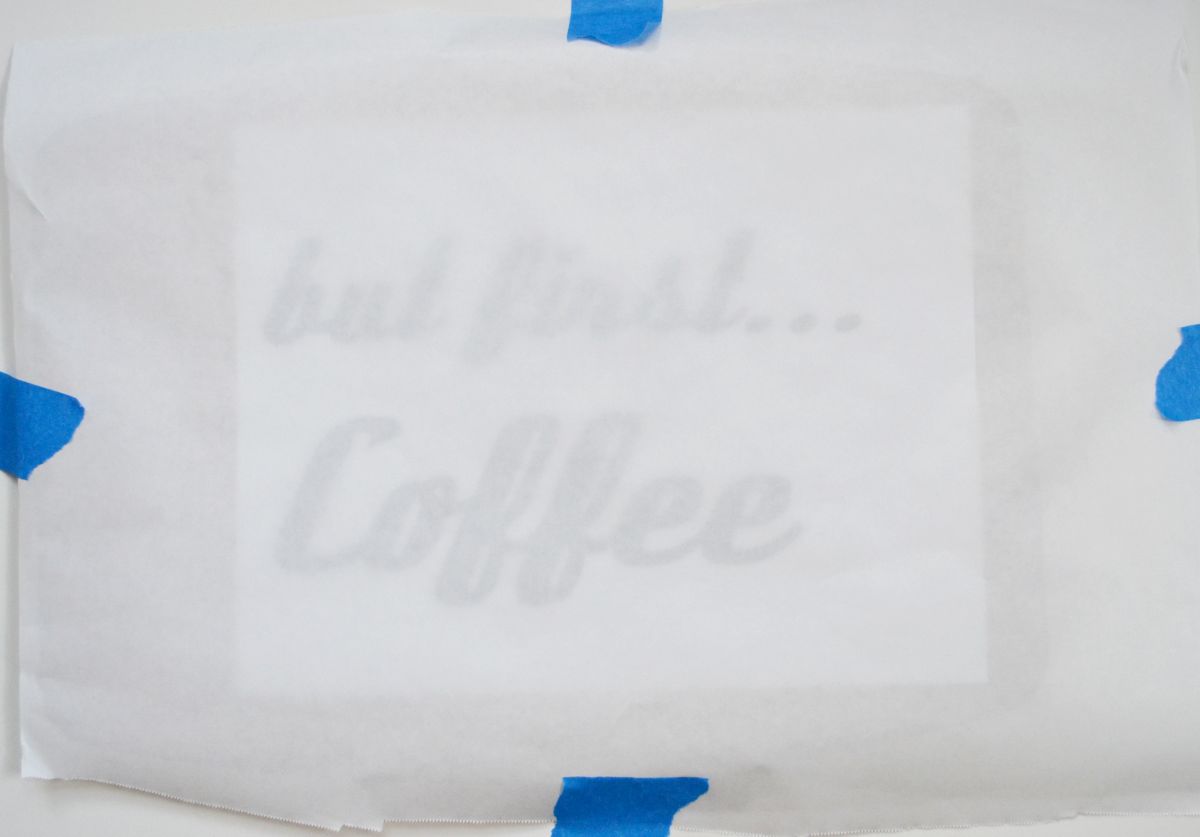
Tear off a piece of freezer paper, larger than your printout. Lay your cutting board down, lay the printout on top of that, and the freezer paper on top of that (shiny side down). Tape the freezer paper in place.
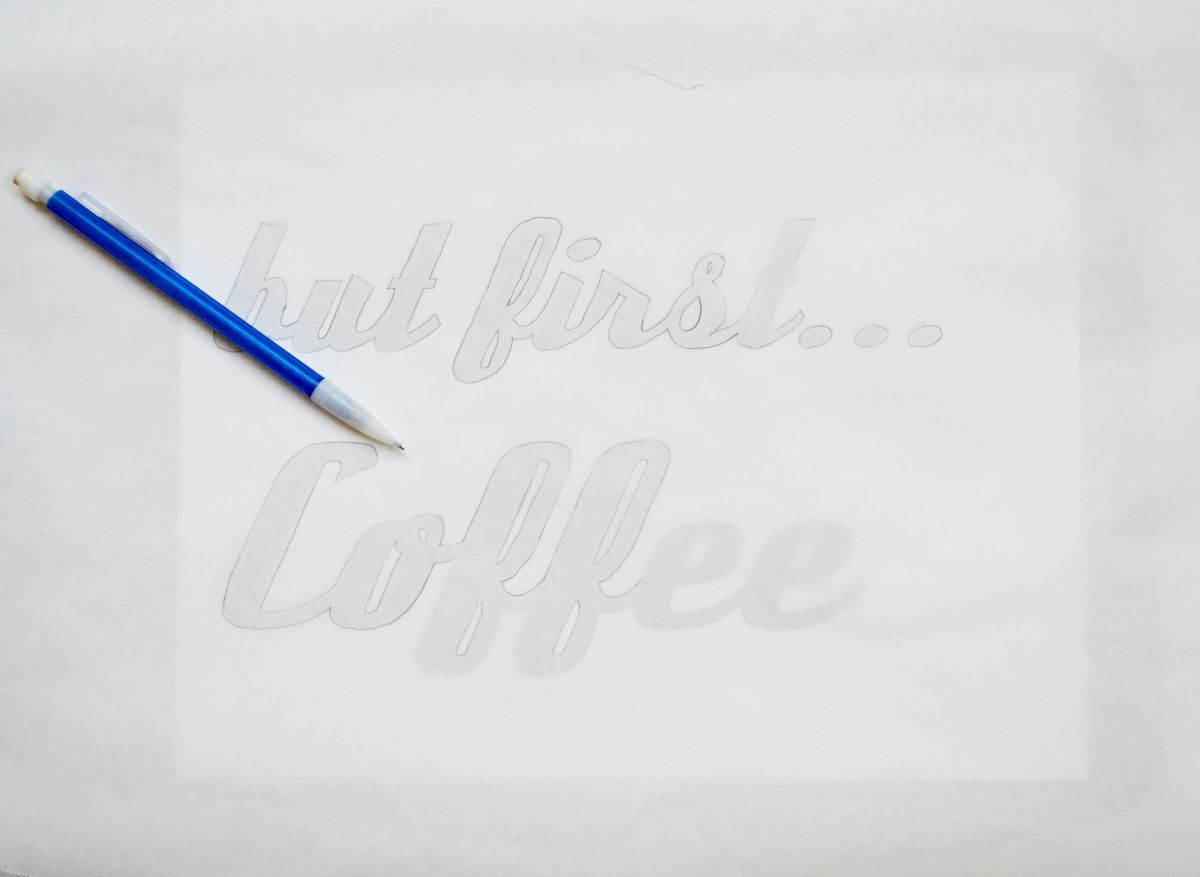
Begin tracing your printout on the freezer paper and afterwards use your craft knife to cut it out. This printout was a bit complex, so I had to be very careful with cutting. You can opt to do a simpler stencil like stripes or a chevron pattern. If you choose to do lettering like this, you’ll need to cut out and save the smaller shapes inside the letters- like for the letters “O” or “B.”
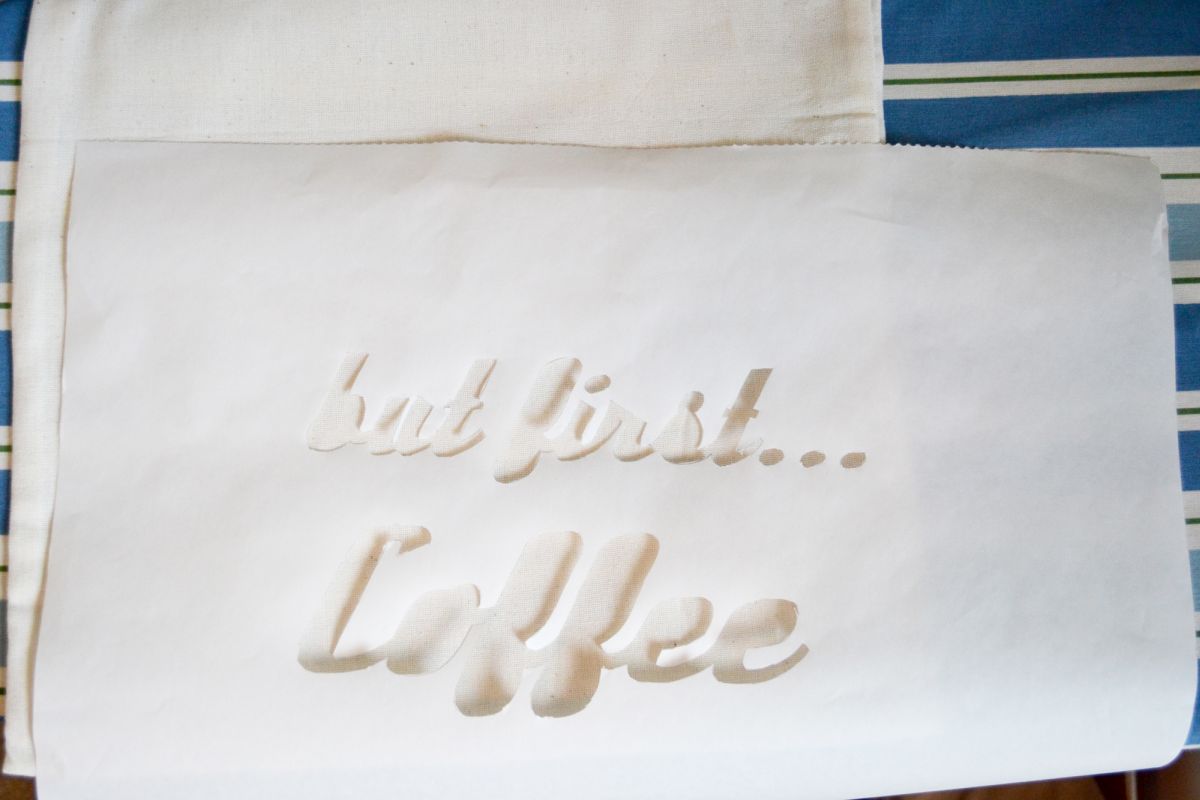
Iron your tote bag so it’s free of wrinkles. On your ironing board, position your stencil (shiny side down) on top of the bag where you’d like. Begin ironing the freezer paper stencil onto the bag. The waxy side of the paper will melt and adhere to the fabric sealing in the edges. Make sure you place the insides of the letters back on the stencil. Iron on those small pieces as well.
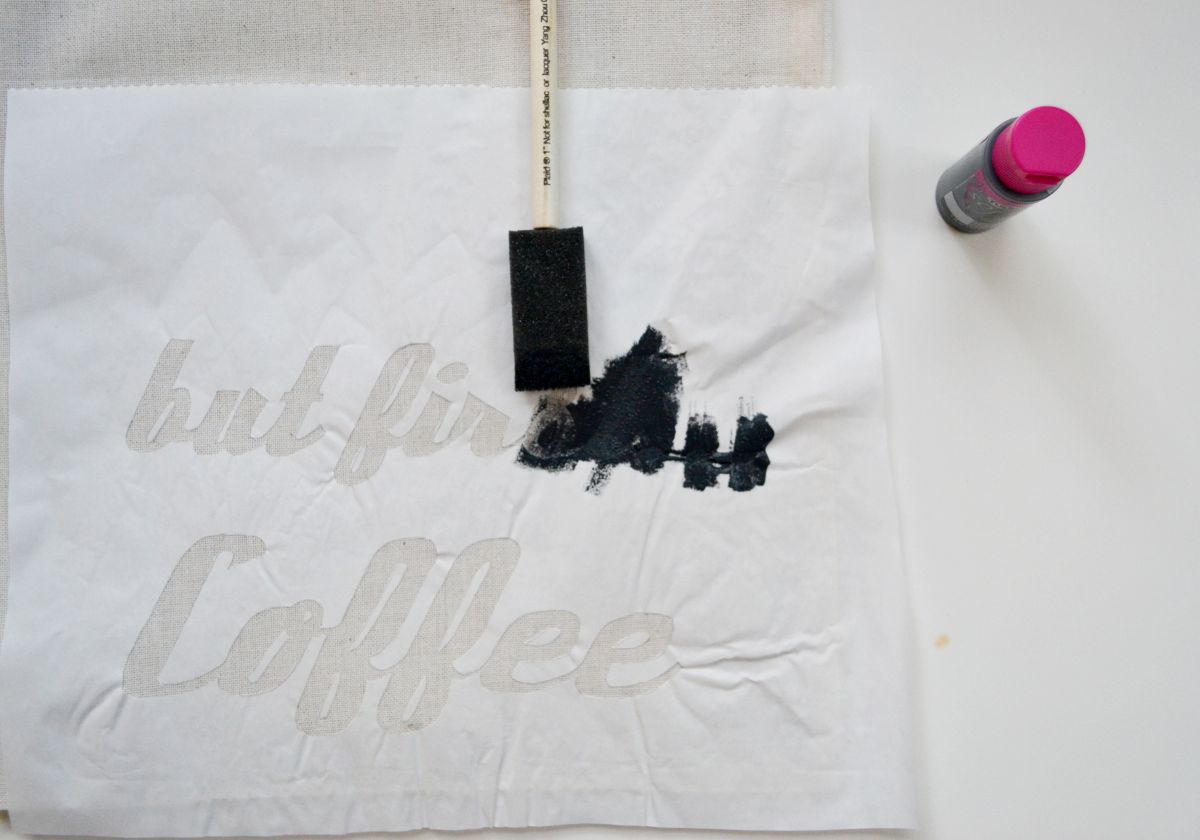
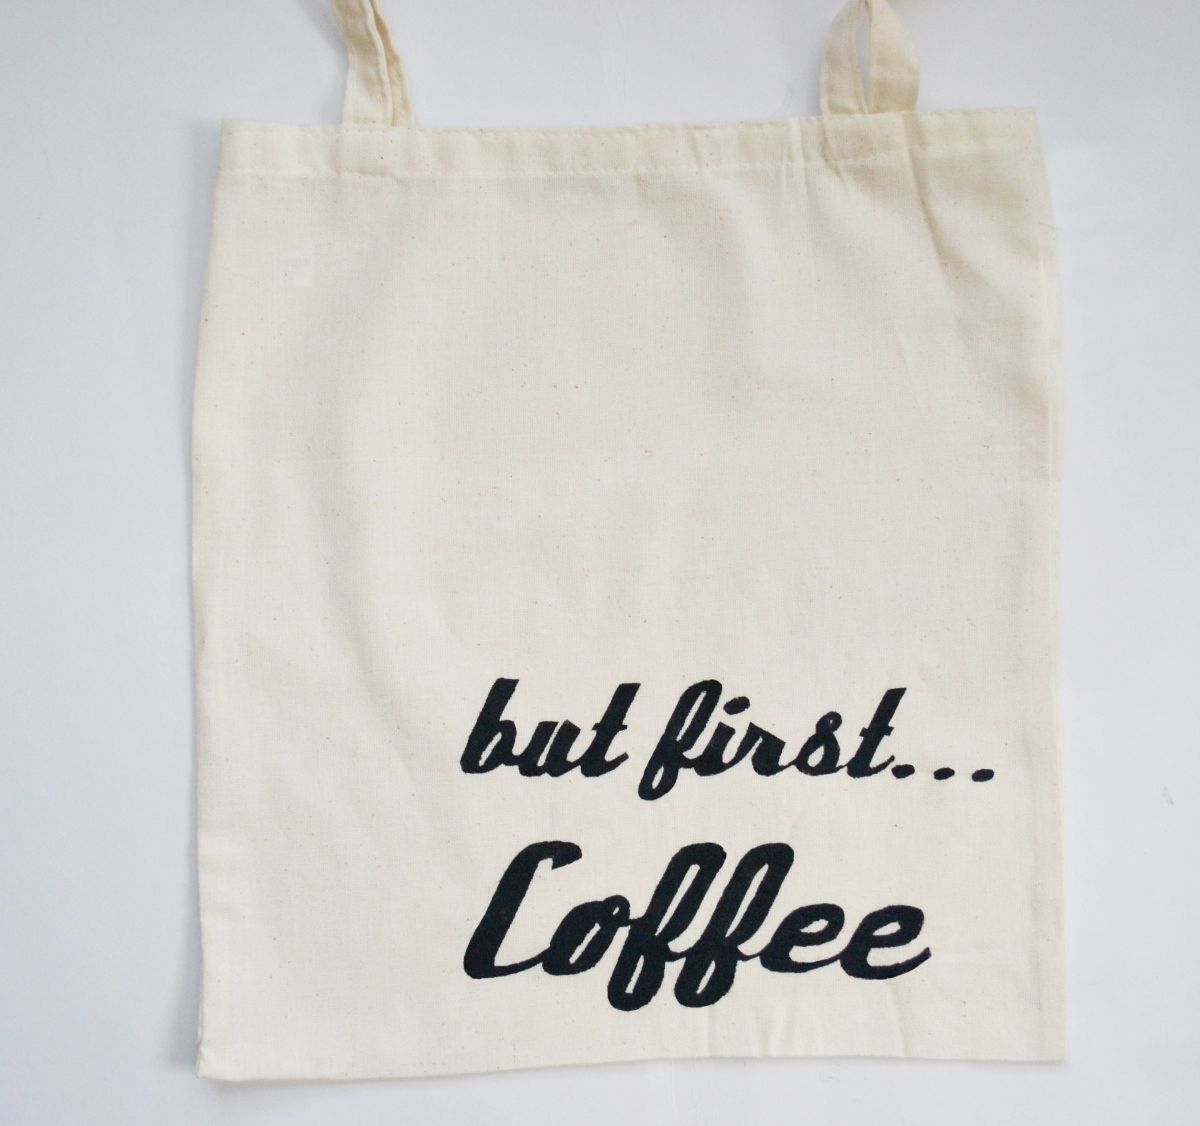
Once your stencil is ironed on, take your sponge brush and fabric paint and begin filling your stencil in. You’ll want to do “stamping” up and down motions to paint it in instead of a “sweeping” motion to prevent the paint from bleeding over the edges. Let the paint completely dry. Just to be safe, I let this dry overnight. When it’s all dry carefully pull up the stencil to reveal your design!
Tip: If your design bled through the stencil a bit, take a permanent marker and clean up the edges. But you want to make sure that when you iron, you’re pressing hard to seal the edges to prevent bleeding.
The post How To Freezer Paper Stencilling appeared first on DIYs.com.