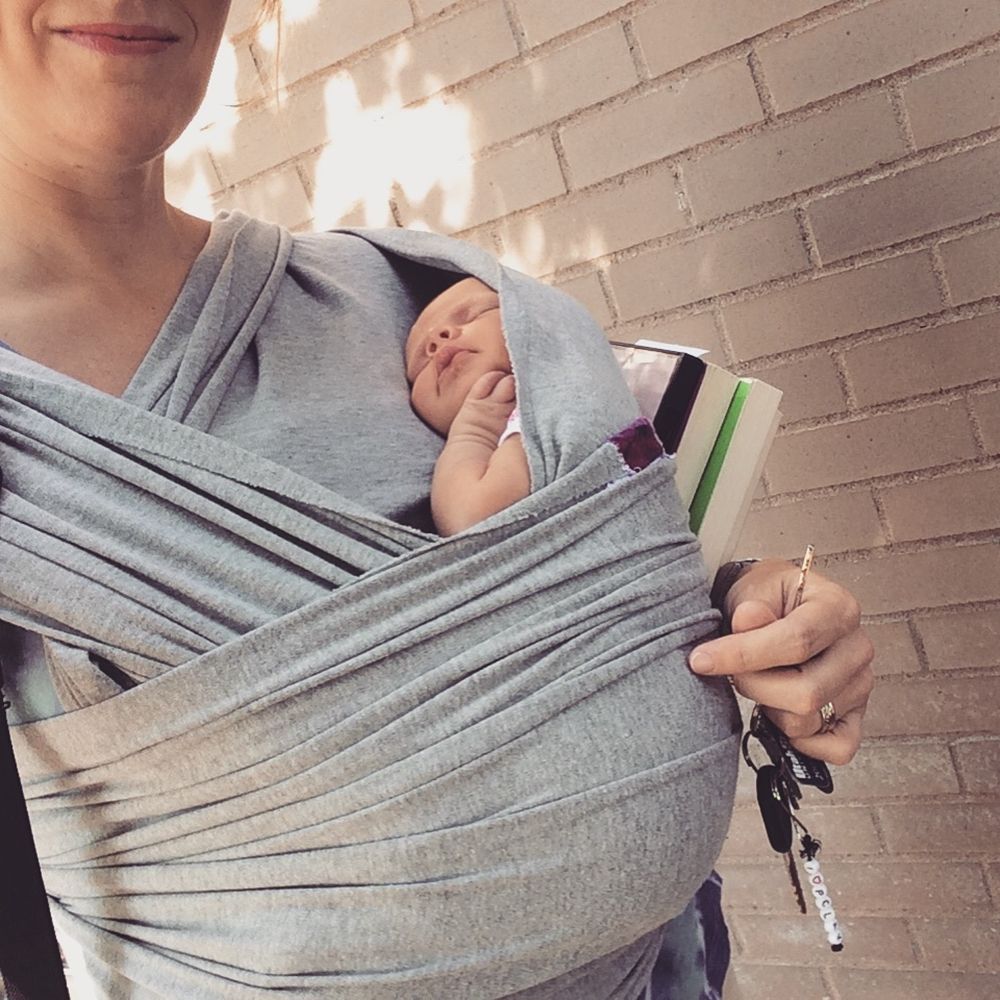
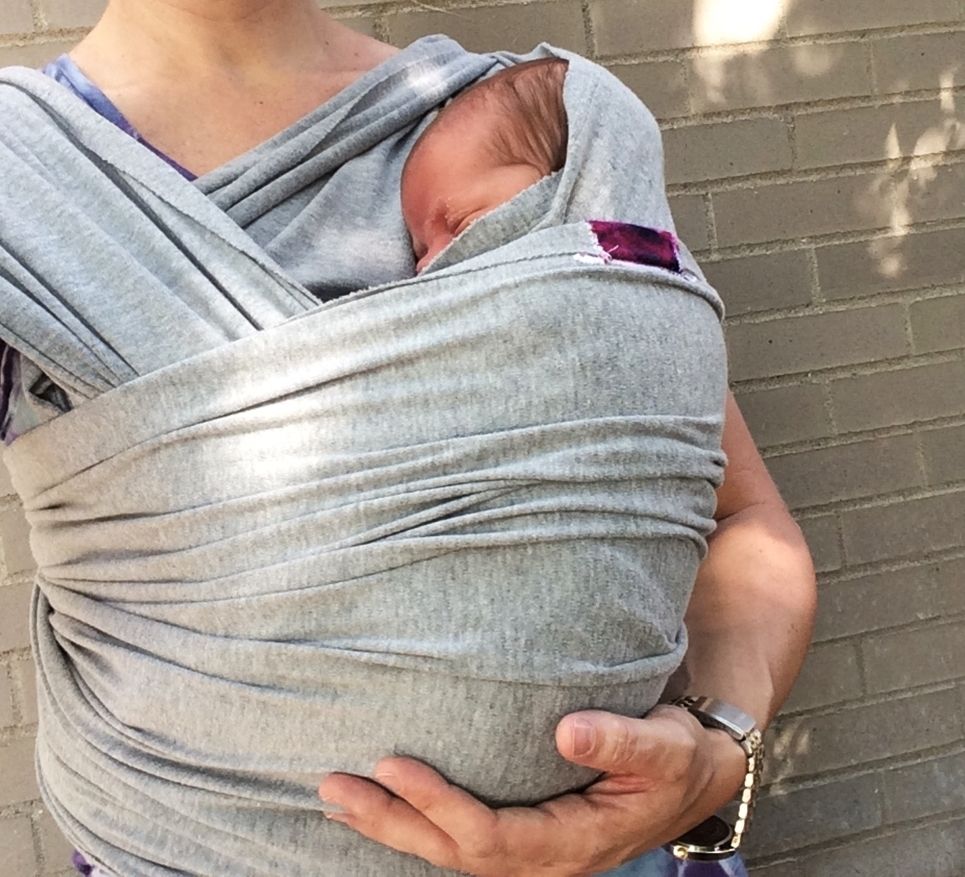
A DIY baby wrap can come in handy when you have a baby and you want to have them tag along with you wherever you go.
While you can buy baby wraps and harnesses from most baby stores, they (like most other baby supplies) tend to be incredibly expensive. Besides, they usually come in standard designs, so finding one that fits your style can be quite challenging.
If you’re the creative type or simply want to save some money, then making your baby wrap is a great option. It’s not as difficult as it may seem, and with a little time and effort, you can create a wrap that’s both. Besides, with the right materials, you won’t have to worry about your baby’s safety either!
Today’s article will show you how to make a baby wrap step by step using detailed instructions and illustrations.
Note: Please use sense and take precautions in securing and wrapping your baby correctly to avoid suffocation, discomfort, and/or baby falls. We would be so sorry to hear of, yet are not responsible for, any injury caused by or in association with this baby wrap.
Supplies for a DIY baby wrap
Below you’ll find a list of supplies you’ll need to make your baby wrap. Additionally, we’ve included explanations as to how you’ll use each supply, and we’ll also provide you links to purchase the supplies, should you not have them on hand.
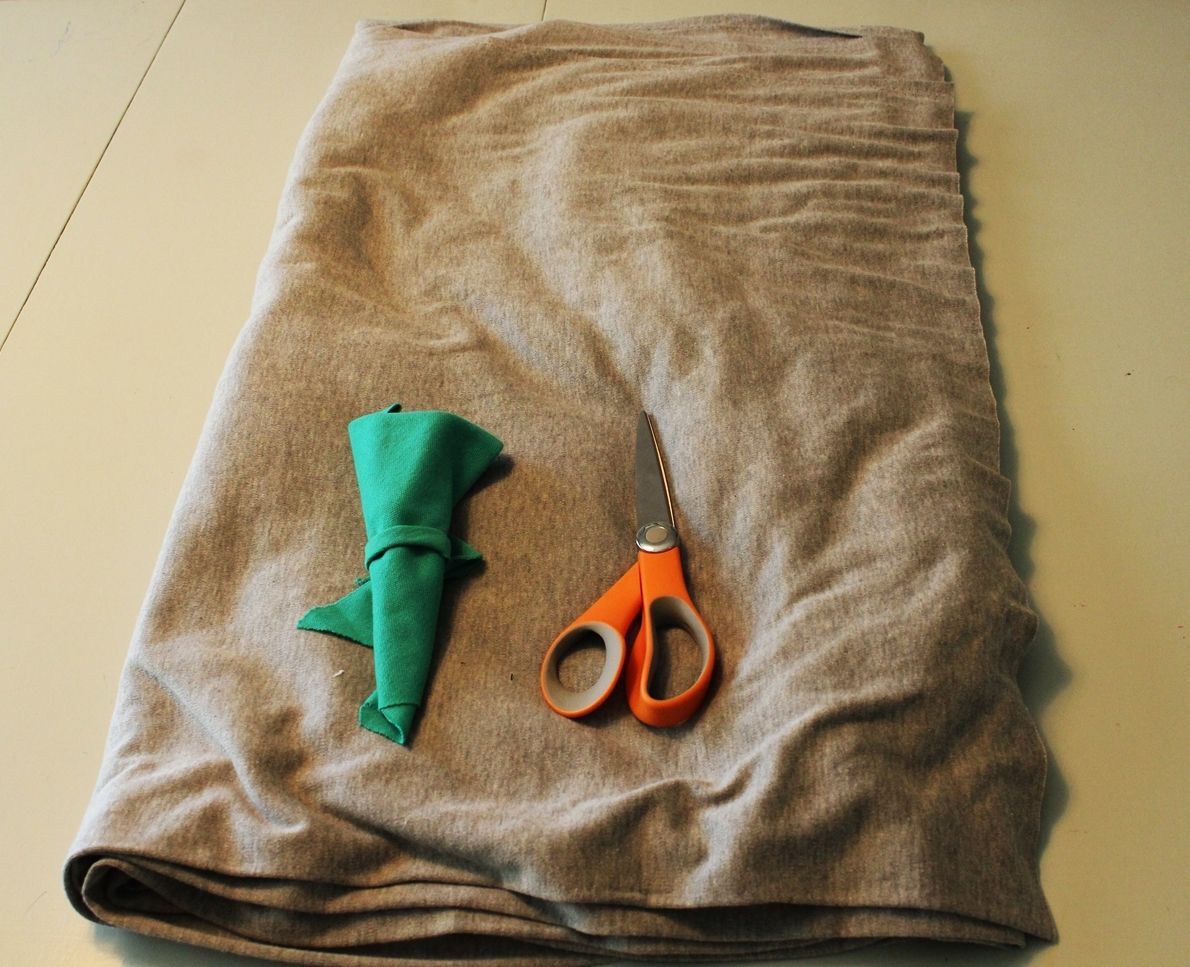
- 5-6 yards of jersey knit fabric: We recommend using any material that allows your baby’s skin to breathe easily. Also, because you will cut it lengthwise, 5-6 yards of fabric should be enough to make two baby wraps.
- A small scrap of knit fabric of another color: You’ll use this fabric to mark the middle of each long side of the jersey knit fabric.
- Fabric scissors: We recommend using fabric scissors or a pair of tailor’s scissors since you’ll want your cuts to be as straight and precise as possible.
- Sewing machine: If you’re looking to save some money or simply don’t have access to a sewing machine, you can always hand-sew the entire project.
- Thread: You’ll need some thread for the stitching. As far as colors are concerned, it doesn’t matter.
Note: A sewing machine will get the job done much faster, and the stitching will be even and symmetrical. That said, if you’re in the market for a sewing machine that won’t set you back too much, here’s an article that we wrote where we compiled some of the best affordable sewing machines that you can buy.
How do I make a simple DIY baby wrap?
By following the steps below, you should be able to make your DIY baby wrap in no time at all:
-
Wash the jersey knit fabric: Regardless of whether you’ve just bought the fabric or if you’re repurposing some old clothes, you’ll want to ensure that it’s clean before you use it to wrap your baby. This is particularly important if you’re using recycled fabric, as you don’t want any detergent residue or other chemicals near your baby’s skin.
-
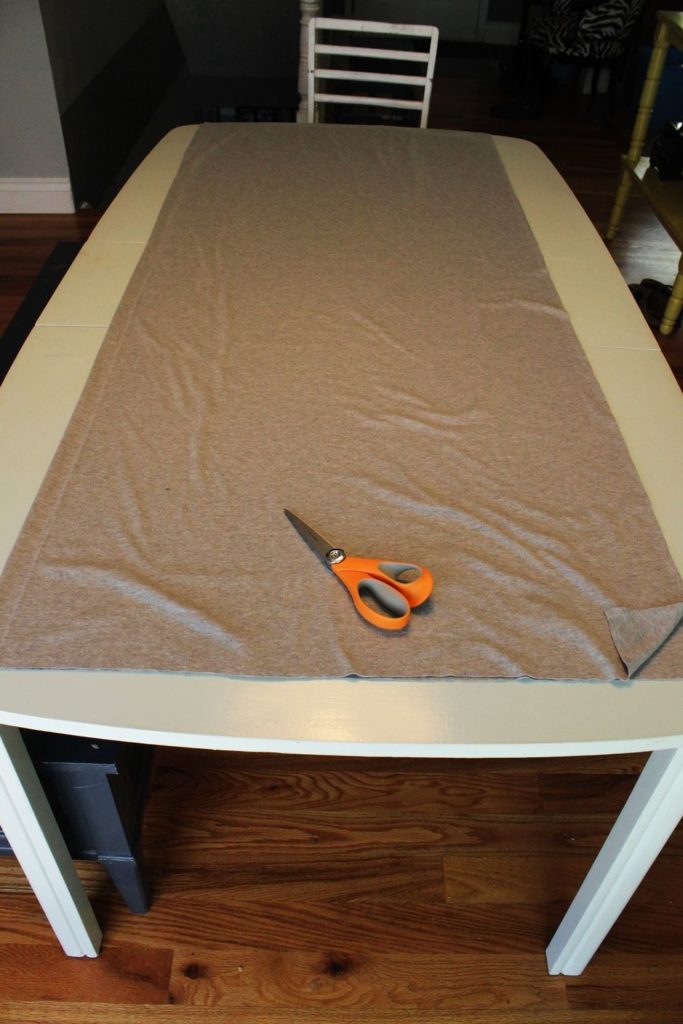
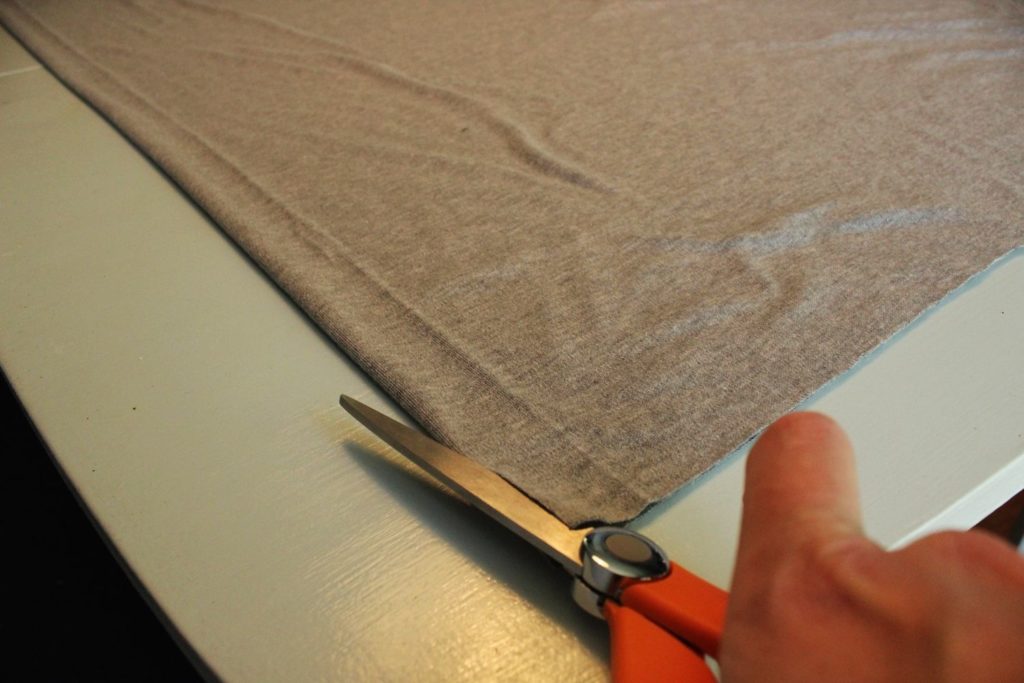
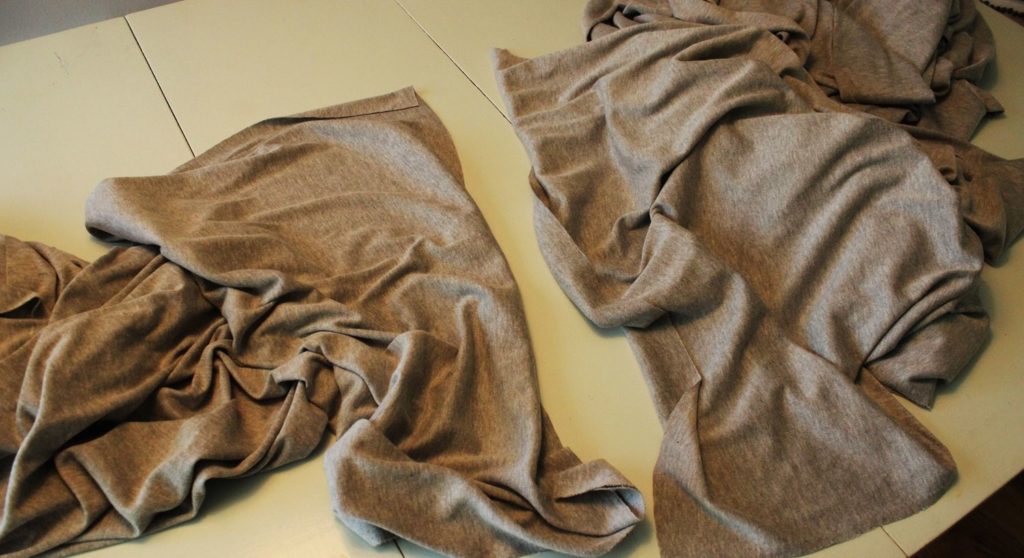
Cut the jersey knit fabric: Fold the knit fabric in half lengthwise, and cut along the lengthwise fold. You will end up with two identical pieces of fabric – 5 or 6 yards long, each half as wide as the original fabric.
-
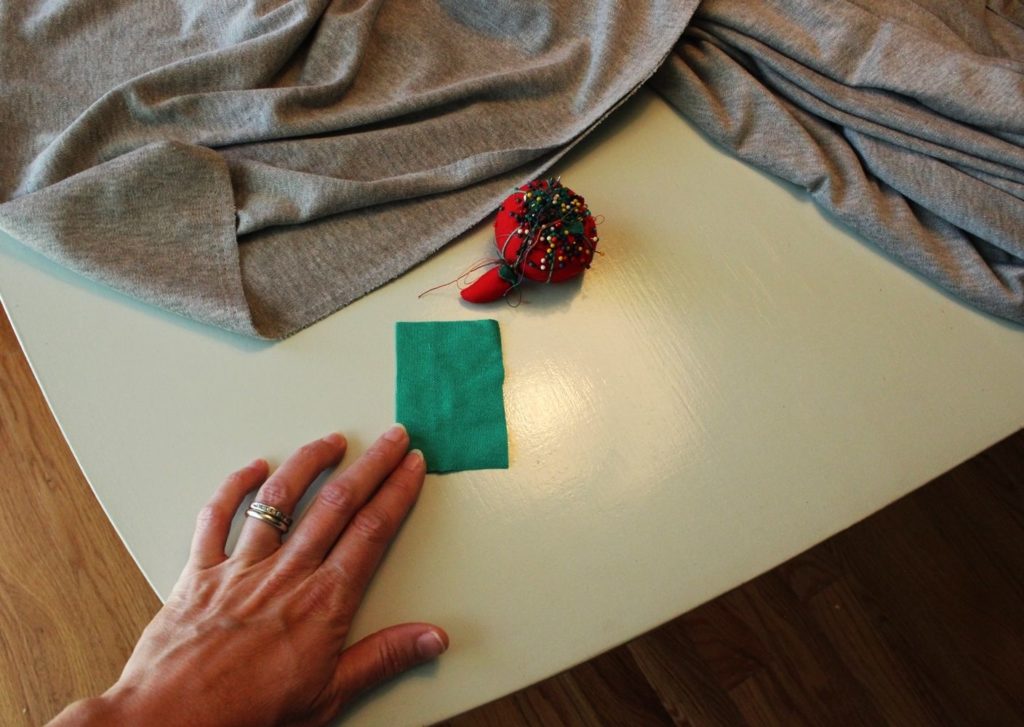
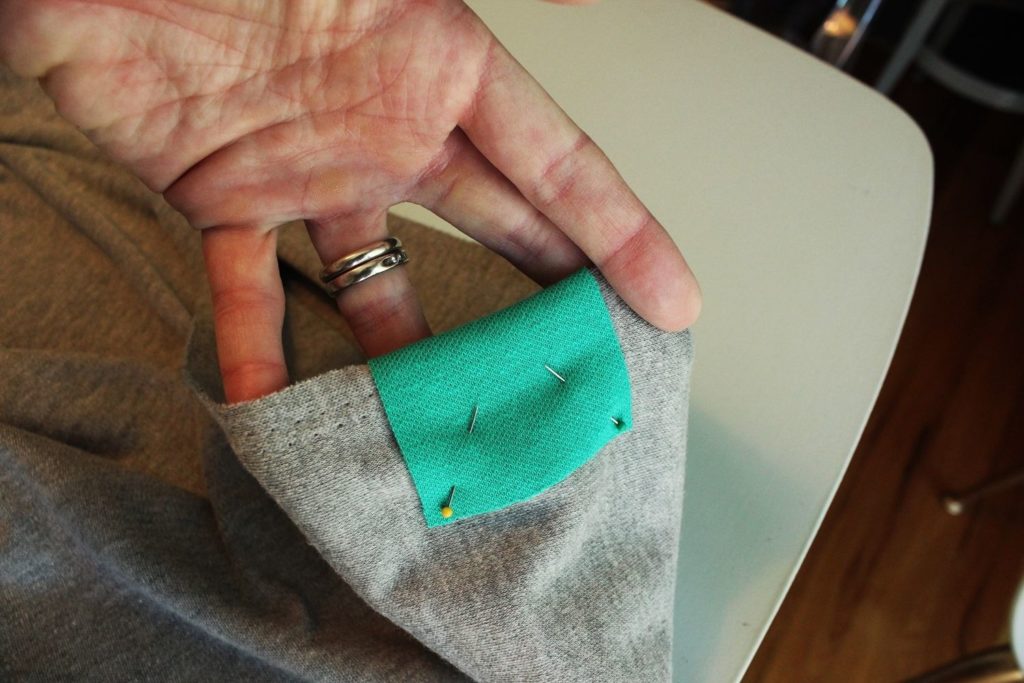
Prepare the scrap fabric: While your long knit piece is washing, cut your small scrap of fabric into a rectangle about 2″ x 4″ (5cm x 10cm). Grab your cut rectangle of knit and a few pins, and find the middle of the long side of your fabric. Fold your rectangle scrap over the middle mark, and pin it into place. This way, you’ll be able to see and feel the scrap on either side of your long wrap fabric.
-
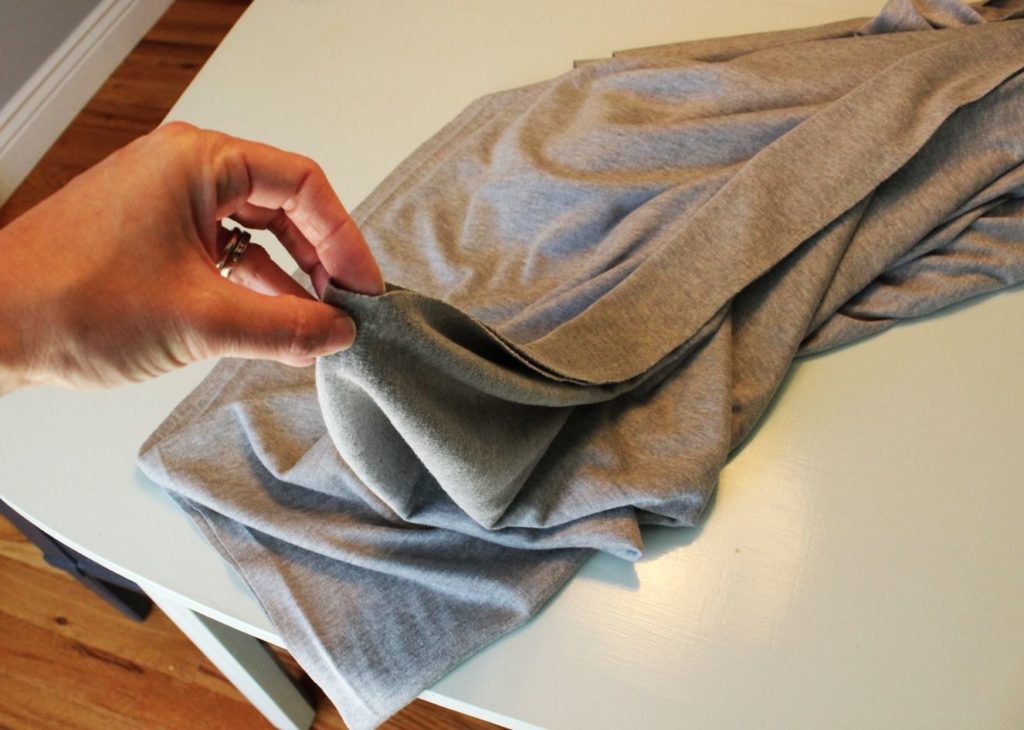
Sew in the scrap fabric: Using a simple zigzag stitch on your sewing machine, secure the fabric scrap onto your baby wrap. The beauty of knit edges is that they don’t need to be finished off; they won’t ravel or fray, even after many wears or washes.
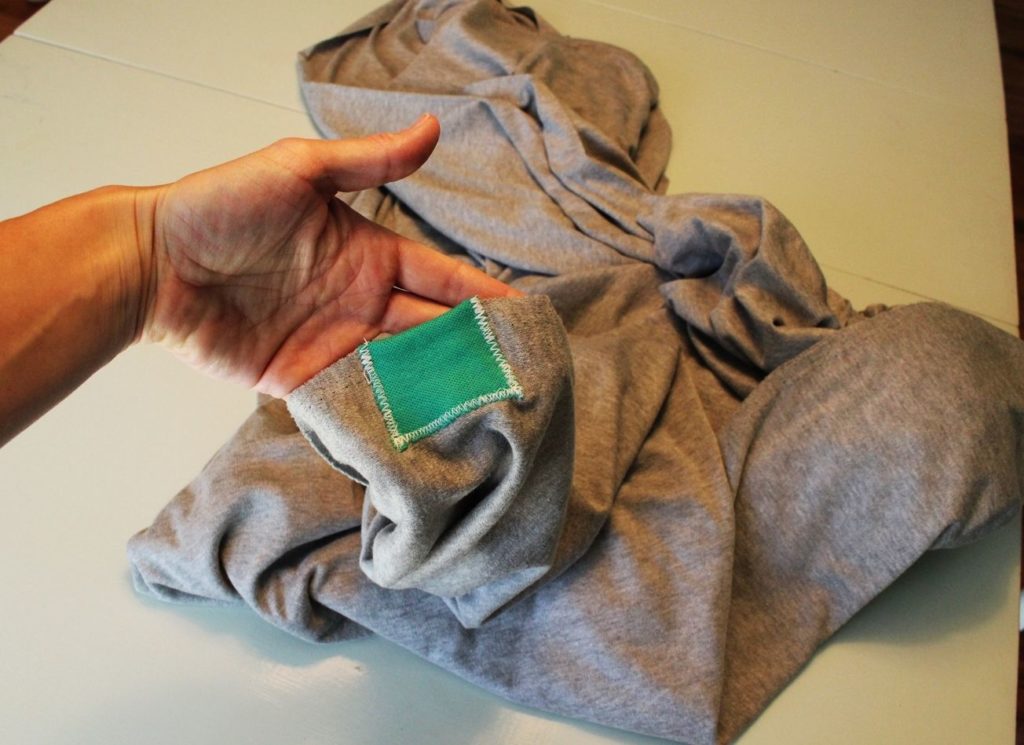
Note: We mark the middle with that scrap of knitting to make the baby wrap faster, easier, and safer to wear. Not only that, but this scrap also helps you feel along the edge and find the middle, even in the dark or low light.
How to make the baby wrap more secure
Your main concern regarding your baby’s safety while wearing the wrap will be ensuring that it is secure and snug but not too tight. Here are a couple of ways to make your baby wrap more secure:
- Test the materials: A baby’s skin is extremely sensitive, so before you start cutting and stitching away to make your baby wrapper, ensure that you test the materials. Wash a swatch of the fabric, and let your baby wear it around the house for a few hours to ensure no adverse reaction.
- Wear it over a onesie or light shirt: This will help keep the fabric from directly touching your baby’s skin and provide an extra layer between your baby and the world.
- Tuck in the fabric: Once your baby is wrapped up snugly, take the excess fabric and tuck it around your baby’s bottom. This will help keep the wrap from coming undone and provide a bit of padding for your baby’s backside.
- Use double layers: If you find some fabric that allows your baby’s skin to breathe more easily, there’s no harm in making a baby wrap using two layers. This will provide an extra layer of protection and padding for your baby without making them too hot or uncomfortable.
- Learn different wrapping methods: Not all babies are alike, and certain baby wrap methods work better for some than others. If you’re having trouble getting the wrap to stay put, or if your baby seems uncomfortable, try a different method. You can find instructions for a variety of different wrapping methods online.
Closing Thoughts
Making your baby wrap is a great way to save money and get a custom-made product to fit your baby perfectly. With a little time and effort, you can create a beautiful and functional baby wrap that will last many years. And, who knows – you may even enjoy the process so much that you decide to make more!
Have you tried making this or any other kind of baby wrap before? What was your experience like? Let us know in the comments below!
The post How to Craft a DIY Baby Wrap in Just 4 Steps appeared first on DIYs.com.