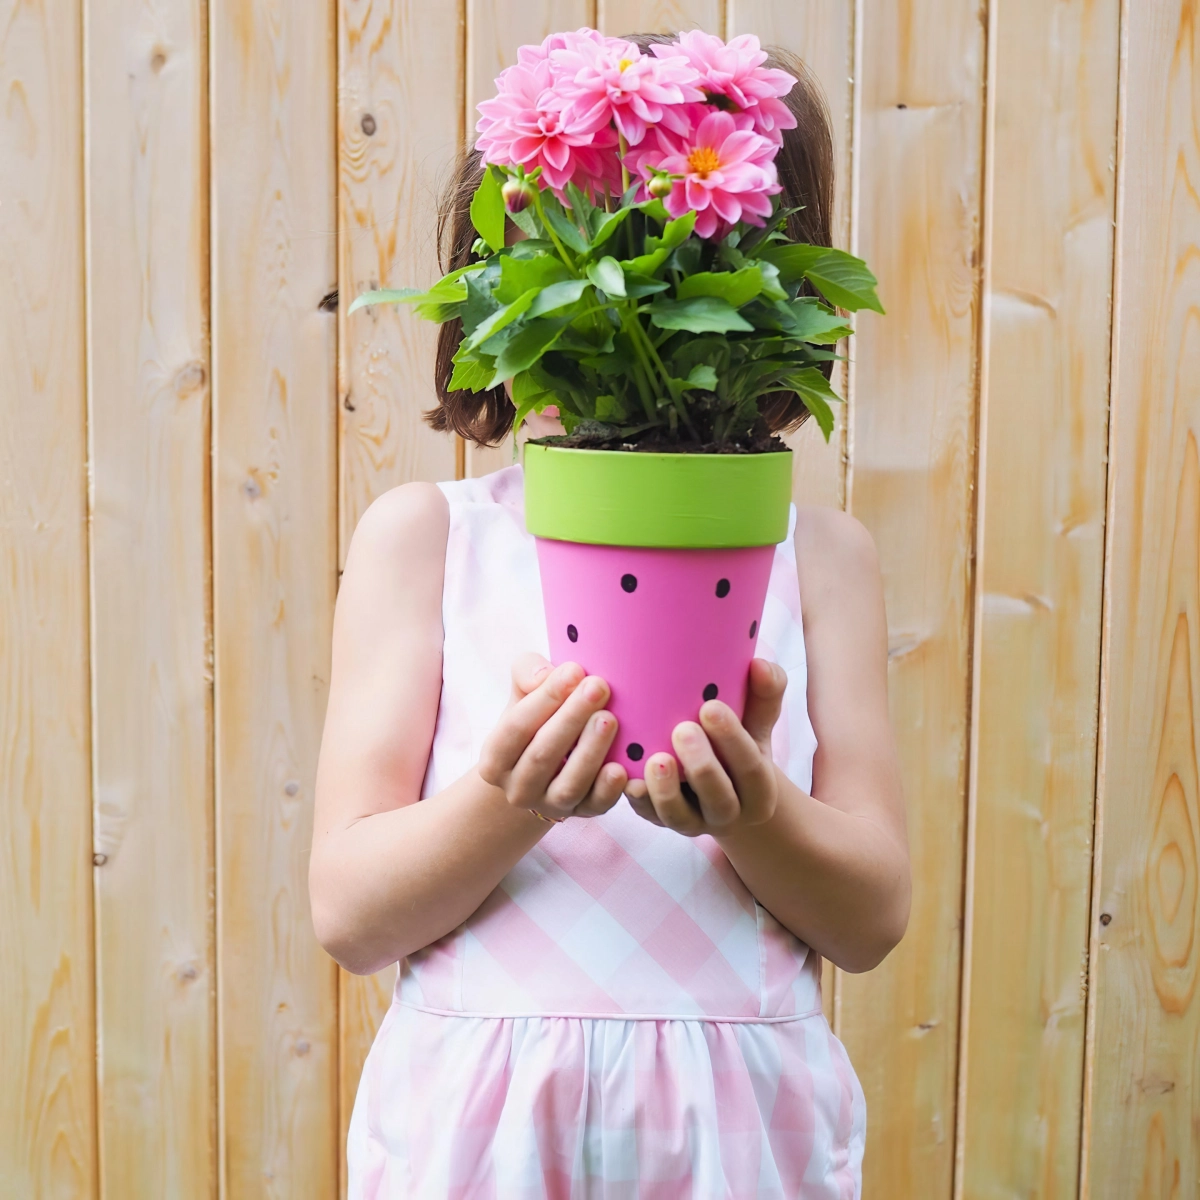
It’s that time of the year… when we’re desperate for spring weather, but it hasn’t quite arrived (at least up here in Boston). So in the meantime, I like to fill my space with houseplants. In pretty planters, of course. Here is my latest project – a studded planter using metal brads and Sculpey clay. Keep reading to check out the simple tutorial!


Here’s what you’ll need:
- White Sculpey Clay
- 48 Metal Brads
- Knife
- Rolling Pin

Begin by rolling out the clay so it forms a large, flat pancake-like shape. You may need to warm it up in your hands a bit before it is malleable enough to roll out. Once it is flat and a uniform thickness, use a knife to cut out three squares and one triangle. They should all have the same length sides. The triangle should also have a small hole in the middle for drainage.

Your pieces should look something like the ones above. You can really make them any size – mine were about 2.5″ long.

Now place a square at a 90 degree angle along one edge of the triangle. Use your finger and/or the knife to gently connect the edges.

Do the same for the other sides and attach each side to the next square as well. Smooth out the edges as much as you can.

Once everything is as smooth as you can get it, begin inserting the brads around the edges of the squares. I used 16 brads on each side, in a variety of different tones of brass. Don’t worry about the fact that the brads poke through the clay at this point.
Once you’ve inserted all 48 brads, place the piece on a baking sheet and put it in the oven. Bake it according to the instructions on the Sculpey package. Let it cool for about 30 minutes, and then gently bend the brad ends over so they lay flat against the inside wall of the planter. And that’s it, you’re finished!

The result is a glamorous little planter that looks gorgeous on a bookshelf or end table. It almost has a bit of a marquee sign sort of feel with the gold and brass toned round accents.

And you could customize it by changing the shape, or the colors too… wouldn’t it look pretty with a brightly colored clay and darker brads? Happy crafting everyone!

The post Easy DIY Studded Planter appeared first on DIYs.com.