Hold books upright in style with these simple yet modern bookends. Finding fun bookends at the store can be a bit challenging, but these can be made in little to no time at all. Great for a kids bedroom, these easy-to-construct A to Z use wooden letters and pieces of balsa wood for it’s construction. Let young children make these for their own bookshelves that they can look at every night before that bedtime story.

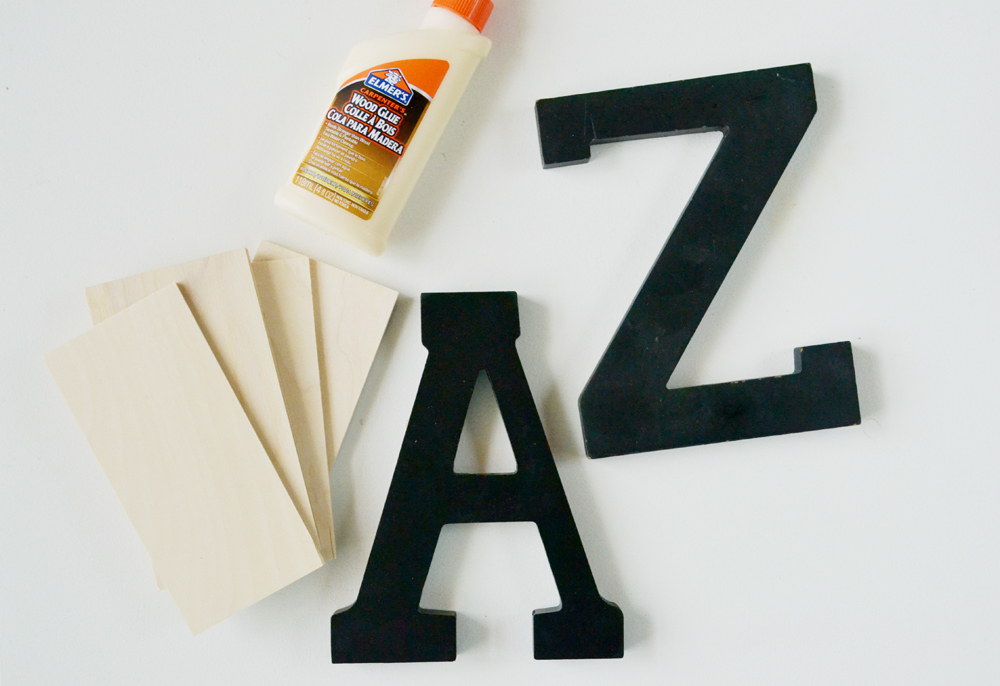
For this DIY, you’ll need:
- Two wooden letters
- Pieces of balsa wood
- Wood glue
Yep, there’s only three ingredients for this simple project. The letters that you choose will need to be at least an inch thick. You want to make sure to choose letters that can stand upright on their own before you even glue them to the wood. I’ve chosen these “western” style letters with flat edges. They worked perfectly for gluing against the wood. You can choose capital or lowercase letters as long as they are thick enough and sturdy enough to stand on their own. The thicker the letter, the more likely it will be for them to hold up the weight of a few books.
At the craft store, there is a variety of wood pieces from which to choose. When looking for the two pieces of wood you’ll need for the bottom and side, be sure to find thick pieces. Again, the thicker the wood, the sturdier the bookend. The two pieces used here are about 1/8″ thick. These wood pieces were roughly 4 inches wide and 6 inches tall- almost the same height as the letters.
First, paint your balsa wood pieces and wait for them to dry before gluing, if you prefer. Though, I like the contrast between the black and light brown colors of the natural wood and it gives it a modern look.
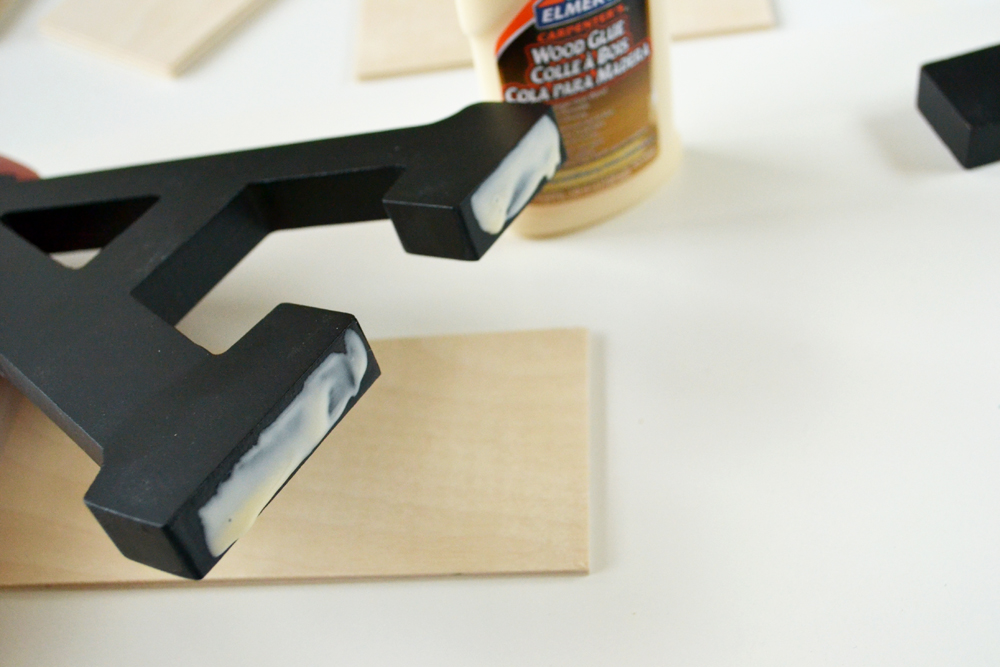
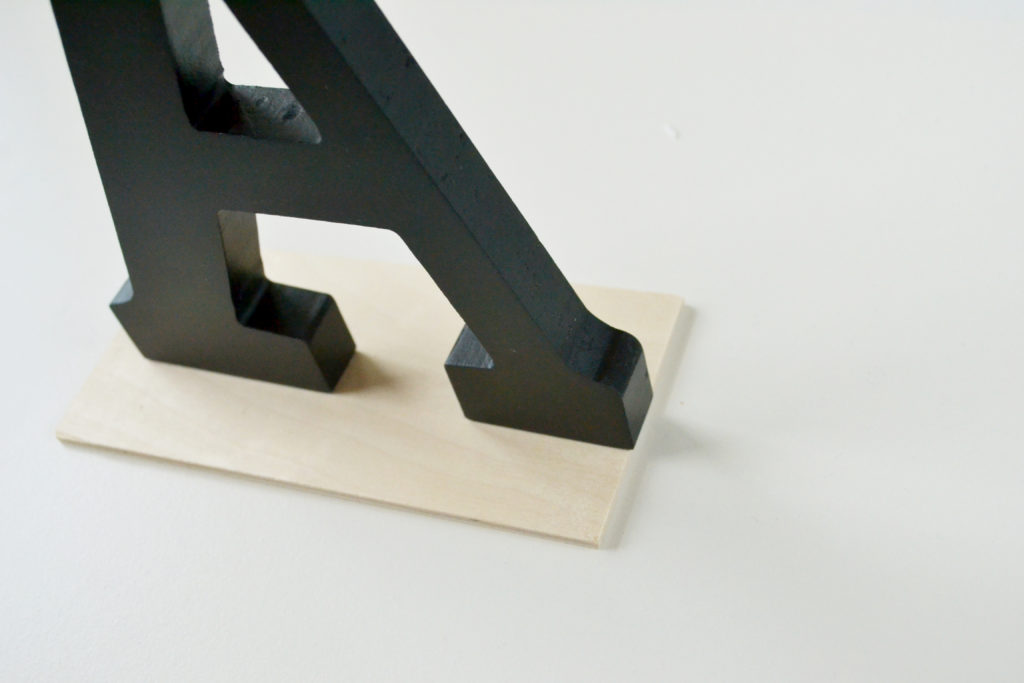
Squeeze a small amount of wood glue on the bottom of the letter “A” and align it on the edge of the wood piece and keeping it in the center. Be sure that the letter “A” is justified to the right.
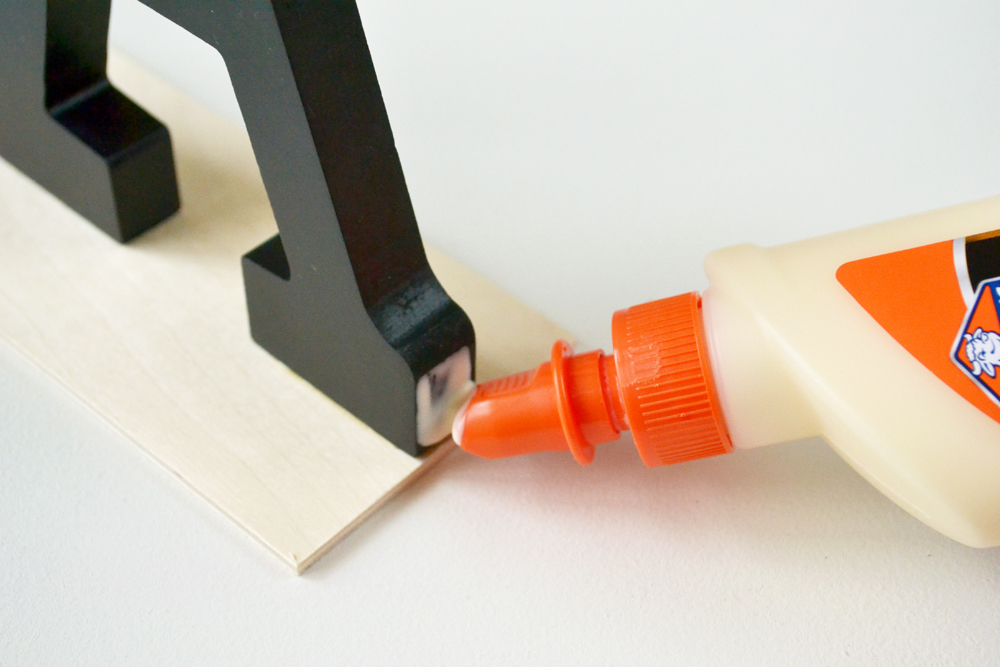
Let the glue dry according to manufacturer instructions, which was about 30 minutes, then place the second wood piece vertically on the right side of the letter, making sure the side of the letter is touching the vertical piece of wood.

Again, let the second piece dry for 30 minutes. If you’re not using letters “A” and “Z,” others like “P,” “V,” or “T” may be slightly more difficult. Just be sure to choose a font that has a few flat ends for easy application.
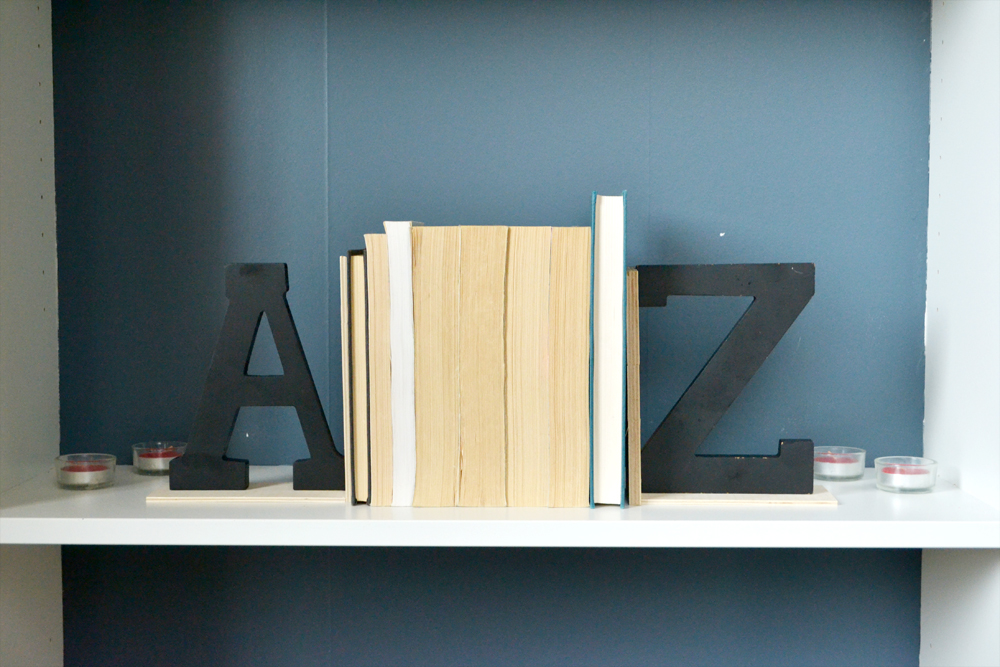
After the glue is completely cured, which is 24 hours according to Elmers, they are ready to grace any bookshelf. They are modern, with a playful, rustic feel and will look great in any kids bedroom or living space!
The post Easy A to Z Bookends appeared first on DIYs.com.