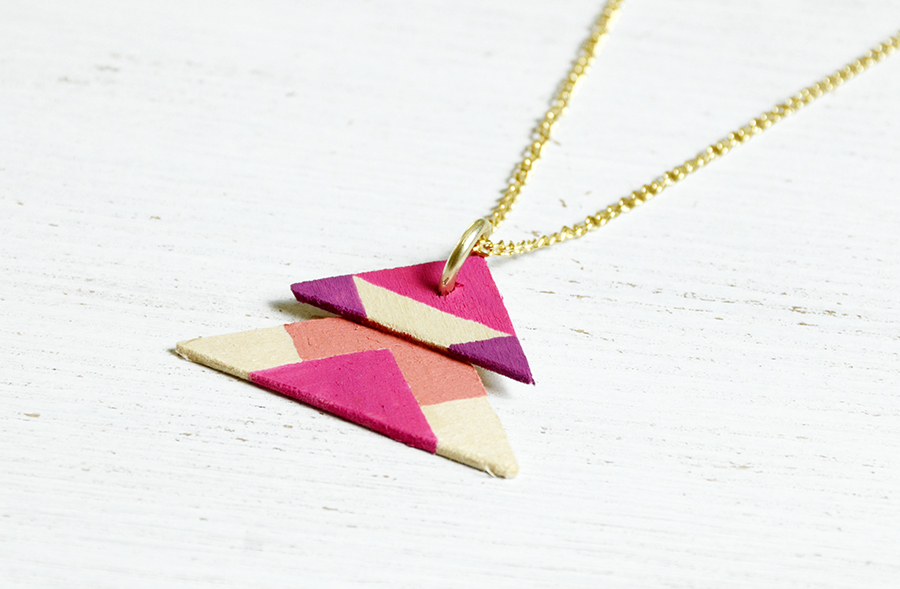
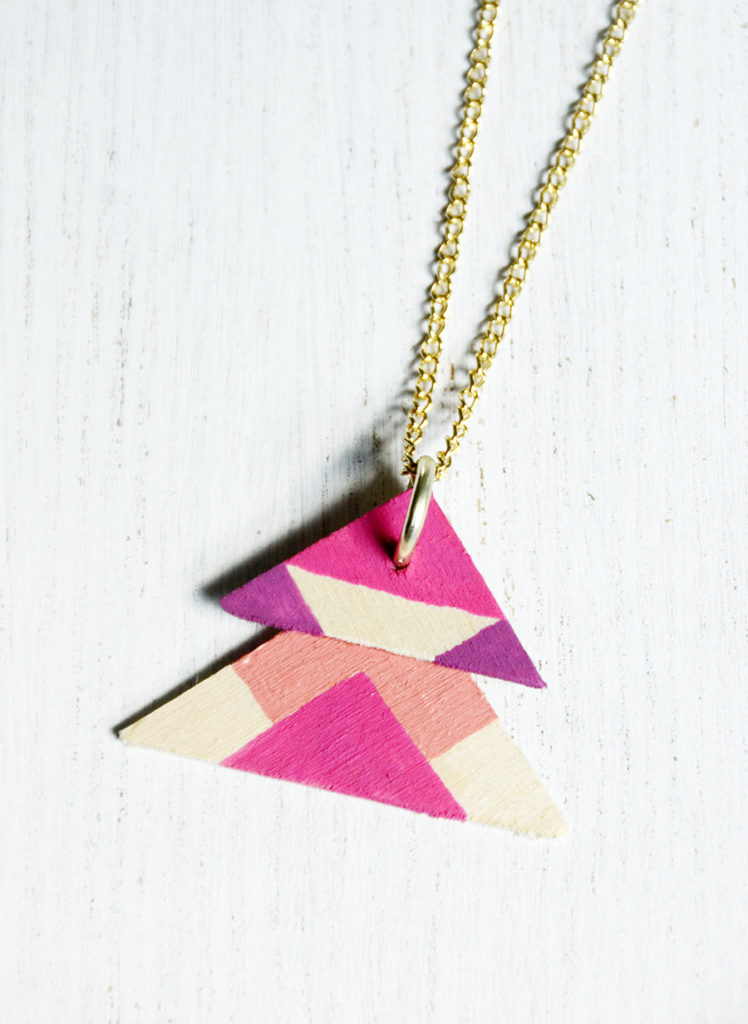
Geometric shapes are all the rage right now, especially when it comes to jewelry. So today I wanted to share a fun tutorial for a wooden triangle necklace. This wooden necklace piece makes a big statement, with its gold chain and bright triangle shapes painted onto the wooden surface. Let’s get started!
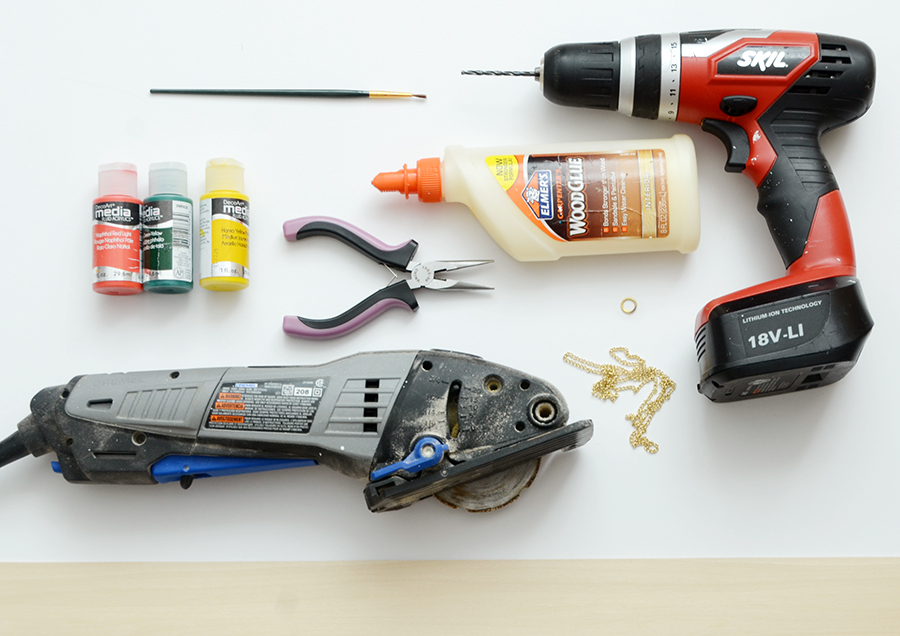
Here’s what you’ll need for your wooden triangle necklace:
- A piece of balsa wood, 1/16″ thick
- Electric drill with 1/16″ drill bit
- Hand-held saw
- Wood glue
- Acrylic craft paint
- Small paintbrush
- Gold chain
- Large gold jump ring
- Pliers
Step by step tutorial:
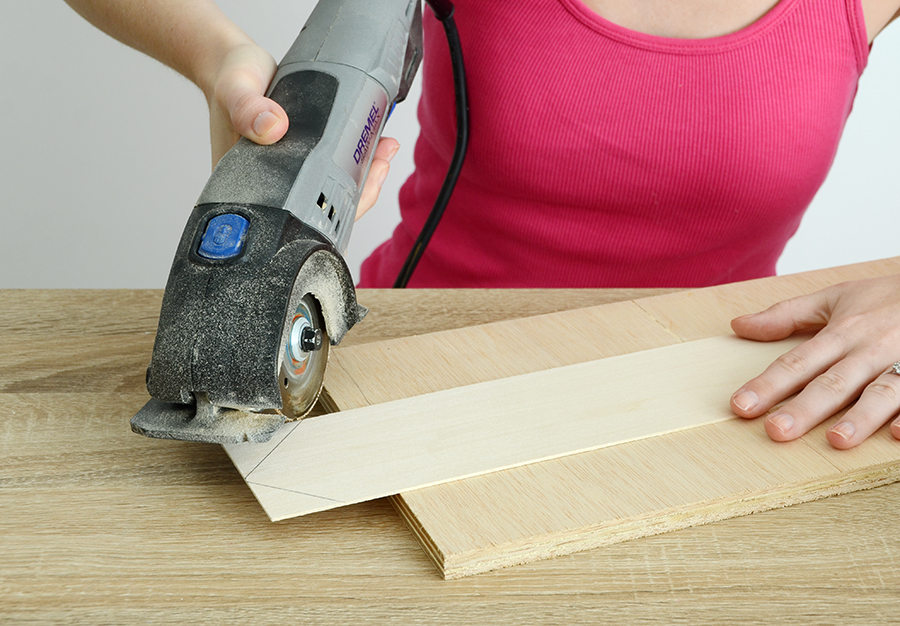
Step 1: Cutting wood
Begin by cutting your triangles from the balsa wood. Make sure to cut at the corners so that your hand doesn’t get anywhere near the blade. Cut one triangle a bit smaller than the other. Smooth any rough edges with a piece of fine grit sandpaper.
Step 2: Drill
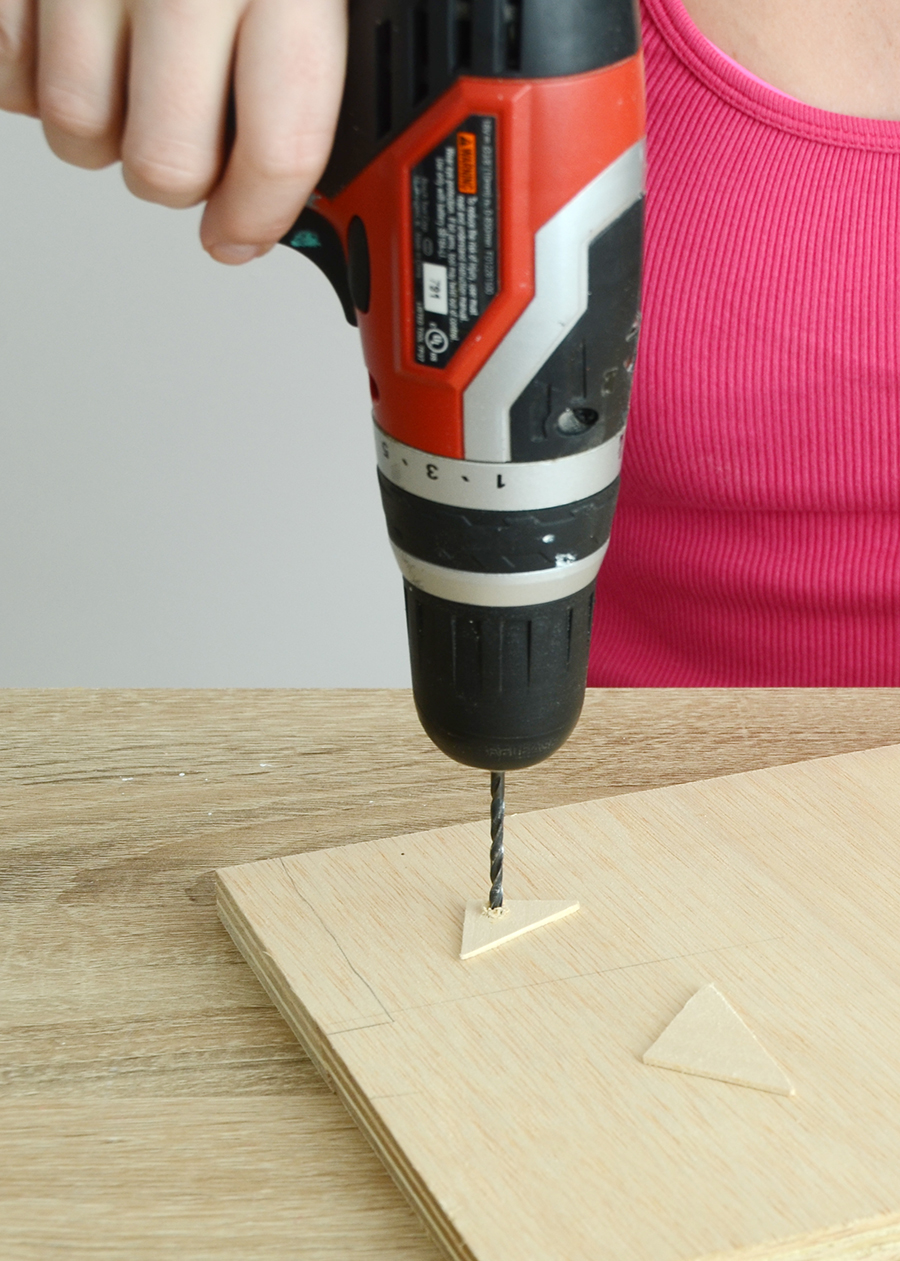
Use the drill to make a small hole in the top of the smaller triangle. Use a piece of fine grit sandpaper to smooth the area if it has any uneven edges.
Step 3: Glue
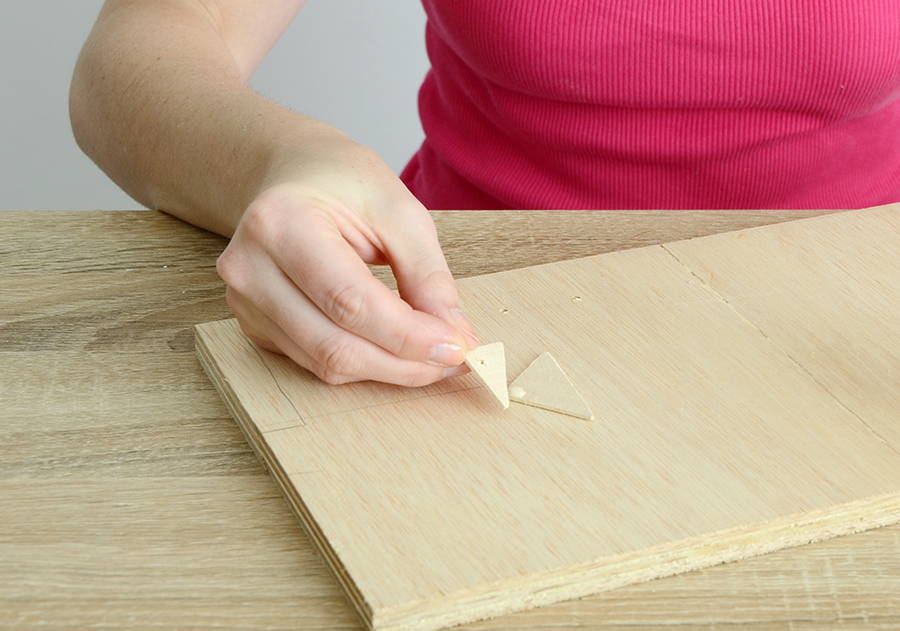
Use a small dab of wood glue to attach the smaller triangle to the top of the larger one. Let it dry for at least 20 minutes.
Step 4: Painting
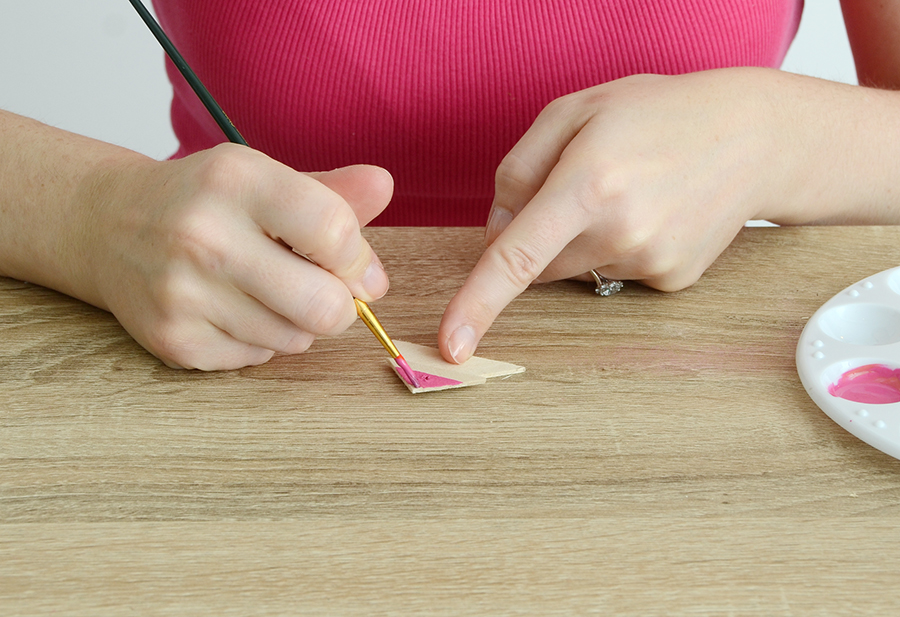
Next, begin painting your pattern onto the triangles. Choose at least two or three different colors to give your necklace lots of visual interest. Be sure to paint the sides as well, giving it a “finished” appearance. You could even paint the back too, if you’d like.

Step 5: Pillers
Using your pliers, slide the jump ring through the hole and bend it closed so the ends touch. Slip the chain through the jump ring, and connect the ends by bending one chain link open and then closing it back up once you’ve slid the other link through.
Conclusion
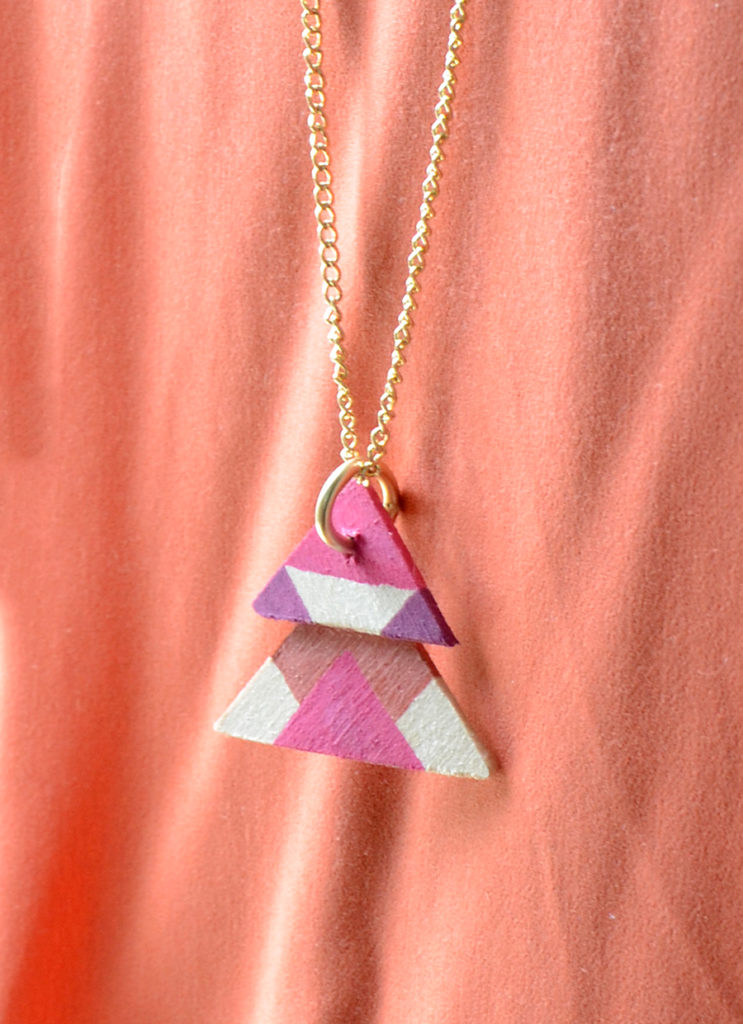
And your necklace is finished! This is a beautiful statement piece, something that will really dress up any basic outfit thanks to its bright colors and gold hardware. Pair it with a white tee and jeans, or a basic gray jersey dress during the summer.
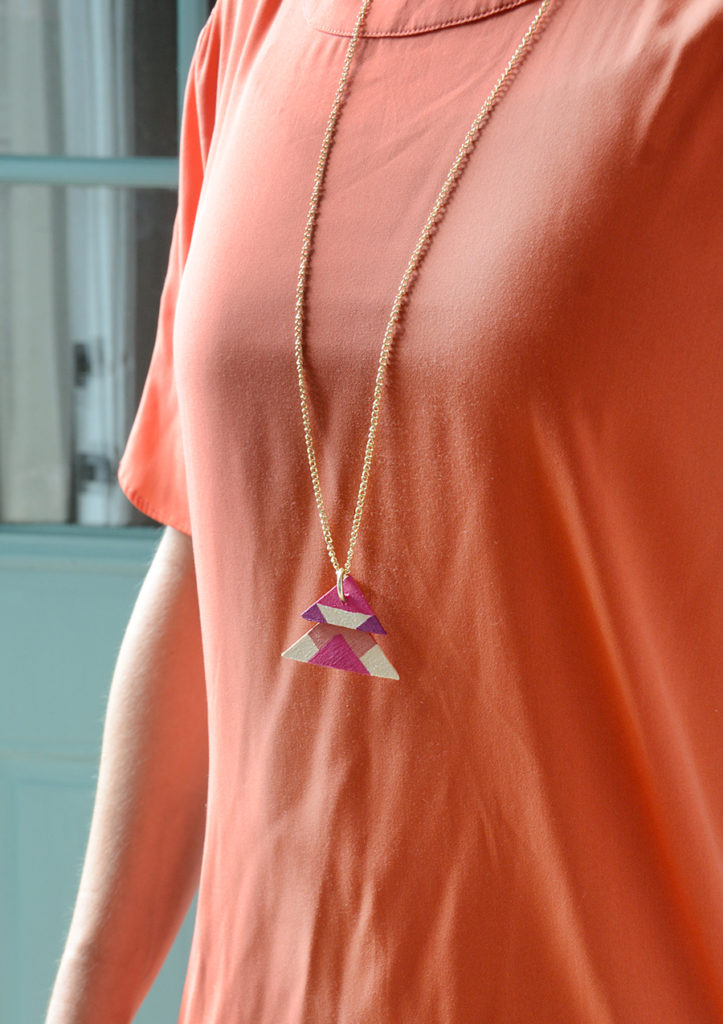
You can customize it by making the triangles bigger or smaller, and also by swapping the colors… a cooler color scheme would look just as good. Or maybe even some neon! Happy crafting everyone.
The post DIY Wooden Triangle Necklace Tutorial appeared first on DIYs.com.