
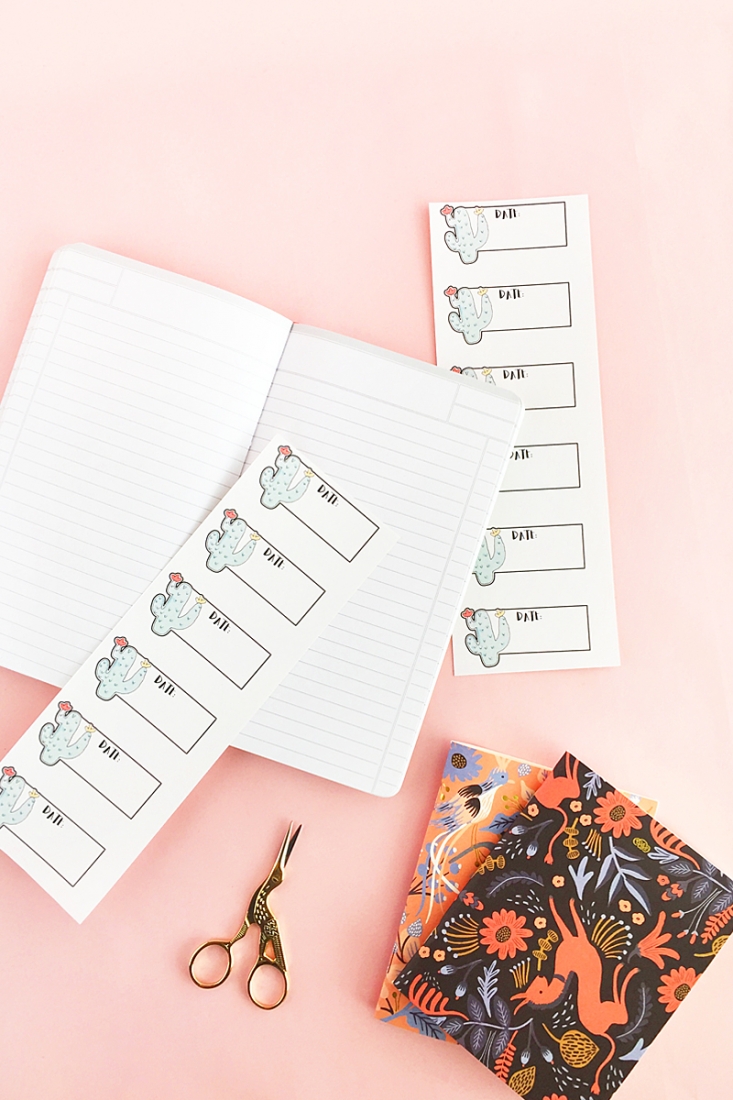
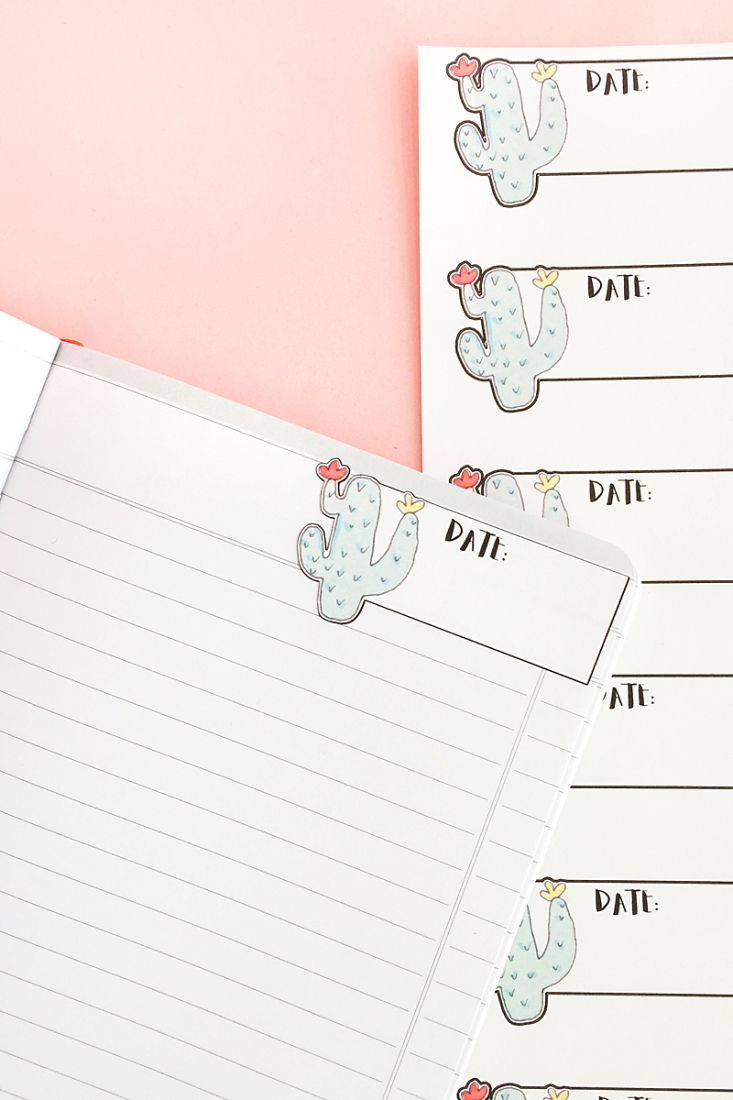
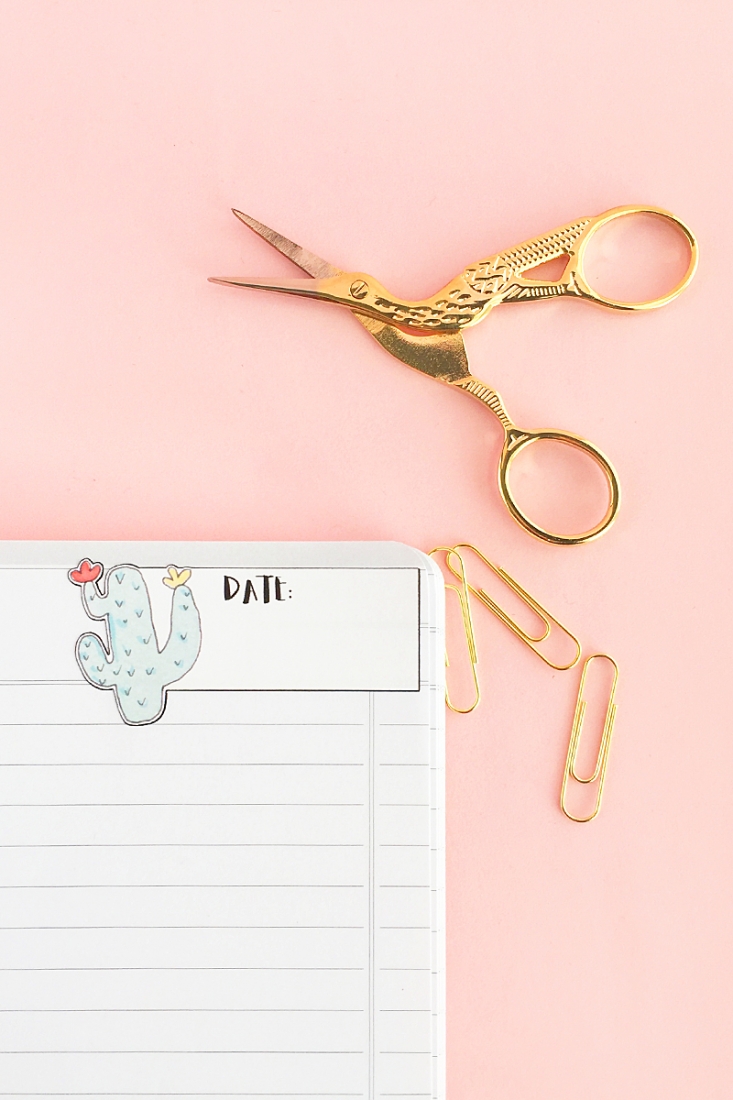
Are you into planners? If you are and like to decorate them with your own personal touch, these DIY Cactus Planner Stickers will be perfect for you. The ones I made were for dates, but you can make your own shape and add your own custom text. Read on to see how you can make your own!
The What
- Silhouette Studio (there is a free version!)
- Silhouette cutting machine
- Cutting mat
- Printable sticker paper
- Printer
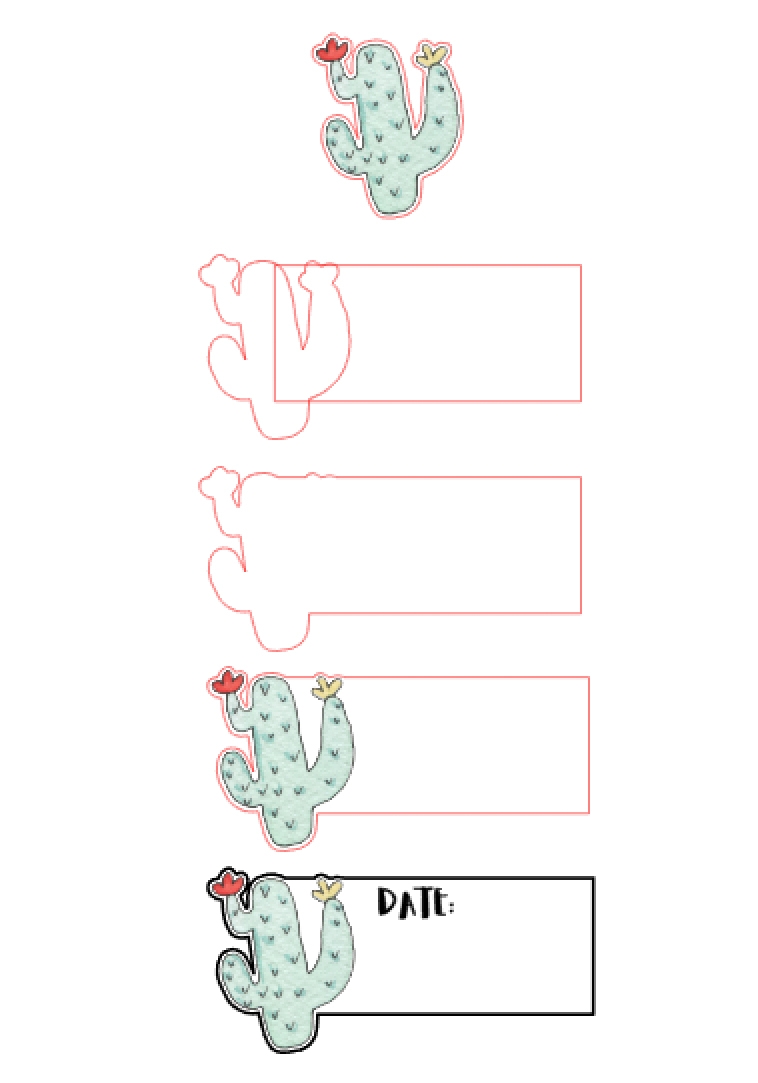
- Cactus clip art or image. I got mine at Creative Market
The How
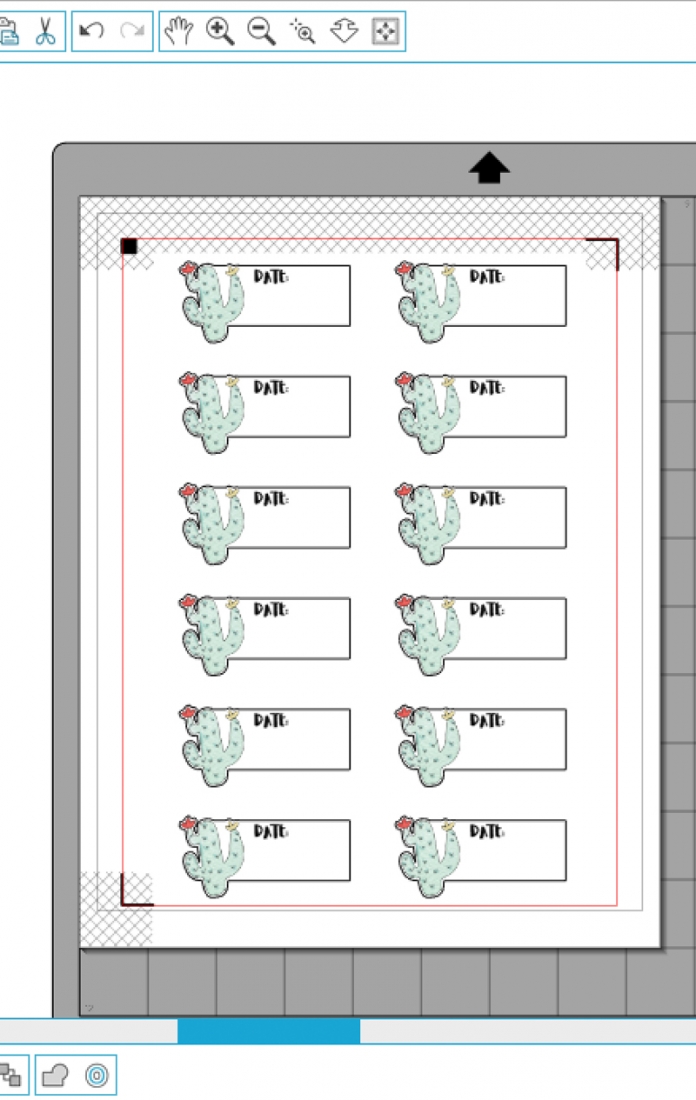
- In Silhouette Studio, open your cactus image
- Use the trace and crop tools to create cut lines around your flower images. Set these to No Cut
- Use the offset tool to create some white space between your image (optional) and the cut line
- Weld the offset shape and a rectangle (create this so that it will fit at the top of your planner page)
- Optional: change the color and thickness of the outline to black
- Group everything together and make as many copies as you need
- Show the registration marks
- Print and cut your leaves using sticker paper settings
Cute, right? Now that you know how to make your own planner stickers, what other stickers will you make for your journals?
Looking for some more inspiration? Take a look at my other Silhouette projects.
The post DIY Cactus Planner Stickers appeared first on Maritza Lisa.
Related Posts

Kazuko Nomoco was born in Japan and currently lives in...

Chaque année, le mois de janvier est le moment idéal...

<span class="hidden">–</span>Divulgação/Casa.com.br
O Setembro Amarelo é uma campanha nacional que integra...

Koti Ruotsissa - A Home in Sweden Tässä myynnissä olevan kodin...

Moore House Design from this post.
Studio Doherty from this post.
Logan...

This small Scandinavian interior has a shared living and sleeping...


