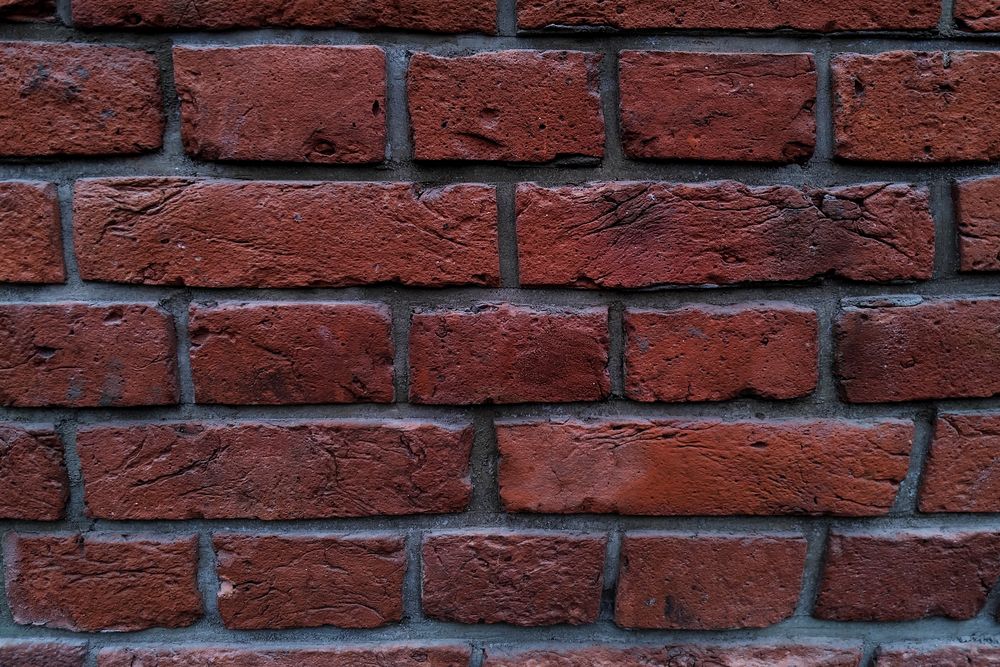
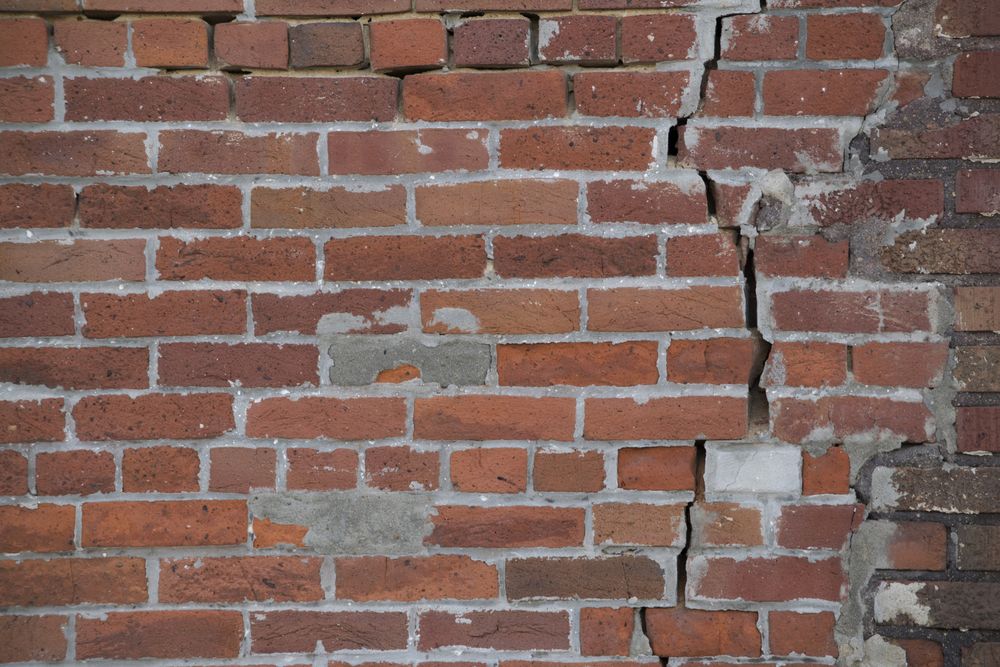
Tuckpointing, or the repairing of mortar joints in brick masonry, is a process that has been around for centuries. It helps keep the bricks in good condition and looking new.
Keep reading to find out everything you need to know about it.
While tuckpointing may seem like a daunting task, with the right tools and instructions, anyone can complete it with a little bit of patience.
Keep reading to find out everything you need to know about tuckpointing, including how to do it yourself.
What Is Tuckpointing?
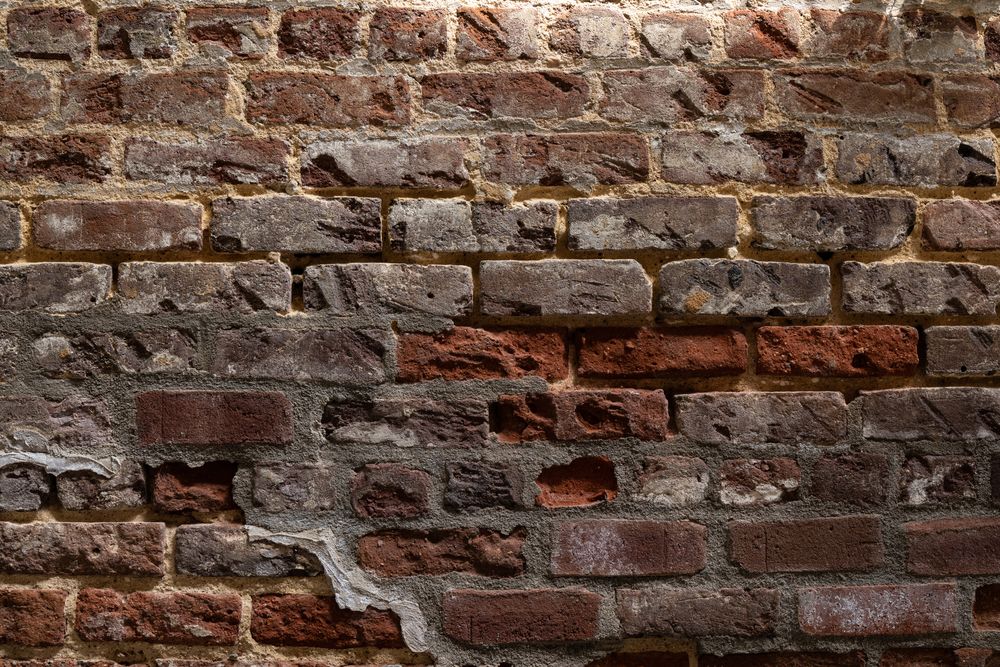
Tuckpointing is a masonry restoration process that repairs the mortar between bricks. Over time, the mortar can crack and crumble, leaving the bricks vulnerable to weathering and damage. Tuckpointing restores the mortar and protects the bricks from further damage.
It involves removing the old mortar and replacing it with new mortar. The new mortar is then tooled to match the old mortar and make it indistinguishable from the surrounding brickwork.
Tuckpointing vs Repointing
Repointing is the process of removing all the old mortar and replacing it with new mortar. Tuckpointing is the process of adding new mortar to the existing mortar joints; it’s more precise because it leaves the old mortar in place and only adds new mortar to the joints that need it.
Why Is Tuckpointing Important?
Tuckpointing protects your home from water damage and weathering. The mortar between bricks acts as a sealant, preventing water from entering the wall and causing damage to bricks and mortar.
In addition, it keeps harmful chemicals from the brick, such as hydrochloric acid and sulfur dioxide, from entering your home.
How to Tuckpoint
- Remove all of the old mortar using a grinder. If there are any usable loose bricks, set them aside for later installation.
- Clean the dust and debris from the area using a vacuum and a wet rag. You can also use a high-pressure air nozzle.
- Mix the new mortar with a tuckpointer’s hawk, which is a wooden board with a V-shaped notch in the middle that holds the mortar during application.
- Be sure that the new mortar matches the surrounding brickwork color. New tuckpointed mortars are typically made from masonry cement or pre-mixed, colored cement.
- Install the new wet mortar using a trowel, starting with the horizontal joints.
- Replace any loose bricks.
- Smoothen the wet mortar to take the shape you want – flat or slightly curved.
- After the mortar starts to harden, use a pointing trowel to create a sharp, finished edge on the mortar joints.
- Apply lime putty or a sealant to the joints to protect them from weathering.
- Don’t forget to cut away any excess residue.
Chimney Tuckpointing
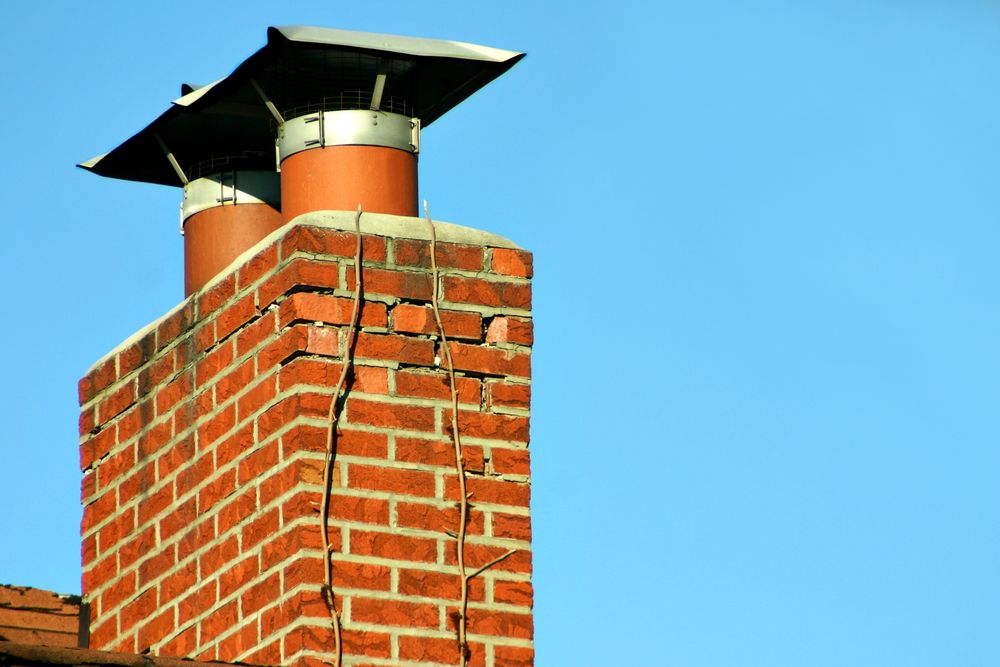
Chimneys are often overlooked when it comes to home maintenance, but they are essential to protecting your home from water damage. That is because chimneys prevent water from entering the brickwork and damaging it. Tuckpointing helps maintain the sealant between bricks while also increasing fire resistance.
The mortar used in tuckpointing should be compatible with the original mortar joints that were used in building your chimney. This ensures that the new mortar makes a seamless transition with existing brickwork so you don’t have any noticeable lines at the joints.
FAQ
Learn more information about repairing mortar joints:
What types of masonry are commonly tuckpointed?
Tuckpointing is commonly used to repair brickwork on a variety of masonry surfaces, including chimneys, fireplaces, and building fronts.
How often should tuckpointing be performed?

The life of a tuckpointed wall varies, depending on the type of brick, mortar used, and weather conditions. Brick homes with strong, high-quality mortar may need tuckpointing every 25 years.
On the other hand, homes with low-quality bricks and mortars need to be tuckpointed more frequently (every 5 to 10 years) because they deteriorate faster.
What are the benefits of hiring a professional tuckpointer?
A professional tuckpointer has the experience, tools, and skills needed to complete a successful project. They will restore your home to its original beauty by using the right color mortar and ensuring that each line matches the surrounding brickwork.
How much does tuckpointing cost?
Tuckpointing can vary in price, depending on the size of the job, the type of mortar used, and the experience of the contractor. Generally, it costs between $5 and $10 per square foot.
What tools do I need for tuckpointing?
You can use a wide range of tools for tuckpointing, such as steel tuckpointing tools. Others include a mud mortar, a pointing tool, and a wire brush. The wire brush is not often necessary for this process because it breaks down the mortar that was already in place.
What type of sealant should I use on my tuckpointed wall?
You can use various sealants on tuckpointed walls, including lime putty, asphalt emulsion, and elastomeric coatings. Each one comes with benefits and drawbacks. It is crucial to select a sealant to protect your wall from weathering and water damage.
What size do tuckpointing mortar joints need to be?
Generally speaking, tuckpointing mortar joints must be at least as wide as the nub of the tuckpointers that will be used to imprint them. A standard wet saw can cut most brick to within 1/4 inches of a specified mark; allowing for 3/8 inches minus 1/2 inches is usually fine.
How long after tuckpointing can you paint?
If the mortar is still wet, you can’t paint it. Wait for the mortar to dry thoroughly before painting. For most masonry surfaces, this takes about 2 weeks with sunny and warm weather conditions.
What is a tuckpoint grinder?
A tuckpoint grinder is a handheld tool that has a blade that rotates in one direction. You can use it to remove mortar from brickwork. It’s best to wear protective gear when using this type of grinding equipment because it produces dust and debris that will harm your eyes, lungs, and throat if inhaled.
How to mix mortar for tuckpointing?
You can mix mortar for tuckpointing in several ways. One popular method is to use a mortar hawk and a mortar box. The hawk holds the mortar while you mix it in the box. You can also use a drill with a paddle bit to mix the mortar. Be sure to add water slowly and mix until the mortar has a smooth, consistent texture.
What type of brick should I use for tuckpointing?
Bricks that are used for tuckpointing should be from the same manufacturer as the bricks that were used to build your home. This will ensure that the color and texture of the new mortar match the old bricks.
In addition, you should select a brick made for outdoor use because it has been treated to resist the weathering that may occur in high-traffic areas.
What is tuckpointing return?
Tuckpointing return is the process of adding mortar to the front face of the brick or other masonry units to make it smooth and flush with adjacent joints. Return blends seamlessly into the surrounding brickwork, creating a unified appearance.
Ideally, if your project requires tuckpointing return, you should hire an experienced professional who understands this process completely because it differs from standard tuckpointing.
Can you do tuckpointing in the winter?
Yes, you can do tuckpointing in the winter. However, you have to take special precautions when doing this type of work in cold conditions because mortar will freeze quickly.
If you are tuckpointing a wall that never had this treatment, you should wrap the bricks with insulation or fiberglass batting. It’s best to be careful when handling tools and equipment during wintertime because they will become much colder than usual when exposed to outdoor elements.
How to clean brick after tuckpointing?
After tuckpointing is complete, you can clean the brick to remove any dust or debris using a wet rag or pressure washer. Allow the brick ample time to dry before painting or applying a sealant.
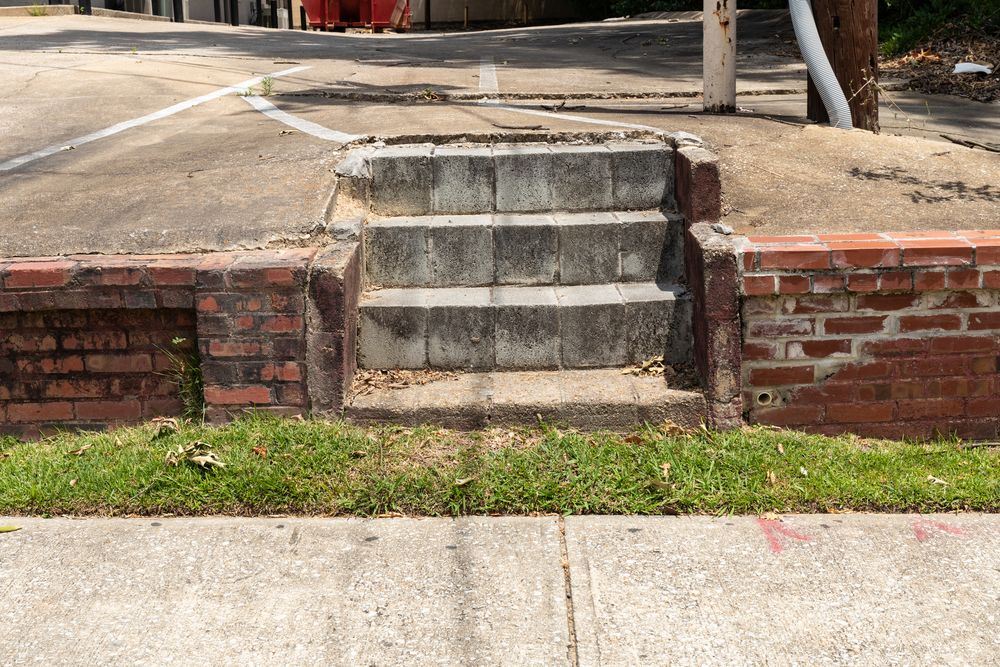
What is a tuckpointing foundation?
Tuckpointing a foundation is a process to seal the foundation and prevent water from entering. It is usually performed right after building the foundation and then again every few years, as needed. It requires special equipment and experience that only a professional can match.
Can I use an angle grinder for tuckpointing?
Yes, you can use an angle grinder for tuckpointing, but it is not the best tool for the job. Instead, it would help to use a grinding wheel specifically designed for masonry work. Take care when using this type of equipment because it can be dangerous if used incorrectly.
Can a vinyl cement patch be used for tuckpointing?
Yes, you can use a vinyl cement patch for tuckpointing. However, make sure to select a product specifically designed for this purpose, as not all vinyl cement patches are equal. Read the instructions carefully and follow them exactly to achieve the desired results.
Should I use sand or lime in my mortar mix?
There is no one-size-fits-all answer to this question; it depends on your specific project needs. Talk to an experienced professional about the best option for your situation.
In general, though, people use sand in mortar mixes because it helps create a strong and durable bond between bricks and mortar. Additionally, it can help prevent water damage.
Can you get asbestos from tuckpointing?
Asbestos is not used in tuckpointing because this process was developed long after asbestos became popular. You should never use asbestos for tuckpointing because it can be dangerous; the health effects of asbestos are well-documented.
If you suspect any trace amounts of asbestos on your property, you need to contact a professional abatement service that specializes in the safe removal and disposal of hazardous materials.
Final Thoughts
When faced with a dirty, aging, and damaged exterior surface, interior home and business owners often feel they have two options: attempt a do-it-yourself fix or call in an expensive professional repairer.
But today’s home improvement market is filled with products that promise users both good looks and savings when used as replacements for traditional brick paving stones. With a bit of patience and practice, you can tuckpoint brick or any other type of masonry as easy as applying German smear.
What’s your experience with tuckpointing? Tell us all about it in the comment section below!
The post Tuckpointing 101: A Complete Guide to Repairing Mortar Joints appeared first on DIYs.com.