In association with Resene.
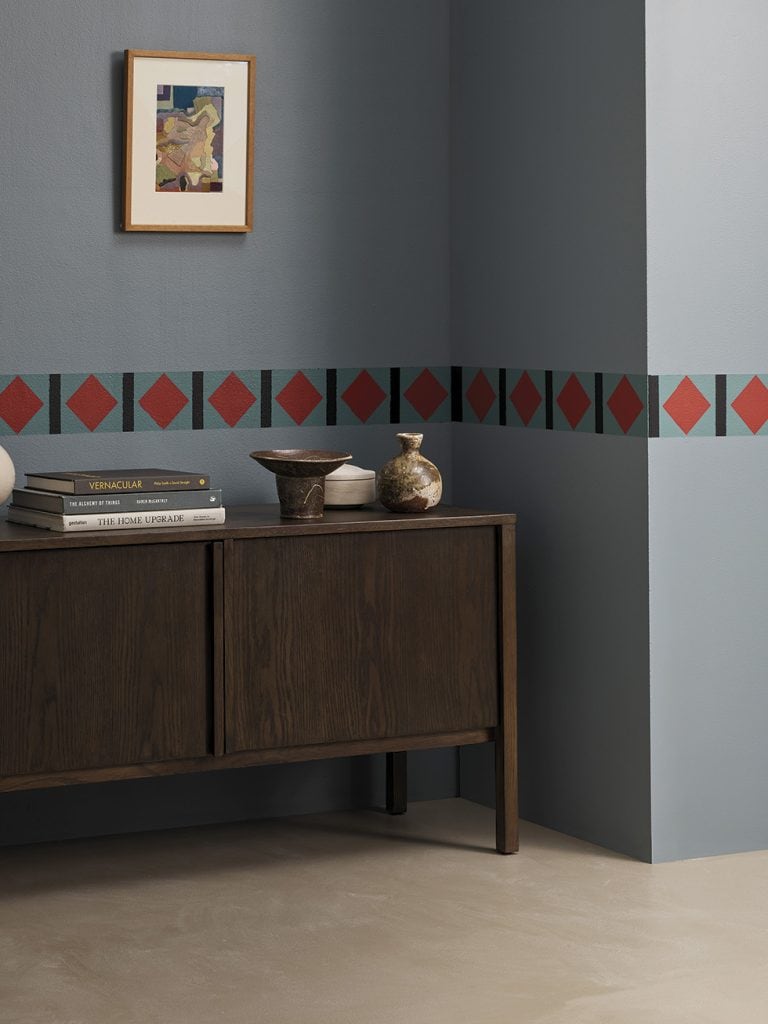
– Historically positioned high up on a wall and often sculpted, a frieze painted within easy reach is a more achievable way to gain some extra ornamentation, and a creative take on introducing pattern to a space.
– Recreate our look by first applying your background wall colour— we used Resene SpaceCote Low Sheen tinted to Resene Baring Head. Next, use a metre rule and pencil to draw the outline of your frieze (ours is 11cm tall), measuring from the ground up in several places to ensure it’s level. Use painter’s tape to mask these lines for a clean finish, then fill the band with two coats of the colour that will become your vertical lines — we used Resene SpaceCote Low Sheen tinted to Resene Black.
– Once dry, create the vertical lines by sticking strips of 13cm-tall, 2.4cm-wide painter’s tape over the band 12.6cm apart. On top of the band and tape, paint two coats of what will become the base frieze colour — we used Resene SpaceCote Low Sheen tinted to Resene Unite.
– Cut a diamond-shaped stencil out of cardboard, then when the frieze is dry, trace around it with pencil between the vertical lines. Mask each diamond with tape, then paint — we used two coats of Resene Pioneer Red. When dry, remove all of the tape.
– When determining where to position your frieze, consider its height in relation to the furniture and objects you’ll style the space with, so it works harmoniously with them. Situating it further down the wall will also help to visually anchor the room.
– This frieze confines several shades to a small area, so it presents an opportunity to bring bold or bright hues into a room without overwhelming it. Our main frieze paint colour, Resene Unite, relates to the wall colour, Resene Baring Head, but is a little stronger. To this we added a graphic staple, Resene Black, and a complete contrast, Resene Pioneer Red.
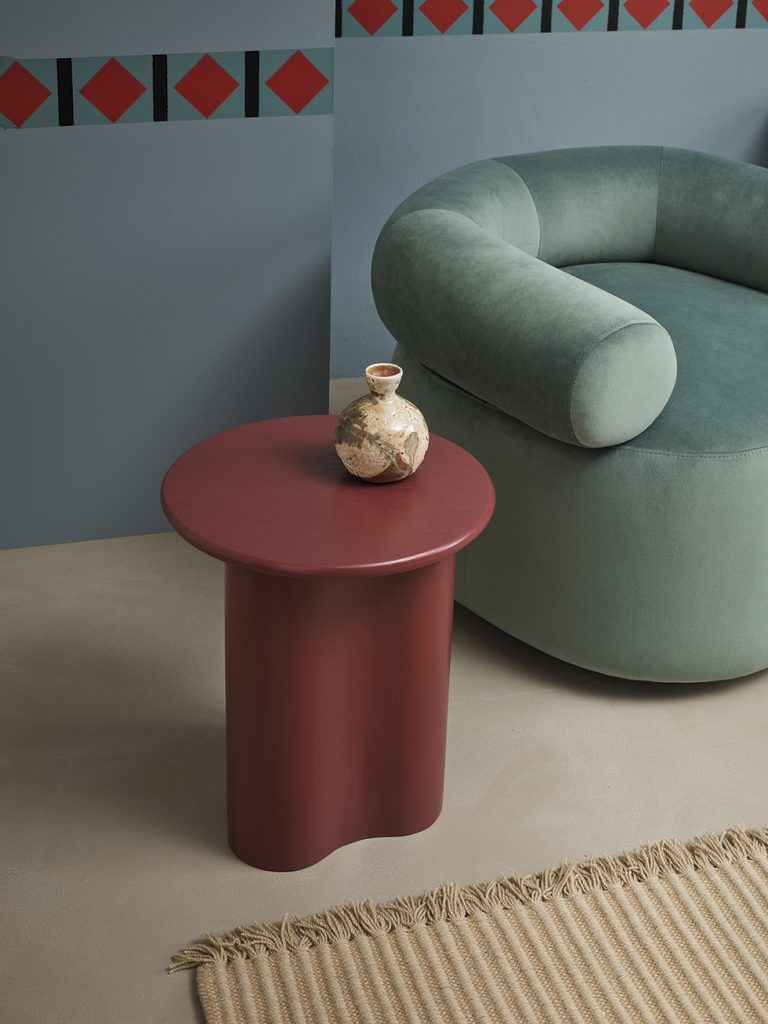
– Our furnishings support the scheme, with pointed and cinched shapes subtly echoing the diamond pattern of the frieze. The larger items in the room are in deliberately similar hues and suitably opulent finishes.
– Take note of the Resene Walk-on tinted to Resene Courtyard and Resene FX Paint Effects Medium mixed with Resene Half Alabaster on our floor. It’s a softer, textural counterpoint to the geometric forms of the frieze and the pared-back shapes of the furniture and homeware.
resene.co.nz
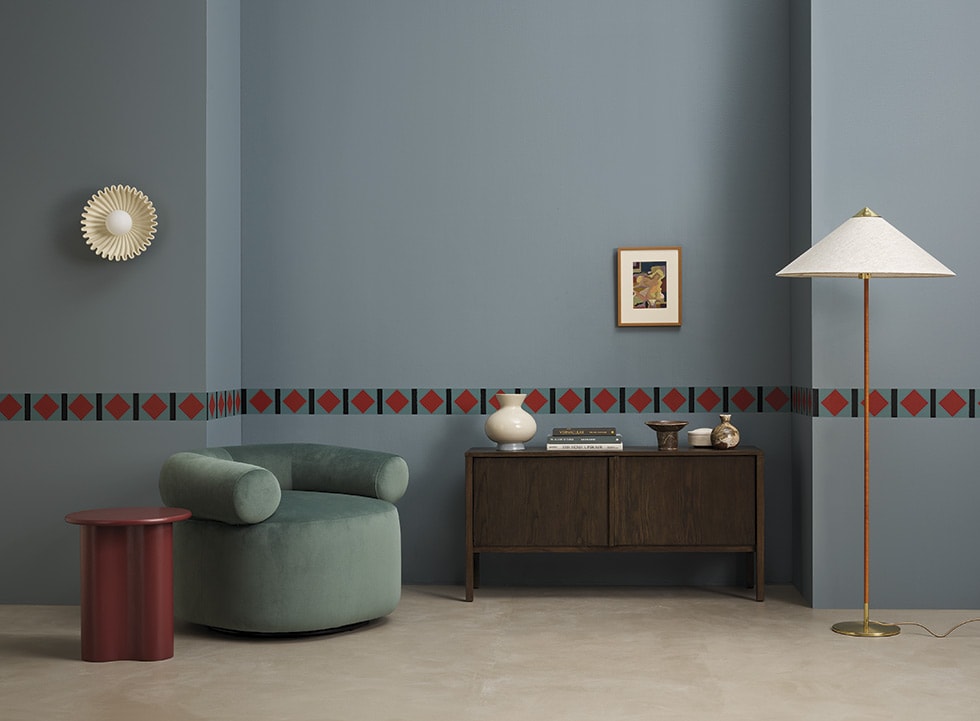
ABOVE, BACKDROP Walls in Resene SpaceCote Low Sheen in Resene Baring Head; floor in Resene Walk-on tinted to Resene Courtyard (as the base) and Resene FX Paint Effects Medium mixed with Resene Half Alabaster; frieze in Resene SpaceCote Low Sheen in Resene Unite, Resene Black and Resene Pioneer Red; resene.co.nz/colorshops. ITEMS, FROM LEFT Artie Wave side table, $1351, sorenliv.com. Ostro wall light by Simone & Marcel, $950, shopdesseinparke.co. Huggy armchair by Sarah Ellison, $2250, slowstore.co.nz. Craft sideboard by David Moreland and Nikolai Sorensen, $2190, cittadesign.com. Sloane vase by Marloe Marloe, $399, slowstore.co.nz.Thawing artwork by Courtney Ghatt, $1700, cjghatt.com. Raised plate by Scott Brough, $250, publicrecord.shop. Gallery Object 07 jar by Louise Roe, $390, slowstore.co.nz. Wood-fired vase by Sarah Harrison, $285, publicrecord.shop. 9602 floor lamp by Gubi, $2166, cultdesign.co.nz. Books stylist’s own.
ADDITIONAL ITEM ABOVE Unplugged Threads rug, $3895, nodirugs.com.
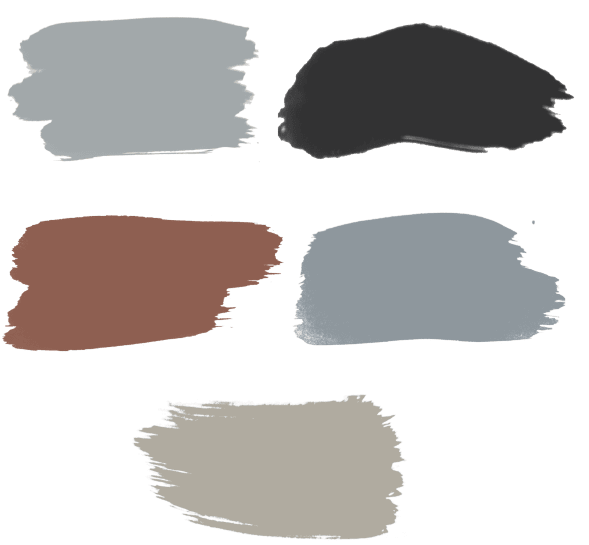
ABOVE, CLOCKWISE FROM TOP LEFT Resene Baring Head, Resene Black, Resene Unite, Resene Courtyard, Resene Pioneer Red, resene.co.nz
Styling Juliette Wanty
Photography Wendy Fenwick
The post Resene paint project: Frame a space with a DIY frieze appeared first on homestyle magazine.