If you’re looking for a tutorial for a traditional set of wind chimes, this isn’t it – this is a fun, super modern take on the classic. Instead of making a ringing sound, it makes more of a high pitched rumbling noise (and it looks really cool, too!) It’s sure to elicit some compliments from your friends. Keep reading to check out the tutorial.

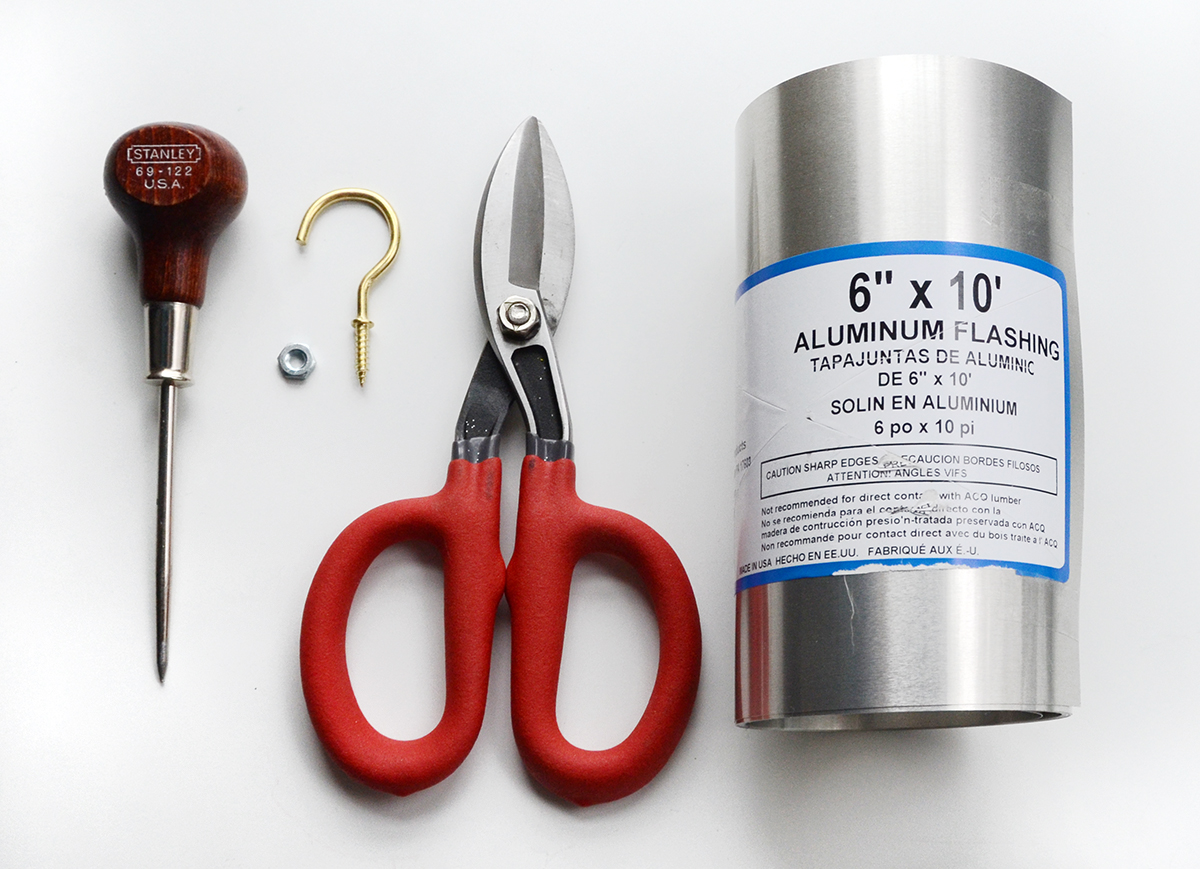
Here’s what you’ll need for your modern DIY wind chime:
- 6″x10′ Aluminum Flashing
- Tin snips
- Awl
- Hook and nut
- Hammer (not pictured)

First, begin by cutting four pieces of aluminum flashing (which can be found in the rain gutter repair section of your home improvement store). The pieces should be 16″, 22″, 28″ and 34″ long. The tin snips should cut through the material easily.

Next, fold each piece of flashing in half lengthwise as shown above.
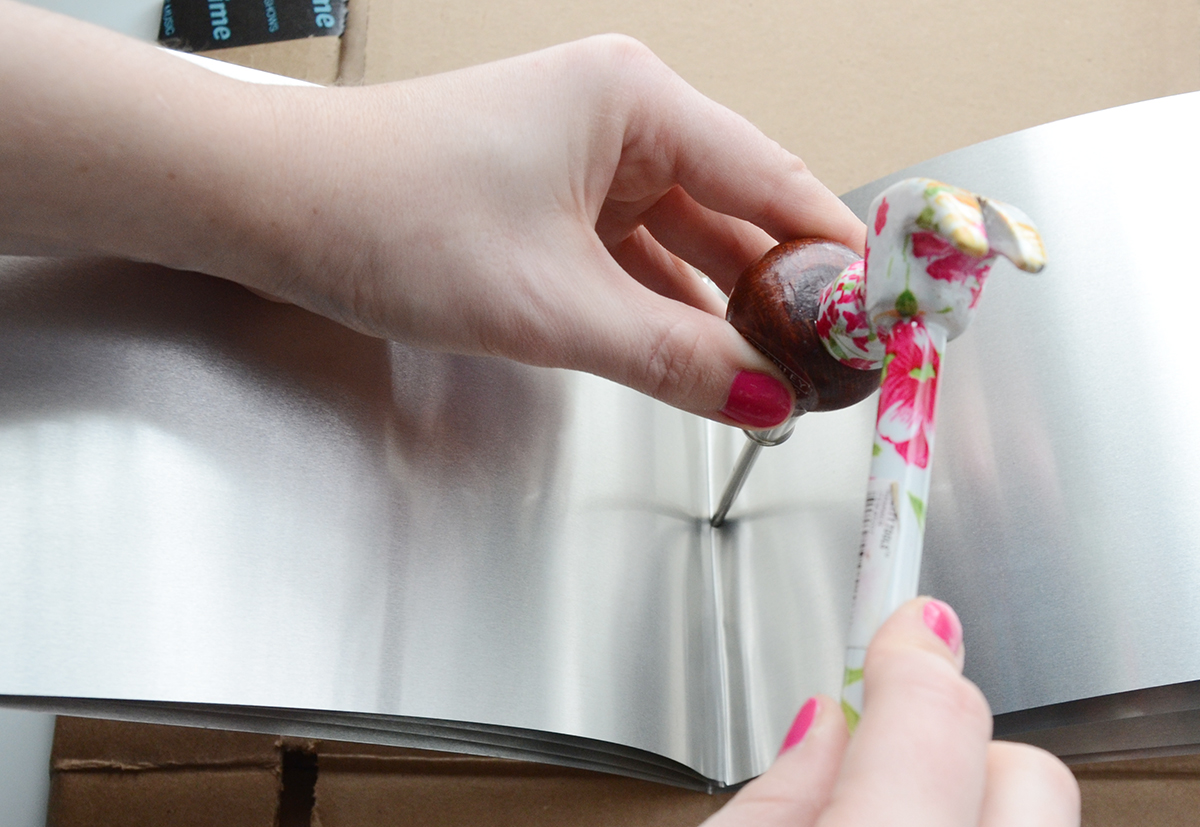
Unfold them and align all of the creases together. Place a cardboard box or piece of scrap wood underneath. Position the awl in the middle of the crease and use a hammer to hit the awl into the flashing and all the way through all four layers.

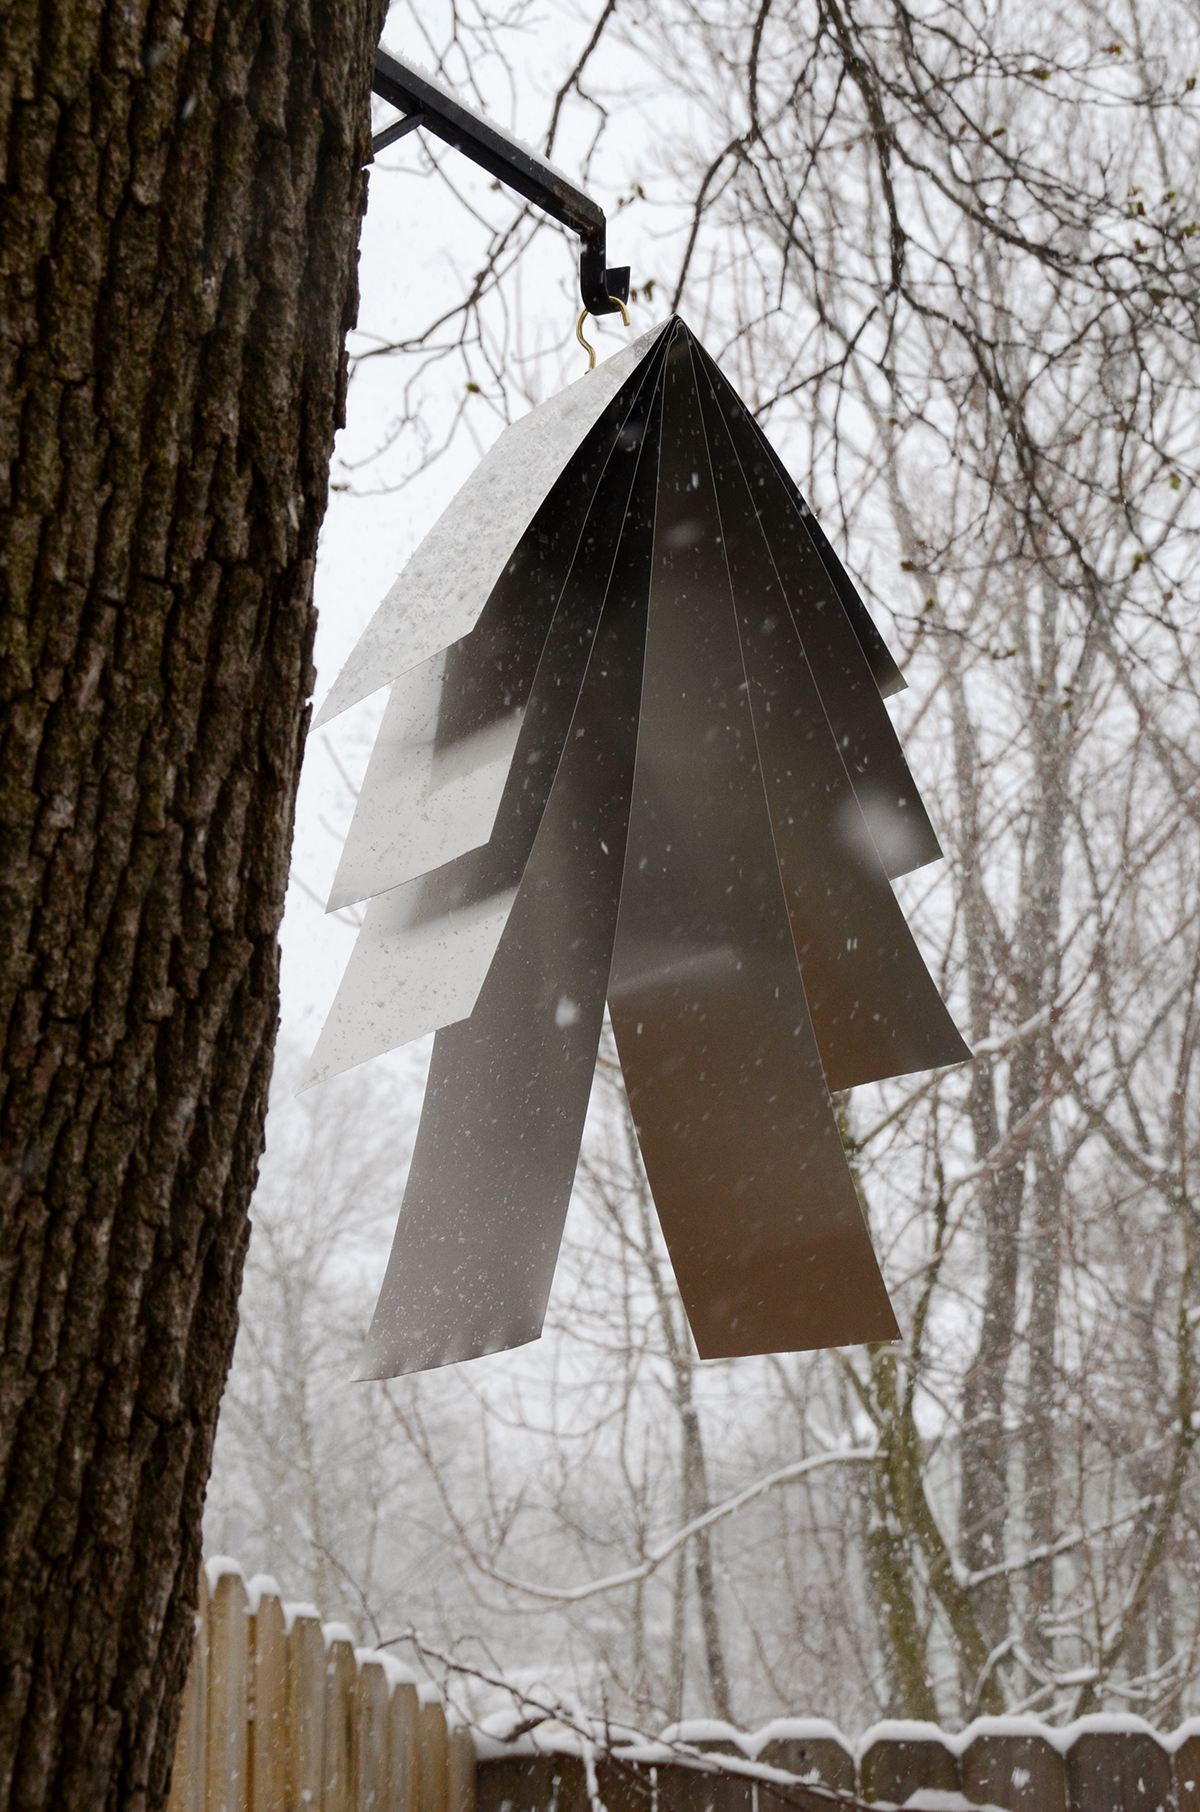
Screw the hook through the hole and secure the nut on the underside so that everything is held together snugly. Adjust the aluminum pieces a bit so they are evenly separated. They’ll make a fun noise when you flap them back and forth. Hang it outside and wait for a windy day to come along!

It has almost a mid-century modern sort of feel to it, with the unique shape and the metallic finish. And the mobility of the aluminum is just so fun!

It has a sculptural feel that is sure to be a conversation starter the next time you have a dinner party! Happy crafting everyone.
The post Modern DIY Wind Chime appeared first on DIYs.com.