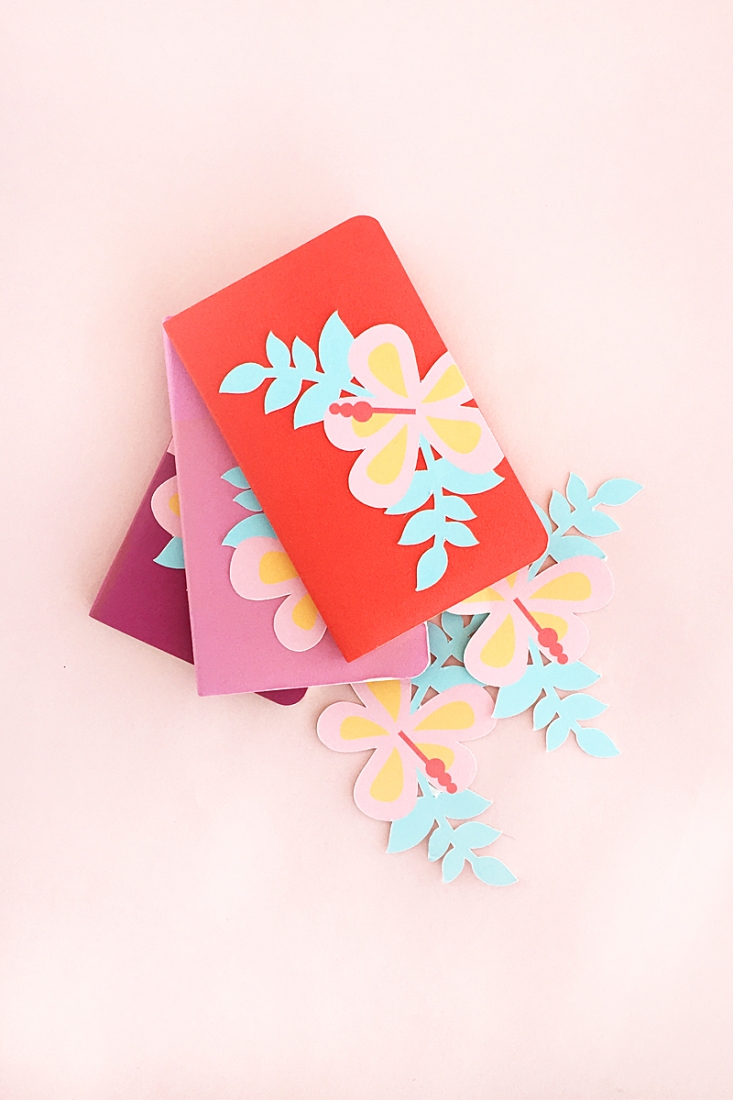
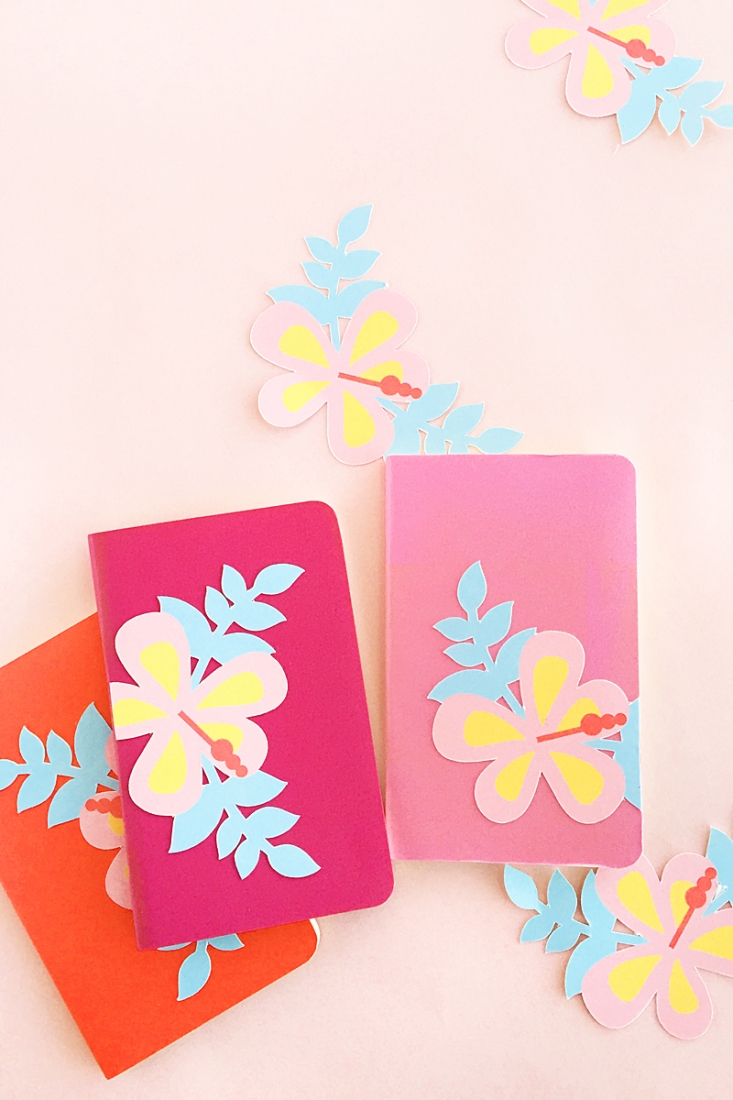
I’m obviously feeling the tropical vibe these days, because today’s Mini DIY Hibiscus Journals were totally inspired by one of my favorite tropical flowers. I live in a pretty little neighborhood that reminds me of the movie set of Pleasantville – I kid you not. Some of these pretty little homes have gorgeous hibiscus plants, and I swear I’ve seen some blooms the size of my head. Gorgeous. So here I am surrounded by these stunning flowers which led to today’s DIY Stationery post. Want to make your own? Read on!
The What
- Silhouette Studio (there is a free version!)
- Silhouette cutting machine (I used my CAMEO for this one)
- Cutting mat
- Printable sticker paper
- Printer
- Hibiscus set
- Notebook, Journal or Planner (I used these mini Moleskine notebooks)
The How
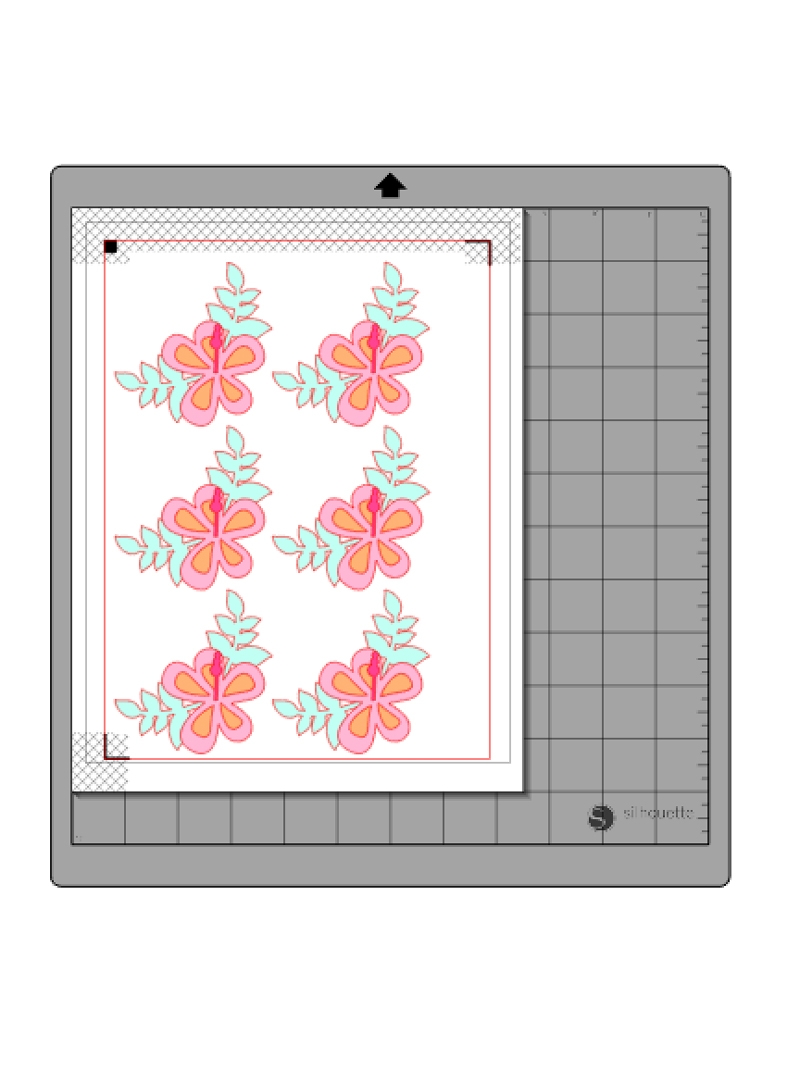
- In Silhouette Studio, merge your hibiscus set onto a new document
- Fill your shapes with color and resize so that they can fit your notebook. Set the outermost shape to Cut and the inner shapes to No Cut
- Show registration marks for Print and Cut
- Arrange your hibiscus images onto the page
- Print and cut your hibiscus images using sticker paper settings
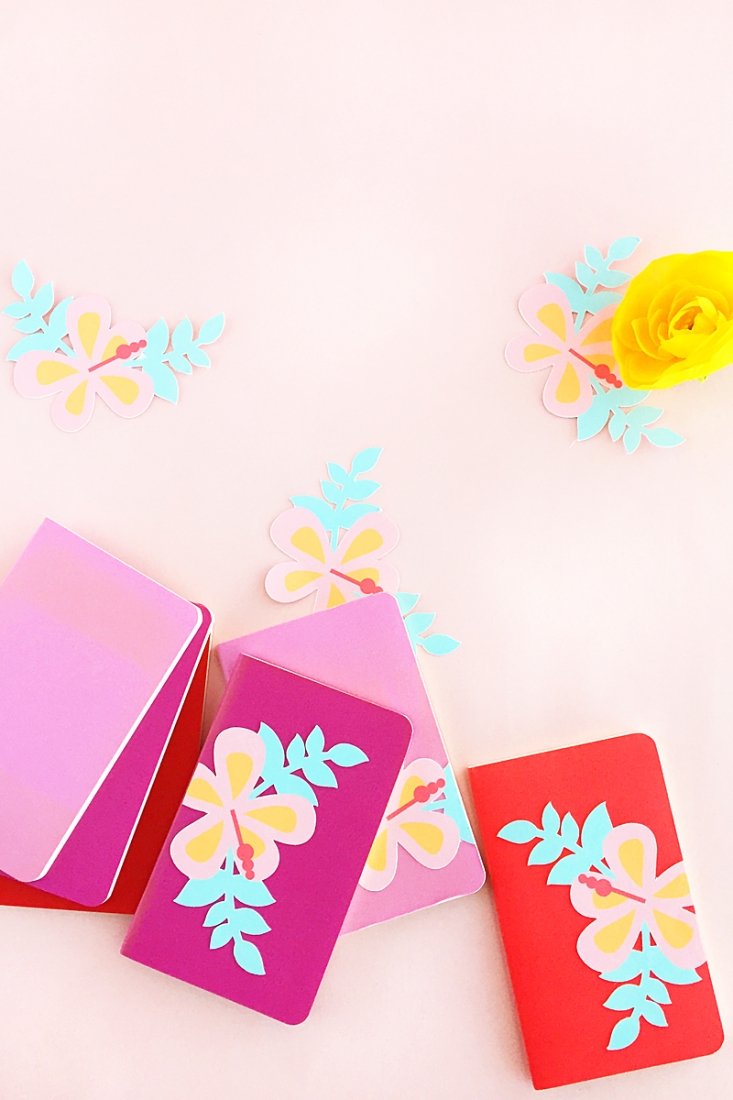
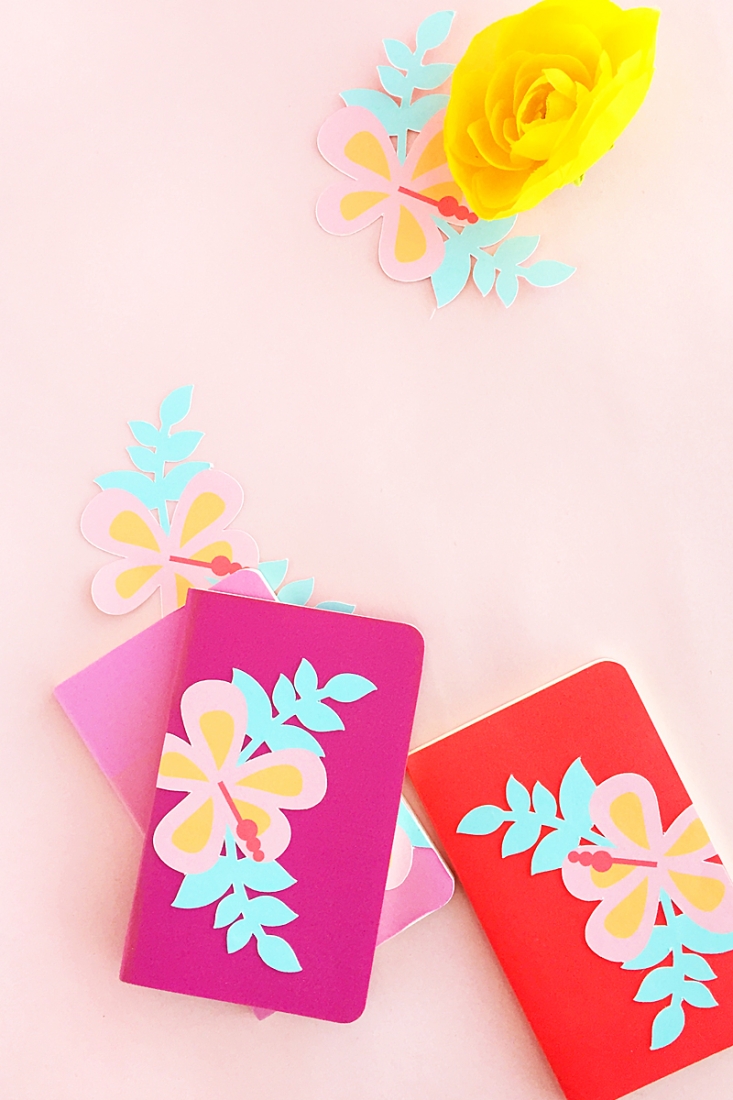
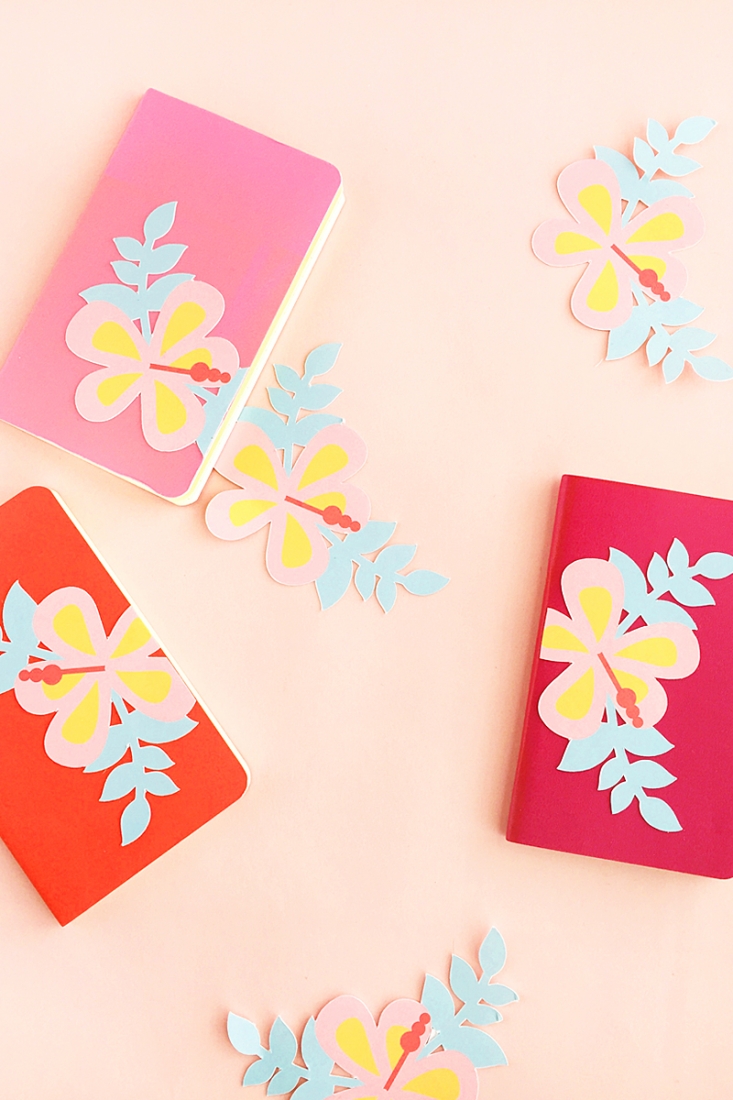
- Adhere your hibiscus images to your notebooks
And that’s it! Which journal did you choose to decorate?
Looking for some more inspiration? Take a look at my other Silhouette projects.
The post Mini DIY Hibiscus Journals appeared first on Maritza Lisa.
Related Posts

Versátil e contemporâneo, o cinza é atemporal, cai bem em...

Cette maison en bois s’inspire des cabanes des pionniers américains,...
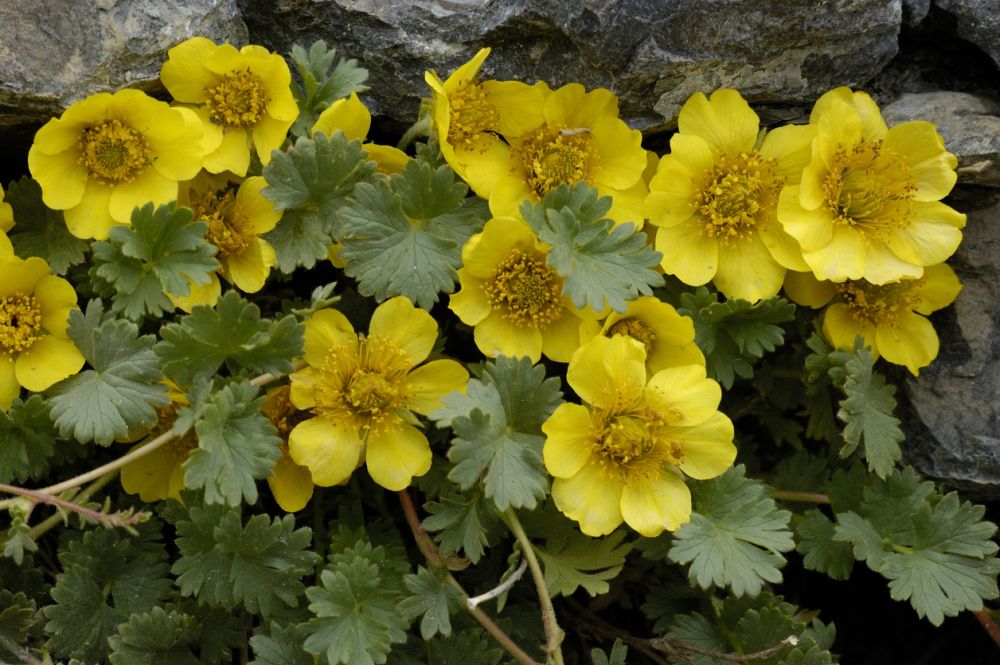
If you want to learn everything about growing the creeping...

Aujourd'hui, les noirs, gris foncés et blanc s'adoucissent en s'agrémentant...

Fini la suprématie des cheveux longs, on cède à la...

Summer is in front of your eyes, that means the...


