Many people find installing door hinges on door blanks quite challenging. It might sound easy enough on paper, but in reality, this process is more complicated than meets the eye. Unless you want to end up with a scarred door blank filled with abandoned mortises or worse, have the door not closing properly due to mismatched hinges, then you need to give this DIY task some thought.
Speaking from experience, I remember the many times I jumped in with hinges in hand trusting my intuition to see me through. That trust was misplaced, however, since, halfway through, I gave up and had to call in a professional to get the job done. So to avoid these and similarly unsuccessful scenarios, I put together this guide to help you install door hinges on your door blanks from the first attempt.
Types of Door Hinges
Door hinges come in different types and varieties. While they all operate on the same concept of using screws to fix them to the door and the jamb, they have subtle differences between them. Here are the three main types of door hinges.
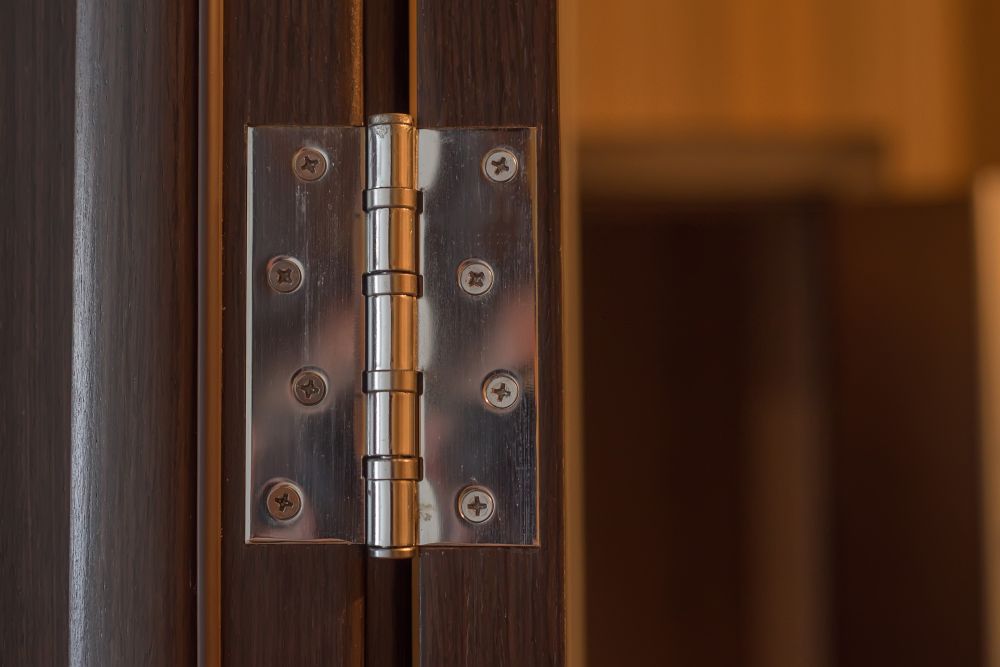
- Pin Door Hinges: One of the easiest hinges to install. The two wings of the hinges are attached together using a pin. Before installing them, you need to take out the pin so that you can install each wing in its respective place without a hassle. They give the door an aesthetic aspect since they don’t stick out of the jamb. We’ll focus on this type in this article.
- Spring Door Hinges: The main advantage of using these types is that they tend to close the door automatically. However, they’re quite bulky and stick out of the door. So they’re more suitable for garage doors and places where aesthetics are not that important.
- Ball-Bearing Door Hinges: The pins on these hinges are sealed in so they are not easy to remove. Use these hinges with heavy doors since they can handle a lot of weight and stress and can last for many years before you need to replace them.
Common Door Hinges Installation Problems
Since pin door hinges are the most common types and can be found on most interior doors, these are the types we’ll talk about here. But in general, the concept of installing door hinges on door blanks is the same no matter what type you use.
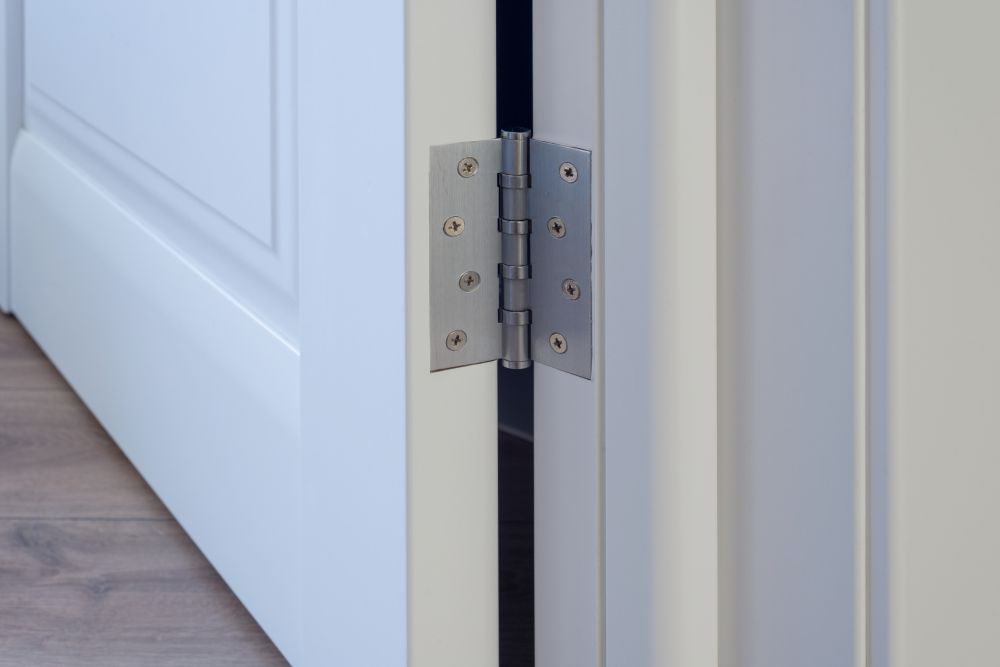
Each door hinge has two wings. You will need to attach one wing to the door jamb using screws and attach the other wing to the door side. As you can imagine and as experience has taught me, lots could go wrong. The most common mistake that people make here is to mismatch the two wings of the door hinge. That’s when you attach one wing higher or lower than the other.
Another mistake is to misjudge the depth of the mortise which results in the hinges not sitting comfortably or sitting too deep into the mortise. This could push out the door and cause it to become warped or skewed.
Badly aligned pin door hinges are another problem that makes it hard for you to slot the pin in place. When that happens, you have no other option but to abandon this mortise altogether and start anew at another spot on the door jamb.
Tools You Need
Equipment |
Materials |
|
|
|
|
|
|
|
|
|
|
|
|
|
How to Install Door Hinges
The best way to avoid the above problems is to spend as much time you can preparing the hinges. This includes measuring the door jamb to find the best locations for the hinges. You also need to pay extra attention when cutting the mortise. The depth of the mortise has to be the same for all the hinges both on the door and the jamb. Here’s how to install door hinges on door blanks like a pro.
1. Decide the Locations of the Door Hinges
Since the hinges literally shoulder the whole weight of the door, you want them to spaced out along the door jamb. Depending on the height of the door, you will anything between 3 to 4 pin hinges. Any extra hinges will not help much with the door balance or how fast it swings.
The top hinge should be 5 to 7 inches from the top of the door. Place the remaining two to three hinges at equal distances. As for the bottom hinge, it should also be 5 to 7 inches from the bottom of the door.
2. Trace the Door Hinges
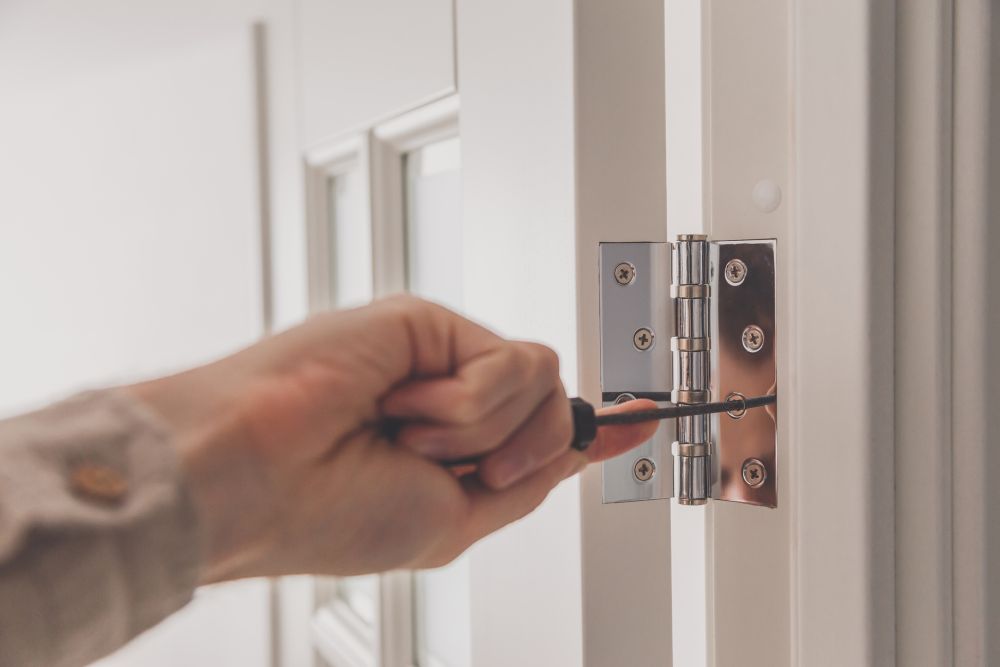
Place the door on its side with the door handle side resting on the floor. Hold a full pin hinge (with both wings) against the side of the door and let the wing drop down and hug the door. This gives you the best placement for the hinge. Press the hinge with your hand firmly and use the pencil to trace around the hinge.
Remove the wing that goes into the jamb and mark the outline of the pin on the door. That way you avoid a common issue where the pin sticks far out of the door or becomes too buried into the door. Do the same for the rest of the hinges.
3. Outline the Door Hinges
Now use the utility knife to cut a deep outline of the hinge shape you marked with the pencil. Most pin hinges have a standard thickness of one-sixteenth of an inch. If in doubt, measure the hinge using the measuring tape just to be sure. Don’t worry if you cut deeper than that into the wood. You can remedy that when cutting the mortise.
4. Cut the Mortise

This the trickiest part of this process. So take your time and try to get it as accurate as you can. The goal is to cut the mortise into the door at exactly one-sixteenth of an inch thickness. You’ll need a sharp chisel and a hammer to get that done.
Keep the door on its side and hold it in place using wood clamps. Place the chisel at the outline at a wide angle and use the hammer to remove thin layers of wood. Work slowly and use the hinge to give you an idea about your progress and how much more work is needed. Once the hinge sinks into the mortise and becomes flush with the door side, you’ll know you’re done with this mortise. Repeat with the remaining mortises.
5. Check the Depth of the Mortise
Before you move on to the next steps, you need to make sure that the hinges can rest comfortably into the mortises. If the hinge sinks too deep into the mortise this will make it hard to secure the hinge with the screws. If the hinge protrudes out of the surface of the door or the jamb, it will push the door to the opposite side creating friction every time you close or open the door. When all the hinges sit flush with the jamb and door surfaces, you can process to the next step.
6. Mark the Screws
Hold the hinge in place inside the mortise and mark the places of the screws using the pencil. Each wing of the hinge has 4 screws. Mark them then take out the hinge. Repeat the same process with the rest of the mortises.
7. Drill the Holes
Use the drill to make pilot holes in the mortise. The holes should be narrow and shallow. You can use a screwdriver instead of a drill.
8. Install the Door Hinges
Place the hinge back into the mortise and check that it aligns with the pilot holes you drilled in the previous step. Hold each screw firmly into the hole and screw it tightly into the wood. Make sure the screw doesn’t move or get wobbly.
When all the hinges have been screwed into the door side and the jamb, hold the door in place and align both wings of the hinges. Slot the pin place and tighten it. Swing the door shut and make sure it closes smoothly.
The post How to Install Door Hinges on Door Blanks appeared first on DIYs.com.