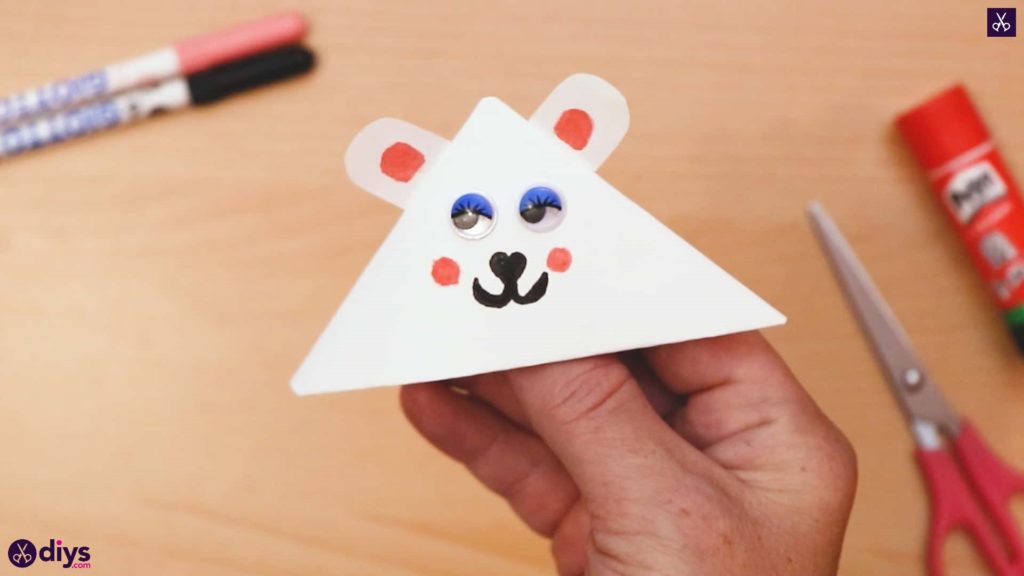
A DIY corner bookmark shaped like a polar bear is a great way to add some winter fun to your book reading, and kids will absolutely love it.
Not only does it look amazing, but it only takes a few minutes to craft, and you don’t even have to make a trip to the store to get any crafting supplies. If that sounds like something you’re interested in, then continue reading the article below.
You can craft these DIY polar bear bookmarks for yourself or gift them to people you know who are fans of reading, polar bears, or even both!
Supplies for a DIY polar bear corner bookmark
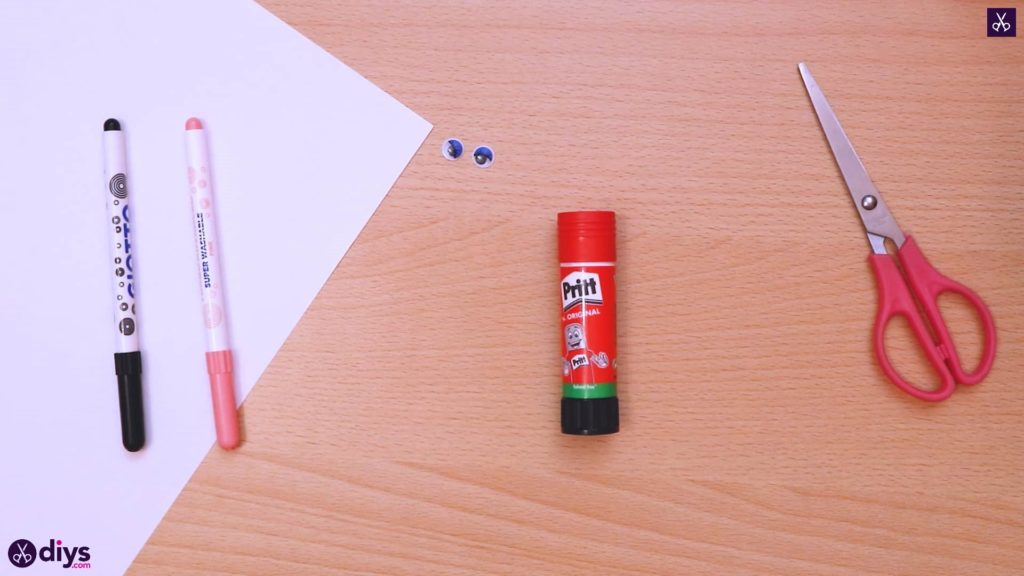
These are the supplies that you’ll need for a polar bear corner bookmark:
- White paper: We wanted to create something that anyone could make without buying too many crafting materials, such as colored paper or cardstock, hence the use of white paper. Any kind will do, even plain old A4 printer paper.
- Glue stick: You don’t need any kind of special glue; a regular glue stick will do just fine. However, ensure that it’s a glue stick and not one of those clear liquid glues since those can stain the white paper.
- Scissors: Since you’ll only need to cut regular paper, any kind of scissors will do, even the ones that come in a child’s school supply kit.
- Googly eyes: You can find googly eyes at any craft store or even some supermarkets. If you can’t find them, you could always use regular round stickers or draw your own eyes with a black marker.
- Colored markers: We used black and pink colored markers to add detail to our polar bear, but you can use any colors you like. However, make sure you don’t use permanent markers or any other markers that can bleed through the paper and ruin your design.
How do I make a DIY polar bear corner bookmark?
By following the instructions below, you’ll be able to make your own polar bear corner bookmark in no time:
-
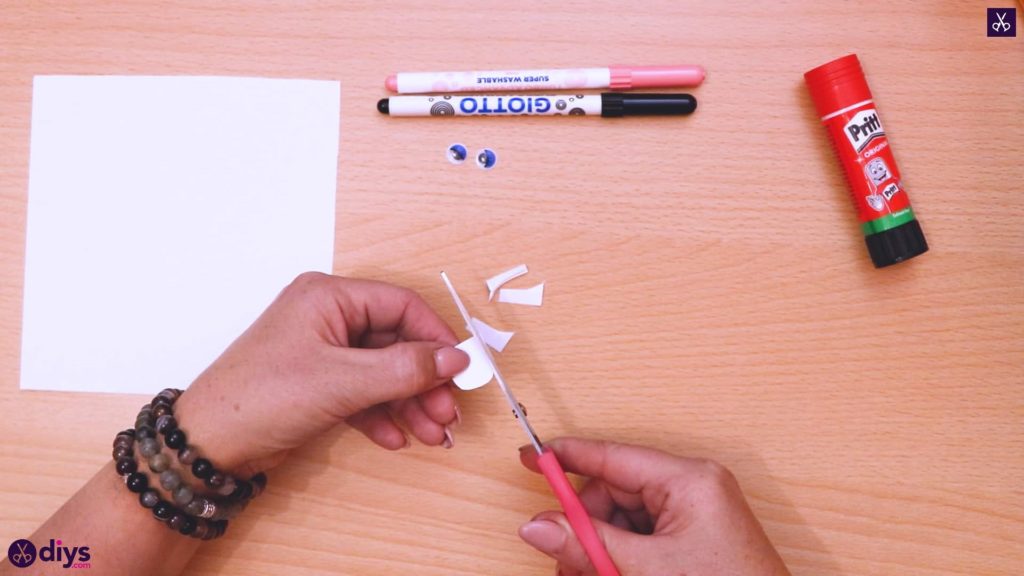
Make the paper ears: Start cutting an A4 sheet of paper with scissors so you’ll now have a square-shaped piece of paper. Use the strip of paper you cut away to make the polar bear’s ears. Make them rounded at one end.
-
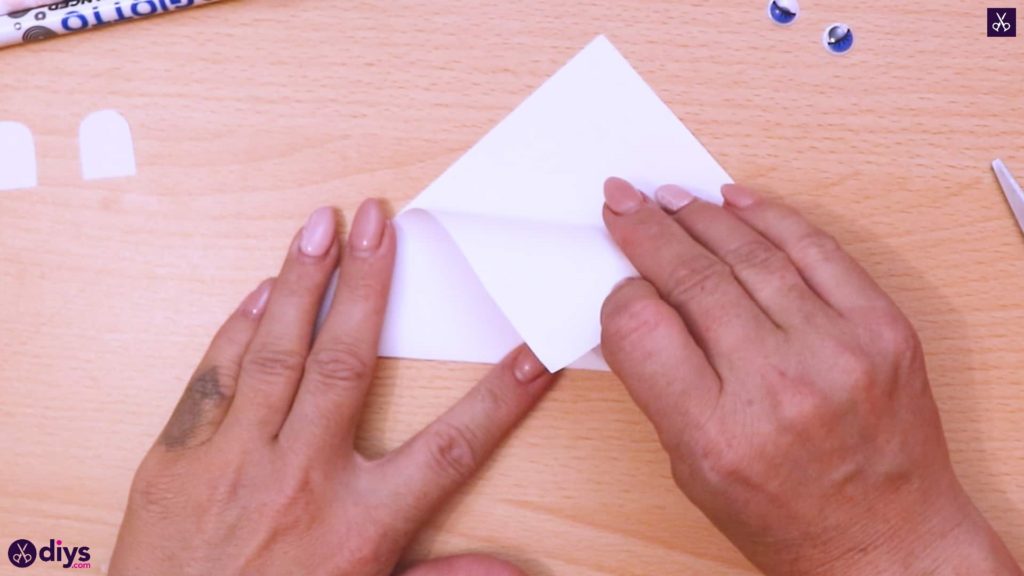
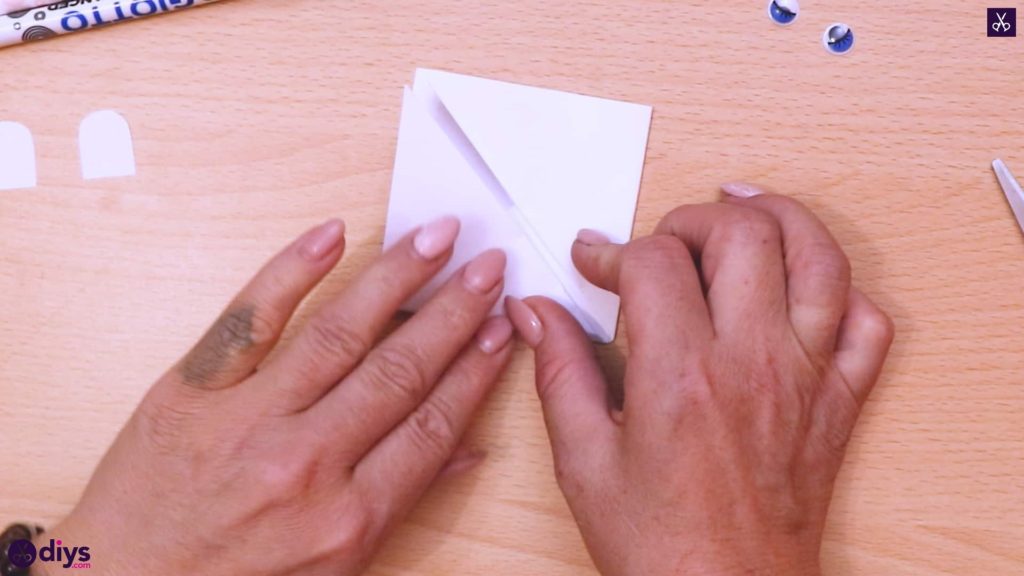
Start folding the head: Fold the square piece of paper in half, hot dog style. Then, take the top corner of the paper, fold it up to meet the bottom edge of the paper, and repeat the process with the other side. Now take the side flaps and fold them in, flush with the crease in the center. Your piece of paper will now be shaped like a diamond.

-
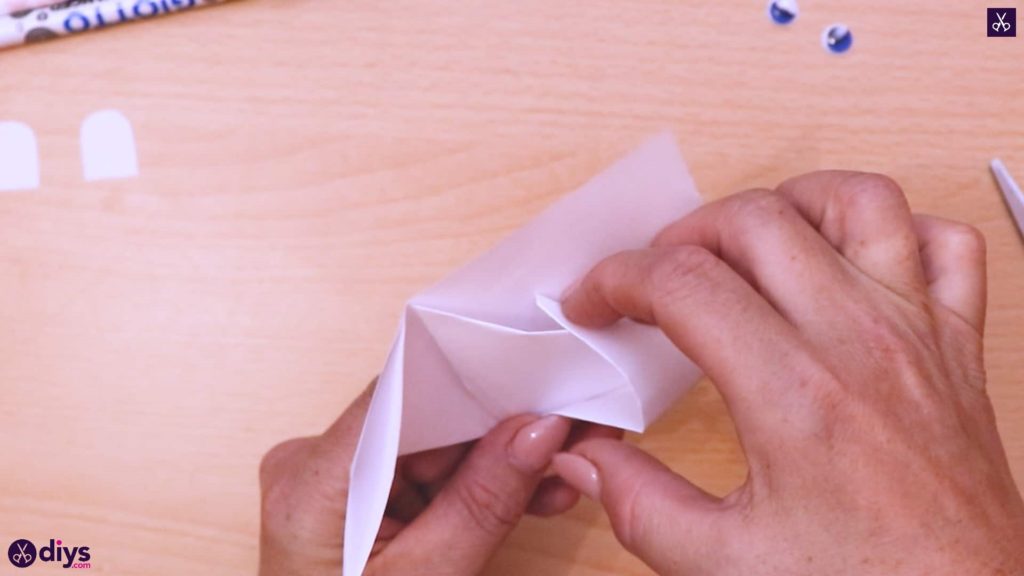
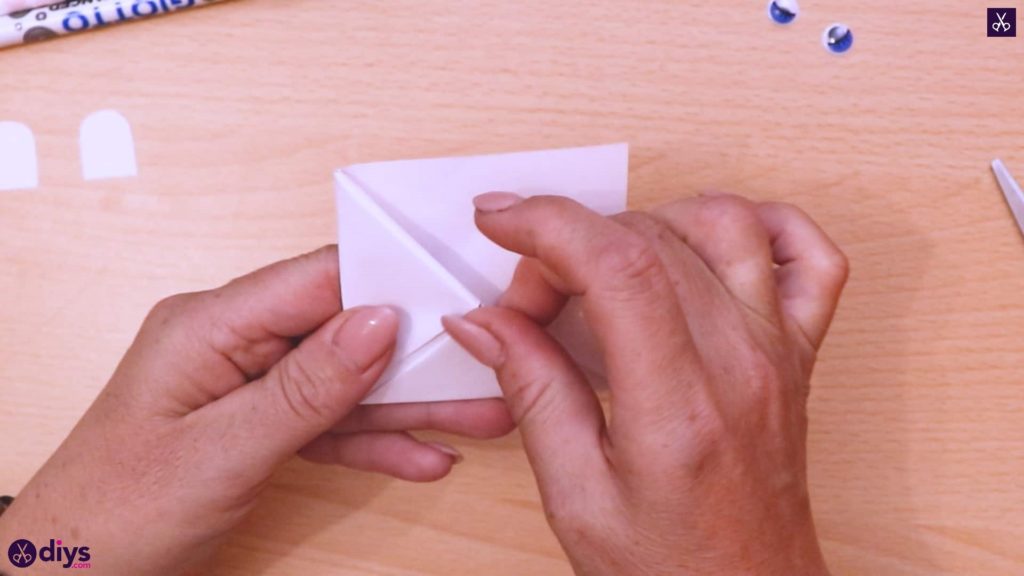
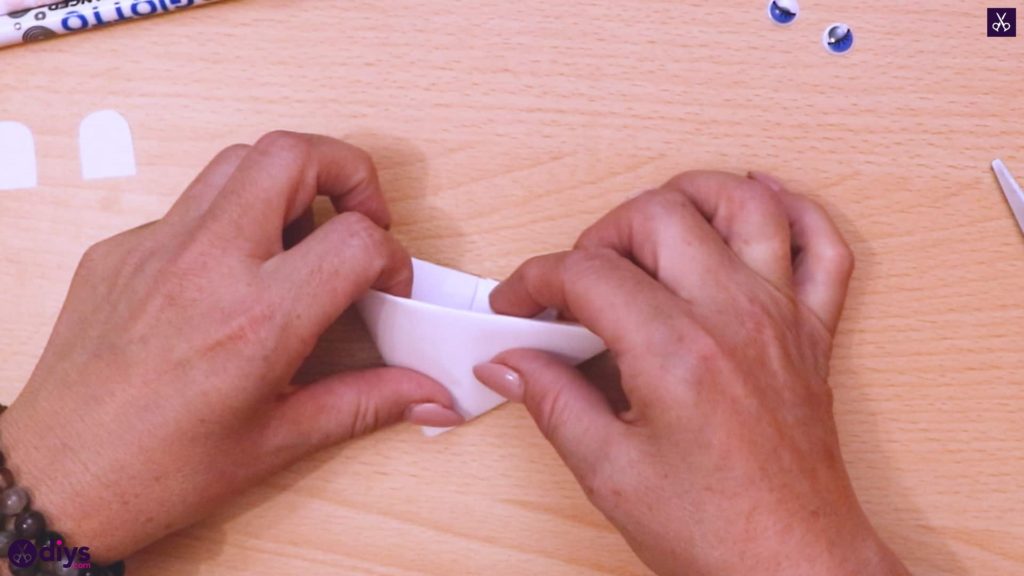
Tuck the corners: Next, take the two top corners that are pointing up and tuck them into the pocket you created within the diamond, and once they’re tucked in, flatten out the paper. Now flip the paper over and tuck the triangular corner on the other side inside the pocket. You should now have a triangle with a pocket on one side.
-
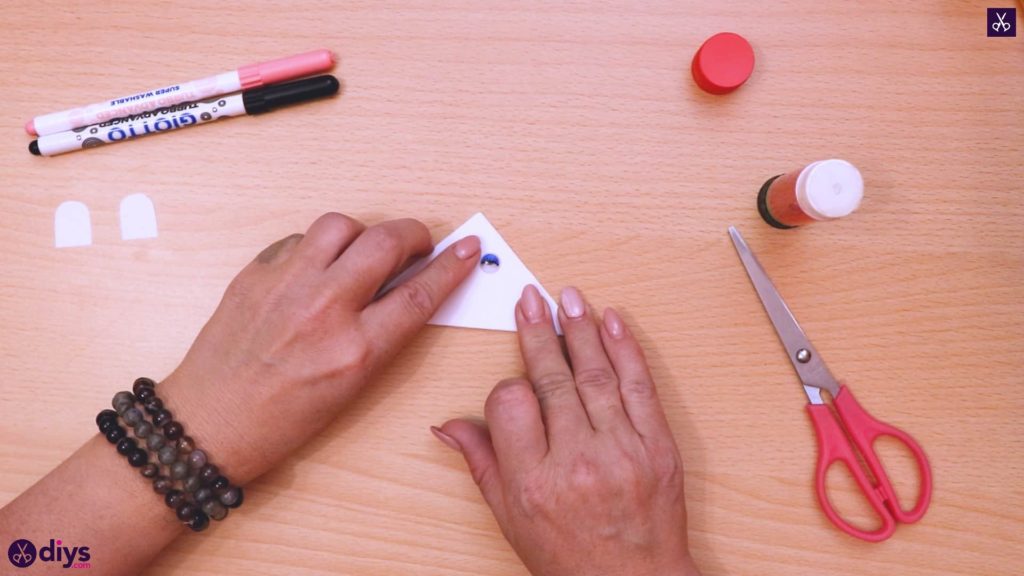
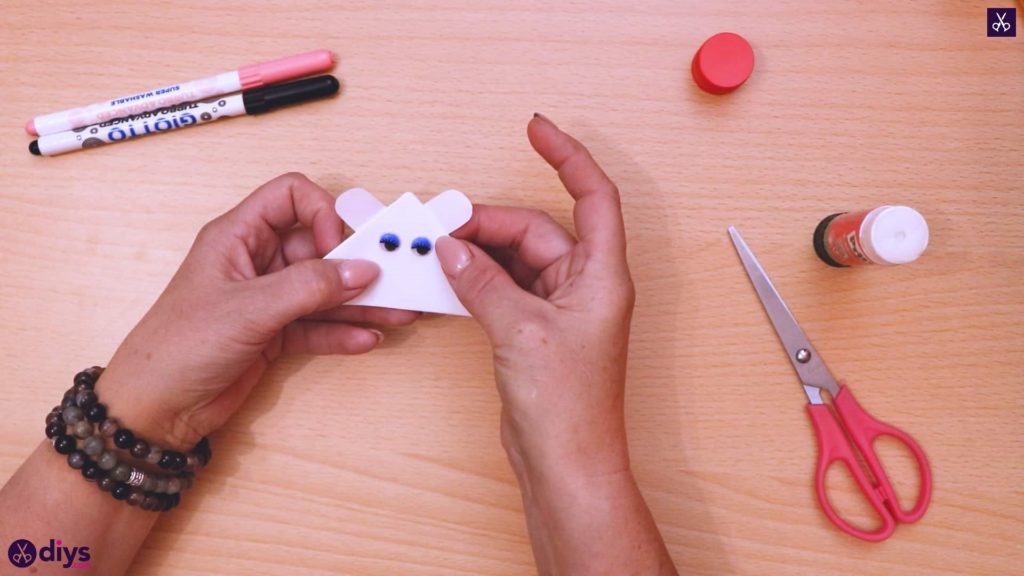
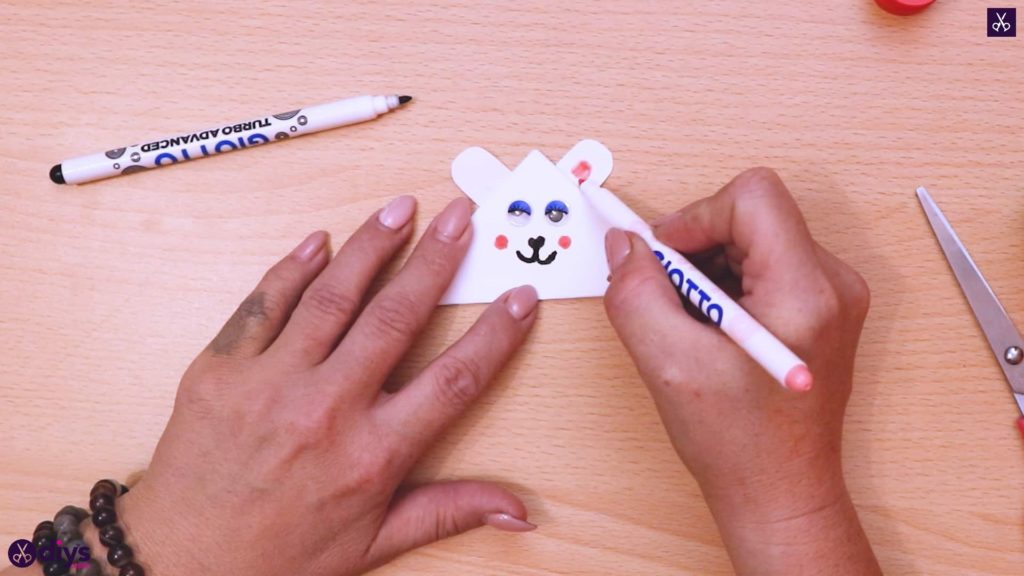
Add the polar bear’s details: Use glue to stick the googly eyes on the polar bear’s head, as well as the polar bear’s ears, close to the top corner of the head, opposite the pocket. Finish by drawing a black nose and mouth and adding pink cheeks with markers. Your polar bear corner bookmark is now complete!
Video Tutorial
If you need some extra help, check out this video tutorial on how to make a DIY polar bear corner bookmark:
Variations of the DIY polar bear corner bookmark
Corner bookmarks are very common, so naturally, there are plenty of variations that you can try. If you want to add your personal touch to your bookmark, here are some ideas:
- Try a different animal: We went for a polar bear design since we wanted to make something using regular white paper, but you could easily switch out the animal for another. For example, you can use green colored paper and create a DIY dinosaur corner bookmark.
- Use different materials: We used regular white paper for simplicity and availability, but you can use any kind of material just as long as it’s easy to fold. For example, the best thing you can use is origami paper.
- Gluing and sewing instead of folding: Some materials are nearly impossible to fold, so they keep their shape, such as felt or leather, so if you want to create corner bookmarks using those materials, consider gluing or sewing the corners together instead.
Creating a DIY polar bear corner bookmark is simple and should take less than 10 minutes of your time, so it’s great if you were planning to make several of them.
Closing Thoughts
We hope you enjoyed this guide on how to make a DIY polar bear corner bookmark!
For more amazing ideas that can inspire you, check out these amazing DIY bookmark ideas. They’re fun, they’re easy, and they make great gifts!
If you have any questions or suggestions, please feel free to leave us a comment below. Happy crafting!
The post How to Easily Craft a DIY Polar Bear Corner Bookmark appeared first on DIYs.com.