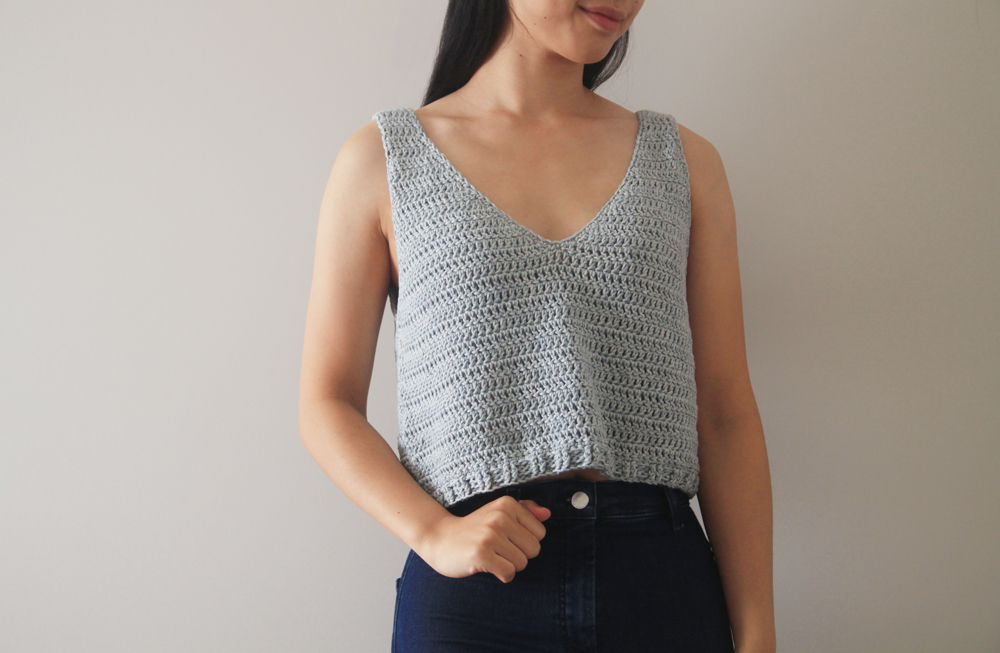
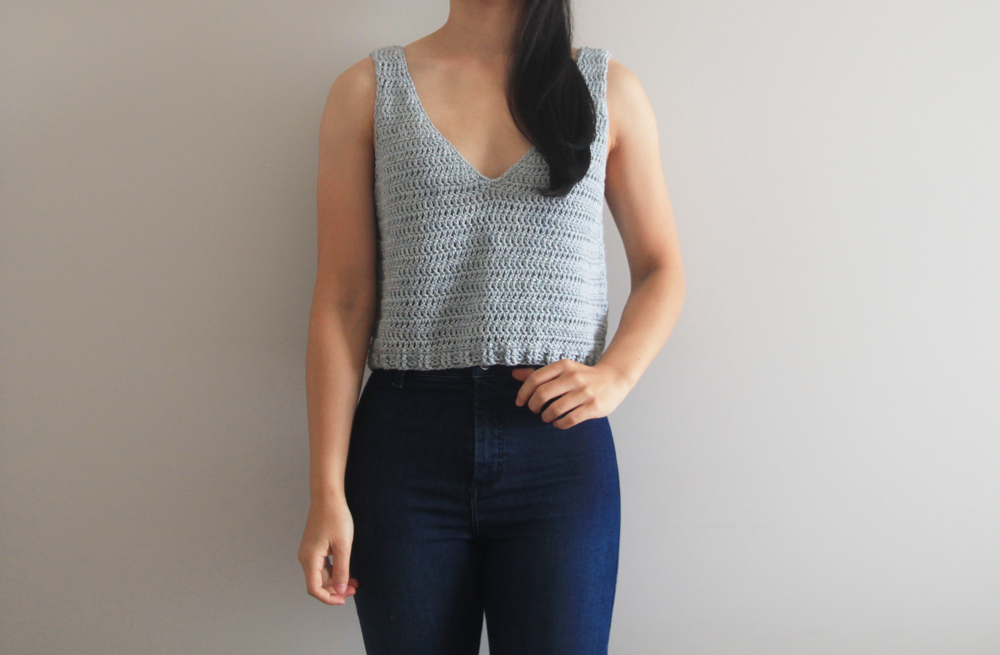
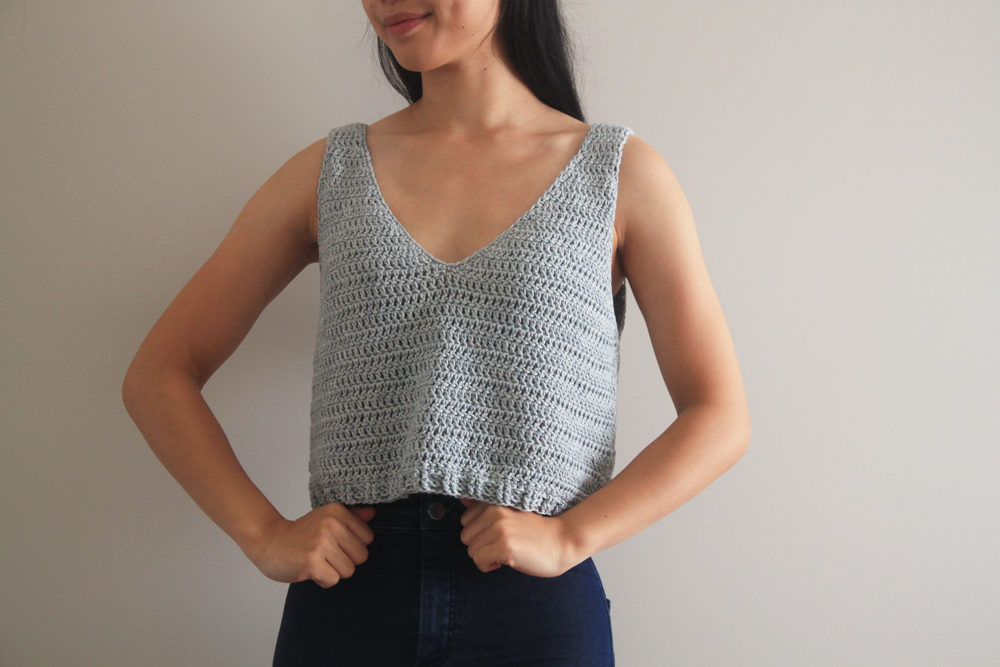
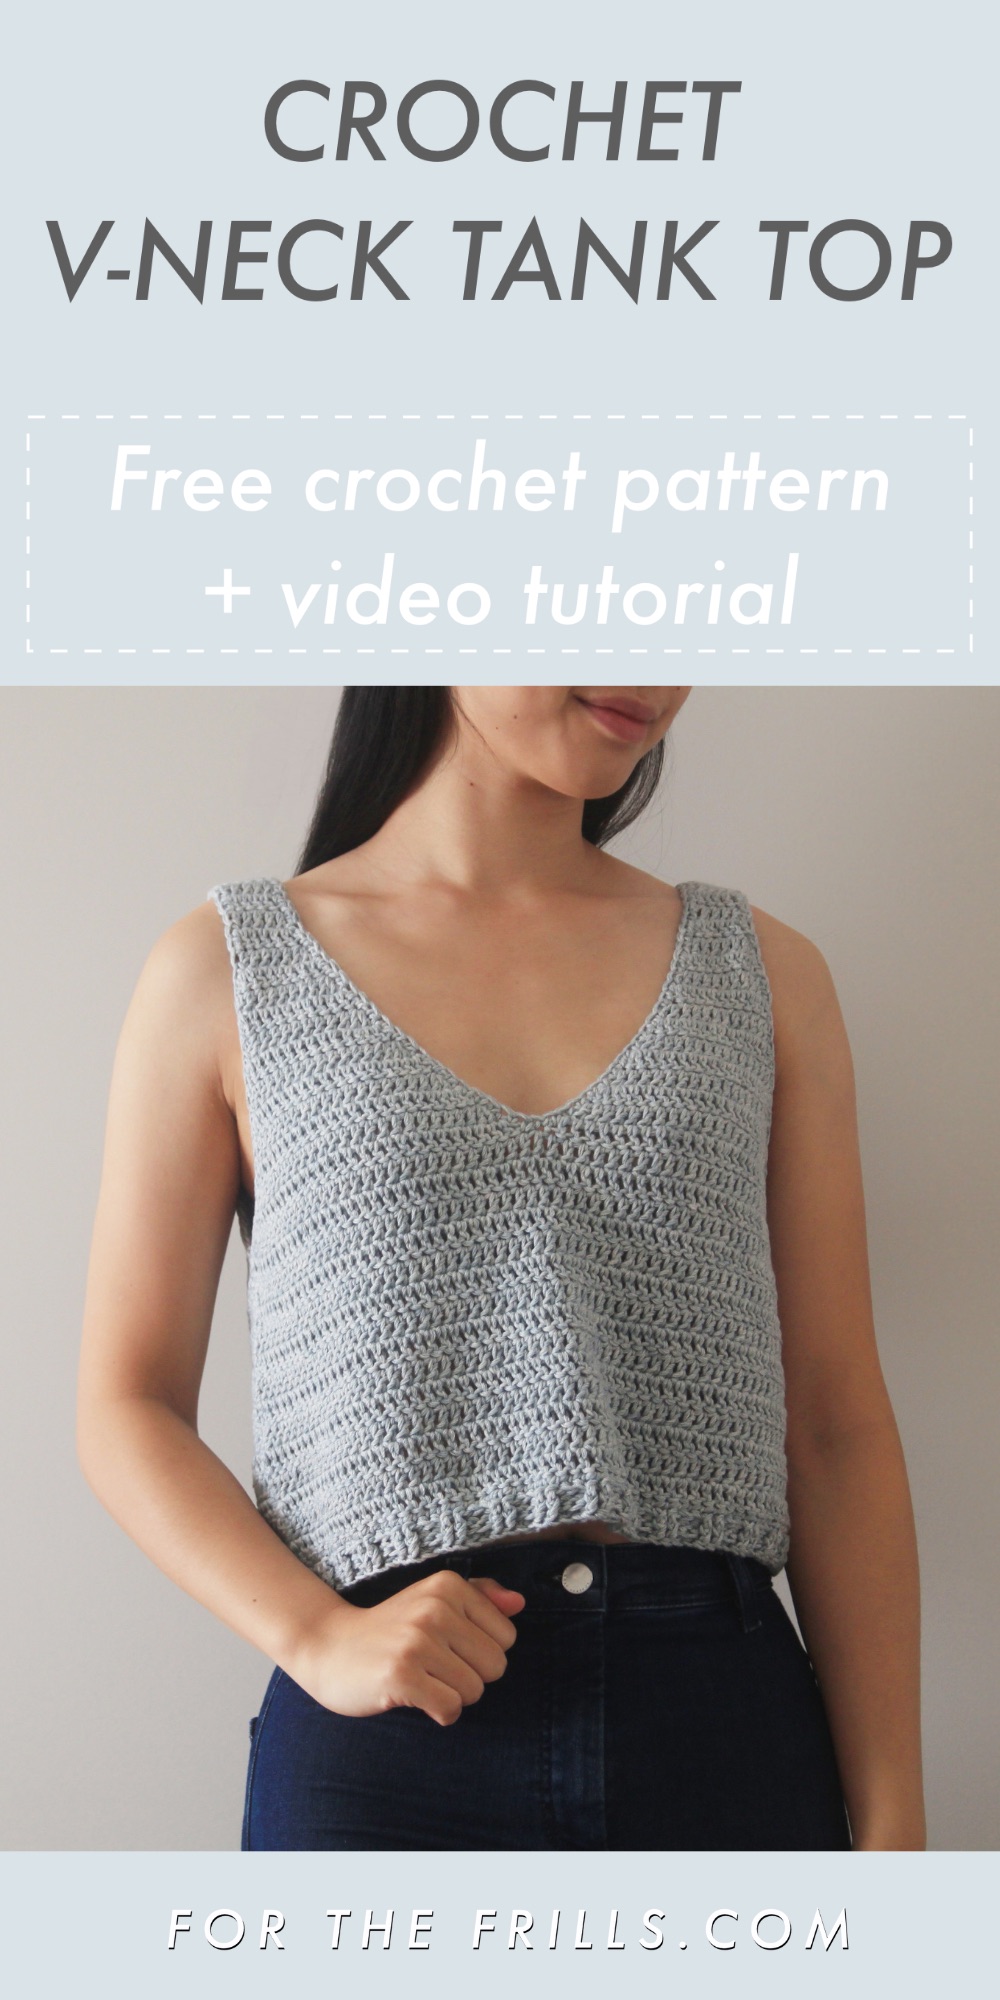
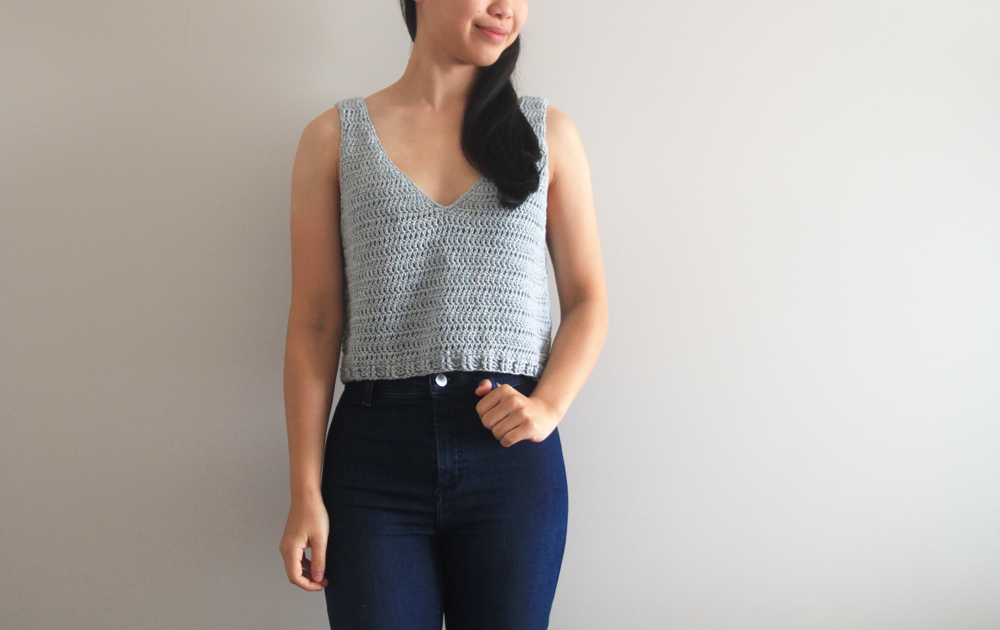
Modern, stylish and light, the Sea Breeze Tank Top is a summer wardrobe essential! With a deep neck, boxy fit and ribbed hem, this super simple pattern can be customised to any length – cropped or full length! Let’s learn how to crochet a beginner friendly tank top!
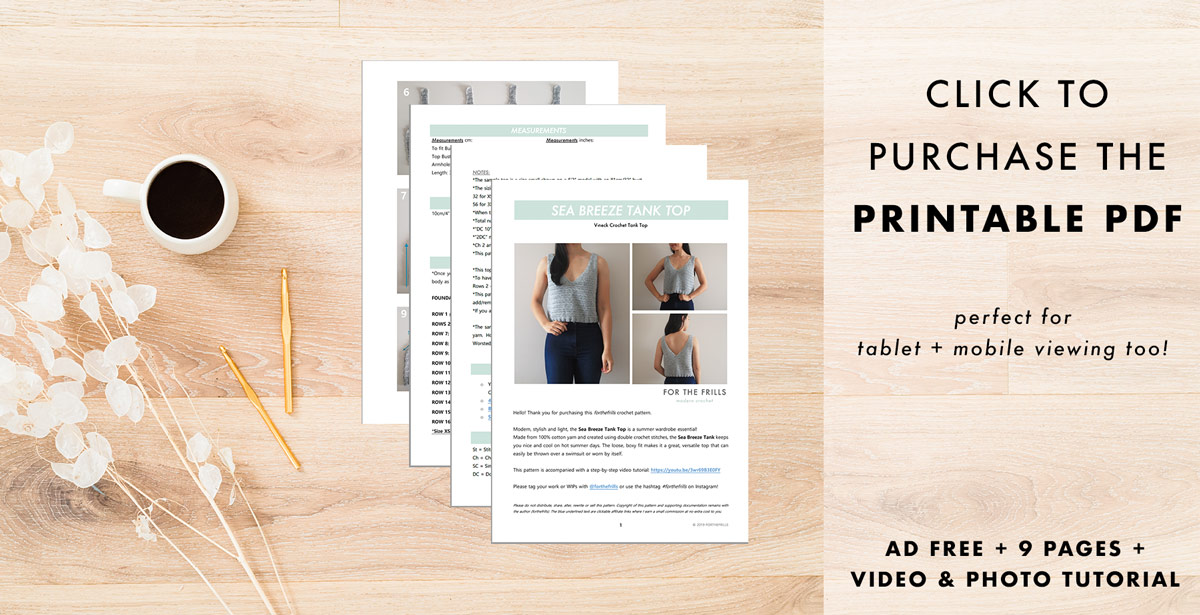
Scroll down for the free crochet tank top pattern and step-by-step video tutorial or purchase the ad-free, printable PDF here.
This post may contain affiliate links, view our disclosure policy for details.
Made from 100% cotton yarn and created using double crochet stitches, the Sea Breeze Tank keeps you nice and cool on hot summer days. The loose, boxy fit makes it a great, versatile top that can easily be thrown over a swimsuit or worn by itself.
Beginner Crochet Stitches
If you’re looking your very first crochet wearable project, the Sea Breeze Tank Top perfectly fits the bill! The majority of this pattern is worked in double crochets (the straps and the body) which means it works up quickly. There’s nothing more satisfying than seeing your crochet project grow before your eyes.
Check out more beginner friendly crochet garments here!
When you’re learning to crochet garments starting with quick, easy to follow stitches are so helpful as you can visually keep track of your row and stitch counts. The double crochet stitch is also a very tall stitch so you can easily spot any mistakes or dropped stitches.
This crochet tank top is finished off with front and back post double crochets on the hem and single crochets are added to the neckline and armholes to create smooth edging. If you’re unfamiliar with any of these crochet stitches, don’t worry! They are all demonstrated in the step-by-step video tutorial.
Tank Top Construction
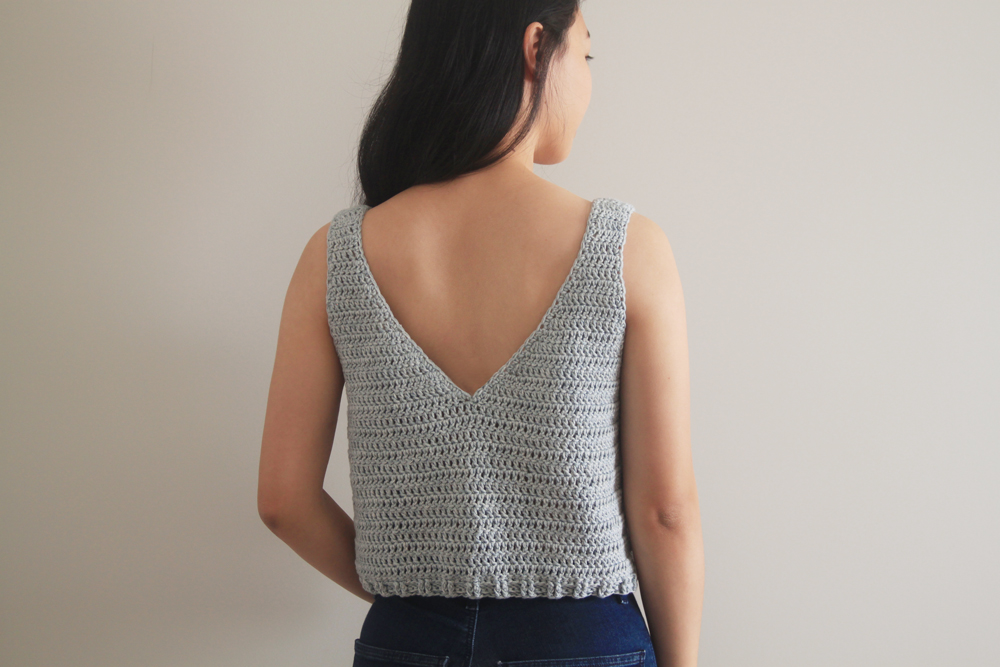
The Sea Breeze Tank Top is worked from the top down and widthways. Working a crochet project widthways means that stitches across = width of the top, while the rows tall = length of the top.
Since we’re working top down, we’ll start at the straps. We’ll increase along the edges of the straps by placing 2 double crochets into the same stitch. As we increase you’ll notice that the strap turns into a triangle. The triangle shape is what creates the V-neck along the tank top.
We’ll crochet 2 triangles separately for either side of the top (a right triangle and a left triangle) and then join them together to extend the length of the body with double crochets.
The front and back of this top are identical! So repeat all the same steps for the 2nd side. After you’ve crocheted the front and back, simply sew the tops of the straps and sides together.
The best thing about this top-down construction method is that you can hold the project up to your body (or garments that you already own) and adjust the length as necessary. To make your crochet top longer or shorter you can crochet more or fewer rows of double crochets.
Just remember that the ribbing will add an extra 1-2” to the length of your top and that almost all crochet projects tend to stretch out over time. For this tank top pattern, if you’re in between sizes I’d recommend sizing down since its designed to have a very low V-neck and loose boxy fit.
If you’re a beginner crocheter or you just want to learn more about crochet garments check out this blog post – 5 Tips for Perfect Fitting Crochet Garments!
Design Inspiration
The inspiration for this design is simple 🙂 One of you lovely Youtube subscribers asked me to design a V-neck Tank Top. Since summer was just around the corner, I thought it was a great idea!
I played around with a bunch of different stitches and constructions but ultimately, I decided that the wide thick straps and simple v-neck would be most flattering on a wide variety of body types! Personally, I really loved the look of a very low v but I also didn’t want the tank top to be too revealing or difficult to wear.
Many crocheters ask me what I wear under crochet crop tops, tank tops, tees etc. I always recommend wearing a skin-coloured bra with straps. It’s the easiest option and if you have a project where you can choose the strap placement and sew them on (for patterns like this check out the Mya Crop Top or Blair Crop Top).
I recommend trying on your project with your skin coloured bra underneath and then add the crochet straps to make sure they’re in the right place.
In this design I’m wearing a size small (I’m normally right in between an XS and S) but the nature of this design means that you can easily size up or down depending on the type of fit you want.
I’ve also created a size chart according the standard size measurements however once you’ve created your first triangle please try this top or compare the sizing to similar garments you already own. As we all know that even within the same bust measurement, bra size can vary greatly!
Yarn
For the Sea Breeze Tank Top, I used Debbie Bliss Cotton Denim DK in the shade pale blue. Debbie Bliss Cotton Denim DK is one of my favourite cotton yarns that I’ve ever worked with!
I love the washed-out neutral colour palette (all the shades a ‘denim colours, so a range of blues, greys and white) and you get a good amount of yardage for the weight of the yarn. I’m already imagining more projects (maybe a cotton dress 😉 using this yarn!
If you would like to substitute this cotton denim yarn, I’d highly recommend choosing a very thick DK/Light (3) or a thin Aran / Medium (4) yarn. This yarn is definitely on the thicker side of a DK cotton yarn.
Some suitable alternatives are –
- Lion Brand Coboo Yarn – a very soft and silky cotton bamboo blend
- WeCrochet Comfy Color Mist – there’s also a range of solid colours!
However, as always don’t forget to crochet a gauge swatch and adjust your tension or hook size if necessary to make sure it matches the pattern.
Check out more free crochet patterns here!
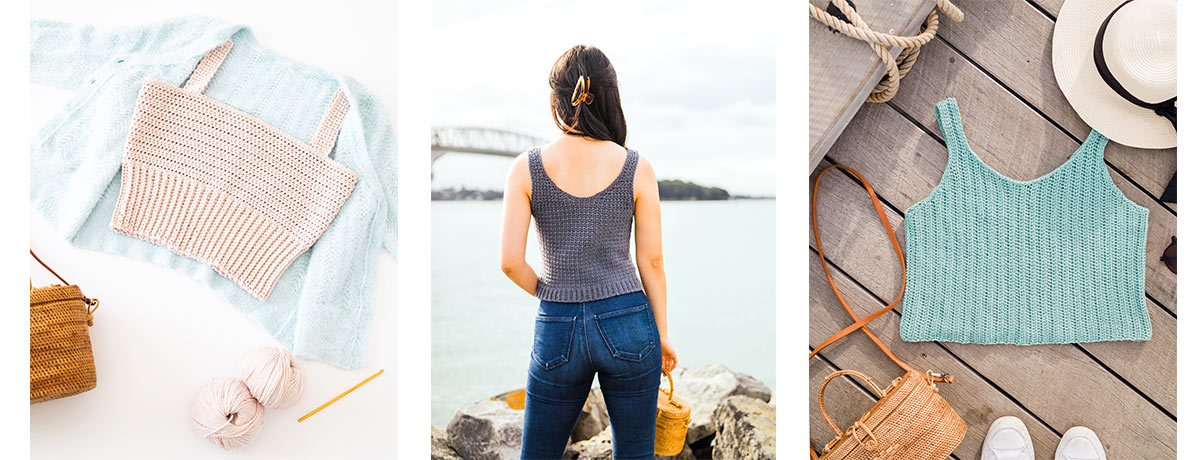
1. Blair Crop Top / 2. Terrazzo Tank Top / 3. Sagebrush Tank Top
Discover more free summer crochet patterns!
Pin me for later!
Video Tutorial
Are you a visual learner that loves step-by-step tutorials? Learn how to crochet this beginner, double crochet tank top in the video below! You can also check out the For The Frills YouTube channel for more crochet tutorials!
Add the Sea Breeze Tank Top to your Ravelry queue!
Ad-free, printable pdf version of the Sea Breeze Tank!
NOTES:
*The sizing
guide follows size XS(S, M, L, XL, 2XL, 3XL). E.g. “Ch 32(36, 40,
44, 48, 52, 56) means Ch 32 for XS, Ch 36 for Small, Ch 40 for Medium, Ch 44 for Large,
Ch 48 for XL, Ch 52 for 2XL and Ch 56 for 3XL
*When there is only one number, e.g.
Ch 7, this number applies to all sizes
*Total number of stitches is listed between < >
*”DC 10″ means DC into the next 10 stitches
*”2DC” means place 2 DC into the same stitch
*Ch 2 and Ch 1 does
NOT count as a stitch
*This pattern uses US crochet terms
*Sample is a size small shown on a 5’3” model with a 32” bust.
*This top is designed for the V to fall directly in middle of the bust area. To have more coverage/the V to be higher, I recommend working to Rows 2 – 4 instead of Rows 2 – 6 when creating the straps.
MINI EXPLANATION:
An easy V-neck crochet tank top, that’s perfect for summer and hot beach days. Crocheted with single crochet, double crochet and front and back post double crochet stitches, this pattern is worked flat, top down and in 2 identical pieces.
Materials
Yarn – Debbie Bliss Cotton Denim DK – DK (8 ply), 200m/100g, 100% Cotton in Pale Blue
Skeins – 2(2, 3, 4, 4, 5, 5)
Stitches
st = stitch
Ch = Chain
SC = Single
Crochet
DC = Double Crochet
FpDC = Front
Post Double Crochet
BpDC = Back Post Double Crochet
LEVEL: Easy
GAUGE: 10cm/4” square = 13 stitches wide x 9 rows tall in double crochet
Measurements (cm):
Bust: 76(86,
96, 105, 115, 124, 133)
Armhole: 19(21,
23, 25, 26.5, 28, 30)
Length: 37(39, 41, 43, 45, 47, 49)
Measurements (inches):
Bust: 30(34,
38, 41.5, 45, 49, 52.5)
Armhole: 7.5(8.5,
9, 10, 10.5, 11, 12)
Length: 14.5(15.5, 16, 17, 17.5, 18.5, 19)
Sea Breeze Tank Top Pattern
LEFT TRIANGLE
*Once you’ve finished your left triangle, I highly recommend trying it on/holding it up to your body as bust size can vary greatly within the same size – you may need to size up or size down.
FOUNDATION
CHAIN:
Ch 7.
ROW
1:
DC into the 3rd chain from the hook, DC 4. <5>
ROWS
2-6:
Ch 2, turn, DC 5. <5>
ROW
7:
Ch 2, turn, 2DC, DC 4. <6>
ROW
8:
Ch 2, turn, DC 5, 2DC. <7>
ROW
9:
Ch 2, turn, 2DC, DC 5, 2DC. <9>
ROW
10:
Ch 2, turn, DC 8, 2DC. <10>
ROW
11:
Ch 2, turn, 2DC, DC 9. <11>
ROW
12:
Ch 2, turn, DC 10, 2DC. <12>
ROW
13:
Ch 2, turn, 2DC, 2DC, DC 10. <14>
ROW
14:
Ch 2, turn, 2DC, DC 11, 2DC, 2DC. <17>
ROW
15:
Ch 2, turn, 2DC, DC 15, 2DC. <19>
ROW
16:
Ch 2, turn, 2DC, DC 17, 2DC. <21>
*Size XS – Fasten off. Proceed to Right Triangle instructions.
Sizes
(S, M, L, XL, 2XL, 3XL)
ROW
17:
Ch 2, turn, 2DC, 2DC, DC 18, 2DC. <24>
ROW
18:
Ch 2, turn, 2DC, DC 22, 2DC. <26>
*Size S – Fasten off. Proceed to Right Triangle instructions.
Sizes
(M, L, XL, 2XL, 3XL)
ROW
19:
Ch 2, turn, 2DC, 2DC, DC until last st, 2DC into last stitch. <29>
ROW
20:
Ch 2, turn, 2DC, DC until last 2 sts, 2DC, 2DC. <32>
*Size M – Fasten off. Proceed to Right Triangle instructions.
Sizes (L, XL, 2XL, 3XL) repeat ROWS 19-20 until ROW (22, 24, 26, 28).
<38, 44, 50, 56>
Fasten off. Proceed to Right Triangle instructions.
RIGHT TRIANGLE
FOUNDATION
CHAIN:
Ch 7.
ROW
1:
DC into the 3rd chain from the hook, DC 4. <5>
ROWS
2-6:
Ch 2, turn, DC 5. <5>
ROW
7:
Ch 2, turn, DC 4, 2DC. <6>
ROW
8:
Ch 2, turn, 2DC, DC 5. <7>
ROW
9:
Ch 2, turn, 2DC, DC 5, 2DC. <9>
ROW
10:
Ch 2, turn, 2DC, DC 8. <10>
ROW
11:
Ch 2, turn, DC 9, 2DC. <11>
ROW
12:
Ch 2, turn, 2DC, DC 10. <12>
ROW
13:
Ch 2, turn, DC 10, 2DC, 2DC. <14>
ROW
14:
Ch 2, turn, 2DC, 2DC, DC 11, 2DC. <17>
ROW
15:
Ch 2, turn, 2DC, DC 15, 2DC. <19>
ROW
16:
Ch 2, turn, 2DC, DC 17, 2DC. <21>
*Size XS – do not fasten off! Proceed directly to Joining Row instructions.
Sizes
(S, M, L, XL, 2XL, 3XL)
ROW
17:
Ch 2, turn, 2DC, DC 18, 2DC, 2DC. <24>
ROW
18:
Ch 2, turn, 2DC, DC 22, 2DC. <26>
*Size S – do not fasten off! Proceed directly to Joining Row instructions.
Sizes
(M, L, XL, 2XL, 3XL)
ROW
19:
Ch 2, turn, 2DC, DC until last 2 sts, 2DC, 2DC. <29>
ROW
20:
Ch 2, turn, 2DC, 2DC, DC until last st, 2DC into the last st. <32>
*Size M – do not fasten off! Proceed directly to Joining Row instructions.
Sizes (L, XL, 2XL, 3XL) repeat ROWS 19-20 until ROW (22, 24, 26, 28).
<38, 44, 50, 56>
Do not fasten off! Proceed directly to Joining Row instructions.
JOINING ROW
JOINING ROW: Ch 2, turn, 2DC, 2DC, DC 18(23, 29, 35, 41, 47, 53, 59), 2DC into last st of Right Triangle.
<24, 29, 35, 41, 47, 53, 59>
Place the Left
Triangle (with the right side facing up) to the left of the Right
Triangle.
2DC into the first st of the Left Triangle, DC 18(23, 29, 35, 41, 47, 53, 59), 2DC, 2DC.
<48, 58, 70, 82, 94, 106, 118>
BODY
BODY ROW 1: Ch 2, turn, 2DC, 2DC, DC in each st until the last 2 sts, 2DC, 2DC.
<52, 62, 74, 86, 98, 110, 122>
BODY
ROW 2:
Ch 2, turn, DC in each st until the end of the row.
<52, 62, 74,
86, 98, 110, 122>
Repeat BODY ROW 2 until ROW 13.
*You can add or remove rows to reach your desired length – please keep in mind that the ribbing adds 2cm/0.75”.
RIBBING
ROW 1: Ch 1, turn, SC in each st until the end of the row.
<52, 62, 74, 86, 98, 110, 122>
ROW 2: Ch 2, turn, *FpDC into the next 2 sts, BpDC into the next 2 sts; rep from * until last 2 sts, FpDC, DC.
<52, 62, 74, 86, 98, 110, 122>
ROW 3: Ch 2, turn, DC, BpDC, *FpDC 2, BpDC 2; rep from * until end, DC into the 2nd chain (at the beginning of ROW 2).
<53, 63, 75, 87, 99, 111, 123>
*The extra DC at the end helps the edges of the top stay straight and neat.
Repeat all steps for the 2nd side of the top.
ASSEMBLY
Lay the 2 pieces of the top directly on top of each other. Sew the straps and the sides off the top together.
FINISHING
At the bottom of an armhole, insert hook, secure yarn and pull up a loop.
Ch 1, SC evenly
along the edge of the armhole, making sure that your stitches are not too
tight.
Sl st into first SC to join. Fasten off.
Repeat for the 2nd armhole.
Insert hook
along the V-neck, secure yarn and pull up a loop.
Ch 1, SC evenly
along the edge of the V-neck, making sure that your stitches are not too tight.
Sl st into first SC to join. Fasten off.
Weave in all of your ends. You’ve finished your Sea Breeze Tank Top!
Looking for your next crochet project?
The post Easy V-neck Tank Top – Free Crochet Pattern DIY + Video Tutorial appeared first on For The Frills.