Looking to crochet your first sweater? The Briar Pocket Cardigan is a simple and easy crochet pattern that’s perfect for beginner crocheters!

This free crochet cardigan pattern is accompanied by a step-by-step video tutorial.
This post may contain affiliate links, view our disclosure policy for details.
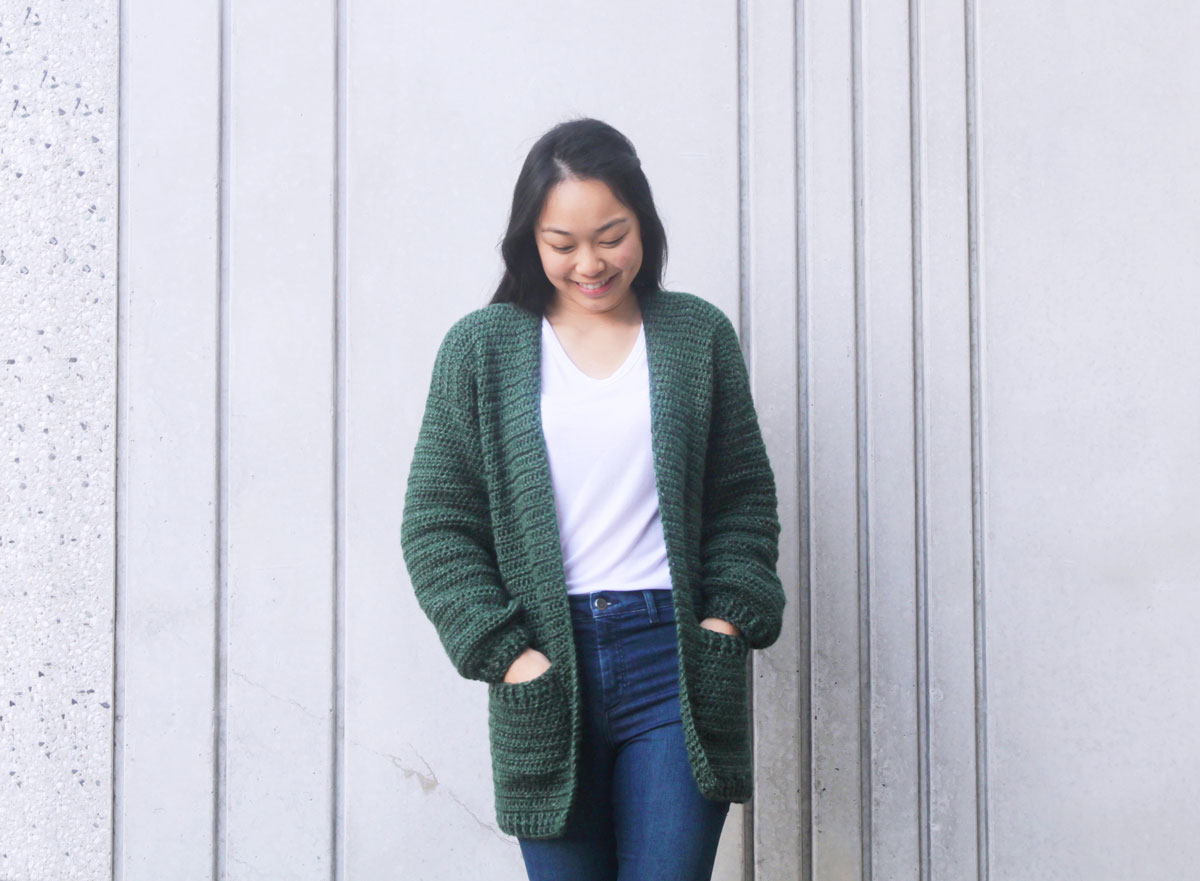
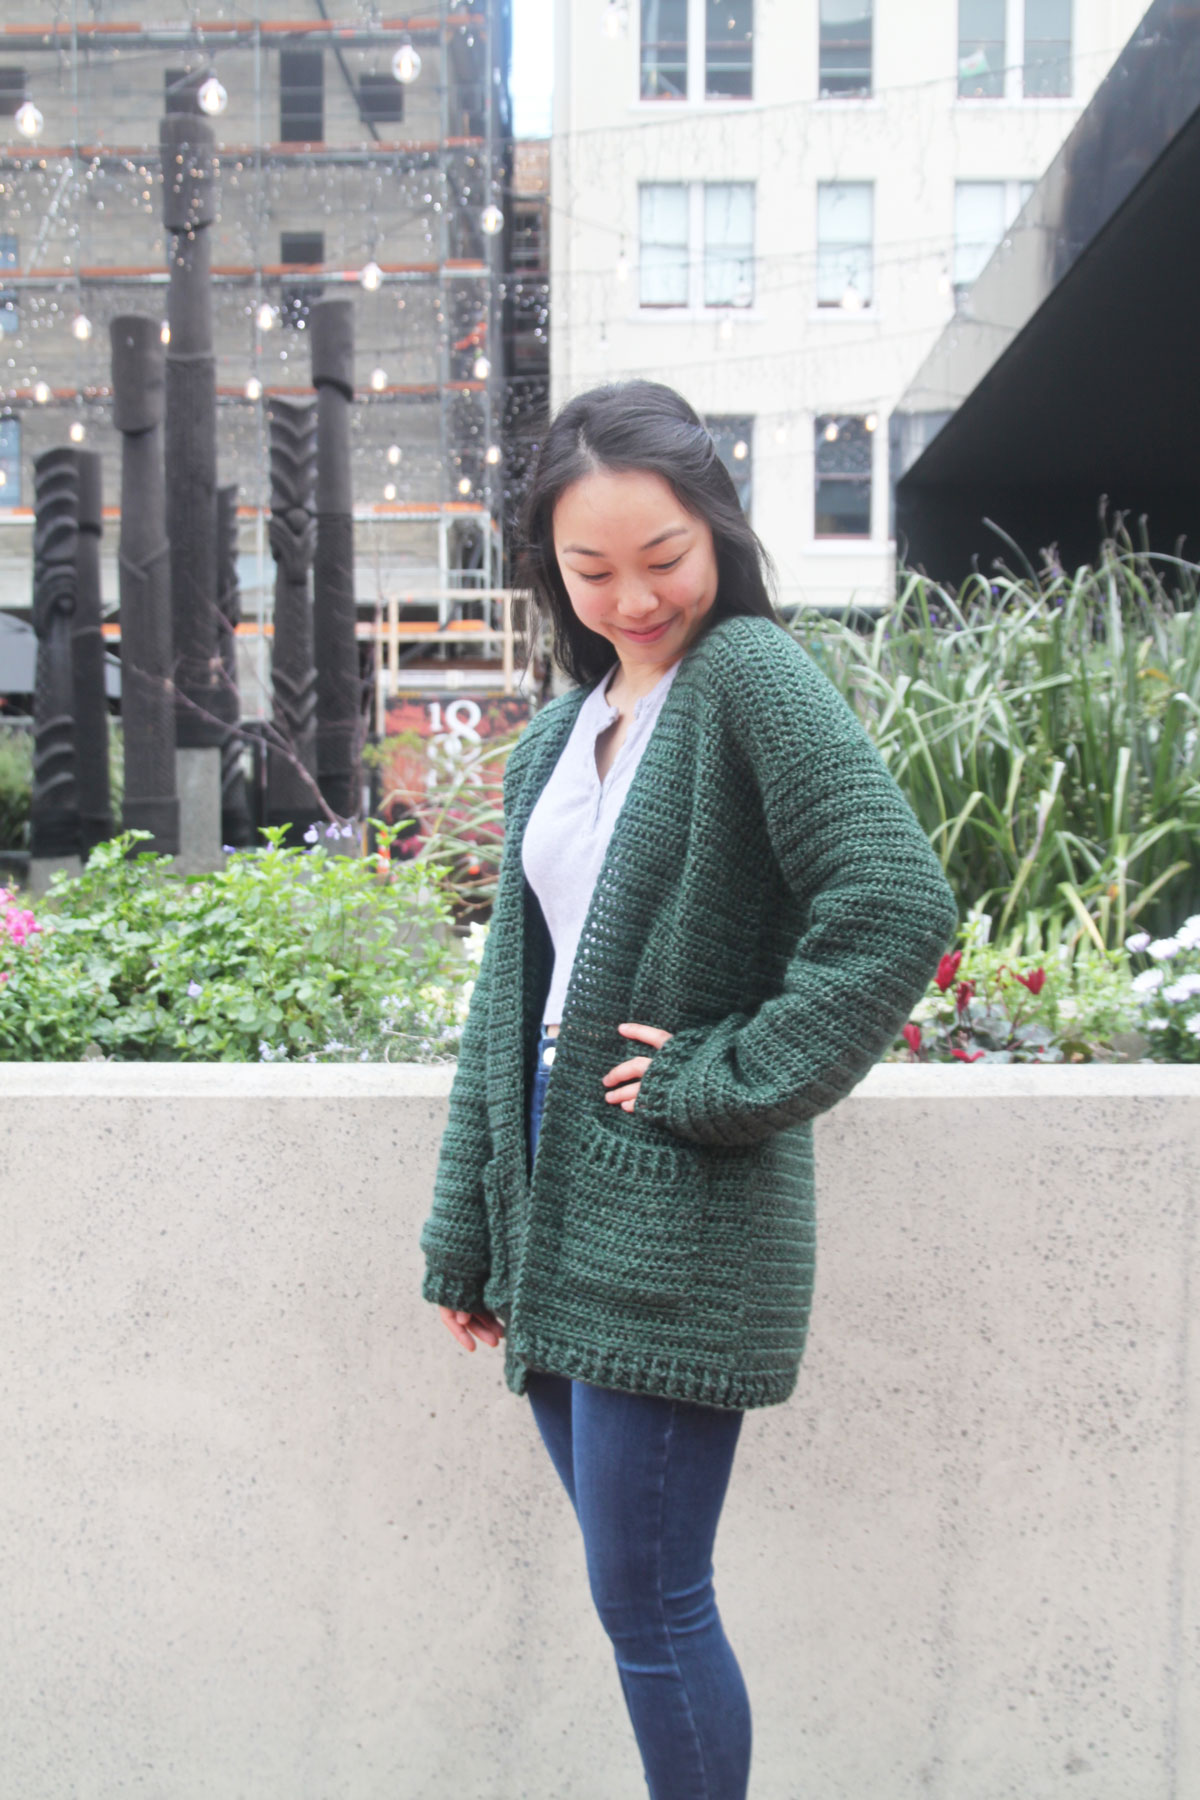
The Briar Cardigan is cosy and oversized with loose, slouchy sleeves and simple hemline ribbing. It’s the perfect crochet cardigan for chilly fall days as the relaxed fit allows you to wear heaps of layers underneath! Pair it with jeans, over a flowy dress and since its quite long you can wear it over leggings too ?
This simple crochet cardigan also features two handy pockets that can fit a full-sized smartphone inside. Worked up in half double, double, front and back post double crochet, the Briar Cardigan is a wonderful easy crochet cardigan pattern that is great for first time or beginner crochet garment makers!
The body of the cardigan is worked in one piece with the half double crochet stitch and we’ll start by crocheting the back panel. Then, we crochet across half of the back panel to create the first front panel, re-attach the yarn along the edge of the back panel and crochet the second front panel.
The sleeves are worked from the cuffs up and then the sewn together along the long edge. The sleeves are stitched to the body and the sides of the body are sewn together.
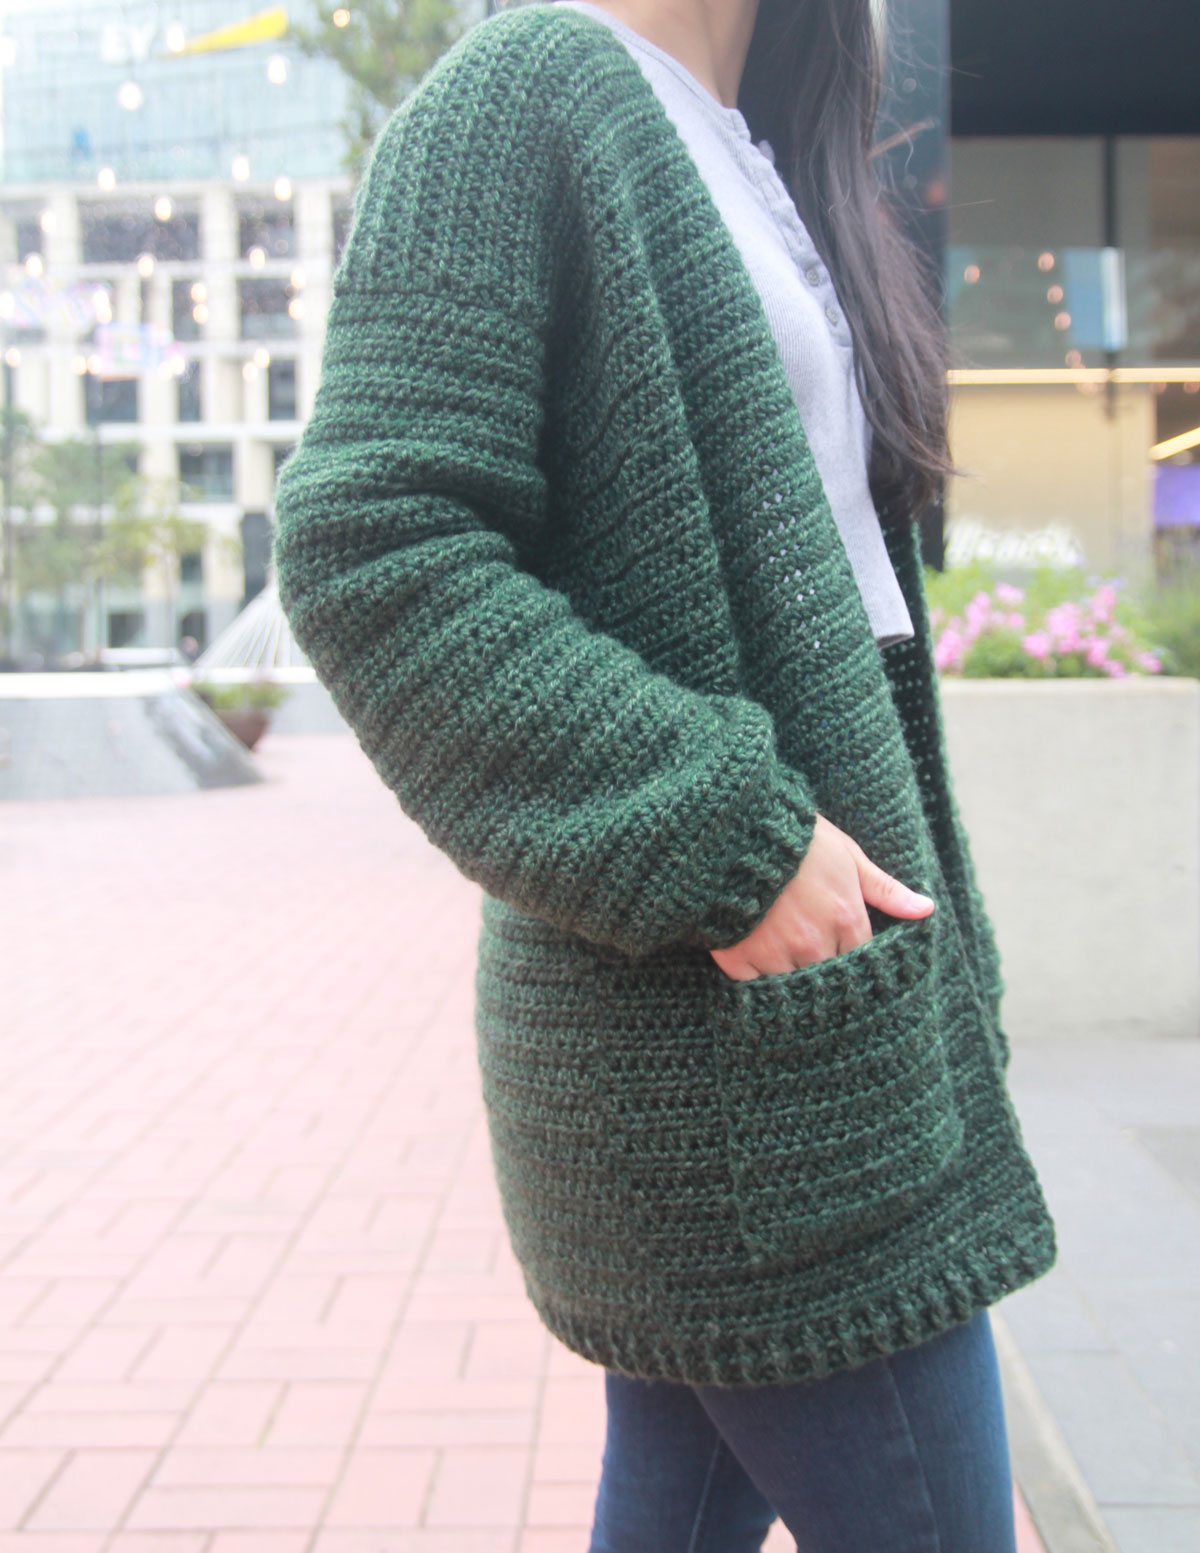
The cardigan is finished off with a few rows of front and back post half double crochets along the hemline and then we’ll use single crochets to neaten the neckline. Update: So many of you have asked if you can add ribbing to the neckline and YES you can! I’ve also included instructions for neckline ribbing (that matches the hemline ribbing) but just take into account that you might need extra yarn!
If you’re looking to make your first crochet sweater this would be it! Simple stitches and only 2 rows of shaping in the whole pattern combined with the relaxed oversize fit means that this pattern is VERY forgiving and likely to fit.
Design Inspiration
With the seasons rapidly changing, I set out to create the ultimate transitional cardigan that is super easy to crochet! Whether you’re going from summer to fall or winter to spring, the Briar Pocket Cardigan is a wonderful layering garment.
I wanted this design to be a great throw over and go piece so no matter what you’re wearing, you should be able to pop on this crochet sweater for a casual, cosy look!
When I started designing this cardigan I knew I wanted it to be long, slouchy and have pockets but for the longest time I debated over having visible statement pockets or clean, hidden pockets. In the end I settled for the large, chunky pockets and I love the result. You could also leave off the pockets entirely for smooth, clean silhouette.
The sleeves are not quite straight but not quite bubble sleeves so your arms feel nice and free while still having some shape. If you’re looking to dip your toes into the crochet garment world this design is the ultimate beginner crochet cardigan – there is hardly any shaping at all (only two rows) and the oversized fit in the body and sleeves is super forgiving!
Since the body and sleeves are designed to be quite oversized make sure to check the measurements so you can get the right fit. Choosing your normal t-shirt size will result in an oversized crochet cardigan (as pictured on me), but if you want a more fitted cardigan feel free to size down.
Just make sure that your actual hip measurement is less than the ‘bust’ measurement so that the cardigan will still fit comfortably around your body.
Yarn
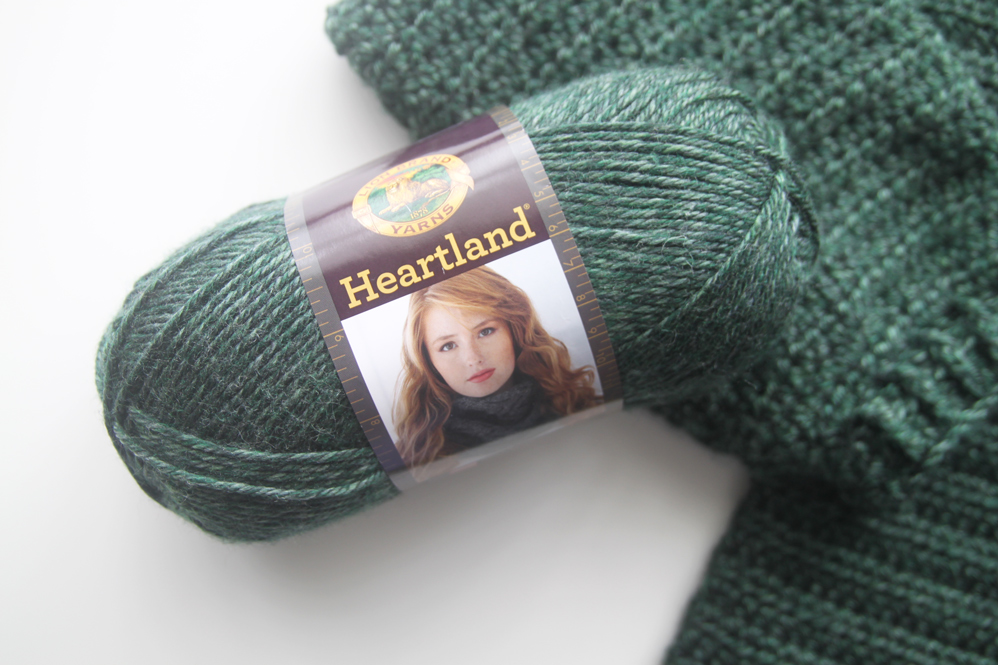
For this project I used Lion Brand Heartland in the colour King’s Canyon. I’m in love with the rich forest green shade (one of my all-time favourite colours!) and upon closer inspection it’s not a solid colour, it’s twisted with a light green-gray strand which gives this yarn wonderful dimension.
The colour range is filled with gorgeous deep, jewel tones and neutral shades. I think I might need to remake this cardigan in Mount Rainier which is a gorgeous light grey!
Lion Brand Heartland is a 100% acrylic but it’s super soft and has incredible drape which really helps to create the oversized slouchy look of the crochet cardigan. The yarn feels very smooth and sleek (as opposed to fluffy) and the sleek twist makes the garment a lot more durable. To top it all off Heartland is also machine washable, yay!
Lion Brand Heartland is classified as an aran/worsted yarn and it’s a bit on the thicker side so make sure you choose a thicker aran/worsted yarn that’s suitable for a 6.5mm hook. Since the yarn is quite thick, this cardigan works up so quickly and it’s so satisfying when you can see your crochet project grow before your eyes!
I’m so happy to be making thicker yarn projects and after months of lightweight summer projects my hands were desperate to use a crochet hook larger than a 4mm(US G)!
For some reason small crochet hooks/thin yarn make my yarn holding hand ache but my crocheting hand is always fine? Does anyone else have this problem?
Check out more free crochet sweater patterns!
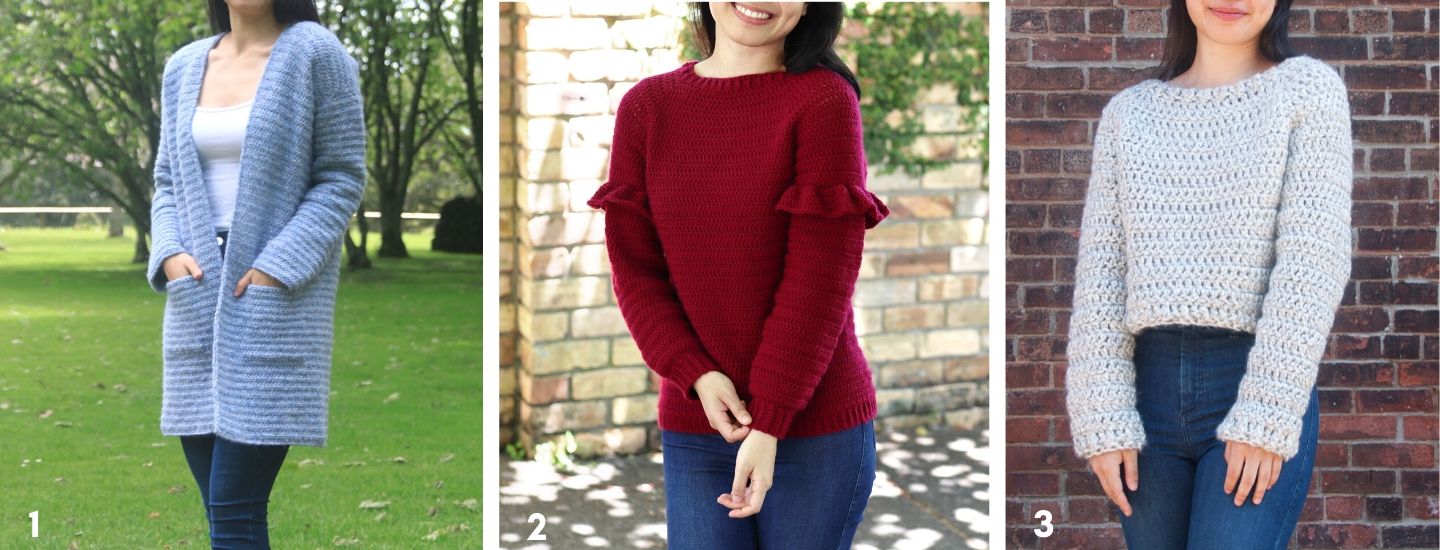
1. Stonewash Pocket Coatigan / 2. Ruffle Crochet Sweater / 3. Chunky Crochet Sweater
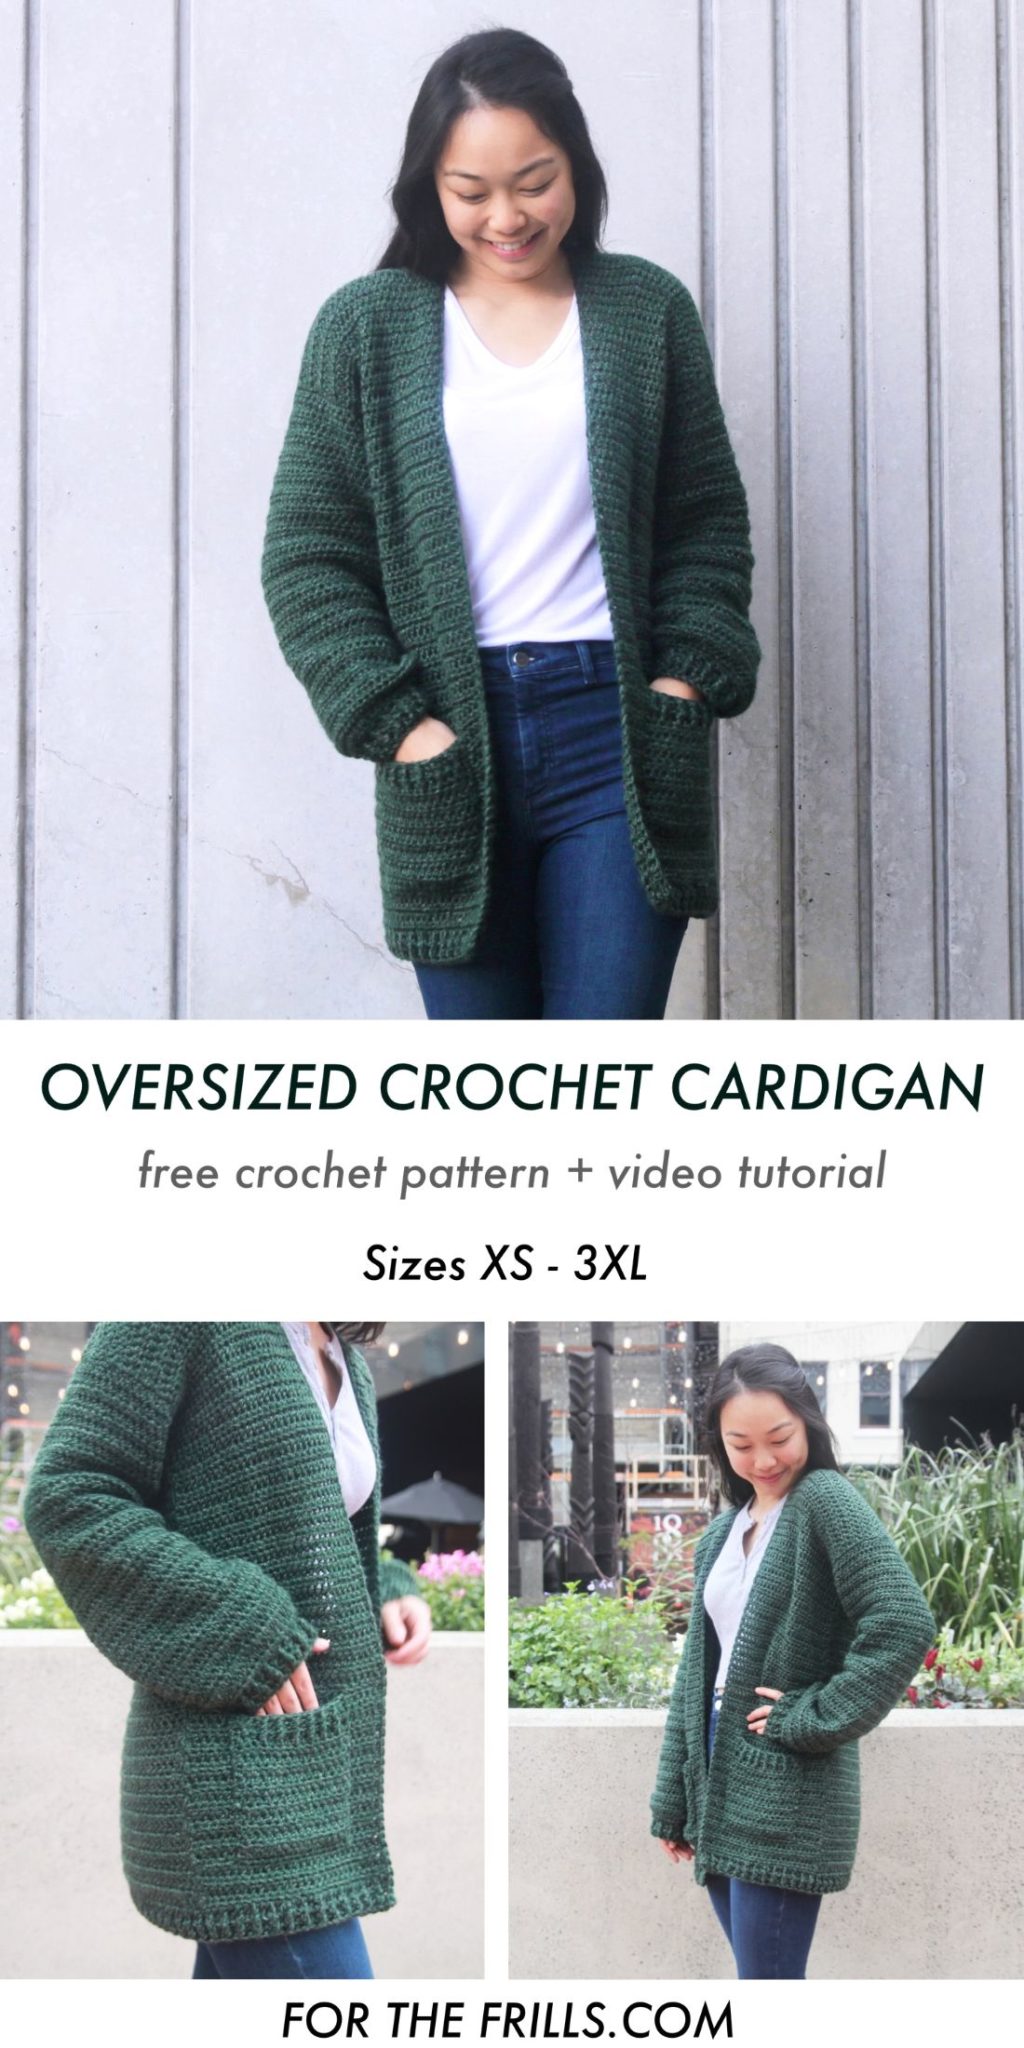
Pin me for later!
*The sizing guide follows size XS(S, M, L, XL, 2XL, 3XL). E.g. “Ch 57(63, 69, 75, 81, 87, 93) means Ch 57 for XS, Ch 63 for Small, Ch 69 for Medium, Ch 75 for Large, Ch 81 for XL, Ch 87 for 2XL and Ch 93 for 3XL.
*Sample is a size XS shown on a 5’3” model with a 32” bust.
*”HDC 10″ means HDC into the next 10 stitches.
*”2HDC” means place 2 HDC into the same stitch.
*Ch 1 and Ch 2 do NOT count as a stitch.
*Total stitches are indicated between < >.
*This pattern uses US crochet terms.
Level: Easy
MATERIALS
Yarn – Lion Brand Heartland – Aran/Worsted/Medium (4)/10 ply, 250m/142g, 100% Acrylic, Kings Canyon (180)
5(6, 7, 7, 8, 8, 9) skeins
6.5mm (K) Crochet Hook
Darning Needle
Scissors
STITCHES & ABBREVIATIONS
Ch = Chain
Sl st = Slip Stitch
HDC = Half Double Crochet
DC = Double Crochet
FpDC = Front Post Double Crochet
BpDC = Back Post Double Crochet
St(s) = Stitch(es)
Rep = Repeat
GAUGE: 10cm/4” square = 12 stitches wide x 10 rows tall in half double crochet
Measurements cm:
Width: 47(52, 57, 62, 67, 72, 77)
To fit Bust: 76(86, 96, 107, 117, 127, 137)
Length: 66(66, 68, 68, 70, 70, 72)
Armhole: 18(19, 20, 22, 23, 24, 26)
Sleeve length: 43(43, 45, 45, 46, 46, 47)
Measurements inches:
Width: 18.5(20.5, 22.5, 24.5, 26.5, 28.5, 30.5)
To fit Bust: 30(34, 38, 42, 46, 50, 54)
Length: 26(26, 27, 27, 27.5, 27.5, 28.5)
Armhole: 7(7.5, 8, 8.5, 9, 9.5, 10)
Sleeve length: 17(17, 17.5, 17.5, 18, 18, 18.5)
Oversized Crochet Cardigan Video Tutorial
Add this pattern to your Ravelry queue here!
Purchase the inexpensive ad-free, printable pdf version on Etsy or LoveCrafts!
BRIAR POCKET CARDIGAN
BACK PANEL
FOUNDATION CHAIN: Ch 57(63, 69, 75, 81, 87, 93).
ROW 1: HDC in 2nd ch from the hook, HDC in each ch until end.
<56(62, 68, 74, 80, 86, 92)>
ROW 2: Ch 1, turn, HDC 56(62, 68, 74, 80, 86, 92).
<56(62, 68, 74, 80, 86, 92)>
Repeat ROW 2 until ROW 66(66, 68, 68, 70, 70, 72).
*You can add or remove rows to reach your desired length.
Do not fasten off. Proceed directly to ‘FIRST FRONT PANEL’ instructions.
FIRST FRONT PANEL
ROW 1: Ch 1, turn, HDC 27(30, 33, 36, 39, 42, 45)
<27(30, 33, 36, 39, 42, 45)>
Repeat ROW 1 until ROW 66(66, 68, 68, 70, 70, 72). Fasten off.
*Note – If you added or removed rows, make sure you have the same number of rows as the back panel.
SECOND FRONT PANEL
From the last st of ROW 1 of the ‘FIRST FRONT PANEL’, skip 2 sts, insert hook into the next st, secure yarn and pull up a loop.
ROW 1: Ch 1, HDC 27(30, 33, 36, 39, 42, 45).
<27(30, 33, 36, 39, 42, 45)>
ROW 2: Ch 1, turn, HDC 27(30, 33, 36, 39, 42, 45).
<27(30, 33, 36, 39, 42, 45)>
Repeat ROW 2 until ROW 66(66, 68, 68, 70, 70, 72). Fasten off.
*Note – If you added or removed rows, make sure you have the same number of rows as the back panel.
SLEEVES
Sleeves are worked from the cuff up.
FOUNDATION CHAIN: Ch 26(28, 30, 32, 34, 36, 38).
ROW 1: DC into the 3rd ch from the hook, DC in each ch until end.
<24(26, 28, 30, 32, 34, 36)>
ROWS 2 – 3: Ch 2, turn, DC, *FpDC, BpDC; rep from * until last st, DC into last st.
<24(26, 28, 30, 32, 34, 36)>
ROW 4: Ch 1, turn, *HDC, 2HDC; rep from * until end.
<36(39, 42, 45, 48, 51, 54)>
ROW 5: Ch 1, turn, HDC 3(2, 5, 4, 3, 2, 5), 2HDC, *HDC 3, 2HDC; rep from * until end.
<45(49, 52, 56, 60, 64, 67)>
ROW 6: Ch 1, turn, HDC in each st until end.
<45(49, 52, 56, 60, 64, 67)>
Repeat ROW 6 until sleeve measures 43(43, 45, 45, 46, 46, 47)cm / 17(17, 17.5, 17.5, 18, 18, 18.5)”
approx. ROW 45(45, 46, 46, 47, 47, 48).
*Sleeves are designed to be long (sleeves fall past wrists and end at the tops of your fingers). If you want shorter sleeves, feel free to crochet fewer rows.
Repeat steps for 2nd sleeve.
POCKETS (optional)
FOUNDATION CHAIN: Ch 17.
ROW 1: HDC into the 2nd ch from the hook, HDC in each ch until end.
<16>
ROWS 2 – 12: Ch 1, turn, HDC in each st until end.
ROW 13: Ch 2, turn, DC in each st until end.
ROWS 14-15: Ch 2, turn, DC, *FpDC, BpDC; rep from * until last st, DC into last st.
<16>
Fasten off and leave a long tail of yarn (approx. 90cm/36”) for sewing.
ASSEMBLY
Fold sleeve in half and line up the middle of the sleeve with the middle of the body panel (where the front and back panels meet). Attach the sleeve to body using stitch markers. Using a darning needle, mattress stitch the sleeves to the body.
Repeat with 2nd sleeve.
Fold the cardigan in half and sew down the sides of the sleeves and the body.
HEMLINE RIBBING
With the right side facing, insert your hook into the corner st of the front body panel. (If you crochet right handed insert hook into the corner st of the left panel (when wearing the cardigan), if you crochet left handed insert hook into the corner st of the right panel).
ROW 1: Ch2, DC in each st along the edge of the hem until you reach the 2nd corner st.
<110(122, 134, 146, 158, 170, 182)>
ROWS 2-3: Ch 2, turn, DC, *FpDC, BpDC; rep from * until last st, DC into last st.
<110(122, 134, 146, 158, 170, 182)>
Do not fasten off. Proceed directly to ‘NECKLINE’ instructions.
NECKLINE
You can choose to crochet a straight neckline (as pictured) or a ribbed neckline (neckline matches the hemline ribbing).
STRAIGHT NECKLINE (as pictured)
Turn and SC along the edge of the neckline. Make sure to space sts out evenly (too many or too few sts will cause the neckline to ruffle or pull). Sl st into the corner DC.
Fasten off.
RIBBED NECKLINE
ROW 1: Turn, Ch 2, DC evenly along the edge of the neckline (too many or too few sts will cause the neckline to ruffle or pull).
ROWS 2-3: Ch 2, turn, DC, *FpDC, BpDC; rep from * until last st, DC into last st.
Fasten off.
POCKET ASSEMBLY
With the right side facing up, pin pockets to desired placement.
Using your tail of yarn, whip st around the edges of the pockets.
Weave in all of your ends. Steam and block.
Volià! You’ve finished your Briar Pocket Cardigan!
The post Easy Pocket Crochet Cardigan – free pattern + video tutorial appeared first on For The Frills.