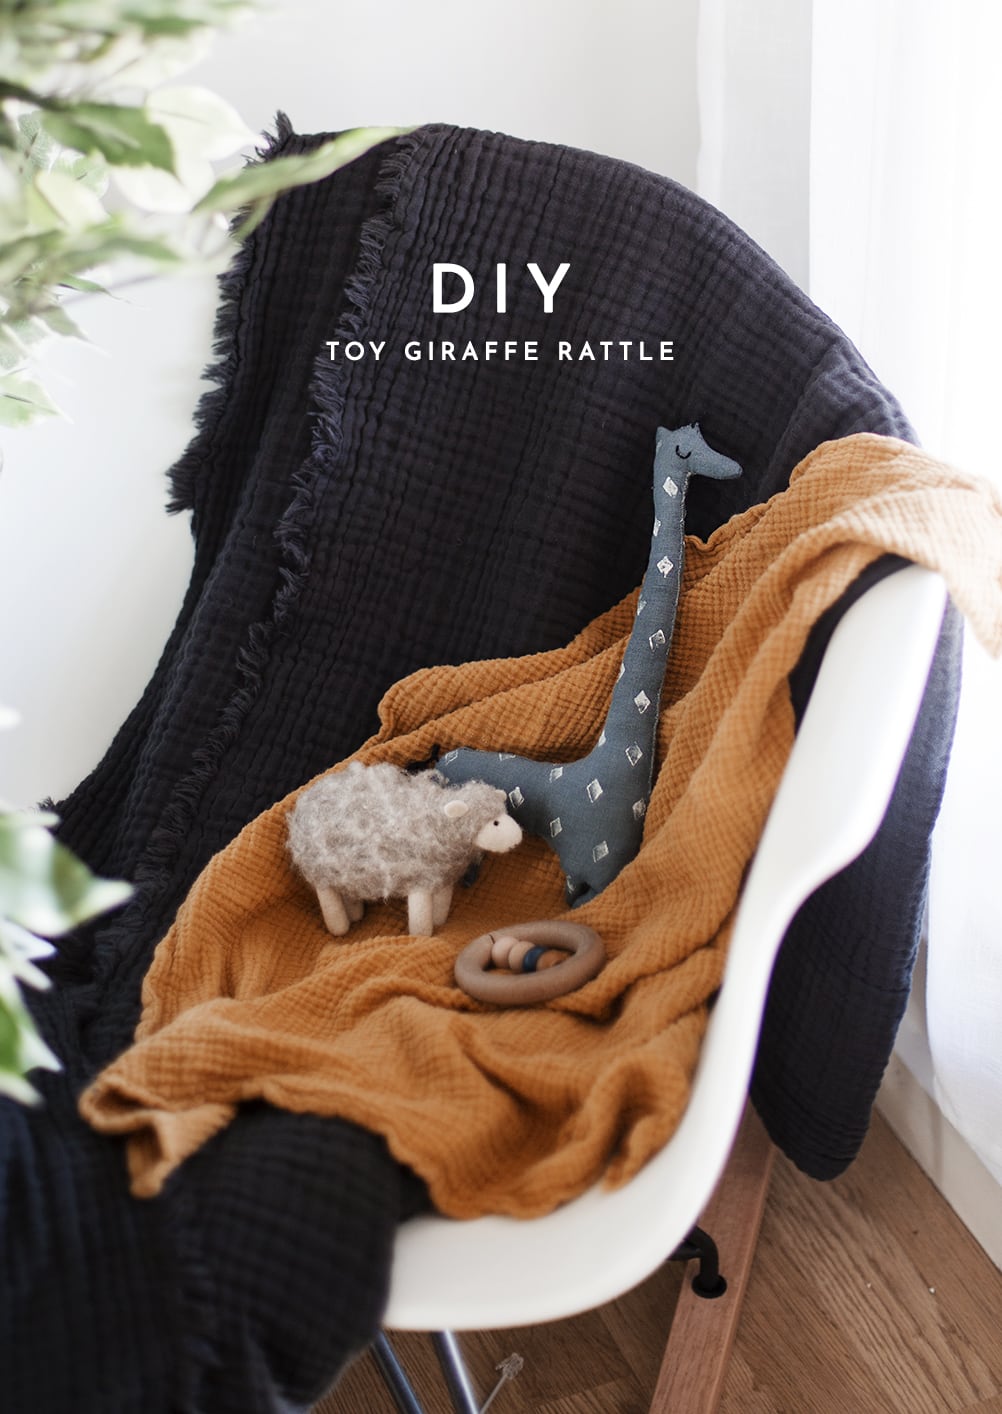
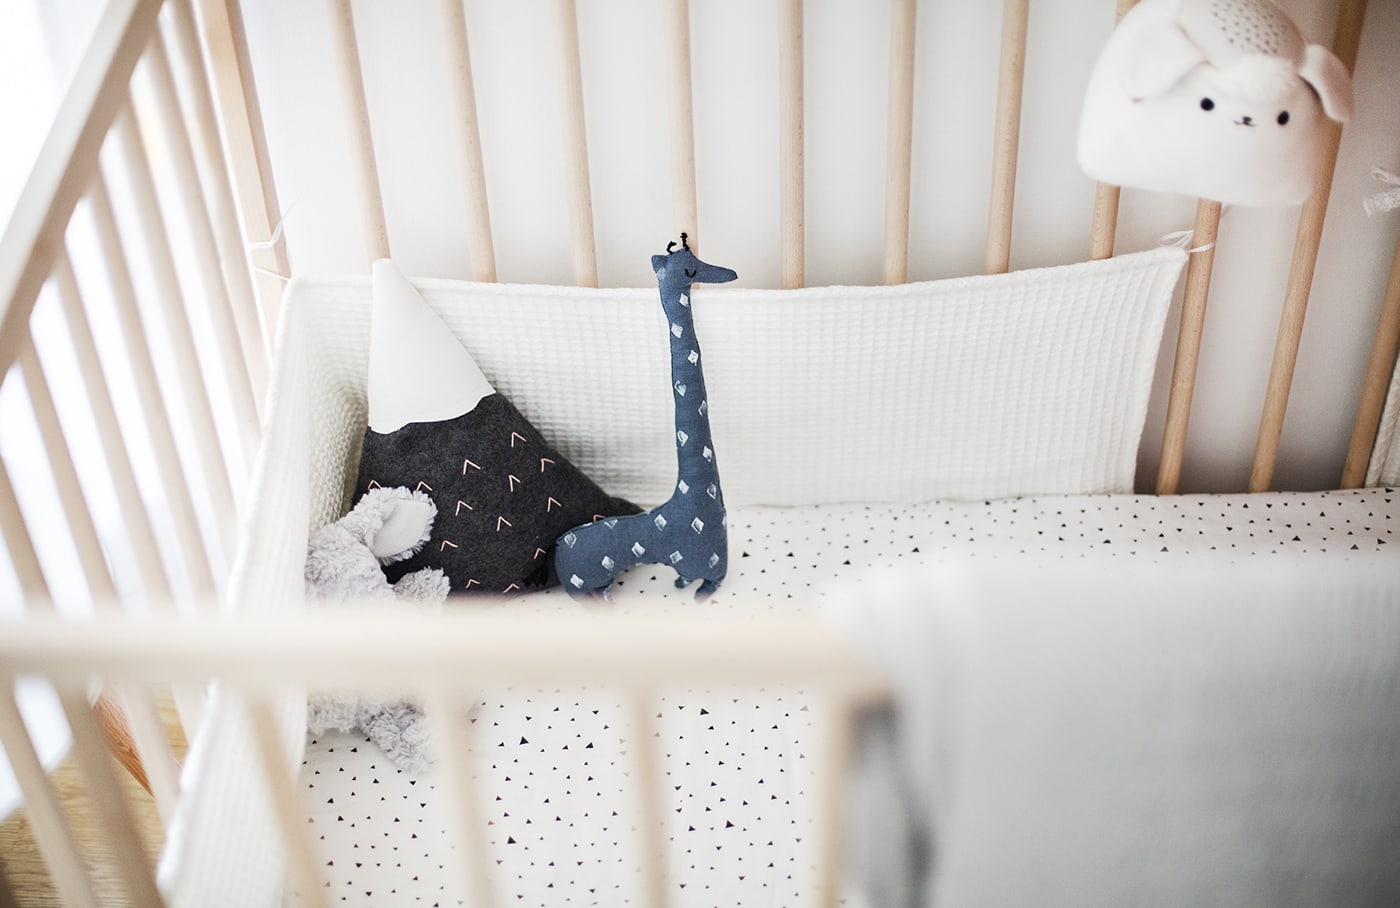
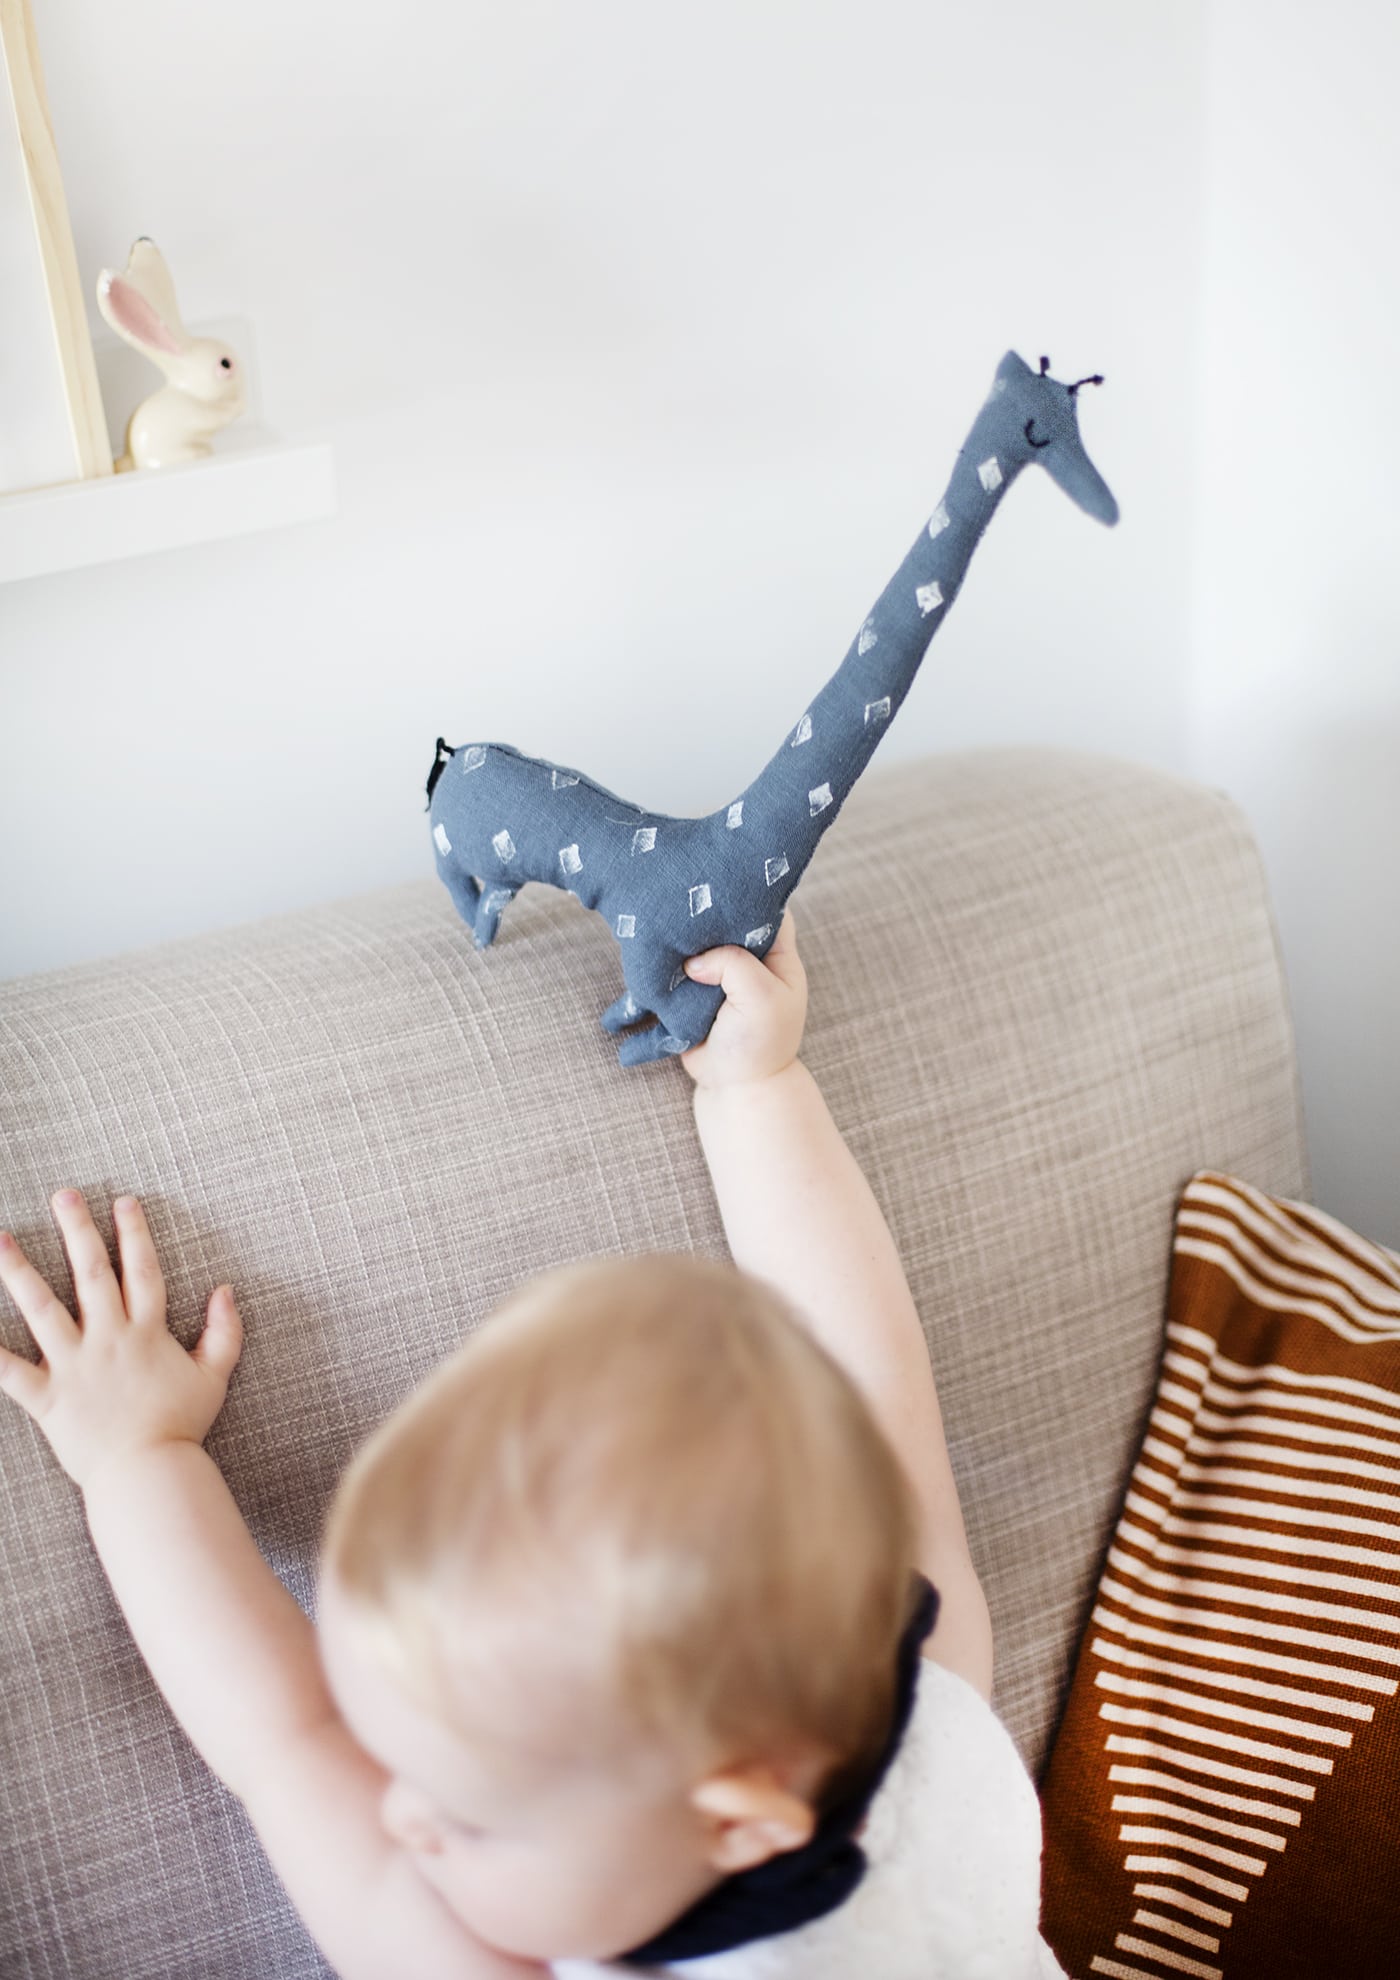
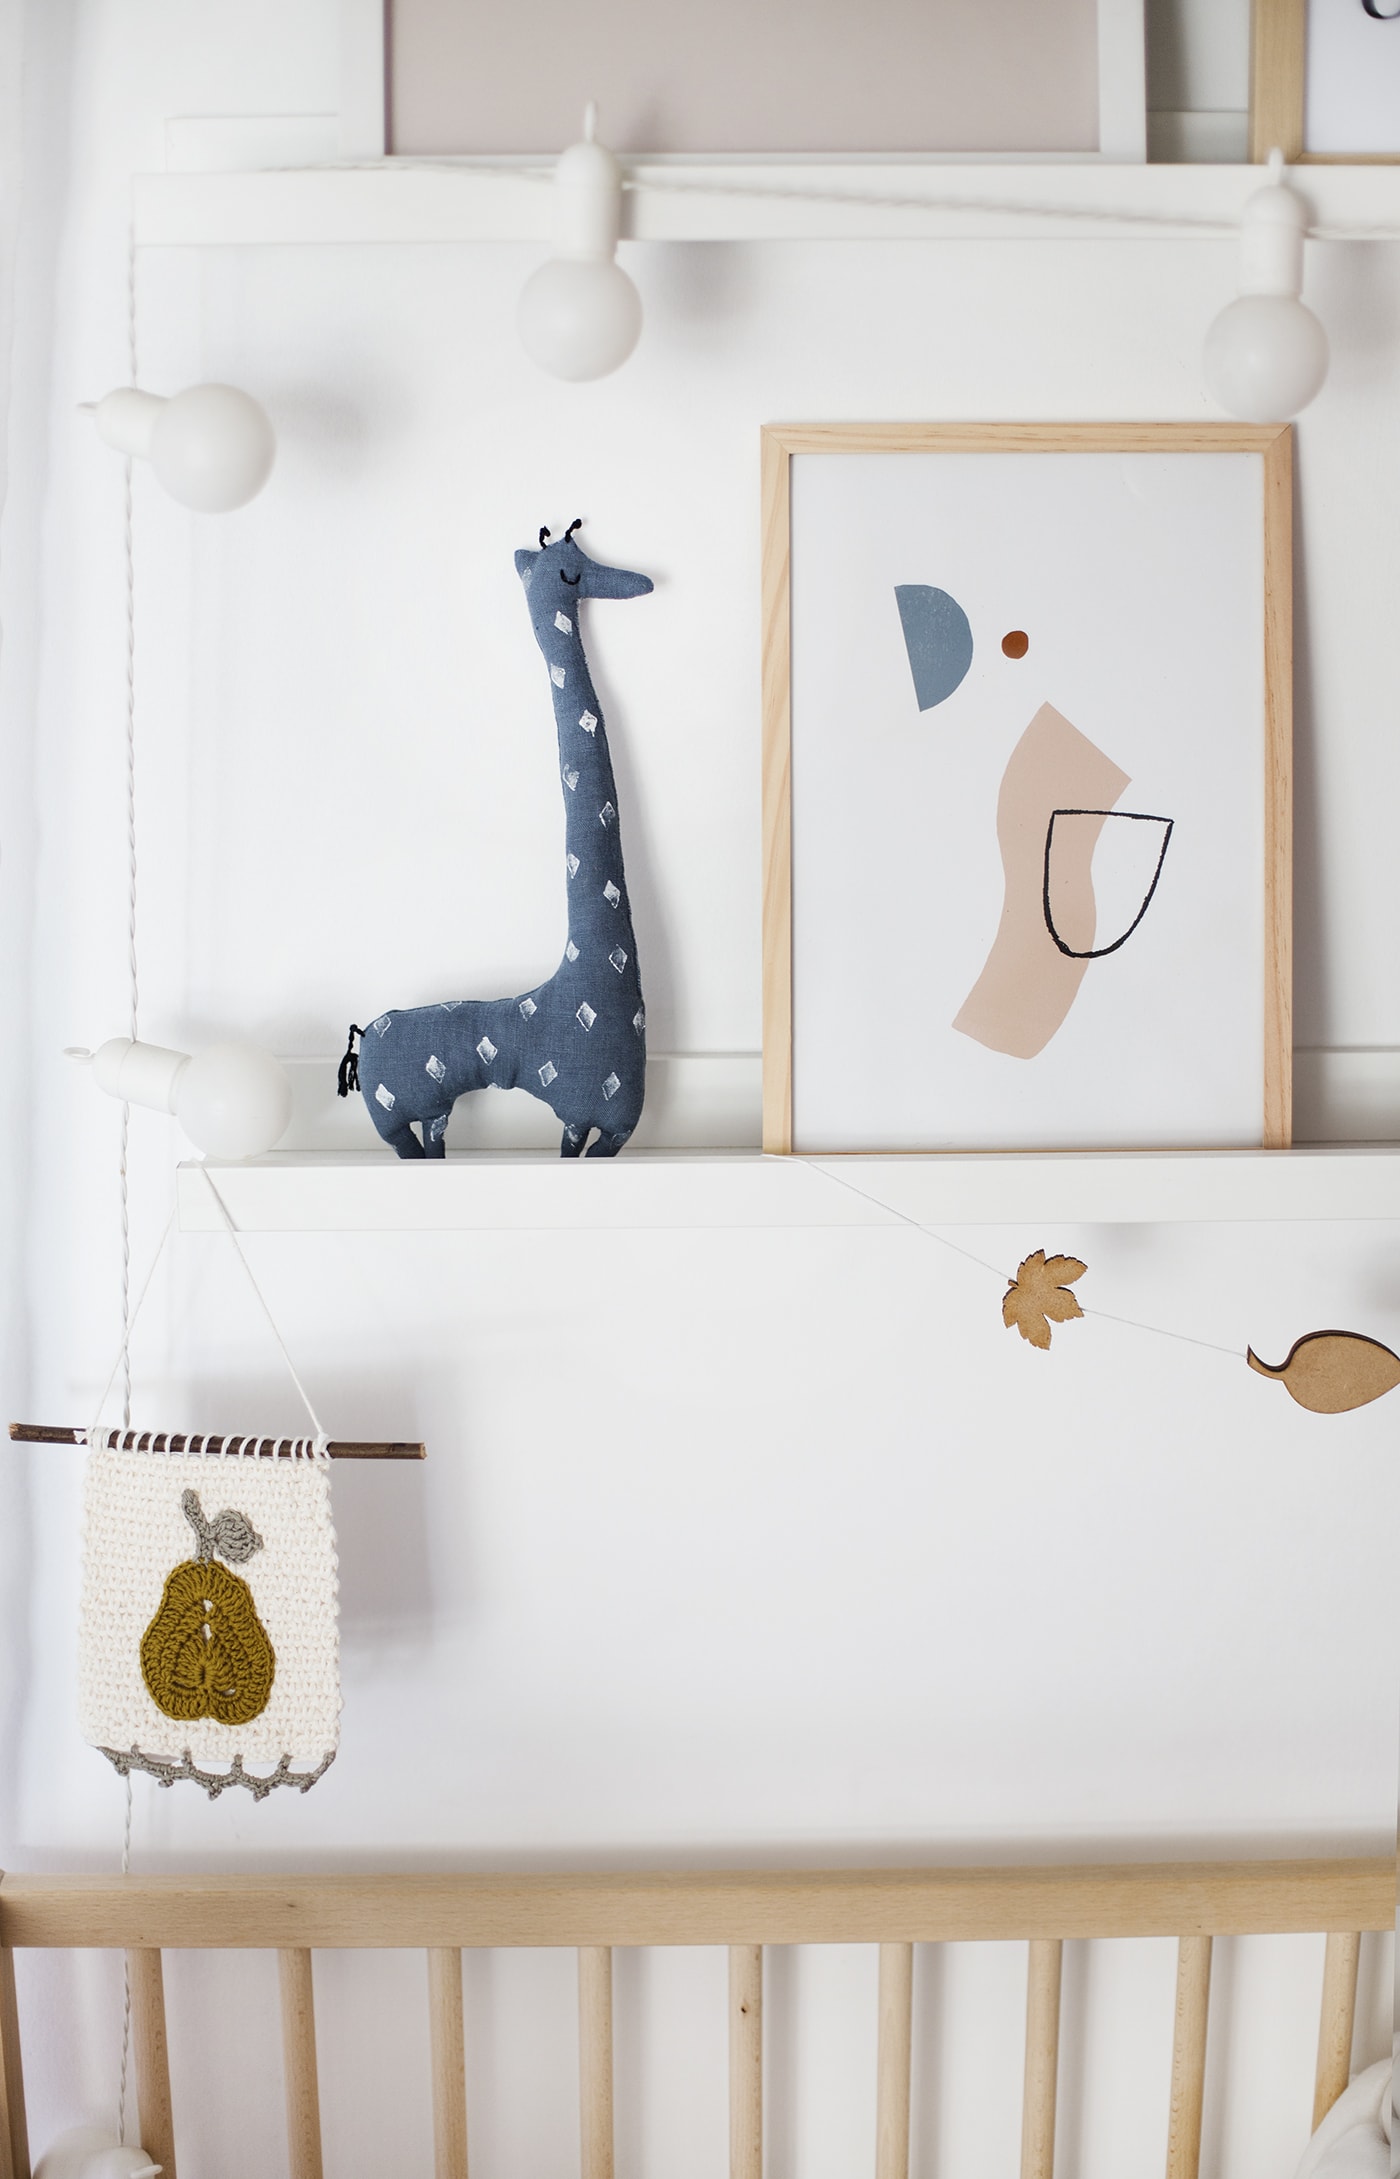
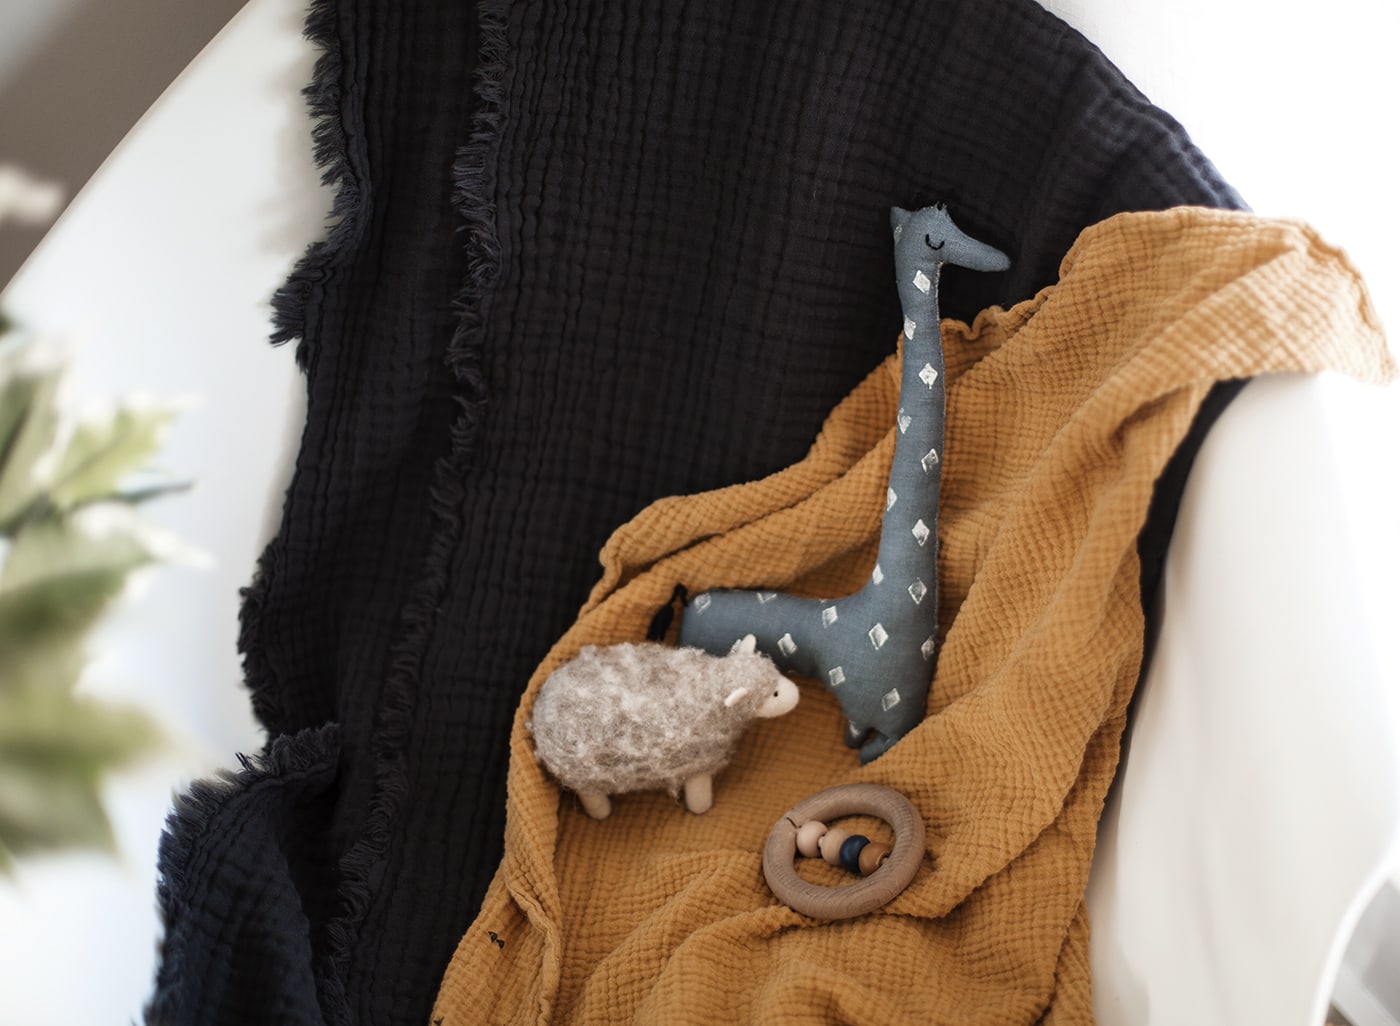
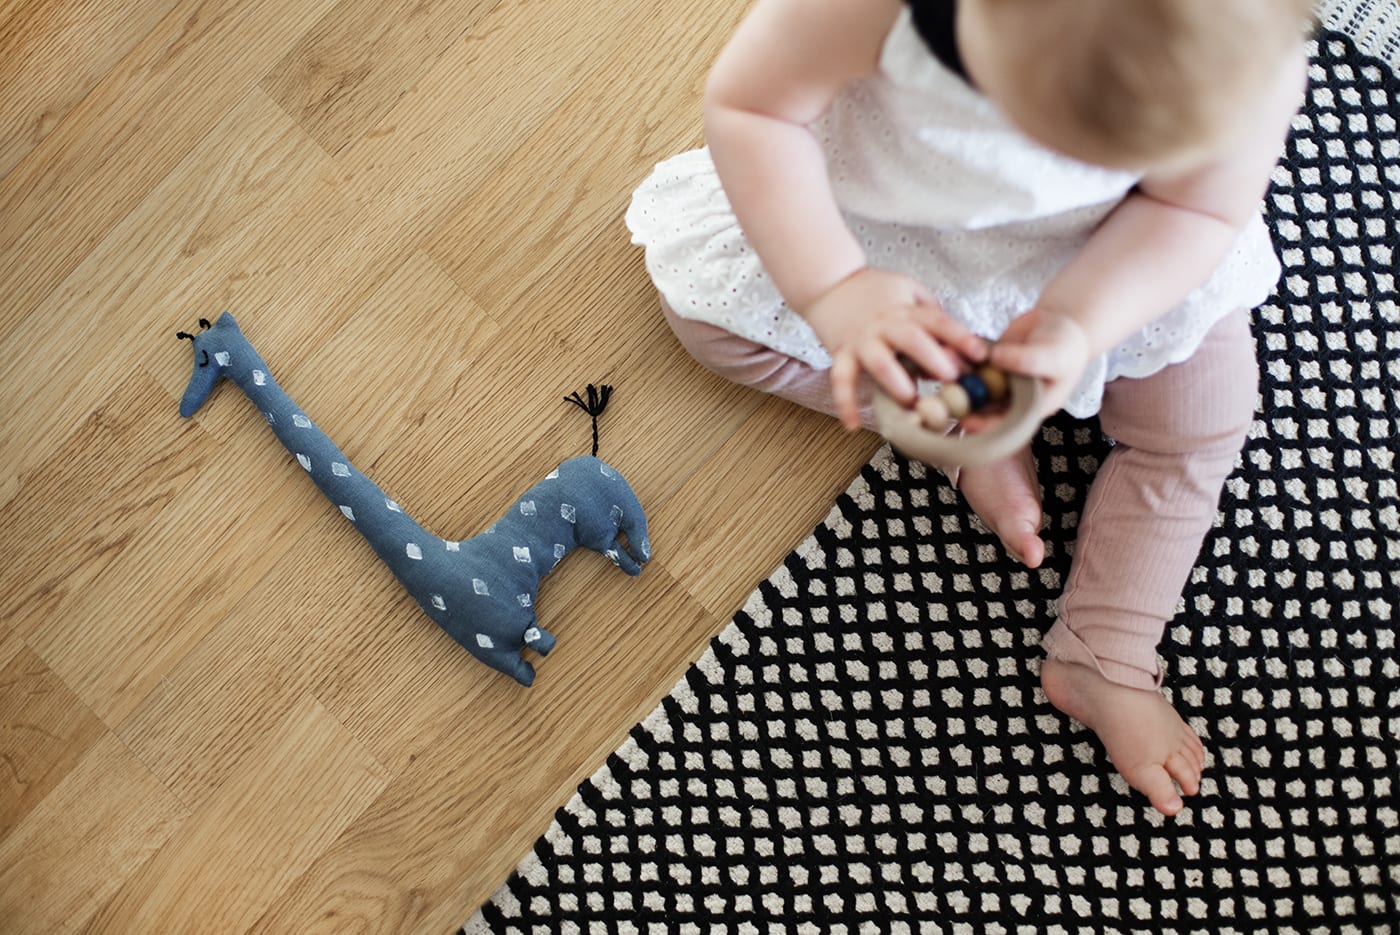
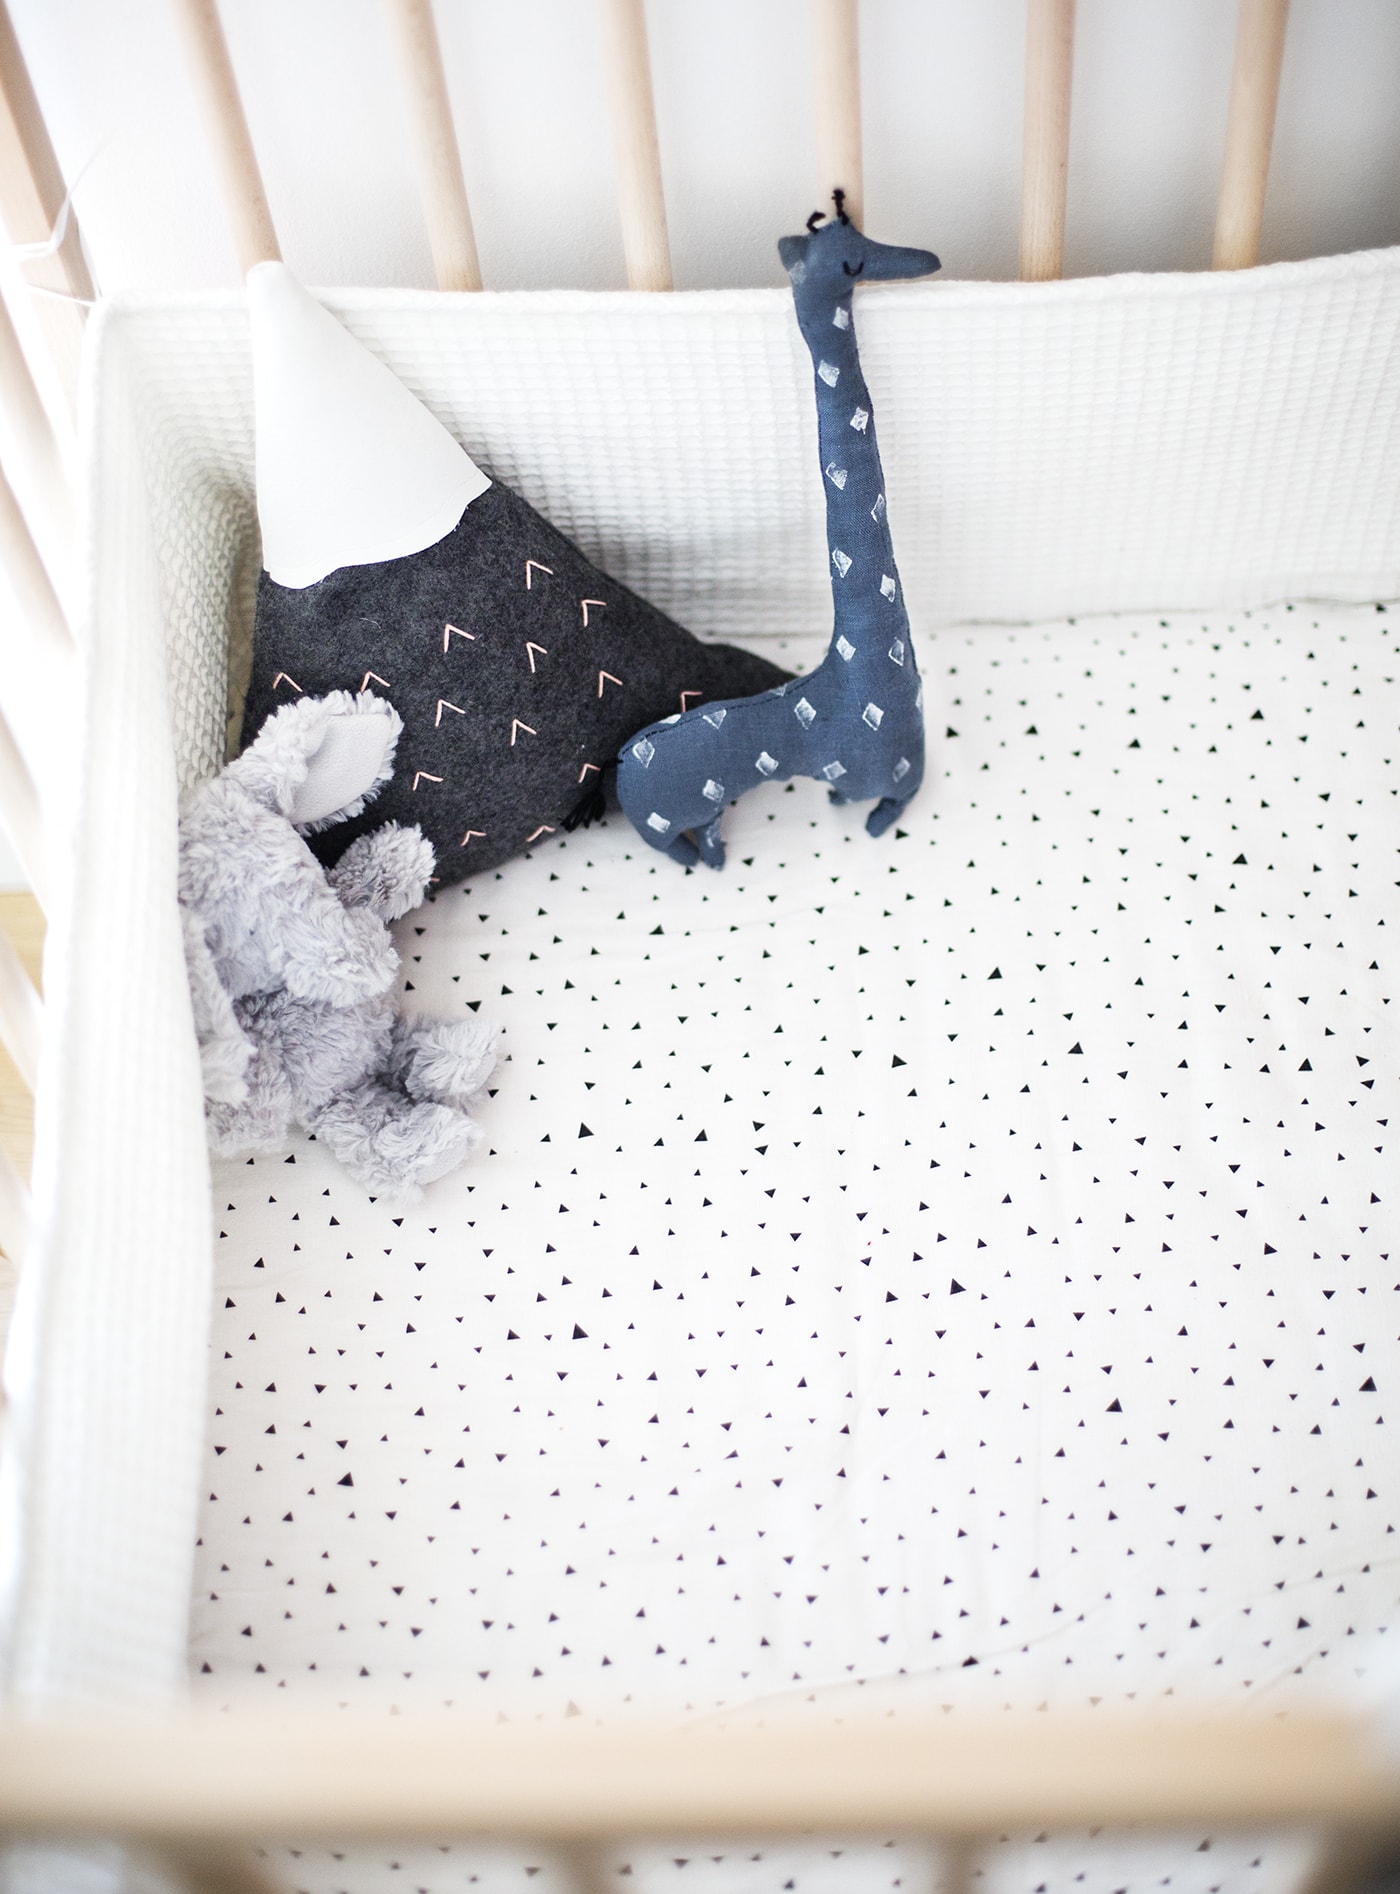
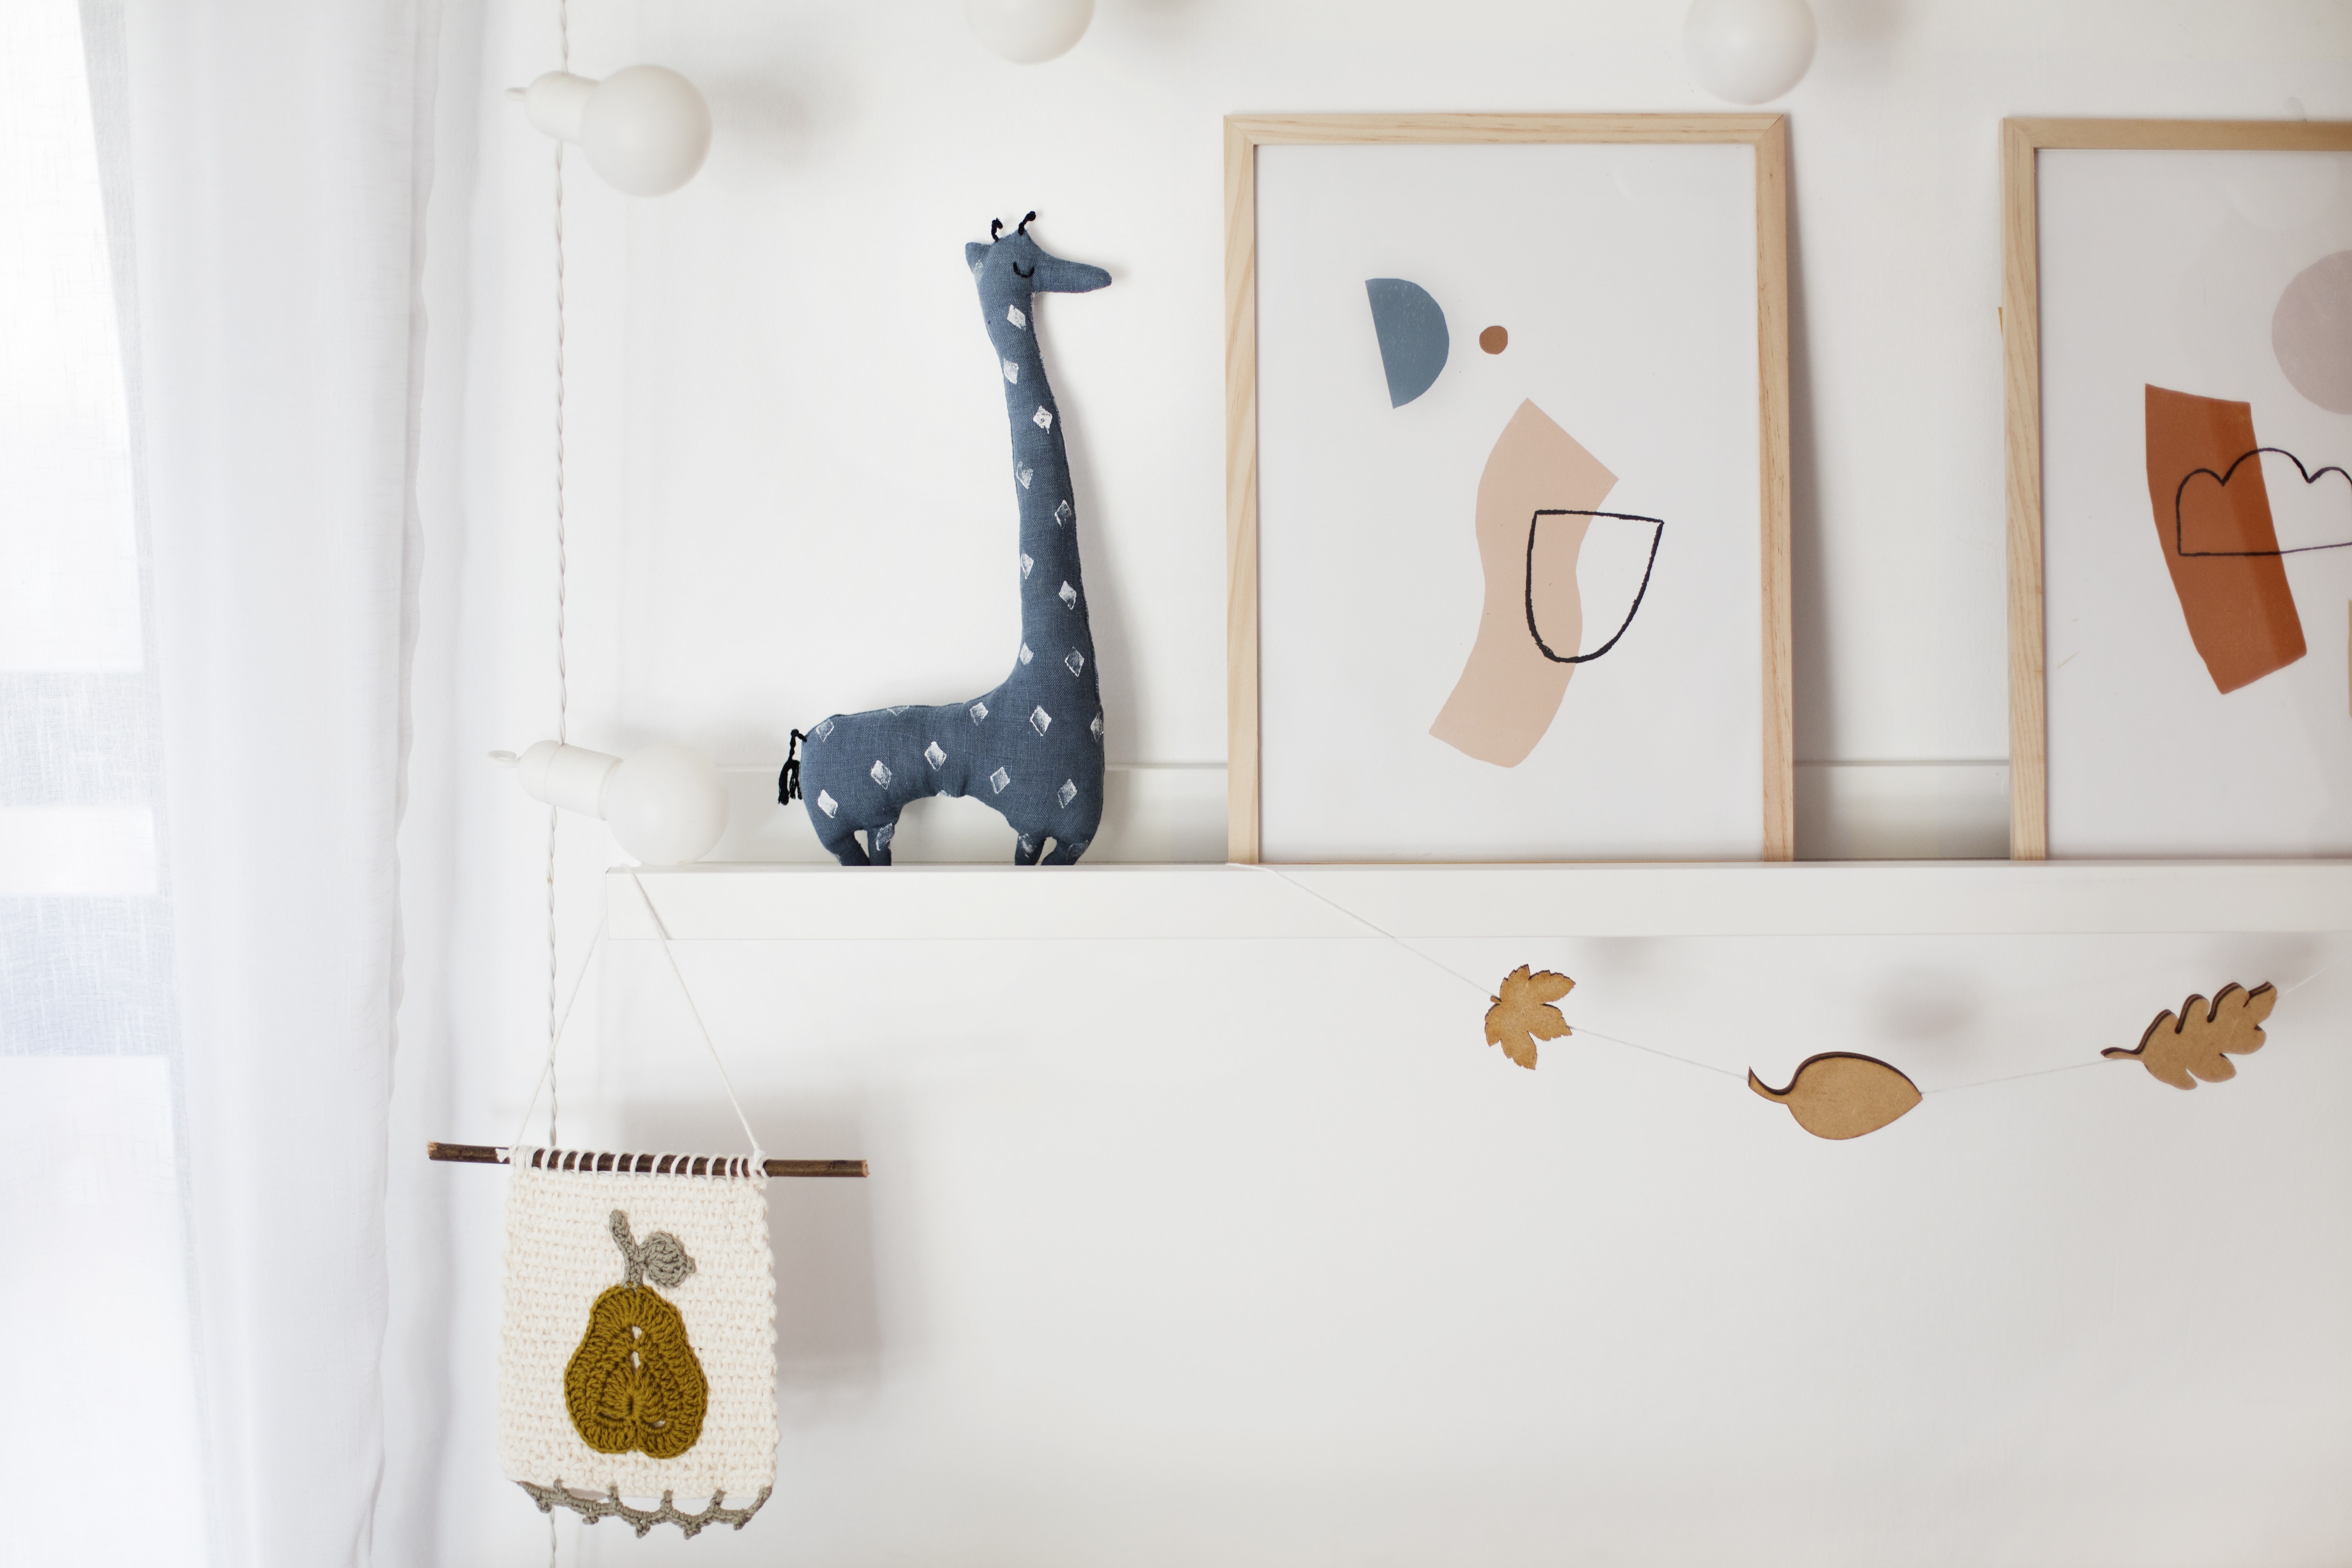
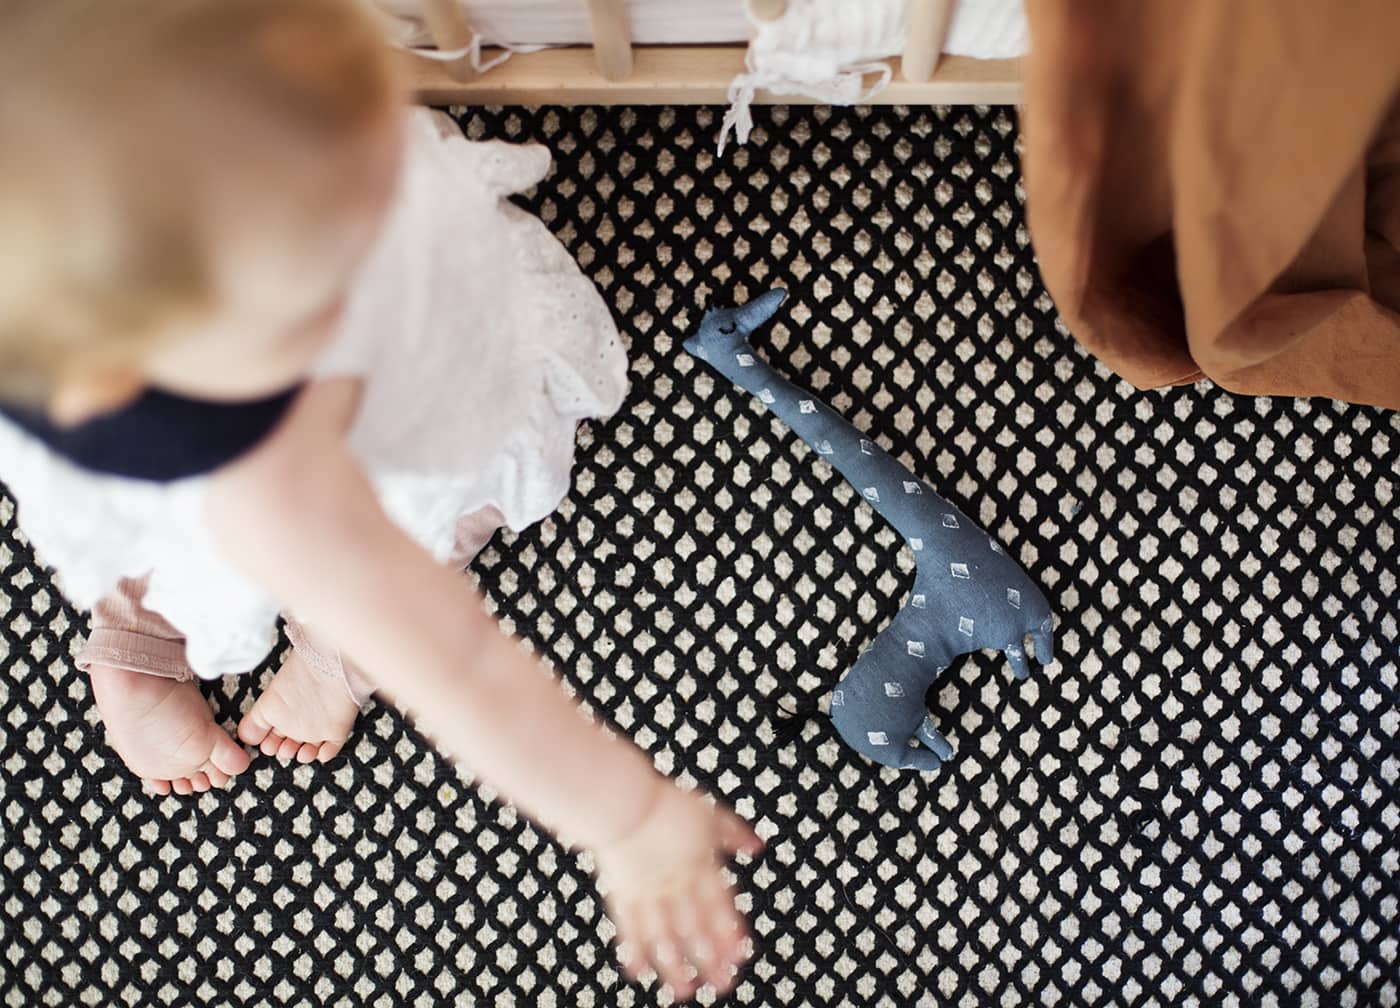
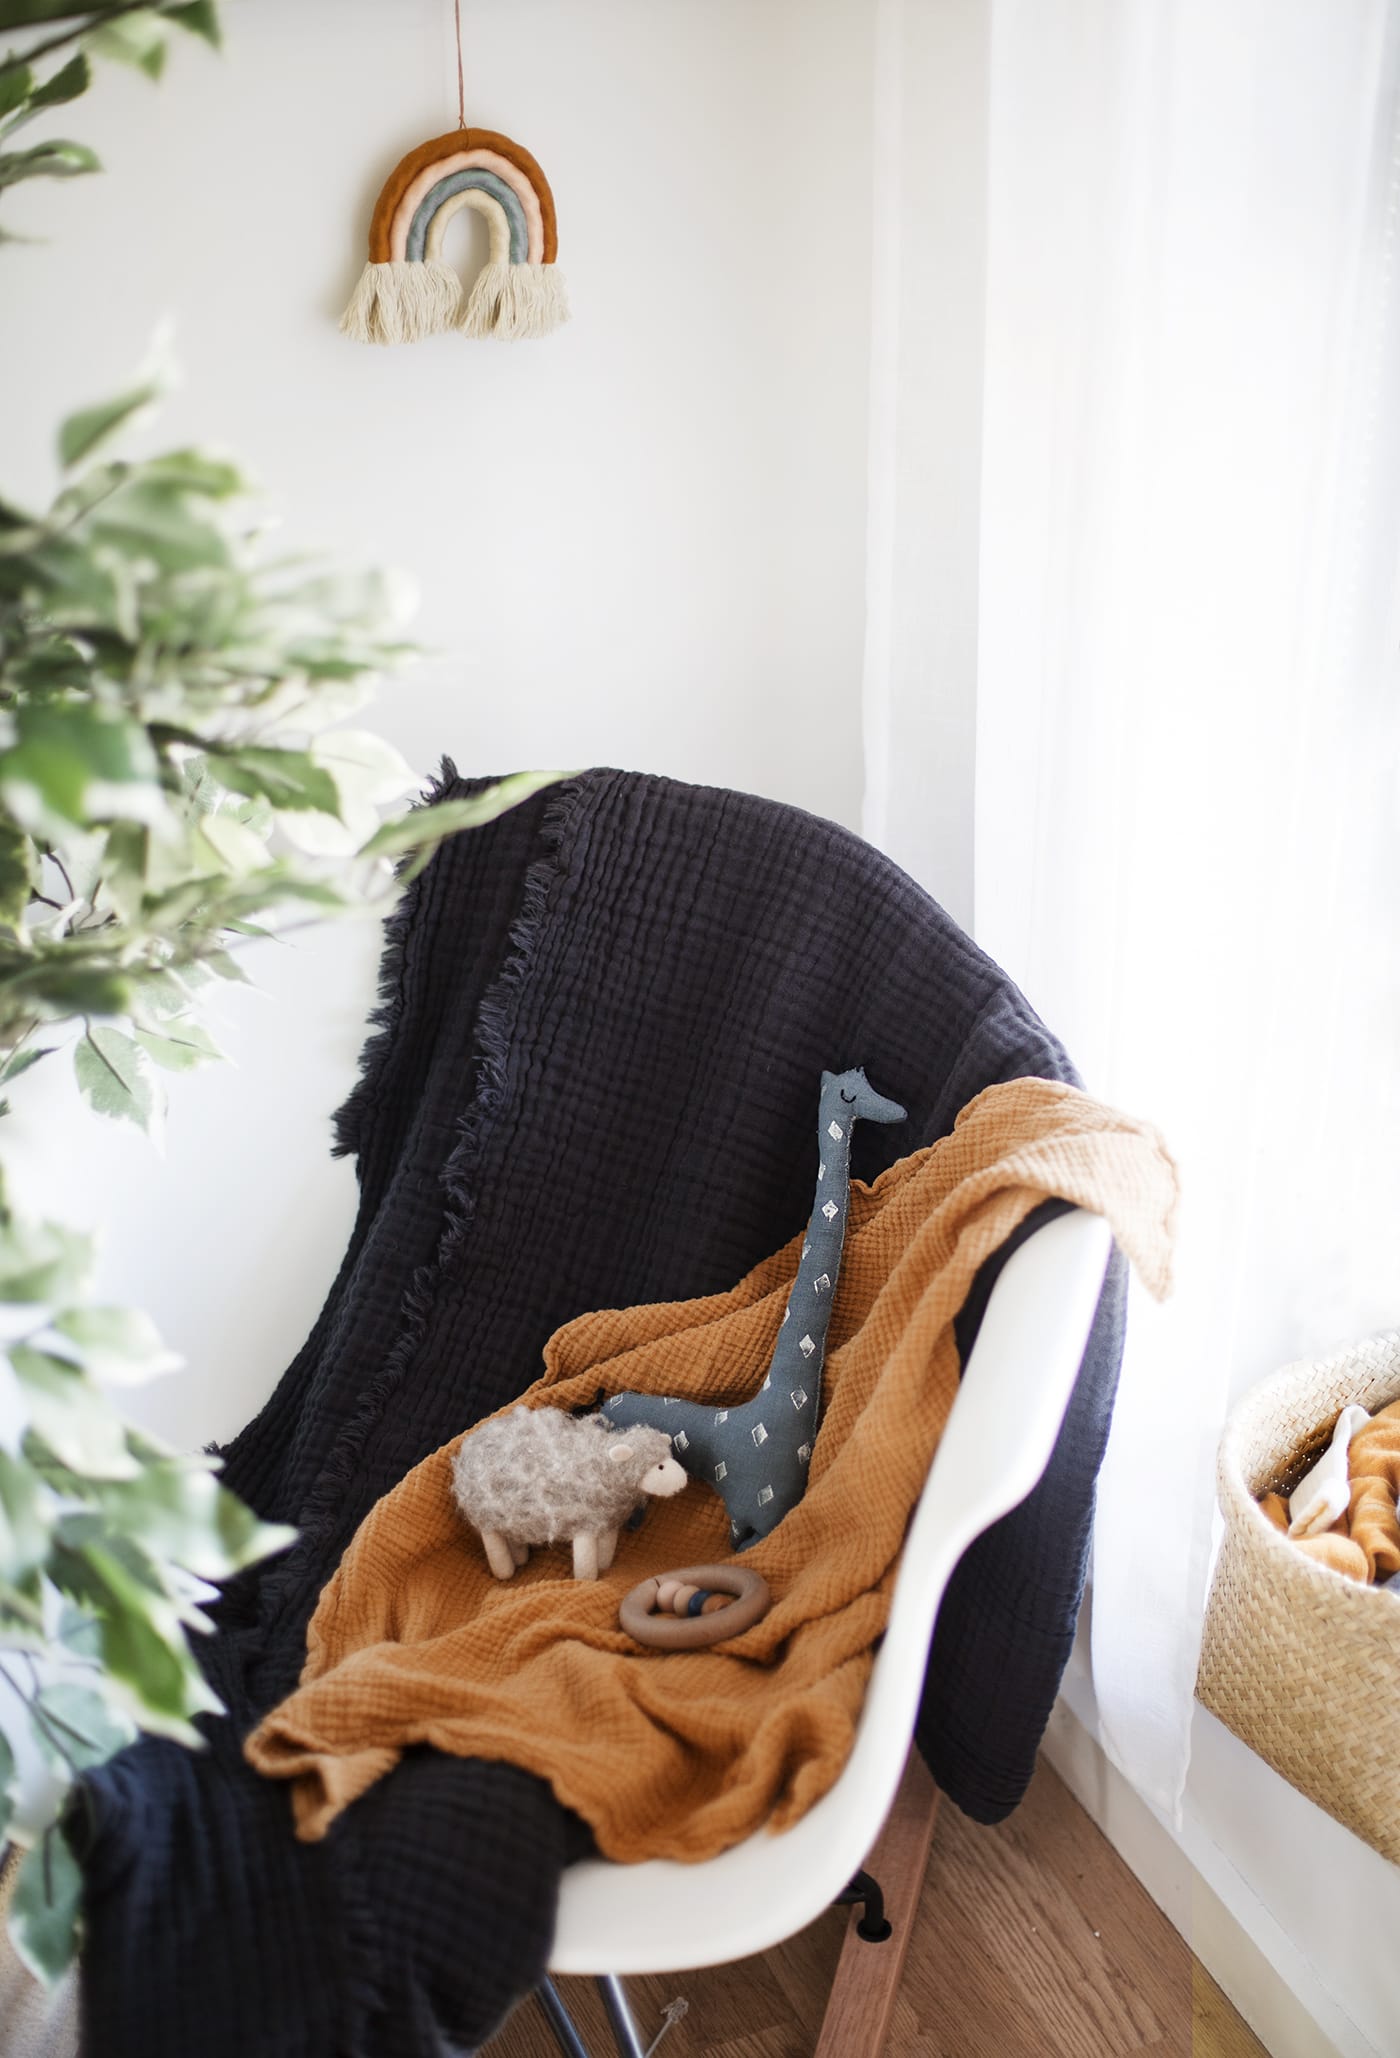
I’ve really enjoyed making Maggie toys, accessories and decorations since she’s come into the worldso I thought I’d add another to the collection with this little rattling giraffe pal. She’s still a big fan of anything that makes a rattling sound and has been showering all her cuddly toys with so much love and affection recently so it seemed only right to add another animal partner in crime to her clan. This giraffe would also make a sweet Christmas or new baby gift. It’s always a bit more special when it’s been made by hand isn’t it?!
A handy tip is to buy a cushion cover if you only need a small amount of fabric, saving you paying for a whole metre of something like linen. H&M home have some lovely cushion covers that you could use and often have sales where you’ll find them for super cheap!
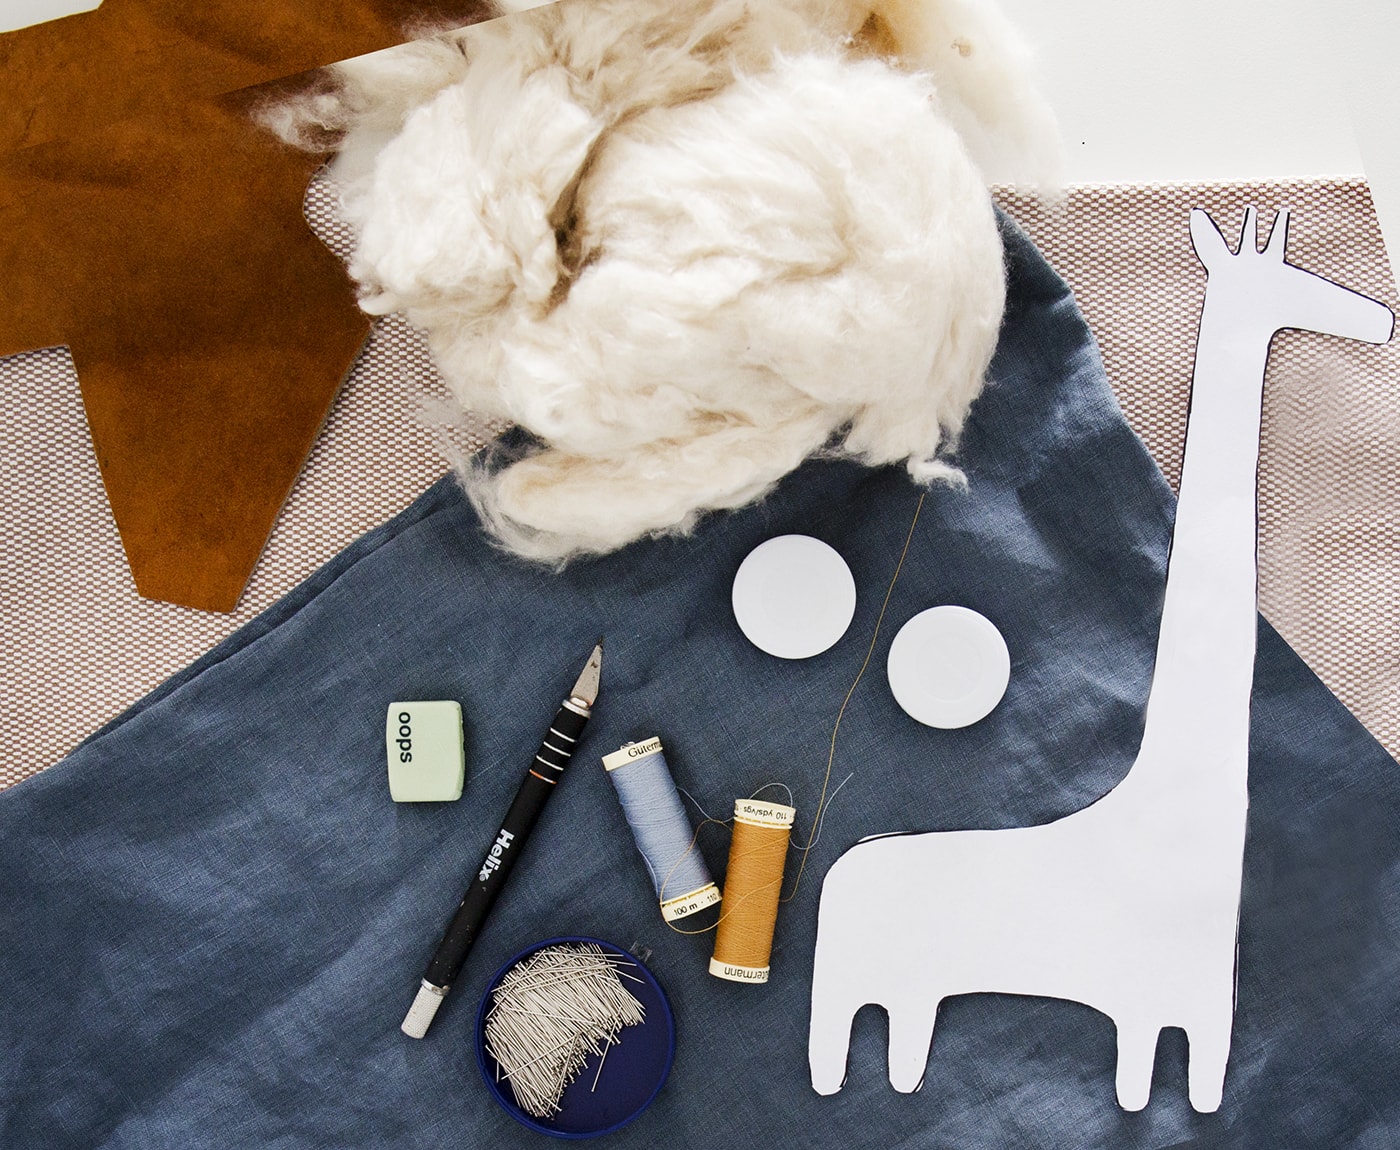 Materials:
- linen fabric
- giraffe template
- machine thread
- pen
- scissors
- pins
- rubber
- scalpel
- rattles
- natural stuffing
- black embroidery thread and needle
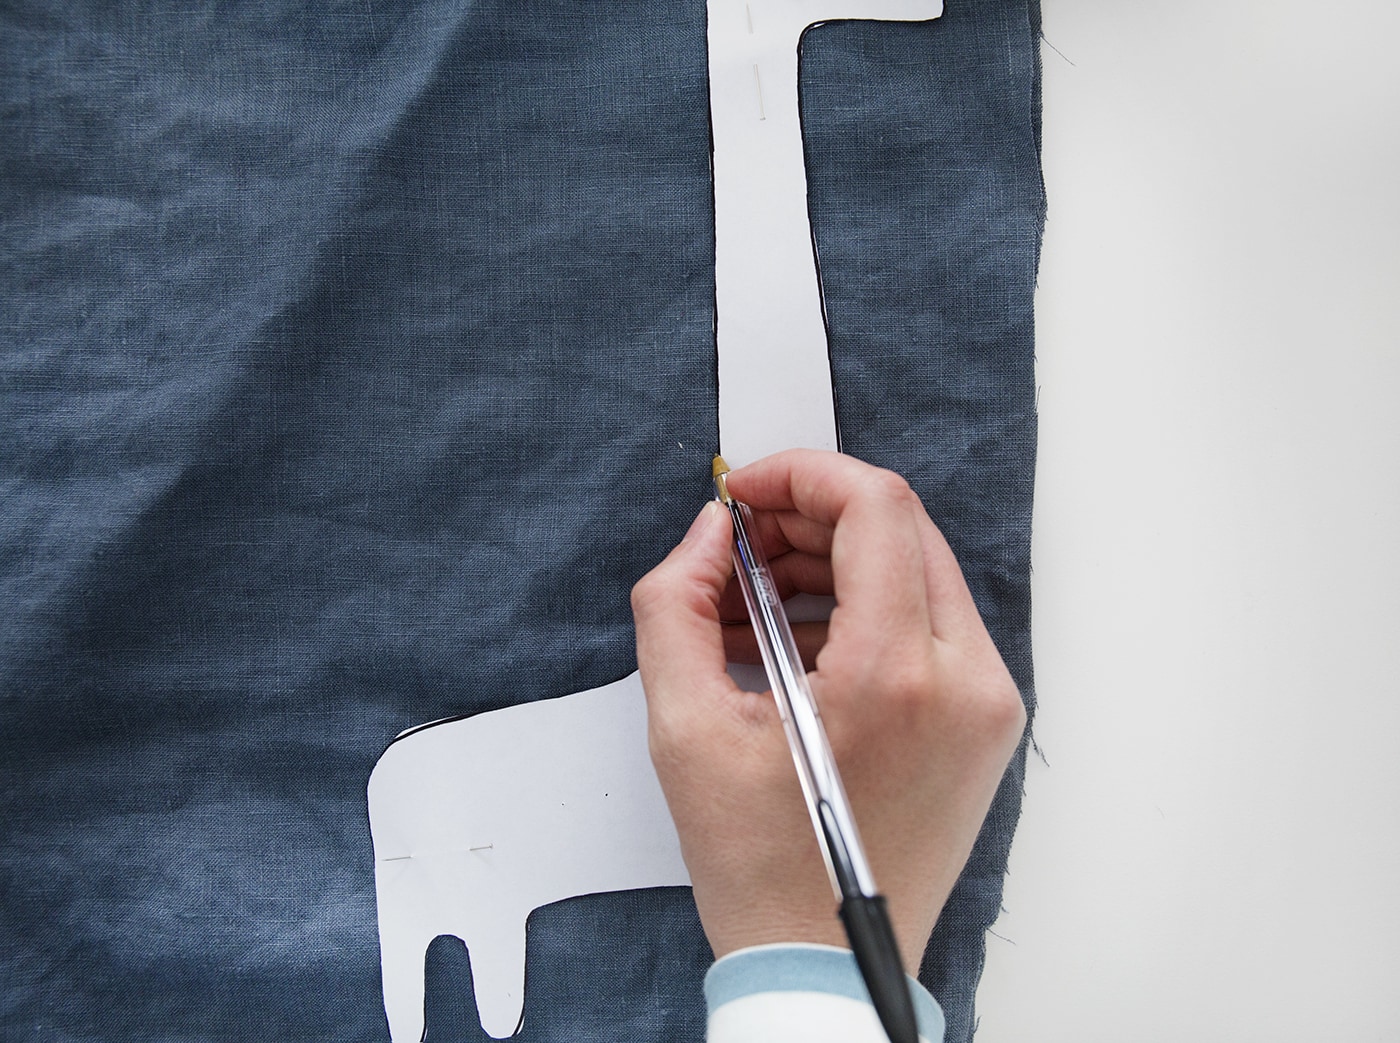
Print out the template, cut out and pin this to your fabric. Draw around the outline.
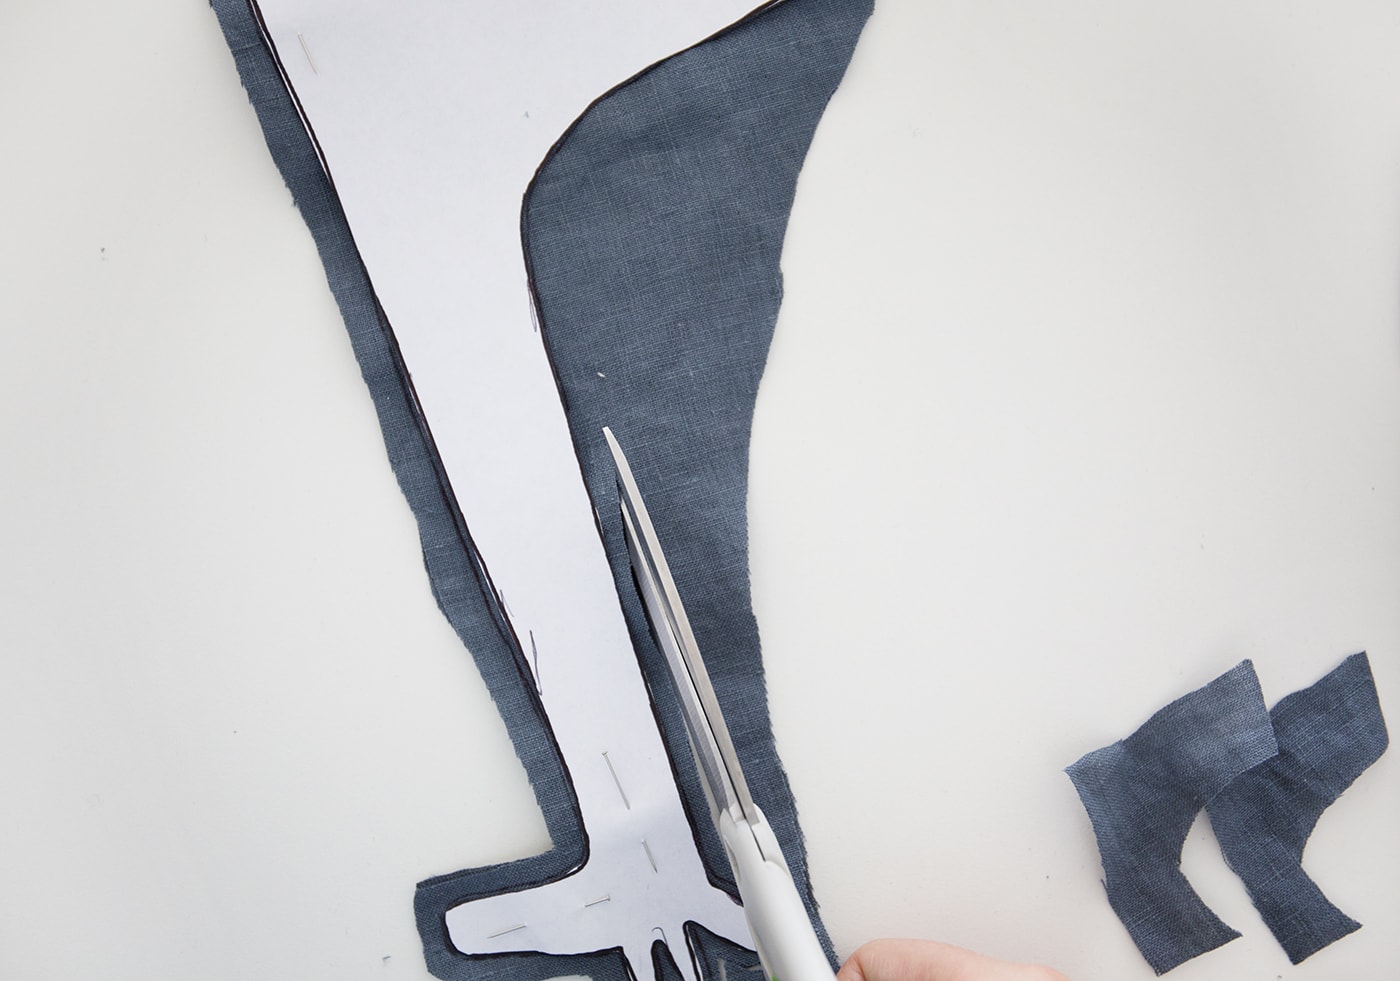
Then cut around the outline, following the same shape but about 1cm larger as a seam allowance.
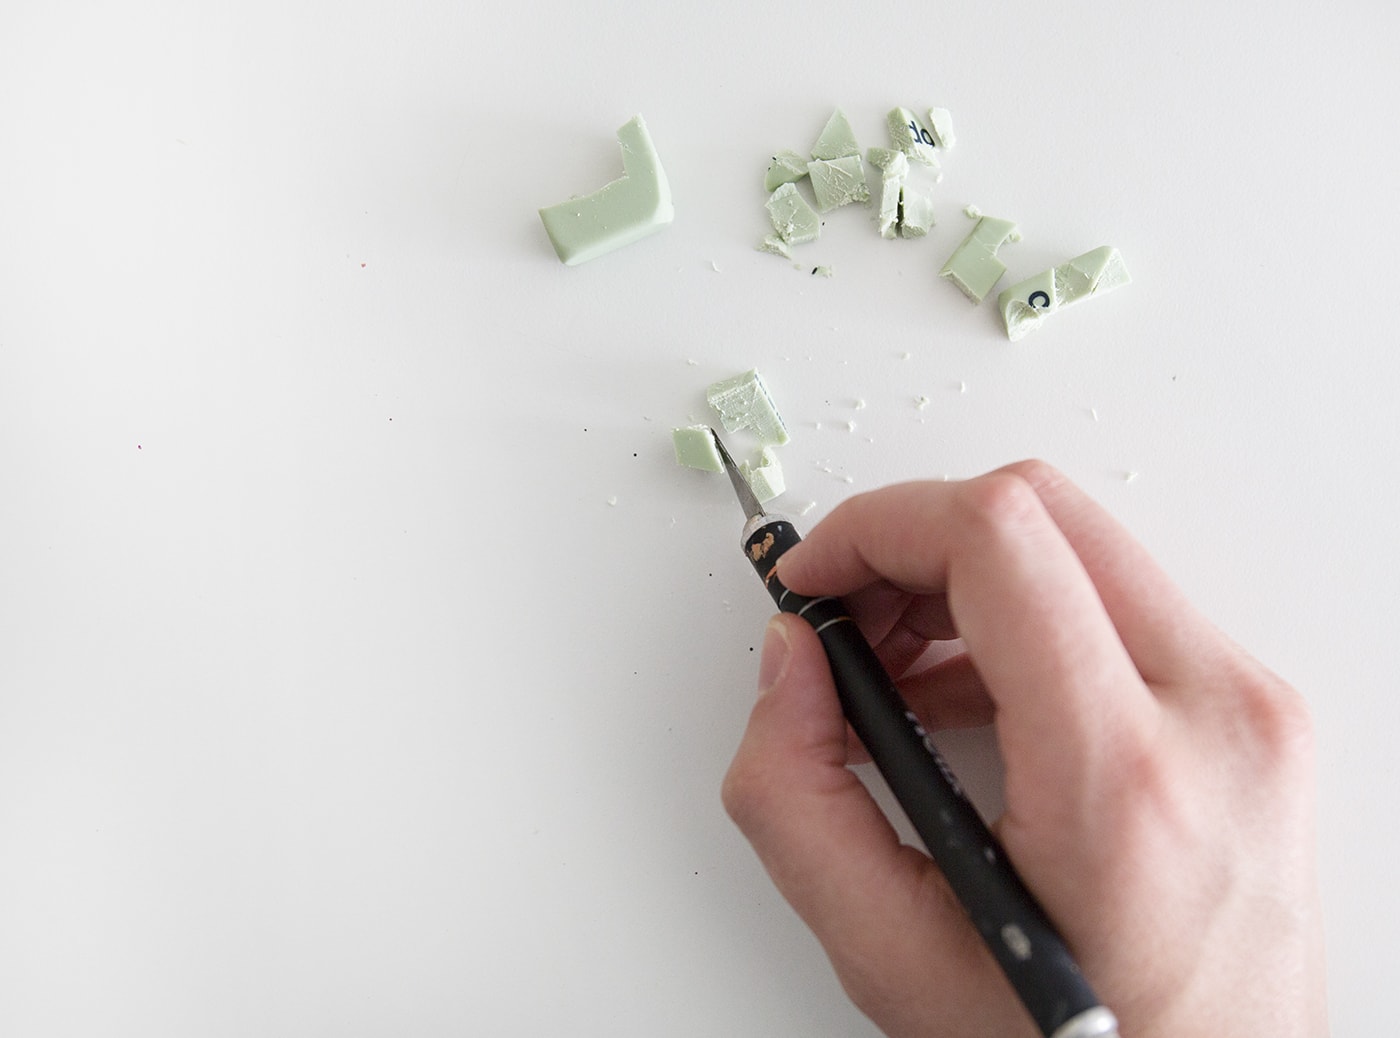
Now you have the giraffe shapes, cut your stamp from the rubber. Draw a diamond shape and and cut away the excess rubber with the scalpel.
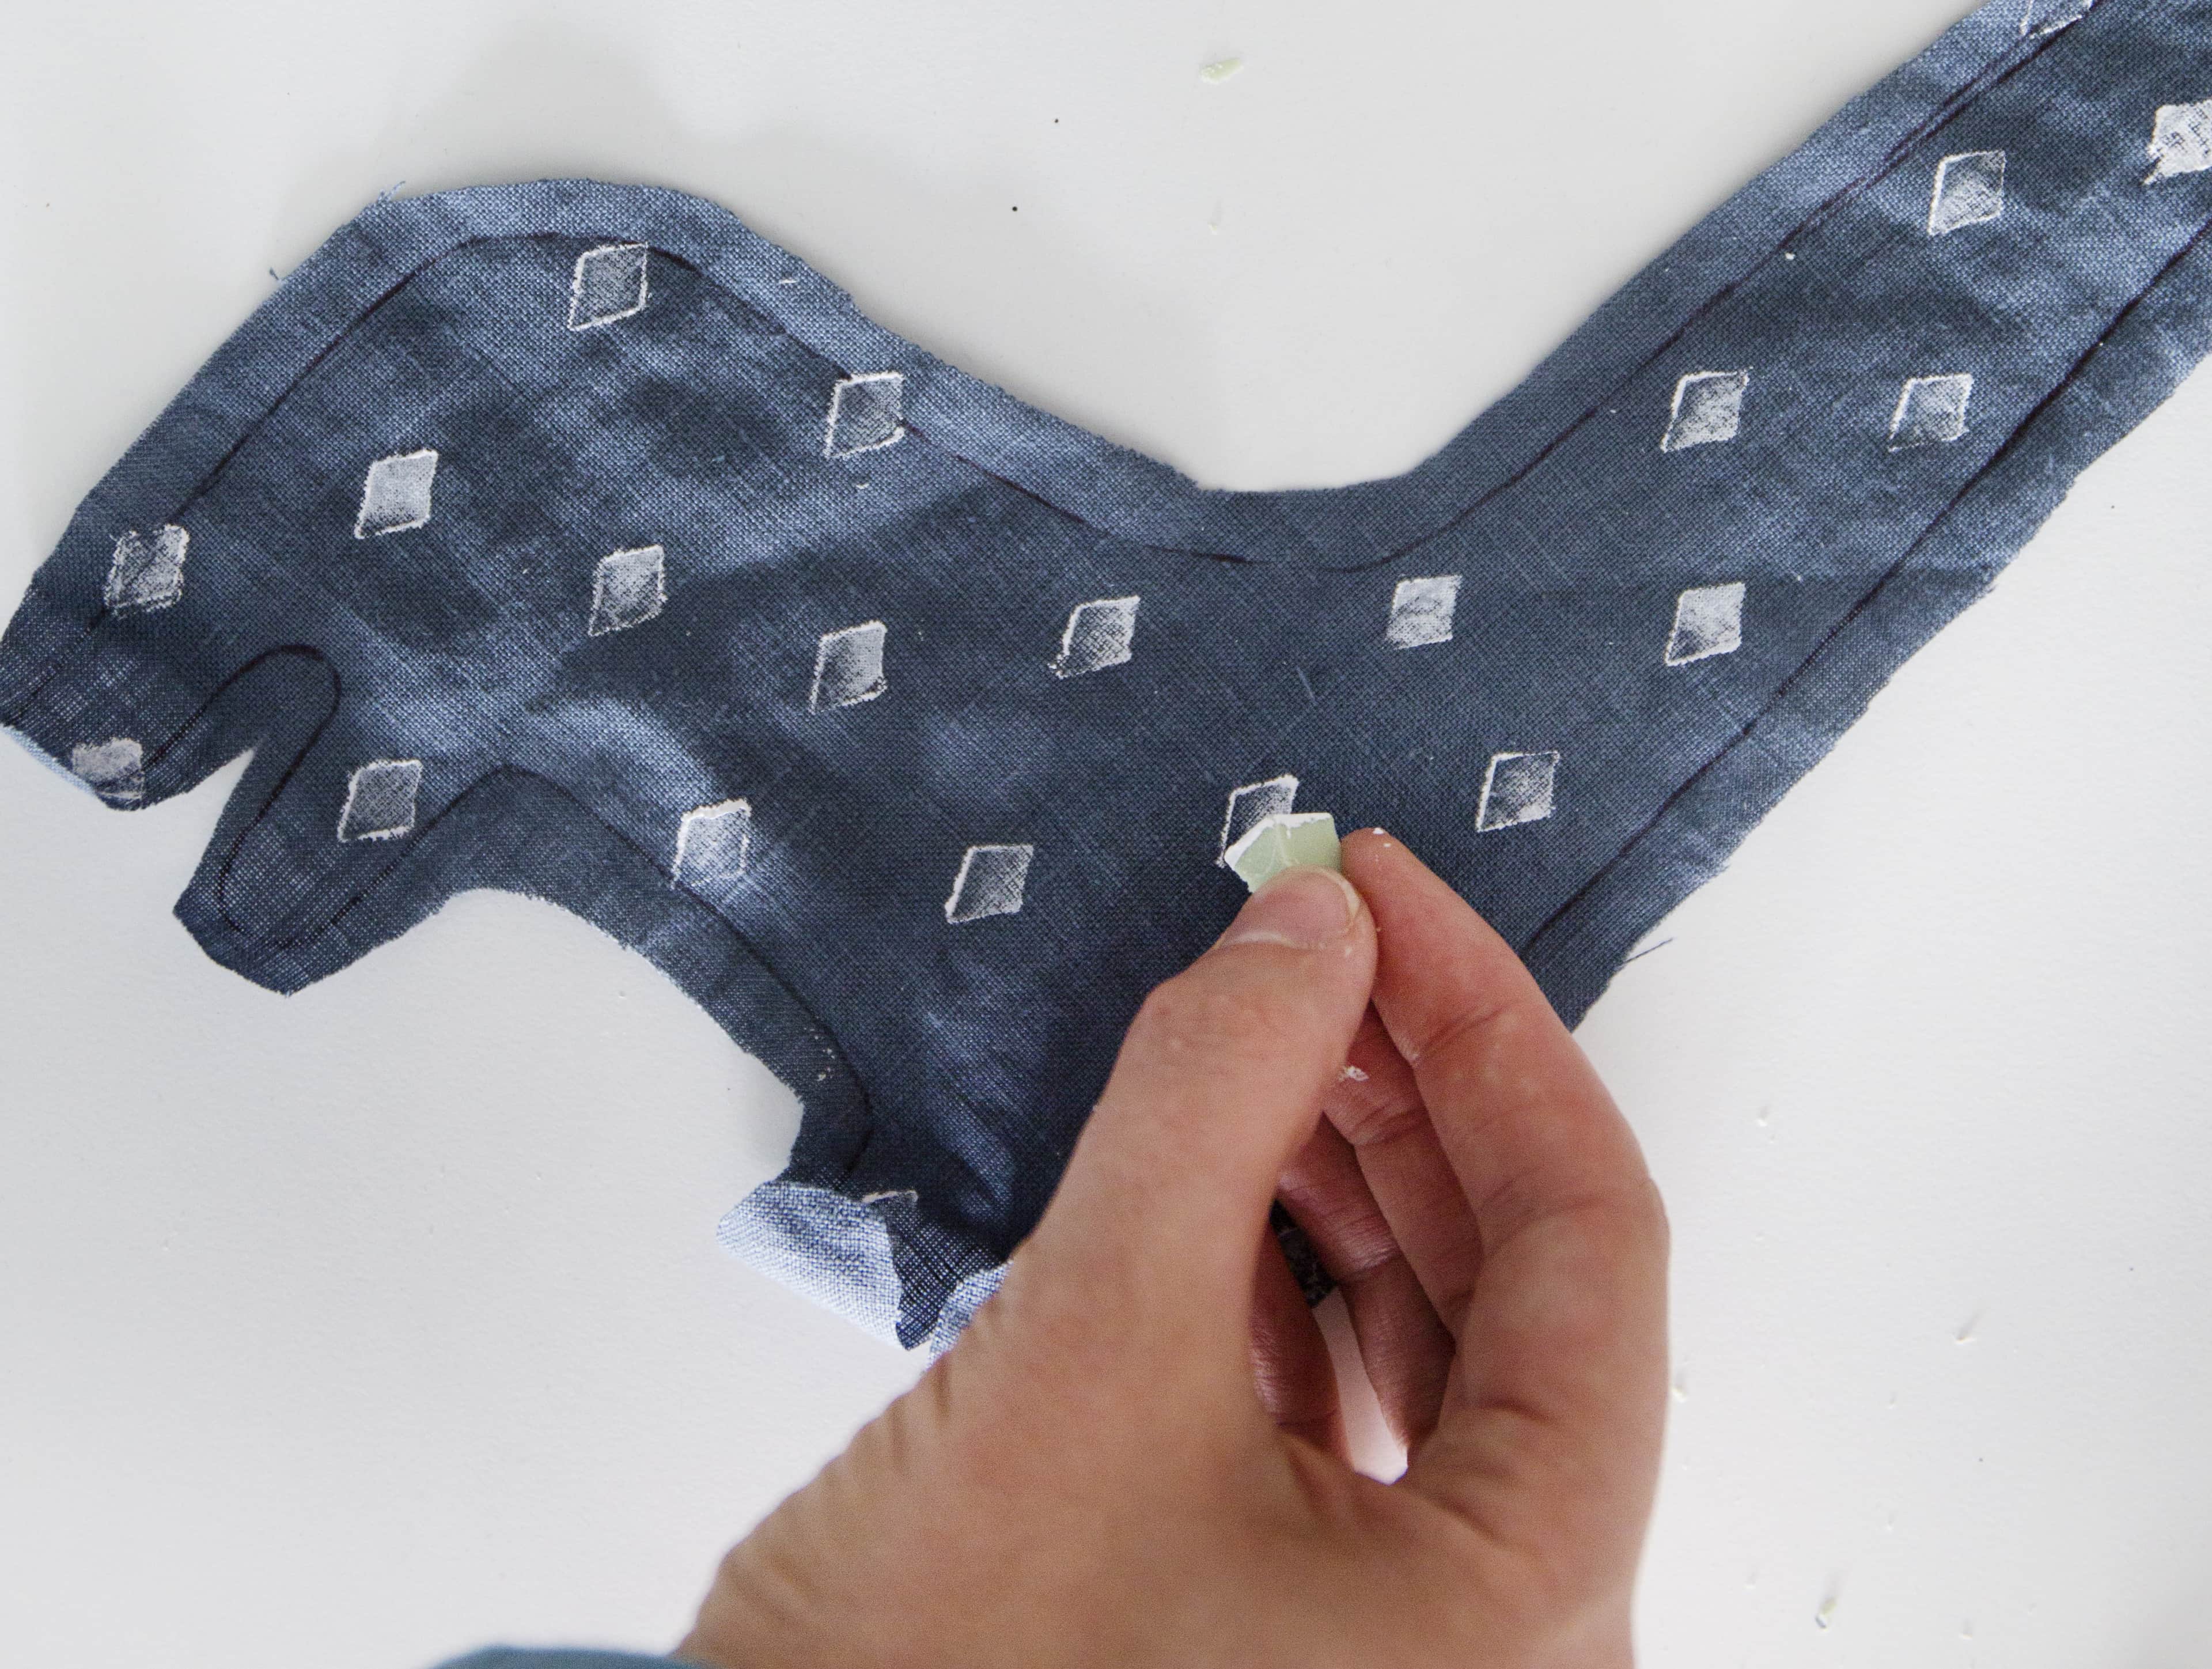
Press the rubber stamp into the white fabric paint or paint it onto the stamp and press down on the fabric, covering both sides in diamonds, semi evenly.
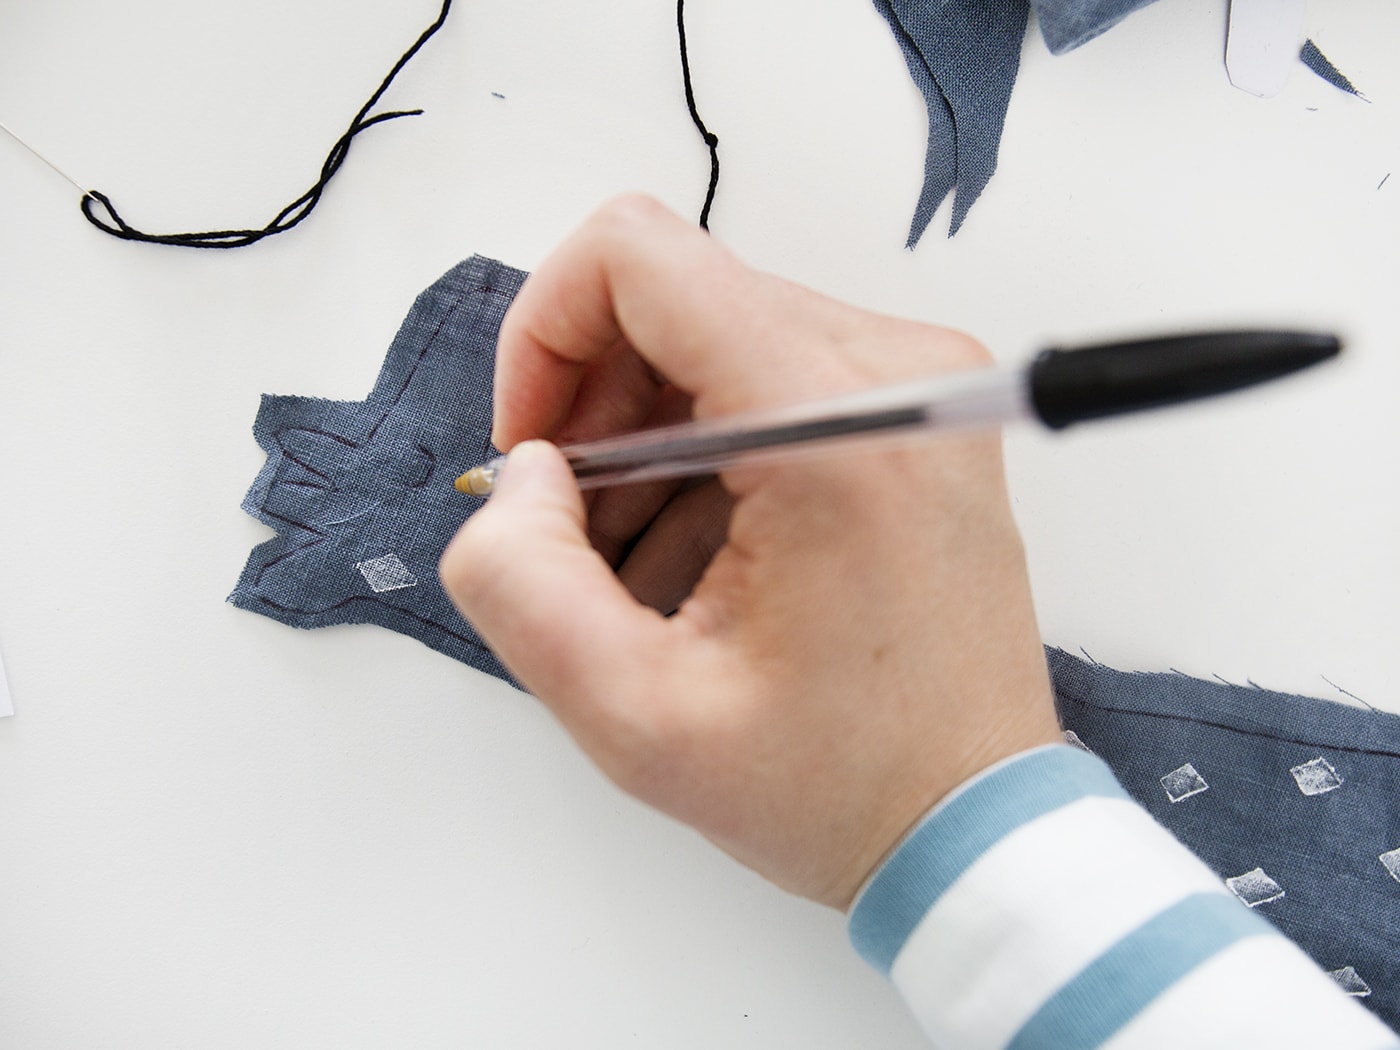
Leave to dry and then add a little ‘u’ shape with your pen on both sides for the eyes.
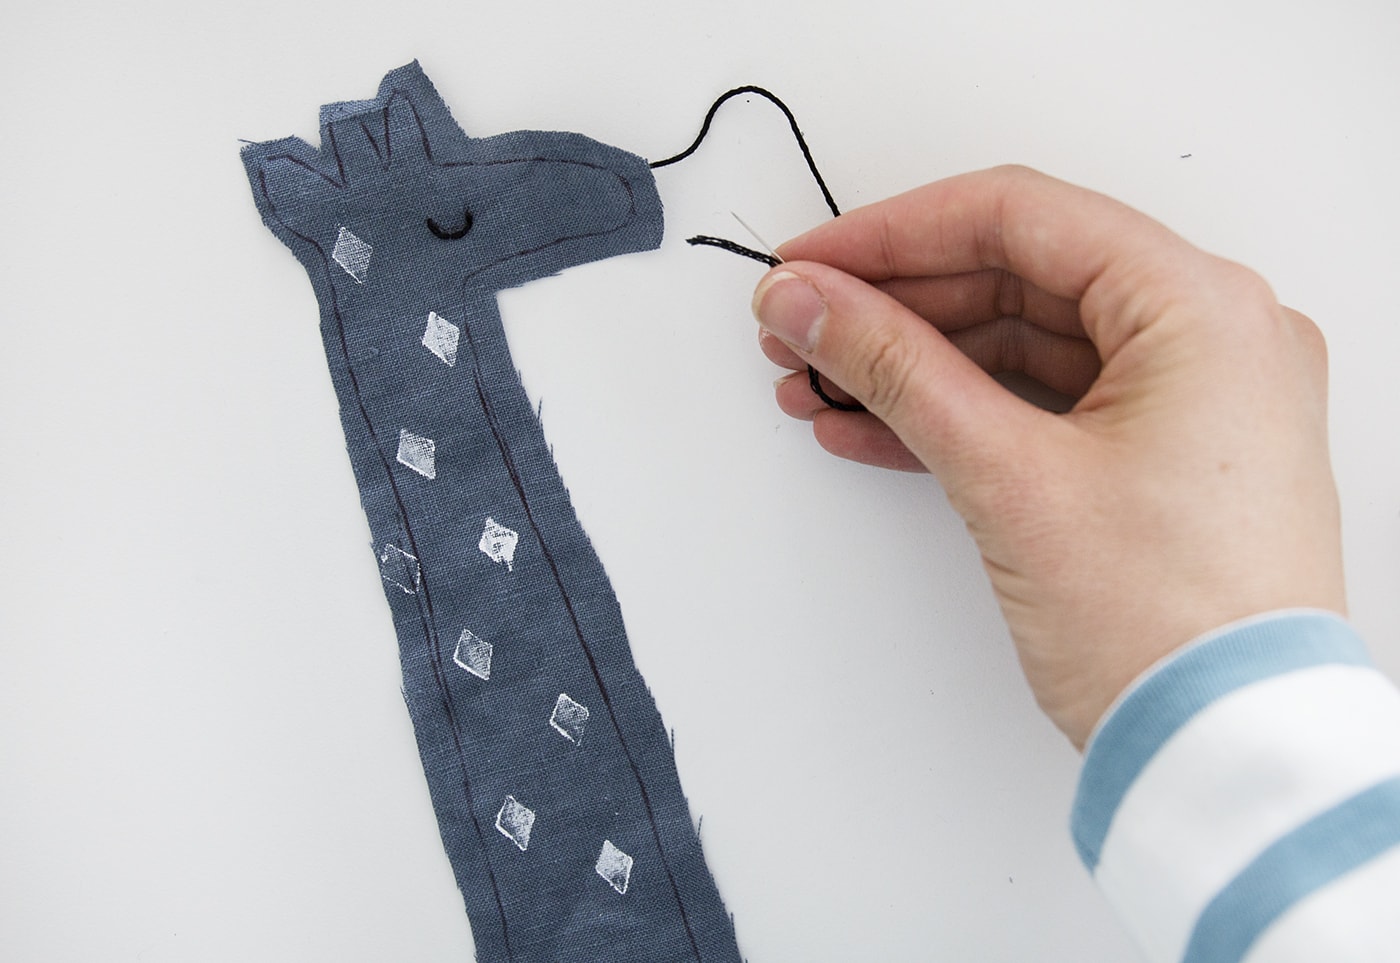
Use the black embroidery thread and needle to stitch the eye with a small running stitch.
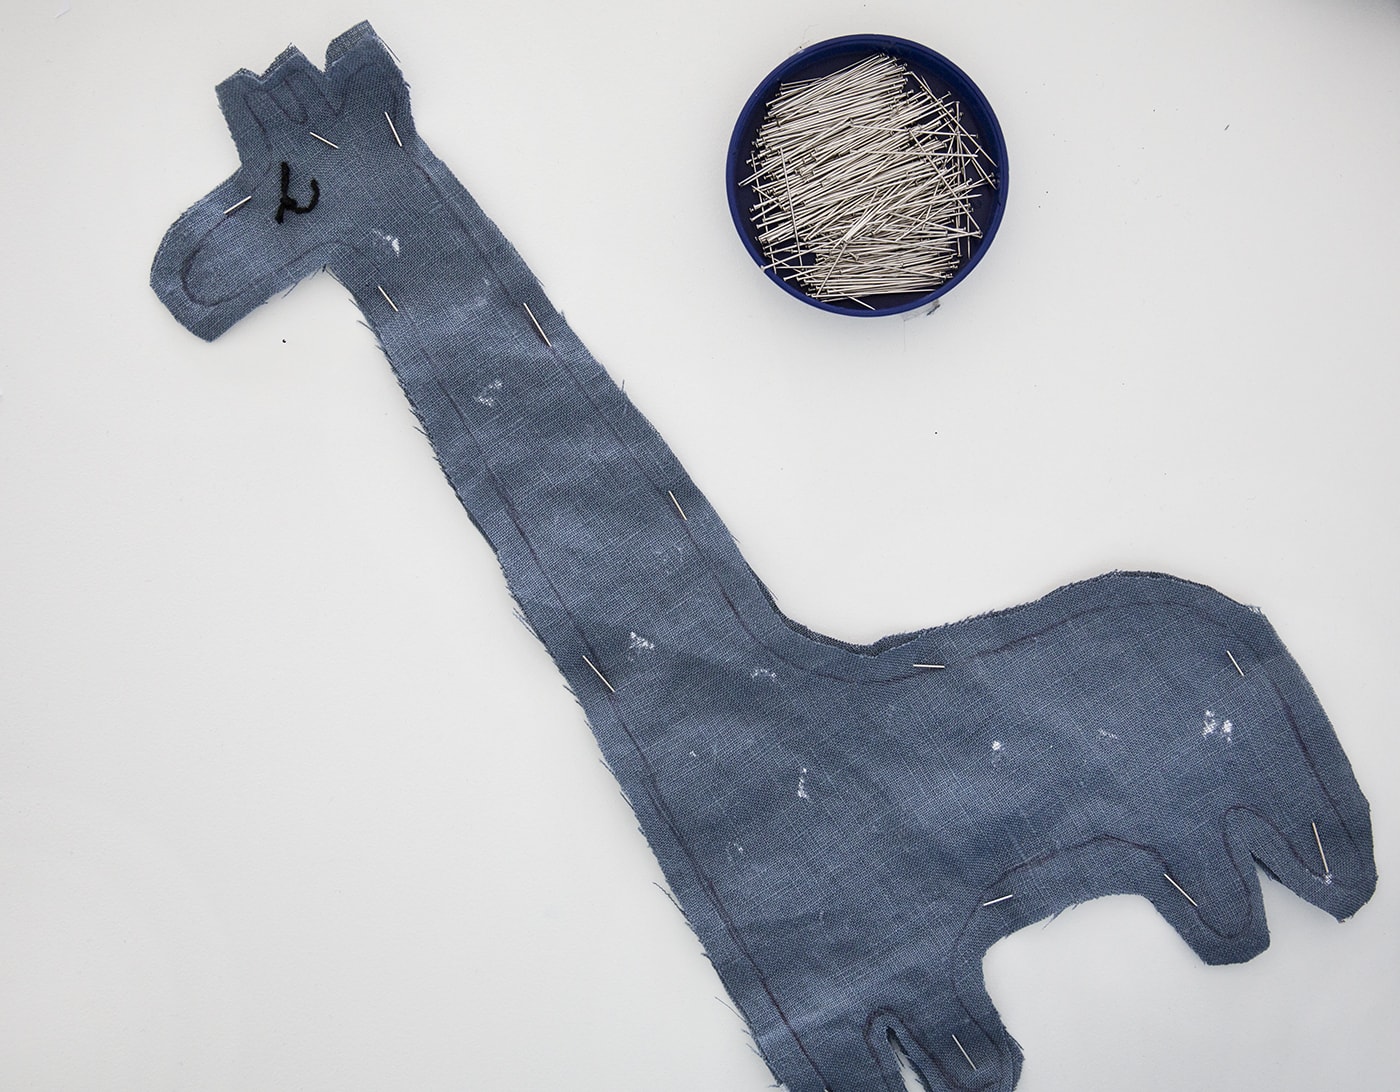
Pin right side to right side.
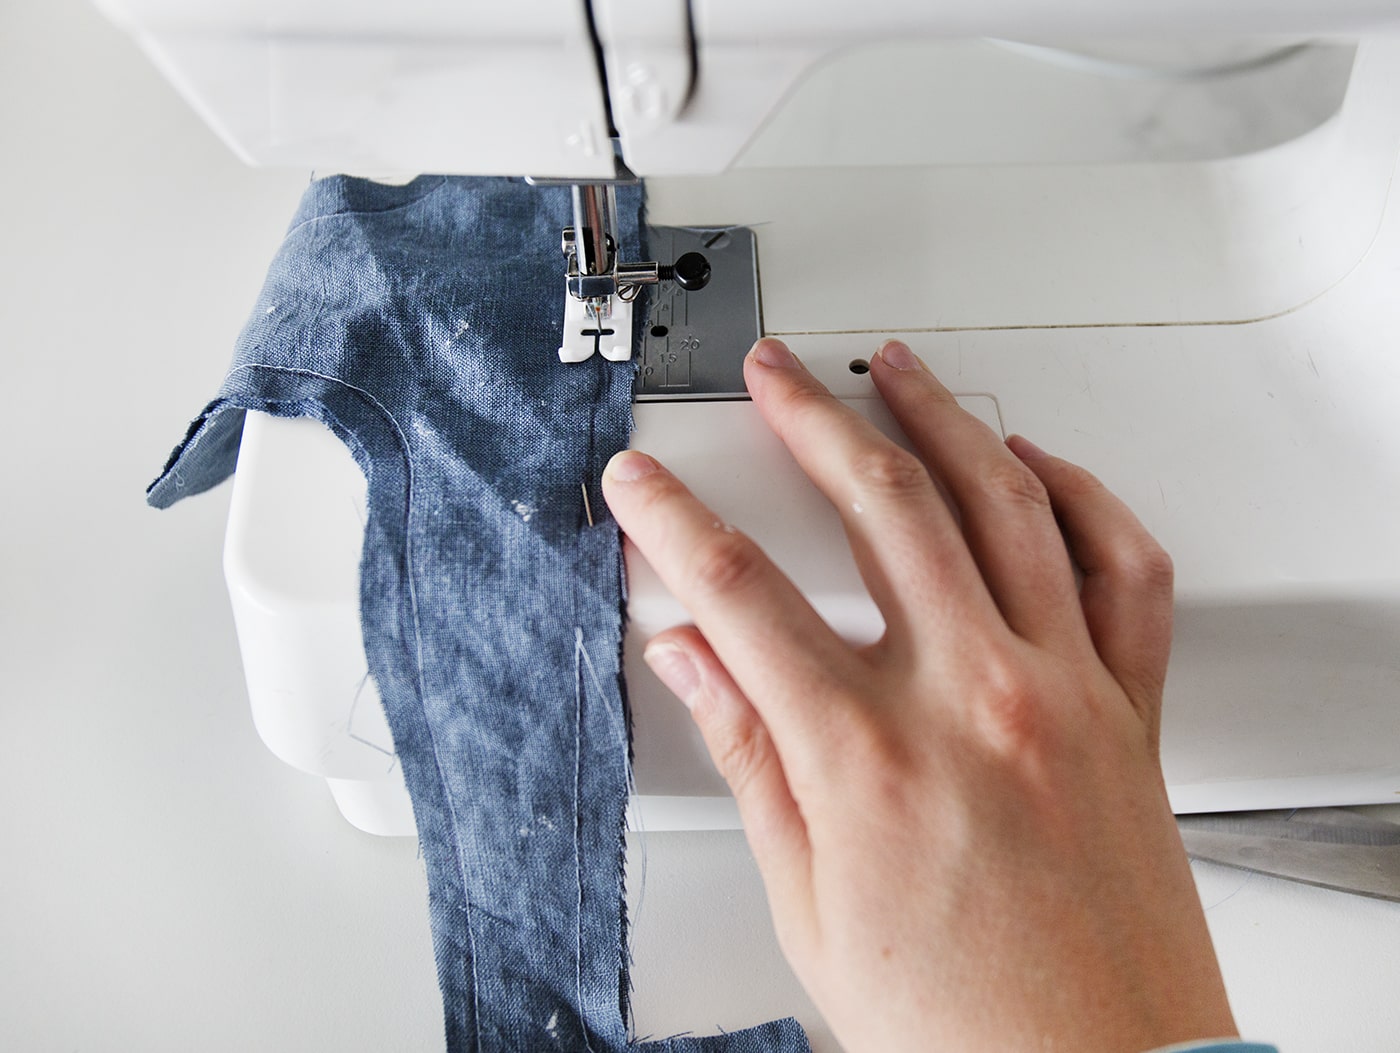
Stitch together with a simple straight stitch following your original pen line, but making sure you leave a large gap along the inside of the neck for stuffing. You can trim the seam allowance slightly all the way around, particularly in the smaller areas like the ear and legs.
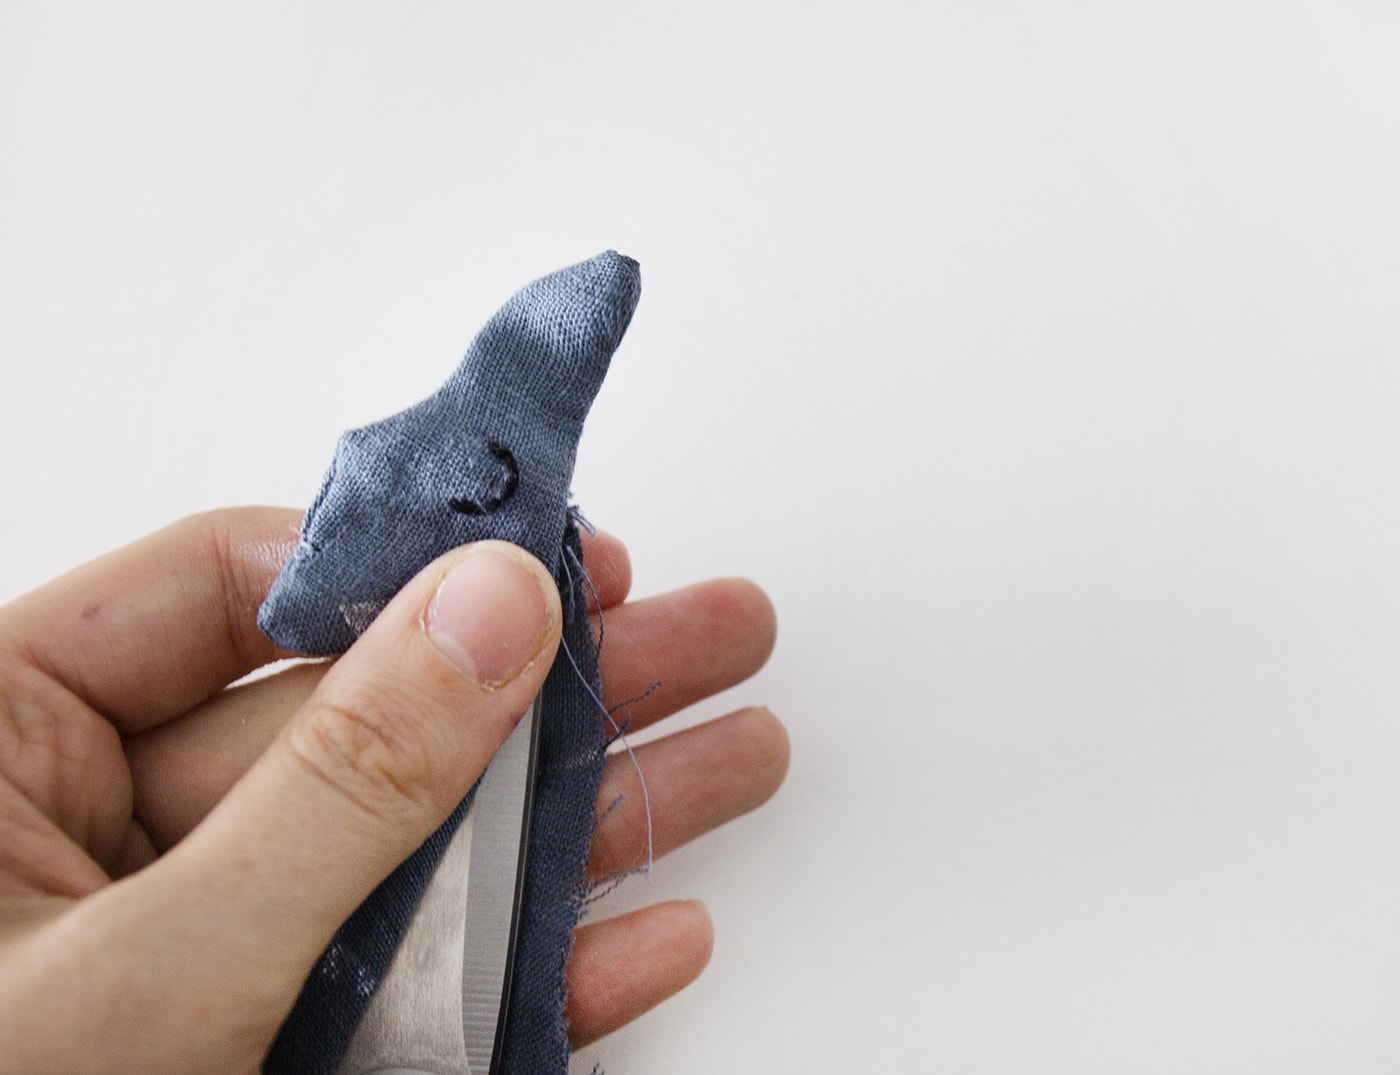
Start by stuffing the smaller parts like the head and legs. You can use the scissors to push the stuffing into those tricky places, to fill them properly. 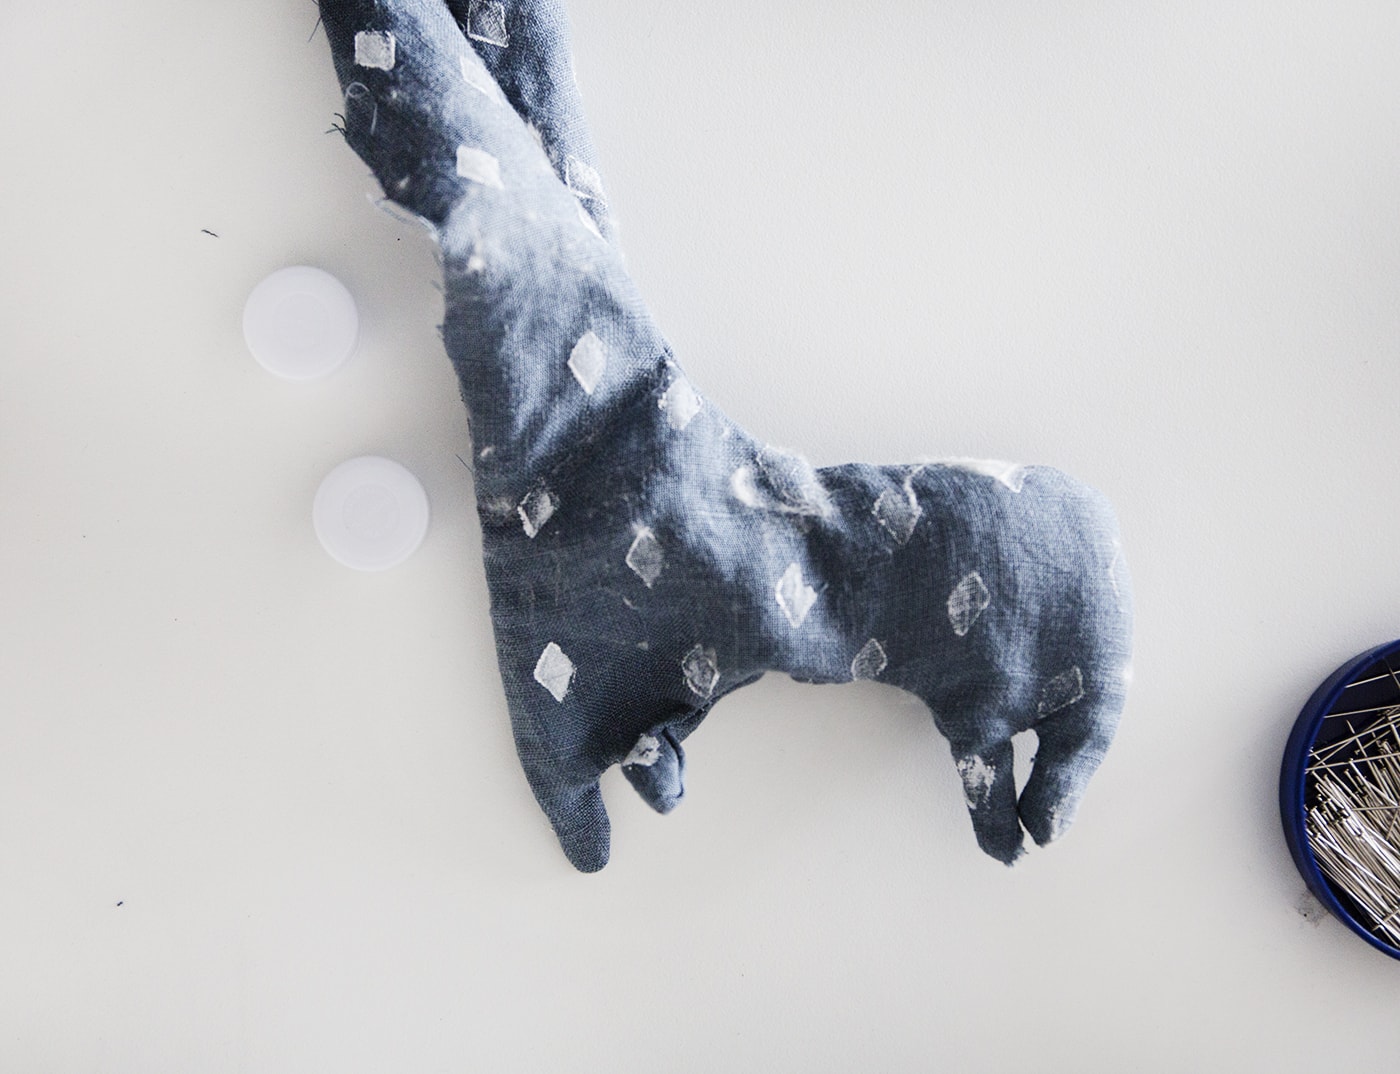
Then put two small rattles in the body of your giraffe.
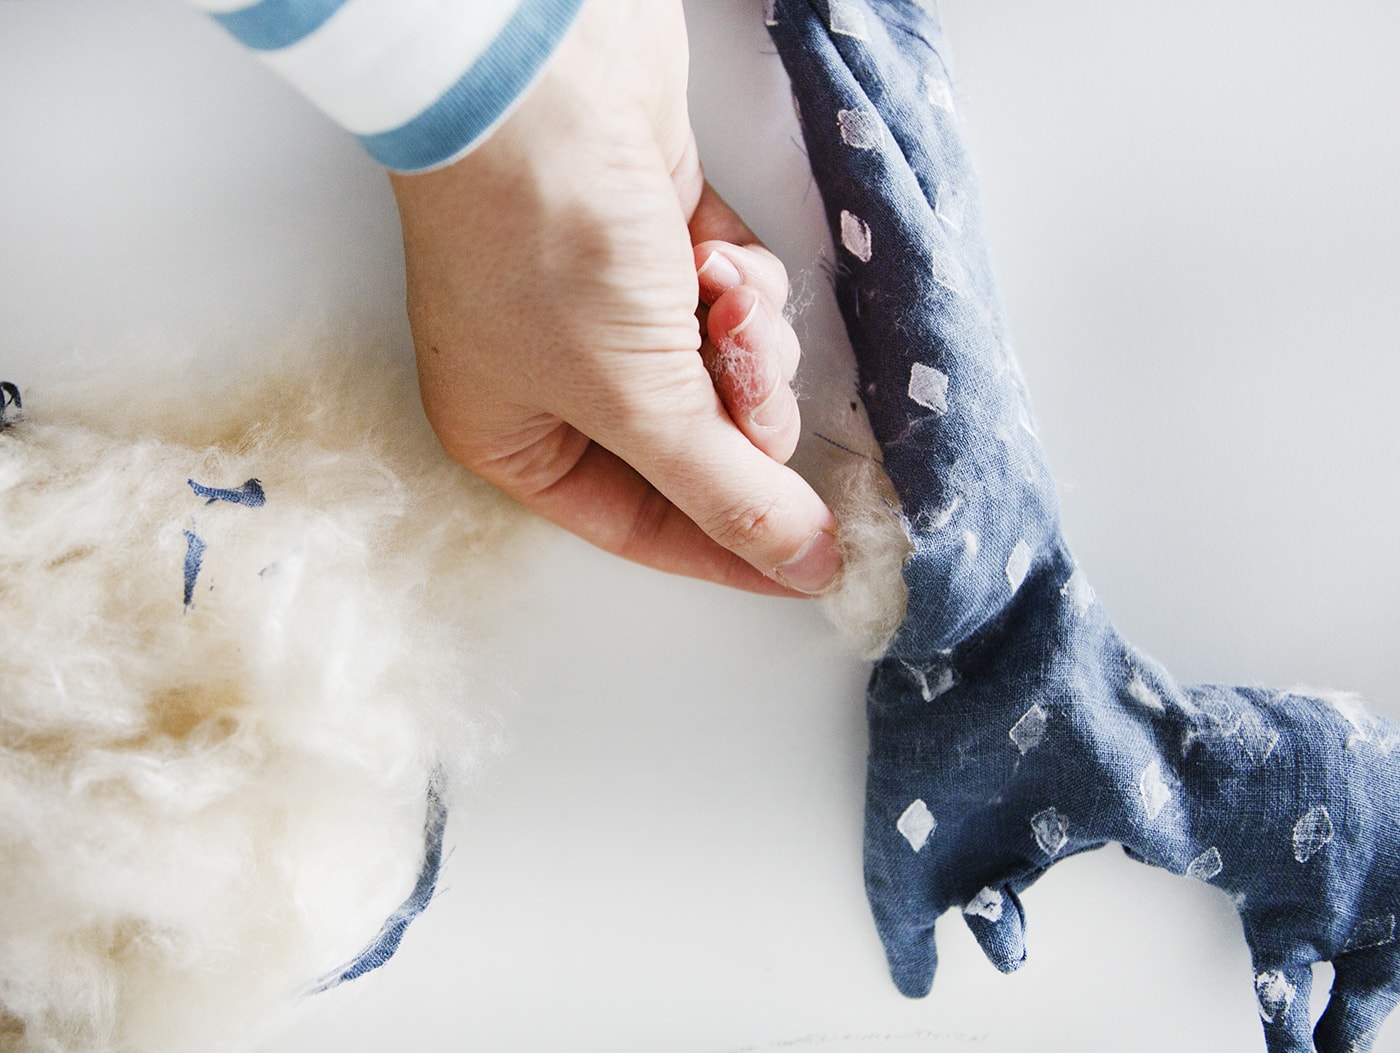
Keep stuffing around them so they’re secure and the body fills out.
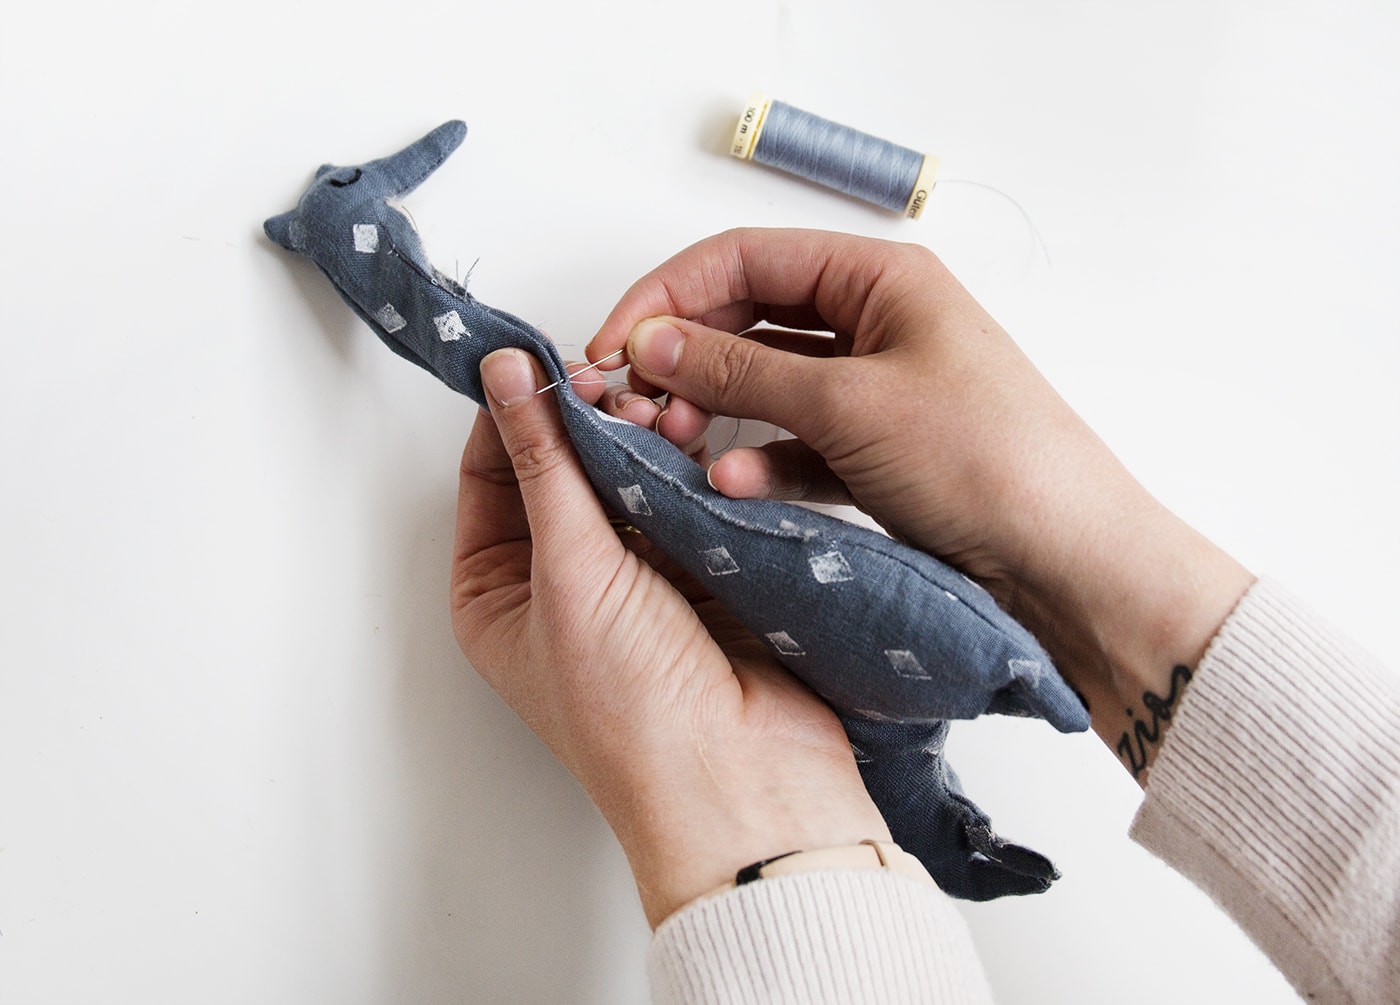
Hand sew the neck of your giraffe closed once you’ve folded the excess seam allowance in on itself. Just catch a small amount of the fabric as you move your way up the giraffe’s neck.
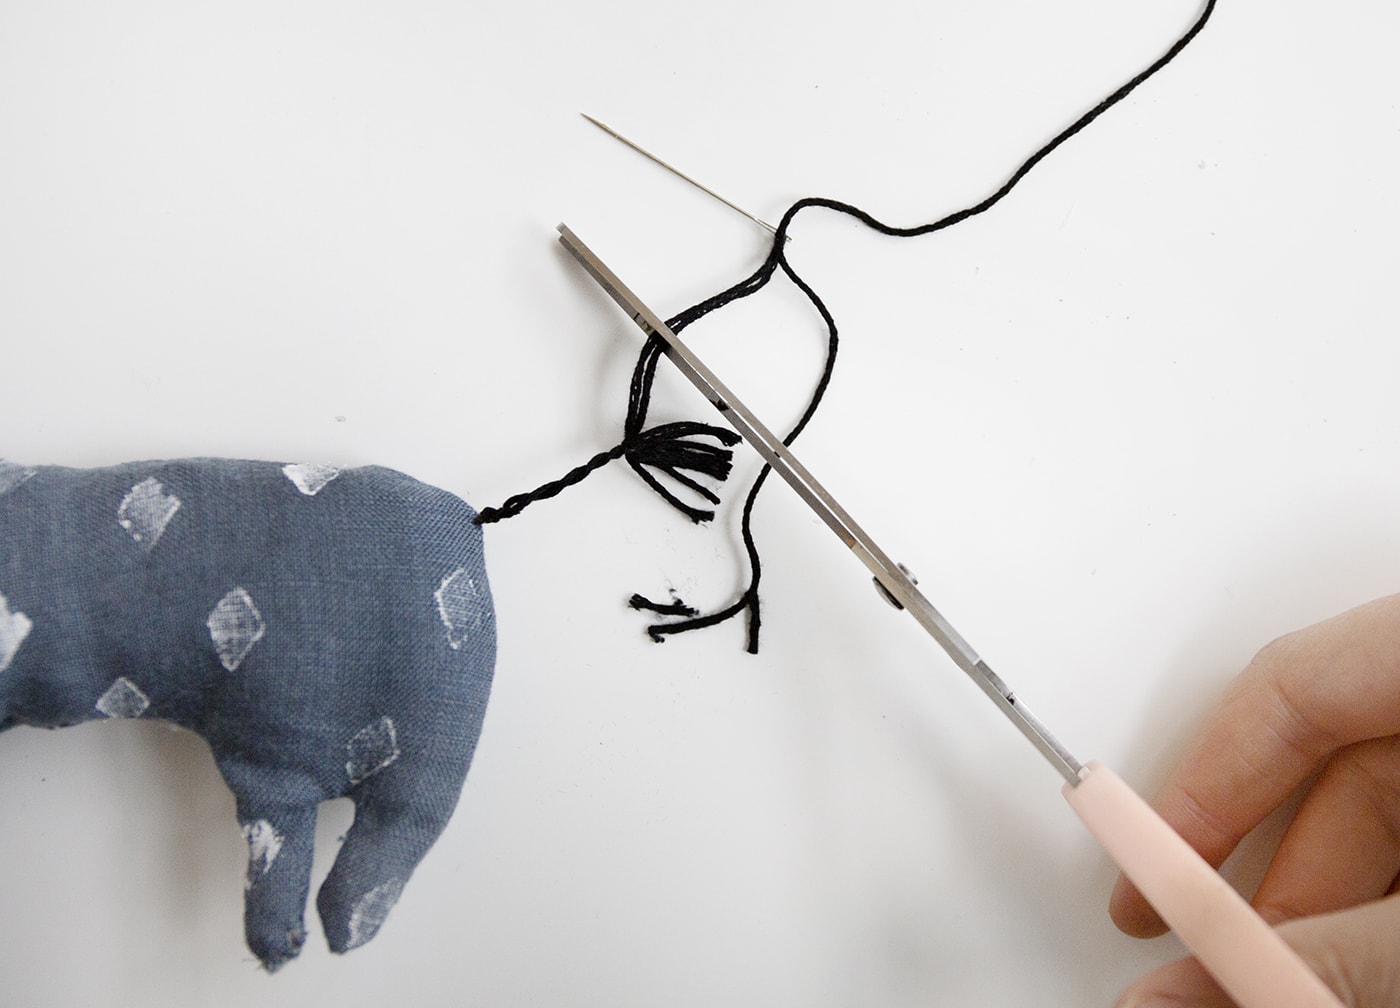
Use the black embroidery thread with your needle to go through the bottom of your giraffe, twist together and then knot and trim. You can add extra strands to the end of the tale by knotting and trimming more.
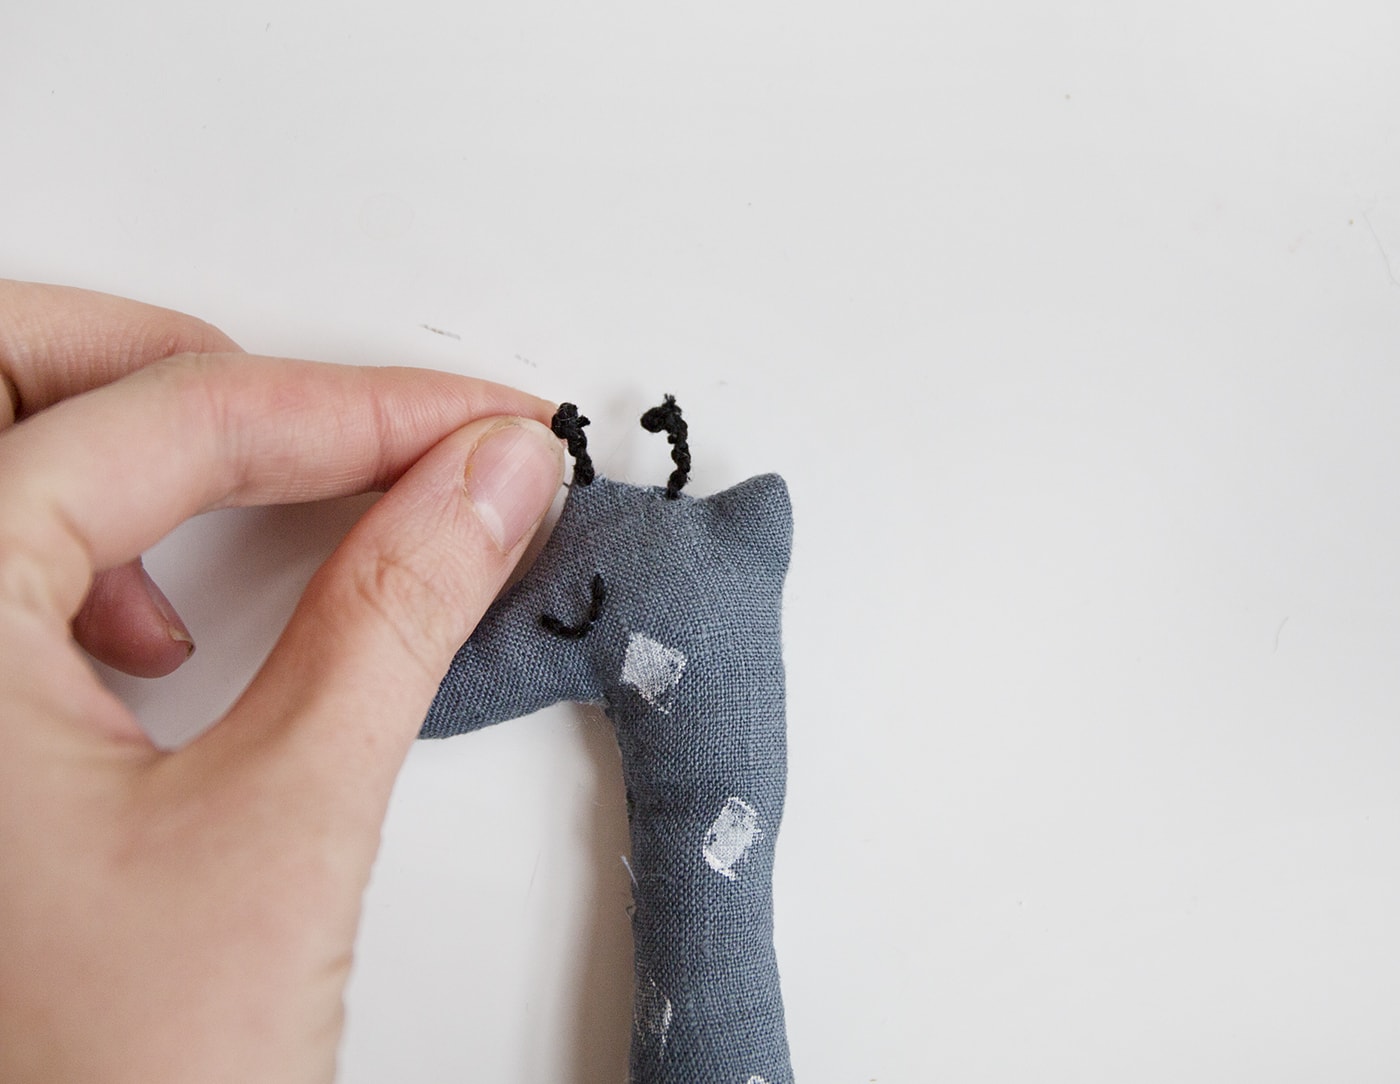
Do the same thing for the giraffe’s horn but double knot the end of each and there you have you new rattling friend.
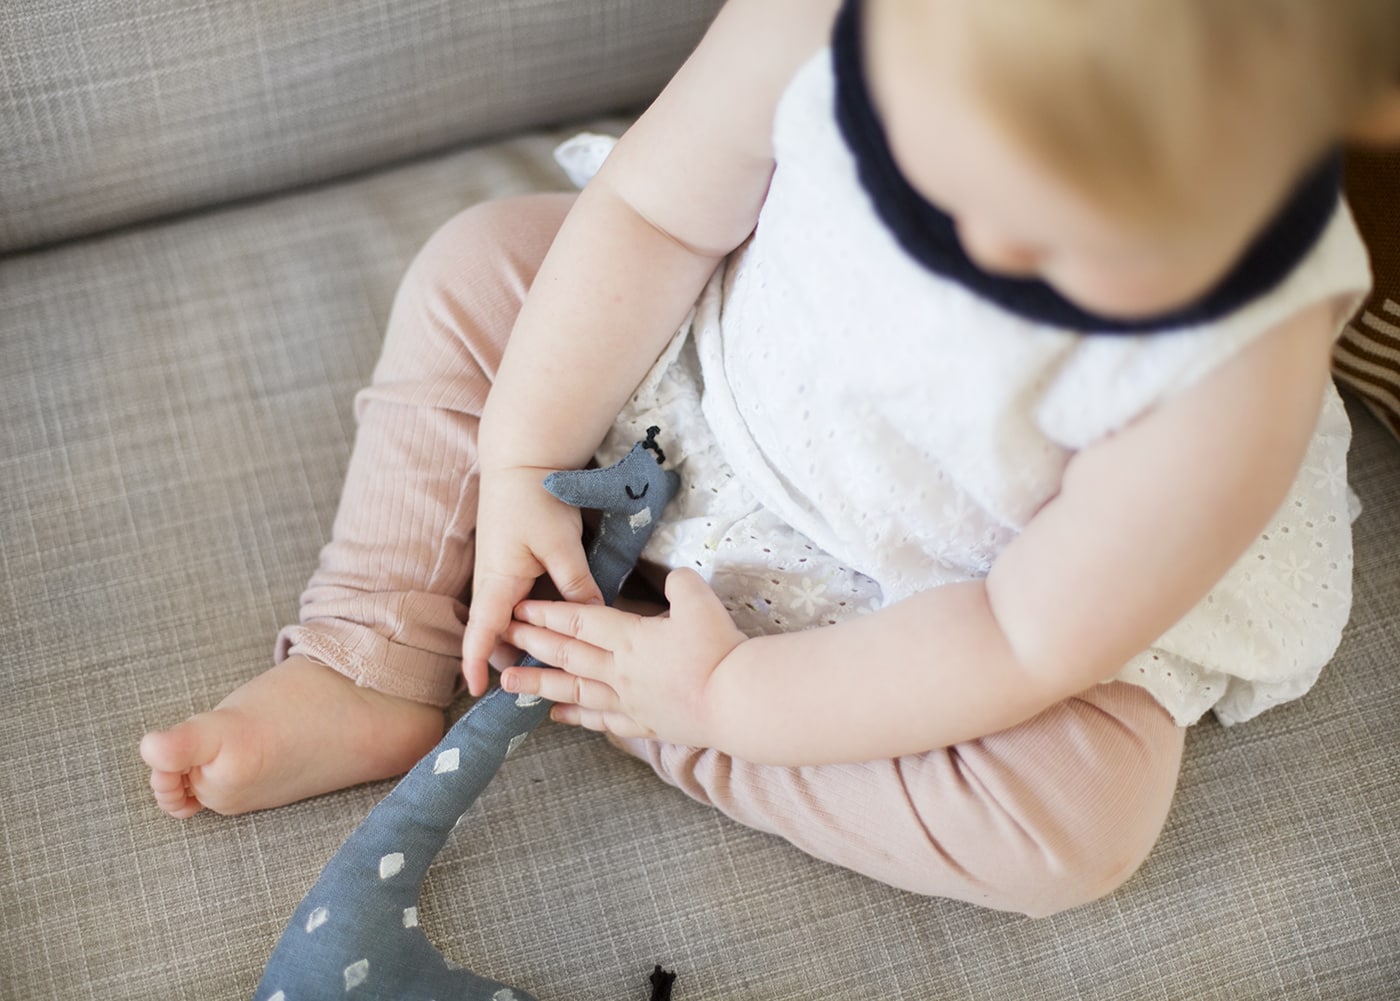
The post DIY your Baby A Friend appeared first on The Lovely Drawer.