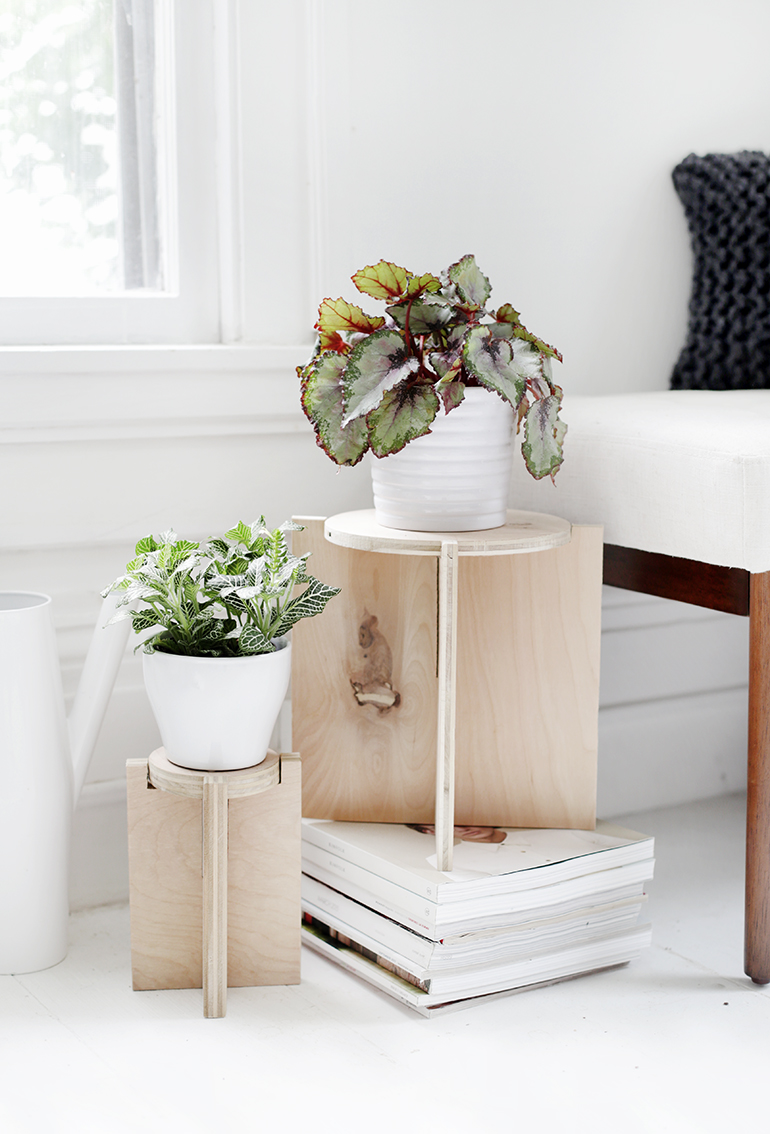
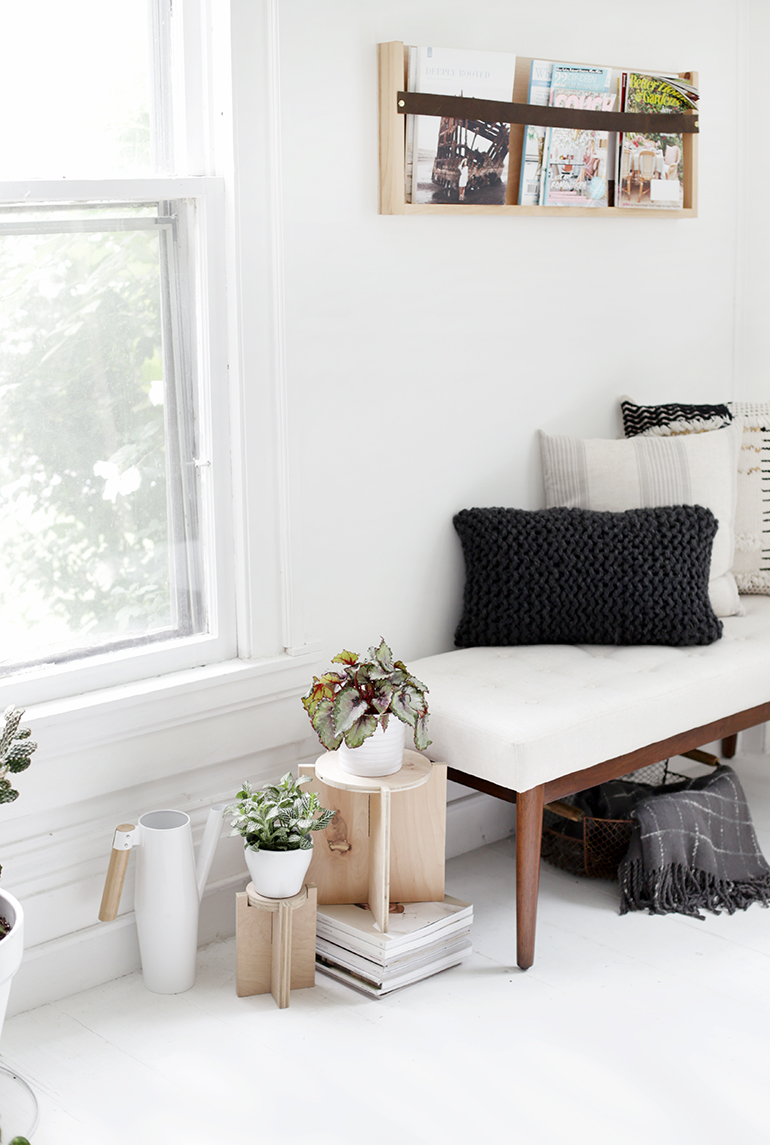
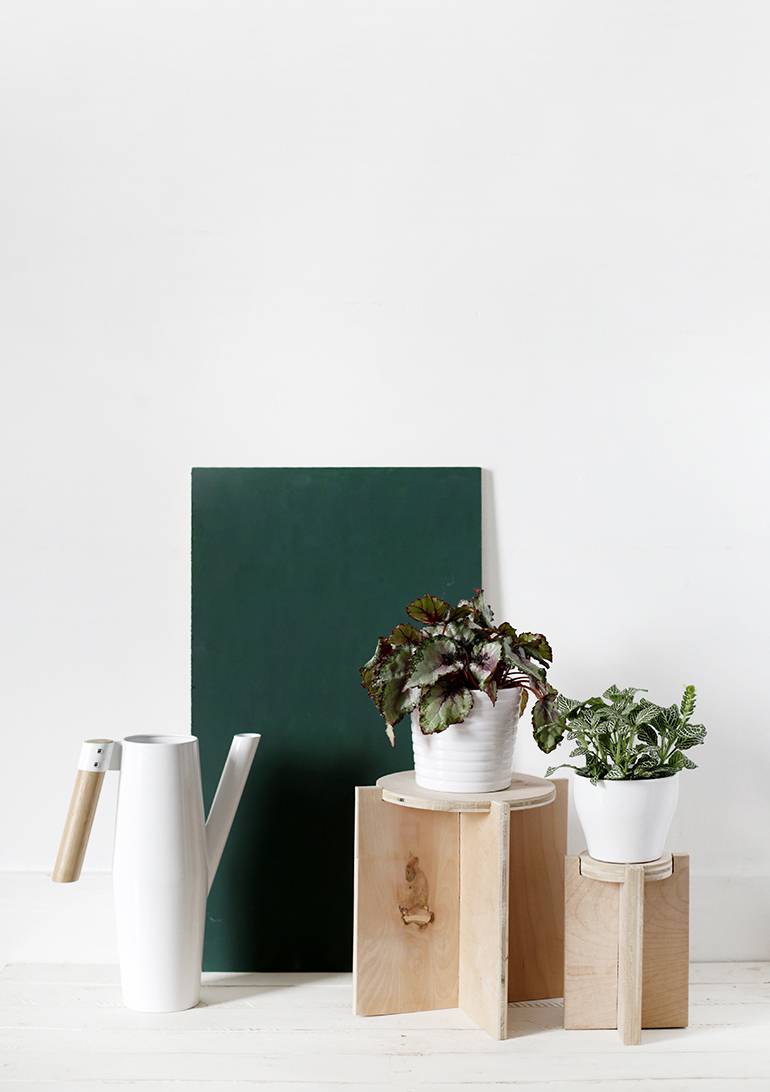
 We did a mini survey on IG stories recently and the majority of you were really into more plant posts! Which we’re pretty happy to hear because they’re some of our favorites and we’ve got many more in the works! I made these new plant stands because I thought they’d be sweet little babies to my huge plywood coffee table in my living room… hahaha. And I was right! They were honestly easier and quicker to make than I thought they would be. And they’re a great way to use up scrap plywood!
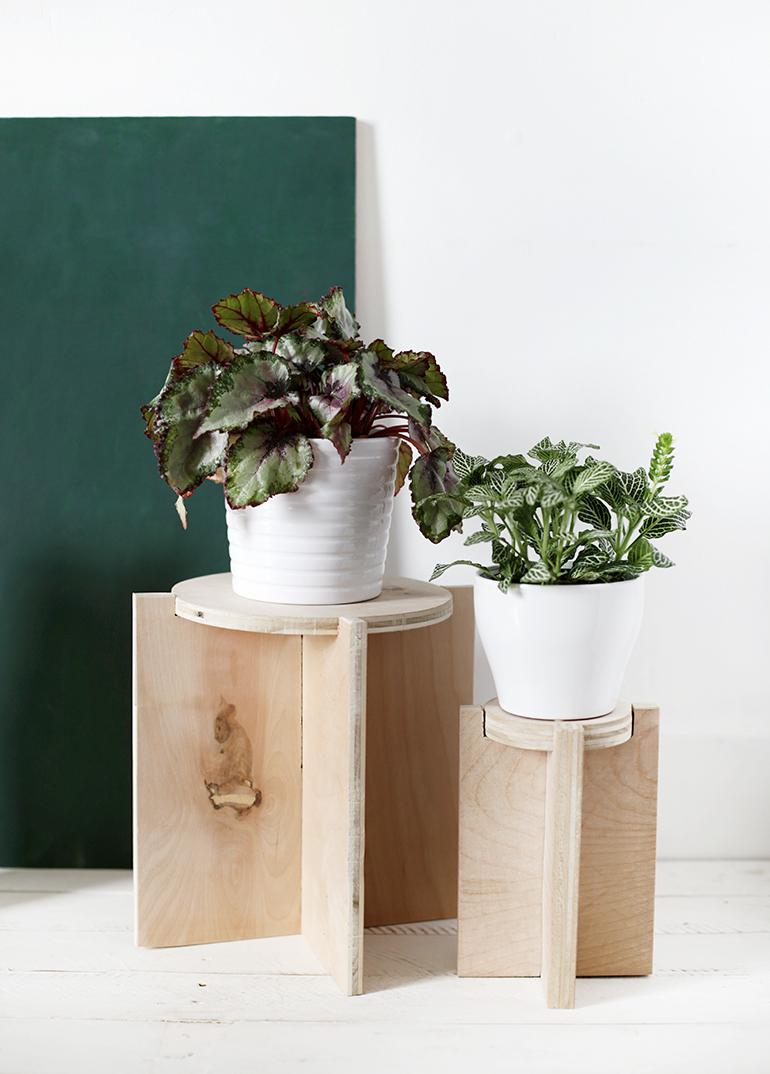 What you need:
-Plywood
-Tape measure
-Pencil
-Bandsaw or jigsaw
-Sandpaper
How to make it:
**If you are confused by the instructions, reference the photo below for how measurements should correspond to the cuts you’ll have to make.
-Decide on how large you want the top circle. I used a bowl to trace out mine – they were 4″ and 8″.
-Use bandsaw or jigsaw to cut out the circle and then sand rough edges.
-For the two base pieces, the width should be about 2″ more than the width of your circle and the height can be whatever you would like. You can make a very short stand, a super tall stand, or anywhere in between!
-Measure out the two rectangular base pieces, cut out, and sand rough edges.
-Now you will need to measure and mark out a space to slide in the top circle and the slots so that the two base pieces will fit together:
-On the top of each board, measure to the center and then measure out from each side of the mark 1/2 the width of your circle. (If your circle is 4″ – you will measure to the center and then measure out 2″ on each side) At each of these marks, measure down from the top the thickness of your plywood.
-From the top of one board, measure to the center and then measure out from each side of the center mark 1/2 the thickness of your plywood. Measure down and across to the center of the board and then measure out from each side of that center mark 1/2 the thickness of your plywood.
-Repeat the previous step but from the bottom of the other board.
-Cut out the slots and then sand rough edges.
-Slide the two board together and then place the top circle in the slot.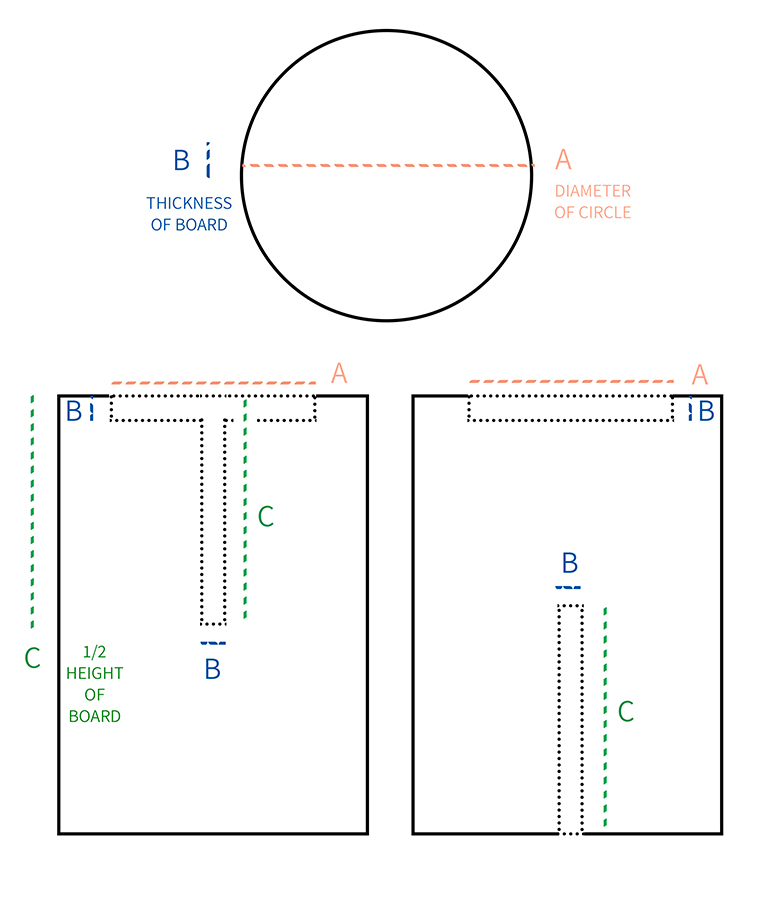
 -Caitlin
The post DIY Wooden Plant Stand appeared first on The Merrythought.