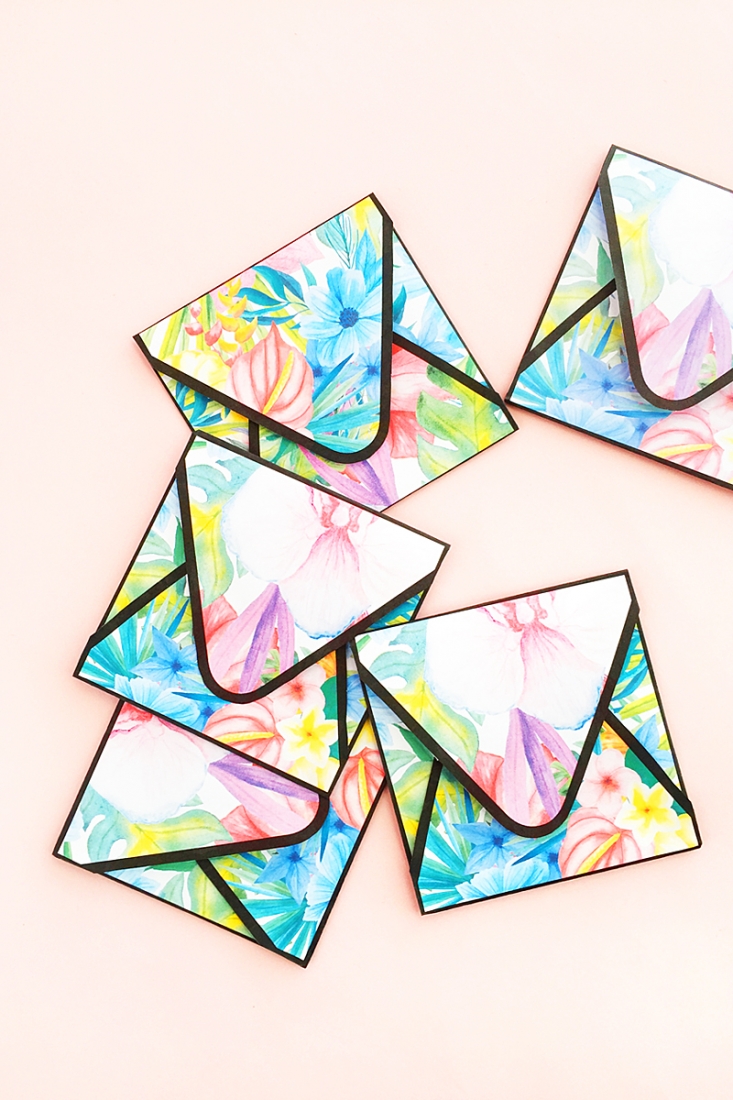
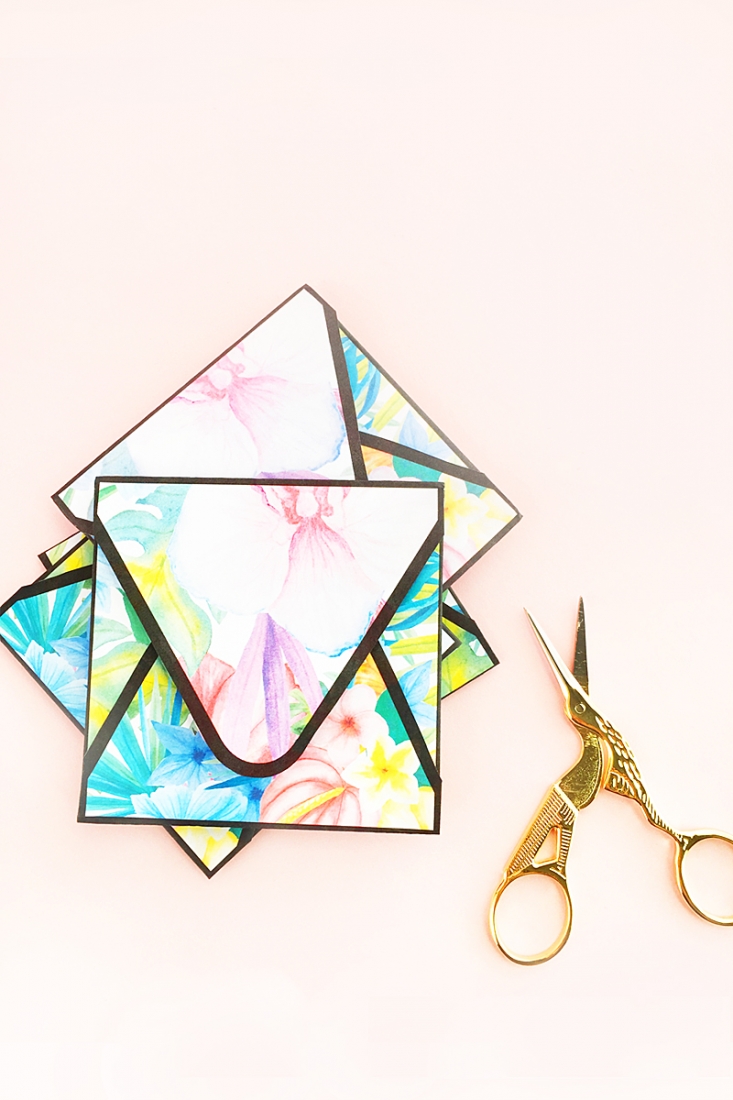
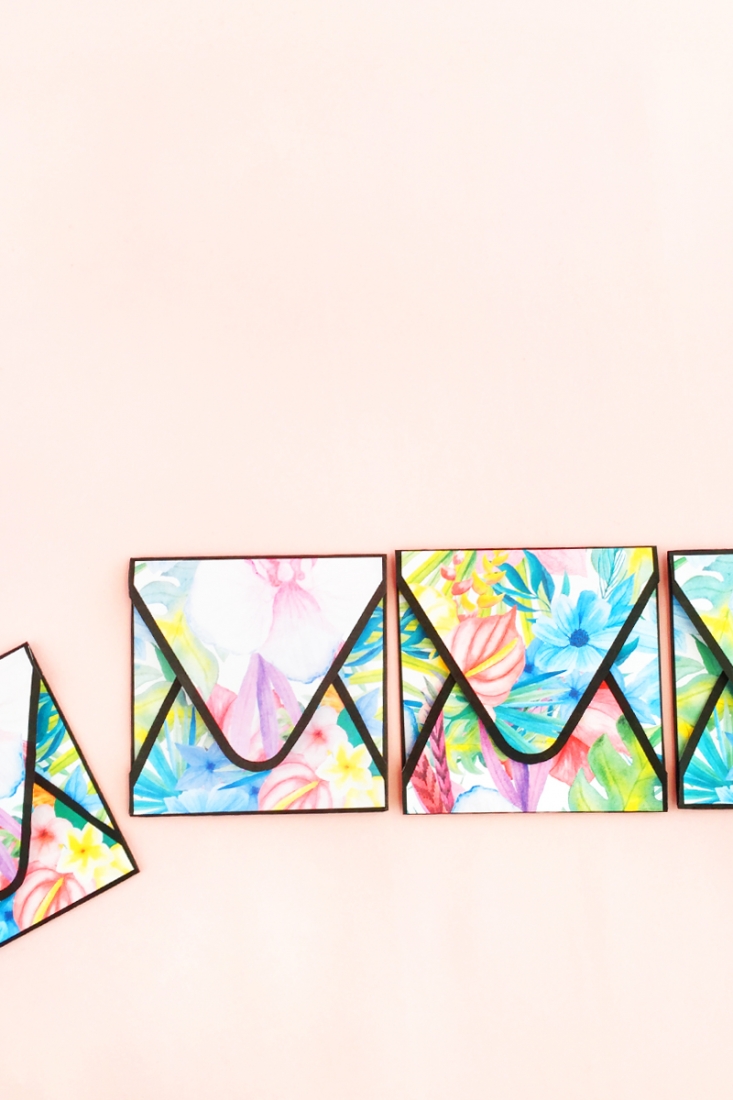
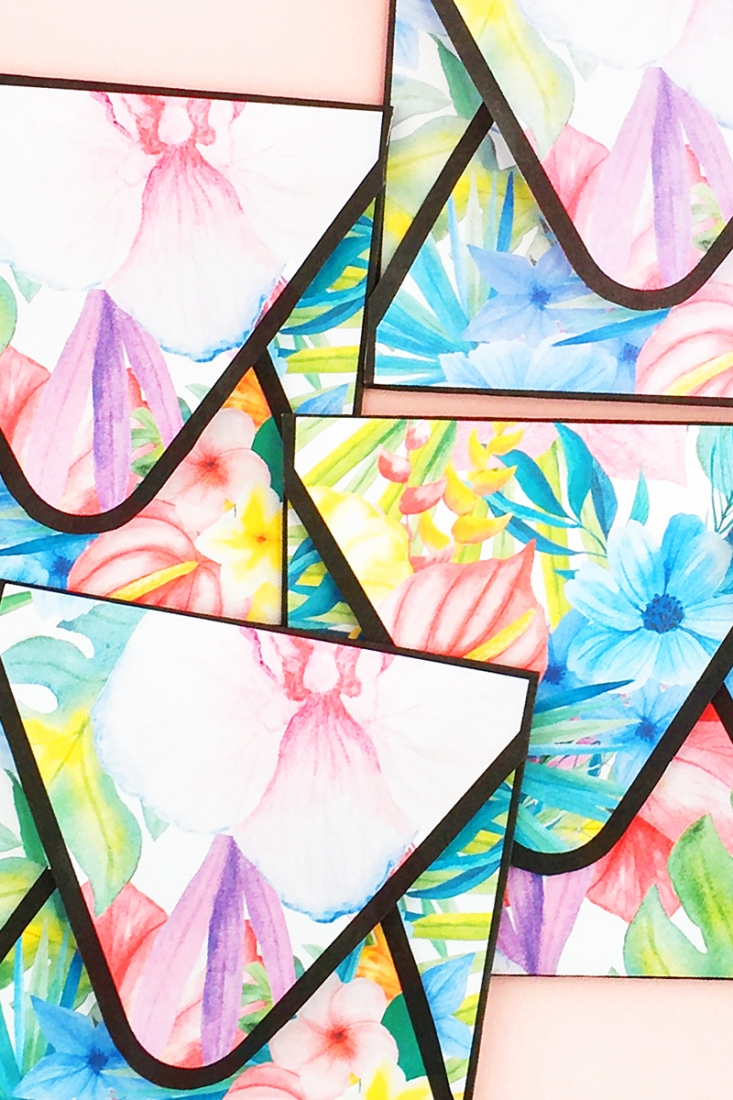
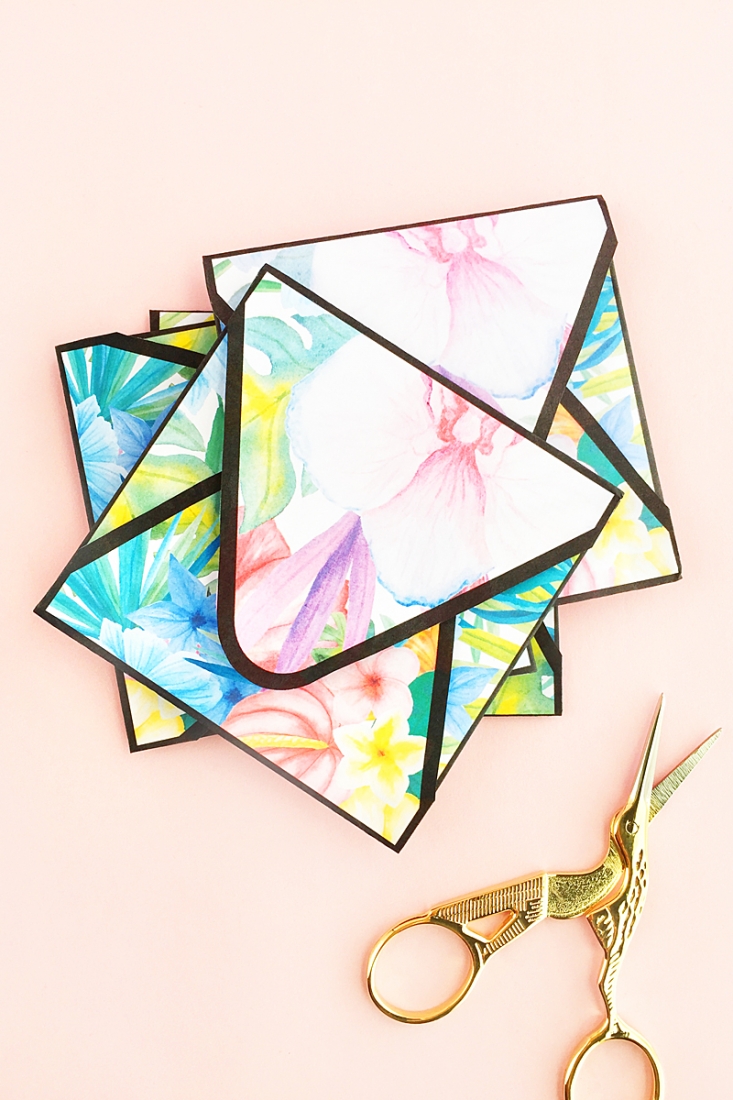
I’m bringing you some pretty colors and flowers with these DIY Tropical Envelopes to start off your week. You can basically make your own pattern with your favorite tropical images, then use my envelope tutorial to add borders if you want. Want to see how you can make your own? Read on…
The What
- Silhouette cutting machine (I used my CAMEO for this one)
- Silhouette Studio (there is a free version!)
- Cutting mat
- Printer paper
- Printer
- Envelope shape (you can download my free shape here and add borders here)
- Glue
- Tropical images (I used these ones that are free this week only on Creative Market)
The How
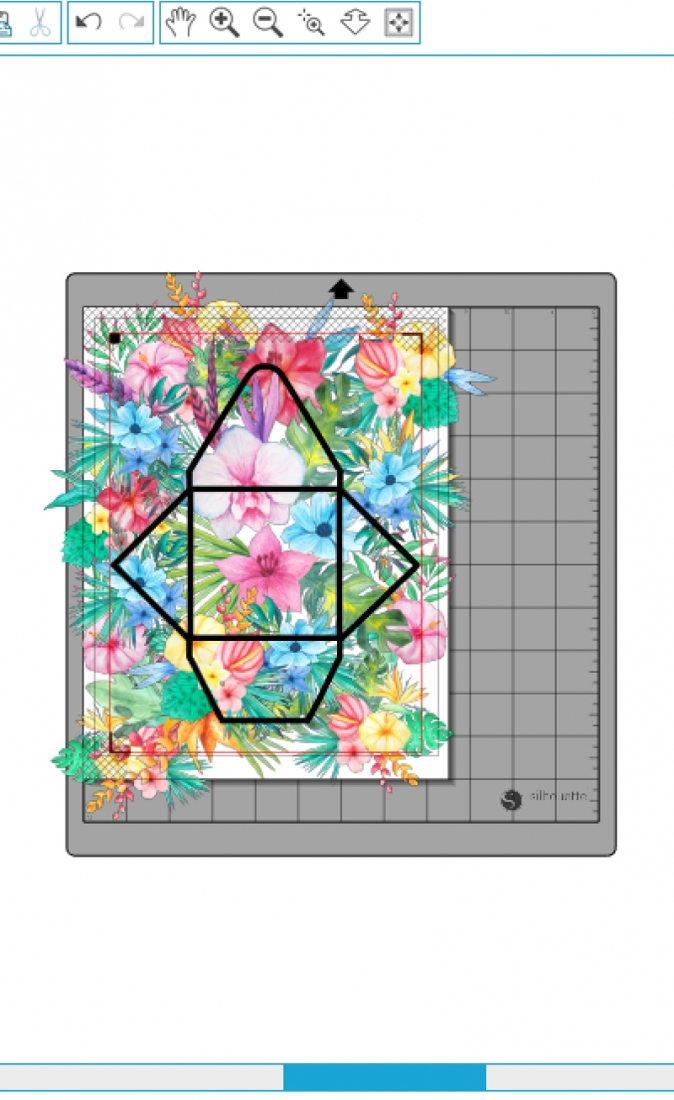
- In Silhouette Studio, merge your tropical images (I used the .png files) and envelope shape
- Arrange your images on your page
- Show the registration marks for Print and Cut
- Place and resize your envelope shape so that it is within the registration marks
- Send to print on printer paper
- Load your page onto your Silhouette cutting machine
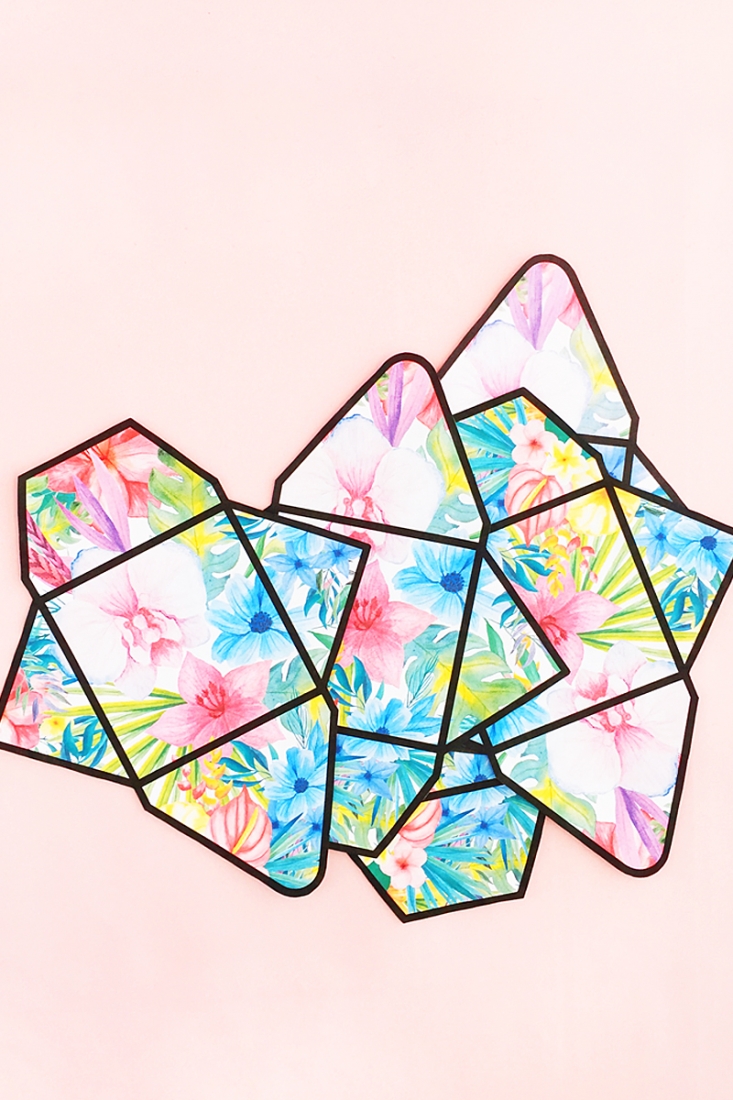
- Send to print and cut using copy paper settings
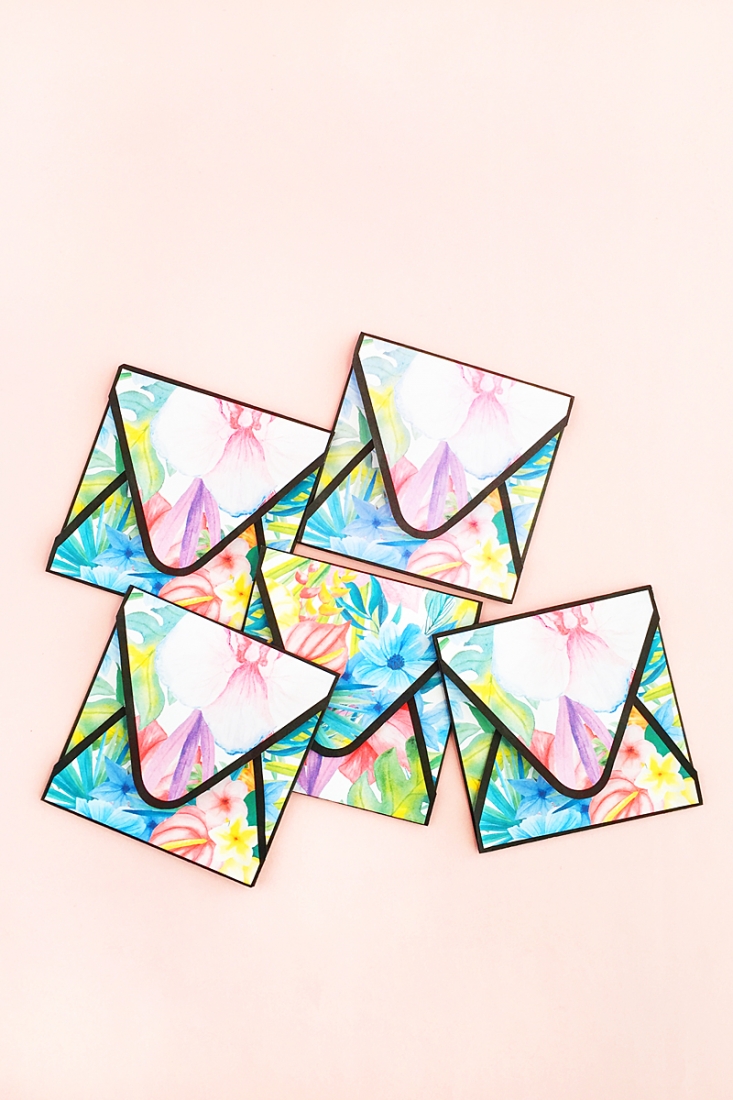
- Fold and assemble your envelope (adhere with glue)

To make matching flat notecards, just create squares that fit within the envelope shape in an accent color or using the same floral pattern. Fun, right? Which floral images did you use?
Looking for some more inspiration? Take a look at my other Stationery Projects!
The post DIY Tropical Envelopes appeared first on Maritza Lisa.
Related Posts

A proven eye for detail, an admiration for craftsmanship and...

(adsbygoogle = window.adsbygoogle || []).push({});...

Zum letzten Mal diesen Jahres mache ich bei der 12...

Even though it seems tricky sometimes, wavy hair is a...

The beauty of bathtub caddies lies not just in their...
There is nothing like having the joy of personally designing...


