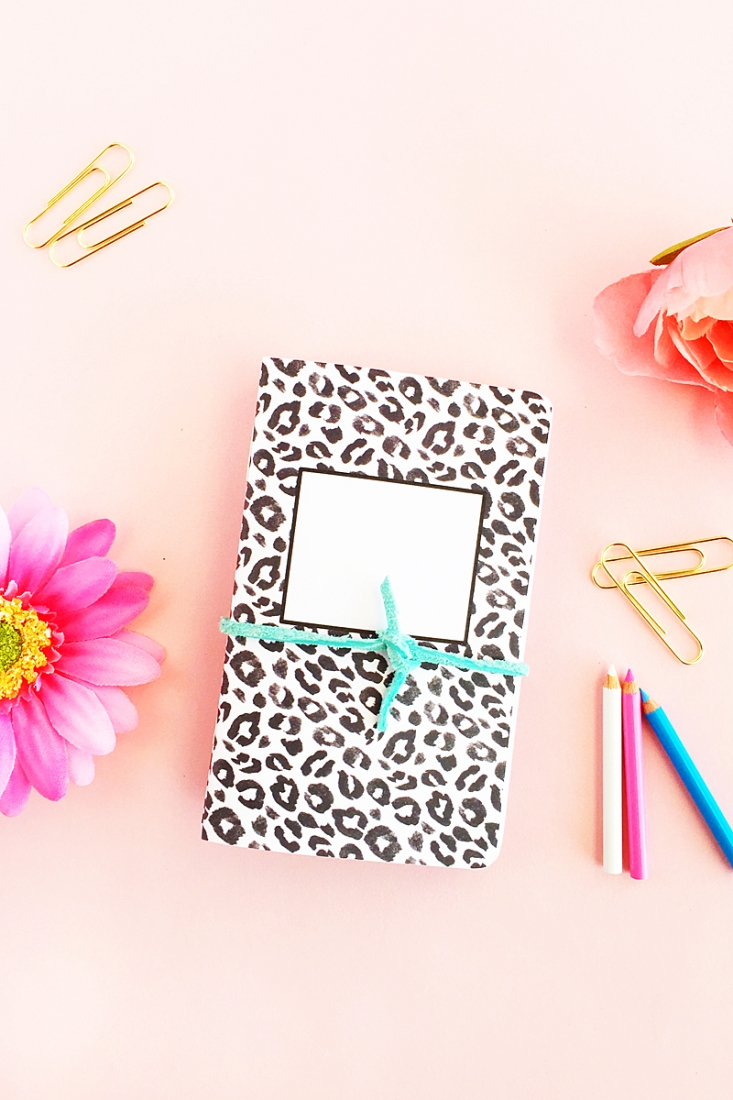
How is your week going? I had pretty yucky morning where technology was not on my side. You know what made me feel better? This post. My creative outlet. Just a little reminder that I thank you every day for visiting and humoring my little DIYs here. So. How about these cute little DIY Leopard Print Notebooks? I have not done a back to school DIY yet, so I thought these little notebooks bundled up with cute pencils will make the smallest or biggest students a sweet gift. Read on to make your own!
The What
- Silhouette Studio
- Silhouette cutting machine (I used my CAMEO for this one)
- Cutting mat
- Cardstock
- Paper (I used regular printer paper)
- Printer
- Stapler
- Leopard patterns (I got mine on Creative Market, which are free this week!)
The How
- In Silhouette Studio, open your leopard pattern and create a rounded rectangle for the cover (4 in x 5 in)
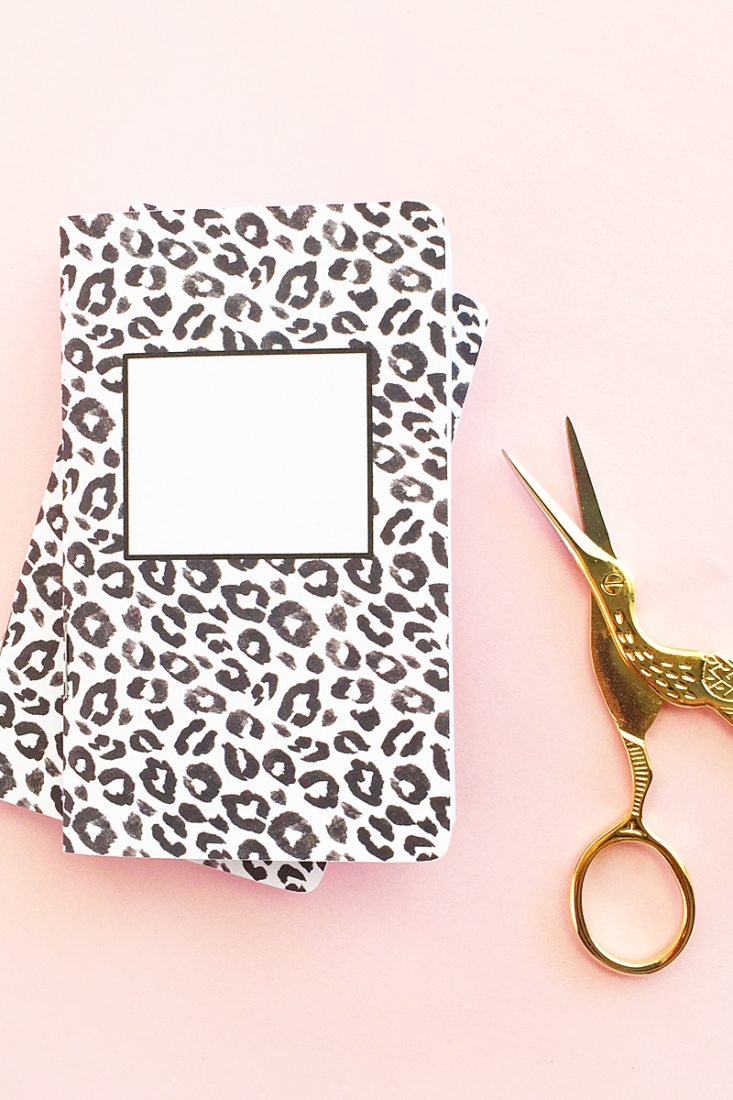
- Place the pattern over the rectangle and crop so that it fills your rectangle. Create a white rectangle with a black border and place it on the right side of the patterned rectangle. Set only the outer rectangle to cut, then group. This will be your notebook cover
- Print and cut your notebook covers using cardstock settings
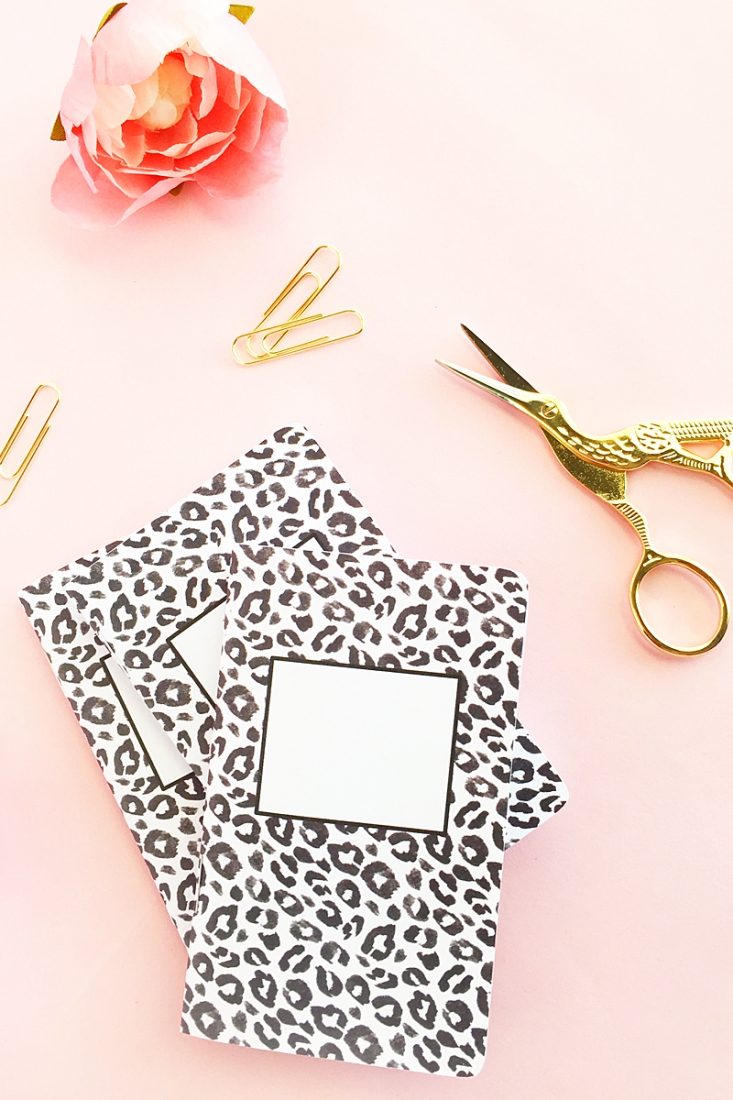
- Create smaller rounded rectangles (internal offset tool) for the pages and send to cut using copy paper settings
- Staple the cover and pages for each book

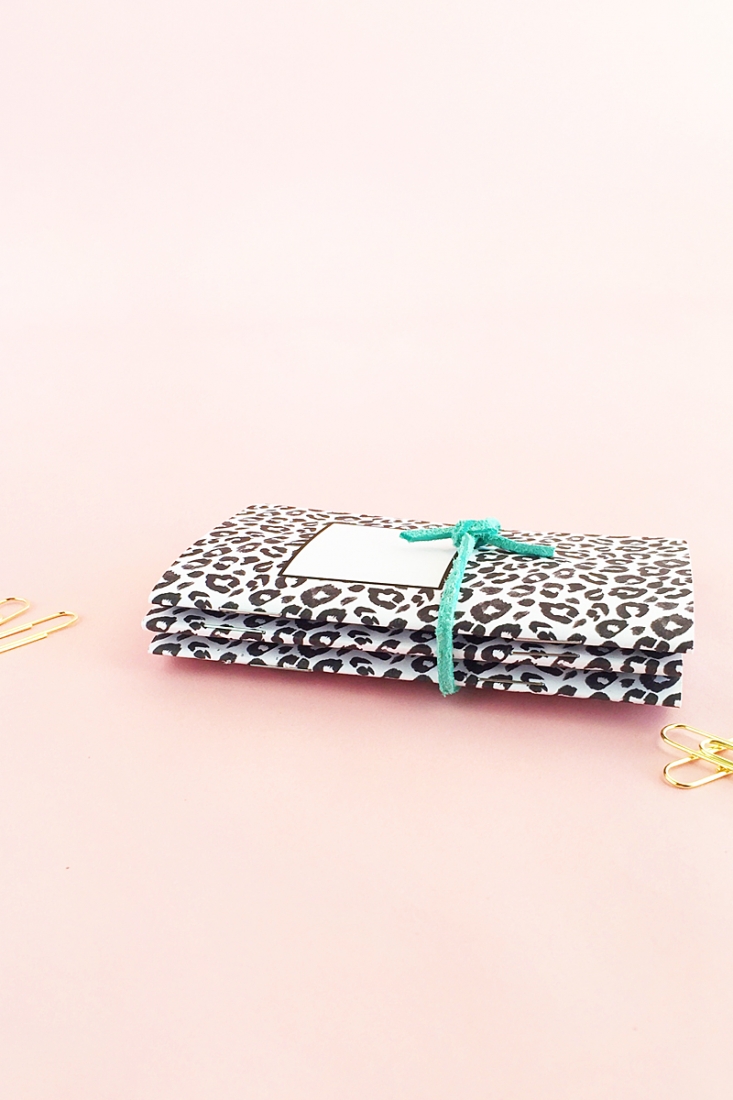
All you need to do now is bundle them up with pretty string and send them off! Which pattern did you use? I have plans for the pink one….
Looking for some more inspiration? Take a look at my other Silhouette projects.
The post DIY Leopard Print Notebooks appeared first on Maritza Lisa.