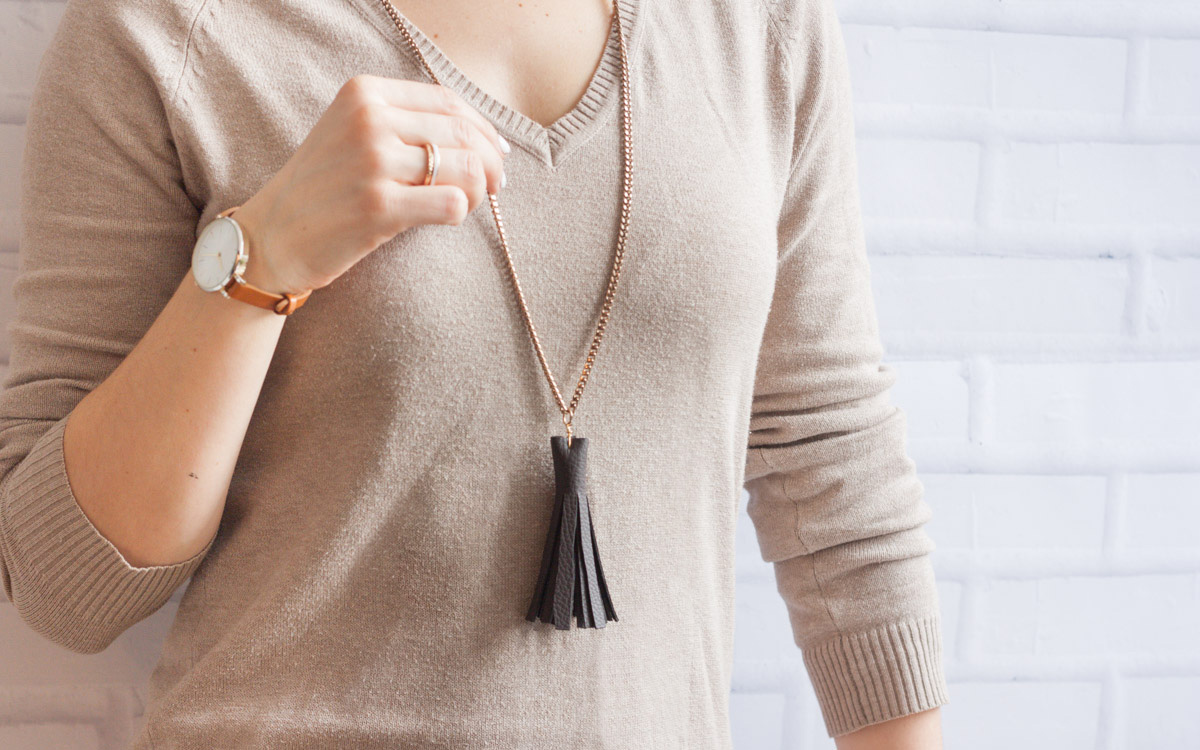
Is there anything more classy than leather tassels? They are cute in any way and used almost everywhere, so when I bumped into this rectangle of scrap leather I immediately knew what to craft with it: a tassel! The initial idea was to add it to a black leather bag, but turns out I don’t have any (weird, uh? All ladies should have at least one!). So I found this gold chain and thought it would pair perfectly with my leather tassel to be. I’m of curse using eco-friendly leather, but as always this is up to you. Also the size of the tassel we’re about to make can be changed based on your taste: clearly, the smaller, the cuter, the most difficult to make.
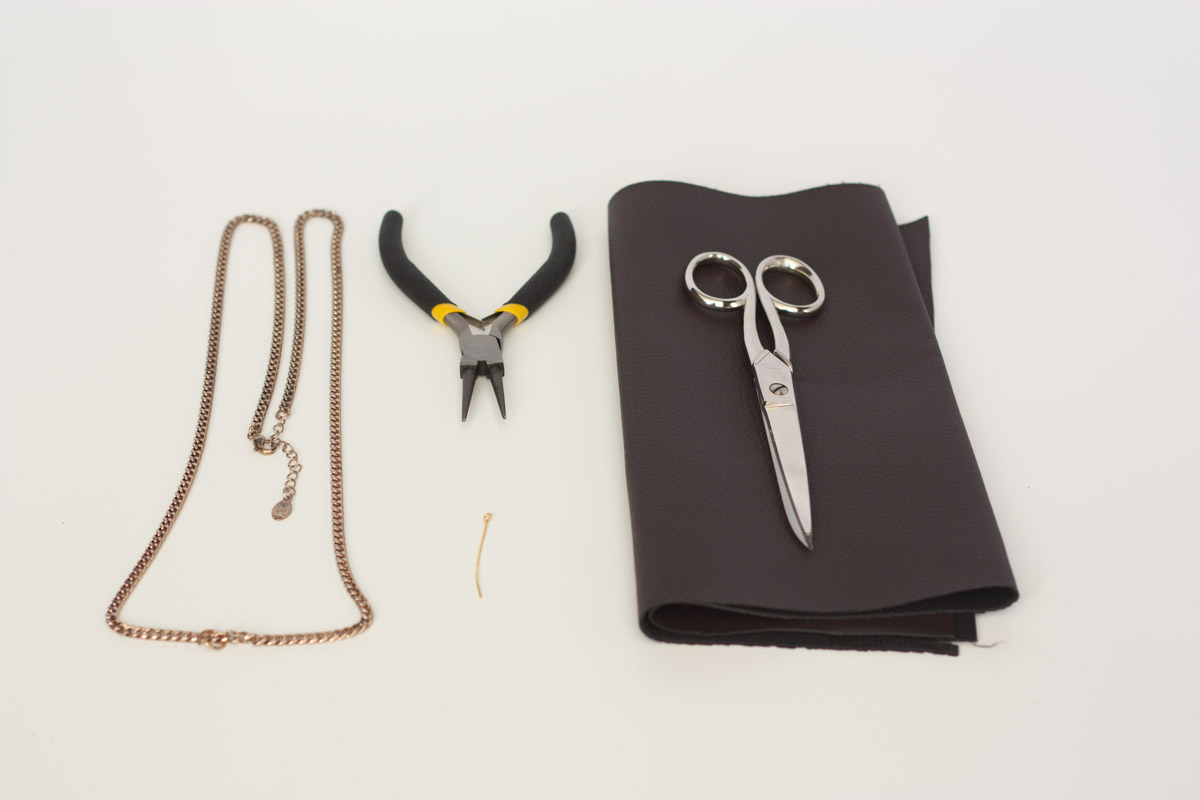
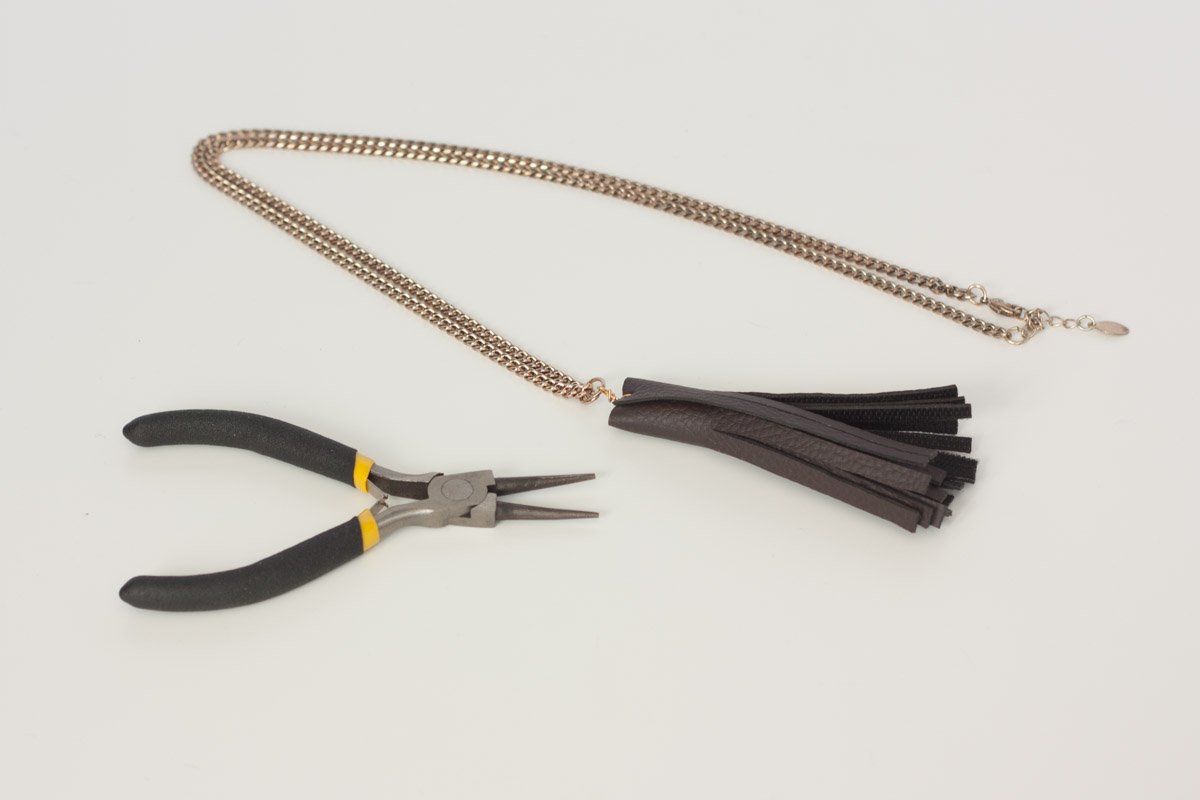
Here’s what you’ll need:
- leather
- scissors
- chain and jump ring
- needle nose pliers
- needle
Start by cutting a rectangular leather shape approximately 3.14 x 4.7 inches. You can of course make it smaller (or bigger!)
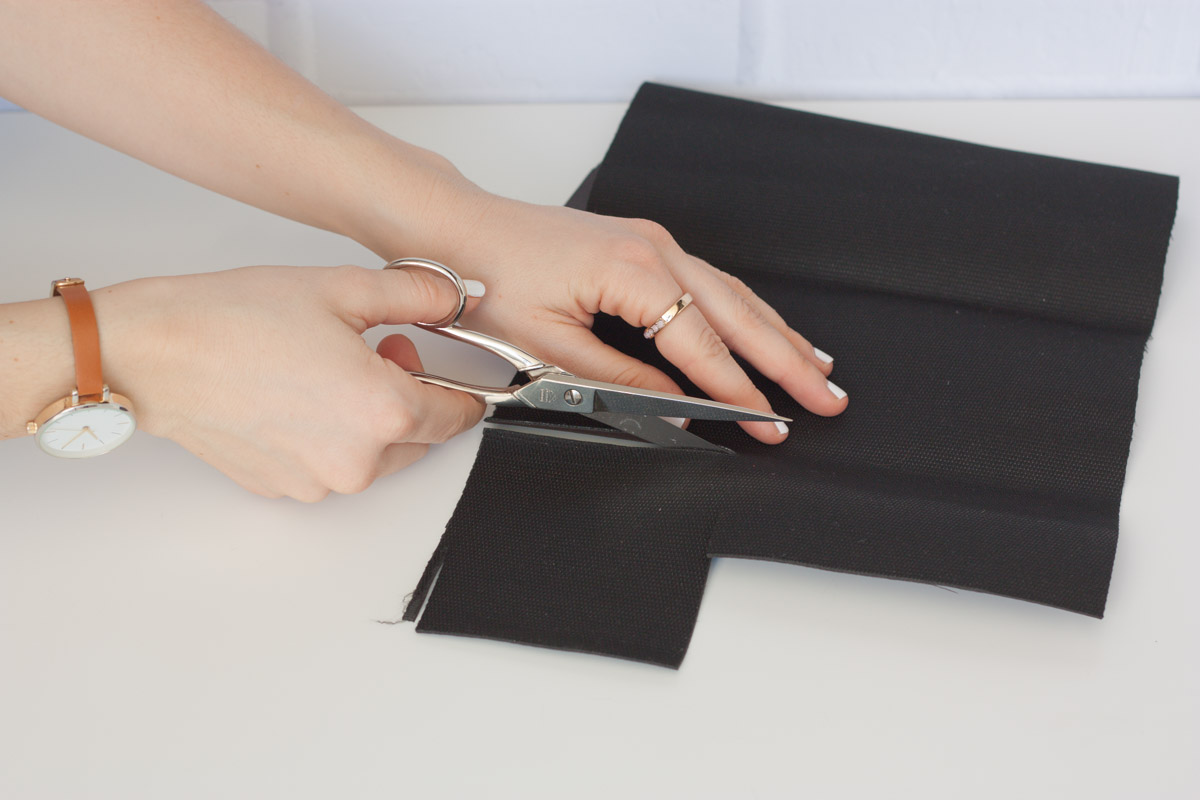
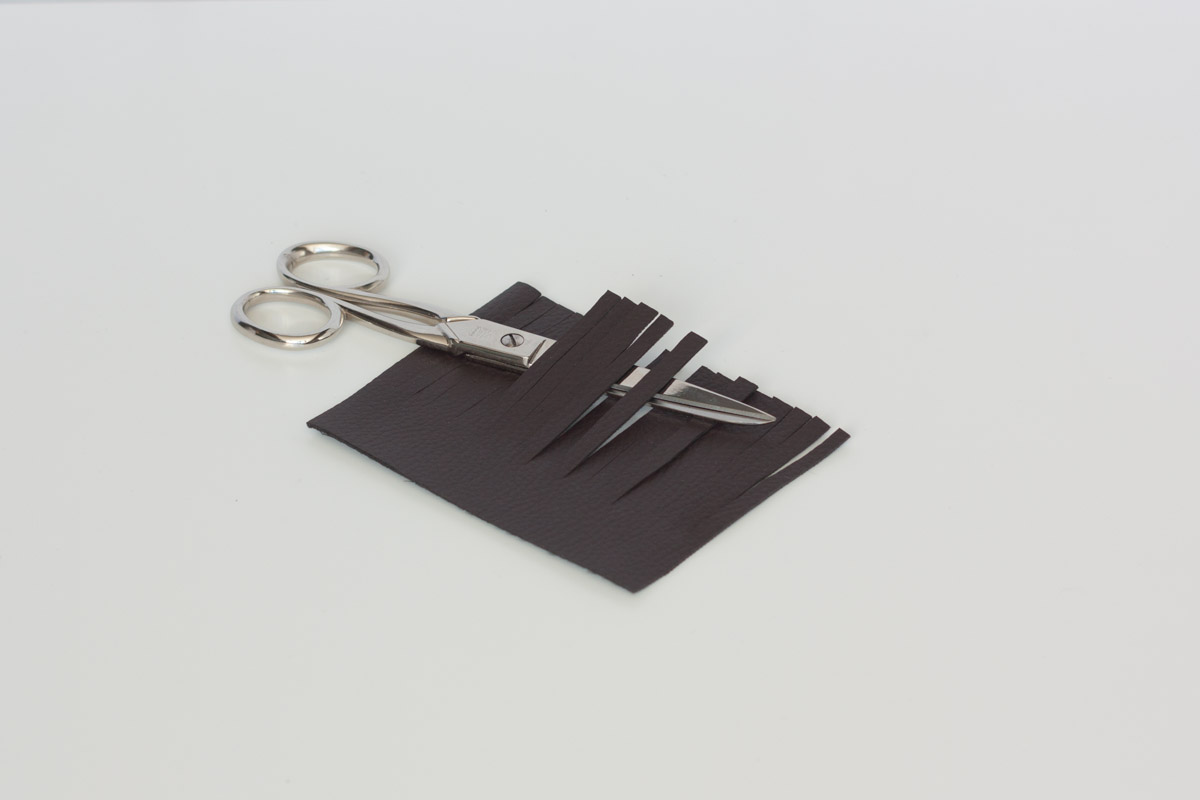
Next, cut fringes. Make them 85% the length of the rectangle, trying to make them all finish at the same height.
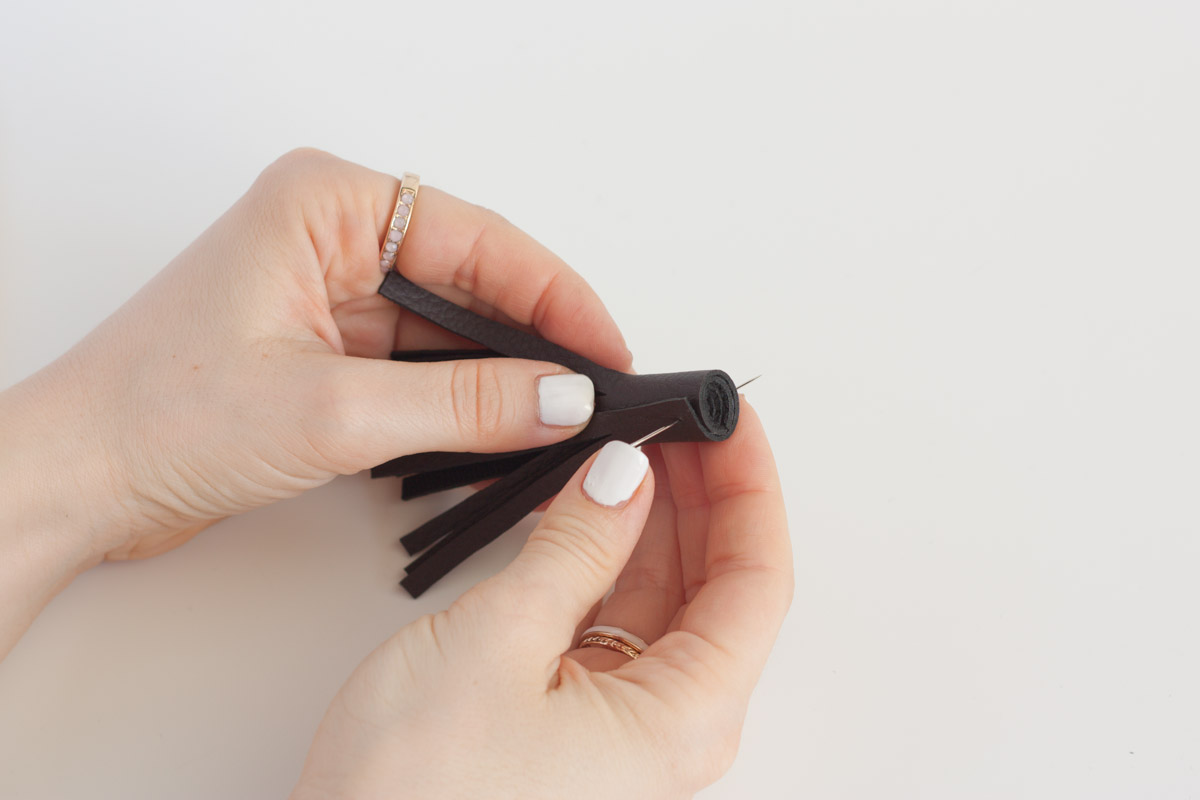
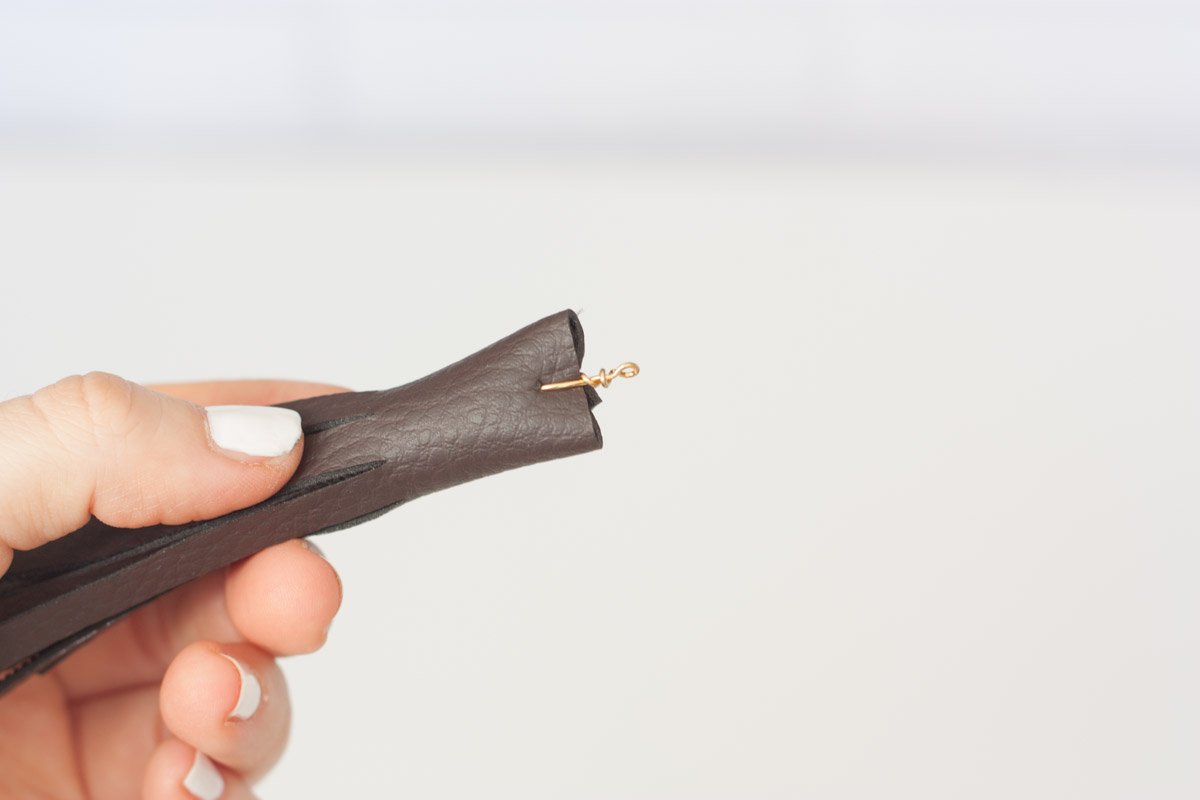
Roll it up and push a needle through the part without fringes.
Take out the needle and make the jump ring enter the hole just made. I had some trouble making this step because the jum ring kept bending, so I recommend you keep on using the needle to push it in more easily.
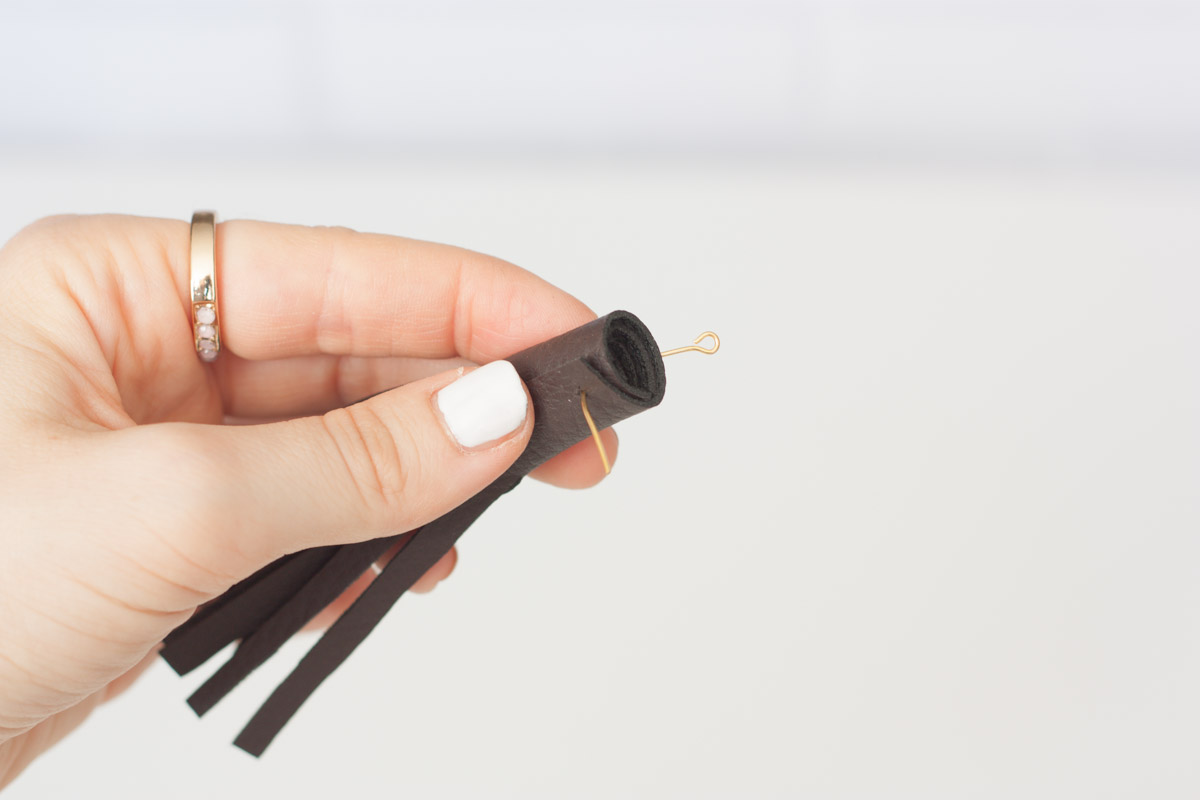
Help yourself with pliers to bend the straight end around the ringed end.
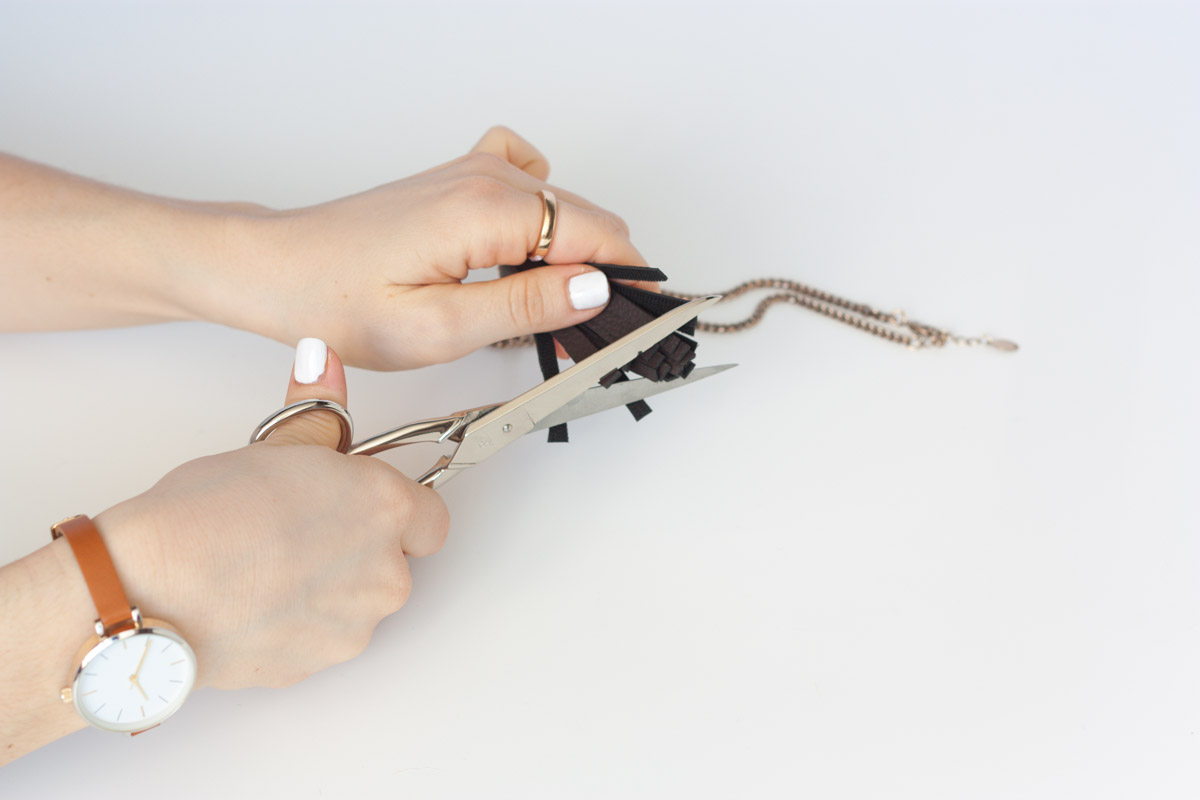
Finally, give a trim to tassel fringes that aren’t in line: they must be all at the same level.
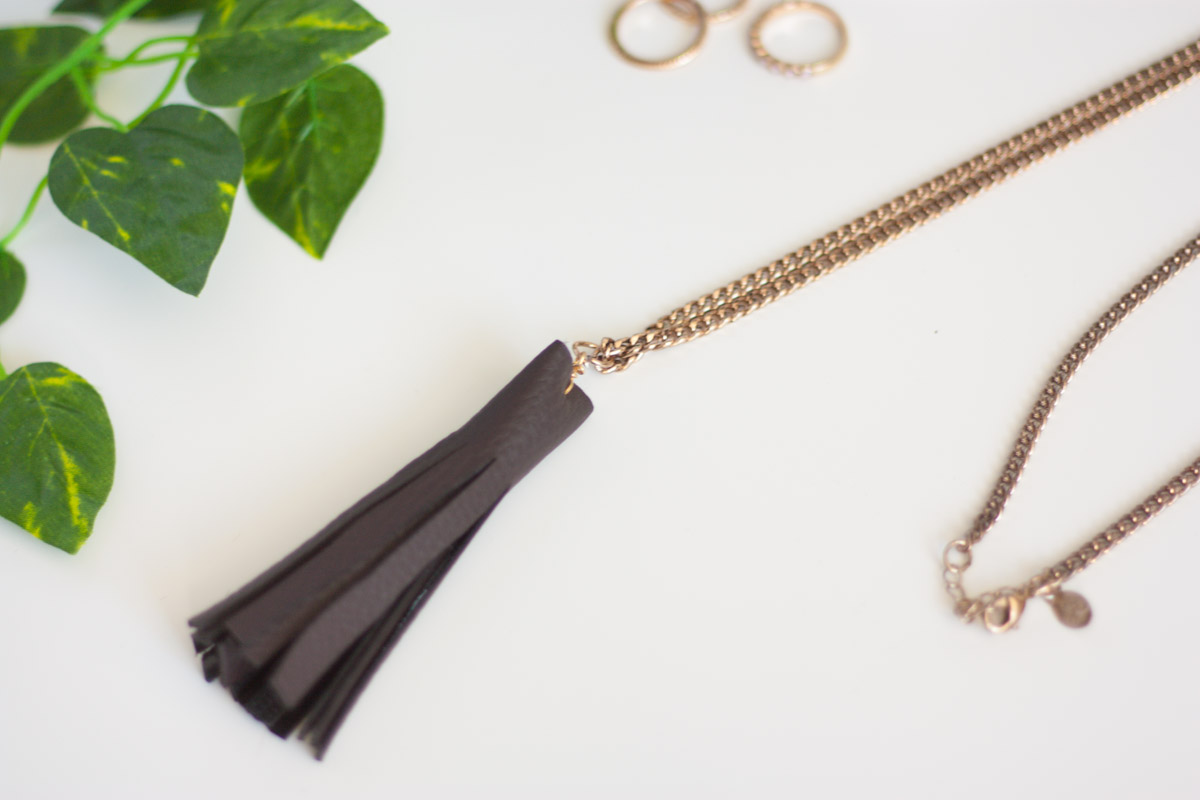
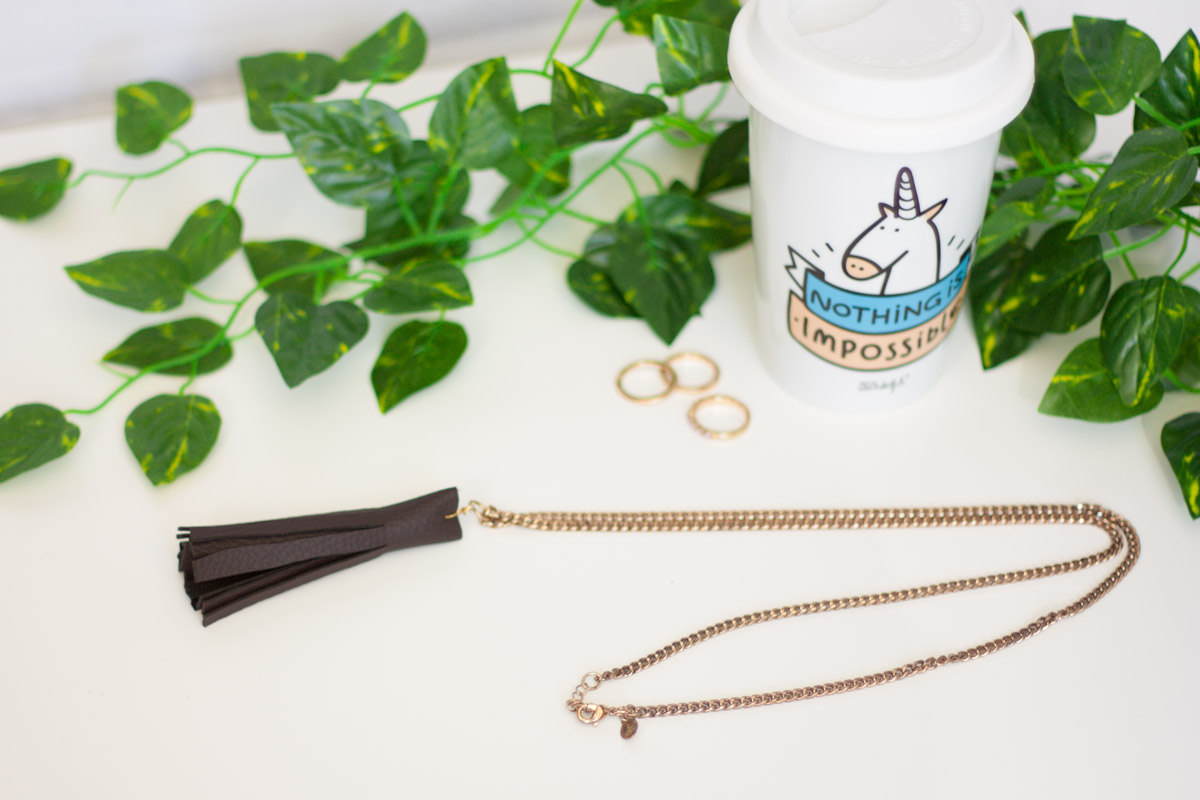
Our leather tassel is ready! Now you can potentially attach it to anything! I added it to this gold chain to make a trendy necklace.
Well done! Have you ever upcycled something with tassels? I can’t wait to make more of these cute gorgeous elements to attach to all my home decor!
The post DIY Leather Tassel Necklace appeared first on DIYs.com.