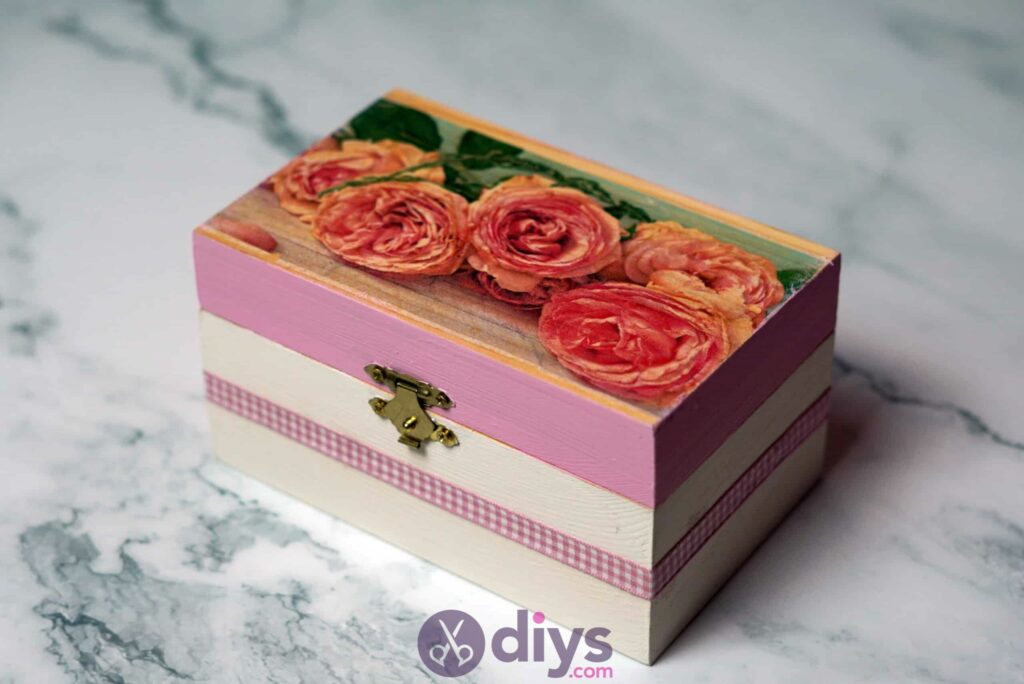
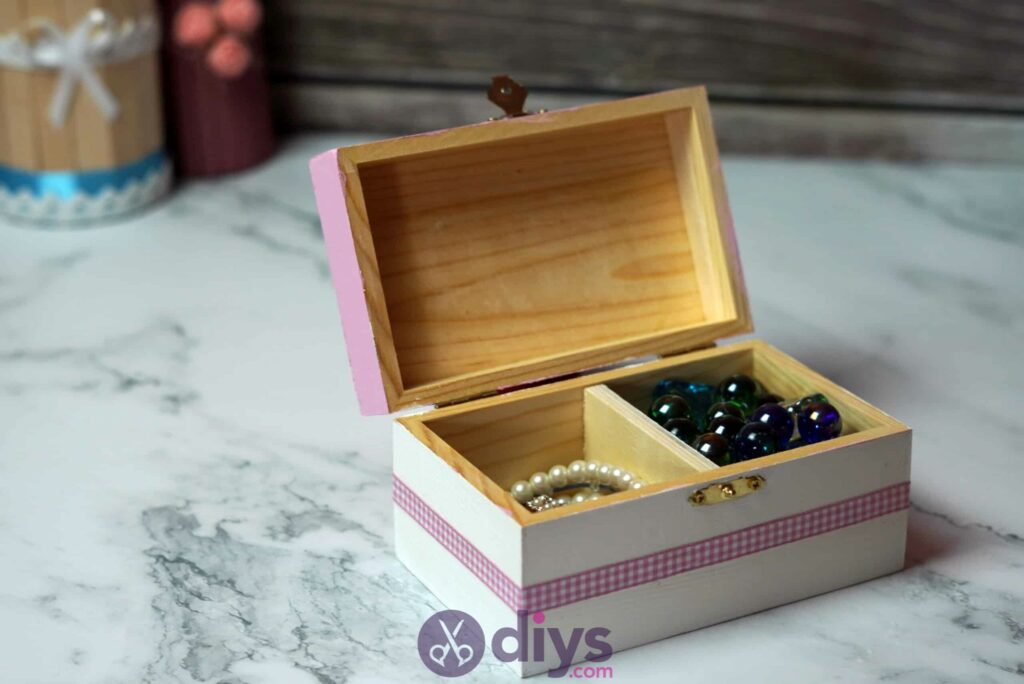
Have you ever seen an old fashioned jewelry box in a movie or a photo and loved how it looked, but only ever found more modern ones with a different aesthetic in stores nowadays? I had a similar problem; it wasn’t that I couldn’t find jewelry boxes, it was that they lacked that vintage charm. Unfortunately, I also couldn’t find any I liked in secondhand, thrift, or antique stores either. That’s when I decided to buy a plain wooden box and use my DIY skills to dress it up like a vintage jewelry box, purposely wearing and weathering it a little to make if look slightly vintage and a little bit more like the old fashioned ones I love so much.
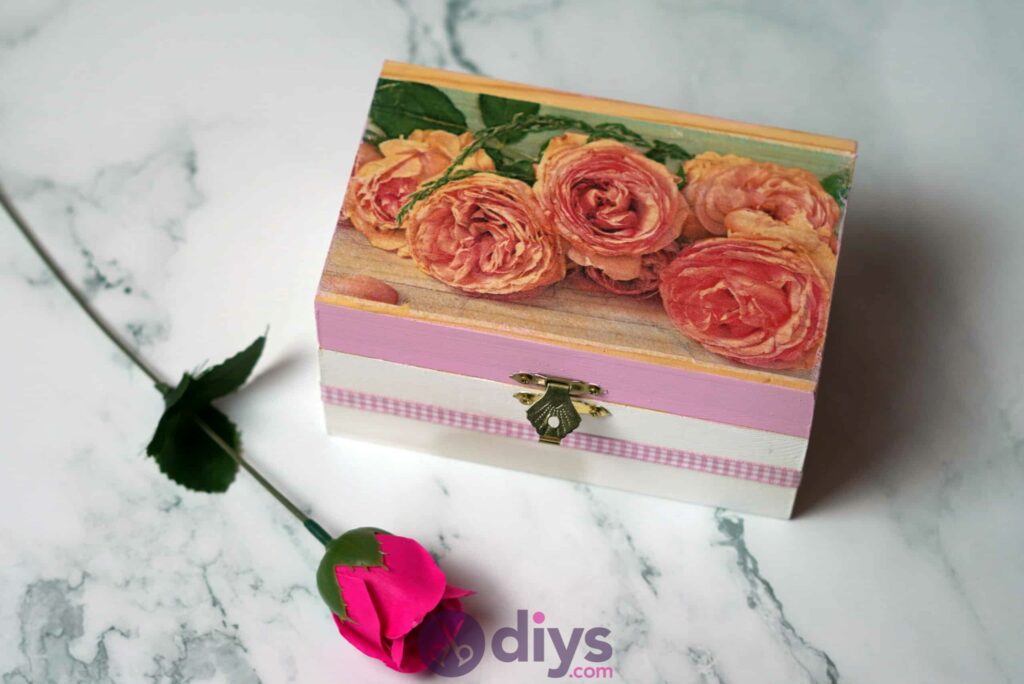
I know I’m definitely not the only person out there who enjoys getting crafty in order to recreate “vintage chic” DIY pieces, and was very happy indeed with my finished work in the ends, so I thought the whole process might be worth sharing! I mapped out the steps I took and filmed the whole process for other crafters to check out. Take a look at the written guide with photos below, or keep scrolling all the way to the bottom if you’d prefer to see a video tutorial!
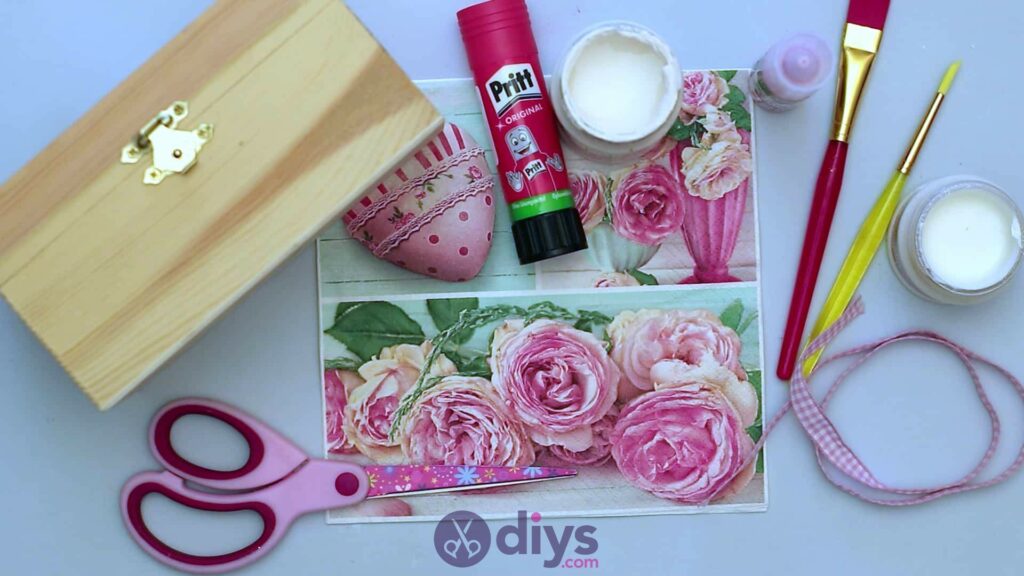
For this project, you’ll need:
- Wooden box
- Napkin (I chose floral but you can pick another design if you prefer)
- Scissors
- Glue stick
- Decoupage glue (or slightly diluted white school glue)
- Acrylic paint (white and pink, or whatever colour scheme complements your napkin design choice)
- Paintbrush
- Ribbon
Step 1:
Gather your materials!
Step 2:
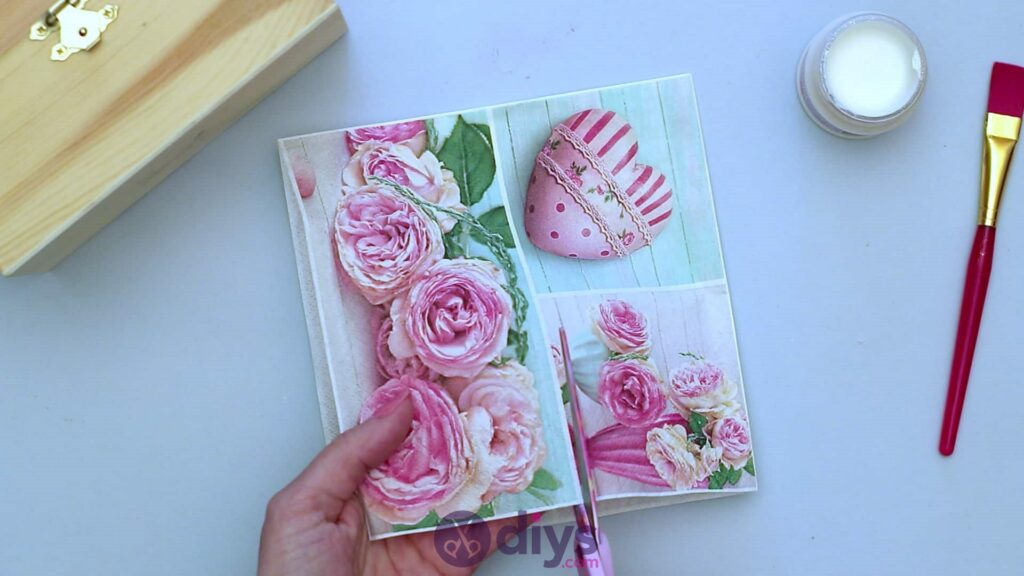
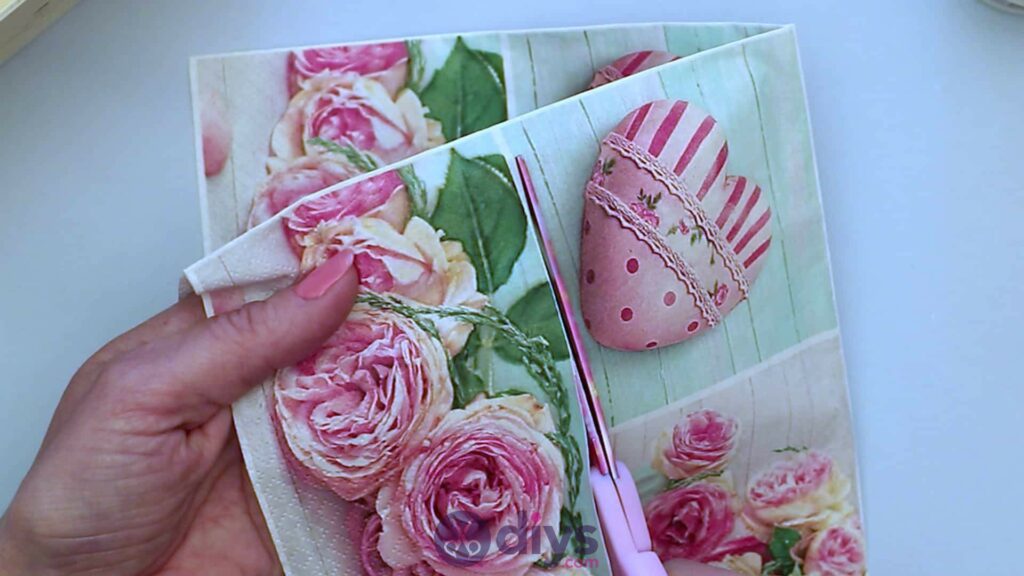
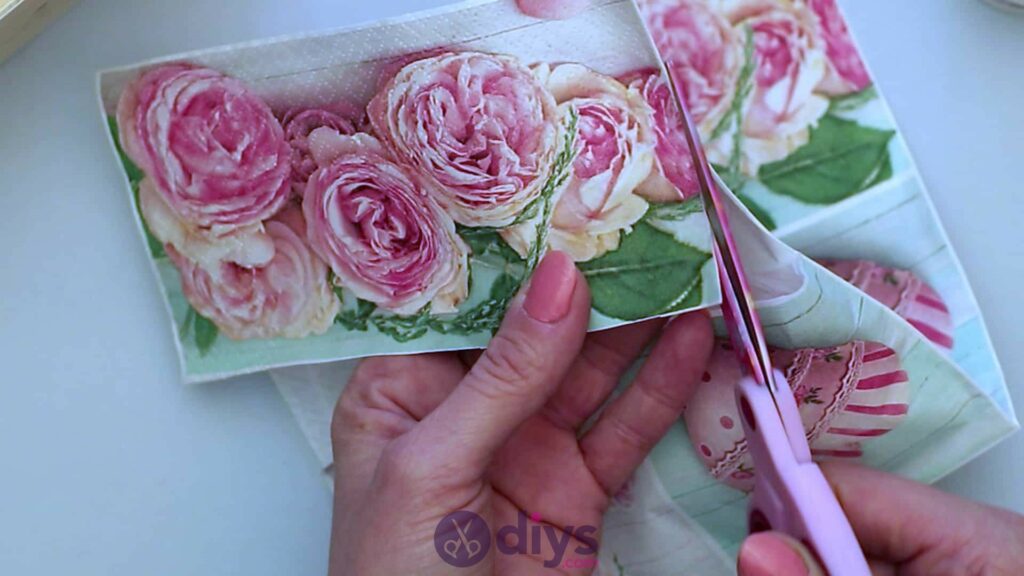
Cut out the pieces of napkin that you want to cover the top of your box with or create your decoupaged design from. I was lucky in that the bottom half of my napkin was a whole floral picture that fit well across the top of my box, so I used that as a whole piece. You can, however, cut several small pieces and collage them together instead. Measure the piece or pieces out to fit how you want them to across the top and trim them if necessary. If you can, peel the layers of the napkin away from each other until you’ve got just the very thin top layer that has the photo printed on it; this will help with the vintage appearance because it will get a little bit see-through when you apply the glue during the decoupage step, acting like a bit of natural weathering for a beautifully faux worn look.
Step 3:
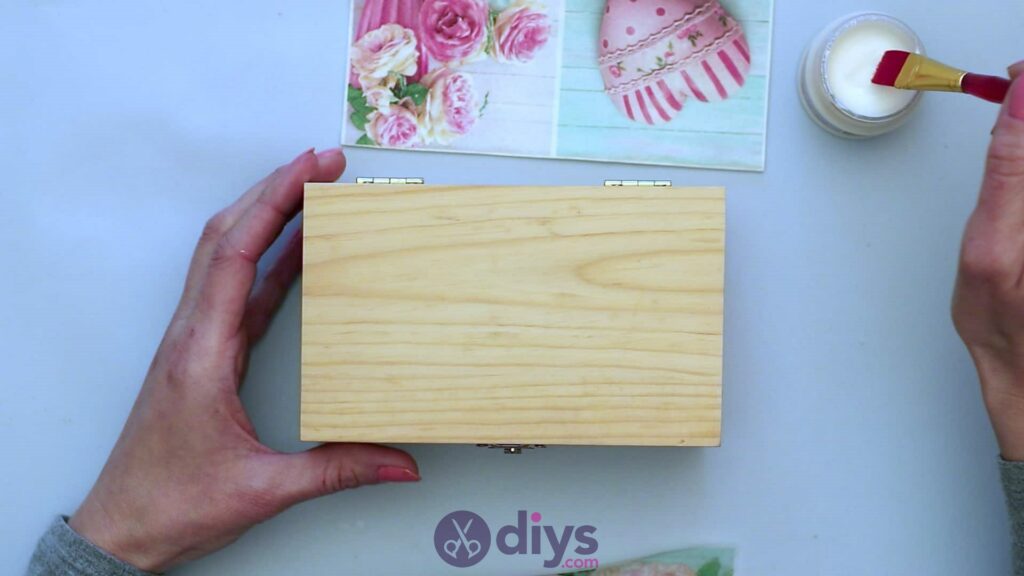
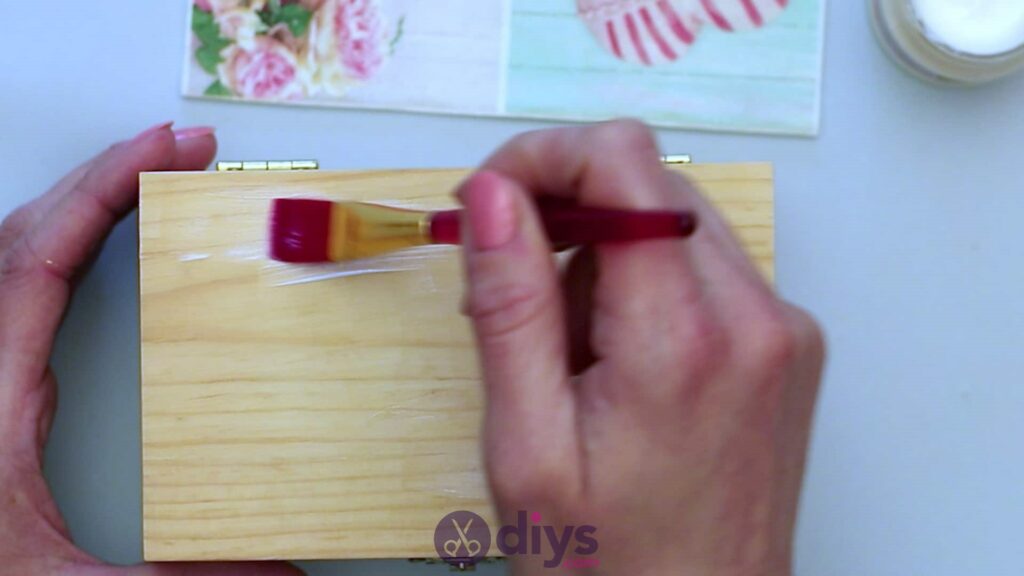
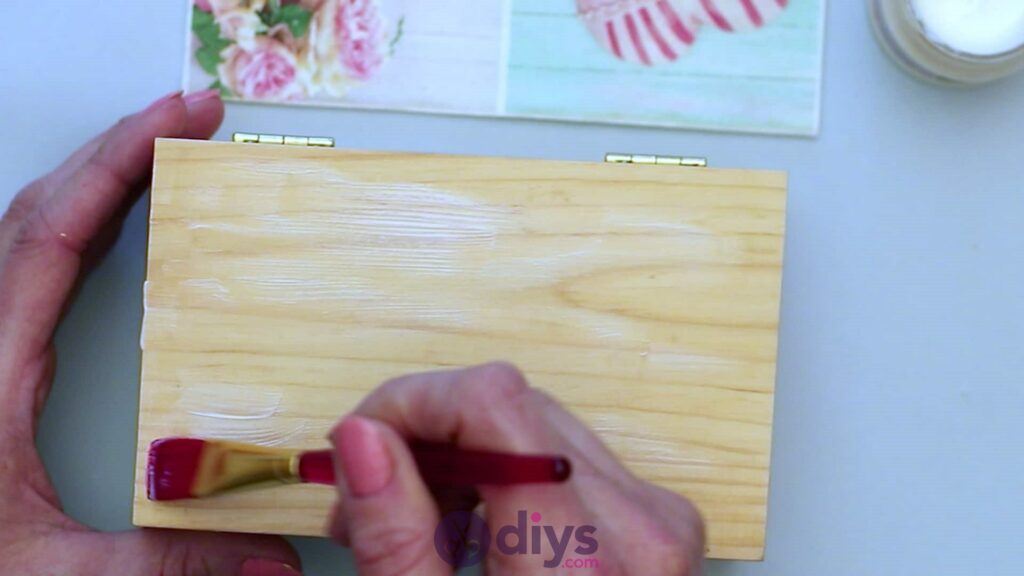
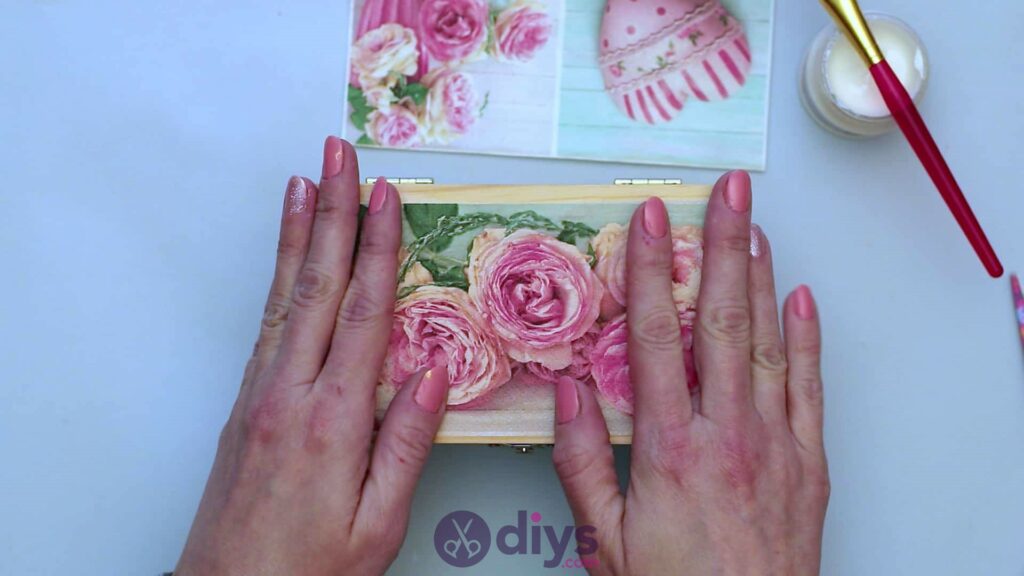
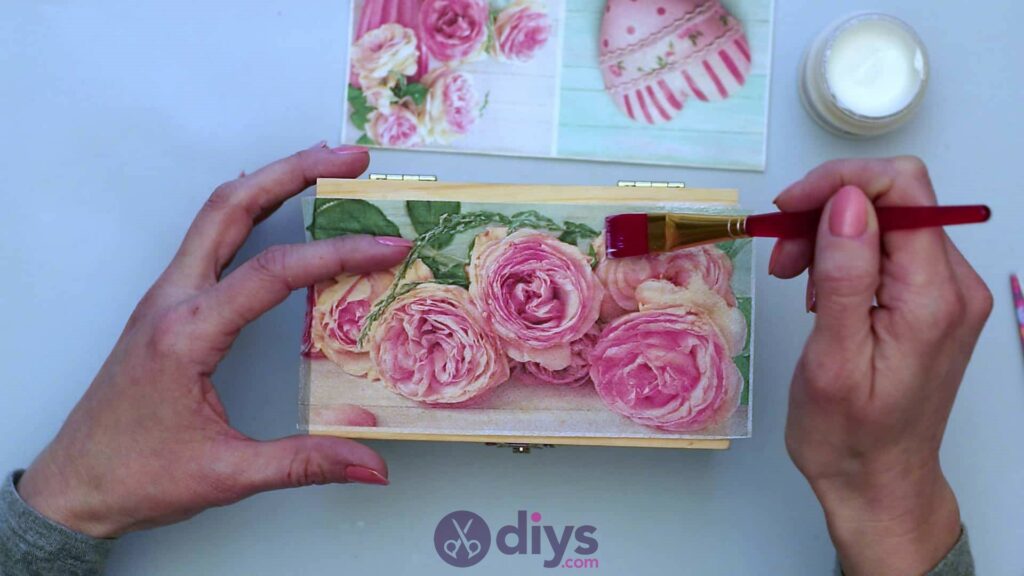
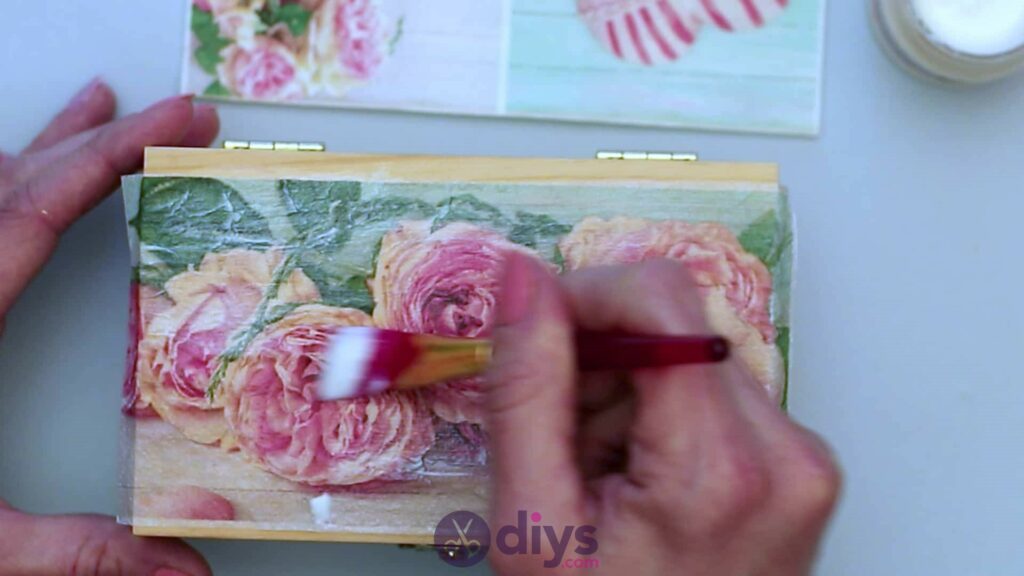
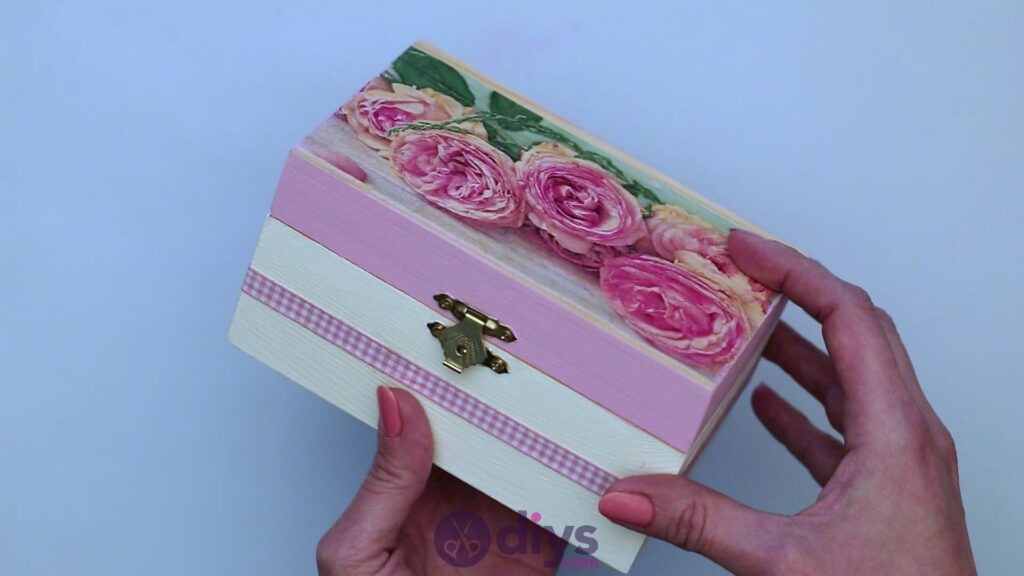
Decoupage your cut napkin design pieces into place on the top of your box lid! Start by applying a thin but well-covered layer of decoupage glue all the way across the lid’s surface. Then stick your napkin piece (or pieces) into place the way you want them to sit. Use your paintbrush to cover the napkin piece entirely in glue overtop of the paper. Use just enough to lightly soak the entire surface and piece in glue enough to steal it, but not so much that you over-saturate the paper and cause wrinkling or tears. If you see any spots around the edges that aren’t even, trim them so you can decoupage them down properly and neatly in order to ensure that they don’t lift and peel when you use the box later.
Step 4:
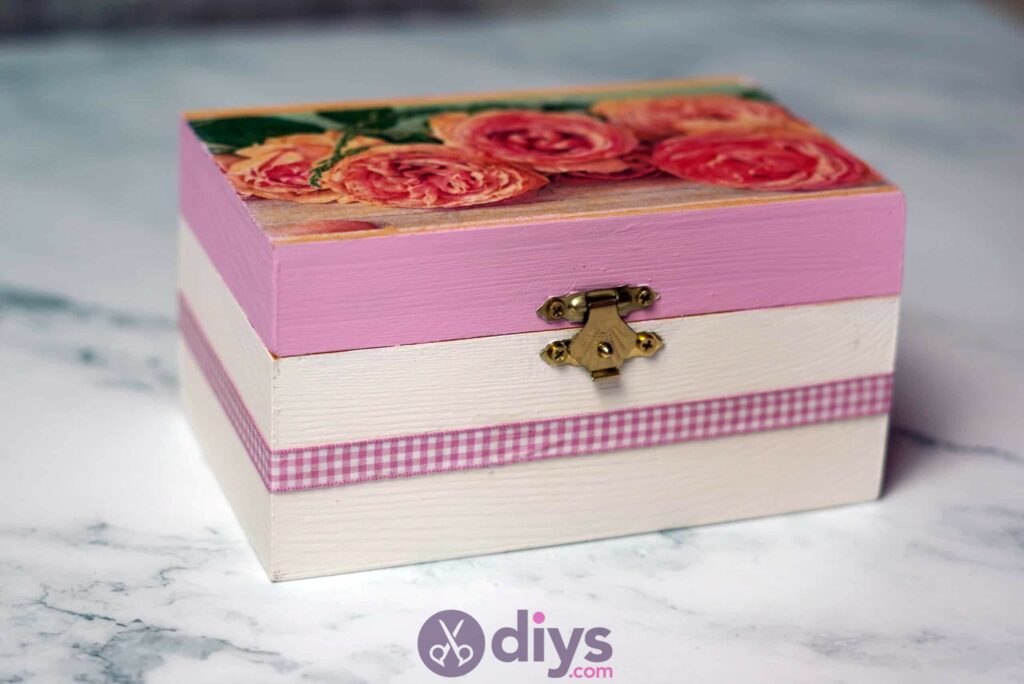
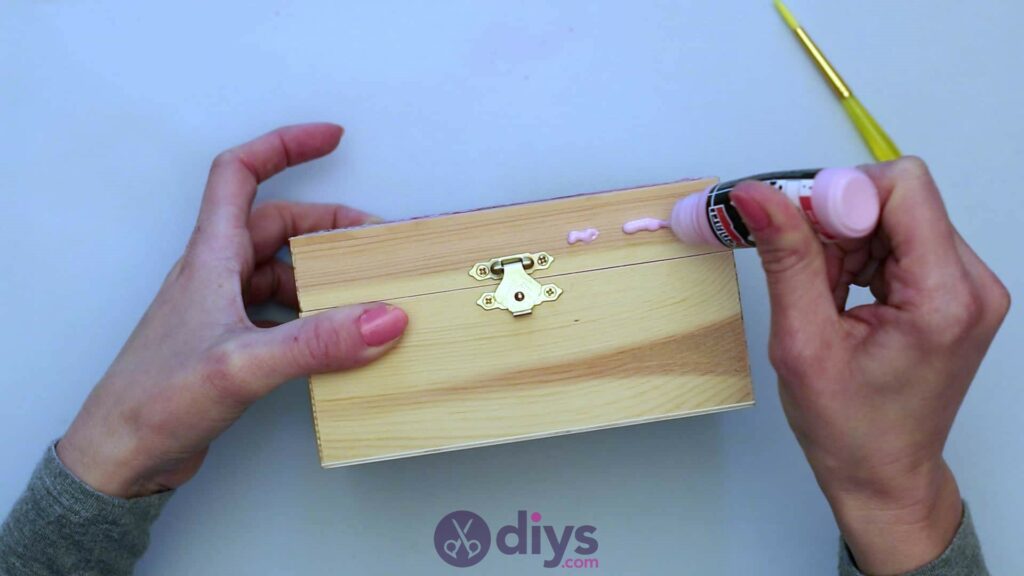
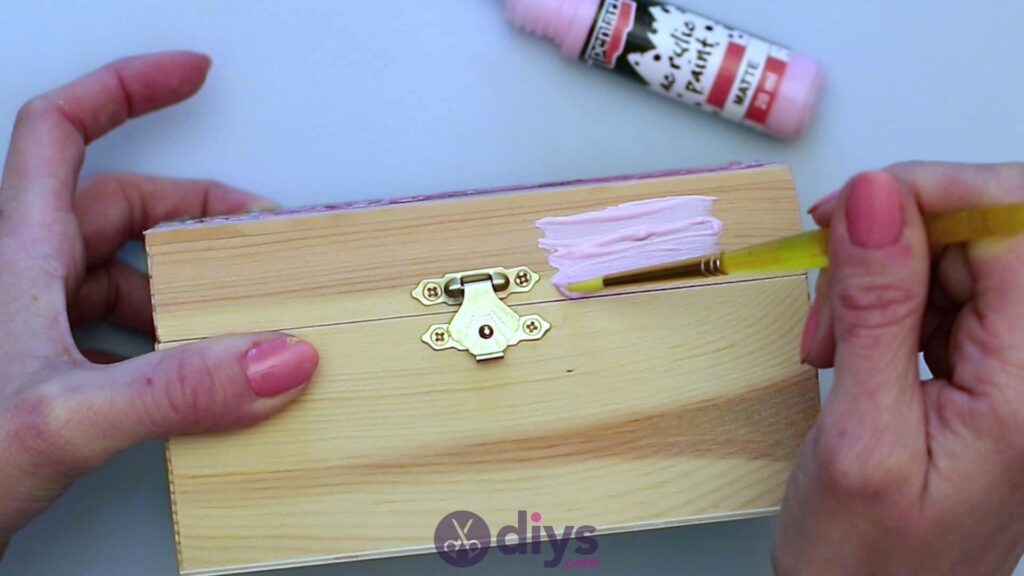
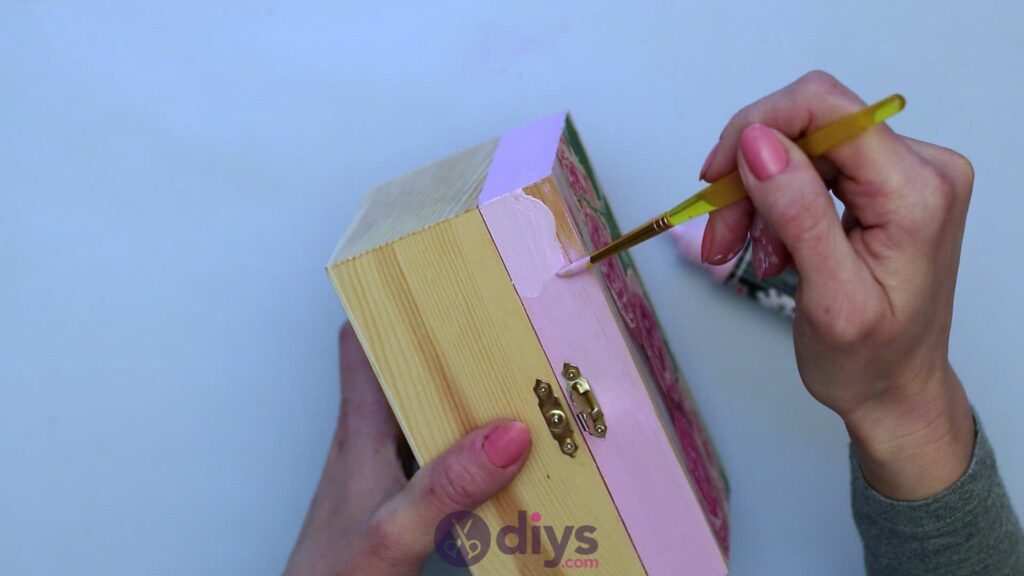
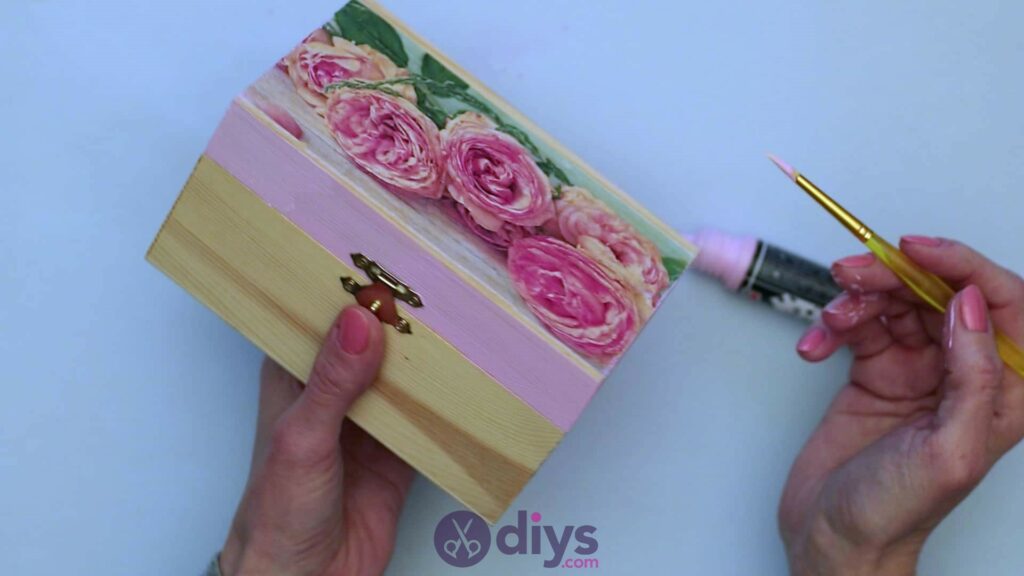
Use your paintbrush and your first colour of paint to transform the lid of your jewelry box. I used pink paint all around the edge of my lid, painting carefully around the gold clasp and doing my best not to get any paint on my top floral decoupage design.
Step 5:
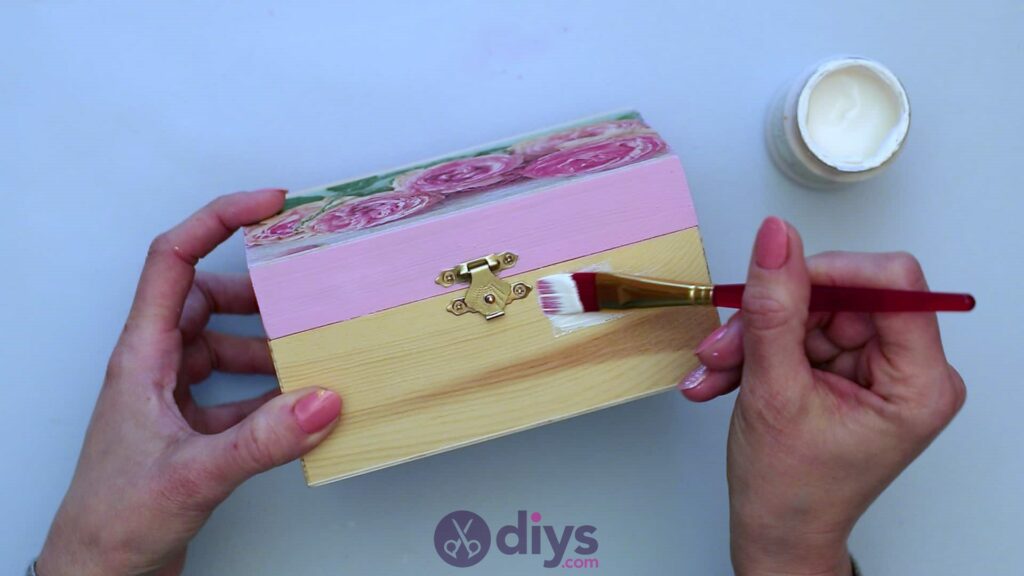
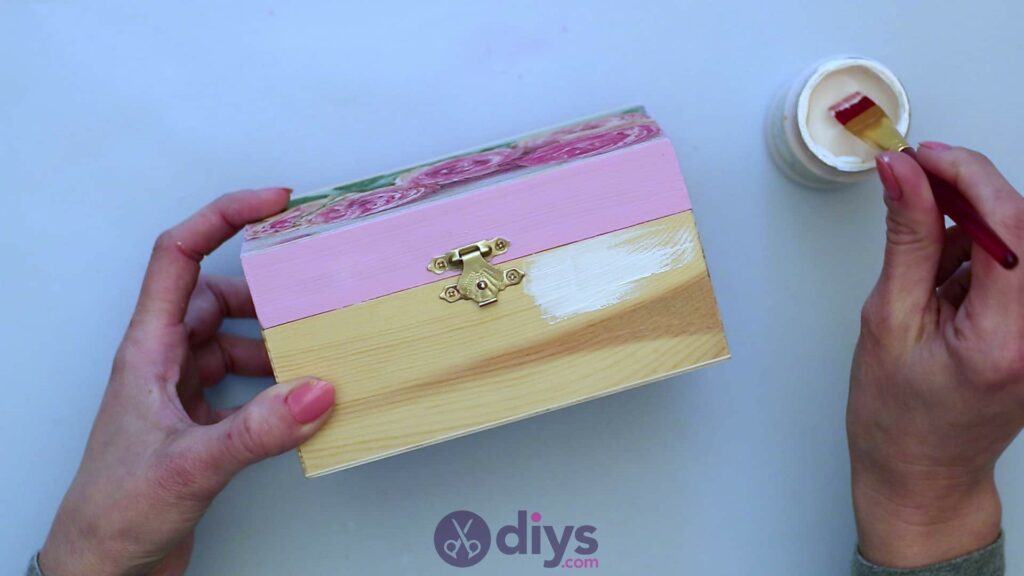
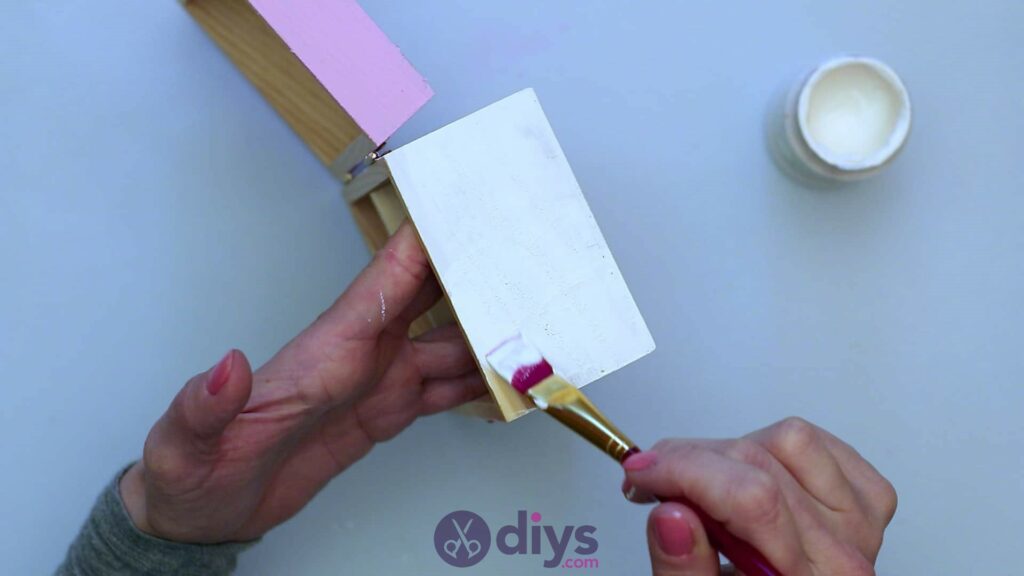
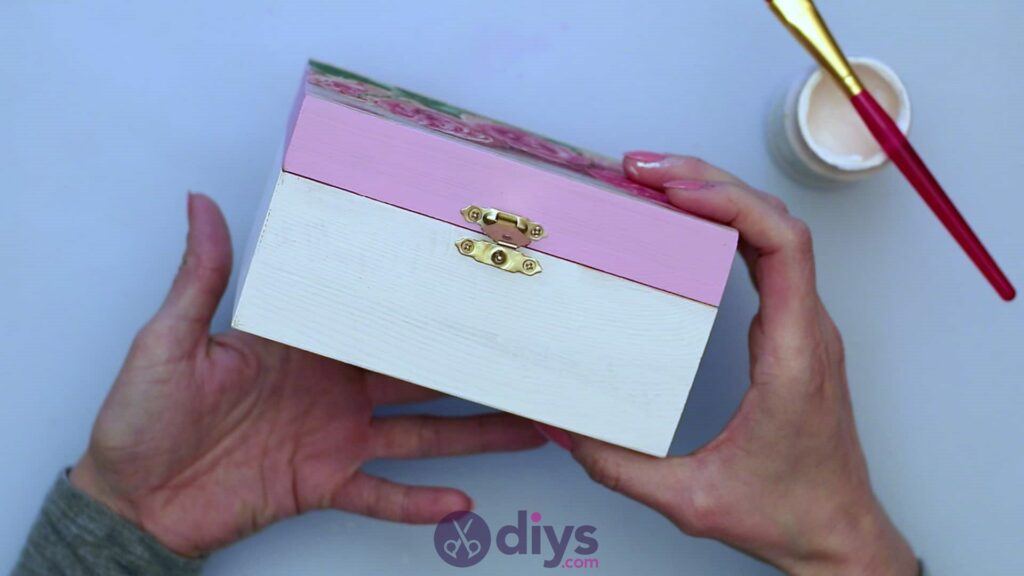
Now paint the lower sides of your box, all the way around the front, back, and sides. I chose to do this in a different colour than my lid edges, using white to contrast with the pink. Once again, carefully paint around the box’s clasp in order to leave it nice and gold. Set the box aside to dry.
Step 6:
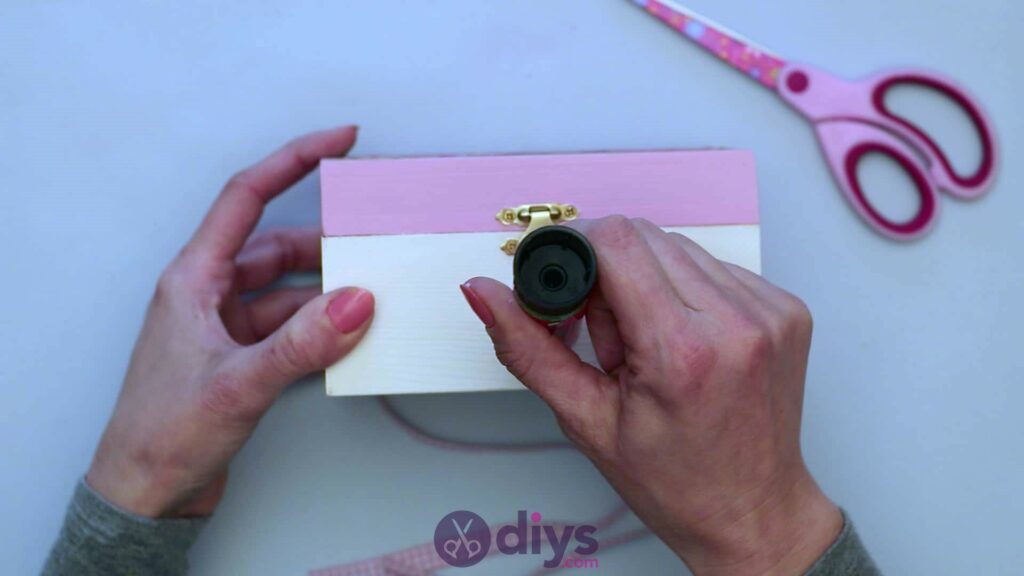
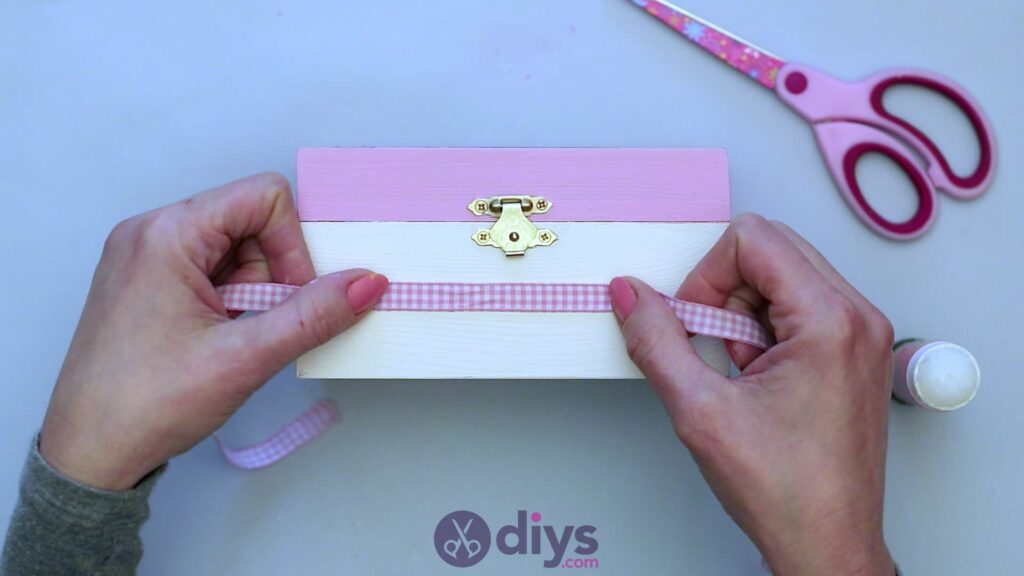
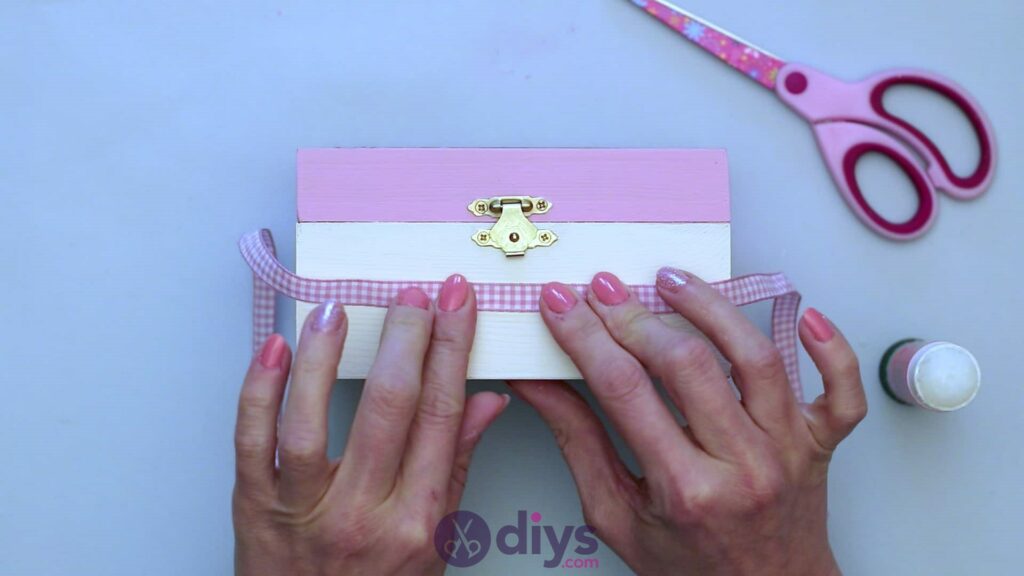
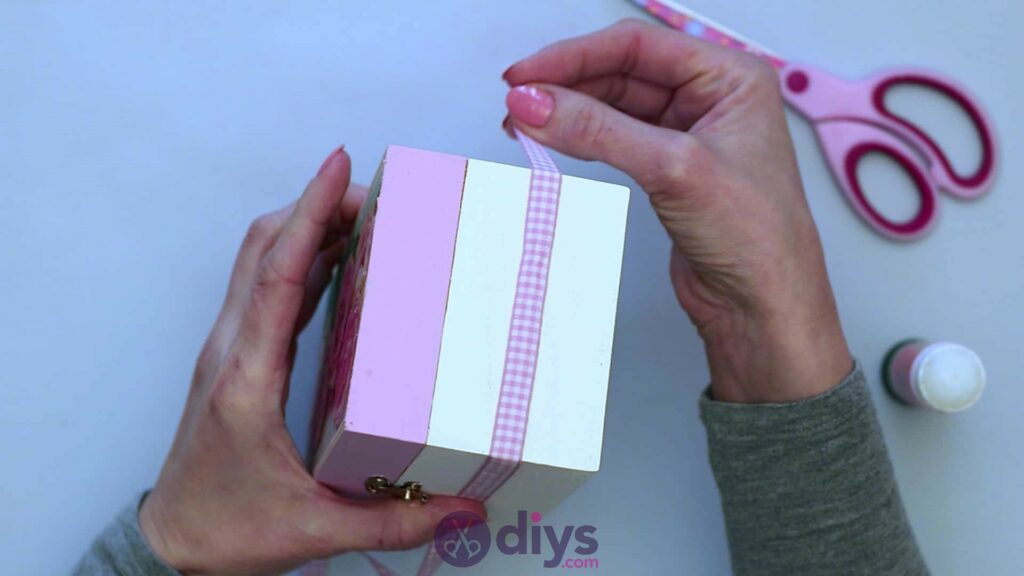
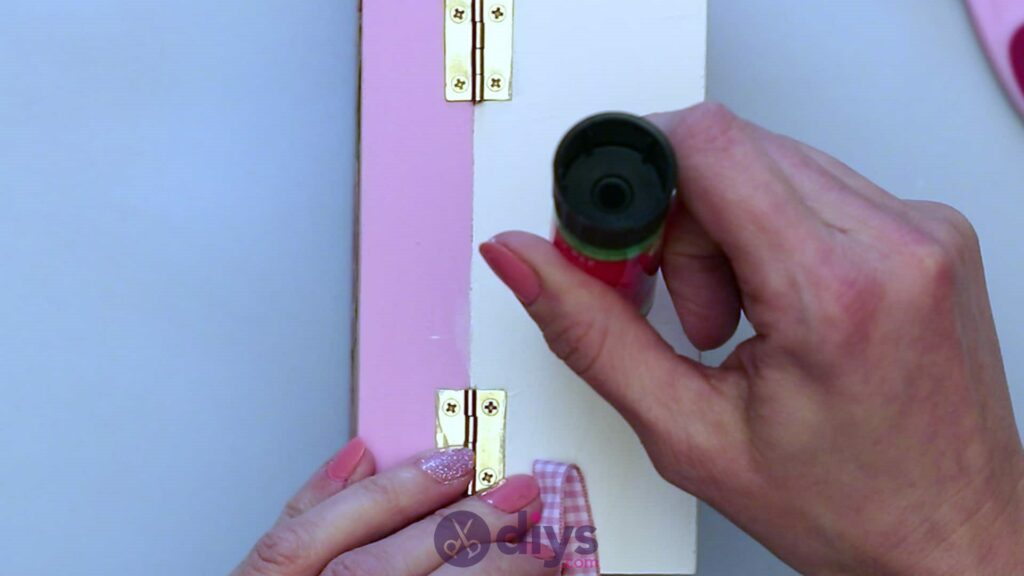
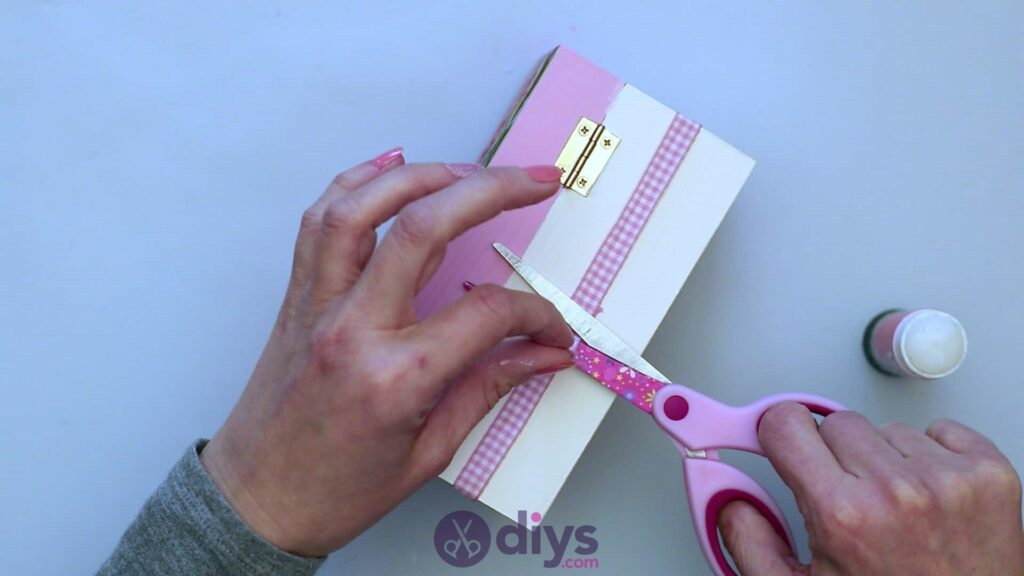
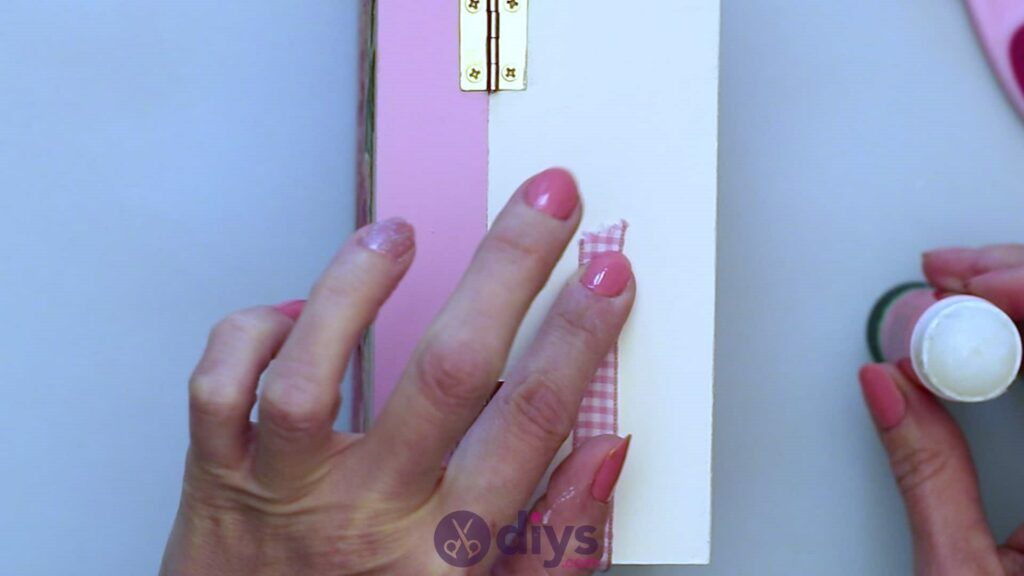
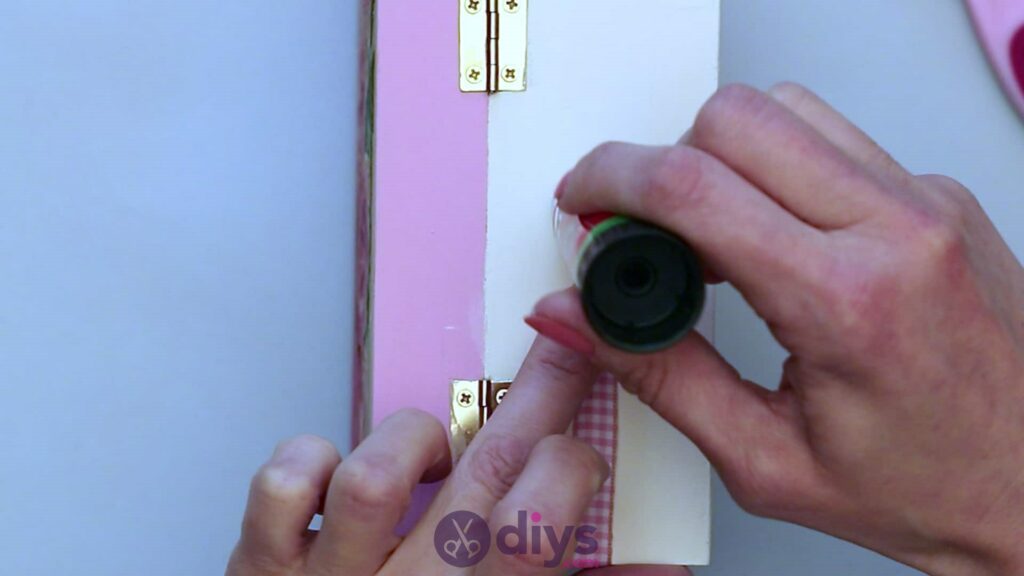
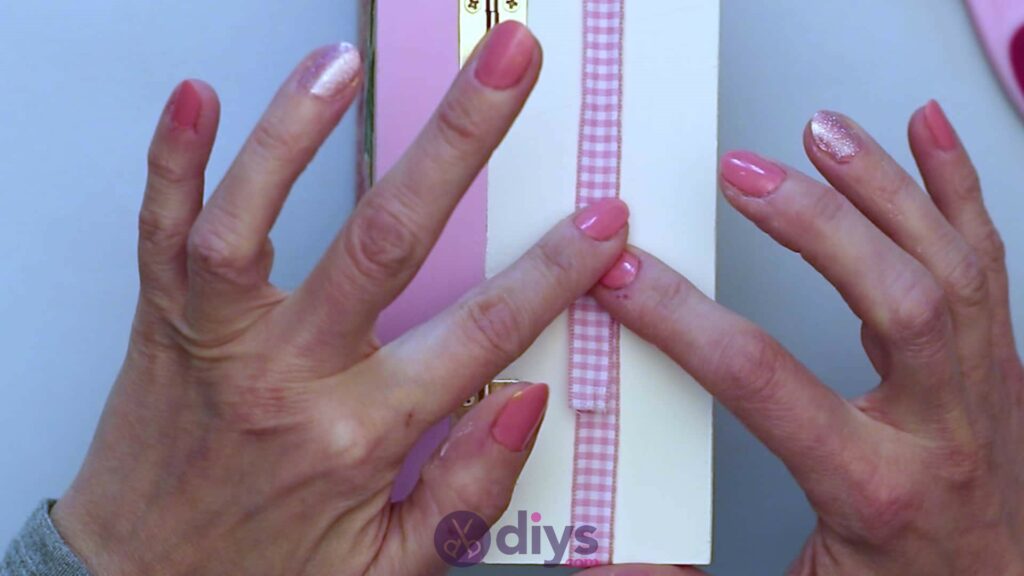
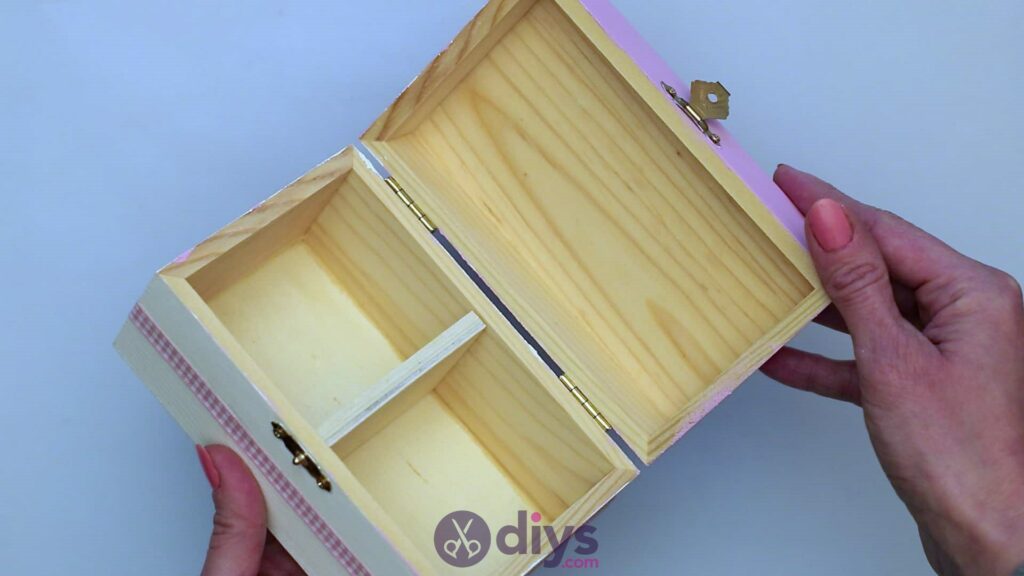
When all of the paint on your box has dried, measure out a piece of ribbon that’s long enough to wrap all the way around the outside of your box’s sides once, with a slight bit of overlap. Use you glue stick to apply a dot of glue no the front side of the box, right in the middle of the lower part (i.e. not up near the lid). Find the centre of your ribbon and stick that middle part down in the glue you just applied to the box. Wrap the ends across the rest of the front, around the corner edges and the sides, and all the way to meet at the back, keeping the ribbon as straight as even on the box’s surface as you can. At the back, glue the ends down in the middle, opposite the spot where you glued the ribbon down at the front. Overlap the ends so they sit evenly, one over the other, making the ribbon look neat and continuous all the way around.
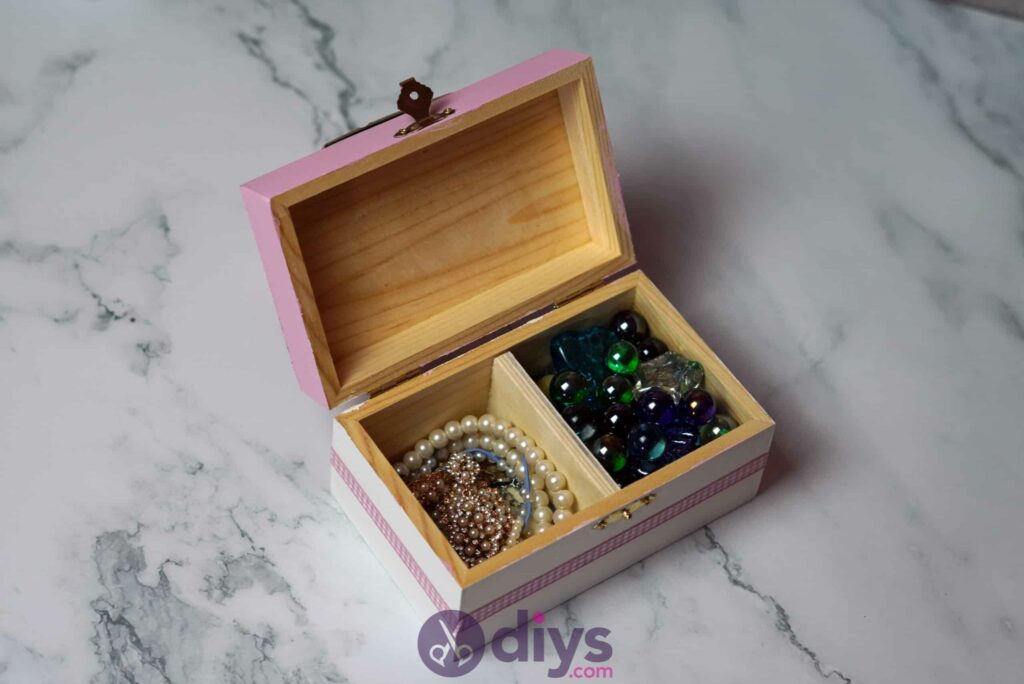
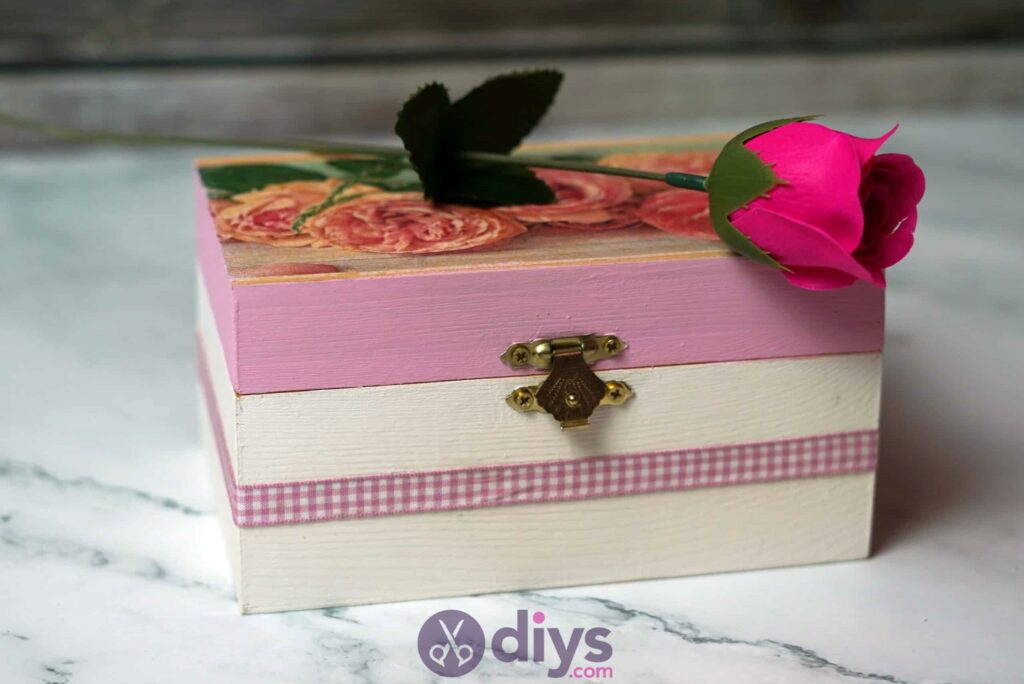
That’s really all there is to it! Of course, you can just use this tutorial as a basic guide and get create with the colour scheme, napkin design, and general aesthetic in order to make the style of your own jewelry box a little more “you”. If you’d like to try this project out for yourself, take a look at this fantastic tutorial video!
The post DIY Decoupage Wooden Jewelry Box appeared first on DIYs.com.