This Valentine’s Day you can give crafting a go. Since this is a pretty easy craft, it’s perfect for beginners. You don’t even that many materials!
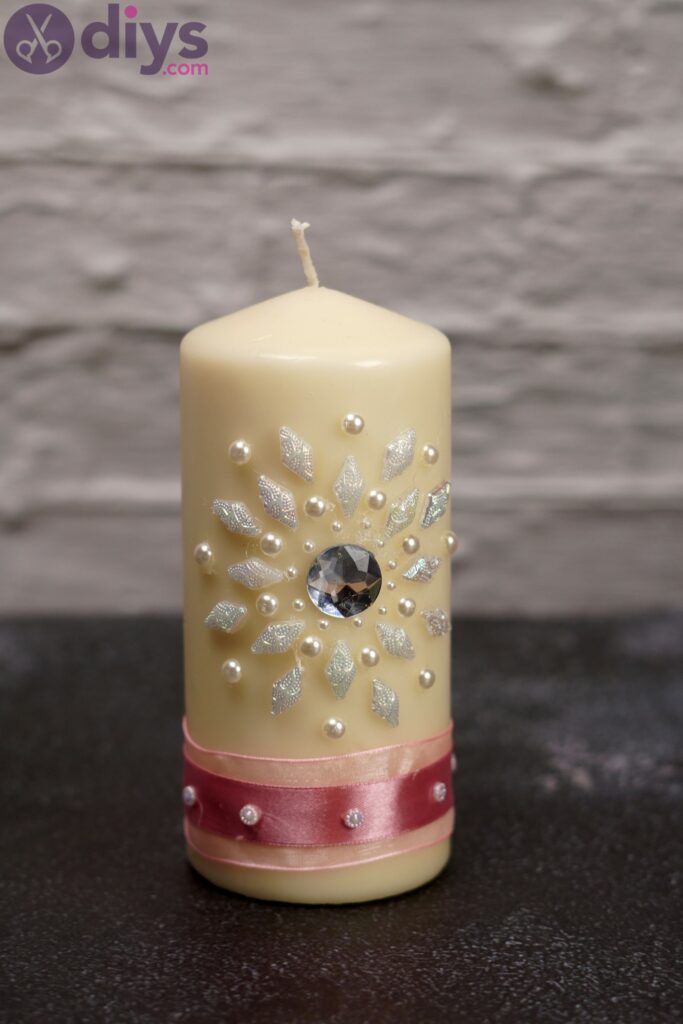
When you make something from the heart, you’ll end up spending a lot less, but you’ll be gifting something you put your time and heart into. Let’s see how you can make one of these candle art crafts!
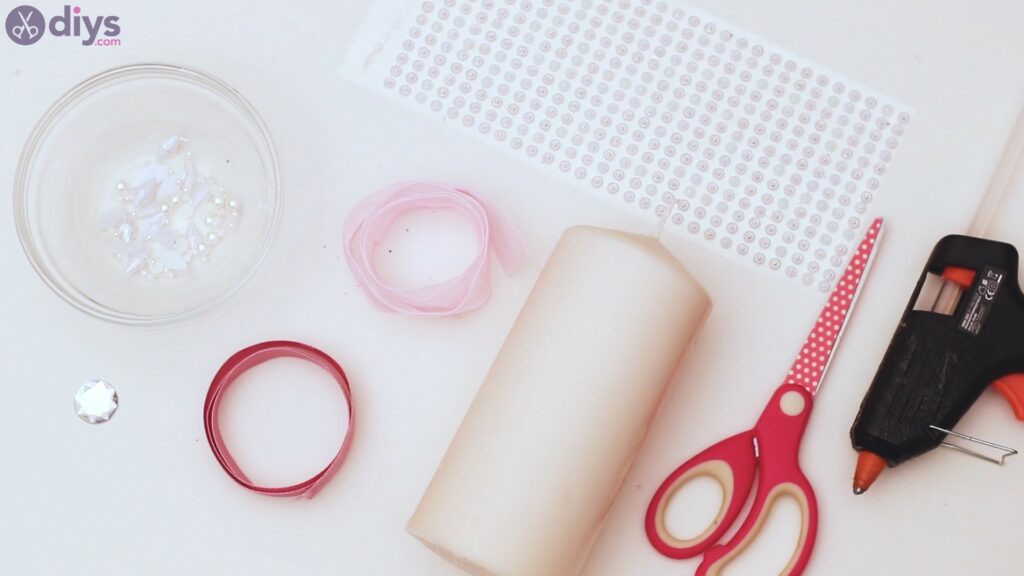
Materials for candle art
- candle
- rhinestones
- silk ribbon
- sheer ribbon
- scissors
- glue gun
How to make candle art
Did you collect all the materials you’re going to need here? You don’t want to go running around your house looking for whatever it is that you don’t have on hand right when your glue gun is ready to use. So let’s get started!
Step 1: Prepare the ribbons
First up, we’re going to use the sheer ribbon to wrap around the candle. We’re going to place this particular ribbon near the bottom of the candle, so measure it out around the base.

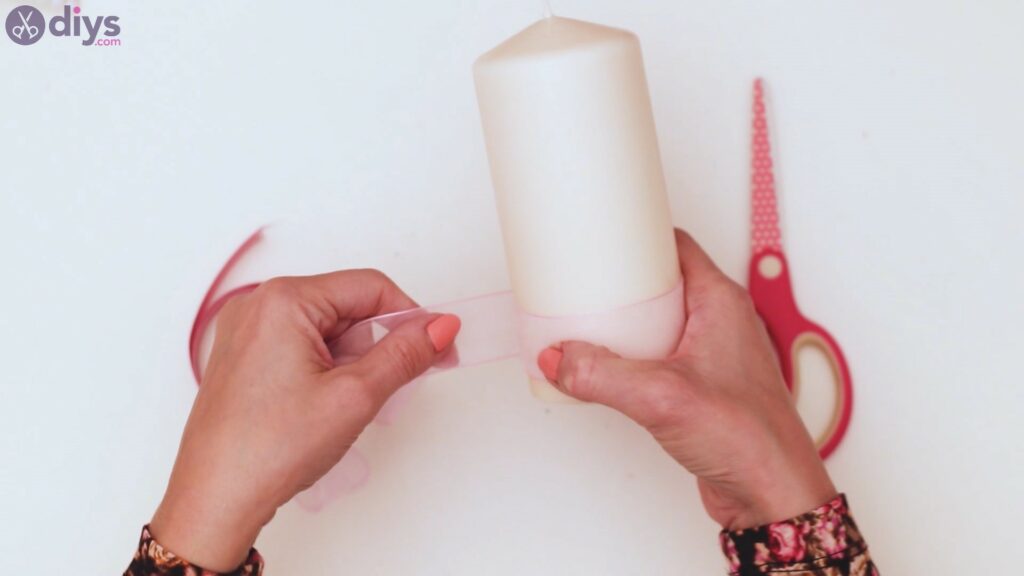
When you’ve gone around the candle once, cut the excess ribbon.
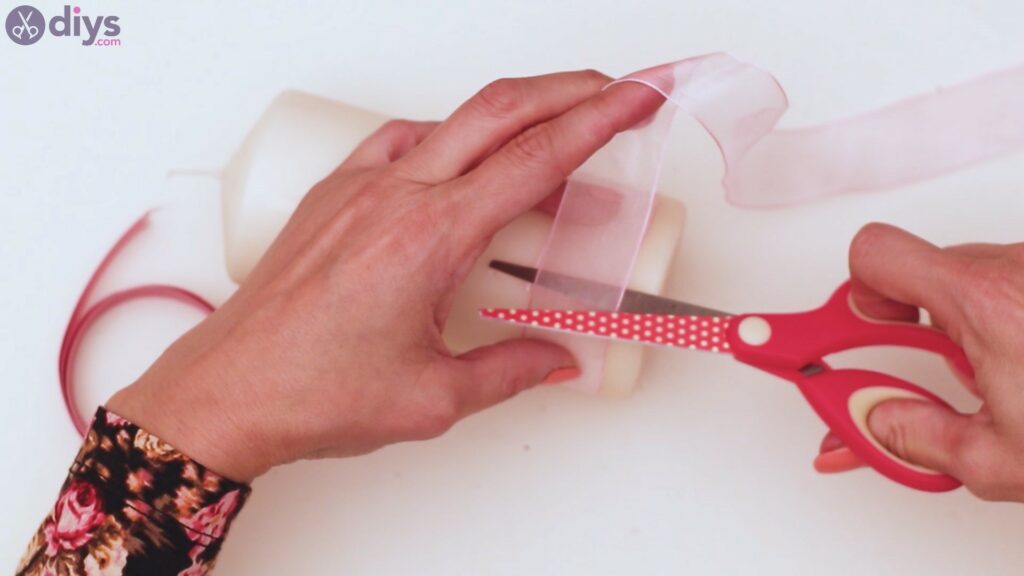
Then, you want to go through the same process with the silk ribbon too. Wrap it around the candle and cut it to measurement.
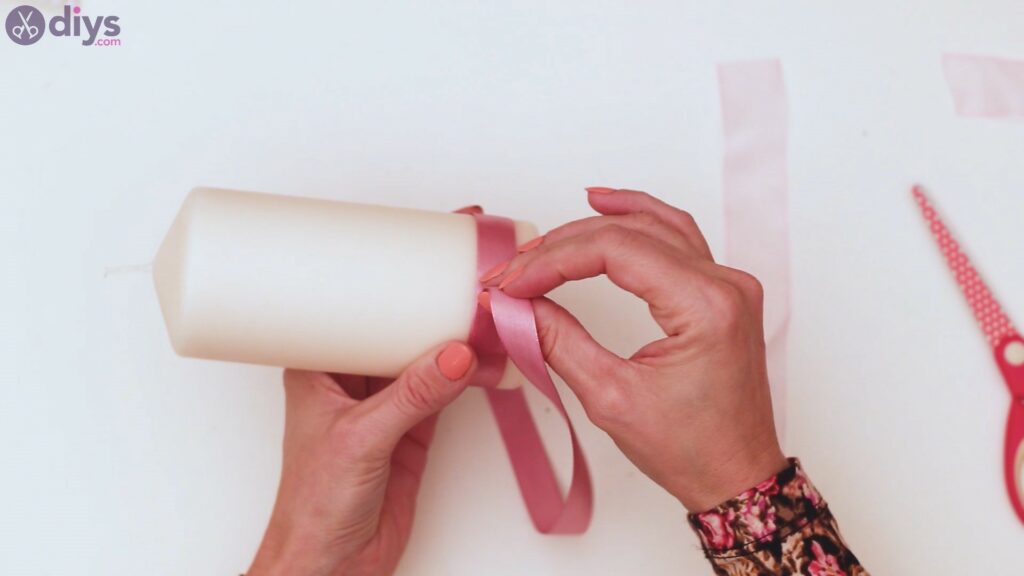
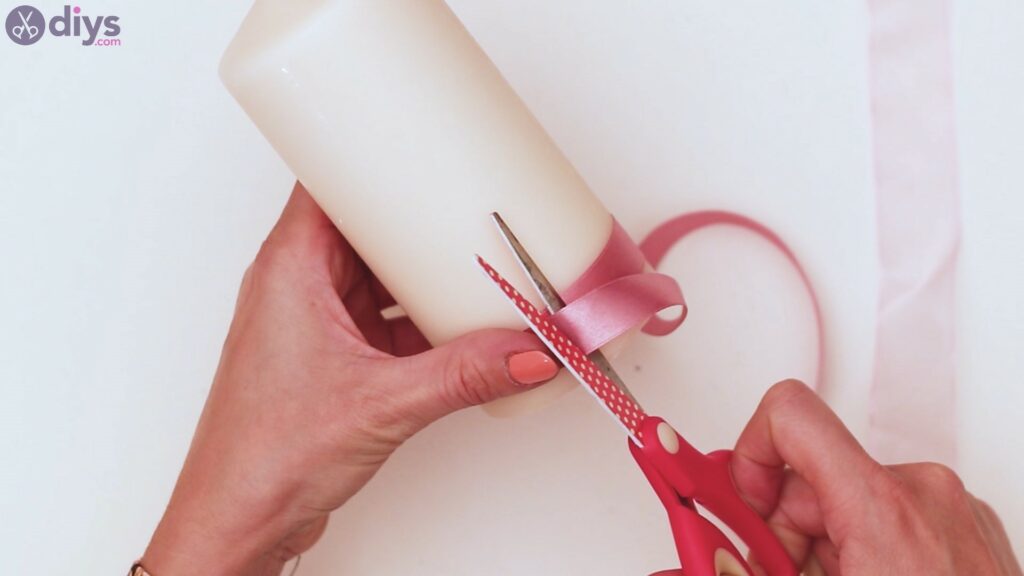
Step 2: Glue the ribbons
Next, we’re going to glue the ribbons to the candle. Get your glue gun and apply hot glue to the base of the candle.

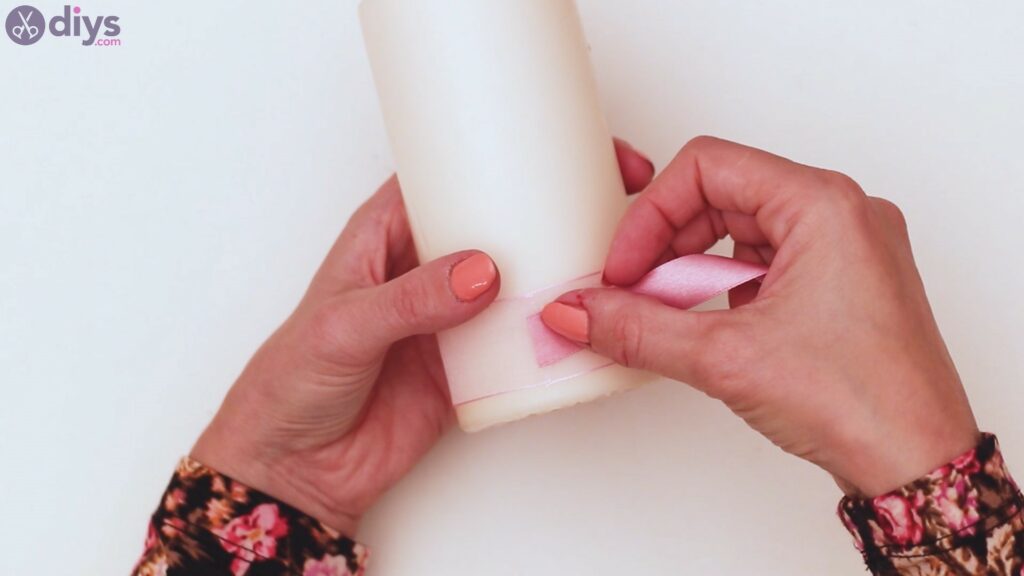
Place the sheer ribbon over the hot glue and start going around the candle, applying more hot glue and pressing the ribbon into it. Go as slow as you need to make sure you place the ribbon straight.

Make sure you add some hot glue over the edge of the ribbon and place the other end over it, so the two overlap slightly.
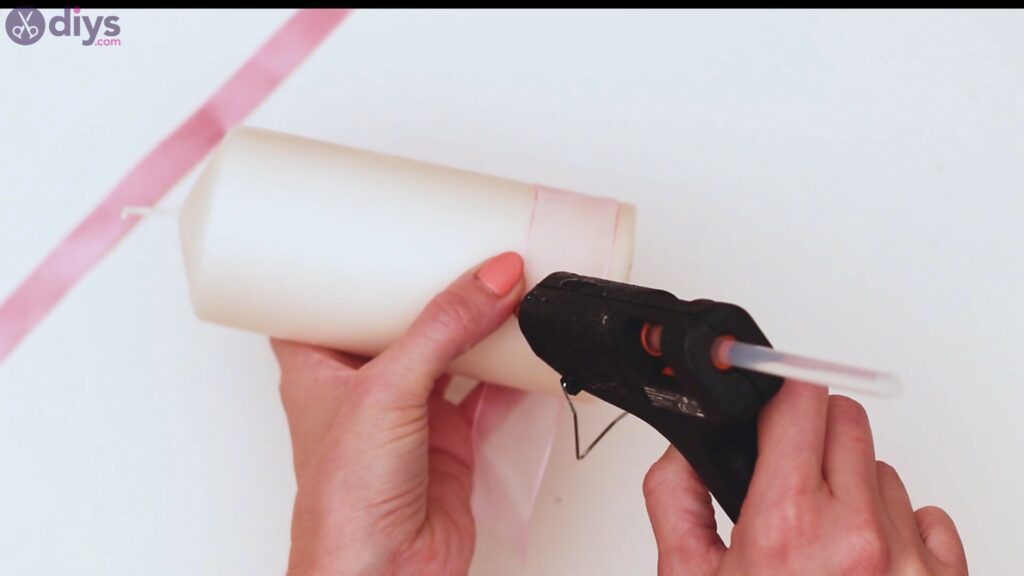
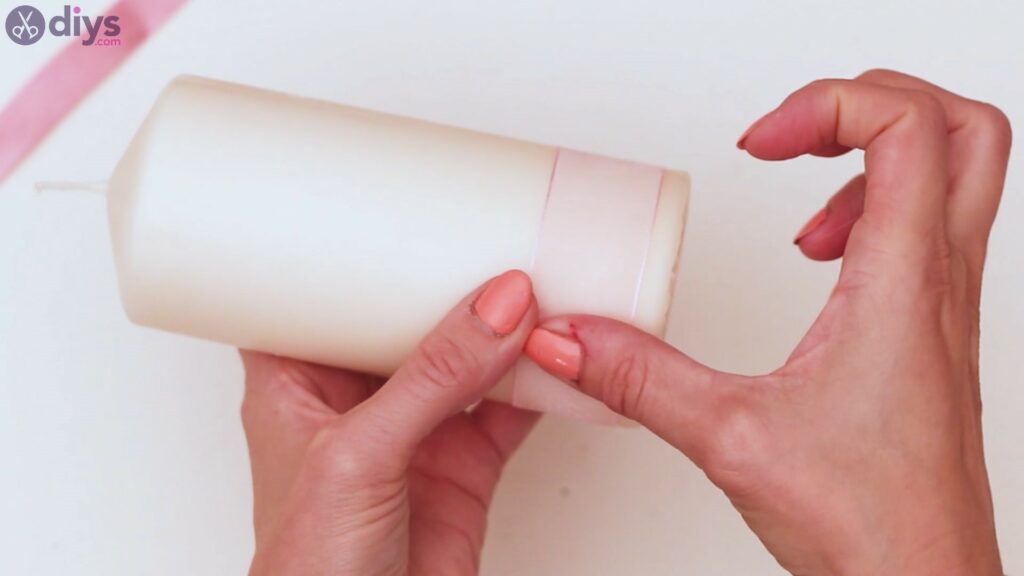
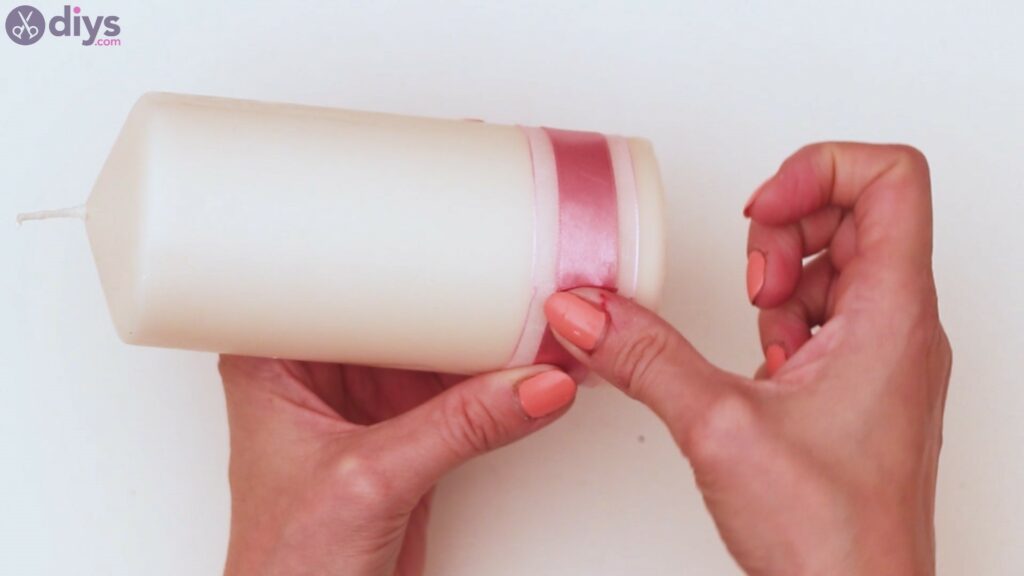
Then, you want to start adding hot glue to the middle area of the sheer ribbon. Over the glue, add the silk ribbon.
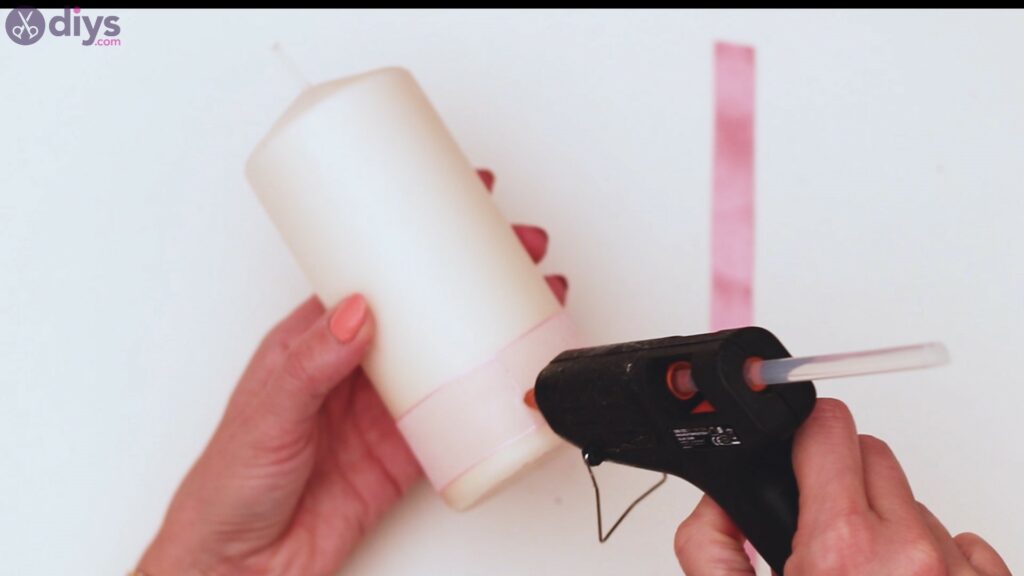
Just as you did the first time around, go slowly and apply more smaller patches of hot glue before pressing the ribbon into it. You want to apply the ribbon as straight as possible, so going slowly is understandable.
Step 3: Decorate the candle
We’re going to start decorating the candle now. Our pattern resembles a sun or a snowflake, if you will – it really depends on your perspective here. Before you get started, make sure you know which rhinestones you’ll be using. We chose a bigger one to place in the middle, two sizes of pearls, and several diamond-shaped. We’ll also need a different model, but that’s going to be later on.
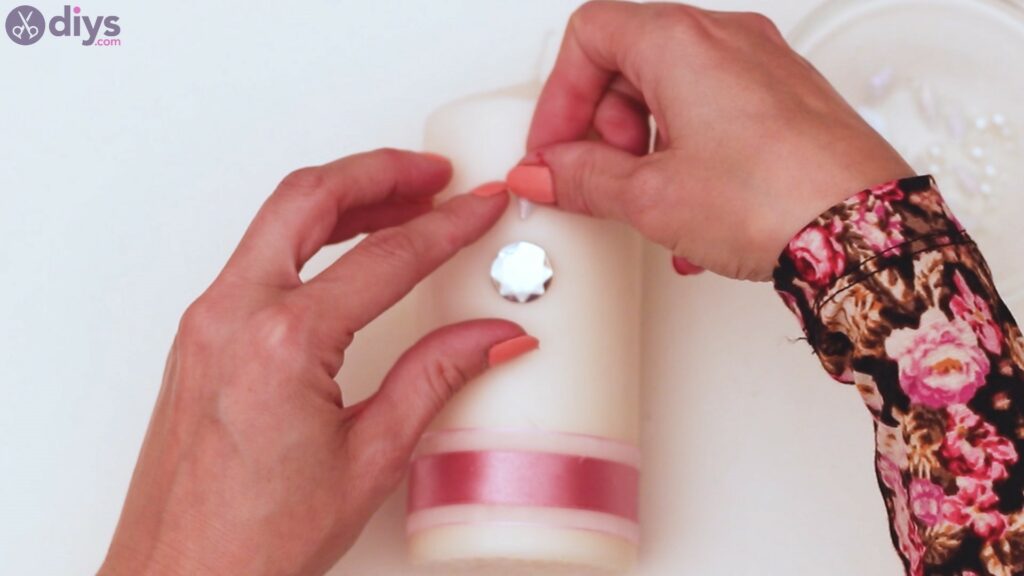
So, get the glue gun and the big round rhinestone and apply some hot glue to its back. Place it in the middle area of the candle, so you can build the model around it.
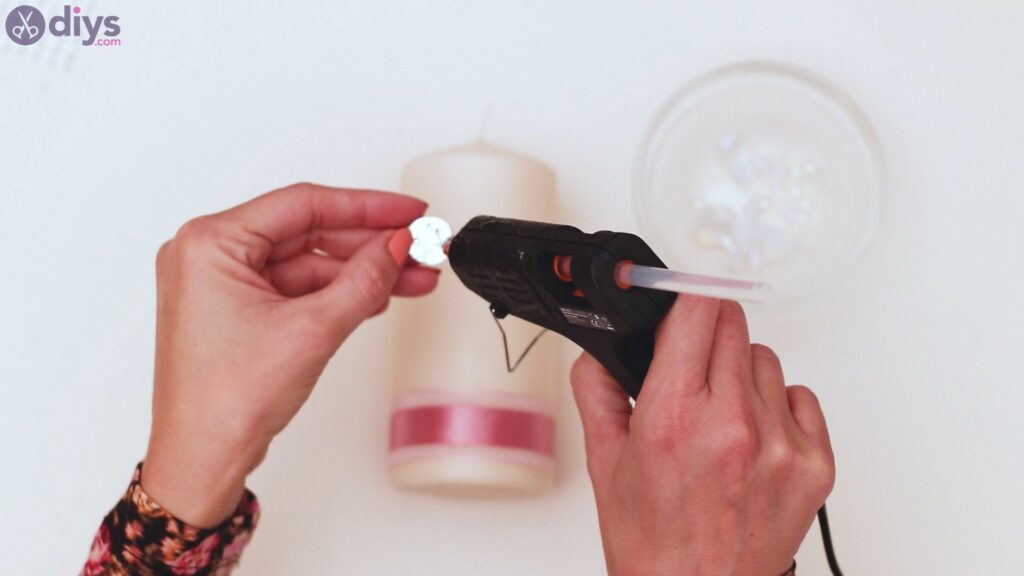
Make sure you hold it pressed for a few seconds so the hot glue sets perfectly.
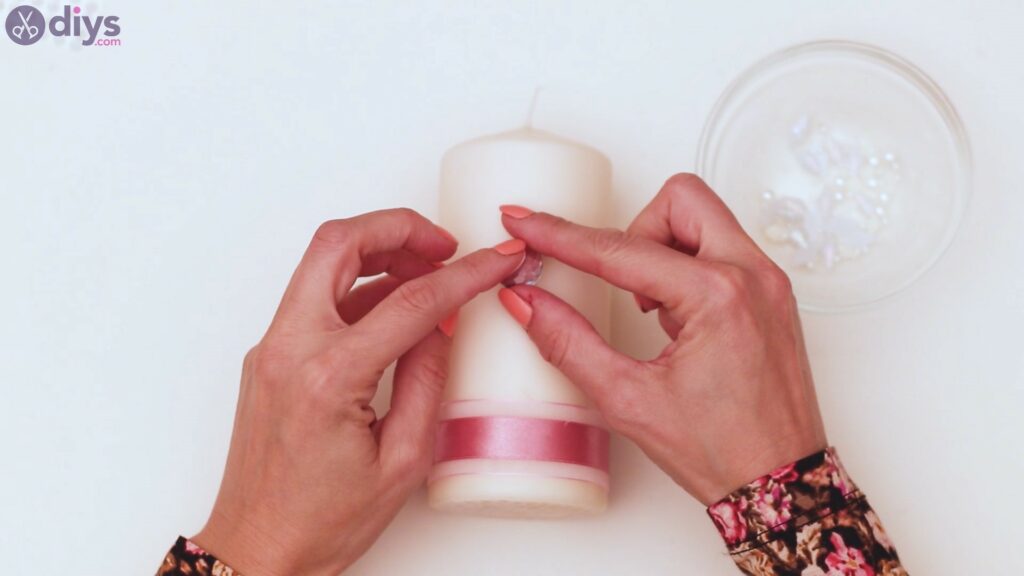
Then, grab the diamond-shaped rhinestones, apply some hot glue to their backs, and apply them on the candle. We applied 8 of these, marking the cardinal points if you will, and then the spots in-between.
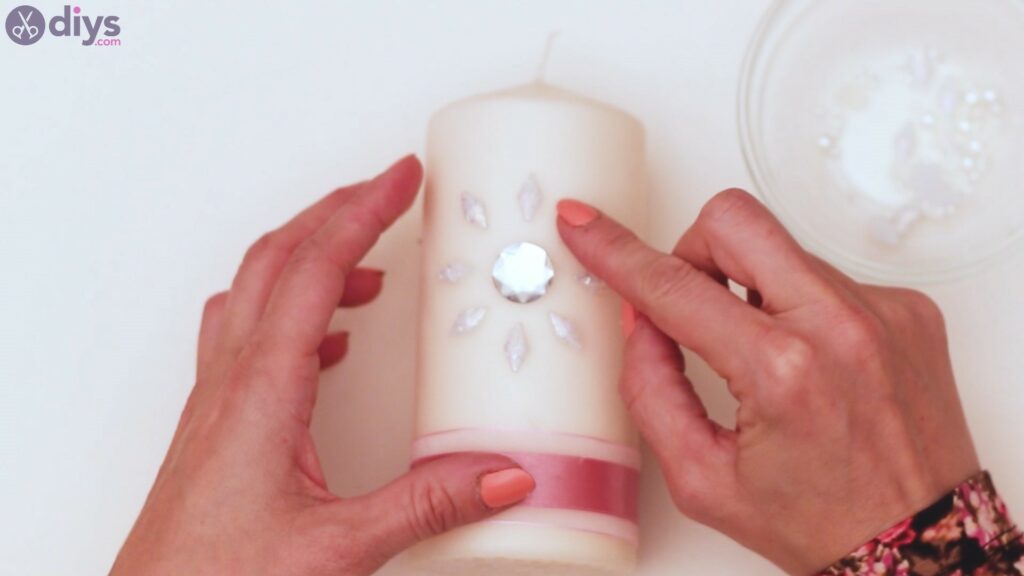
Then, start applying small dots of hot glue to the candle and press the smallest pearly rhinestones you have.

We added about 11 of these, but you can obviously change that number. It all depends on how much you space them out and how big the ones you’re using are.
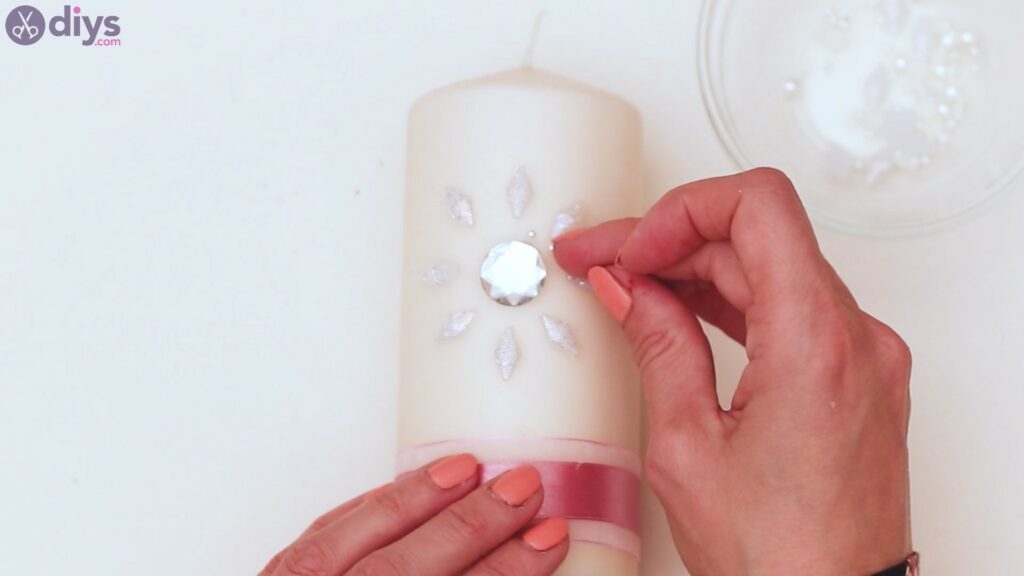
This is delicate work, so go slowly. There’s no hurry here, so make sure each rhinestone is in its rightful place.
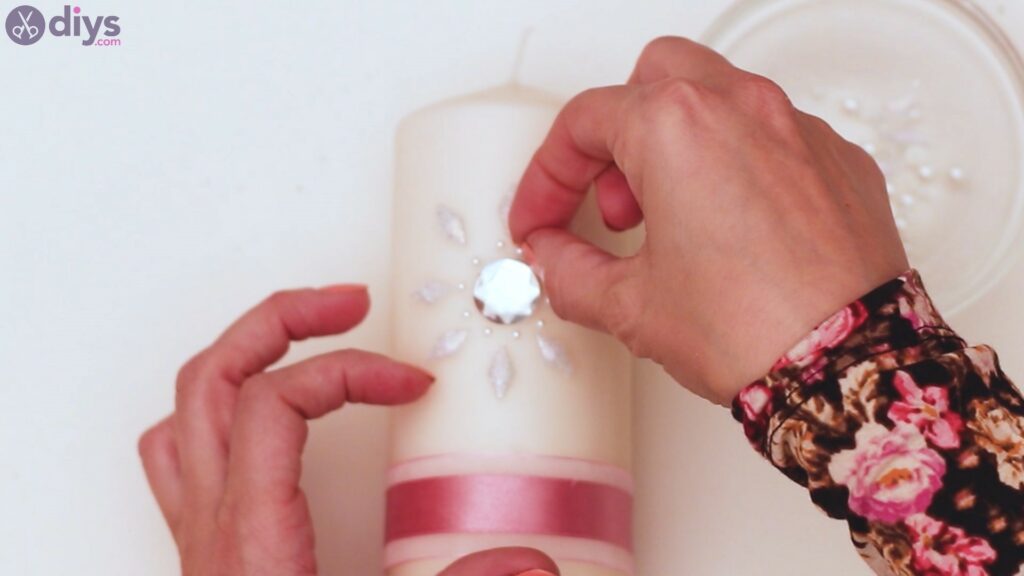
Now, let’s build up the design. Get more diamond-shaped rhinestones and add them in the areas between the same-shaped rhinestones one level below. We placed the pieces about half a level up.
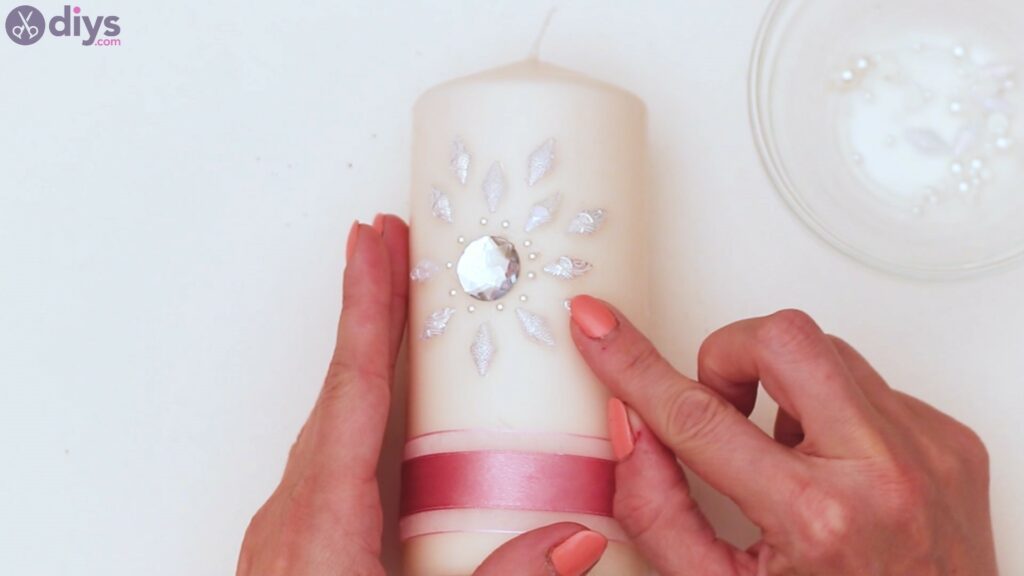
Make sure you don’t add too much hot glue to their backs as it will leave traces when it overflows as you press the rhinestones into the candle.
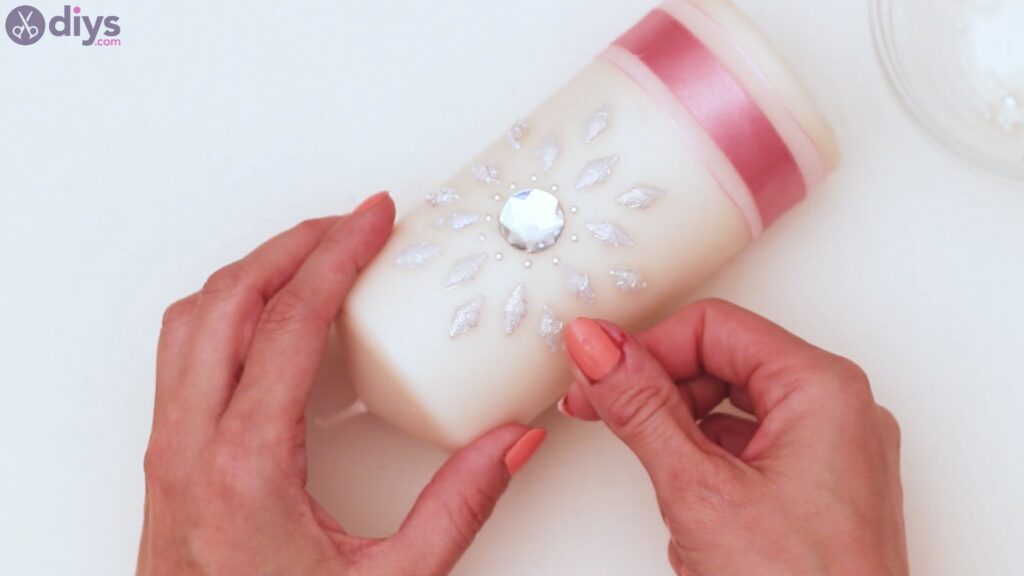
Next, get the larger pearly rhinestones. Add hot glue to their backs and start pressing them above the original cardinal points you created with the diamond-shaped rhinestones.
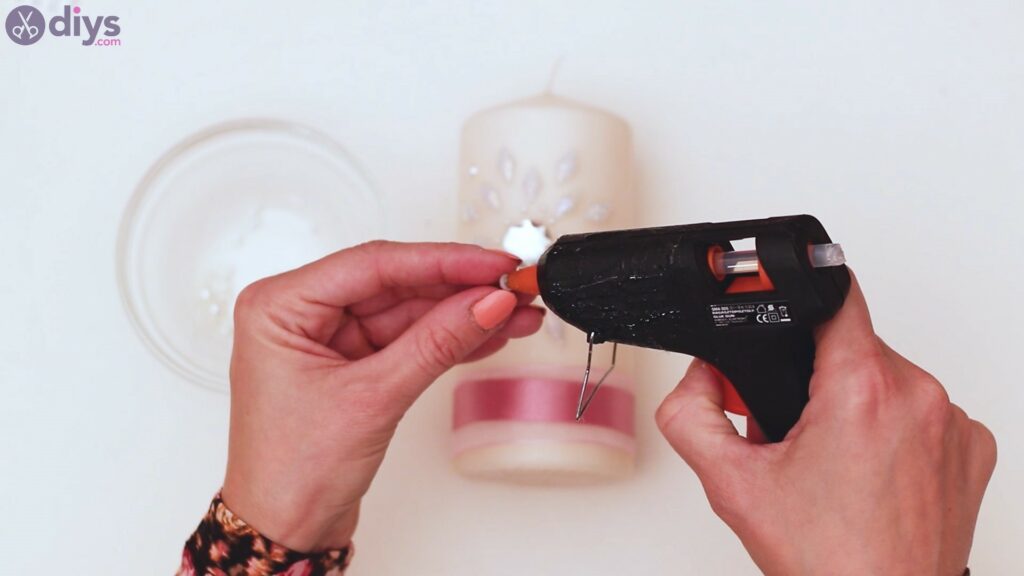
Try to give all of them the same spacing so the design does not look off.
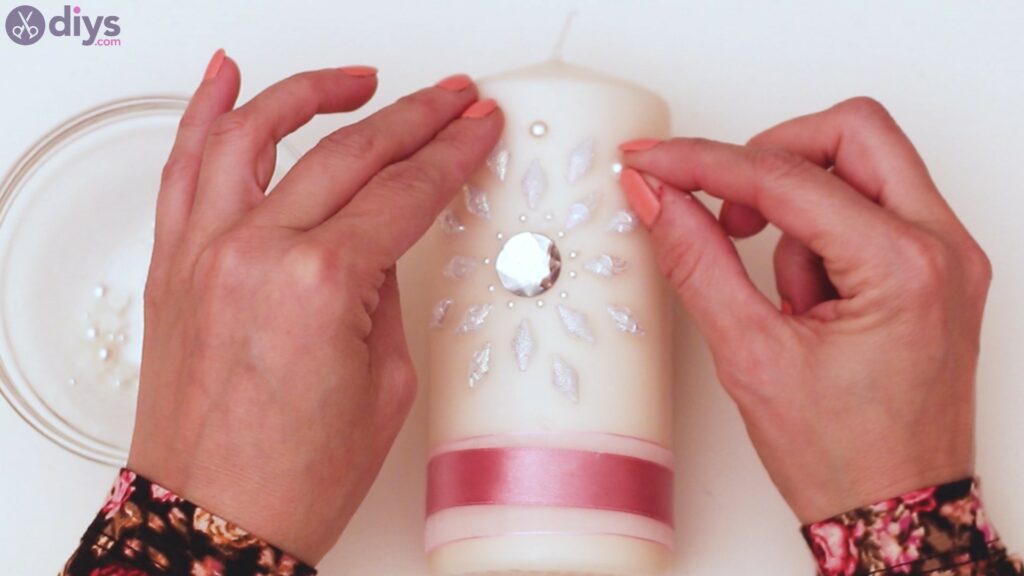
Use those same pearls to add in between the diamond rhinestones you originally added, since there’s some space left there.
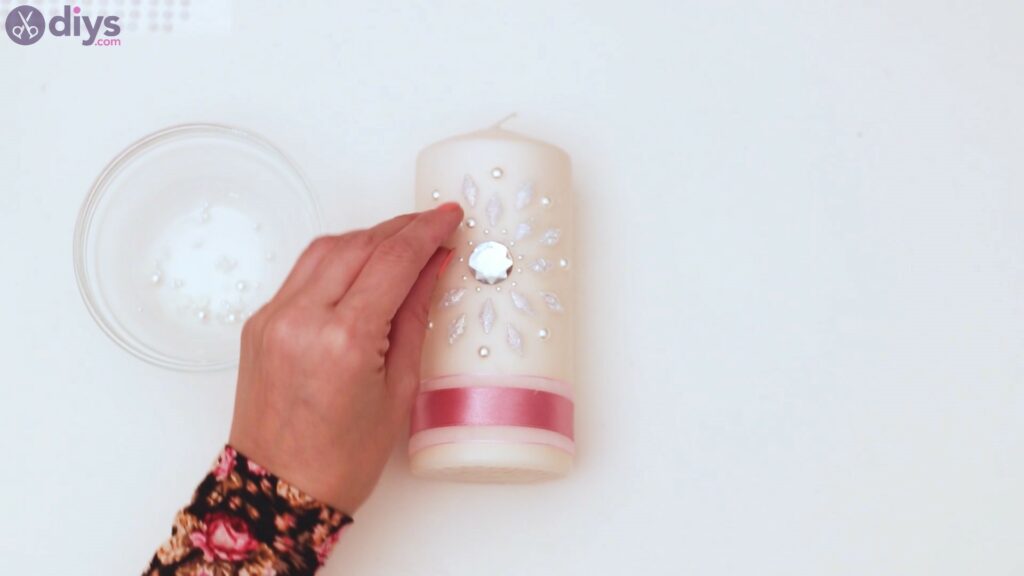
Go around the design and place them in all those empty spots.
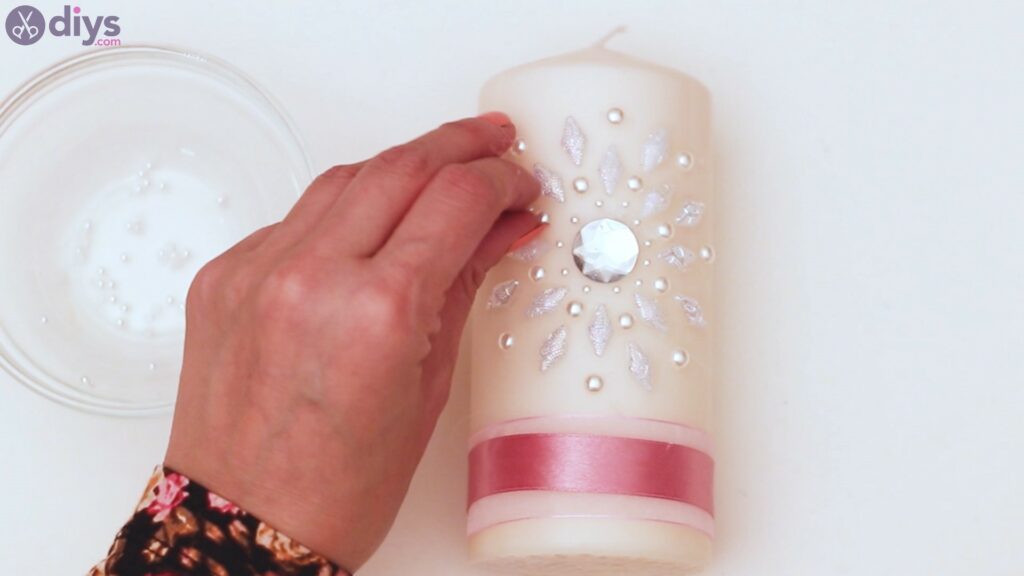
Finally, get some more rhinestones, add glue to their backs, and press them over the silk ribbon. You want to make sure you space them out correctly, so try to use something to know how far to space them, even if you’re just putting your pinky finger in between them.

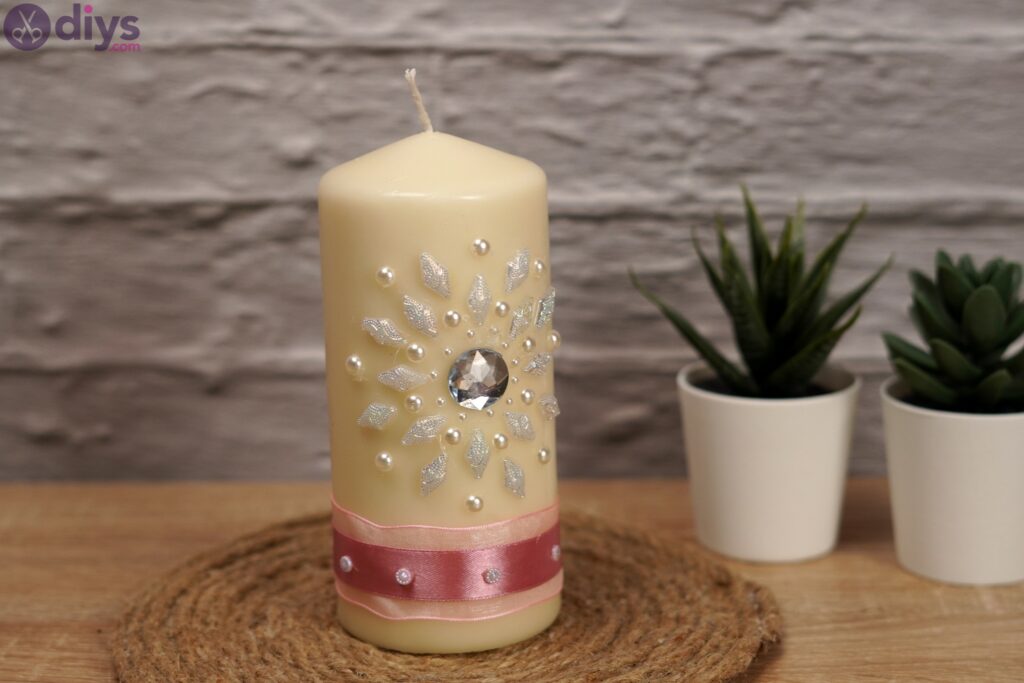
There you go! What a beautiful candle you have now! It’s going to be a cute decor piece for whomever you plan on gifting this to. We’d love to see how yours turned out, so drop us a message on social media.
The great part about creating candle art is that you can go for whatever design you want, use different colors for the rhinestones or the ribbons, and so on. Any other candles you make moving forward can have different designs, with your imagination being the only impediment.
The post DIY Candle Art – How to Make the Perfect Valentine’s Day Gift appeared first on DIYs.com.