For a while, we’ve been thinking of a cute project in which we can use the million and one spare buttons we have laying around, so let’s create a button picture frame! Just in time for Valentine’s Day, you can tell your loved one that they’re cute as a button and offer them a frame for your favorite photo!
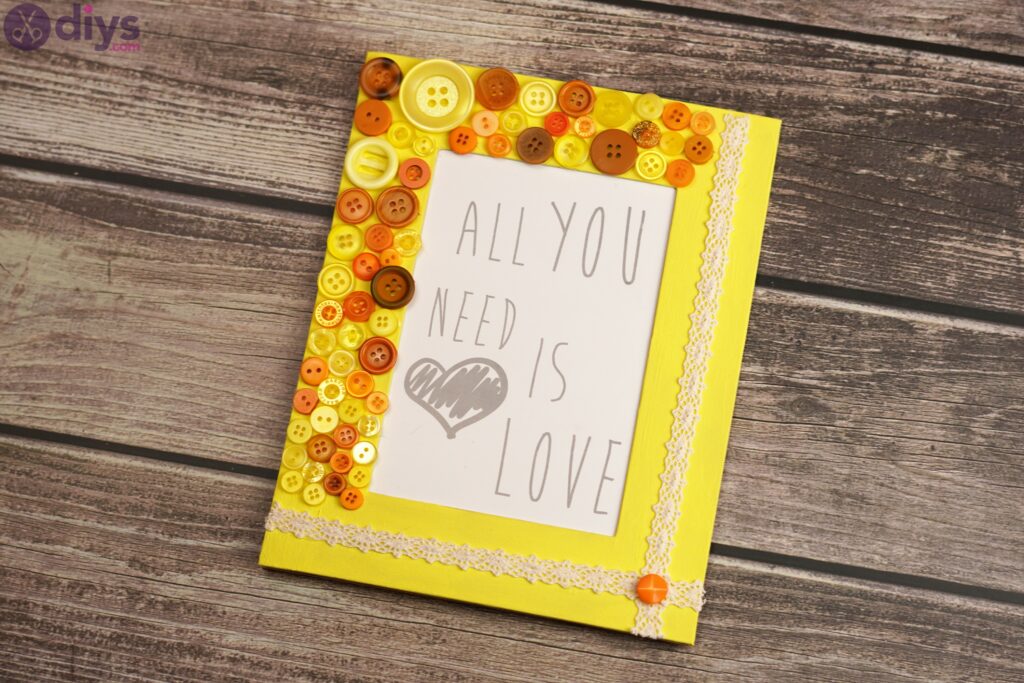
The whole project is pretty easy to do and it won’t even take you that long to do. However, it’s going to be a creation that will remind your Valentine that you love them every time they see your gift.
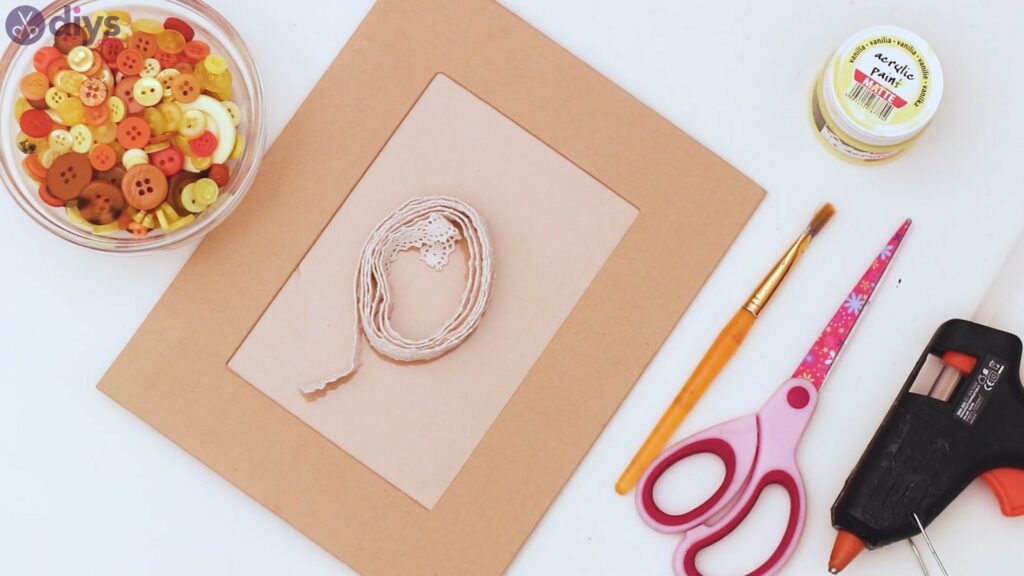
Materials for a button picture frame
- photo frame
- buttons
- yellow acrylic paint
- paintbrush
- scissors
- glue gun
- lace ribbon
How to make a button picture frame
As soon as you’ve gathered up your materials, we can begin. However, a few words before we begin. We chose to go with a yellow paint and buttons in similar shades, ranging from light yellow to dark orange. Depending on what you have at home, you can go for different color palettes of course.
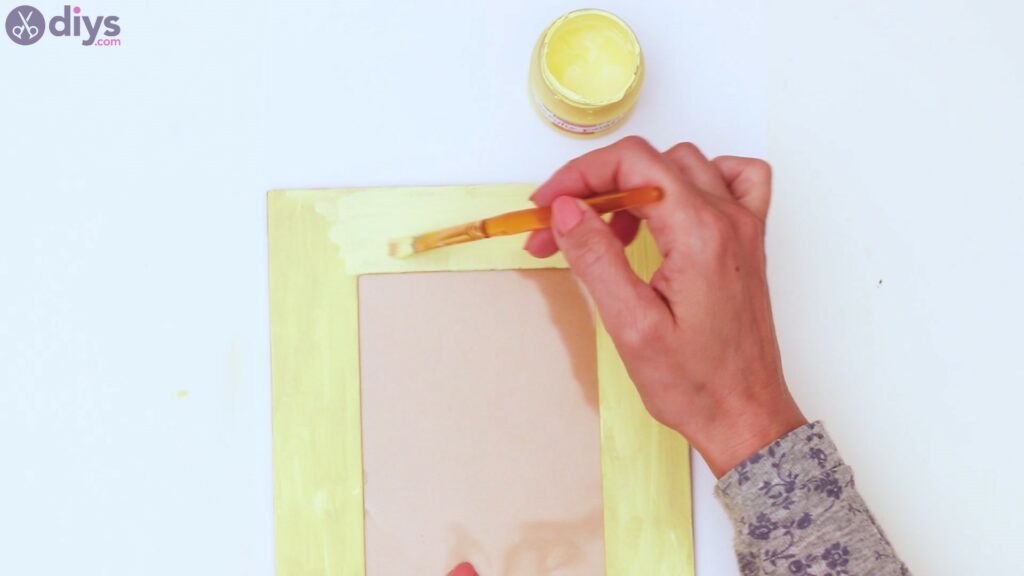
Step 1: Paint the picture frame
We’re going to start our project by painting our photo frame. We chose to go with a frame that is made out of cardboard, so it’s pretty easy to paint over. Even if you choose one that’s made of wood, this project will work just as fine. Acrylic paint works on pretty much any surface and it also dries up pretty fast.
So, get the yellow acrylic paint and your paintbrush and start painting the frame. Ours has a built-in plastic window, but if you can take yours out while painting, that would be great – you don’t want to paint over it.
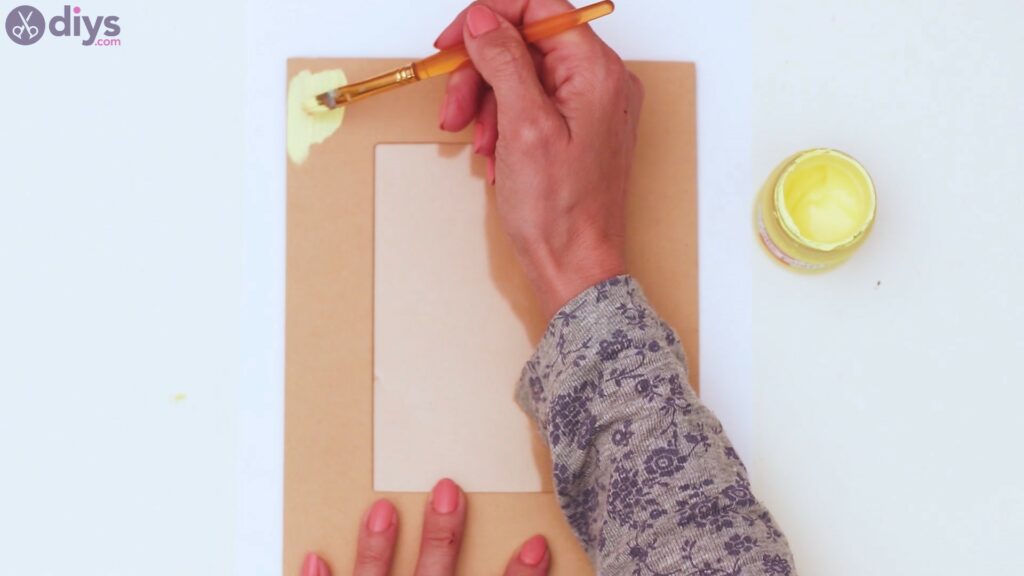
Cover the whole frame with the yellow paint and try to spread the color evenly.


If you feel like the frame needs more color, allow it to dry for a few minutes and then start adding in more paint so you get a better shade.
Step 2: Create your design
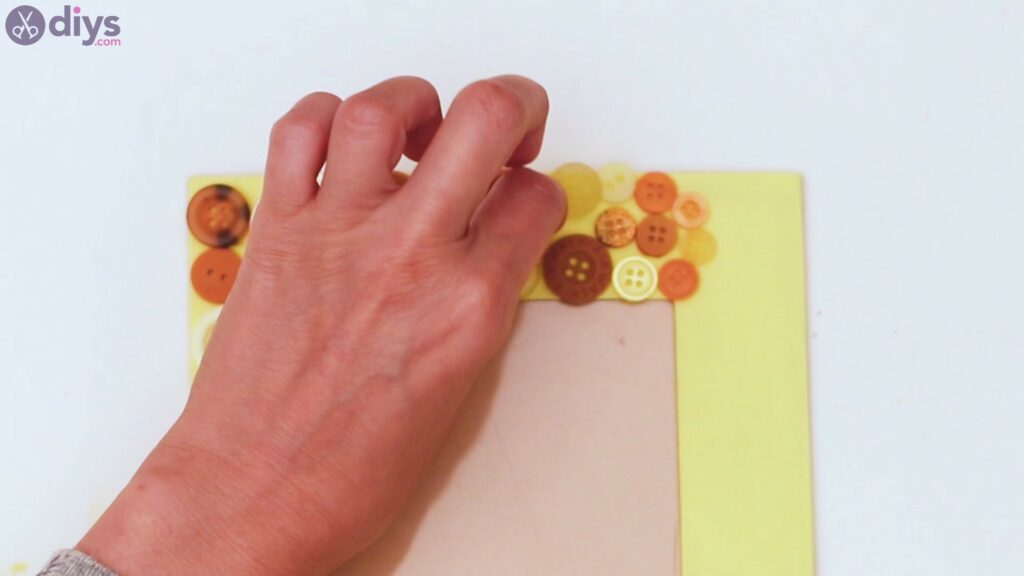
Next, you want to start getting your buttons and placing them over two of the sides of the picture frame. Add a few larger pieces on the corner, and then fill in the space with smaller ones.
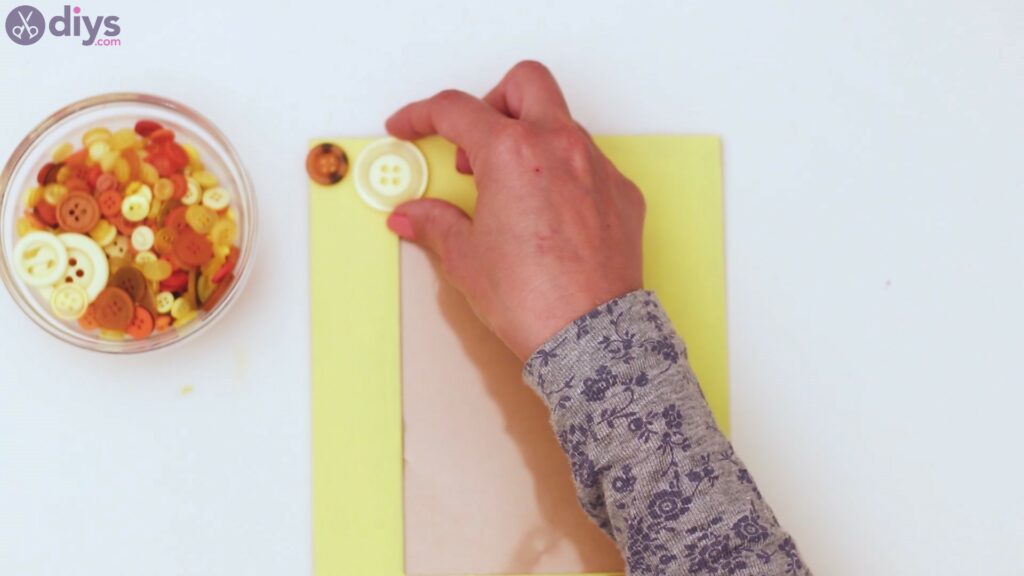
Mix in the shades and sizes, giving the design a lot of personality.
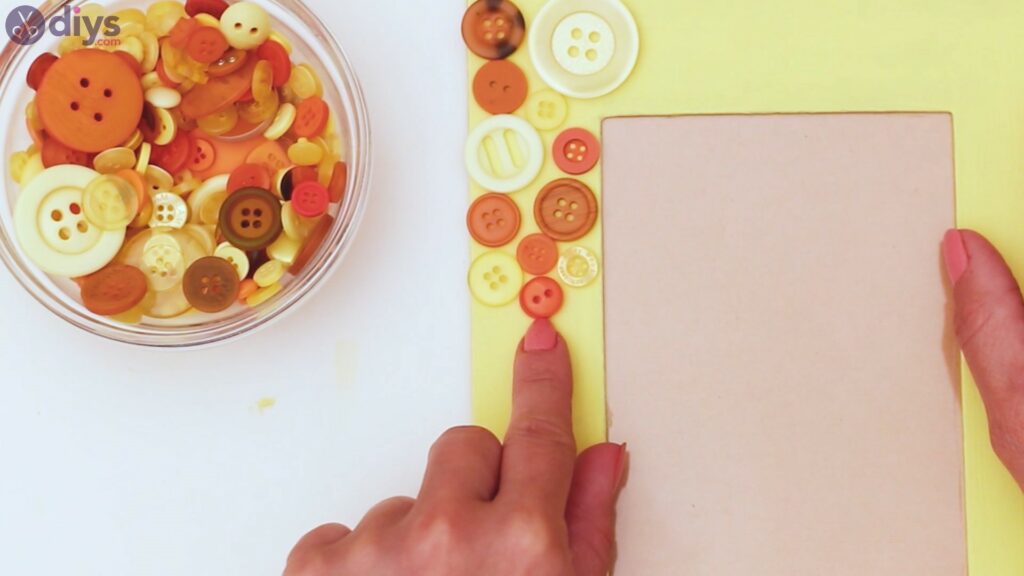
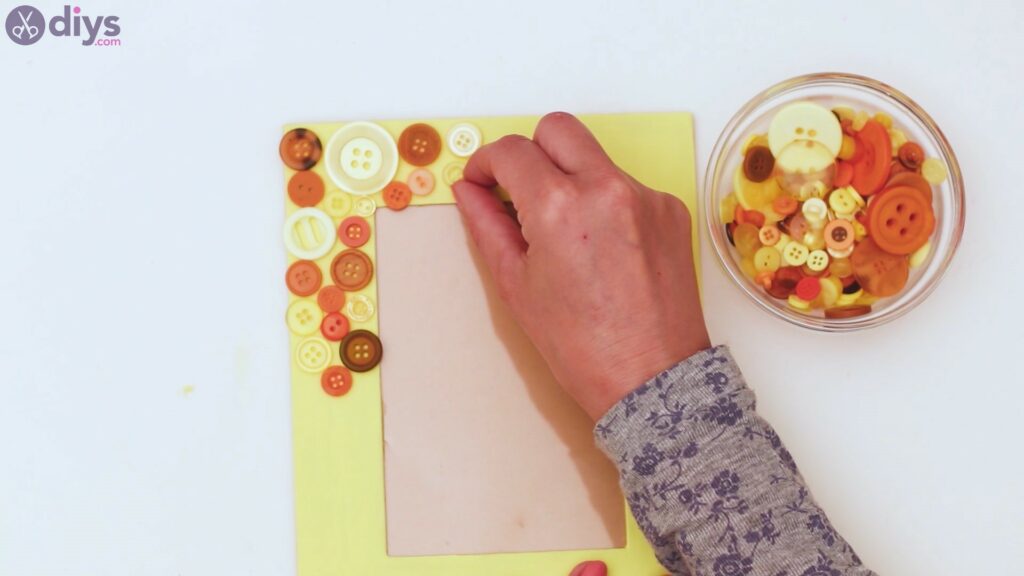
Place buttons on both sides, making sure to add a pop of color here and there.

Step 3: Glue the buttons
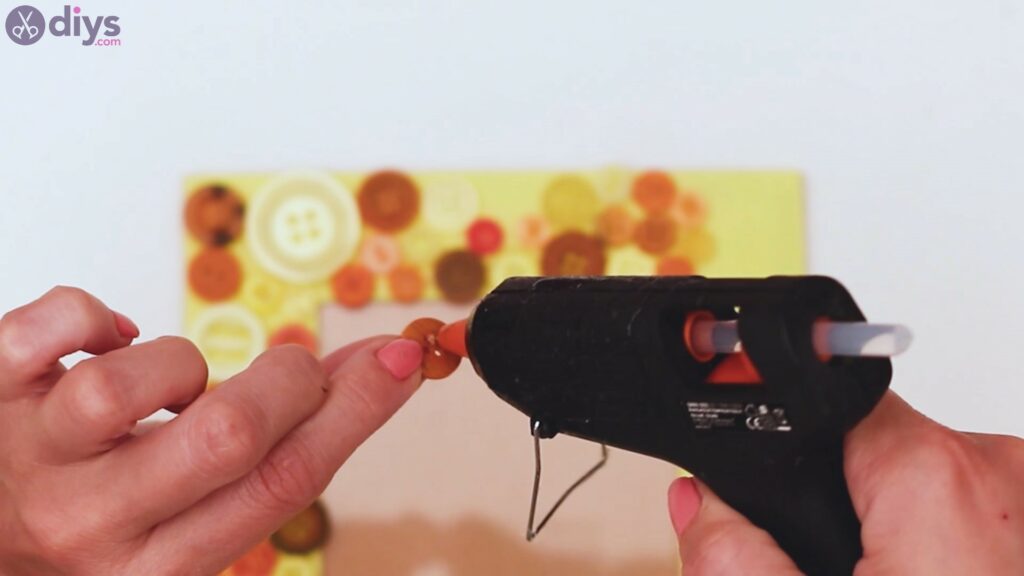
Now that you know where your buttons are going to go, get the glue gun and start picking up the buttons one by one. Put some hot glue to the back of the button and place it back on the picture frame. Make sure you press them slightly so you’re sure the two pieces are set.
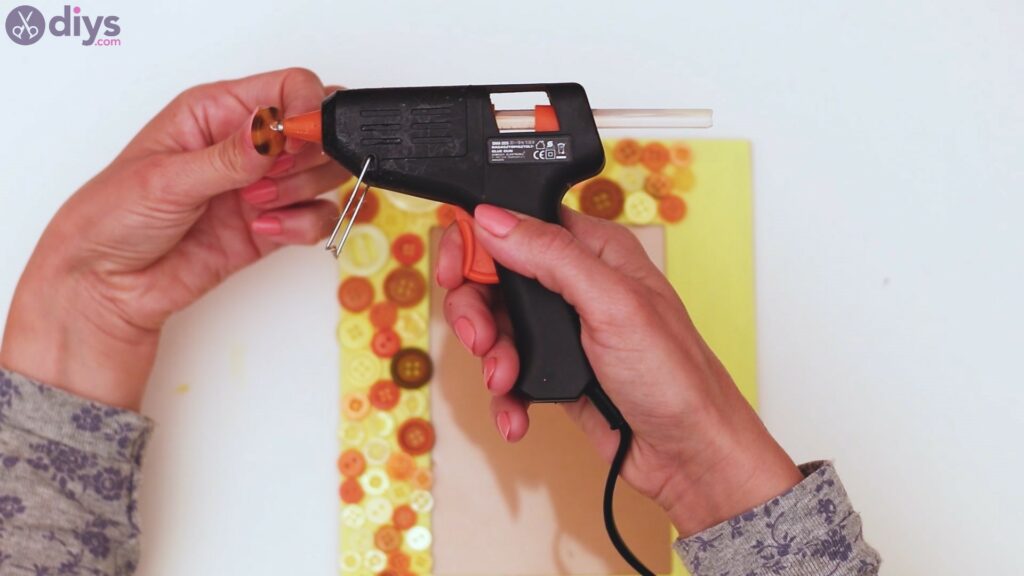

For some of the smaller pieces, you may want to try adding the hot glue directly to the picture frame and then placing the button over it, so you don’t get hot glue over your fingers.

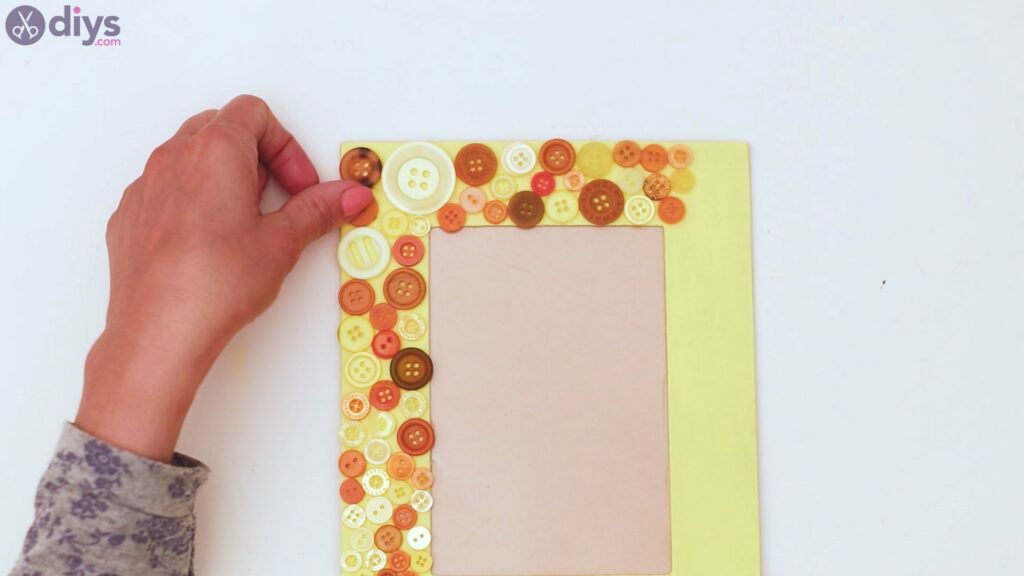
Keep adding the buttons to the design and make sure they’re all glued down. Work methodically so you don’t lose track of which button is secured and which ones are free.
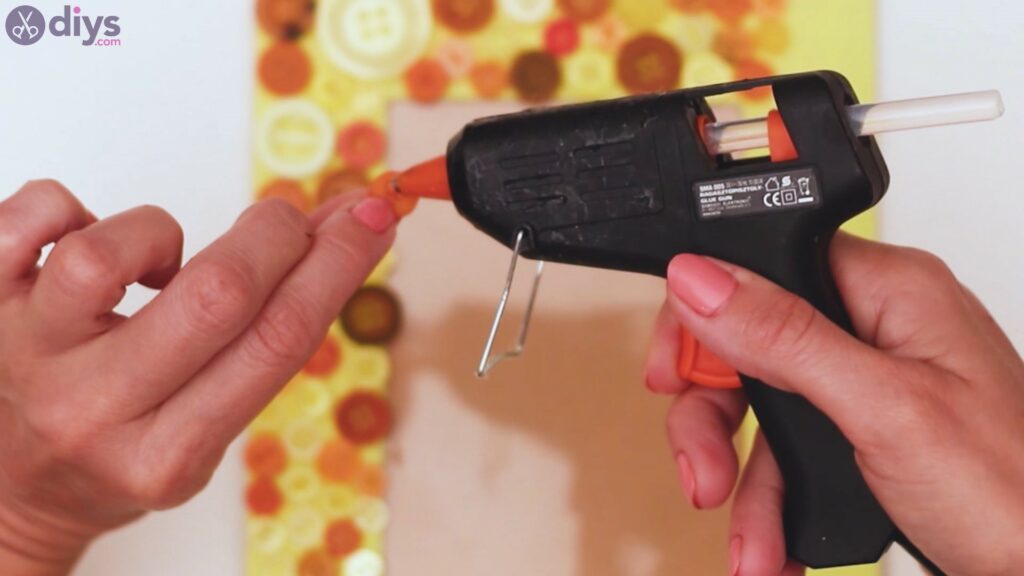

You can allow some of the buttons to go over the frame a bit, but make sure the glue you added to its back doesn’t cover the entire surface, as you’ll end up with hot glue on the screen of your photo frame.

Make sure the buttons do not cover the whole top and left sides. Allow some space there for the final design elements.
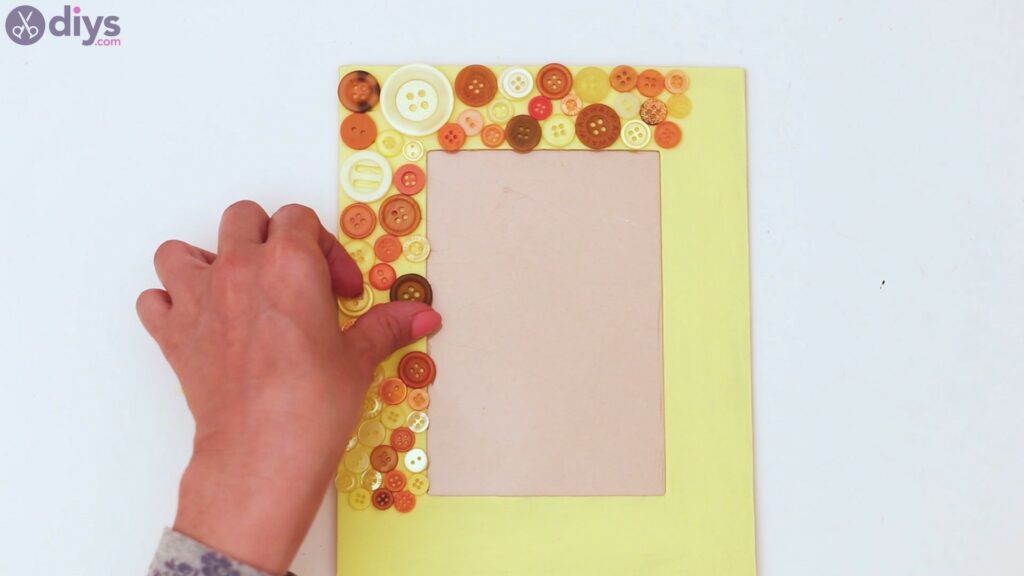
Step 4: Add the ribbon
Now that your buttons are all glued to the frame, it’s time we move to the next step – adding the lace ribbon. Get the ribbon and place it over the side of the frame, measuring out how much of it you need.
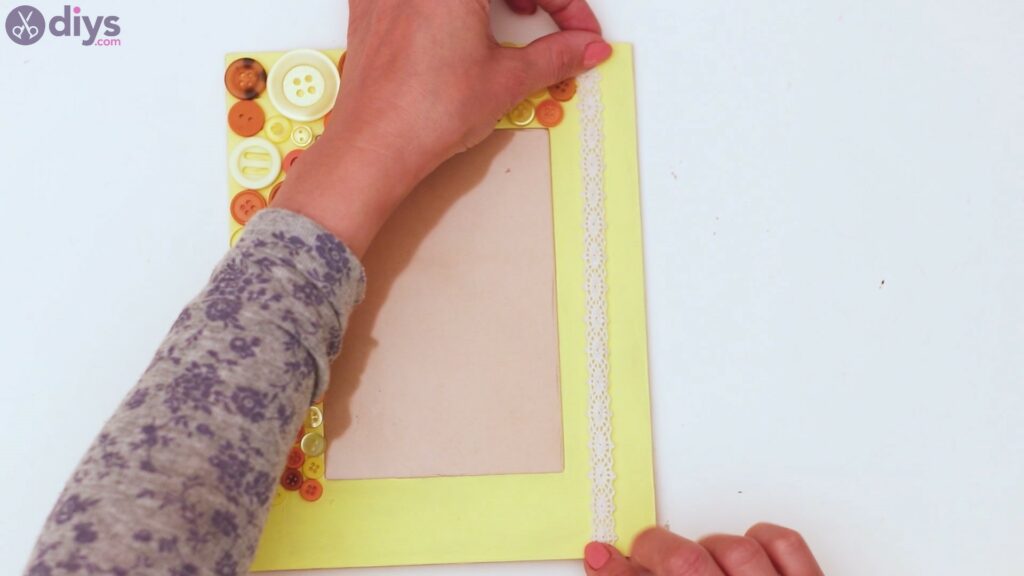
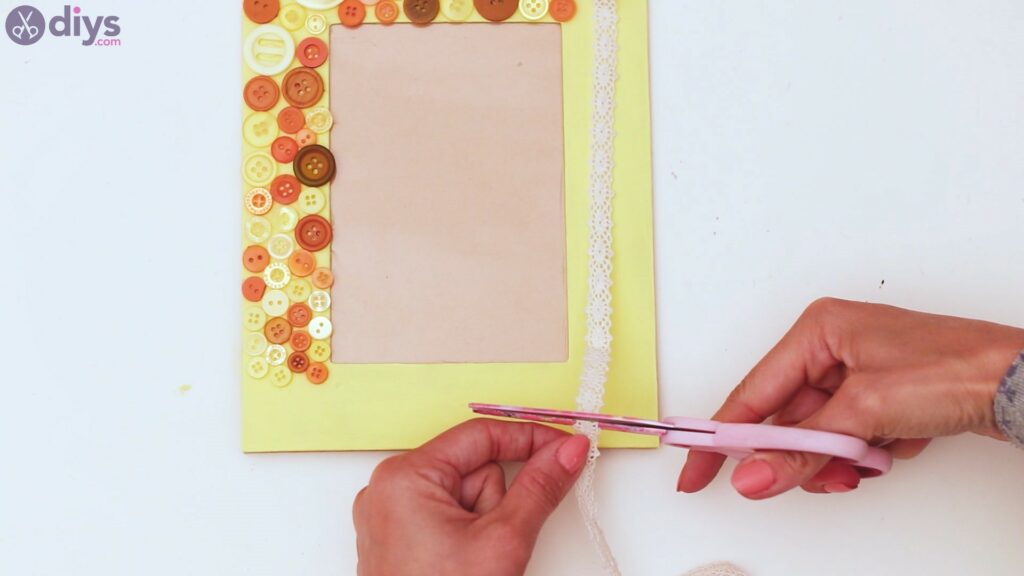
Cut the lace once you’ve measured it, and make sure it will cover the entire length.
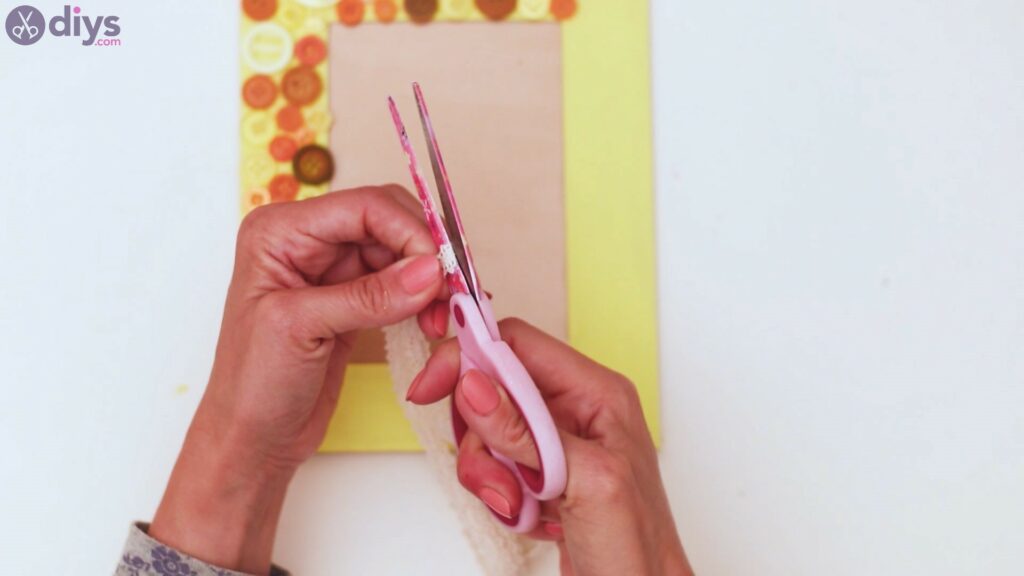
Get the glue gun and apply some hot glue to the area where you want to start applying the lace ribbon. Place the ribbon over it and press.

Keep adding hot glue and laying down the lace ribbon as you go.
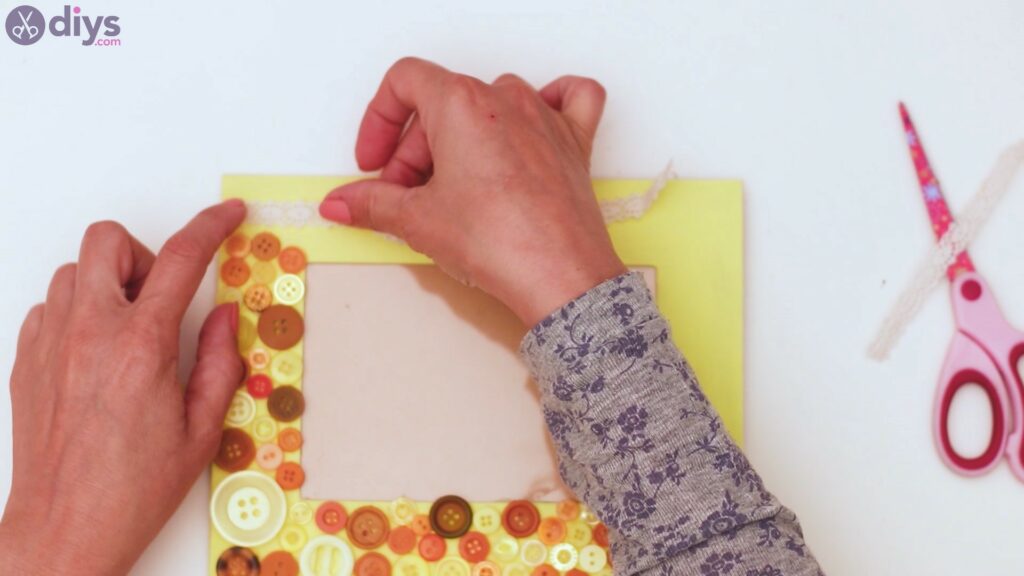
If you’re confident in your power to draw a straight line, apply glue over the whole length. Otherwise, go inch by inch.
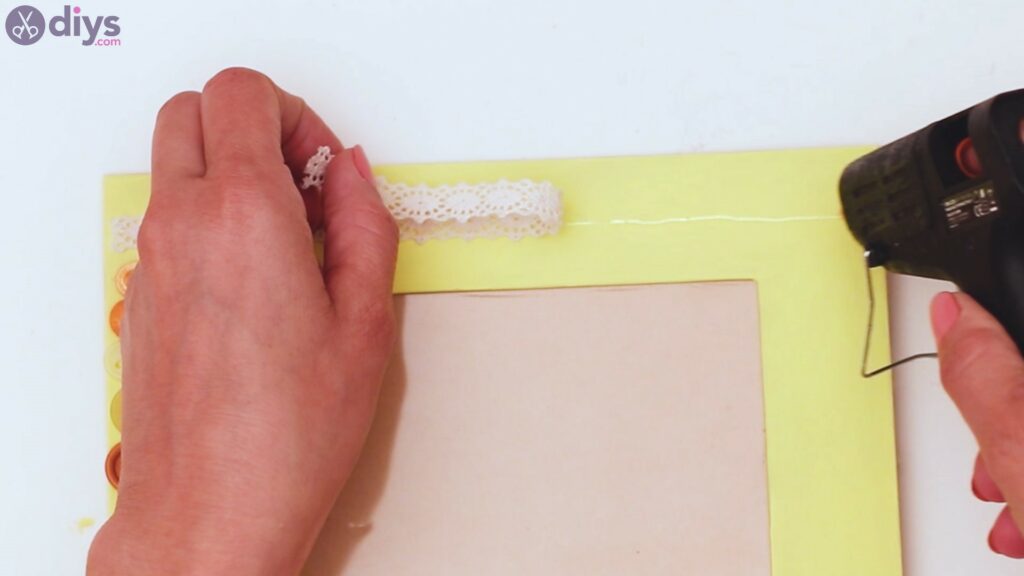
Press the lace straight over the hot glue and straighten it out so there are no lumps and bumps.
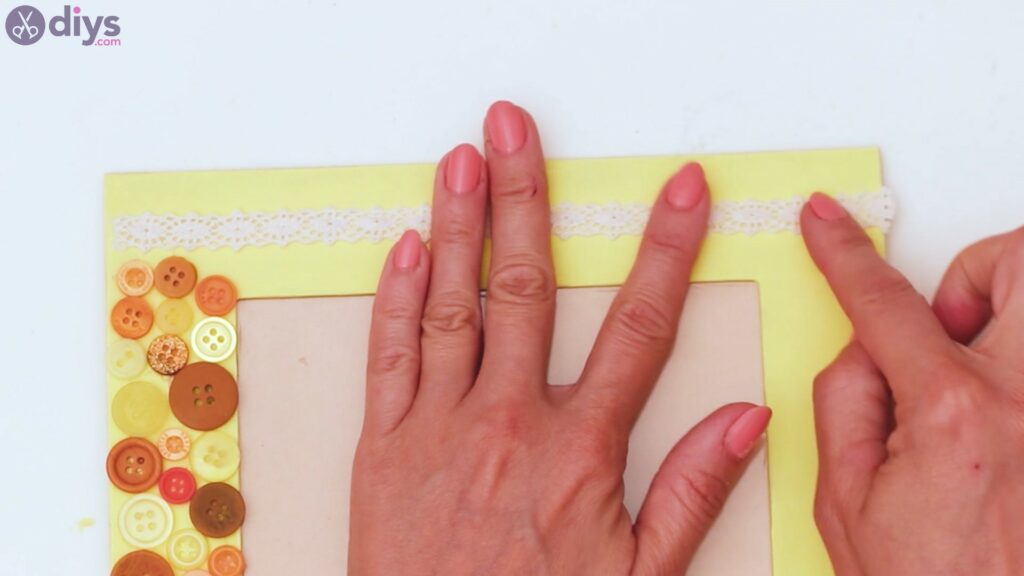
Then, go to the last picture frame area that has no decoration – the bottom side. Measure out the same distance from the frame as you did on the right side and apply some hot glue. Add the lace ribbon over the hot glue.
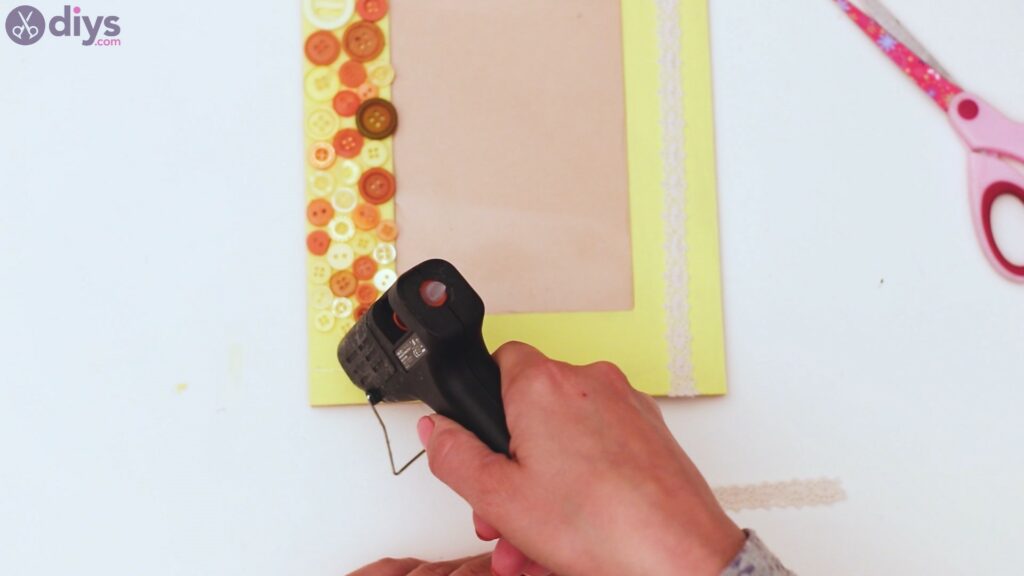

Keep going, gradually adding hot glue and the ribbon over it.

There you go, just a little more left to go. Secure the lace over the glue straighten out the material.
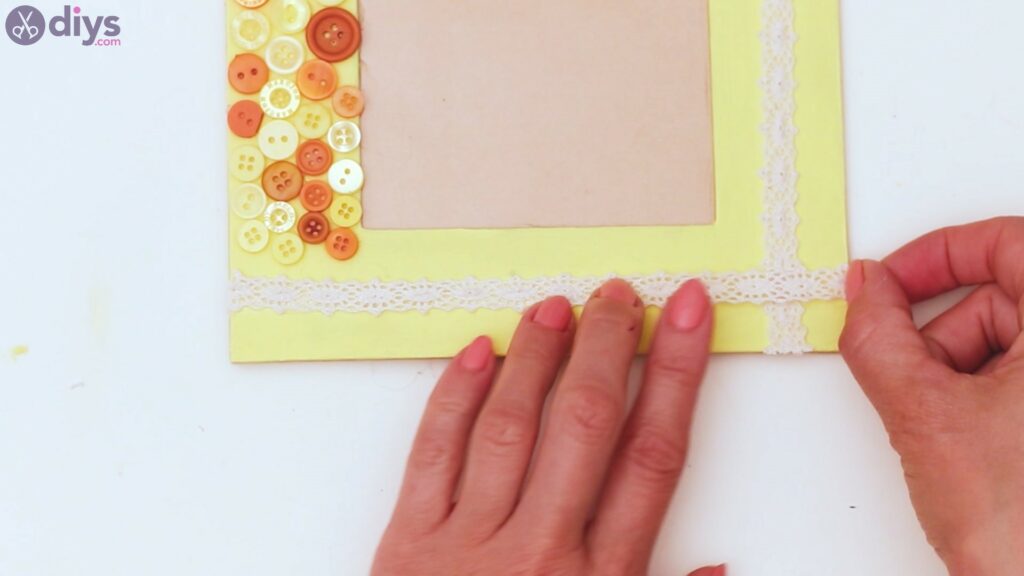
Step 5: Add finishing touches
You’re nearly done! Get your scissors and trim out any excess lace ribbon on the sides. You want the design to look neat.

Get another colorful button and add some hot glue to its back.
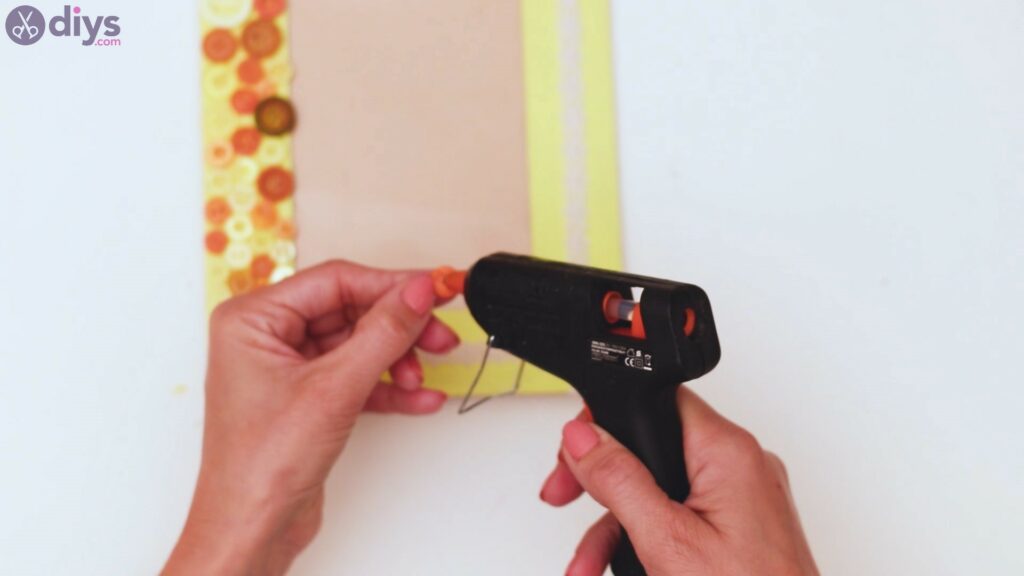
Place the button on the spot where the lace ribbons overlap.
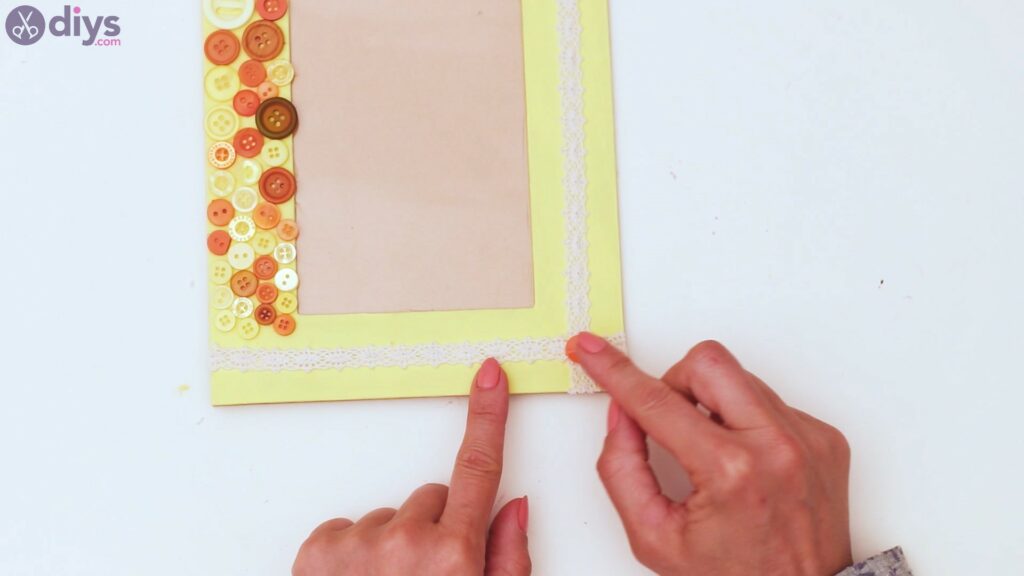
You’re done! Look what a pretty creation! This will certainly remind your loved ones of you whenever they see it, especially since it will also be the home of a cute picture.
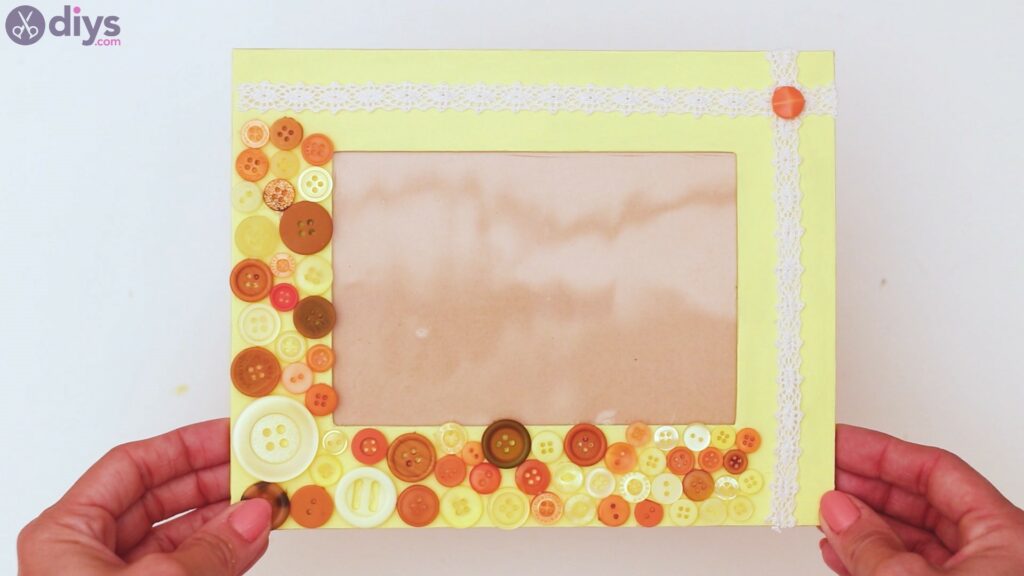
We loved how cheerful the photo frame looks. It’s going to be a perfect gift, even for Valentine’s Day, especially since it’s handmade and you can include a picture of you two together.
The design permits a lot of customization, so make sure you do just that – make it your own. You can go for a different paint color, and choose similarly colored buttons. Also, you can go for a different type of ribbon there.

The post DIY Button Picture Frame – A Joyful Gift for Valentine’s Day appeared first on DIYs.com.