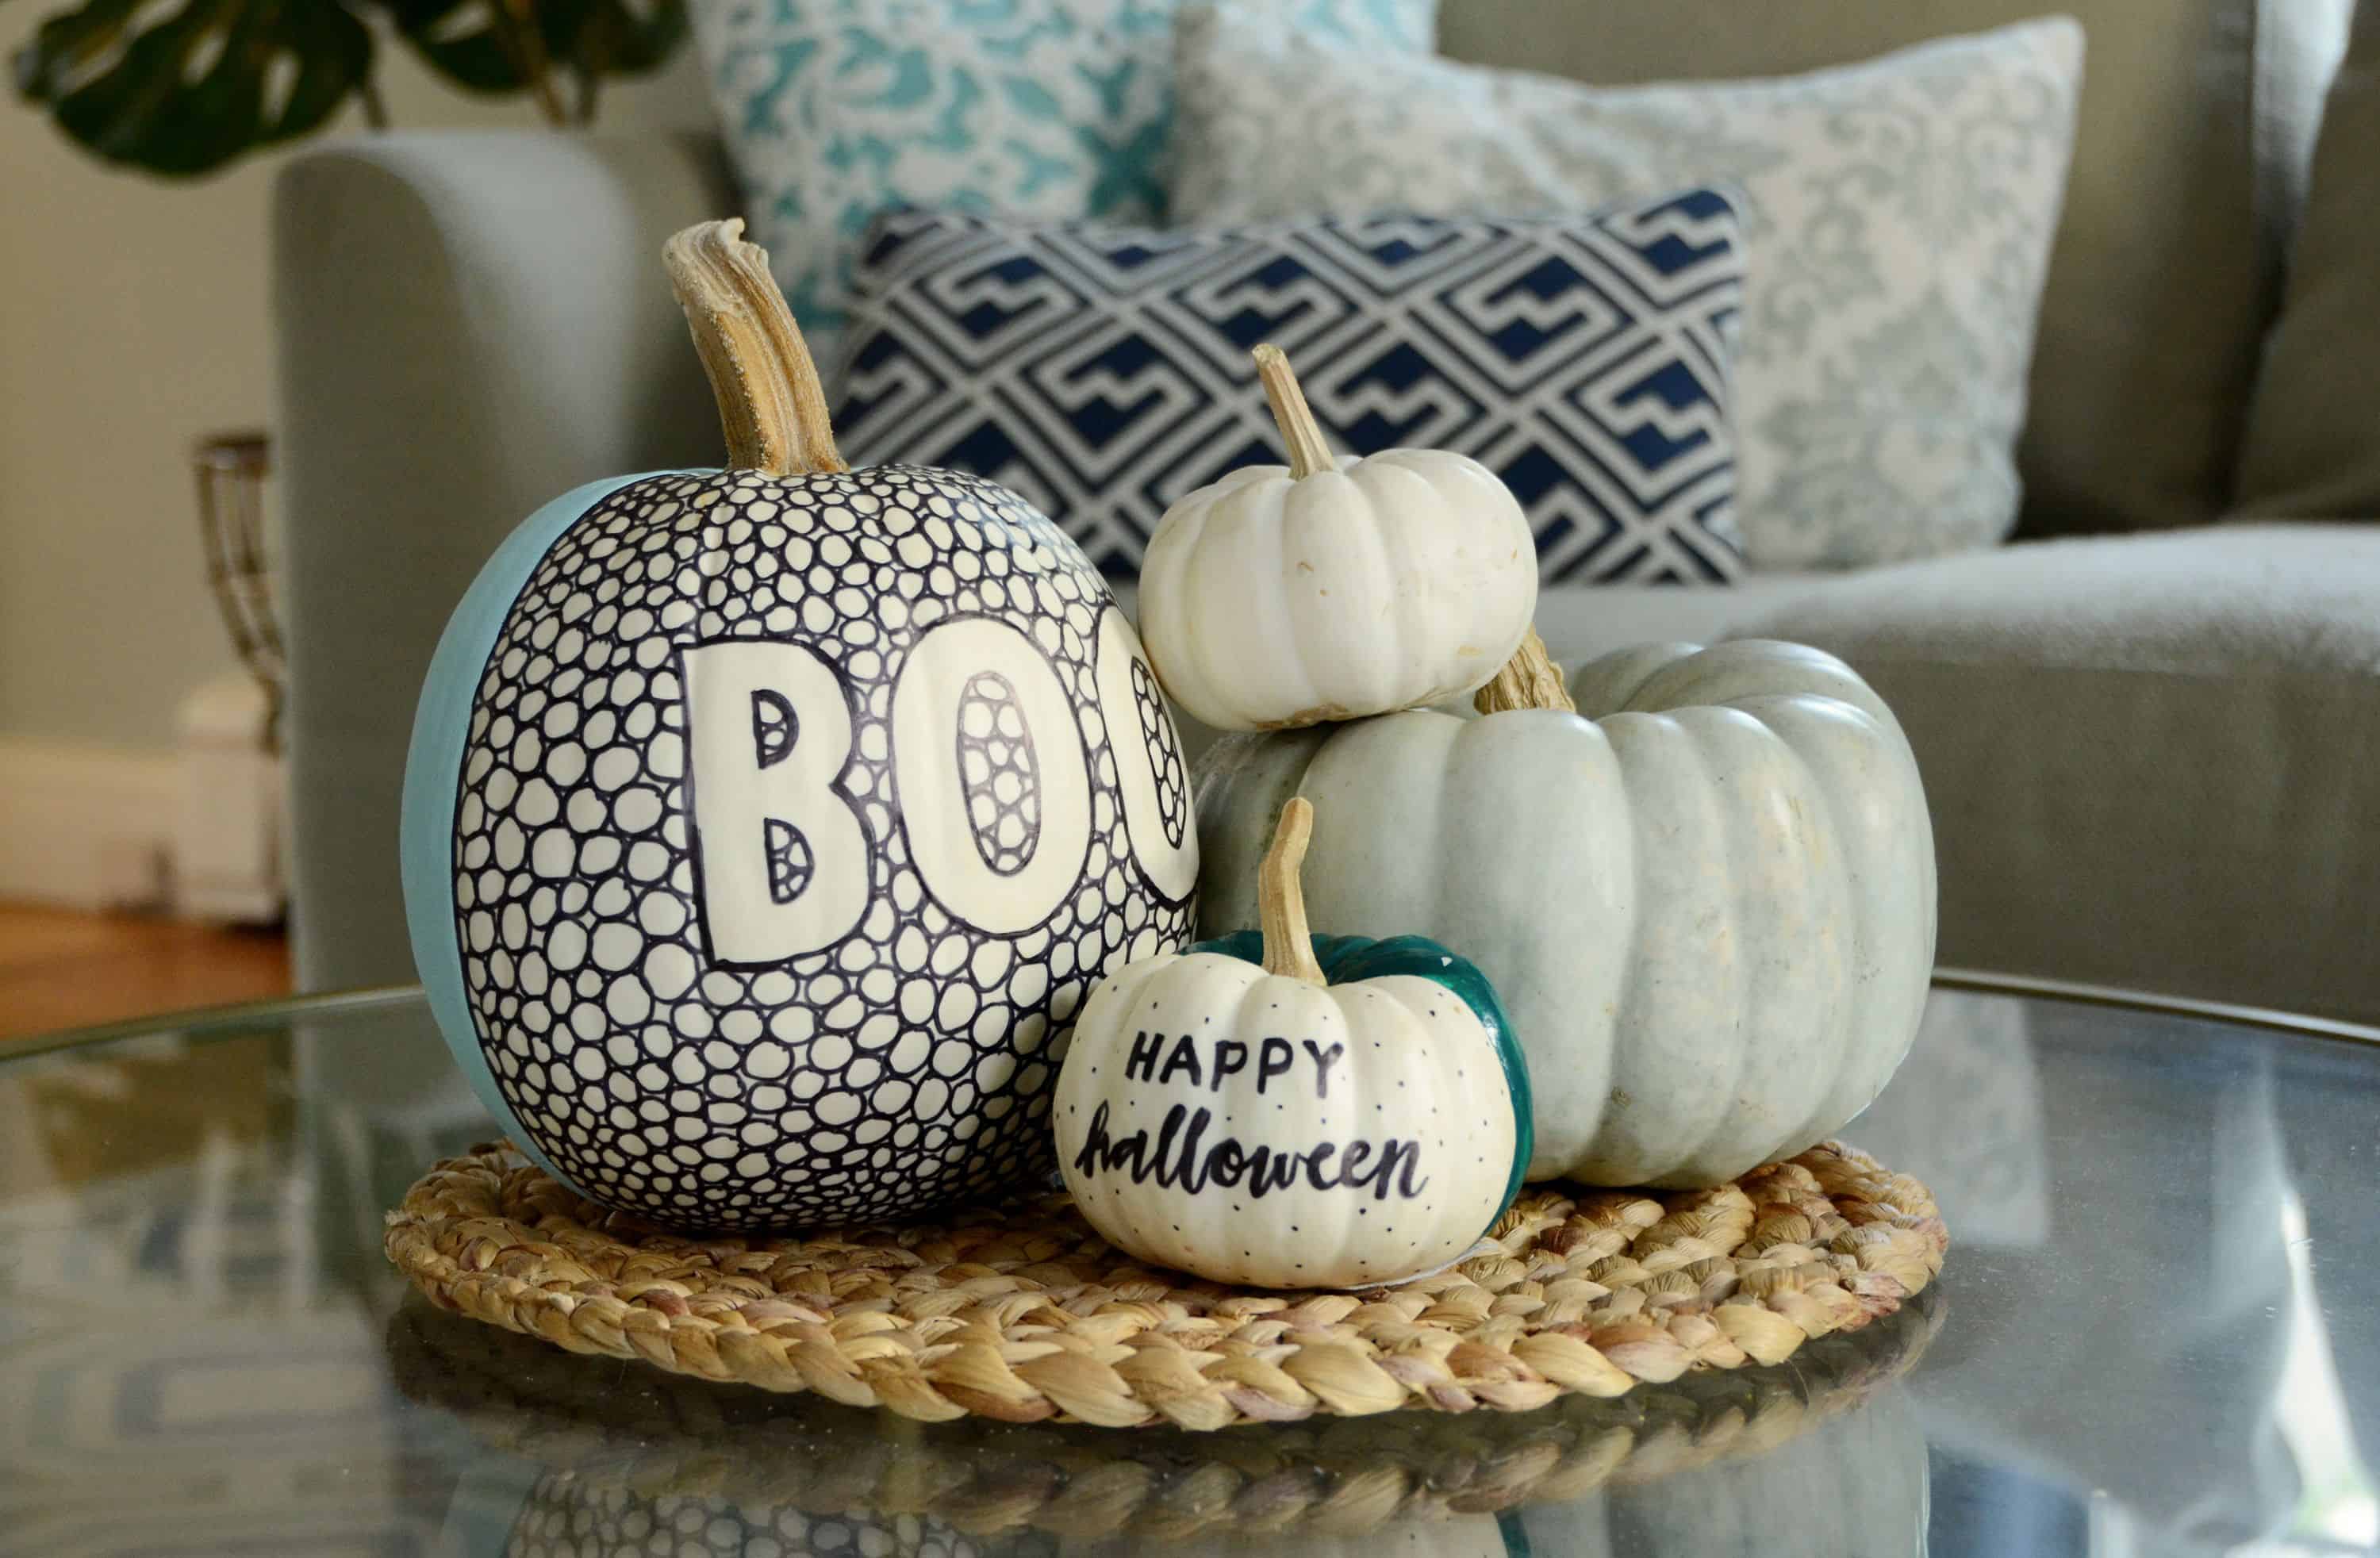
‘Tis the season for pumpkins galore, but plain old orange pumpkins can get a bit boring. White pumpkins lend themselves to DIYs, providing a blank slate for paint, markers and tons other materials. Today we’re sharing a unique tutorial to show you how to transform one into a patterned black and white masterpiece, with a pop of colorful paint on the back. Keep reading to find out all the details.

Here’s what you’ll need for your pumpkin:
- White pumpkin
- Acrylic paint in your favorite color
- Adhesive letters
- Black Sharpie marker
- Blue painter’s tape
- Foam craft brush
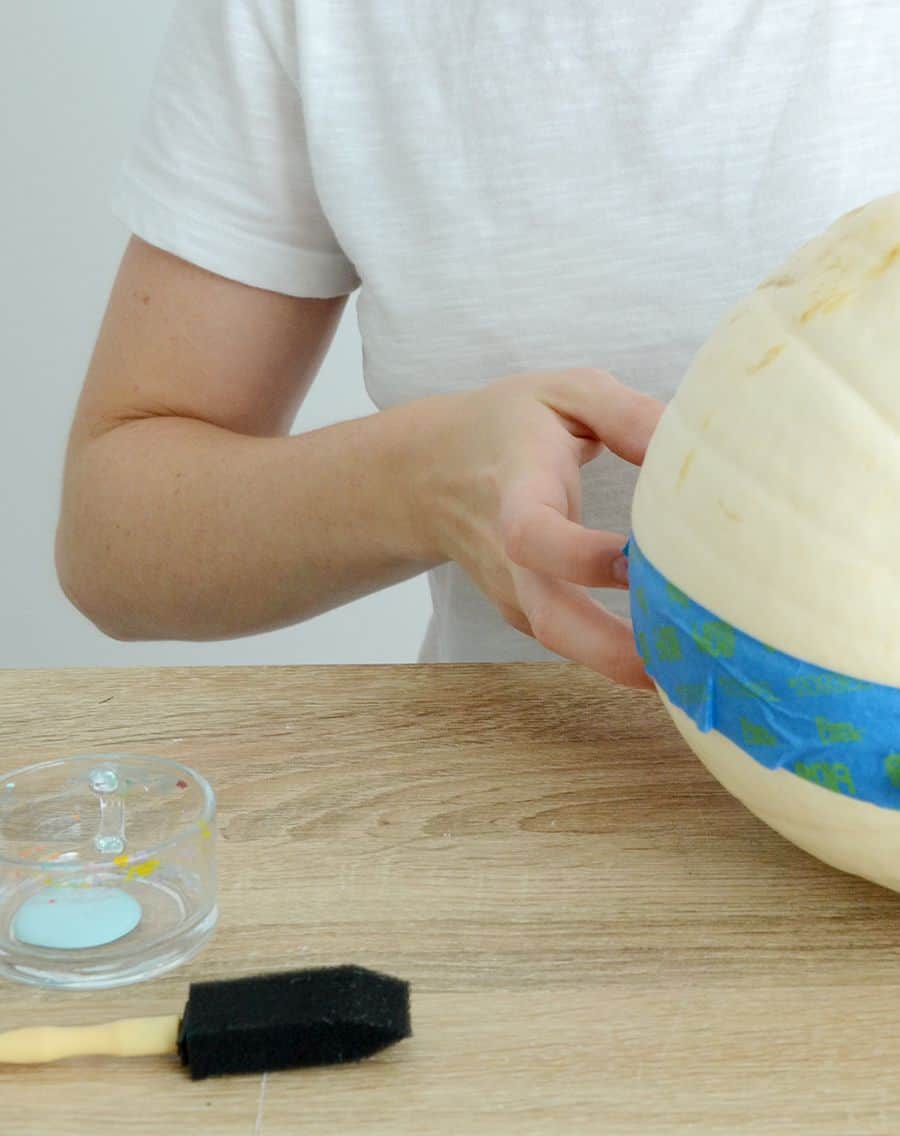
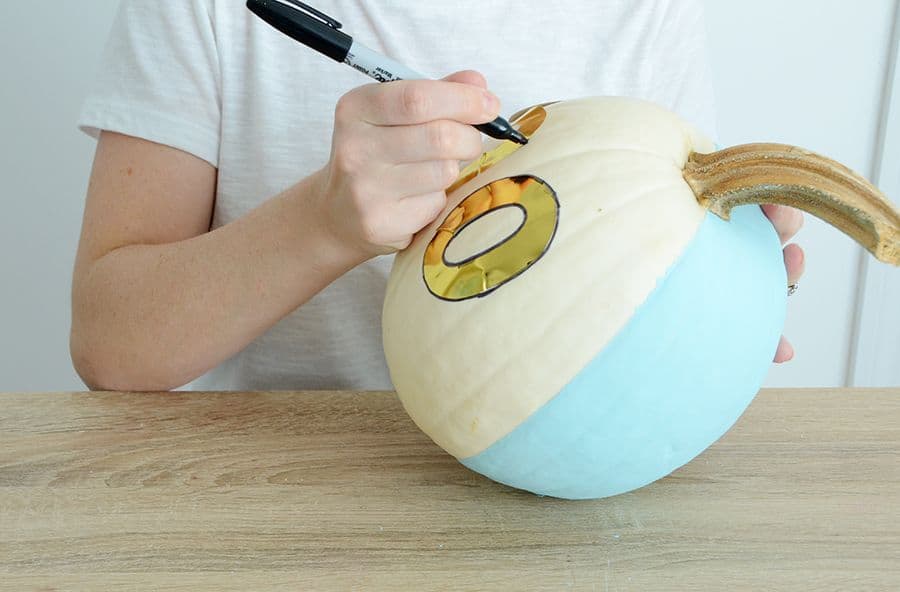
Begin by attaching blue painter’s tape around the circumference of your pumpkin, from the stem to the bottom and back up again. Press it down firmly so no paint can leak through.
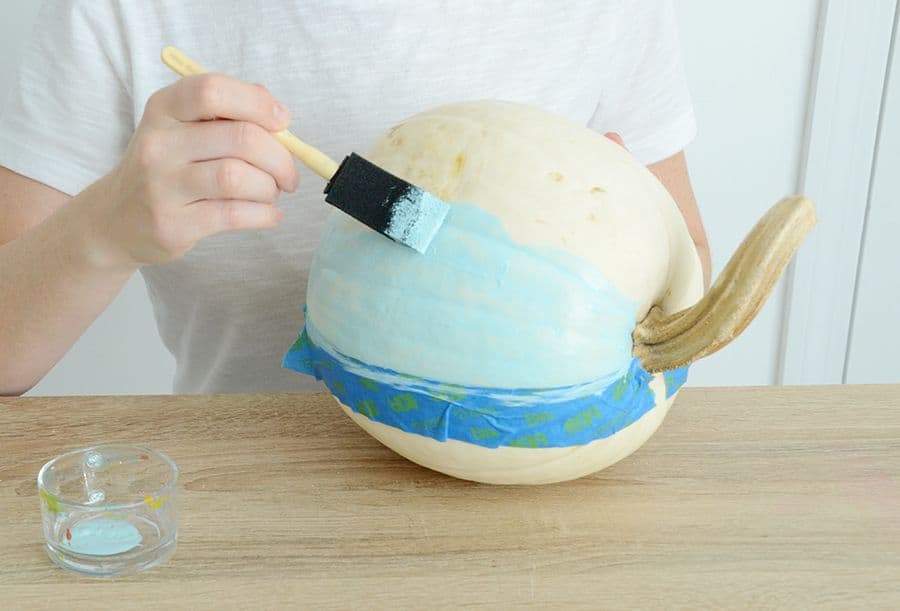
Next, paint the back half of the pumpkin with the acrylic craft paint and foam brush. Apply one light coat and let it dry for about an hour. Then apply a second coat. Carefully remove the painter’s tape and let the paint dry thoroughly.
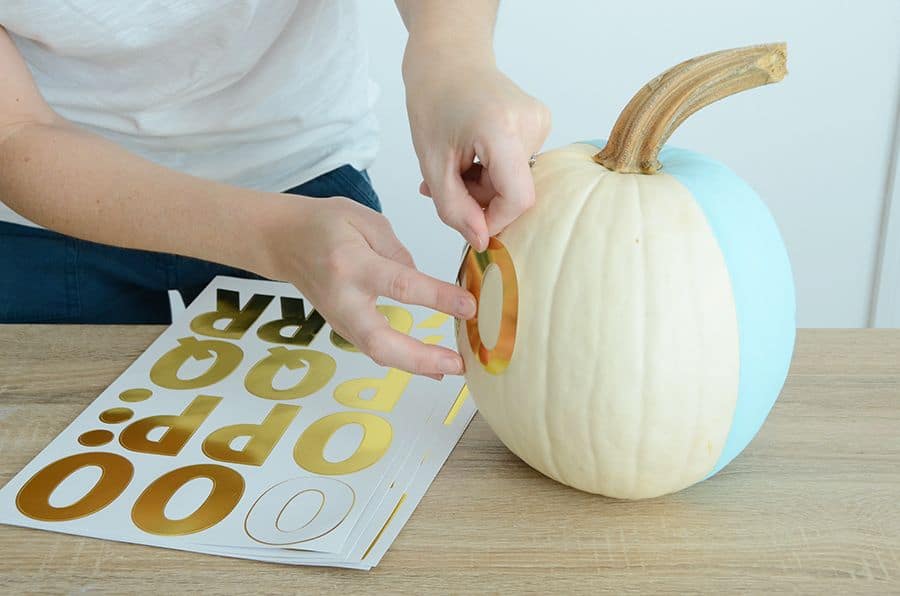
Next, stick the “B” “O” and “O” to the unpainted side of the pumpkin, making sure to center them. Push down firmly to make sure that they are firmly attached. They will wrinkle a bit since the pumpkin isn’t flat.
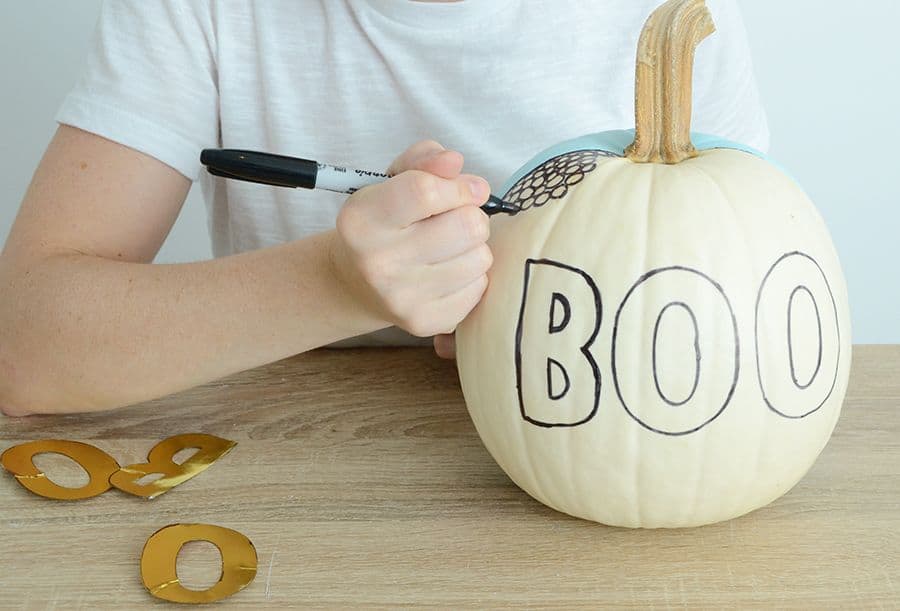
Trace around the letters with the Sharpie marker. Remove the letters, and then go over the lines a second time so they look neat and tidy.
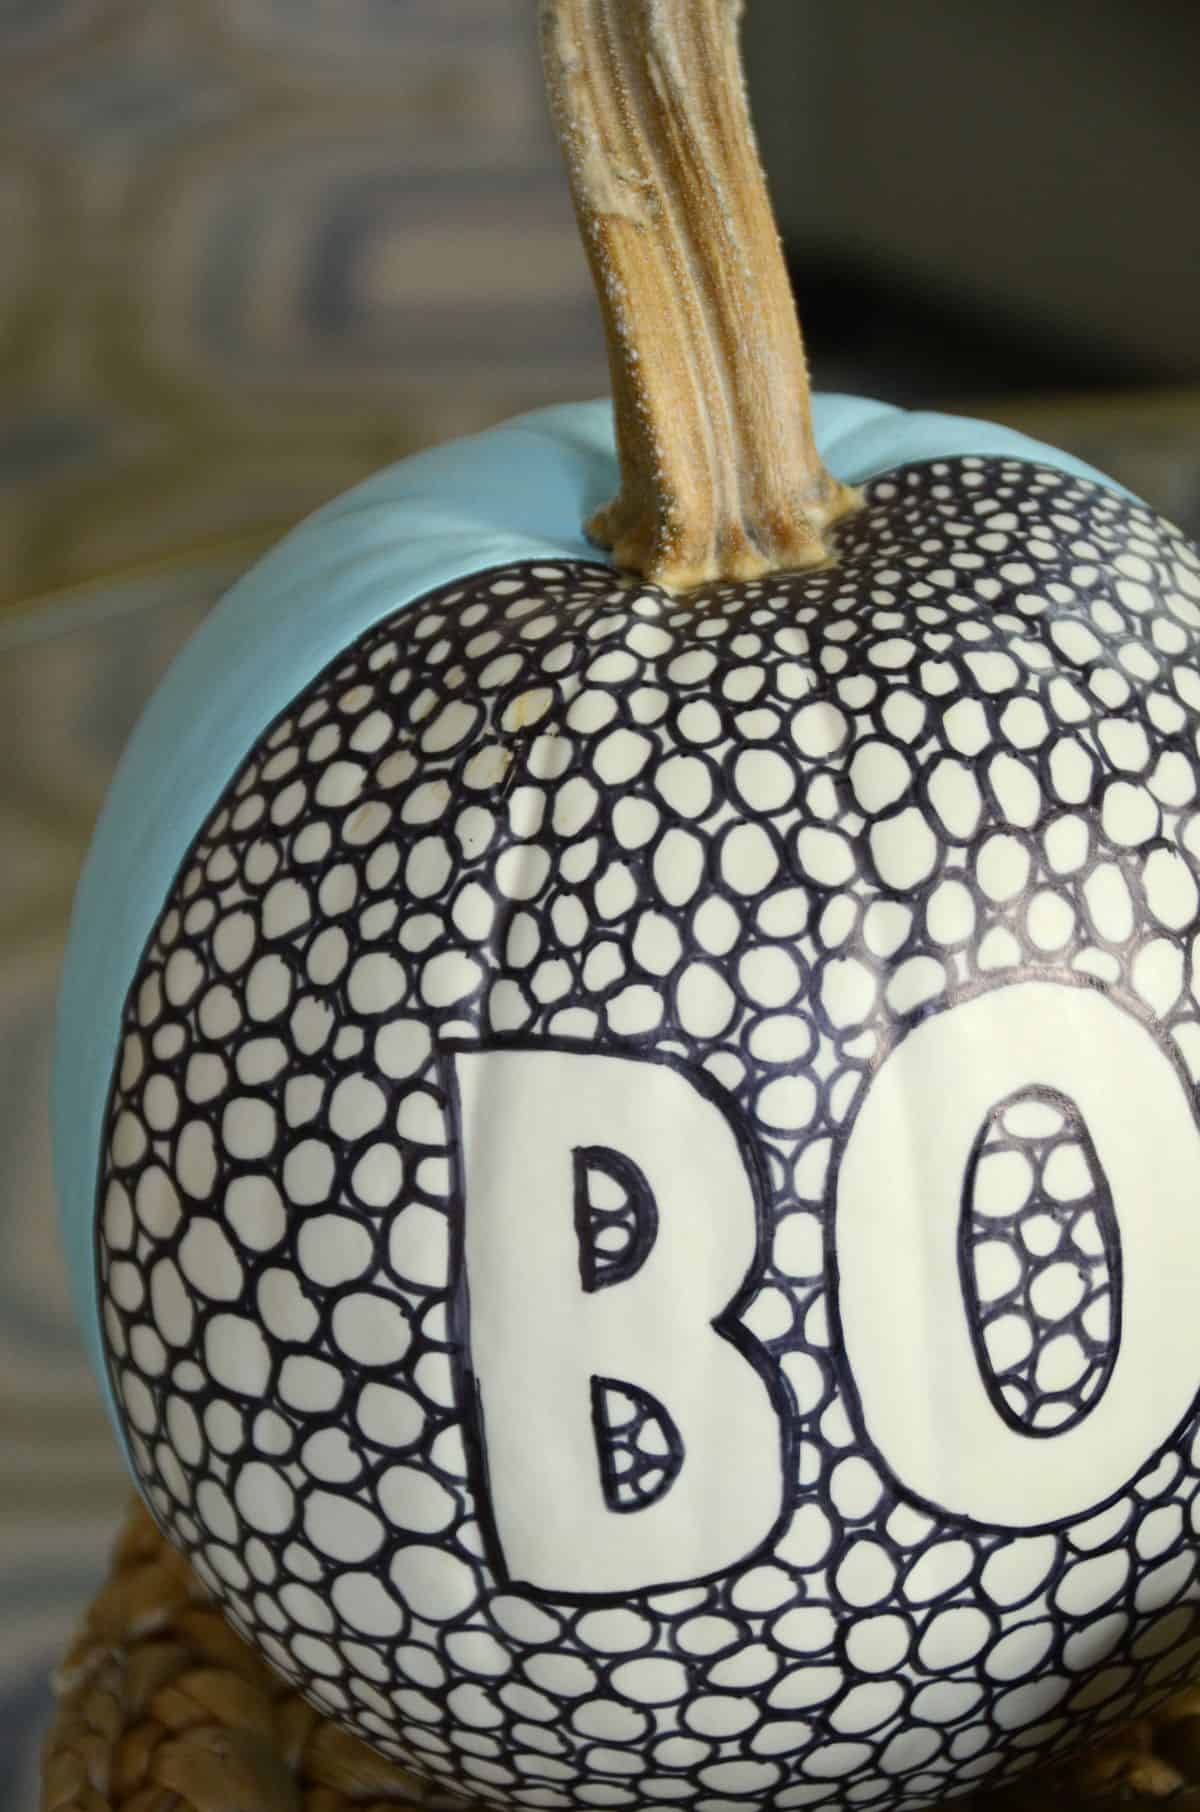
Last, fill in the areas around the letters with small round circles. Vary the size of the circles a bit, to give it a more dynamic look. And you’re finished!
You can customize this project however you like; choose a different paint color, or try a different pattern with the black sharpie… triangles would give it a cool geometric vibe, while leaf shapes would be perfect for fall.
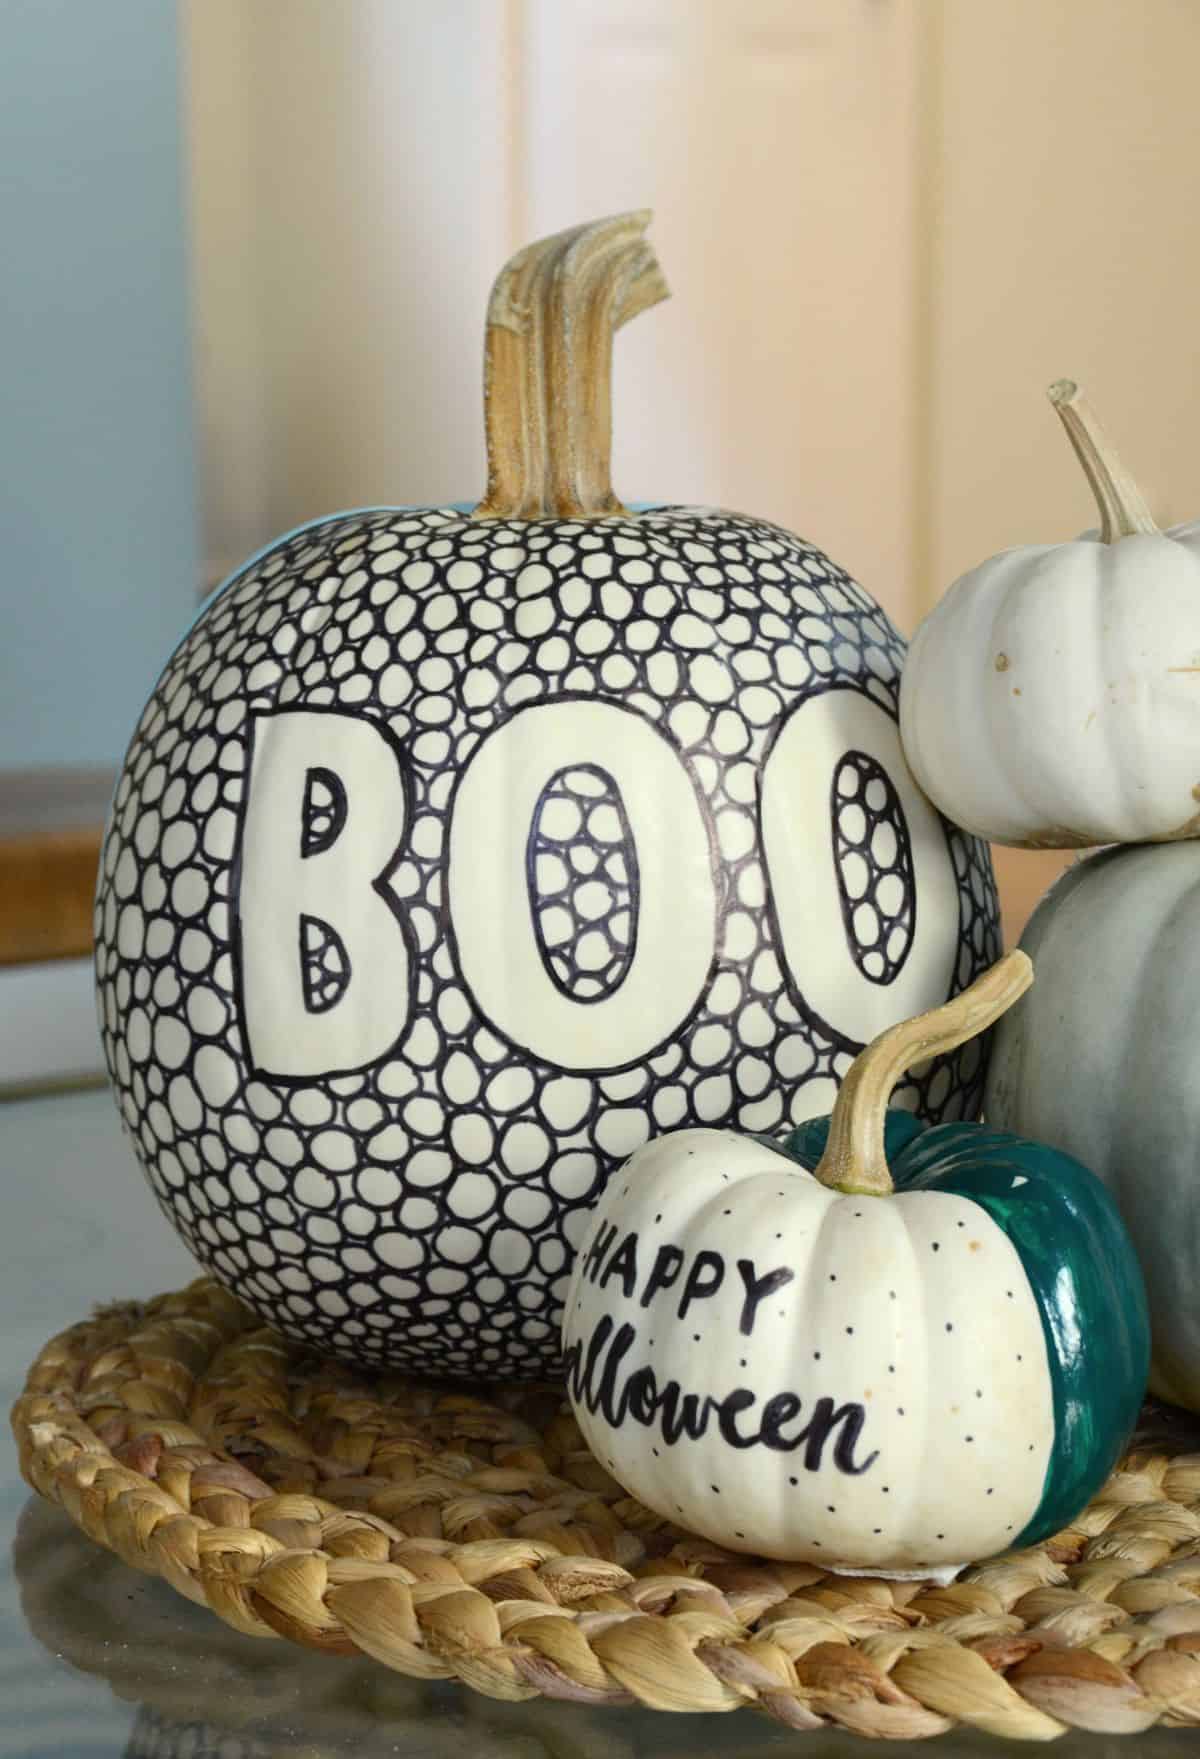
Or you can choose a different word or letter style… feel free to get creative with it!
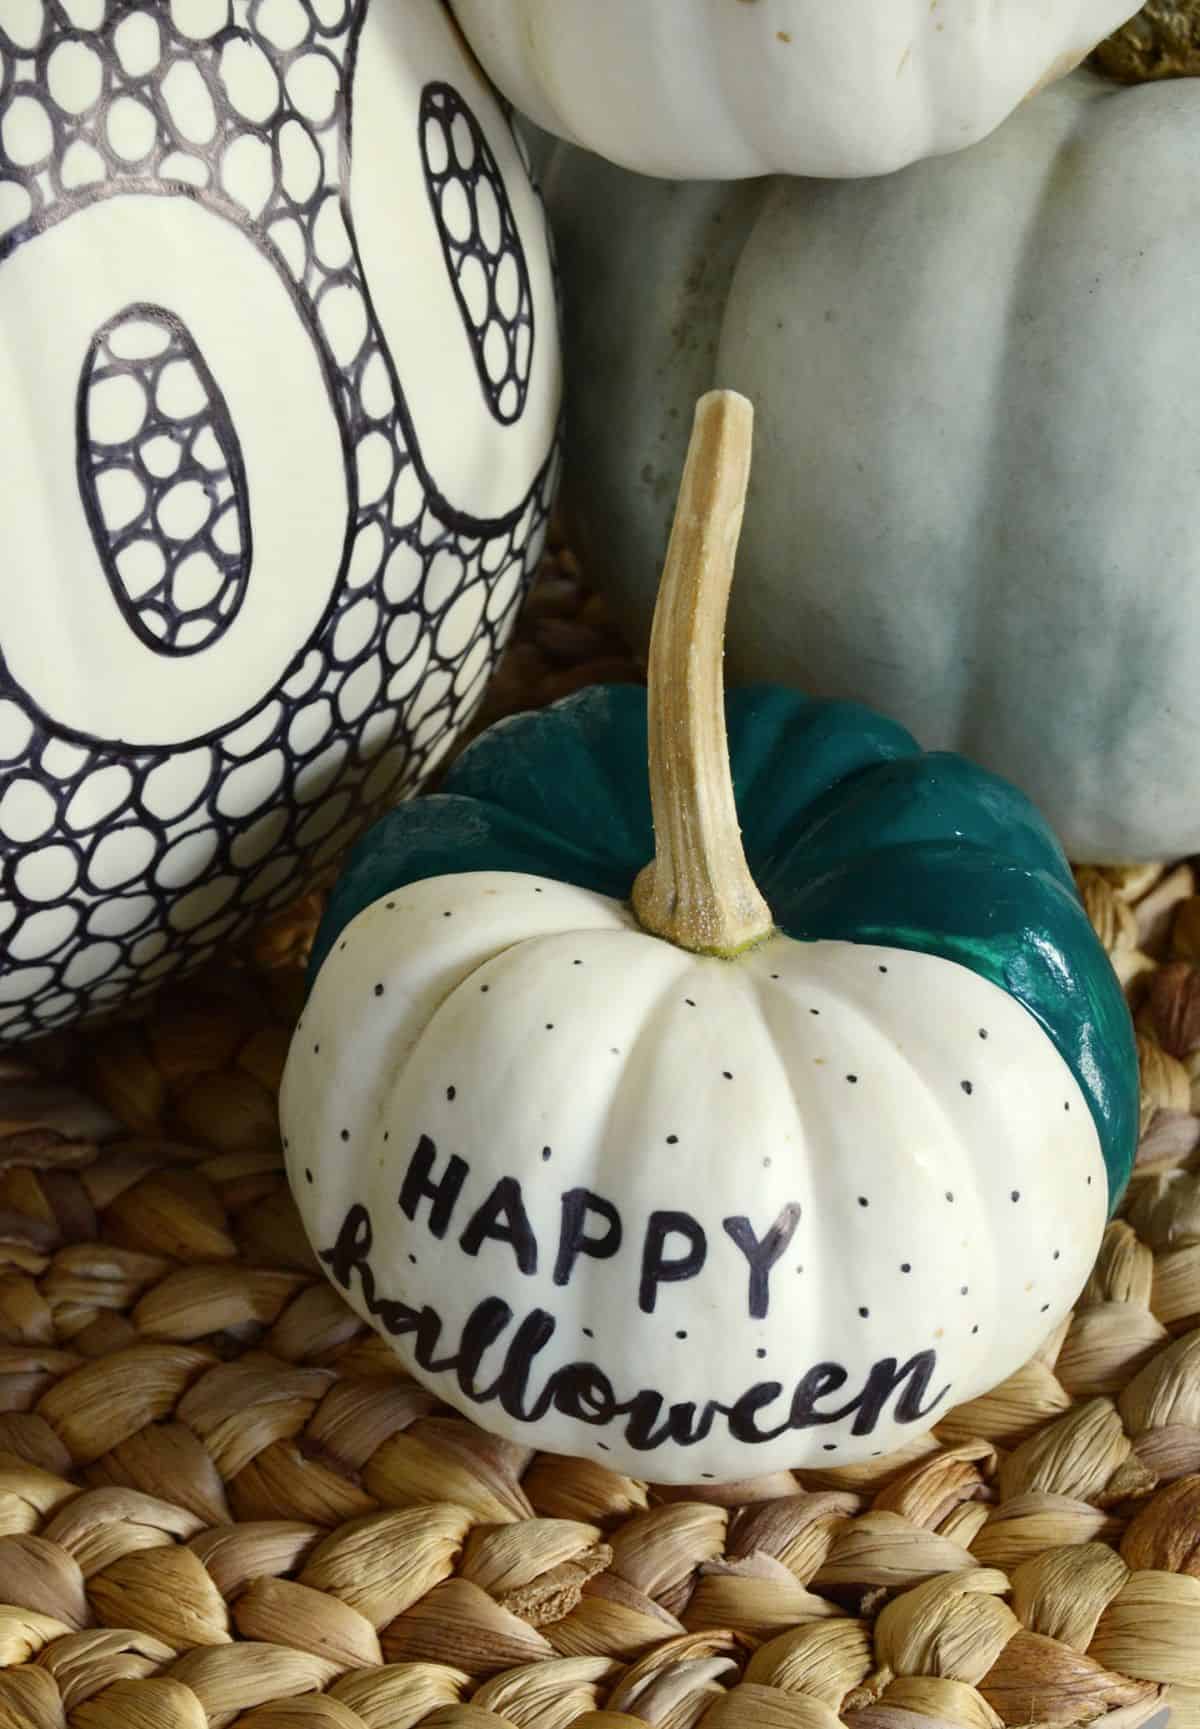
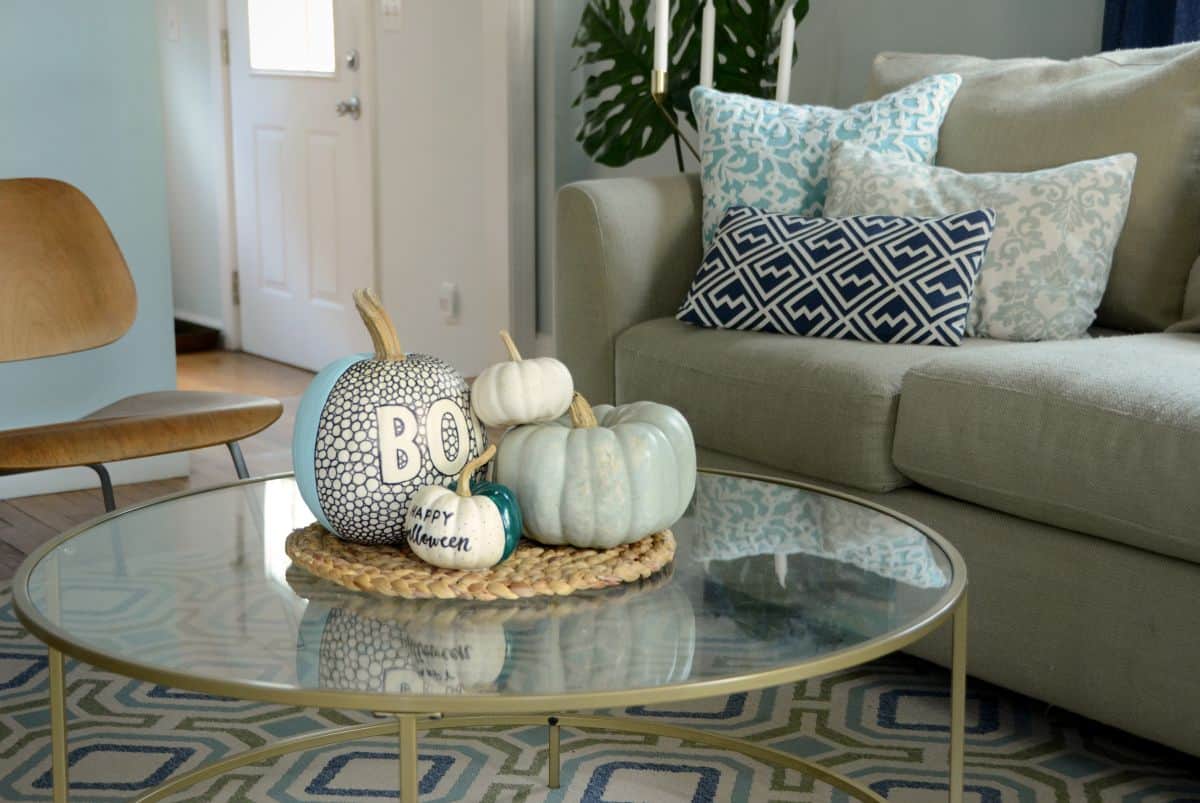
It’s a fun way to mix up the traditional orange decor of the season. Give it a try to add a contemporary pop of color to your home!
The post DIY Black and White Patterned Pumpkin With A Pop of Color appeared first on DIYs.com.


