Now that fall is here and we’re starting to have a few cooler days here & there, bath season can begin! Haa! I never used to be a bath taker, until more recently. Having a pretty bathroom helps…as does having sore muscles from running. I’m especially feeling the need for hot soaks after this past weekend – Mike & I went away over the weekend for our annual anniversary trip, and I climbed my first two high peaks in the Adirondacks! My calves are feeling it fo’ sure!
 So of course since I’m using the bathtub more, I need all the fun accessories to go with it, so I had Mike make a bathtub caddy! I couldn’t decide whether to go with a simple wood slab tray or something a little more involved, but in thinking about my clumsiness, decided a style like this would be a little safer for my things!
 Since we’ve already made a few different things for this bathroom with spalted maple (towel hooks and toilet paper holder), that was my wood of choice. But cedar is always a good choice to use in bathrooms (like we used for this bath mat) since it’s a more water-resistant wood.
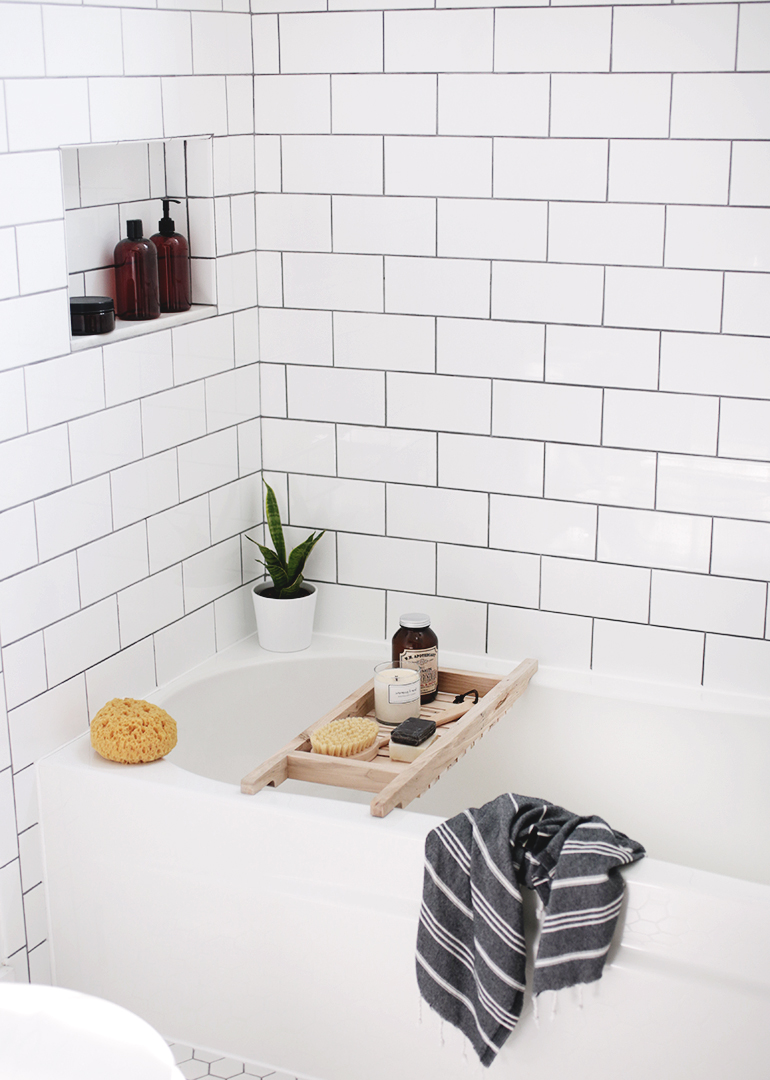
 Materials:
– wood (we used spalted maple)
– table saw
– power planer
– mitre saw
– circle template
– jig saw
– nail gun & nails
– water proof finish
 Directions:
– Cut two strips of the wood 35” long by 1-1/2” wide.
– Power plane the edges of both pieces to get rid of the saw marks.
– Out of the pieces, cut two 27” pieces and two 7-1/2” pieces.
– On the long pieces, make a mark 2-1/4” in from each end and a mark from the bottom 5/8”.
– Going from the end to the 2-1/4” line, use a circle template to draw a curve where they connect.
– Use the jig saw to cut this marked out section from each end.
– From the left over sections of wood, cut two pieces 7-1/2” long.
– Make a mark 4-1/2” in from the ends of the long pieces, using the nail gun, nail the short pieces to the long pieces, centering them on this line.
– With the table saw, cut a piece of maple 1-/38” wide by 60” long. Cut this piece in half giving you 2 pieces 5/16” by 60” long.
– Use the power planer to remove the saw marks.
– Measure the width of your shelf frame and cut 11 pieces of the thin wood to this length.
– Determine the spacing which will leave you with even gaps at the ends. We started with a piece centered in the middle and nailed both ends,and then using two 1/4” spacers, nailed the rest of the pieces on with the 1/4” gap between each piece.
– Sand and apply finish, following directions on paint can.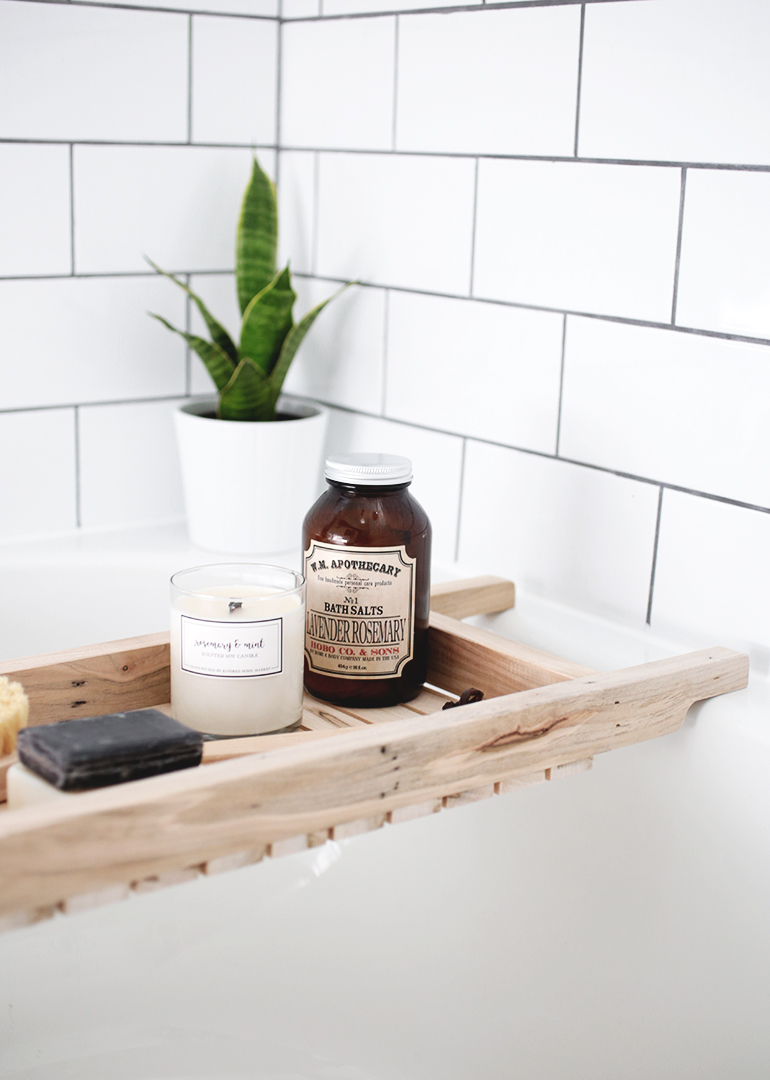


 (You can see more details & sources on this bathroom here).
-Manda
The post DIY Bathtub Caddy appeared first on The Merrythought.