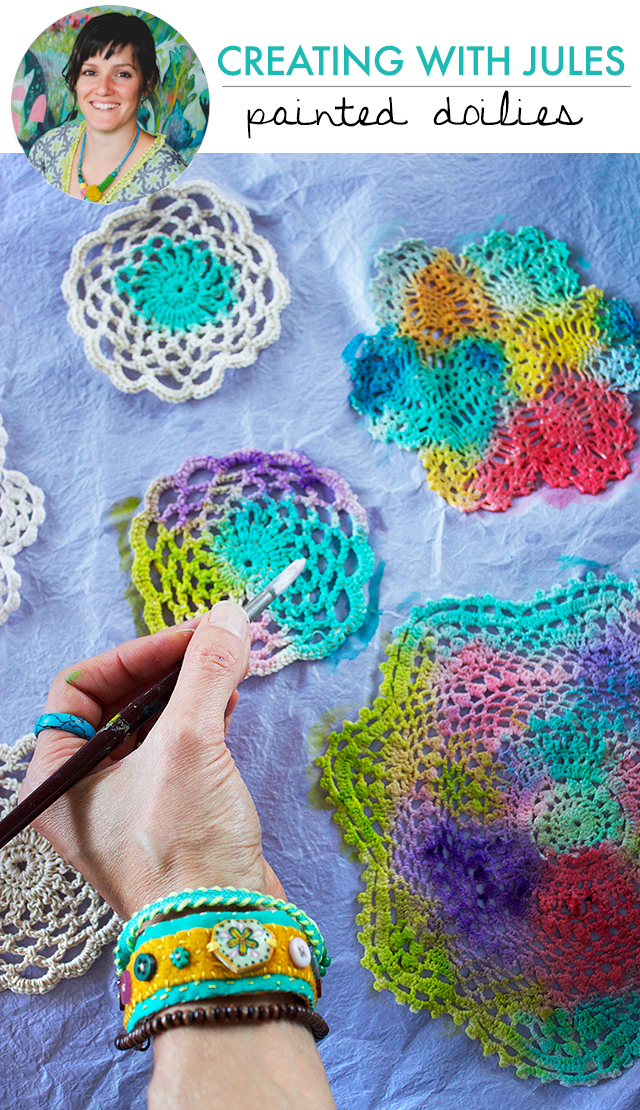
Hello! I have a craft for you today, which involves upcycling some doilies into some modern wall art.
I had a lovely friend share some of her doily collection with me for this tutorial. (She is a fellow crafter and supply collector!) I think she was saving them to make a quilt but she generously donated some to me for this project. I know that I collect things with the thought of one day doing something with them. I have a whole bucket of candle shaped light globes and corks just waiting for the right project to come along!
For this project you will need:
-A collection of crocheted doilies
-PVA glue
-acrylic paints
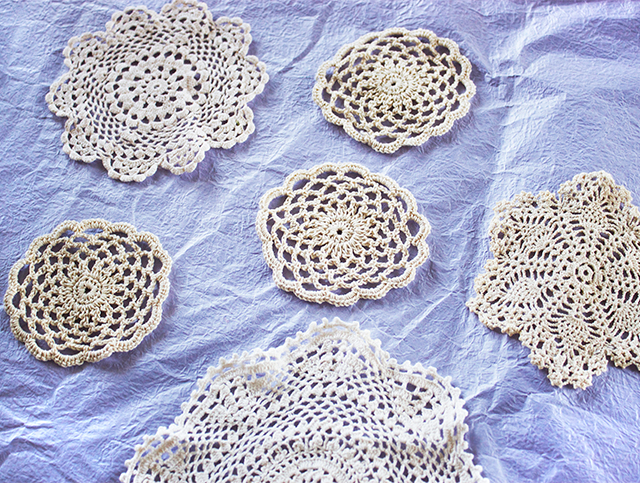

First, I dipped my doilies into water and then wrung them out so that they were damp when I painted them. This makes them easier to paint. If the doilies are dry when you start they will just draw so much of the paint and water out of your brush that you will find you are forever adding more paint.
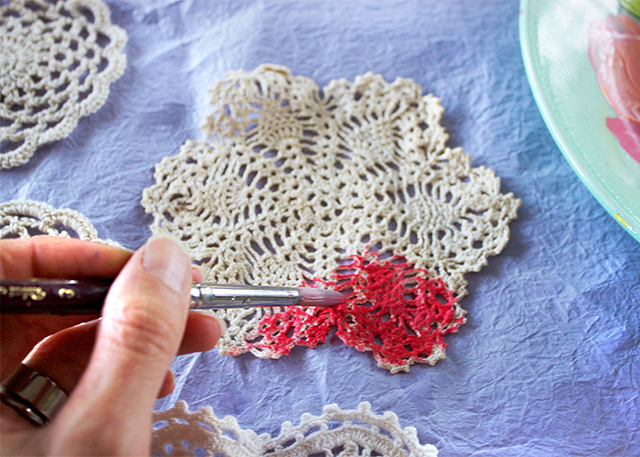
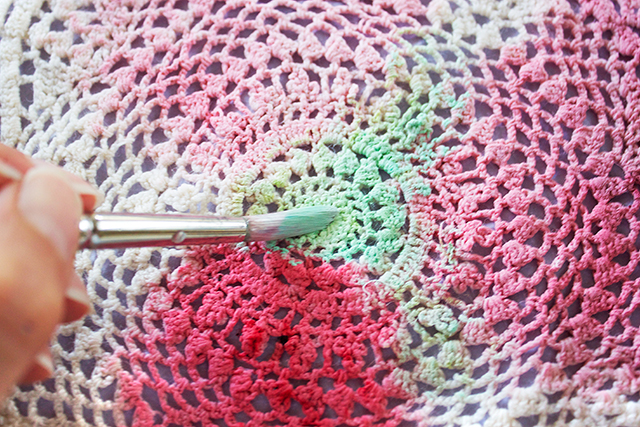
I watered down my acrylic colours to make them work more like watercolours. You’ll get a feel for how runny to make the paint once you start painting. Keep in mind your doilies will really lighten as they dry too, so even though my colours looked quite strong as I was painting them, they really lightened to pastel tones when they dried. You also really do need to use acrylic paints because we want those colours to be waterproof for the next step, and acrylics are waterproof when they are dry.
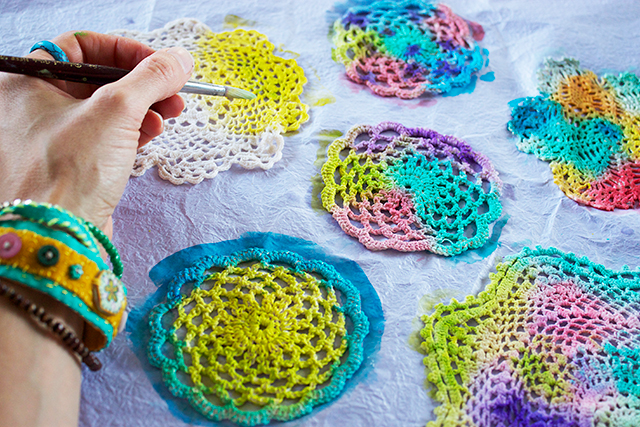
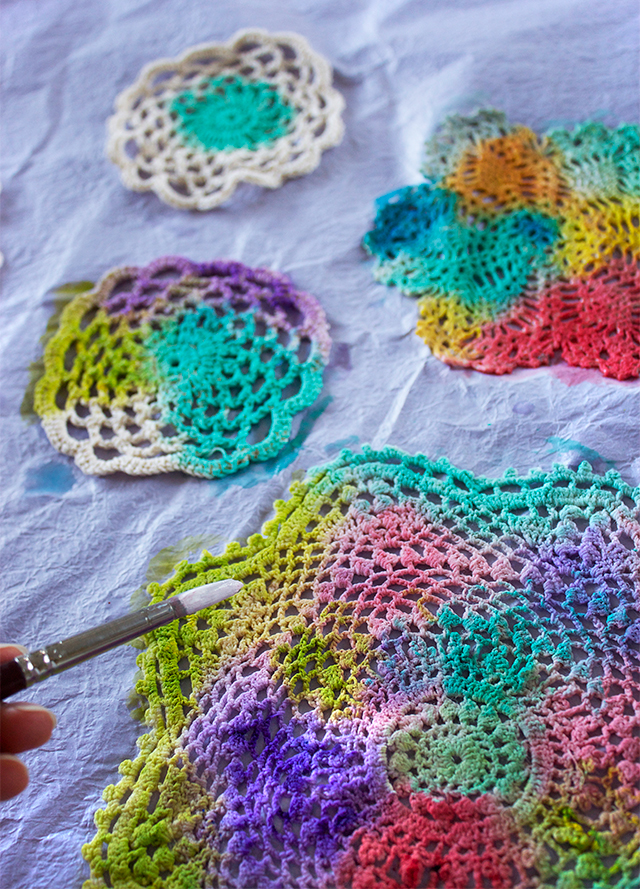
Paint all of the doilies, filling them all up with colour.
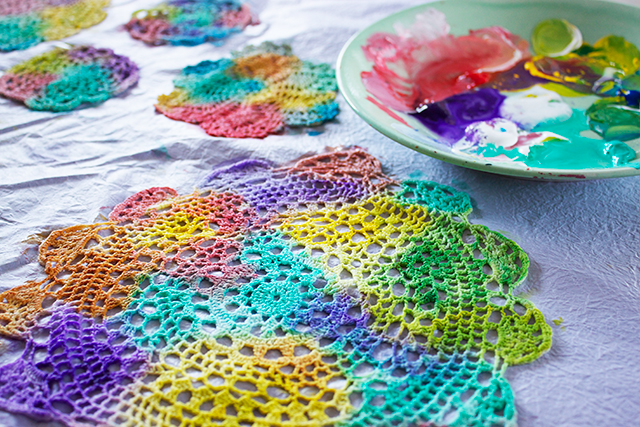
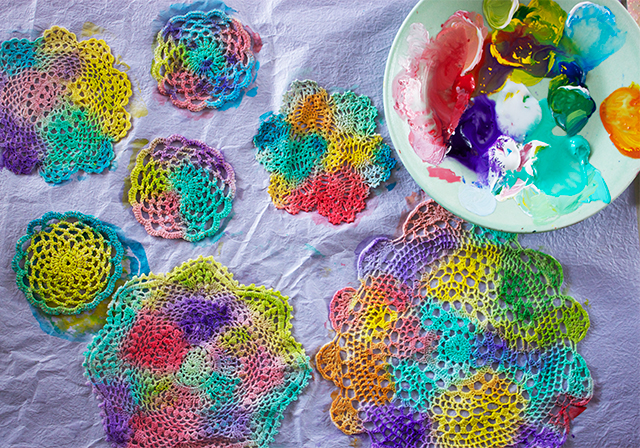
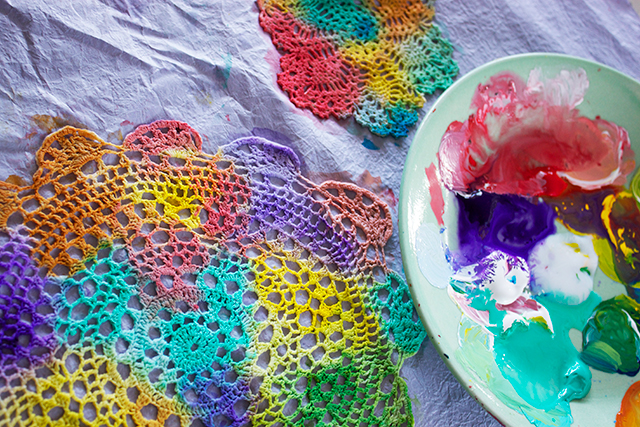
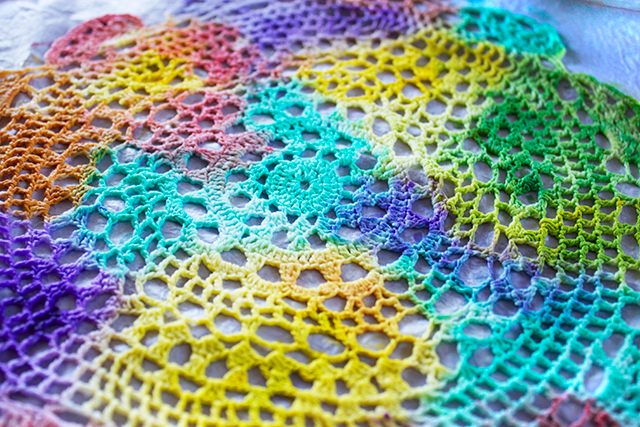
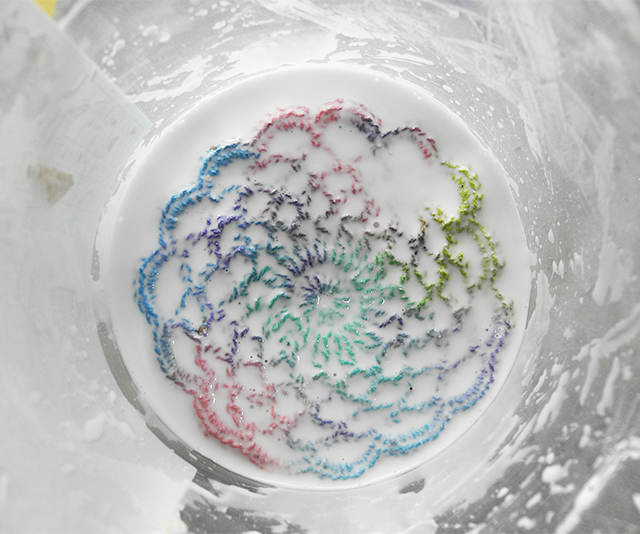
Next, make a 1:1 ratio mix of water and PVA glue and stir well. Gently squeeze each doily out and lay flat on a sheet of plastic to dry. You don’t want to squeeze them out too tightly that you are not left with much of the glue solution in the doilies, but you also don’t want blobs of glue in the little gaps either.
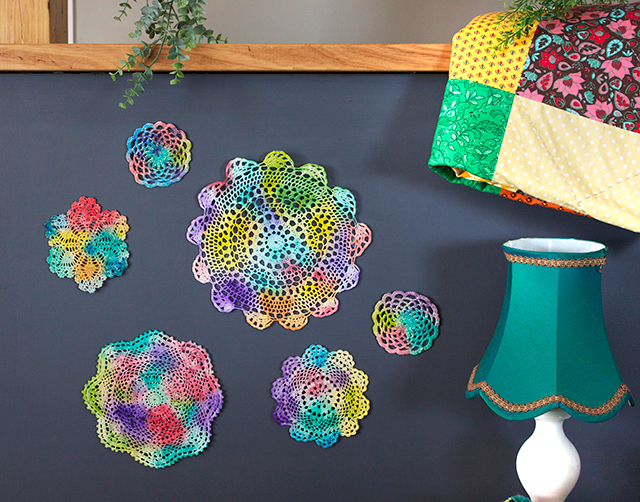
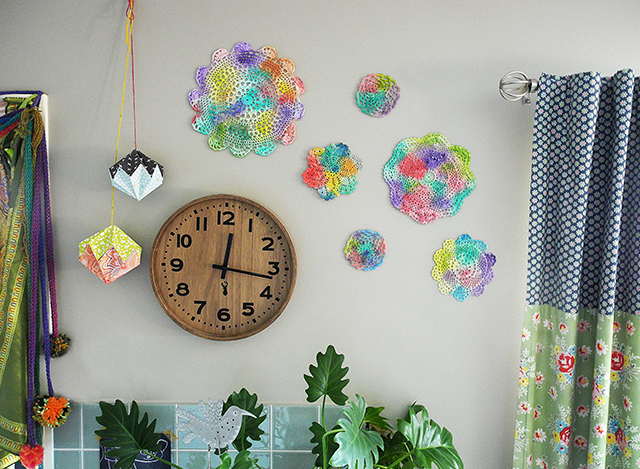
Leave them to dry completely. Once dry they can be pinned up to the wall and will hold their shape. I think they look great in clusters. The more the merrier. I must get my hands on some more!
Jules 🙂
You can find more of Jules here:
Instagram https://www.instagram.com/julesmadden/
Related Posts
Ikea has been my happy place since a very young...
Miriam is a UX designer by day who has found...

It’s hard to say not to fall in love with...

In association with Dulux.
Offering excellent insight as always into the...

When you are bored with your bathroom design and layout,...
This post contains some affiliate links. If you make a...