A DIY air clay ring holder is the perfect gift idea for any occasion! It’s useful and unique, and you can make it fit any style. Plus, it’s easy to make with just a few supplies.
Whether you are looking for a Mother’s Day, anniversary, birthday, or Valentine’s Day gift, this DIY project is sure to please.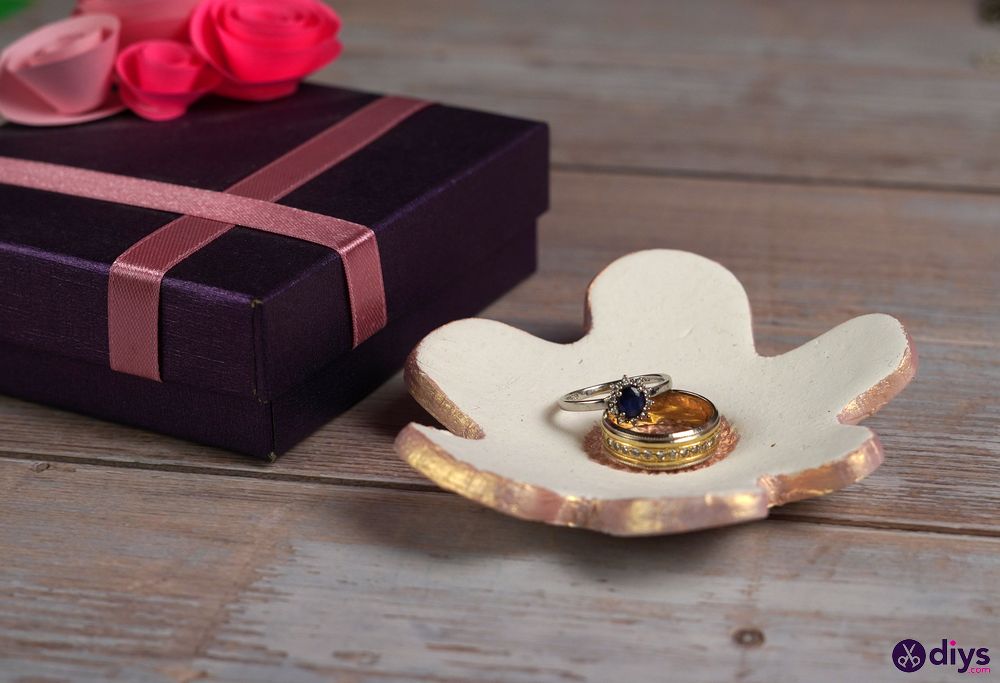
This guide will show you how to craft your very own DIY clay ring holder step-by-step.
Supplies for a DIY air-dry clay ring holder
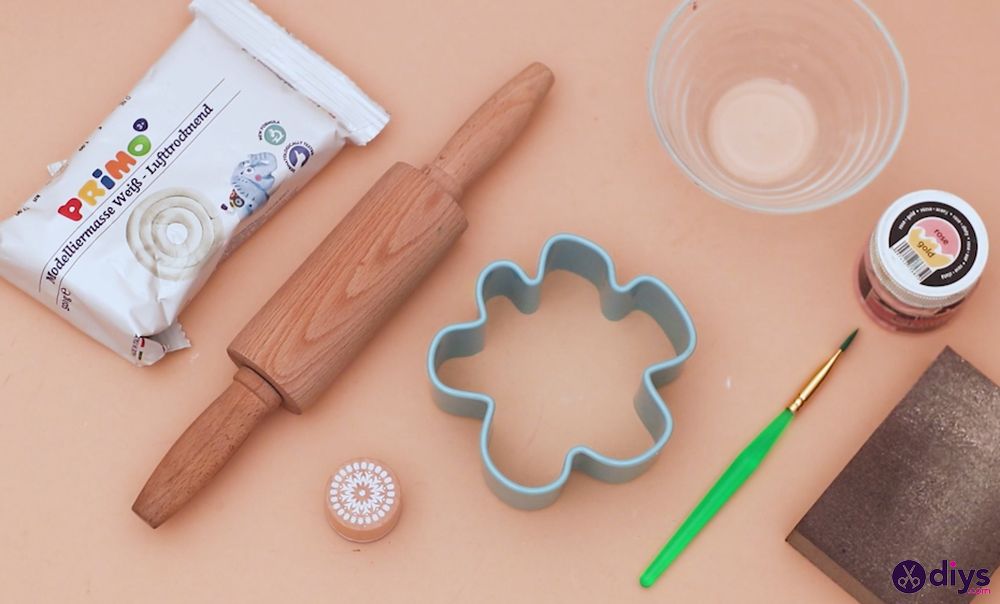
Here’s the complete list of necessary supplies for you to make a lovely air-dry clay ring holder:
- Air dry clay: This material is great for home crafting since it doesn’t require baking. Simply shape it as you would with normal clay, let it air dry, and it will harden on its own.
- Rolling pin: We used a rolling pin since we needed a way to flatten the clay as evenly as possible while providing a smooth surface.
- Cutting board: This will come in handy when flattening the air clay. Any cutting board will do.
- A cookie cutter: You’ll need it to give your DIY ring holder its signature shape. Since air clay isn’t exactly soft, we recommend that you use a metallic cookie cutter so it won’t have any problems cutting through.
- Utility knife: Your cookie cutter will do a good job cutting out the basic shape of your holder, but you’ll need a utility knife to clean up the edges.
- Stamp: We used the stamp to make a small design at the center of our ring holder, but you could also use it to make a larger design or even write a word or phrase.
- Acrylic paint: Typical air clay is usually white or a light shade of beige, so if you find that too boring, feel free to add a pop of color with some acrylic paint. For our design, we used rose-gold acrylic paint.
- Paintbrush: You’ll need to apply the acrylic paint to some of the more delicate parts of your ring holder, so we recommend getting the smallest paintbrush you can find, preferably one with natural hairs.
- Abrasive paper: You’ll need to smooth out whatever material you can’t remove with the utility knife. More so, the abrasive paper will come in handy in rounding out the edges of your ring holder.
- A bowl: You’ll need a bowl to give the ring holder its curved shape. Any bowl you may have at hand will do, but we recommend using one with a perfectly rounded shape inside.
How do you make a DIY clay ring holder?
To learn how to make an air dry clay ring holder, follow these instructions:
-
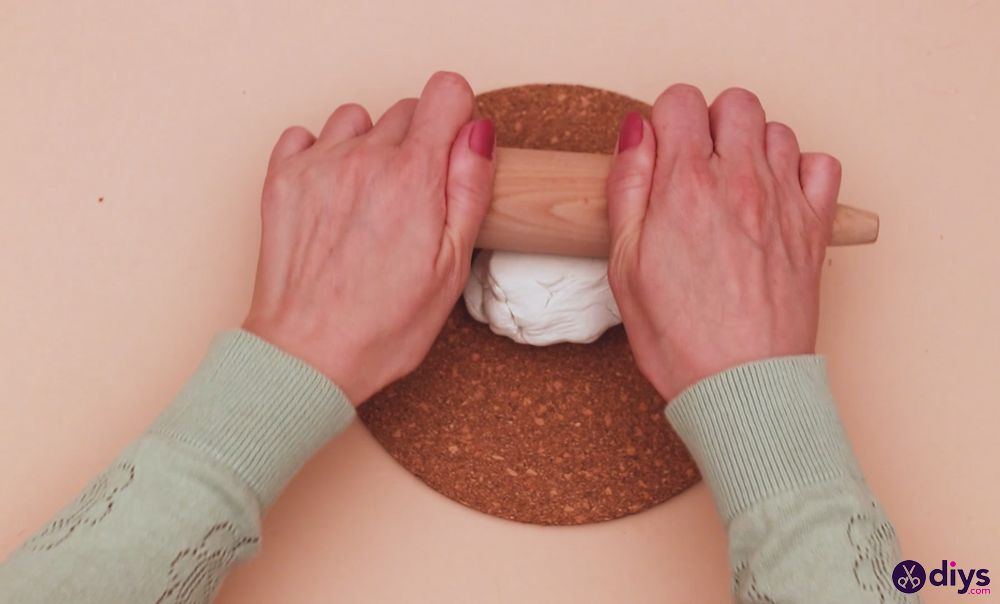
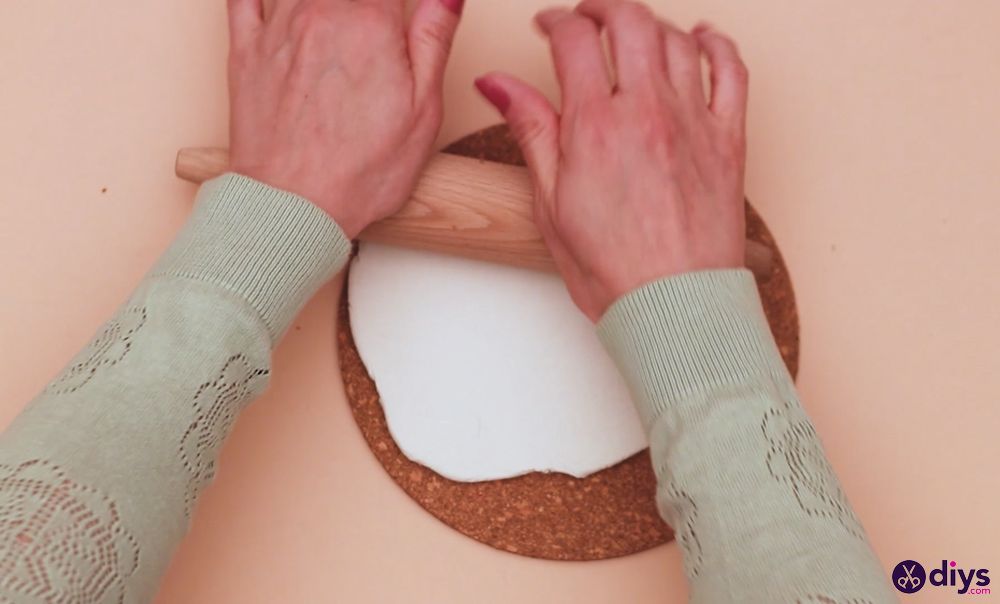
Flatten the air clay ring: Start by placing your air dry clay on a cutting board and use the rolling pin to flatten it out evenly. Ensure that you don’t flatten it out too hard, or else the ring holder will be brittle.
-
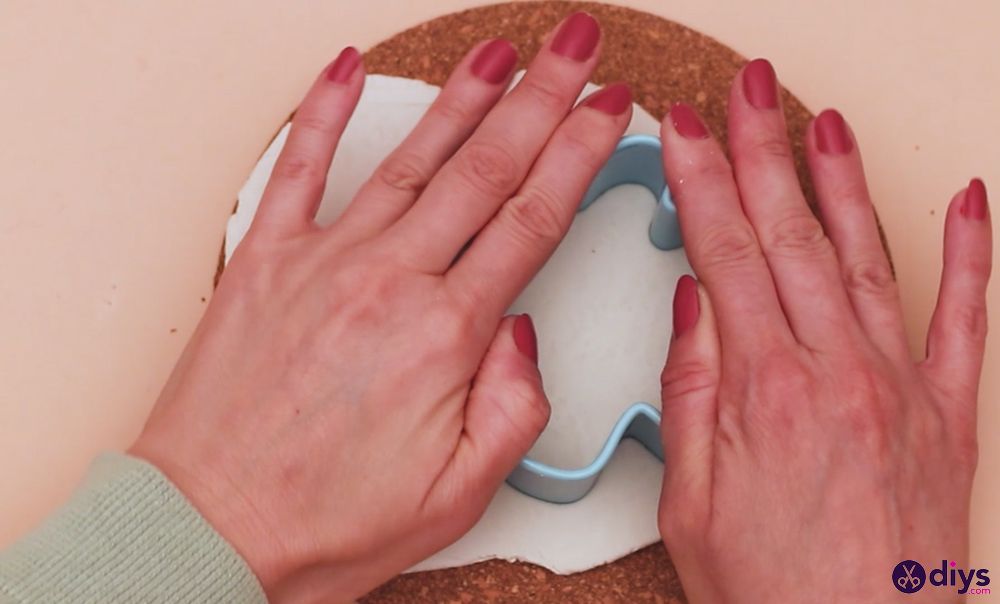
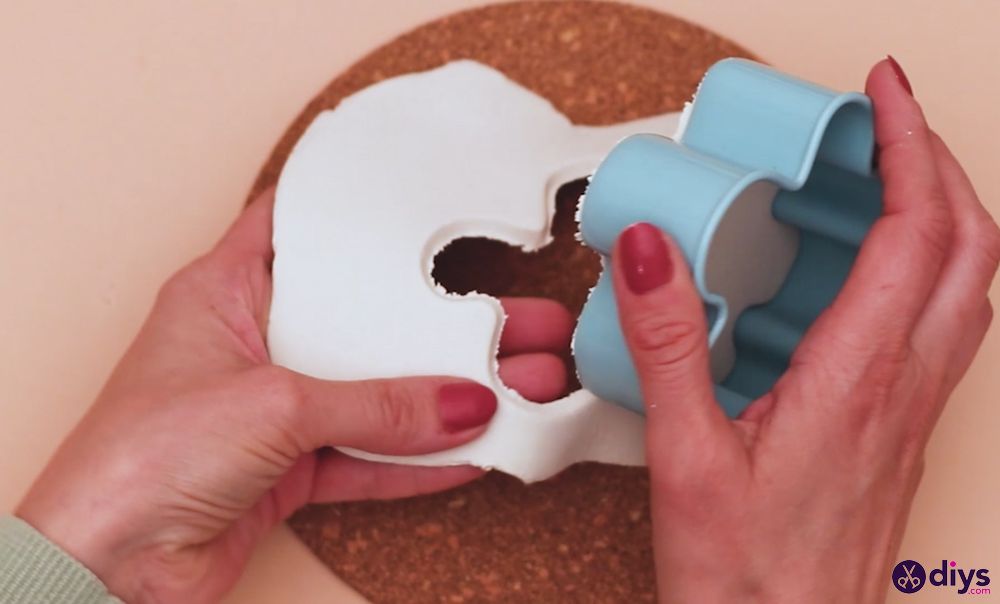
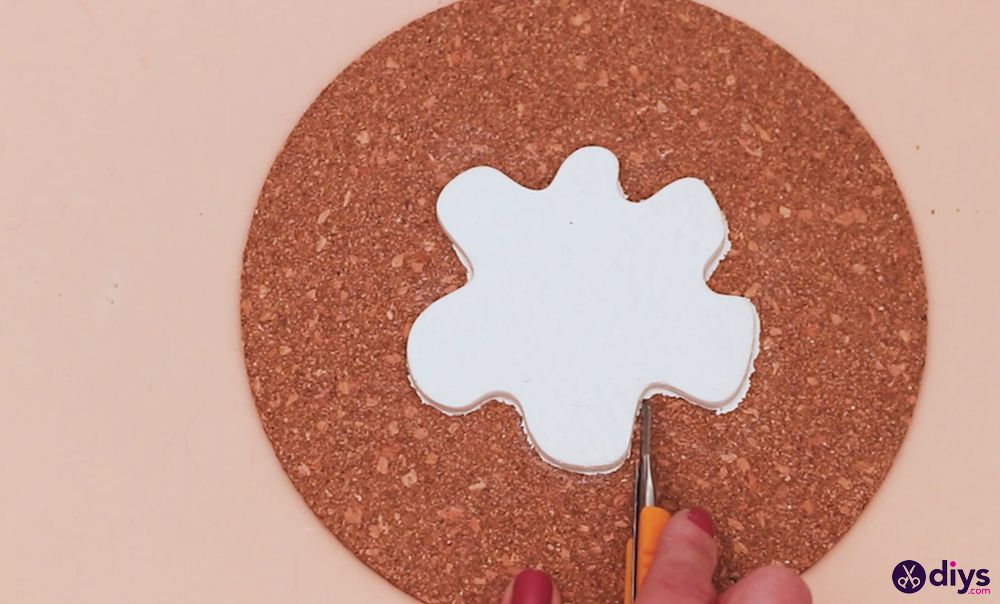
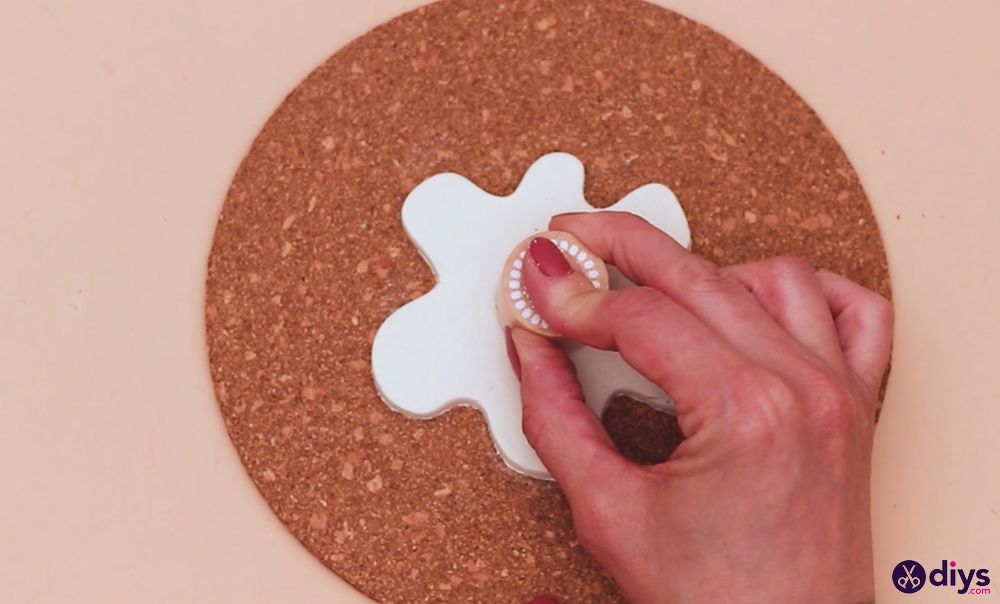
Cut out the shape: Use the cookie cutter of your choice to cut out a shape, and then use your utility knife to cut away any excess clay around the edges. Press your stamp right in the middle of the shape to add a little extra design.
-
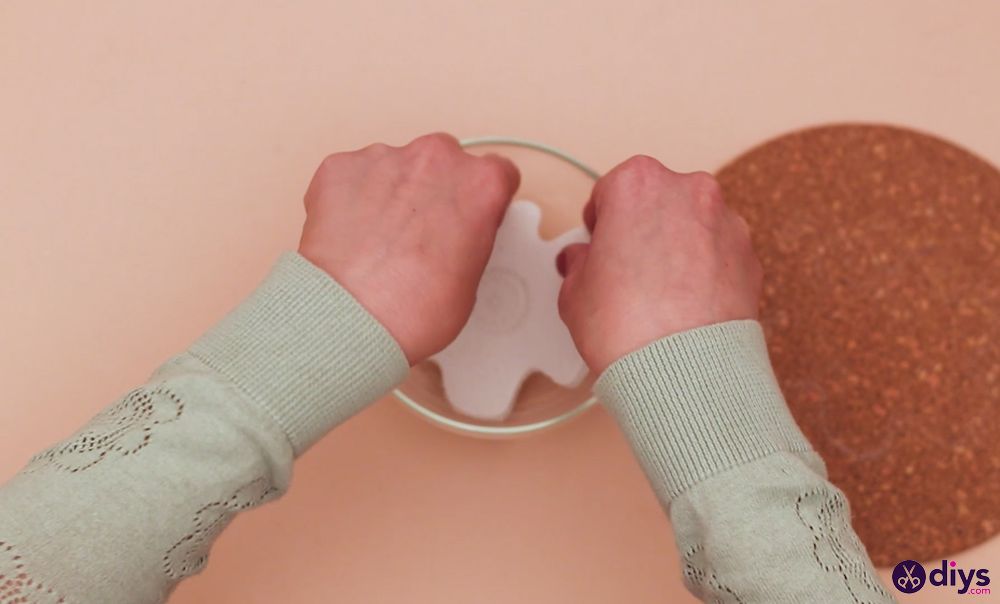
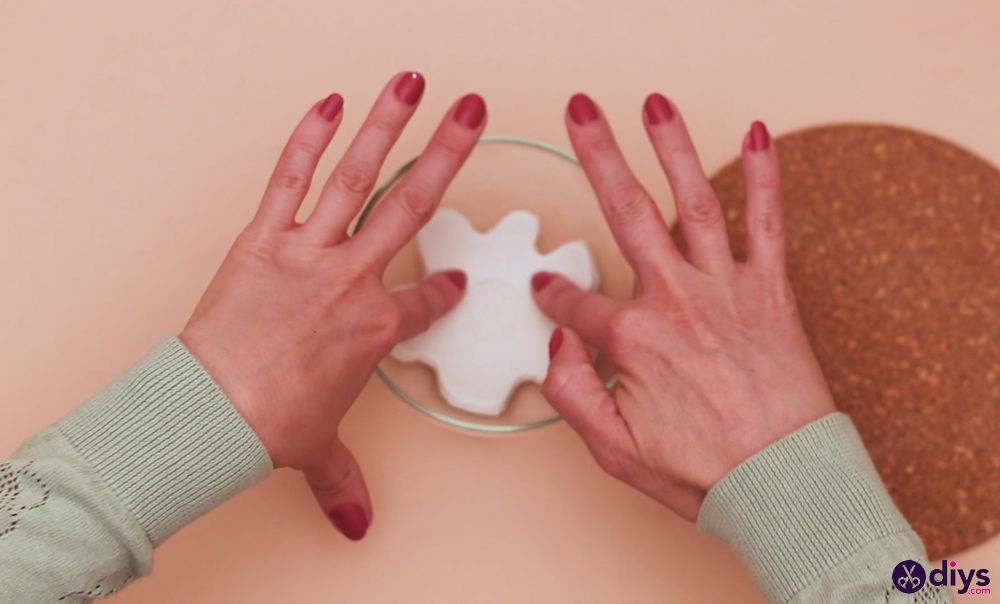
Shape the ring holder: While still malleable, press the clay shape into the bowl to give it a little curve. This will be the shape of your ring holder once it dries. Leave your clay shape to dry in a well-ventilated area. Then use your abrasive paper to smooth out any rough edges around your ring holder.
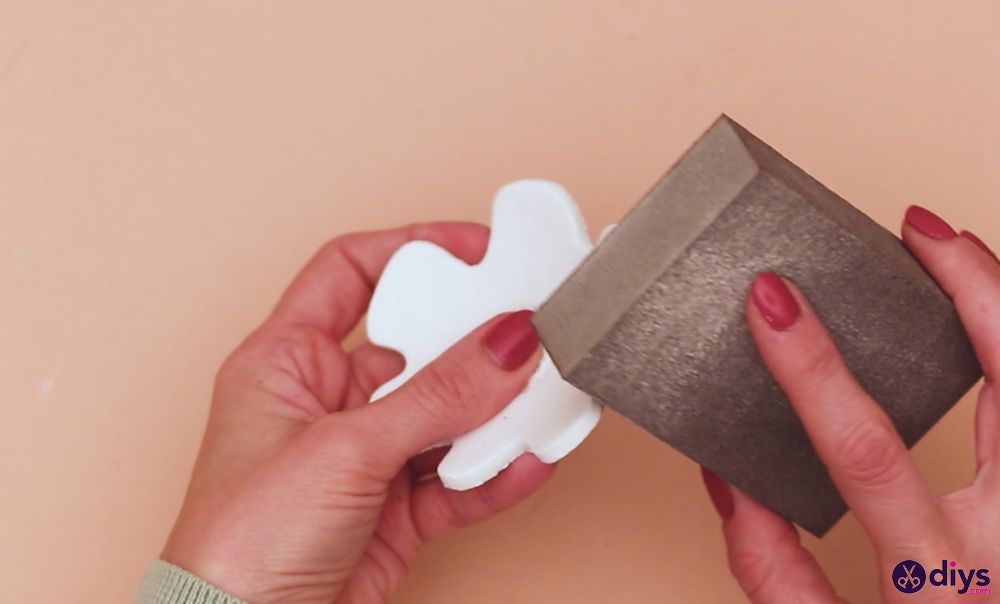
-
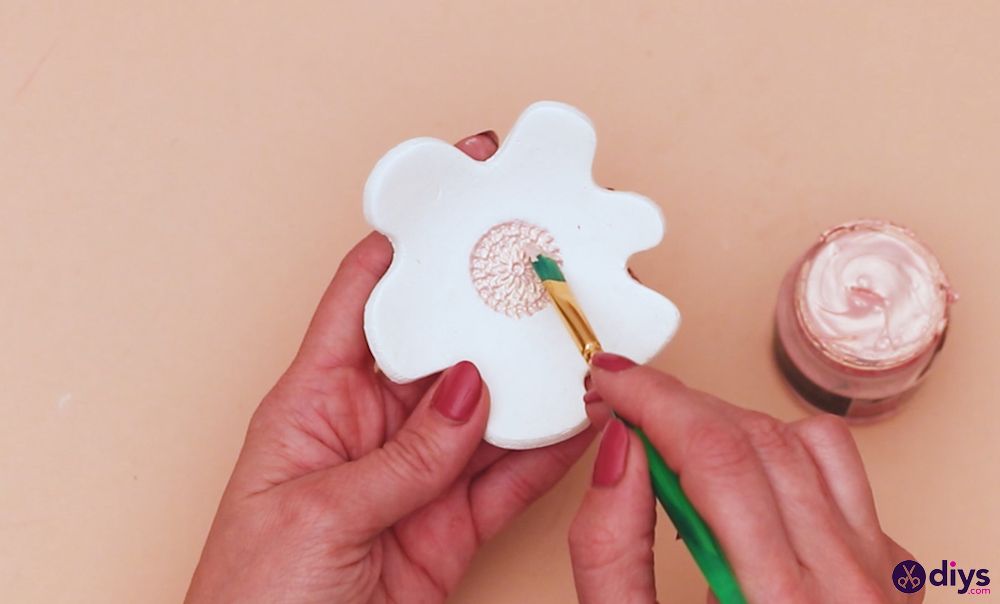
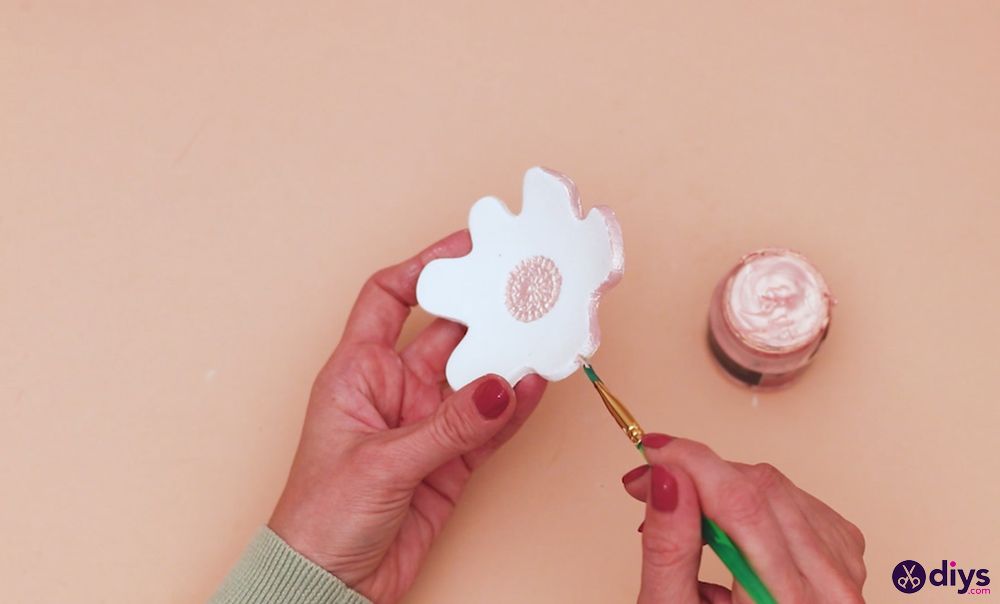
Paint the ring holder: Use acrylic paint to color its stamp design and edges. If you’d like, you can paint the entire ring holder, but we think rose gold looks especially pretty against the natural clay color. Allow the paint to dry completely before using your new ring holder.
How can I improve my DIY air dry ring holder?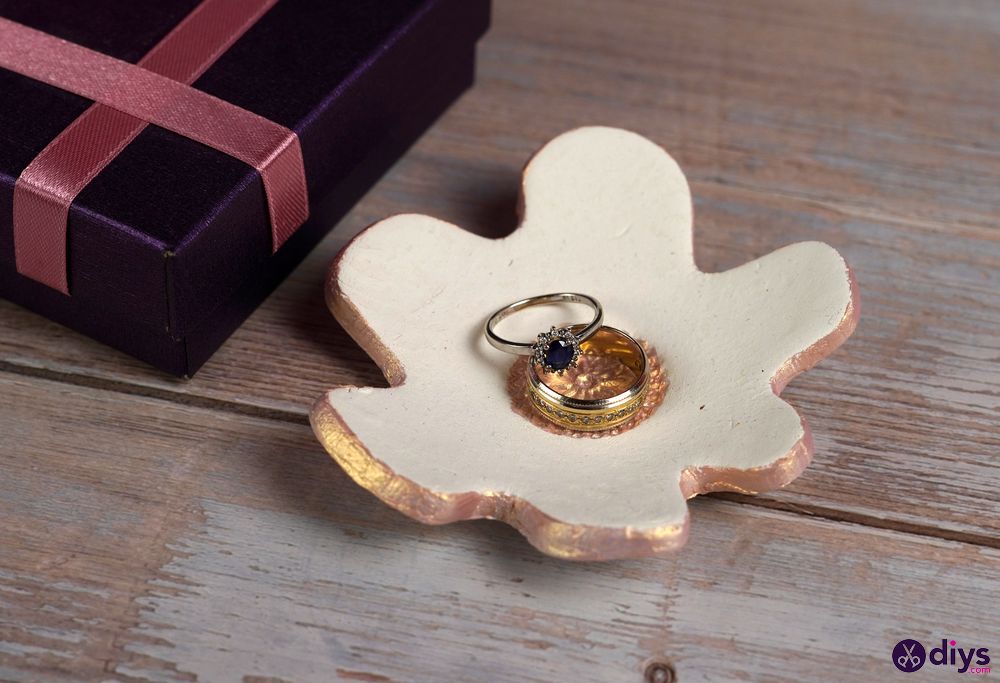
There’s always room for improvement in crafting, so don’t be discouraged if your first attempt doesn’t turn out perfectly. Here are a few tips on how you can improve your DIY clay ring holder:
- Use different materials: We used air dry clay since it’s easy to work with and doesn’t require special tools or materials. However, you can also use other types of clay, like oven-bake clay or polymer clay. Just be sure you know how to bake or cure the clay before using it as a ring holder.
- Experiment with different shapes: The cookie cutter we used in our original design has an irregular shape, but you can go for a more traditional round or oval shape if you prefer. You can even use more extravagant shapes, such as stars or hearts.
- Try different colors and painting styles: You can experiment with different styles to create a ring holder more suited to your taste, such as painting it entirely in your favorite shade of green.
- Add extra embellishments: Air clay is very malleable, and you can use this to your advantage by adding extra embellishments to your ring holder. Try pressing beads or rhinestones into the clay before it dries.
These are some ways to improve your DIY clay ring holder. Be creative and have fun with it!
Video Tutorial
Just in case you need a little extra help, here’s a video tutorial on how to make an air dry clay ring holder:
Closing Thoughts
We hope you enjoyed this tutorial on how to make a DIY clay ring holder. This project is easy, cheap, and makes for a great personalized gift.
However, don’t forget that there’s more than just one way to make a ring holder. For example, you can create something similar to our DIY concrete ring holder; it has a cone shape, so you can easily tell the size of each ring on display.
If you have any questions or comments, please leave them below. Happy crafting!
The post Create a DIY Air Clay Ring Holder by Following These 4 Steps appeared first on DIYs.com.