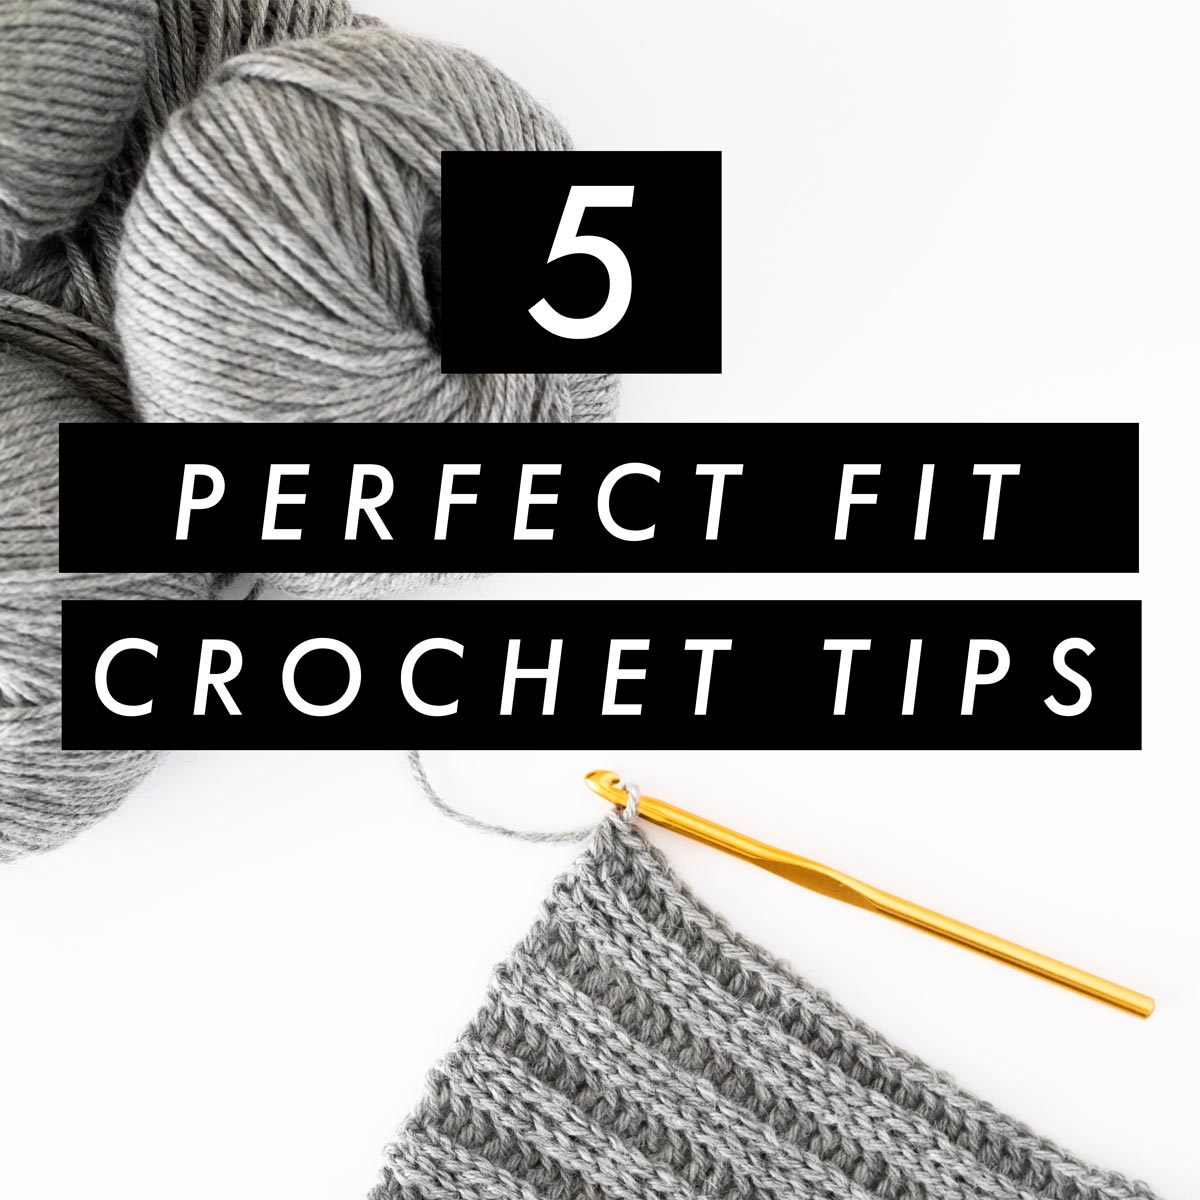
Tired of spending hours crocheting a project, only to realise your sweater doesn’t fit? How do you pick your size when following a crochet pattern? Does gauge really matter with crochet?
Scroll on to learn how to achieve perfect fit with any style or crochet pattern!
1. Check Your Gauge!
This is the big one! If there’s one thing you take away from this blog post, it’s to always check your gauge.
Gauge is a way to measure how many stitches and rows you have in a 10cm/4” square. This is how (in theory) anyone should be able to make the same sweater as the sample.
That one simple line in a pattern might not seem like much, but it will drastically change the outcome of your sweater.
9 times out of 10, when I get questions about fit issues, it’s because a crocheters gauge doesn’t match the gauge listed in the pattern.
Even if you use the same yarn and hook size as the pattern, we all crochet with a different tension (how tightly you hold yarn), so results can vary widely.
The trick to crocheting an accurate gauge swatch is to crochet a square that’s bigger than 10cm/4”. I usually crochet a 15cm/6” square but the bigger, the better!
You’ll get a more accurate measurement the bigger the swatch. This is because you’re looking for an average stitch size and a bigger swatch is like a questionnaire with a larger sample pool.
Generally, if you have a gauge that’s smaller number than the listed gauge, your project will end up biggerthan the listed measurements.
For example – If the pattern gauge is 10cm/4” square = 16 stitches wide and 20 rows tall
And your gauge swatch is 12 stitches wide and 18 rows tall, you have fewer stitches per 10cm/4”. This means your sweater will be larger than the pattern’s measurements.
On the other hand, if your gauge swatch is a larger number than the pattern, your project will be smaller than the pattern’s measurements.
For example – If the pattern gauge is 10cm/4” square = 16 stitches wide and 20 rows tall
And your gauge swatch is 20 stitches wide and 24 rows tall, you have more stitches per 10cm/4”.
If your gauge doesn’t match the pattern, you can change your …
– Hook size (alters stitches wide)
– Tension / Golden Loop (alters rows tall)
– Yarn (alters both stitches and rows)
2. Know your Measurements
Designers follow industry-standard measurement charts to create consistency across our patterns. However, we all have very different body types, heights and personal preferences regarding fit!
Knowing your own body measurements is the key to choosing the right size.
Key measurements are –
Bust
- ‘ To fit bust’ measurement. This is the measurement of the fullest part of your bust.
This is the starting point and the measurement designers grade (translate the pattern into different sizes) the entire pattern off on. Pretty much choose the bust size depending on the fit you personally want.
Your bust measurement should be smaller than the bust measurement of the garment if you want a relaxed, loose fit (positive ease).
Your bust measurement should be larger than the garment if you want a tight, fitted look (negative ease).
If the garment is worked flat (in rows), the ‘width measurement of the body panels’ (specifically the back panel) x 2 … is equal to the bust measurement of the garment.
Tip! – Normally, the ‘bust measurement’ is the measurement of the finished sweater; it’s not your own personal bust measurement. Your own bust measurement will be labelled as ‘To fit bust’.
Length
- Measure from the top of your shoulder down to where you want your sweater to stop.
This is a super important measurement because if you’re in between measurements, it helps you choose if you should size down or size up.
If you want a cropped or shorter sweater, you can pick the size that best fits your bust.
However, if you’re crocheting a longer sweater that stops at or goes past your hips, you need to make sure that the sweater bust measurement is wider than your hips. If not, the sweater will stick to your hips and bunch up as you walk.
In this case, it might be better to size up if you have wider hips or an hourglass or pear body shape.
Length is usually quite easy to alter, so check the pattern notes for alteration instructions and take note of any changes you make. This way, you’ll know the length you prefer and it’ll make your next project easier!
Wrist-to-Wrist
This measurement is the key to getting sleeves that fit – but it’s hardly ever talked about! It’s especially important for sweaters that are worked flat (drop shoulder styles).
If you want to ensure that your sleeves aren’t too long that they’re dragging over your fingertips or too short that they look awkward, take note of your wrist to wrist measurement.
An easy way to measure yourself is to slip a tight hair tie over one wrist, place the end of your measuring tape under the hair tie and stretch out the measuring tape to the opposite wrist, holding your arms in a ‘T’ shape.
For perfect-length sleeves, your wrist-to-wrist measurement should equal the width of the back panel + length of 2 sleeves.
Alter your sleeve length if necessary.
Remember, always measure yourself first and then decide on the size.

3. Decide on the look you want
Speaking of choosing the ‘right size,’ don’t blindly follow your normal size! The trick is to first decide on the look you want to create and take into account your body type.
By ‘look,’ I mean the fit and ease of the garment.
Do you want an oversized sweater that a relaxed and cosy? Or do you want a form-fitting sweater that’s easy to layer under coats?
Do you prefer it when your sweaters are a little bit on the looser side? Or do you like it when they are a bit more snug?
Here you compare the sweater measurements to your own body measurements.
If you’re crocheting a long sweater that goes past your hips, you might want to size up further if you have an hourglass or pear body shape.
On the other hand, if you have an inverted triangle or rectangle body type, you are probably OK with your normal size.
Two people might have the same bust measurement, but their different body types and personal fit preferences mean that they can crochet different sizes of the same sweater.
4. Yarn choice
Yarn choice can make or break a pattern – especially with crochet! Most yarns have been designed with knitters in mind (since knitting has existed for longer), but knitting and crochet have two completely different stitch structures.
Knitted garments tend to have more drape and ‘flowiness’ due to thinner stitches. On the other hand, crochet garments tend to be stiffer and more structured due to thicker stitches.
As a result, crochet garments are less likely to mold to your body’s form which can make them sit awkwardly on your body or look ill-fitting.
This is why crochet can get a bad rep of looking ‘craftsy’ and ‘dated’.
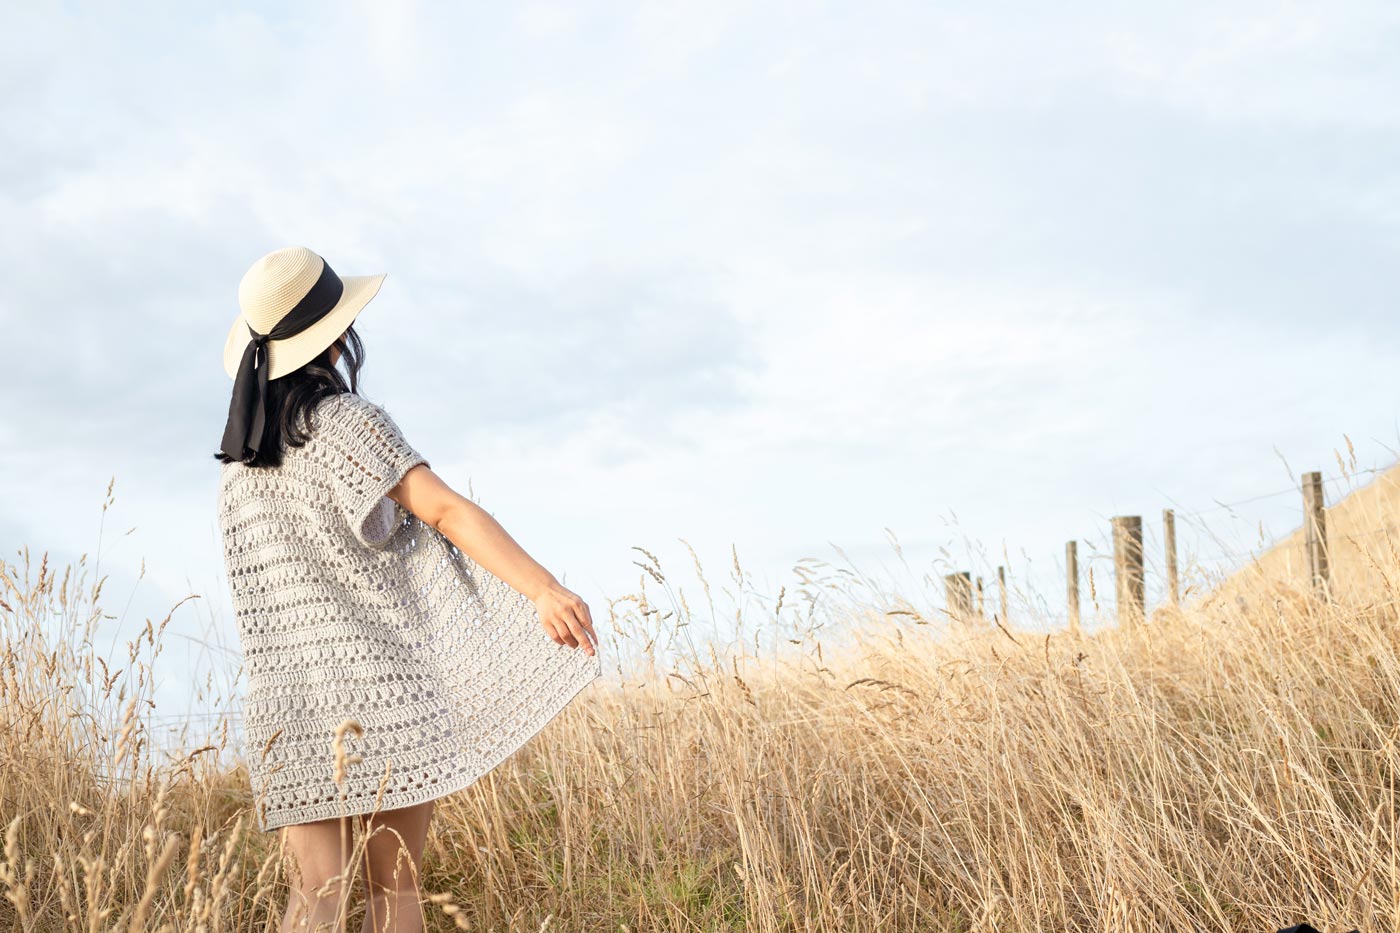
However, crochet garments can definitely be comfortable and functional! The key to achieving the drapey, relaxed ‘Modern Crochet Look’ (as I like to call it ? ) all starts with yarn choice!
When you walk down the aisle at the craft store, hold and squish a few different types of yarn.
You’ll be able to feel that some yarns that have a lot of give and feel ‘hollow’ when you squish them. On the other hand, there will be yarn that feels dense and springy.
With crochet patterns pick a yarn that already has lots of drape – soft, squishy and loose. Don’t pick yarns that are firm, structured and tight.
This will help your crochet garment drape and fit nicely to your body and feel more comfortable when you wear your project!
5. Compare your project to existing garments
So, you’ve done all the prep – checked your gauge, measured yourself and chosen a suitable yarn.
How do you know if your pattern will fit?
For all patterns, there’s a quick and easy method so you can check in on your project as you crochet. There’s no need to wait until the end; spend all that time crocheting and hope for the best.
Take out a similar garment from your wardrobe (e.g. if you’re crocheting an oversized sweater, pick out an oversized sweater that you love the fit of) and lay your crochet panel over the existing sweater.
This method works as a guide so you can check if your sizing roughly matches or is super off track.
Your crochet project doesn’t need to fit the existing garment exactly. However, it removes the guesswork and provides a visual reference. If sizing is really off (more than 10cm/4”) you know that you’ll probably need to choose a different size or frog and restart your project.
Bonus Tip!
The last tip for crocheting a perfect-fitting garment is a reminder that your project will stretch out. How much it will stretch depends on your yarn, stitch and garment construction.
On top of that, it’s always easier to make your sweater slightly bigger with blocking (my favourite method is steam blocking!) than it is to make is smaller.
So, if you’re still on the fence in between two sizes take this into account!
Now you know all these tips, I hope you’ll be able to crochet garments that you’re proud to wear! There’s a special magic in trying on something that you’ve made with your own two hands.
Happy crocheting!
Grace
Ready to start your next crochet project? Check out some of our reader favourites!
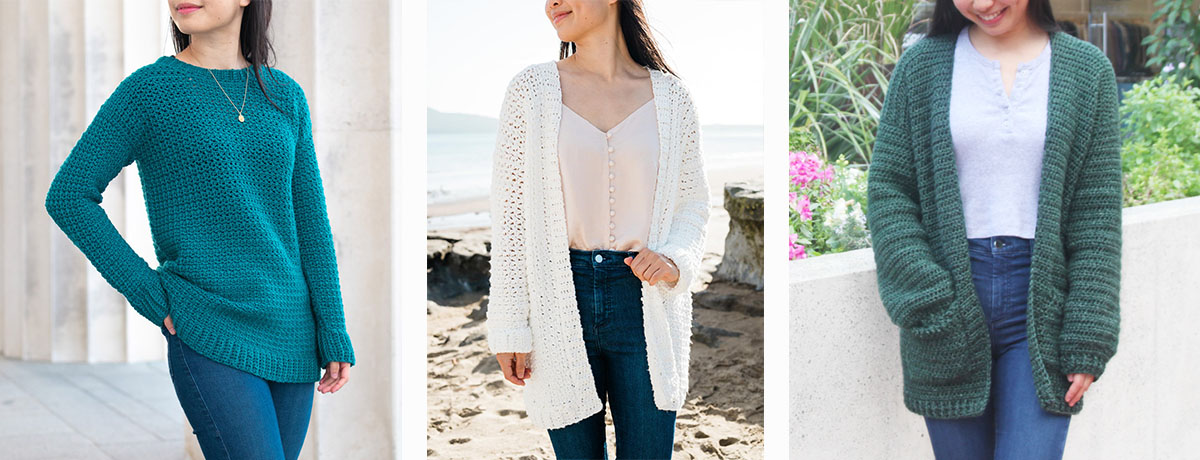
1. Weekend Snuggle Sweater / 2. In the Clouds Cardigan / 3. Briar Pocket Cardigan
The post 5 Tips for Perfect Fitting Crochet Garments appeared first on For The Frills.