 All product were kindly provided by
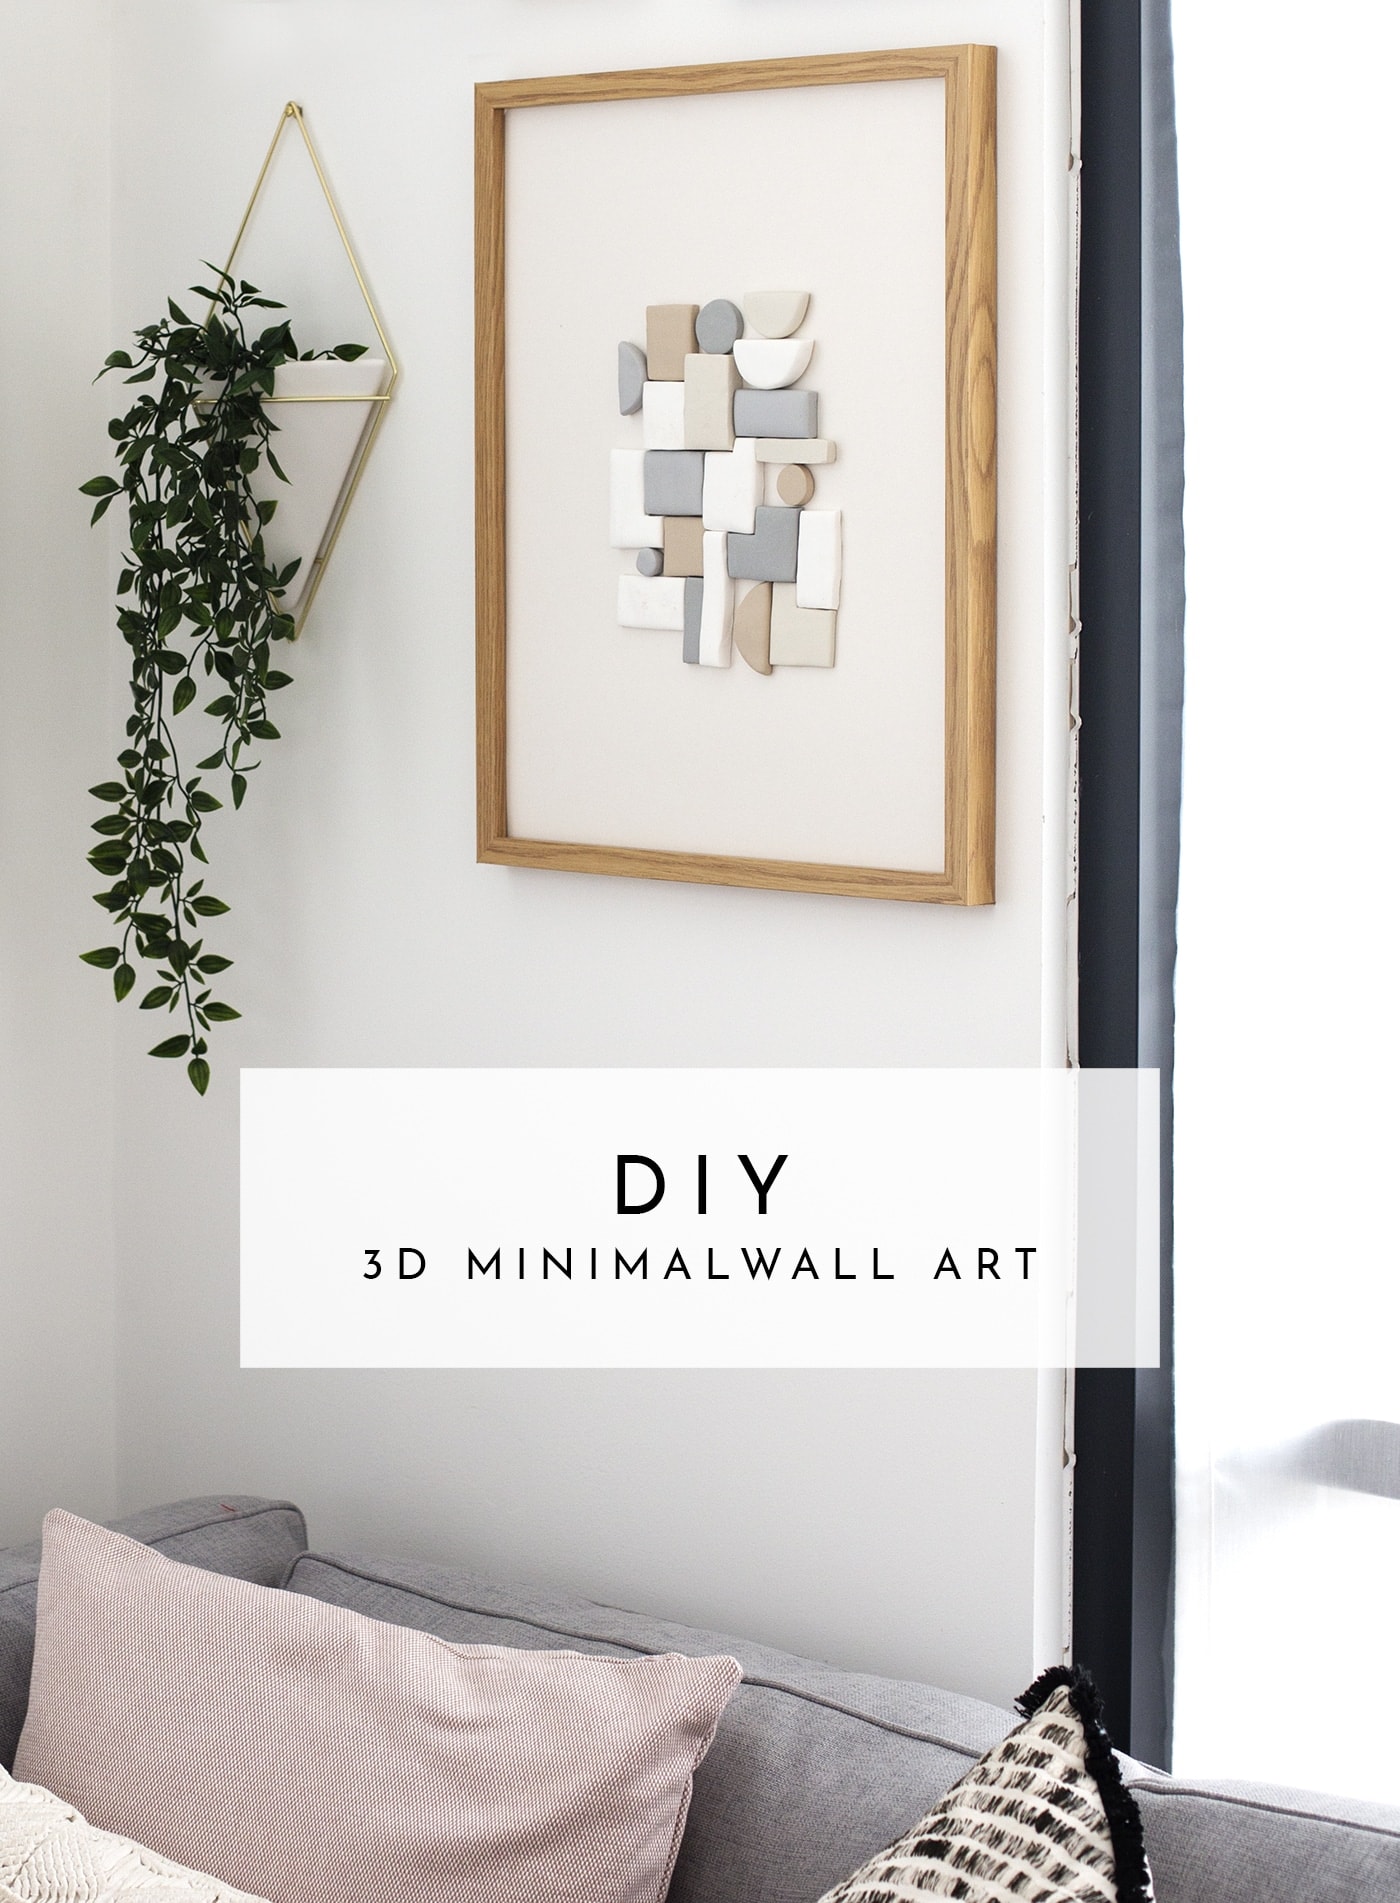
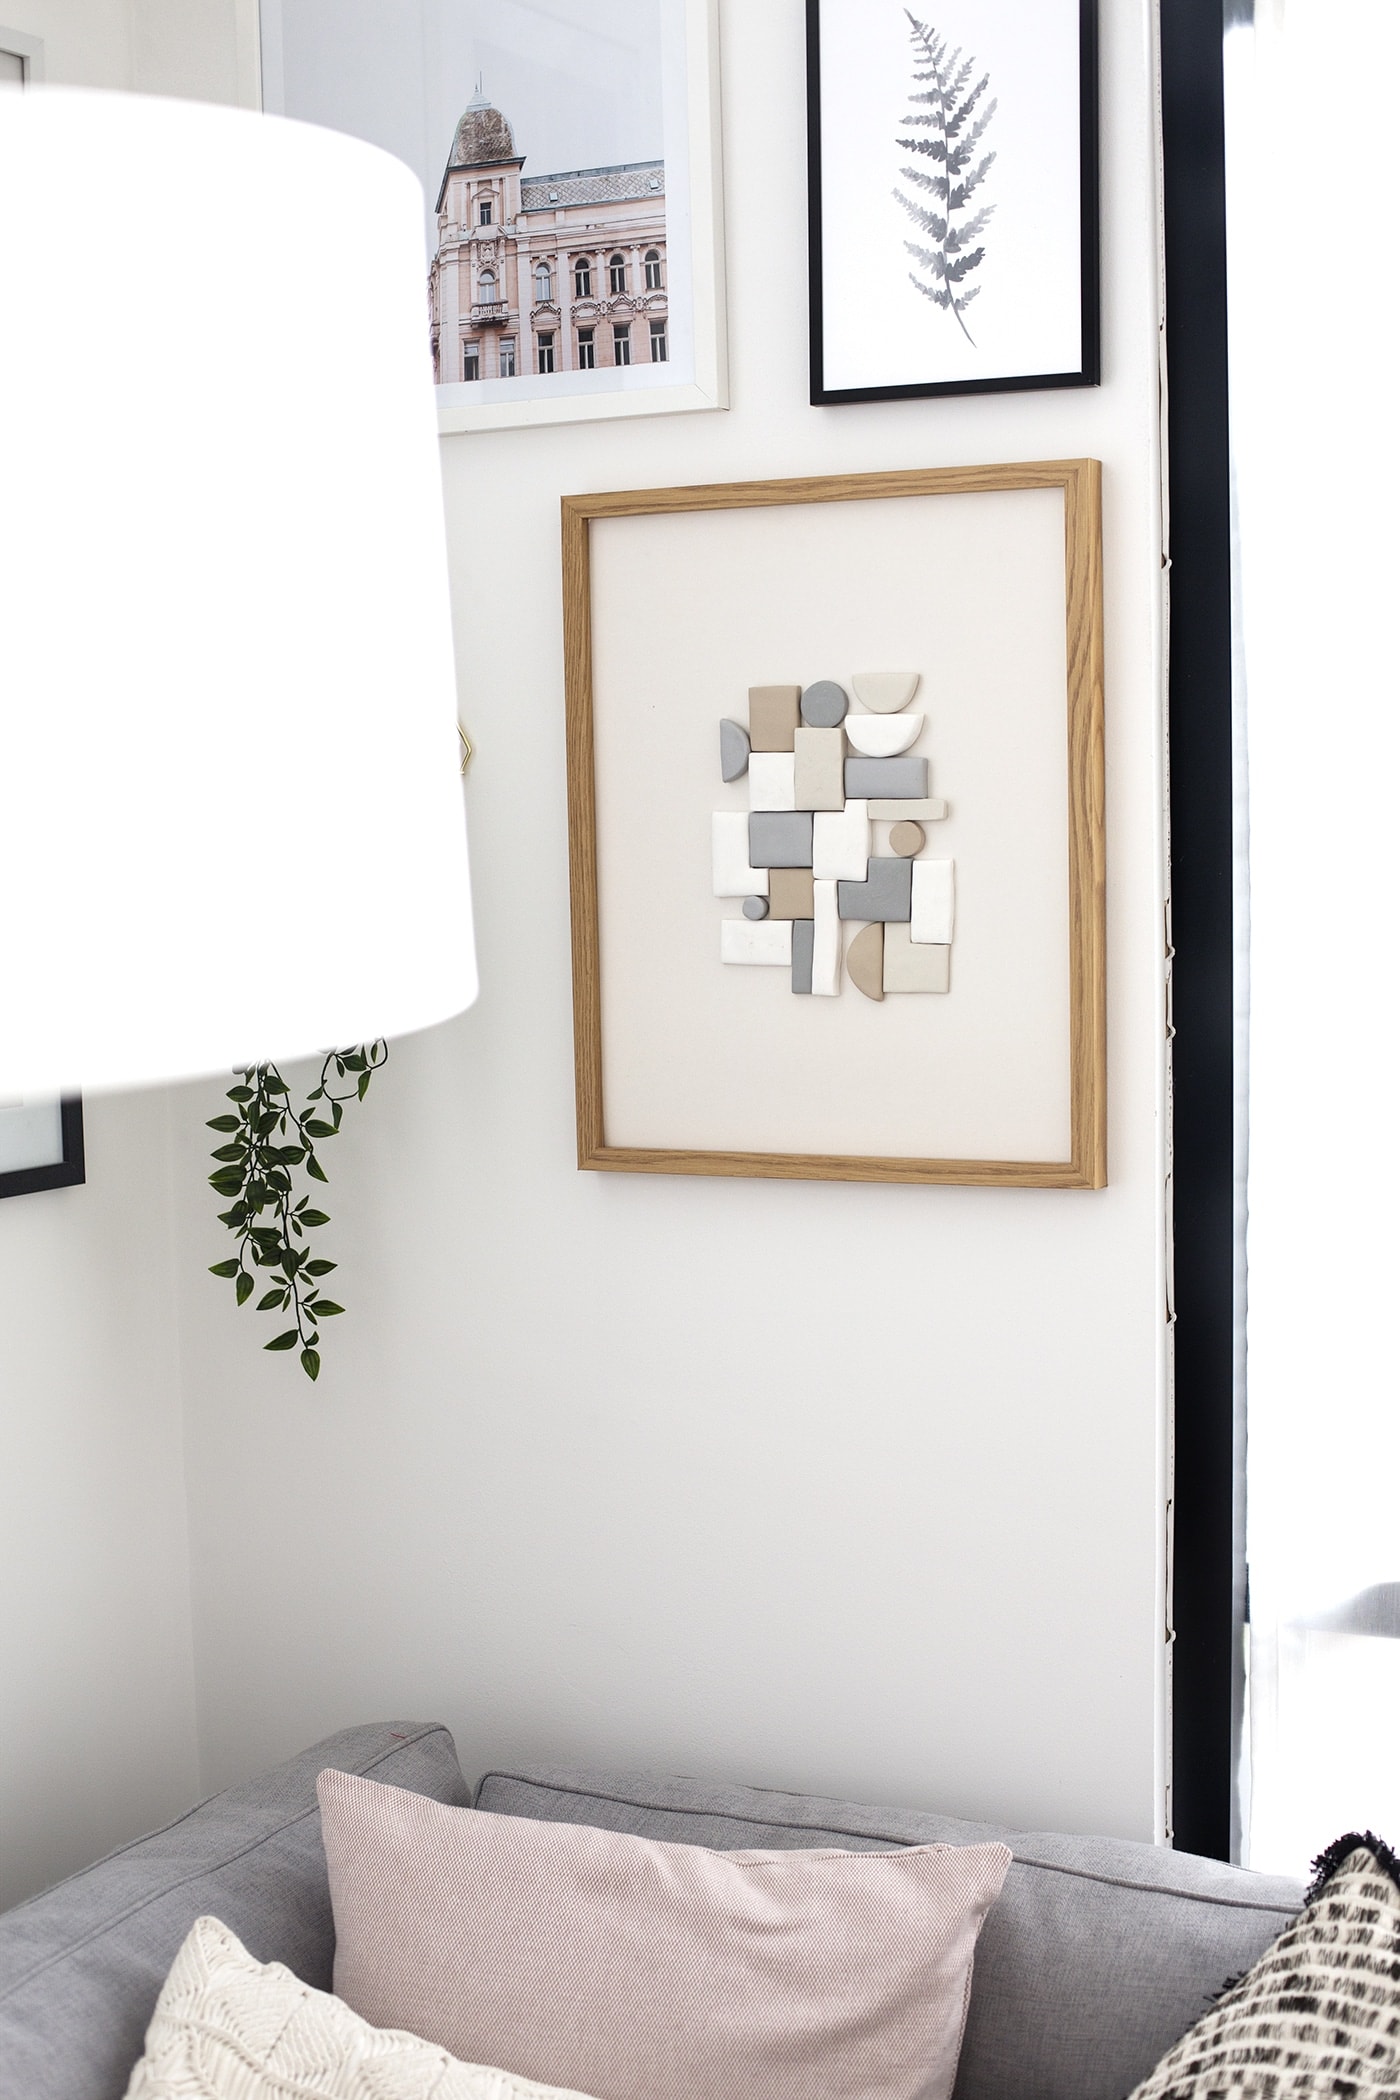
So here I am with a non-baby related DIY project, who would have thought it? We have been working on a little living room update and a shuffle round of all the furniture which finally allowed space for a gallery wall. I’ve missed having one ever since we moved into our current flat so I’ve been enjoying merrily getting it all together and plotting out the different frames but I’d also had a DIY piece of art I’d been planning for a while. All of you avid readers (big wave and a hug from me) won’t be at all surprised to hear it features my most favourite craft item, polymer clay. What can I say, I can’t get enough!
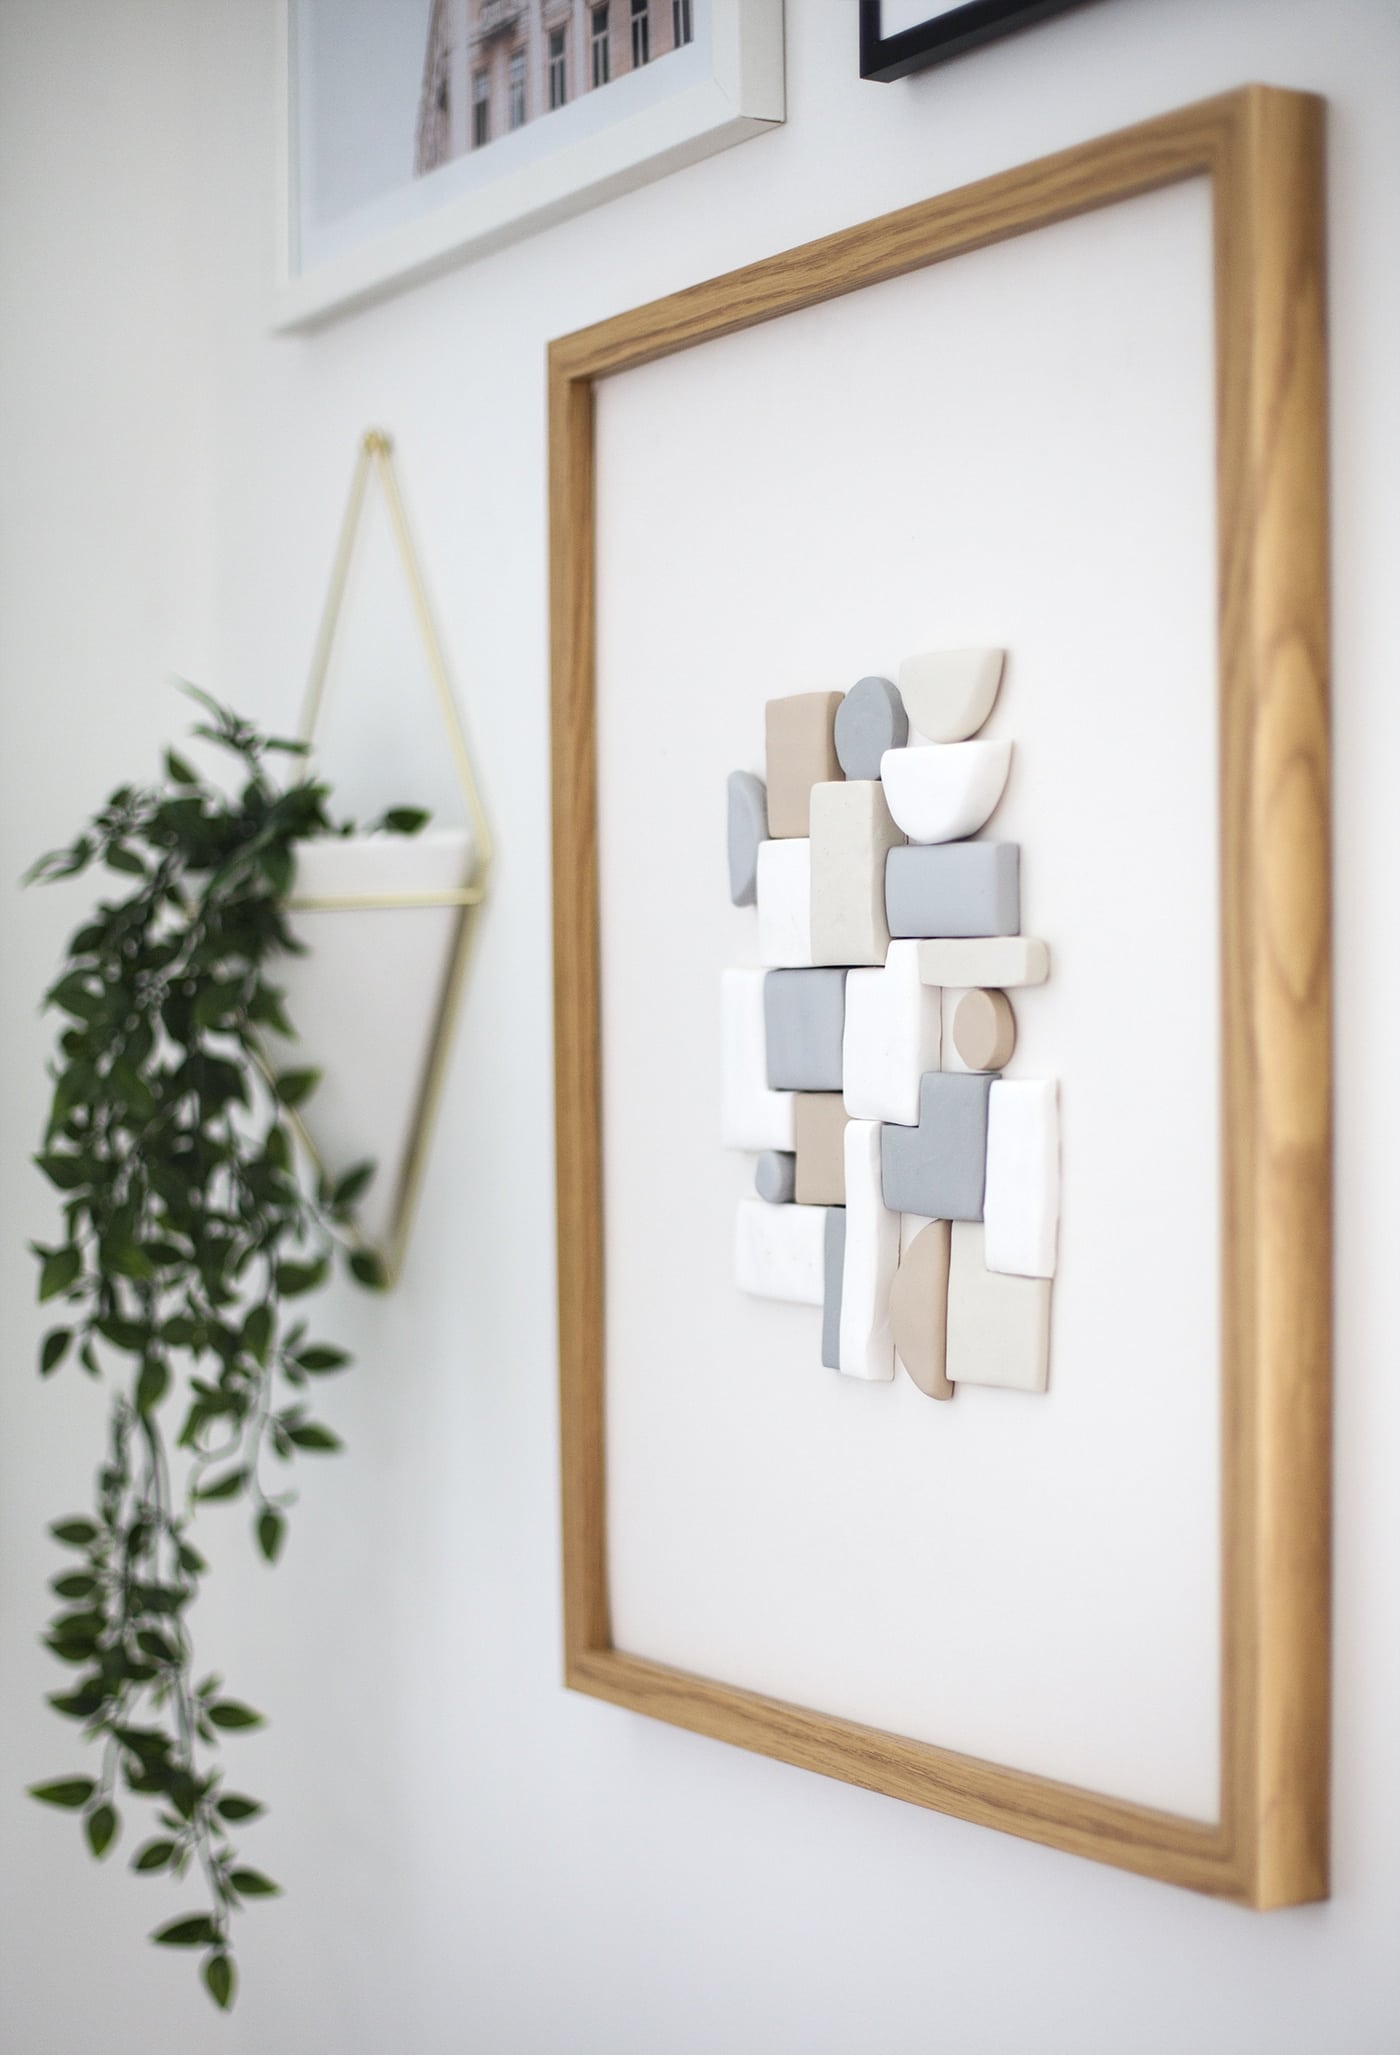
I’ve fashioned an abstract piece of 3D art which would work perfectly on its own in a minimal space or as part of a gallery wall that wows. It’s probably the most fimo I’ve used in one project so let’s see if I can keep on breaking records .
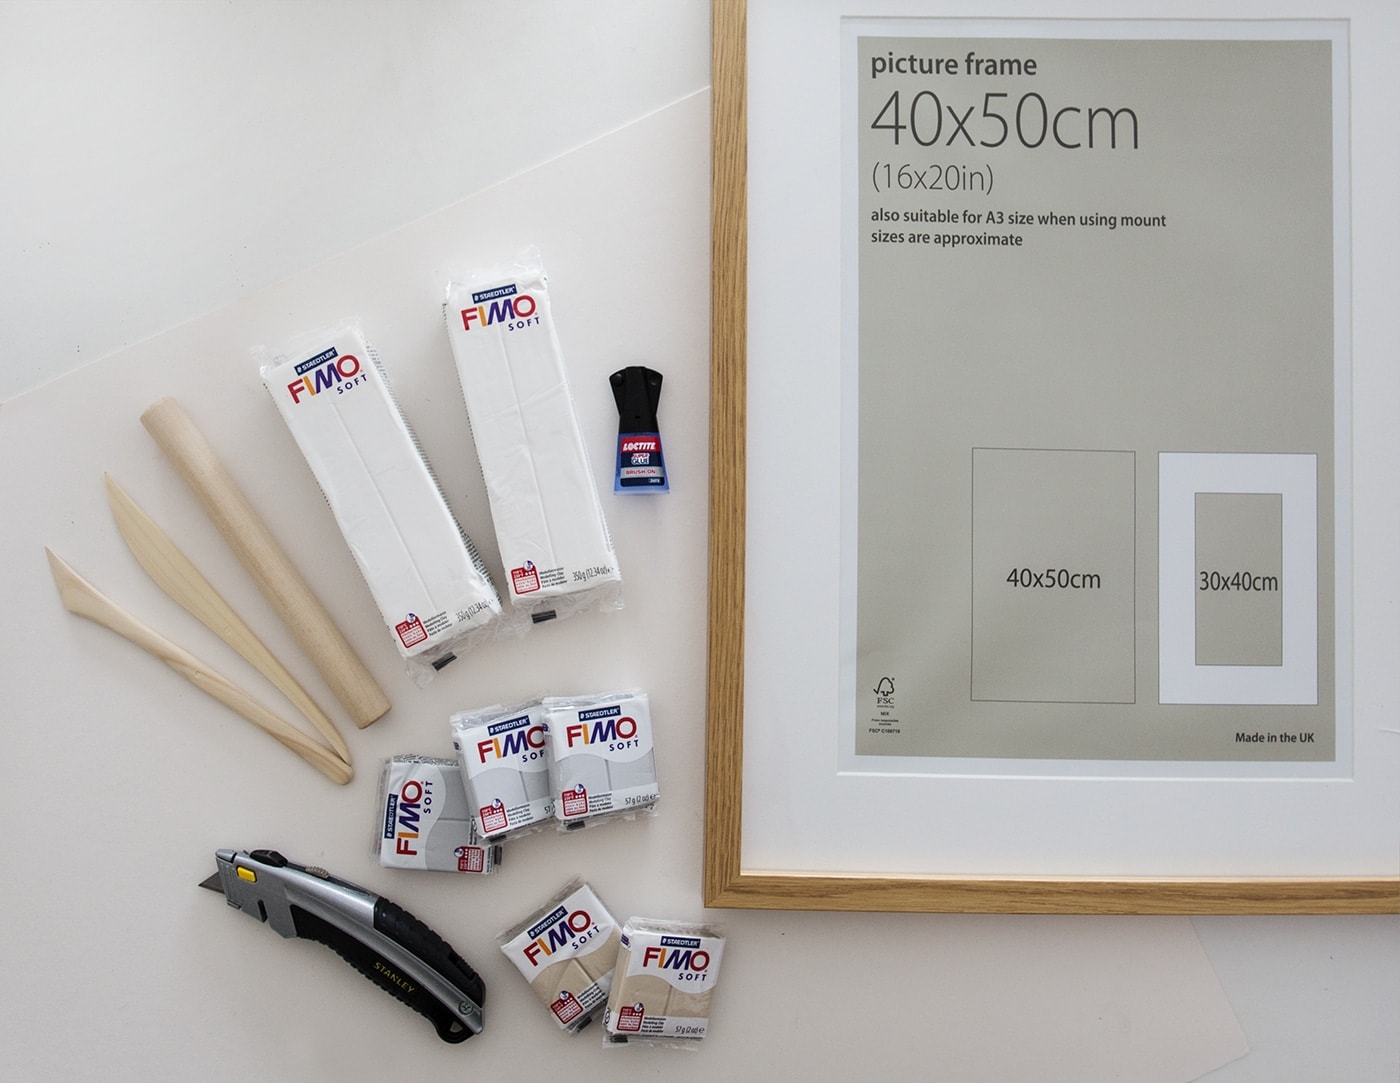
Materials:
- Craft knife
- Cutting mat
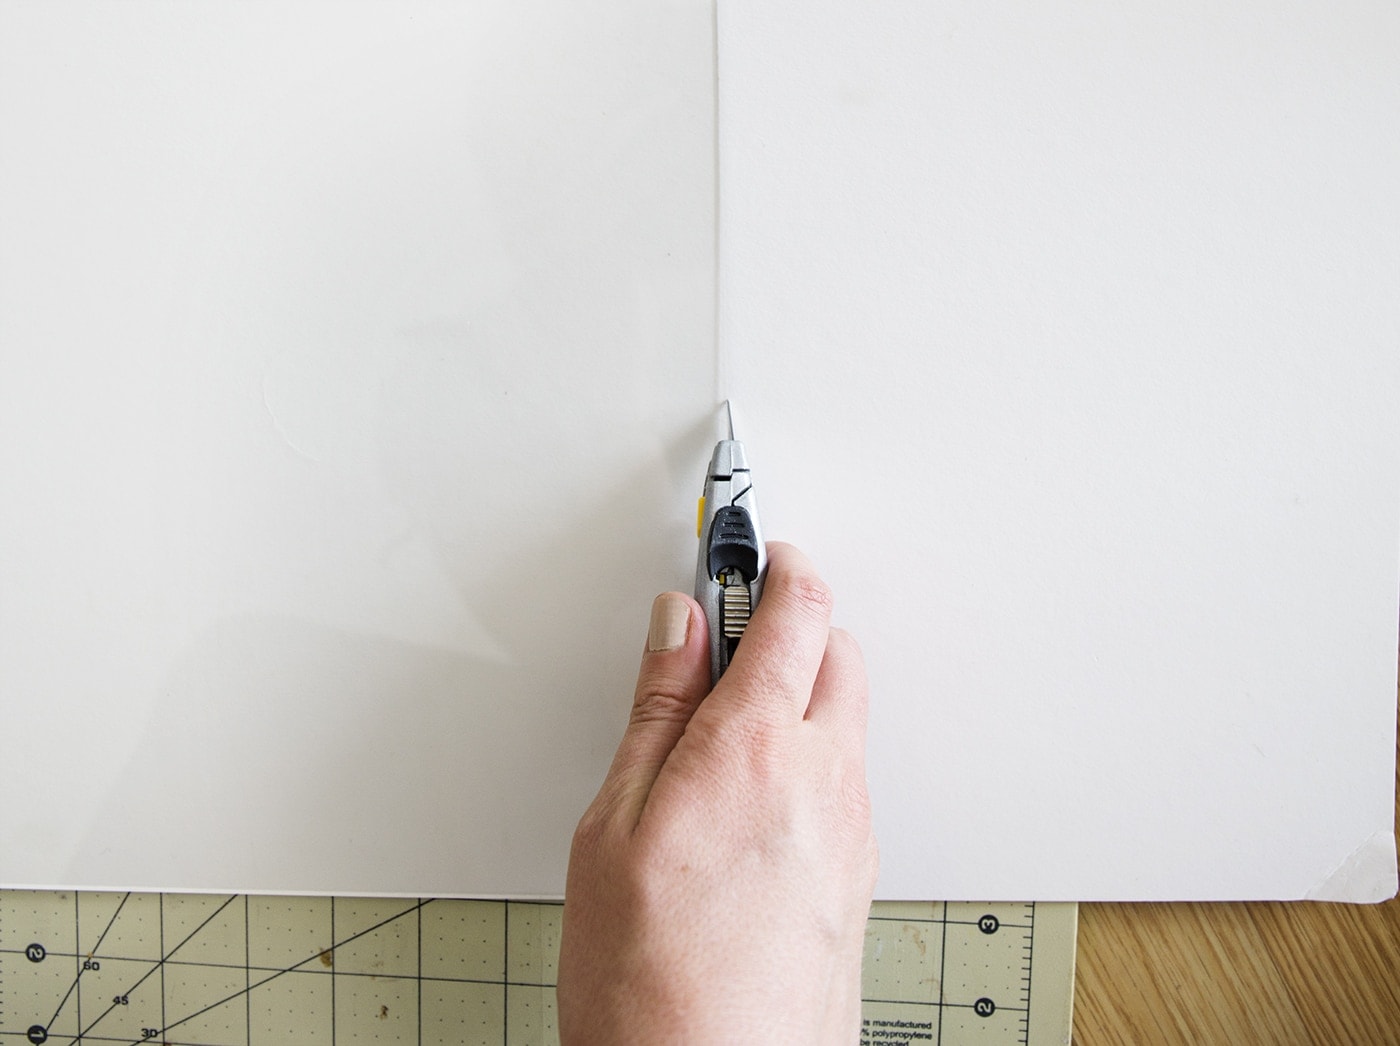 Take the glass out of your frame as you won’t be needing this and use it as a template to cut the art board to size with your craft knife.
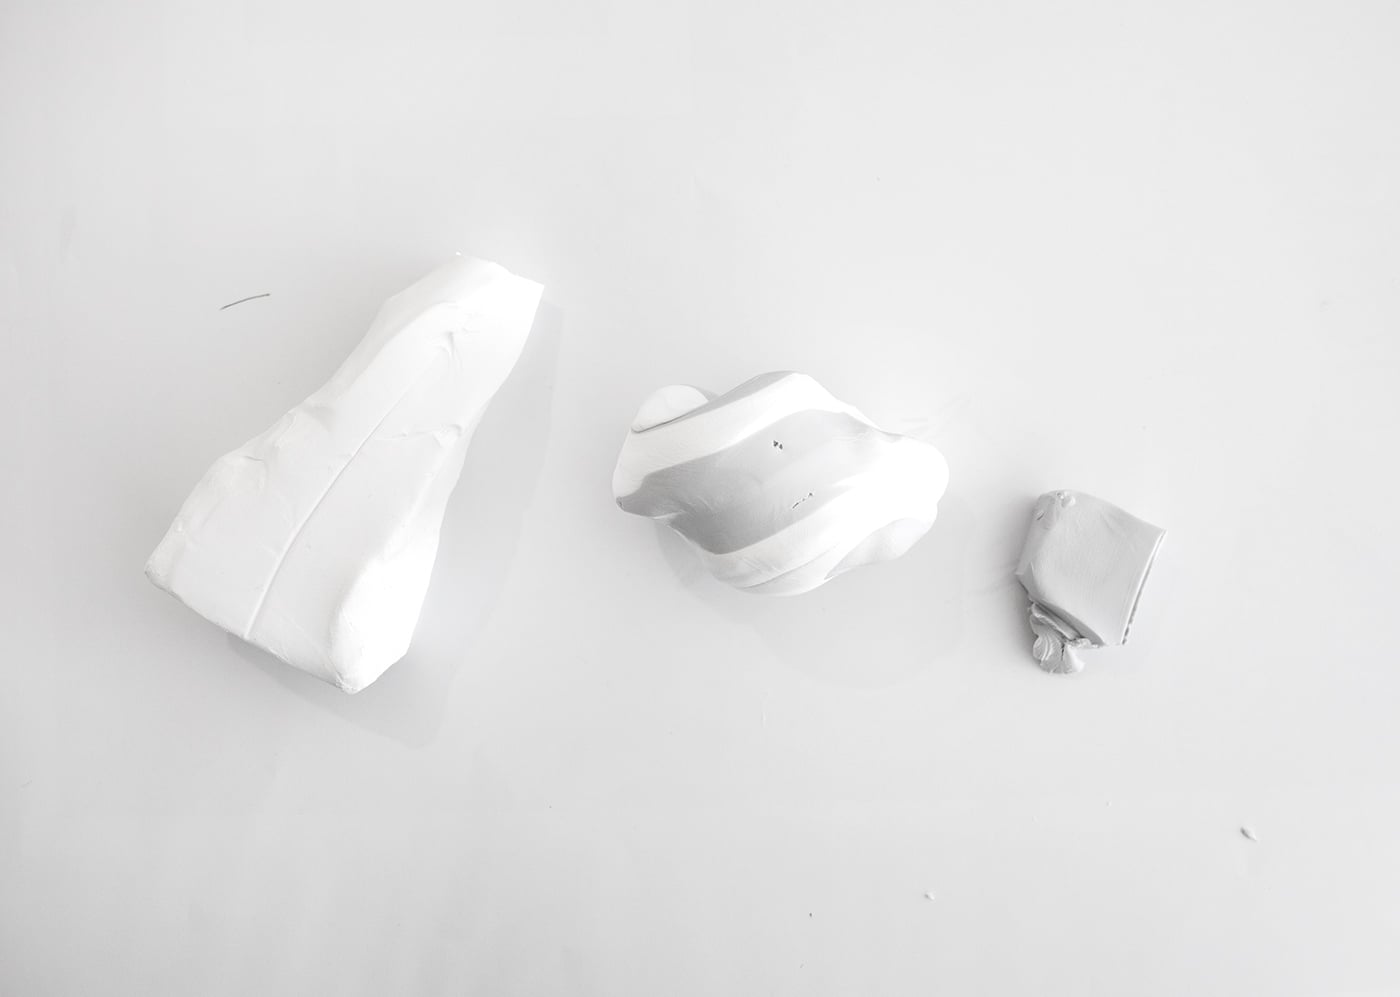 Now start to work on the shapes. You can use the existing colours of fimo and then add some different toned shapes too by using the white with a small amount of another colour.
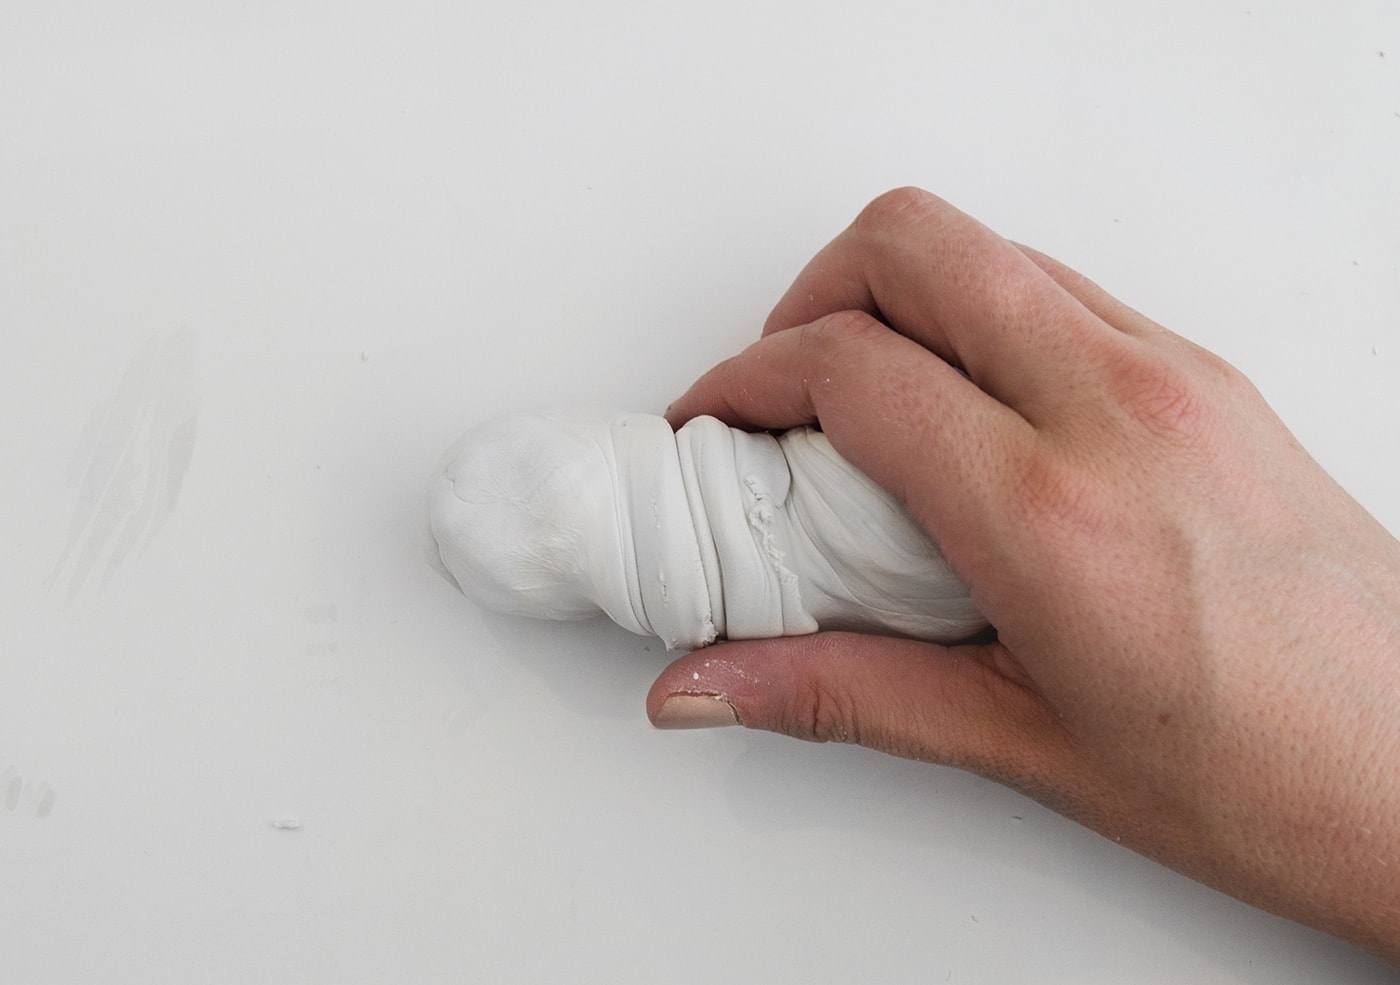 Twist the colours together and start working together with your hands, rolling and twisting until you create one solid colour.
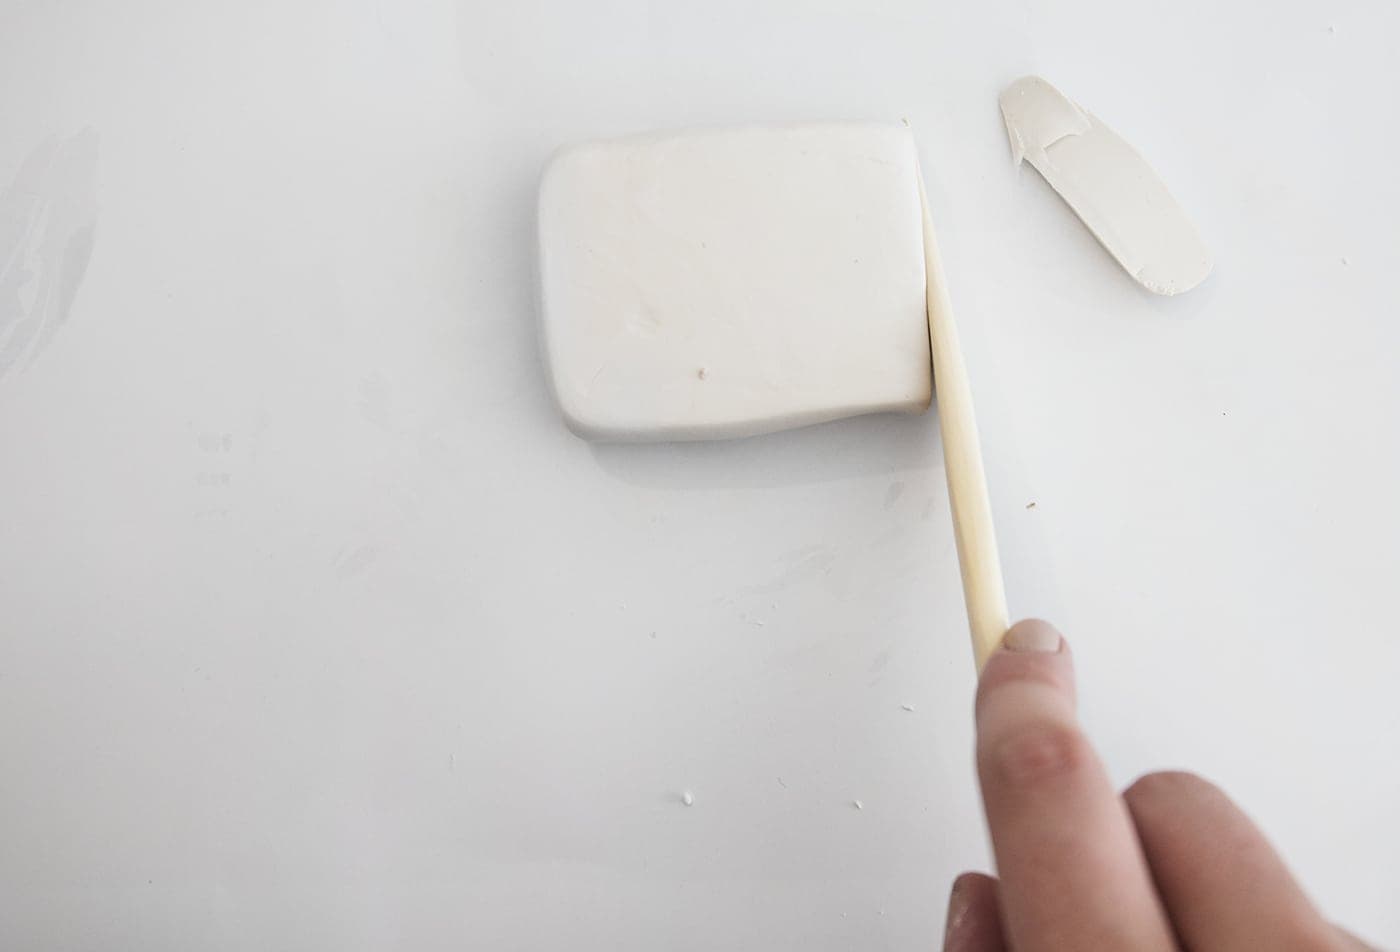 When you’re happy with the colour create a ball and then then use the rolling stick to flatten slightly and the trim the edges with your cutting tools, making as flatter edge as possible.
 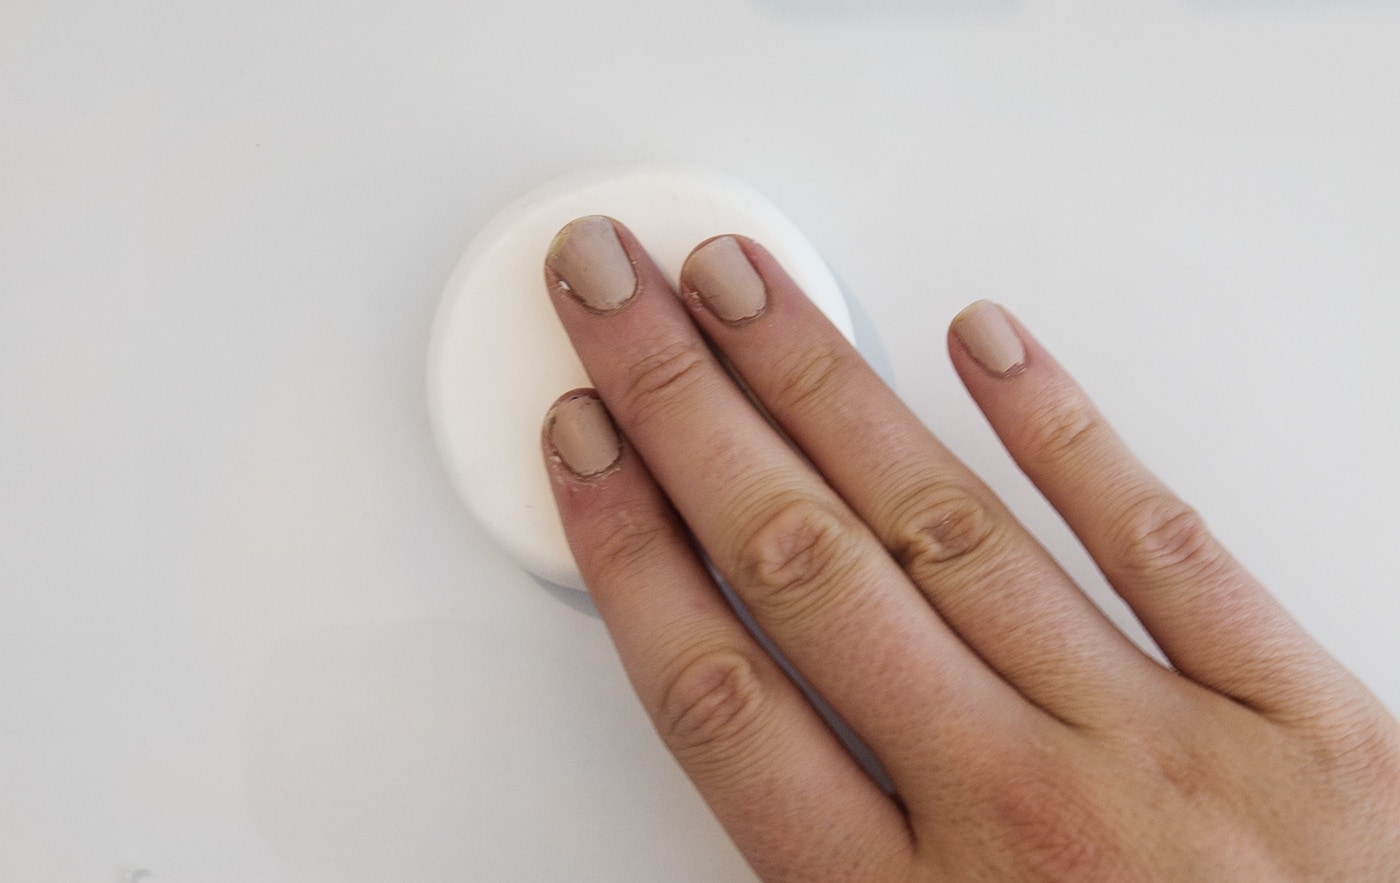 Make a selection of shapes in different thicknesses, thinking about how they might eventually fit together at the end. You could make a paper stencil if it helps. For the semi circle shapes just roll a ball and flatten with a rolling stick. Then use the cutting tool to cut the circle in half to make a flat edge.
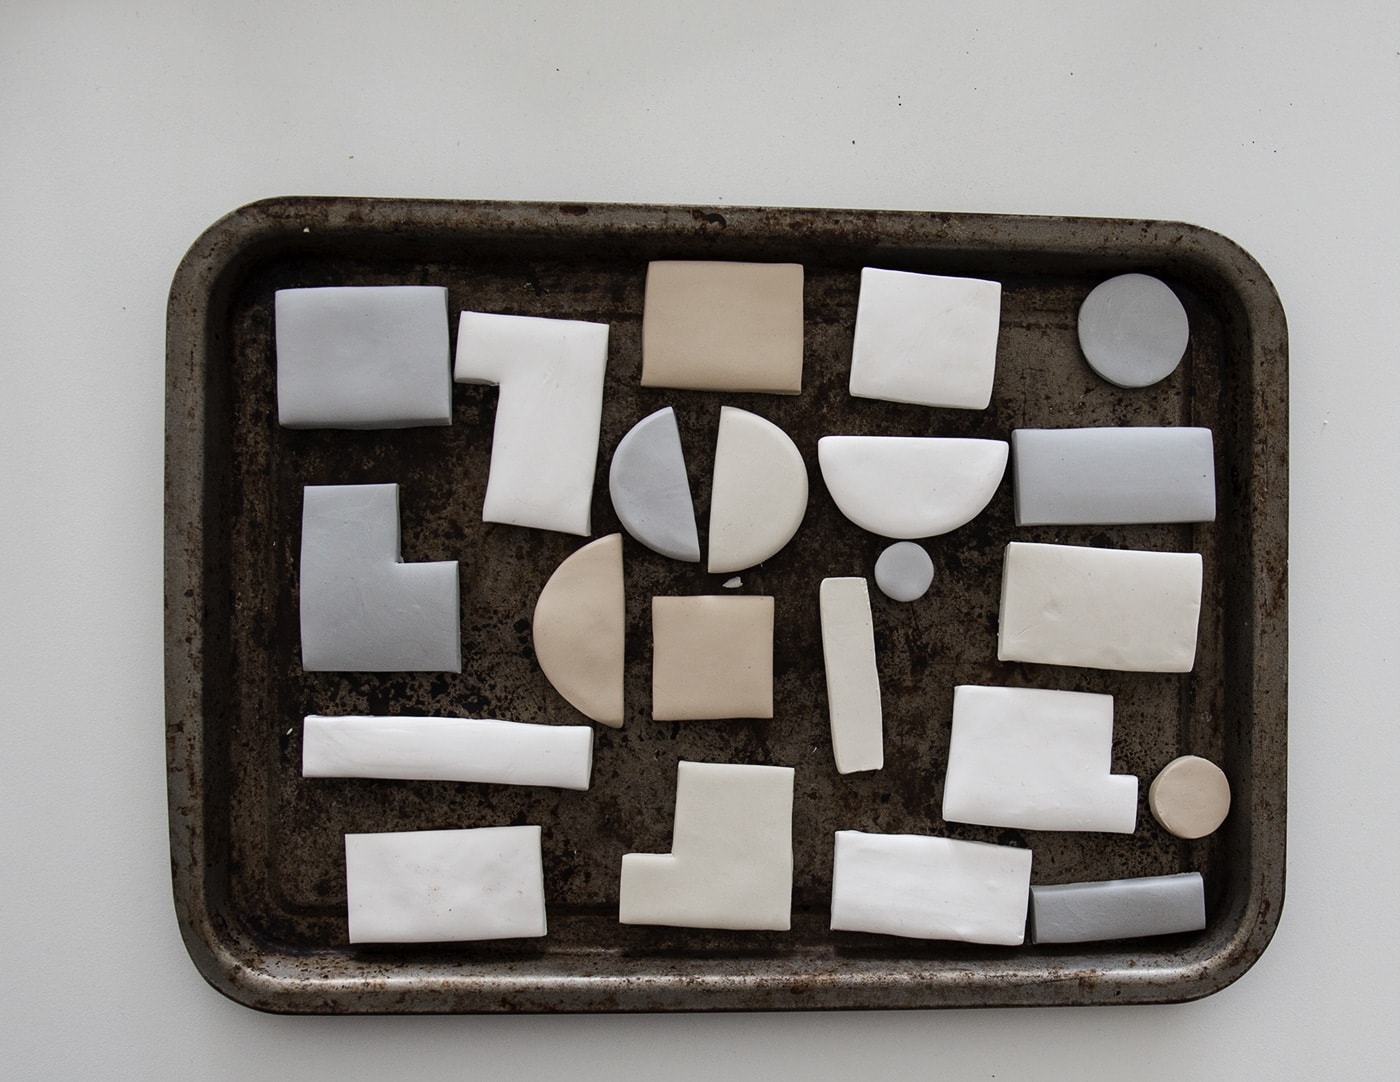 Preheat the oven to 110C. Lay out the shapes on a baking tray and bake for 30 mins. Leave to cool.
 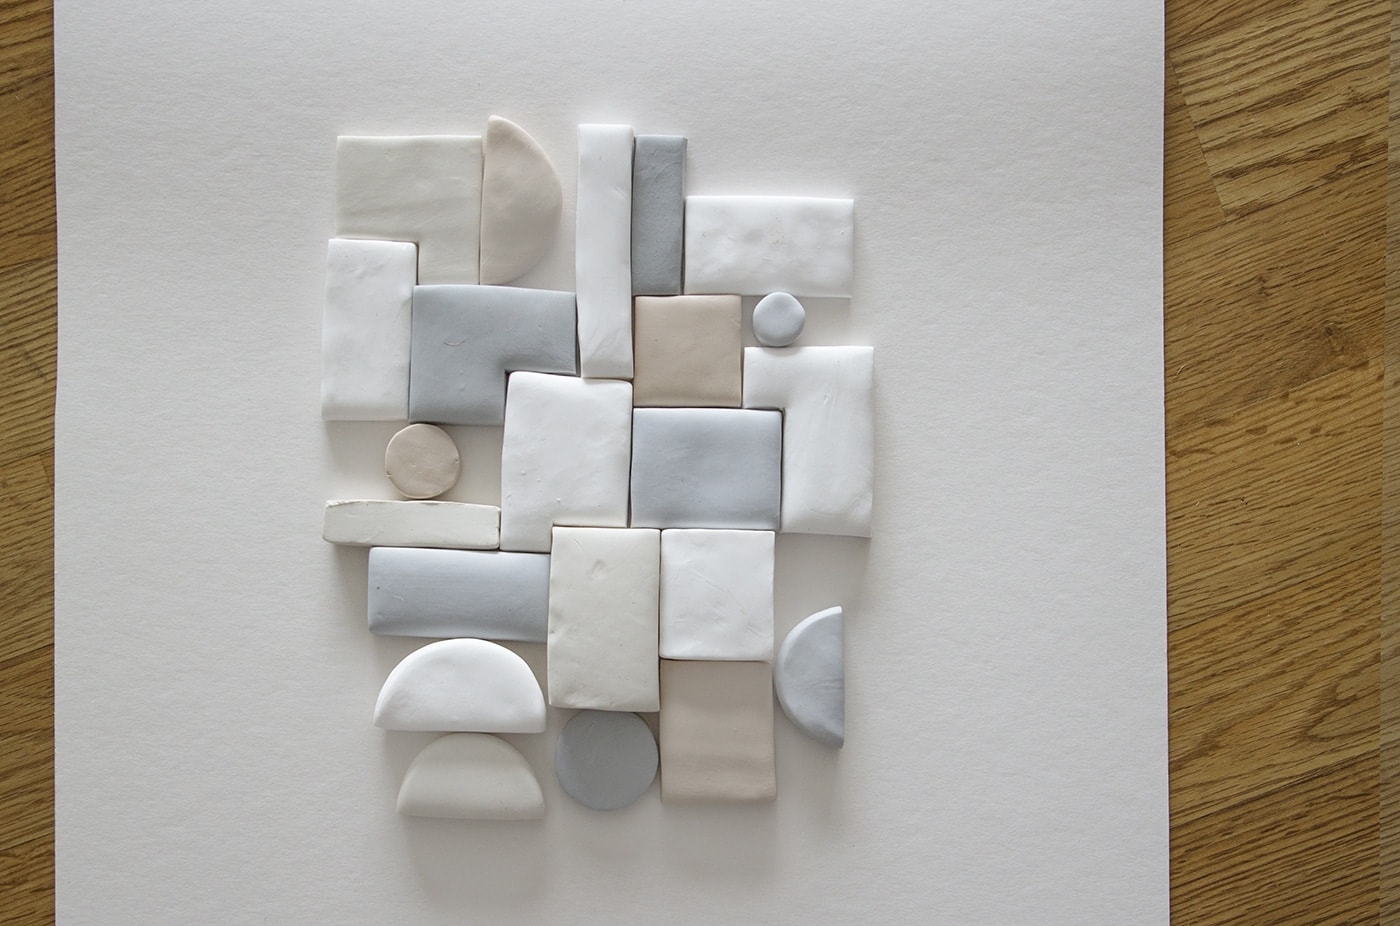 Lay the shapes out in your design on the art board t get the positioning even.
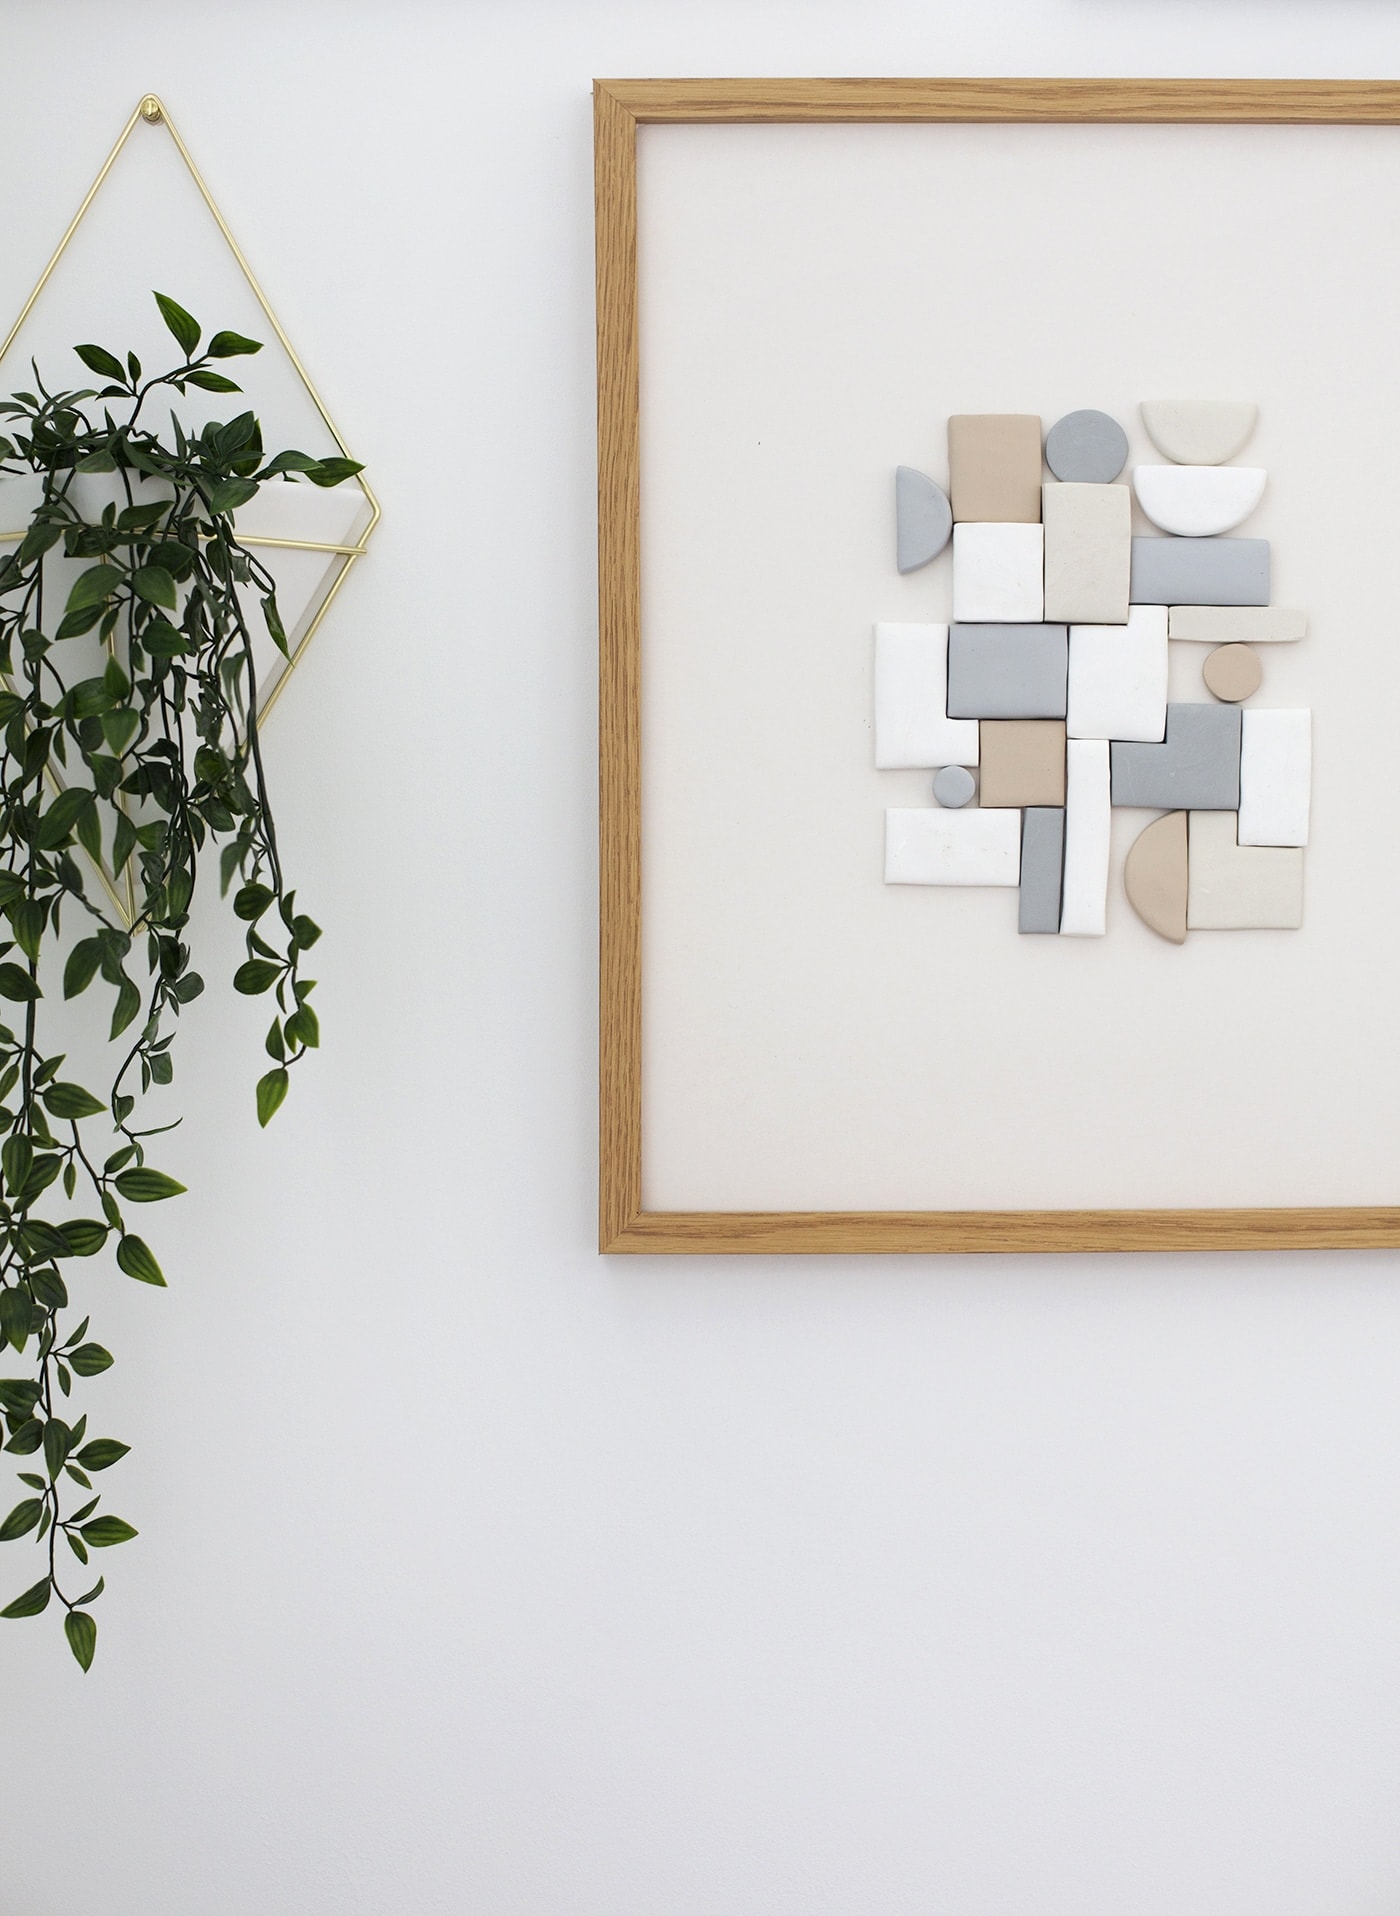
 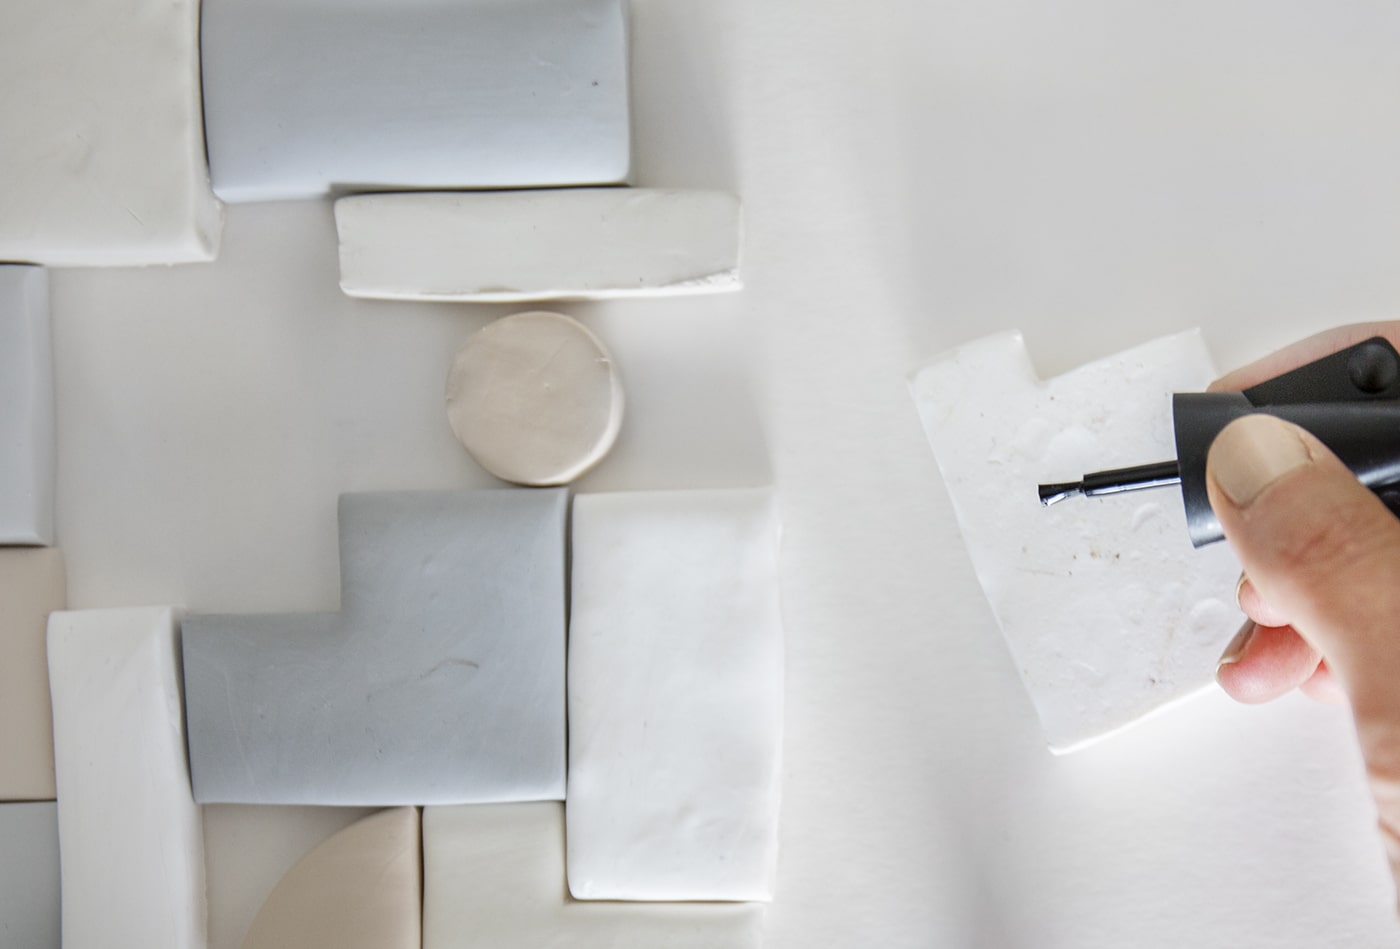 Take a central shape and coat the back in super glue. Place back in to the space and then continue with the surrounding shapes, working your way out. Place the art board back in the frame without the glass and your wall art is ready to hang!
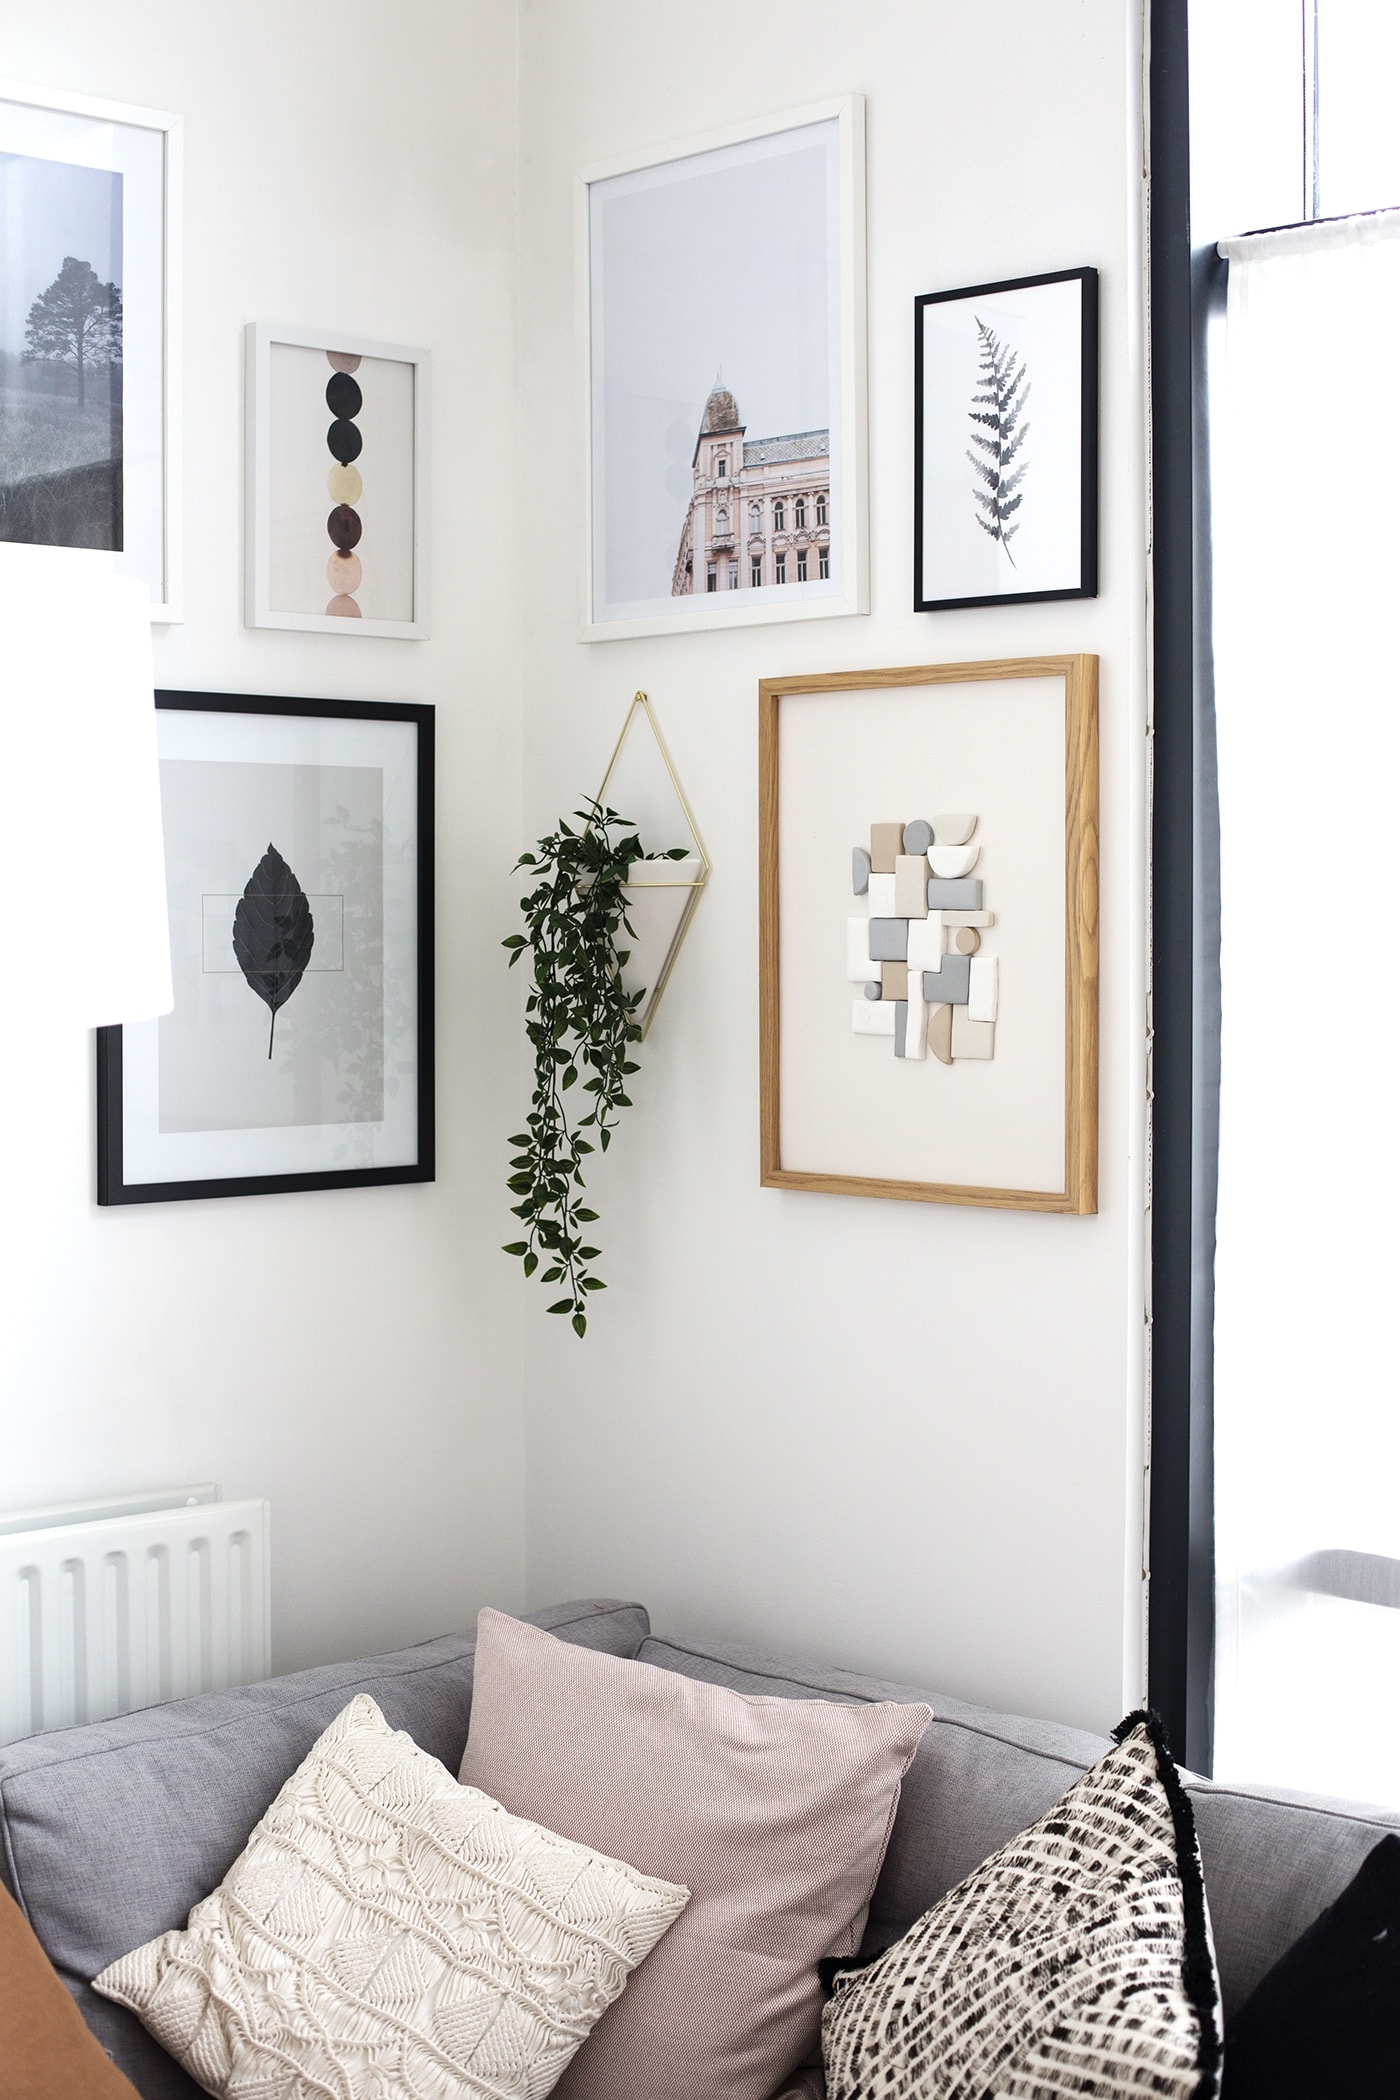
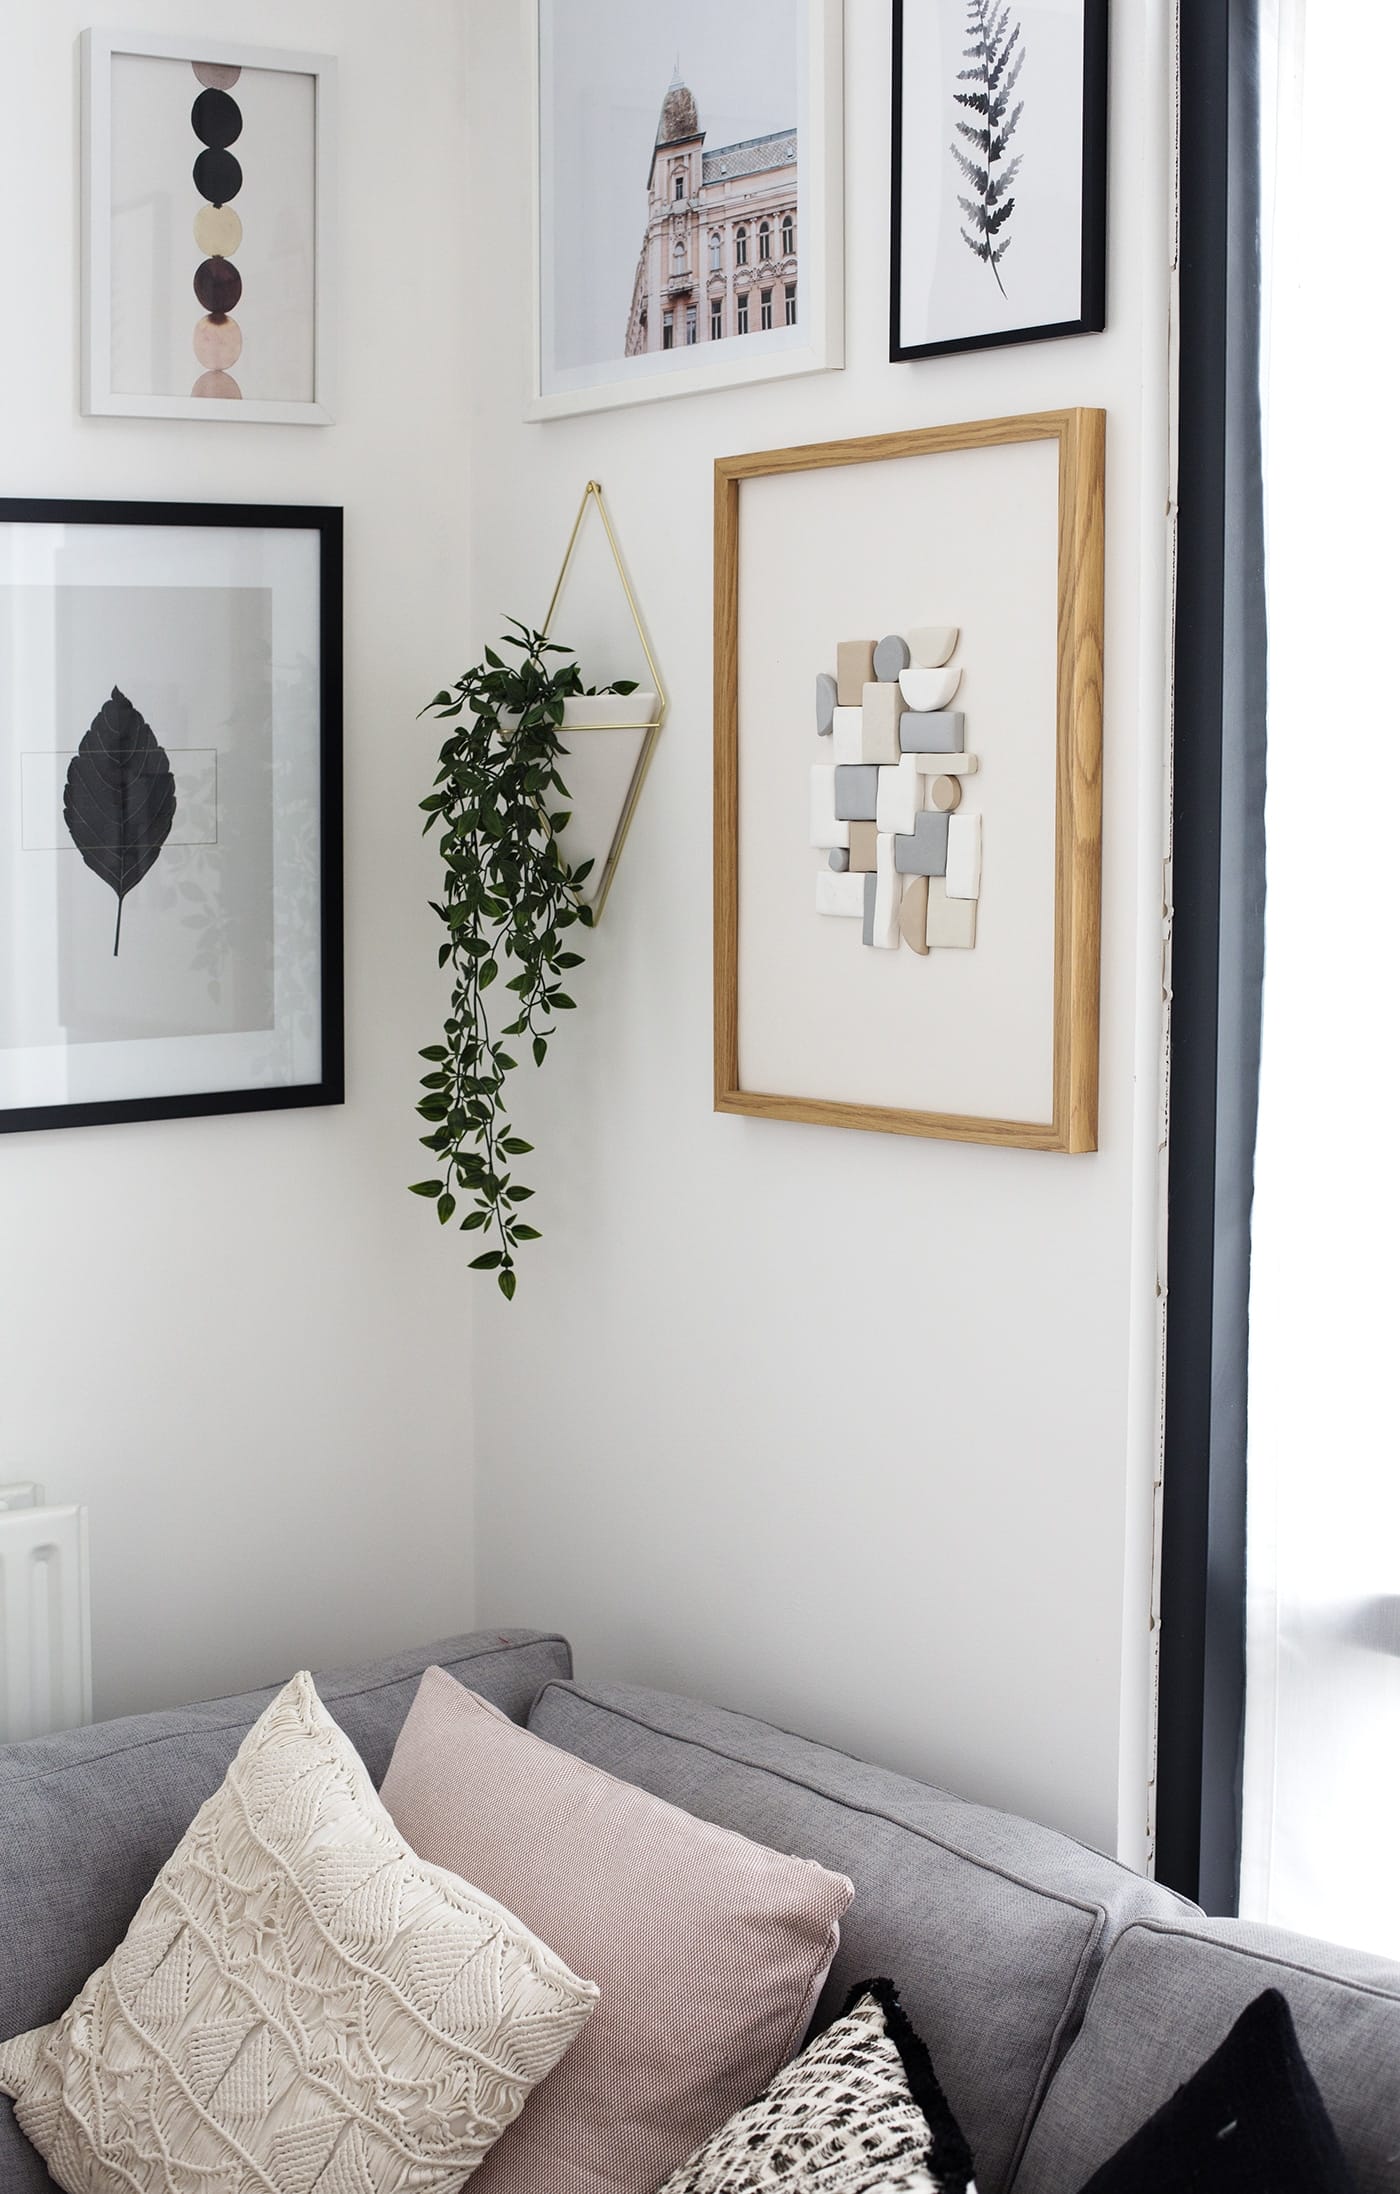
 I love the way it works with my other chosen prints and you can do any pattern or combination of shapes your heart desires. It’s a nice alternative to a photographic or painted print.


