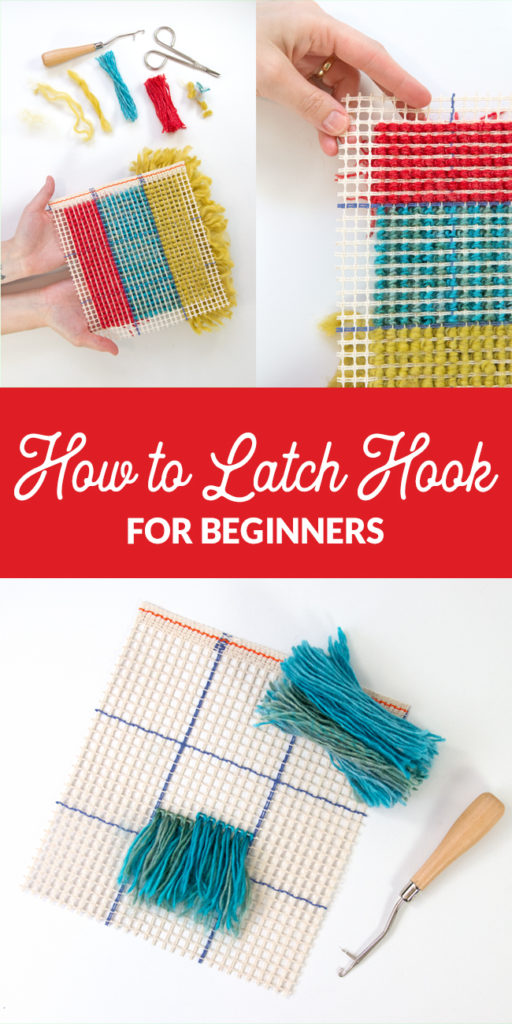
Fans of the and those who follow the are well aware of the fact that I’ve fallen hard for another yarn craft in recent months: latch hook. Last month, I rounded up to highlight just how much this craft has evolved from the rug-making kits that may have found their way into your childhood craft room (and creepily often involved clowns). Now it’s time to learn the basics of working a latch hook project totally from square one so you can try this fun craft for yourself as a grown up (and use up your yarn ends in the process!). Today we’ll cover the basics of how to latch hook, and next week we’ll tackle basic finishing techniques.
A quick plug: If you’re in the Chicago area, you can take my in a couple weeks.This workshop covers so much more about color picking, yarn processing, and blending than I’m able to cover in this post, so it’s a great way to really up your skills! As of this writing, there are still open spots, so visit to learn more & sign up.
Begin by thinking about how shaggy you want your project to be.
In rug-making (or carpet/rug buying in general), pile refers to the density of your rug, and pile height is a measure of how far the tip of your yarn is from the backing of your project. For beginners, please note that the backing of your project is the grid-like rug canvas into which you’ll work your latch hook project.
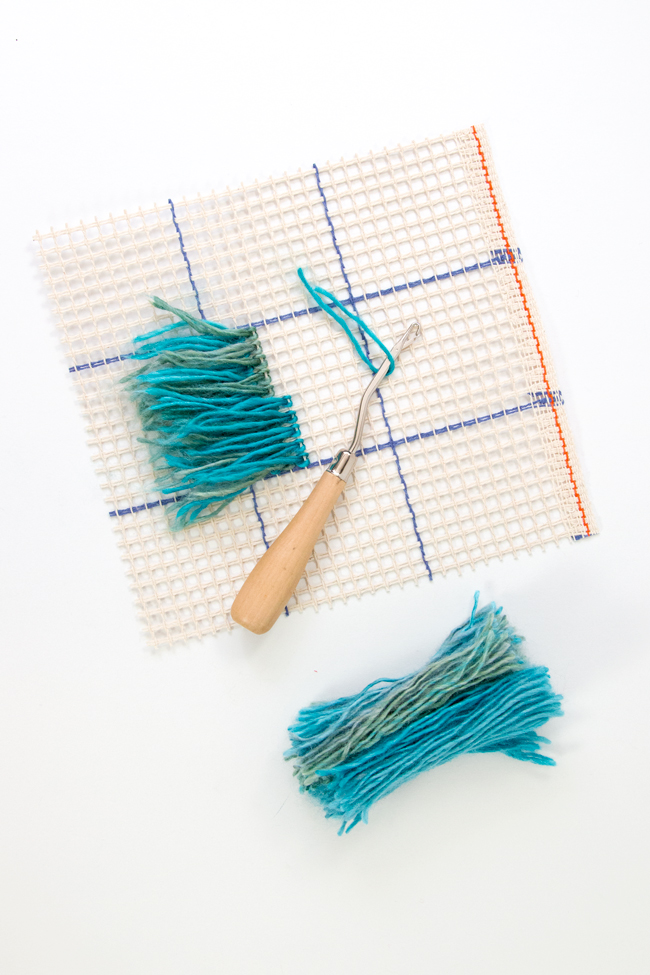
Next, prepare your yarn. You can buy pre-cut yarn for latch hooking, but to me, that’s a little bit wasteful when you can very easily cut it yourself. To quickly cut your own latch hooking yarn, measure and cut out a rectangle of cardboard that is twice the length you want your pile height to be, plus another quarter of an inch.* Using your cardboard as a ruler, wrap your yarn around the cardboard several times, then cut the yarn at the top and bottom of the cardboard rectangle, creating the short lengths of yarn you’ll be working with.
*For example, if you want your pile height to measure 2 inches, you’ll need to cut your yarn into lengths that are 4.25″ because 2″ x 2 = 4″, and you need to add another 0.25″ to accommodate the knot you’ll be creating as you latch hook your yarn to your rug canvas.
If you’re feeling a little overwhelmed, read on and come back to the first couple paragraphs of these directions. As with any new craft, there’s a bit of vocabulary involved, but once you see the photos of latch hooking in action, and especially once you try it for yourself, this will all start to click. I promise! 🙂
Prepare your rug canvas.
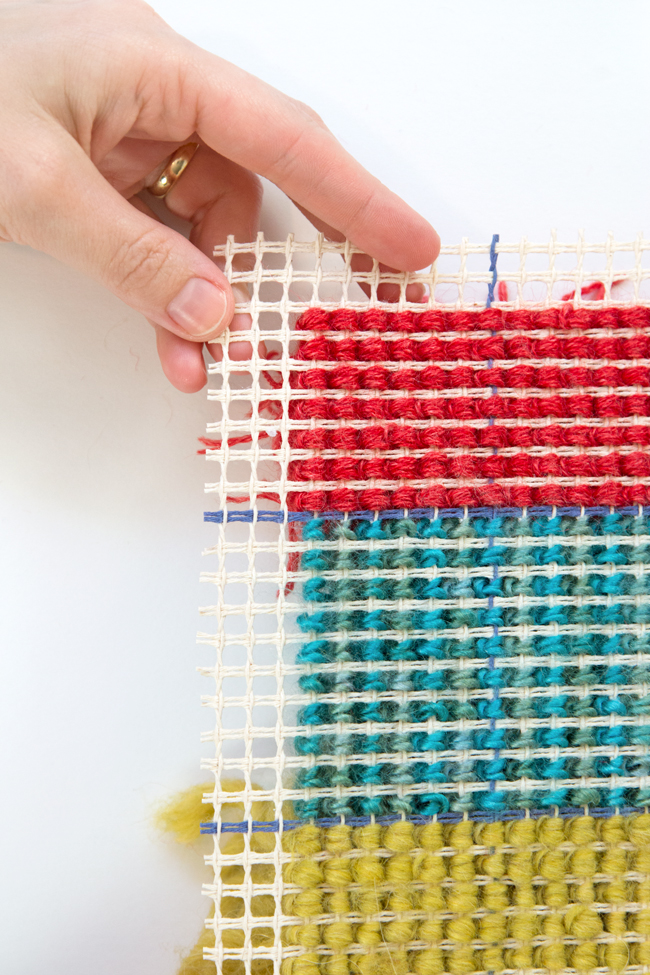
Using a sturdy pair of scissors (rug canvas is tough – it’s intended to be walked on!), cut your rug canvas to the shape/size you’d like your finished latch hook project to be, plus an inch or two. Much like in sewing, latch hook projects require a little extra canvas past the edge of where your project borders will end. This extra functions a lot like a seam allowance when it comes to finishing your project.
Start hooking!
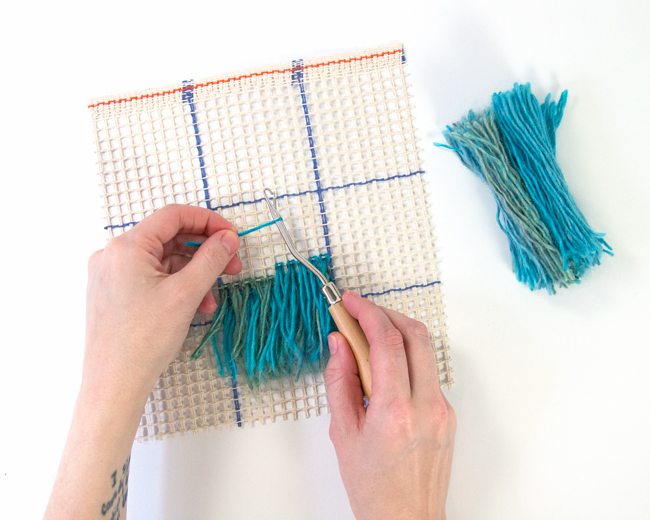
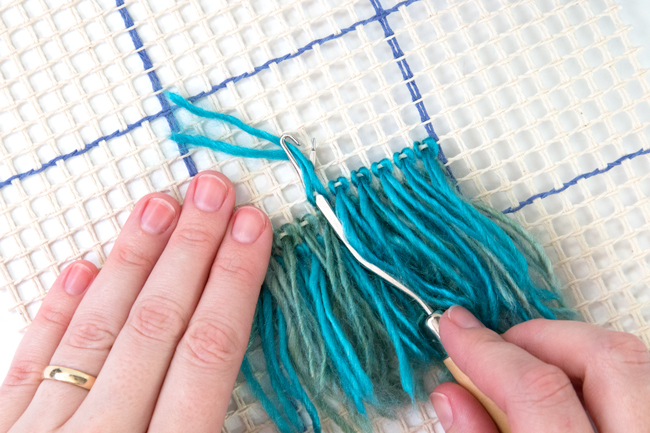
To form a latch hook knot, fold a piece of cut yarn in half around your latch hook tool, just below the latch mechanism.
Insert the tip of your latch hook tool from front to back to front under one of the horizontal bars of your rug canvas. Wrap the tail ends of your yarn around the hook as shown above – in between the latch mechanism of your tool and under the hook part of the tool itself.
Pull the hook tool back under the horizontal bar of rug canvas. The latch mechanism will close by itself around the tail ends of your yarn, and the hook will guide the tails back under the horizontal bar as well as through the folded end of yarn.
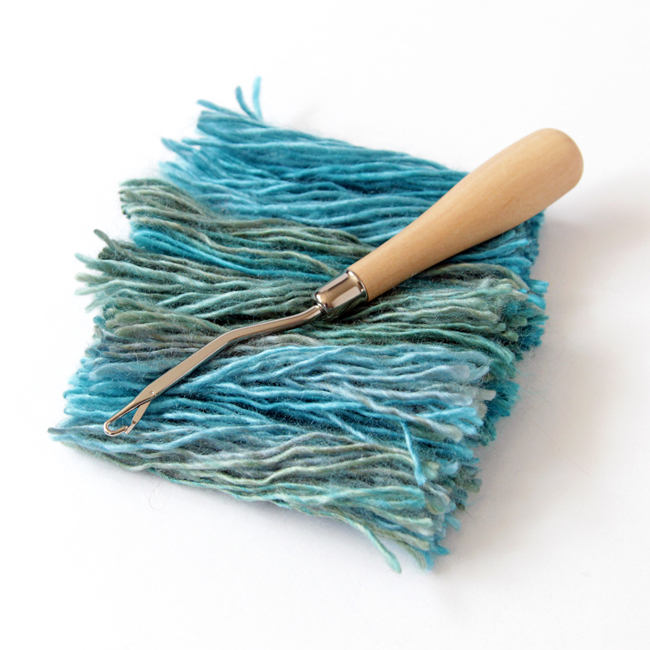
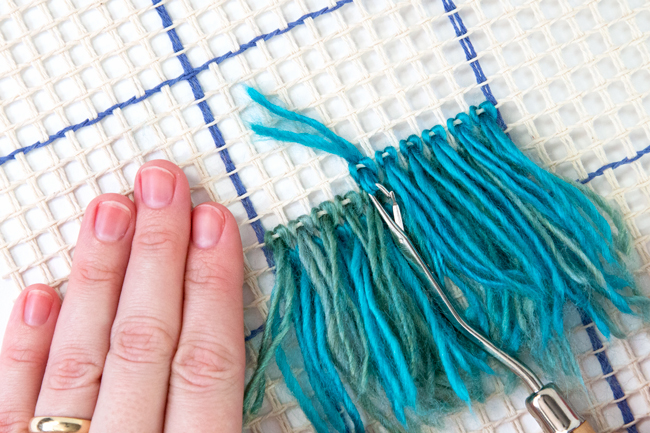
As you continue to pull, your latch hook tool will become free of the yarn and your latch hook knot (also known as a ) will be formed, securing the yarn to the rug canvas backing. To tighten the knot, pull gently on the ends. If you’re working with a fiber that’s not wool, you will likely want to give the tails of your yarn a tug now and then to keep the yarn in place. This is what several finished knots look like in an in-progress latch hooking project:
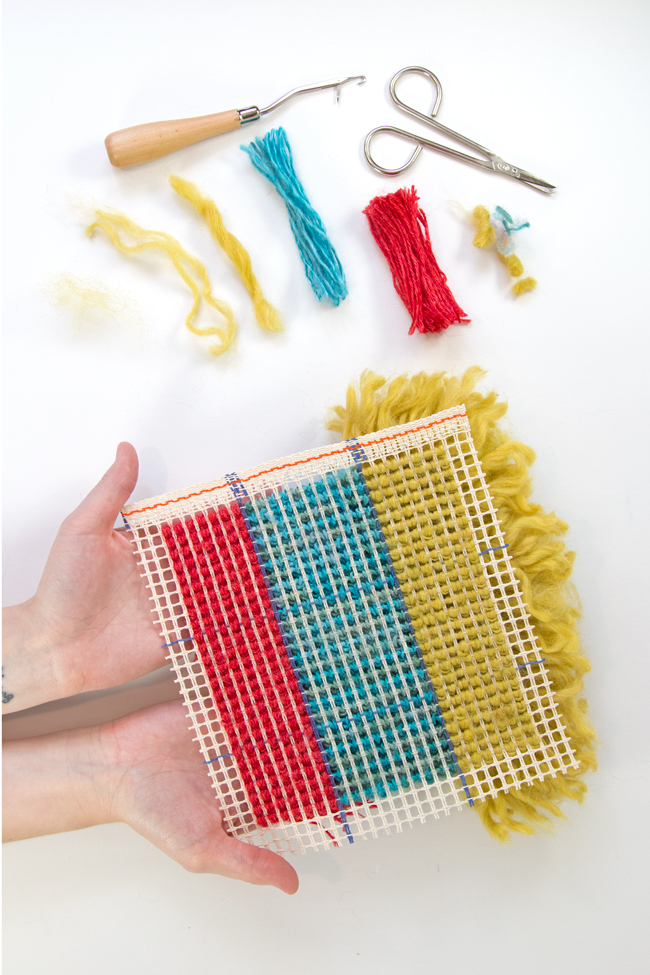
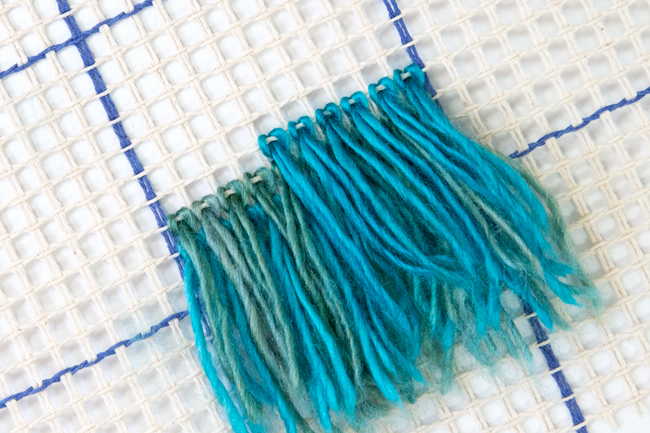
Continue adding pieces of yarn to your rug canvas using your latch hook tool, remembering to leave a 1″ border on all sides. You can get creative and incorporate fun designs, color changes, varying thicknesses of yarn, varying lengths of yarn, different fibers, and more in your latch hook projects. Creatively combining different fiber combinations and pile heights results in really beautiful and interesting finished latch hook projects.
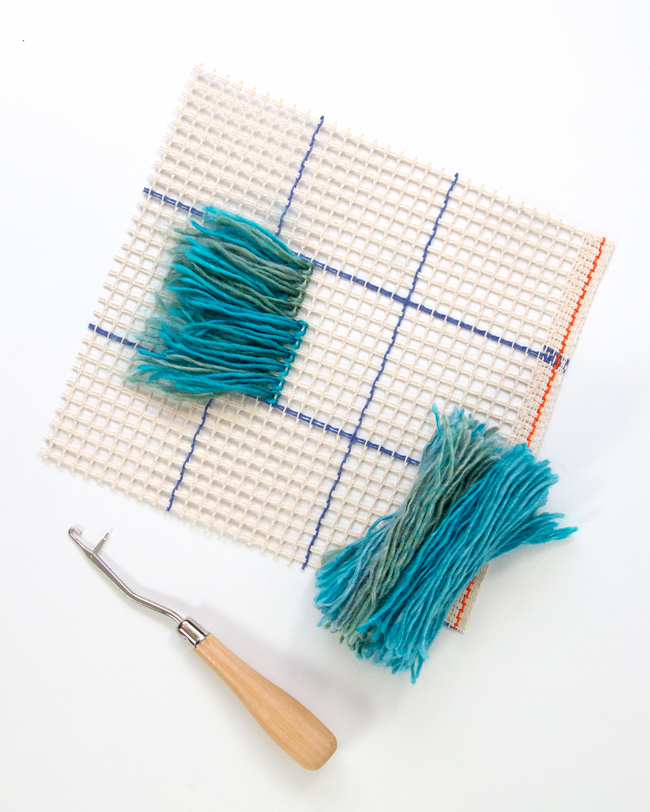
You can see from looking at the back of my project here that I played with primary colors, stripes, and a few different yarns. In next week’s tutorial on basic latch hook project finishing, you’ll get to see the front of this fun little latch hook wall hanging! Don’t forget to tune in. 😉