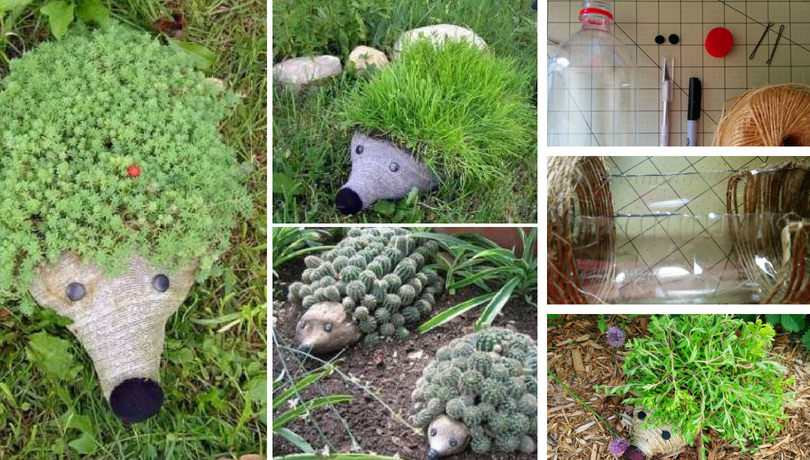
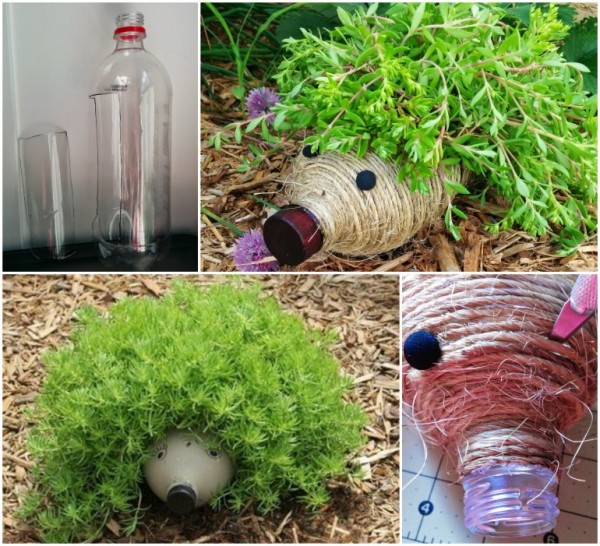
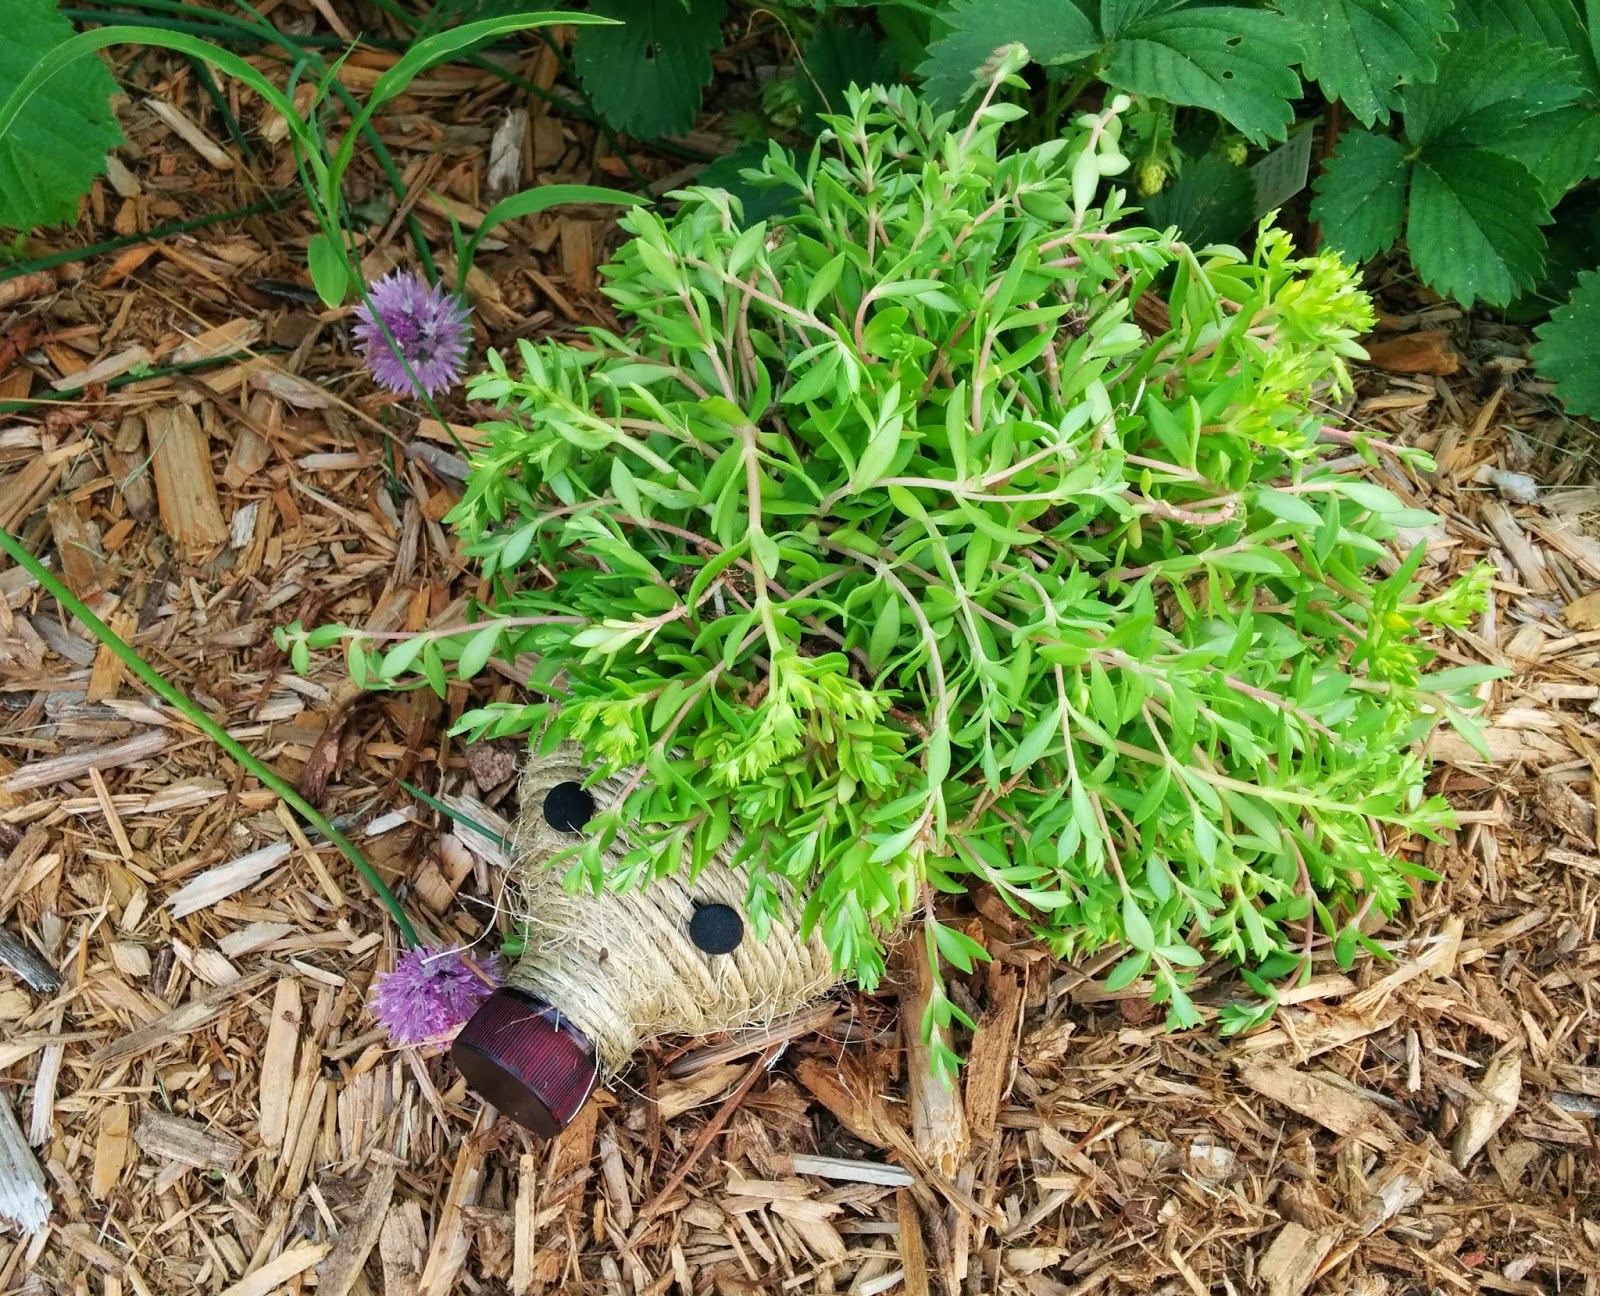
DIY Hedgehog planters, a great decor for the garden
A is a thing that can not be underestimated. It seems that nothing new can be invented on its basis, and suddenly someone does it… Magnificent flower beds in the form of hedgehogs are an excellent proof of this.
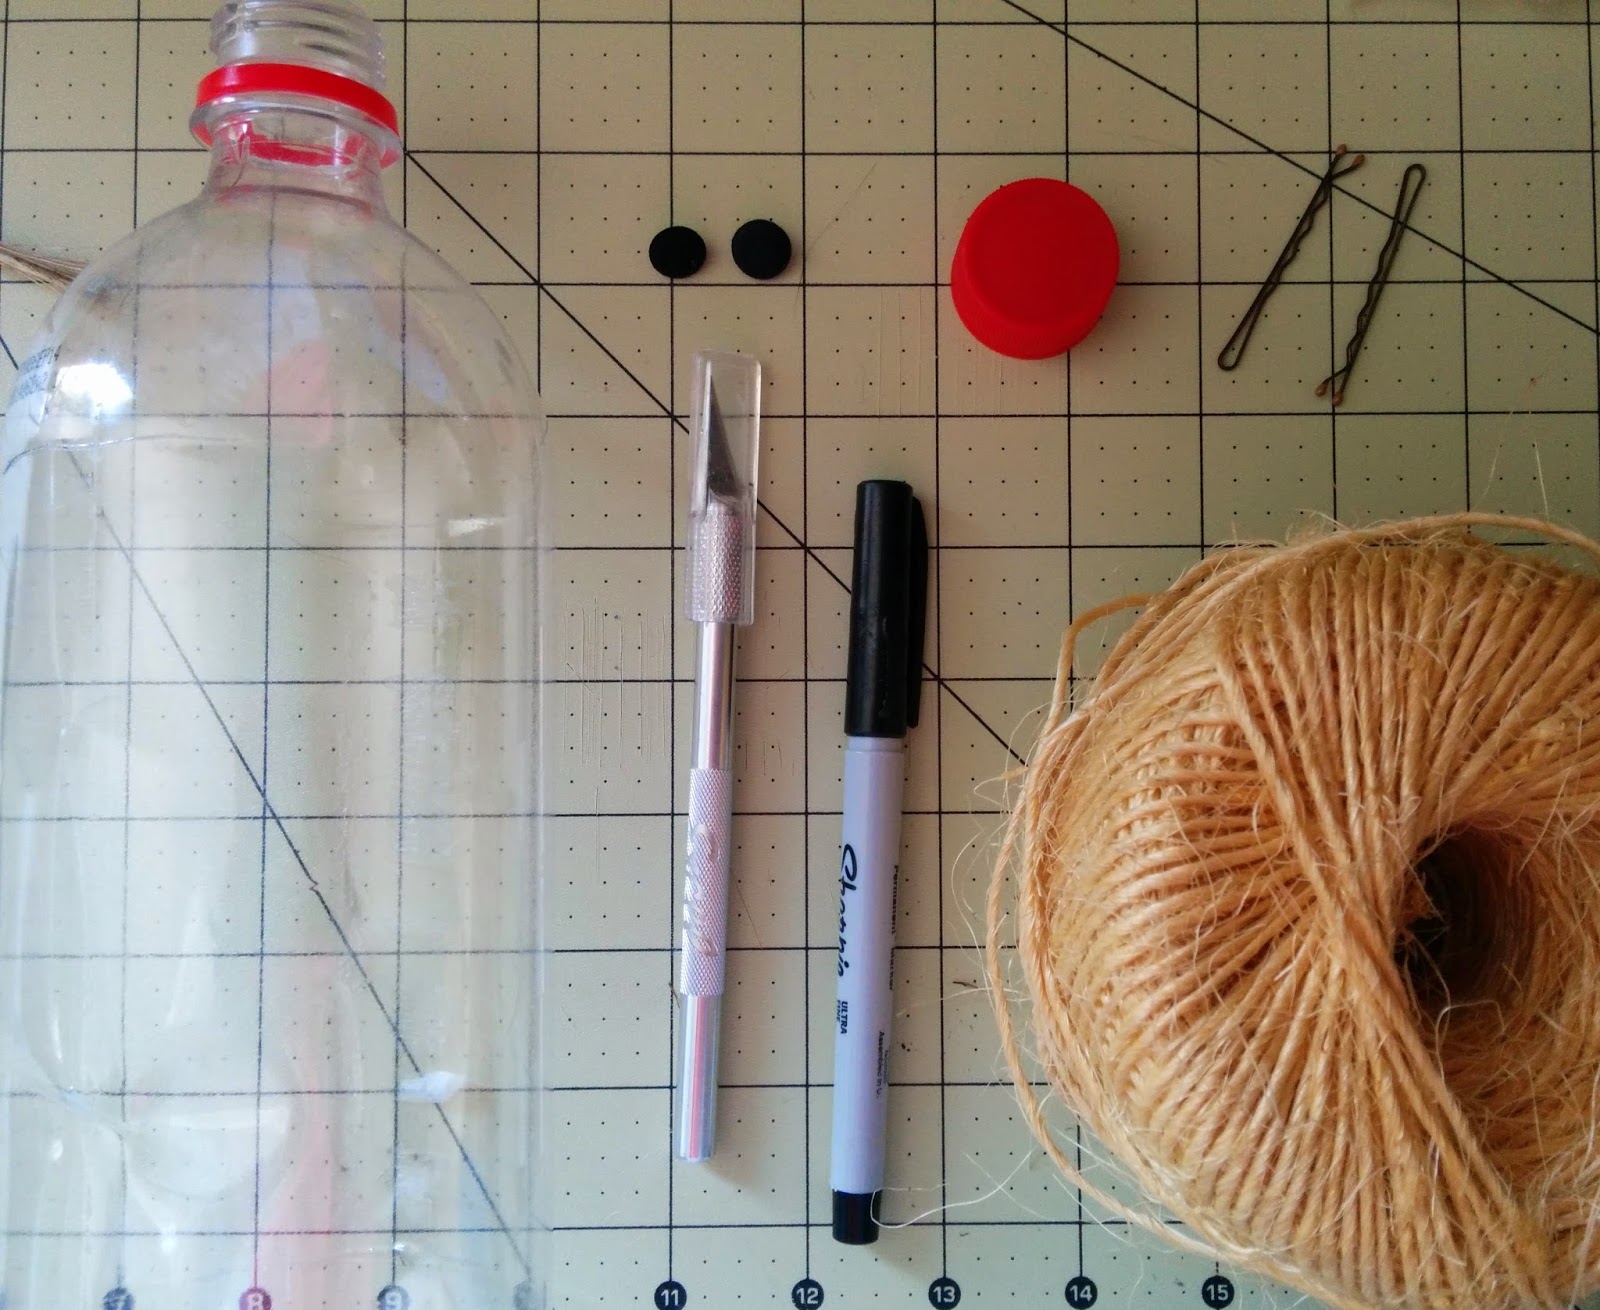
You will need:
Plastic bottle
cutter
twine
two hairpins-invisible
hot glue
marker
black beads or buttons
plant seedlings
Soil
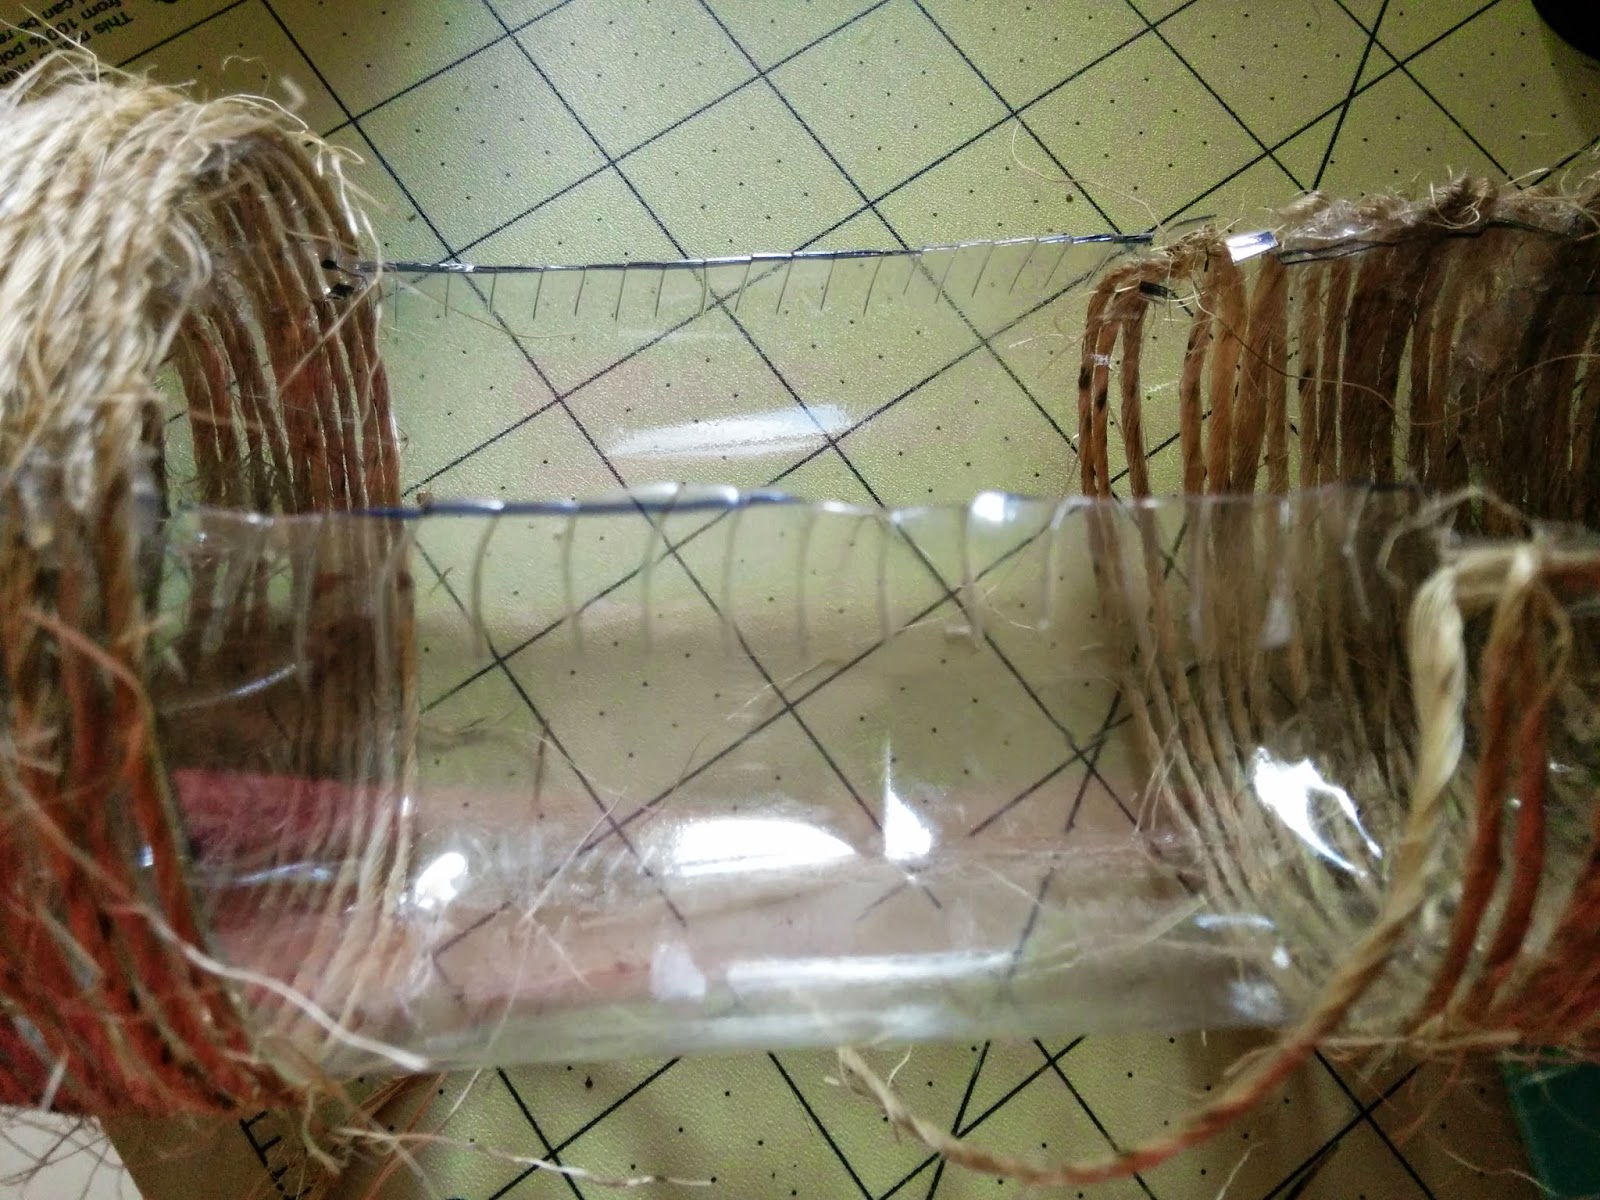
First, cut a rectangle from the bottle and paint the cap with a marker. Remove the colored ring that was used to fix the lid, and then cut the plastic underneath it.
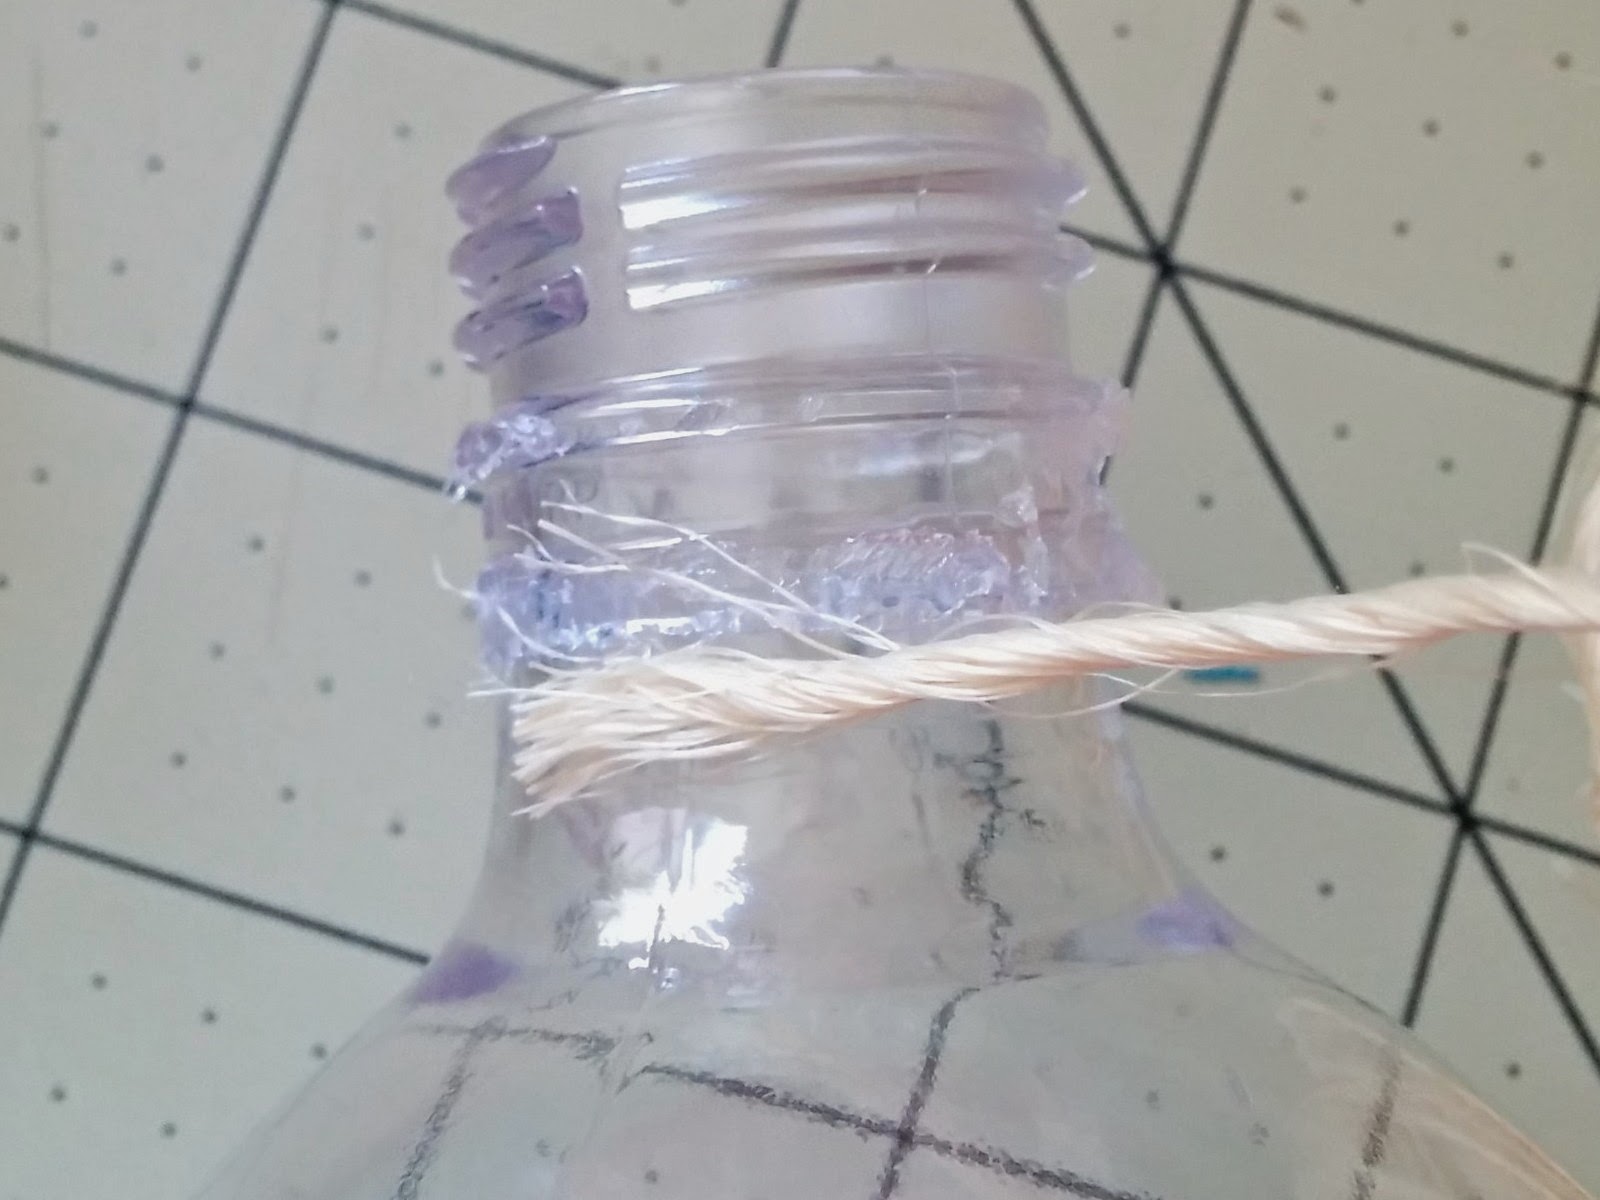
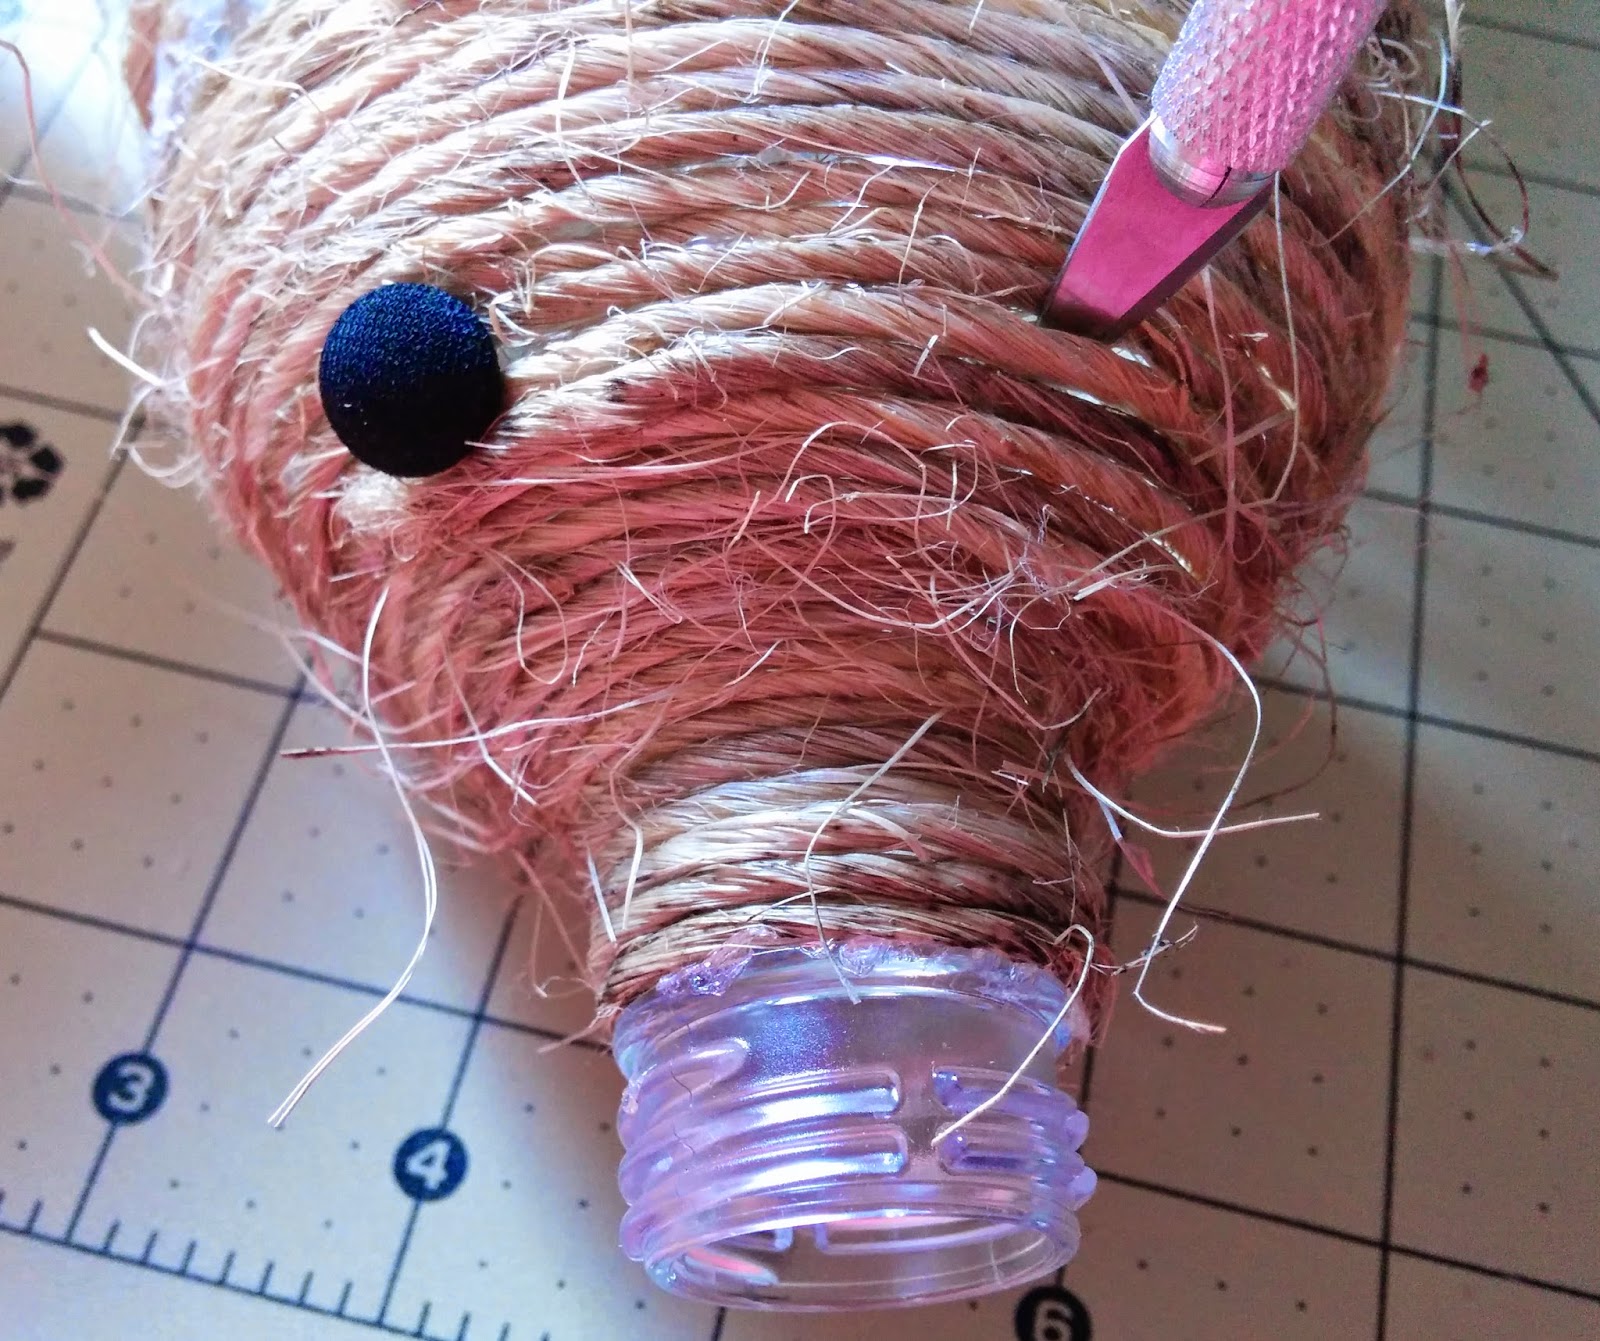
Apply a drop of hot glue on the bottle and fix the edge of the twine.
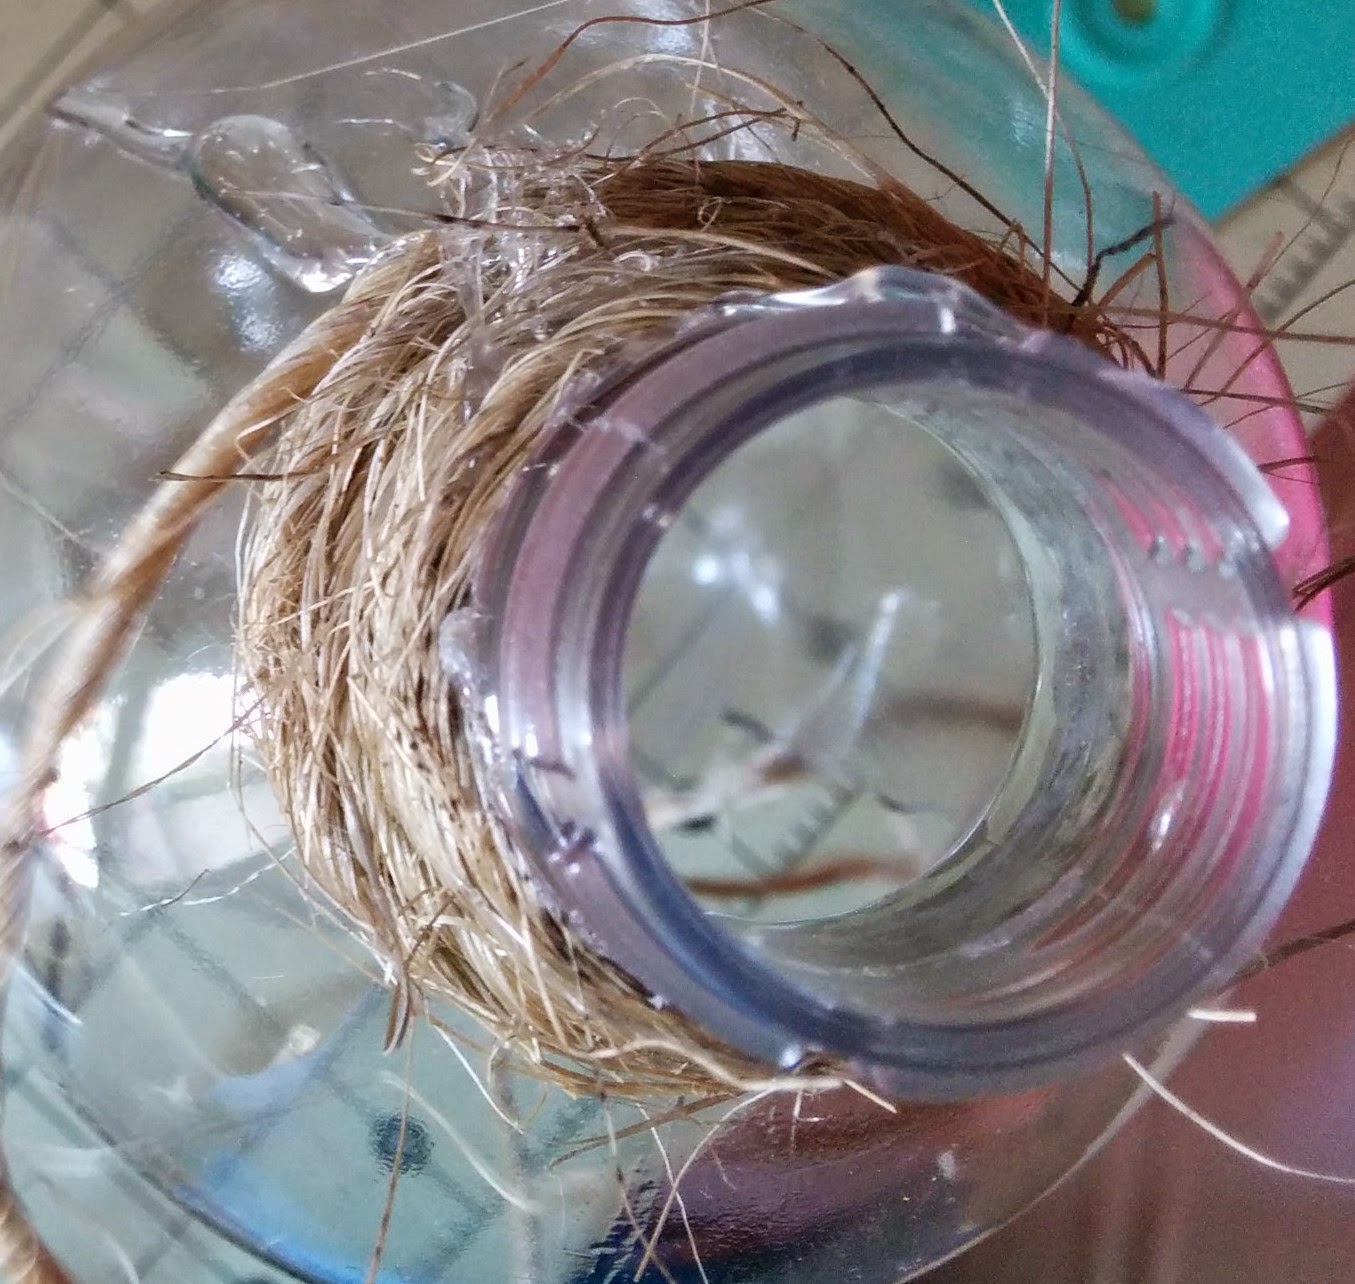
Wind the twine on the bottle, fixing the edges with glue as needed. After reaching the cut, paste the twine only on the bottom of the bottle. You can leave the bottle without gluing if this part you plan to hide with grass.
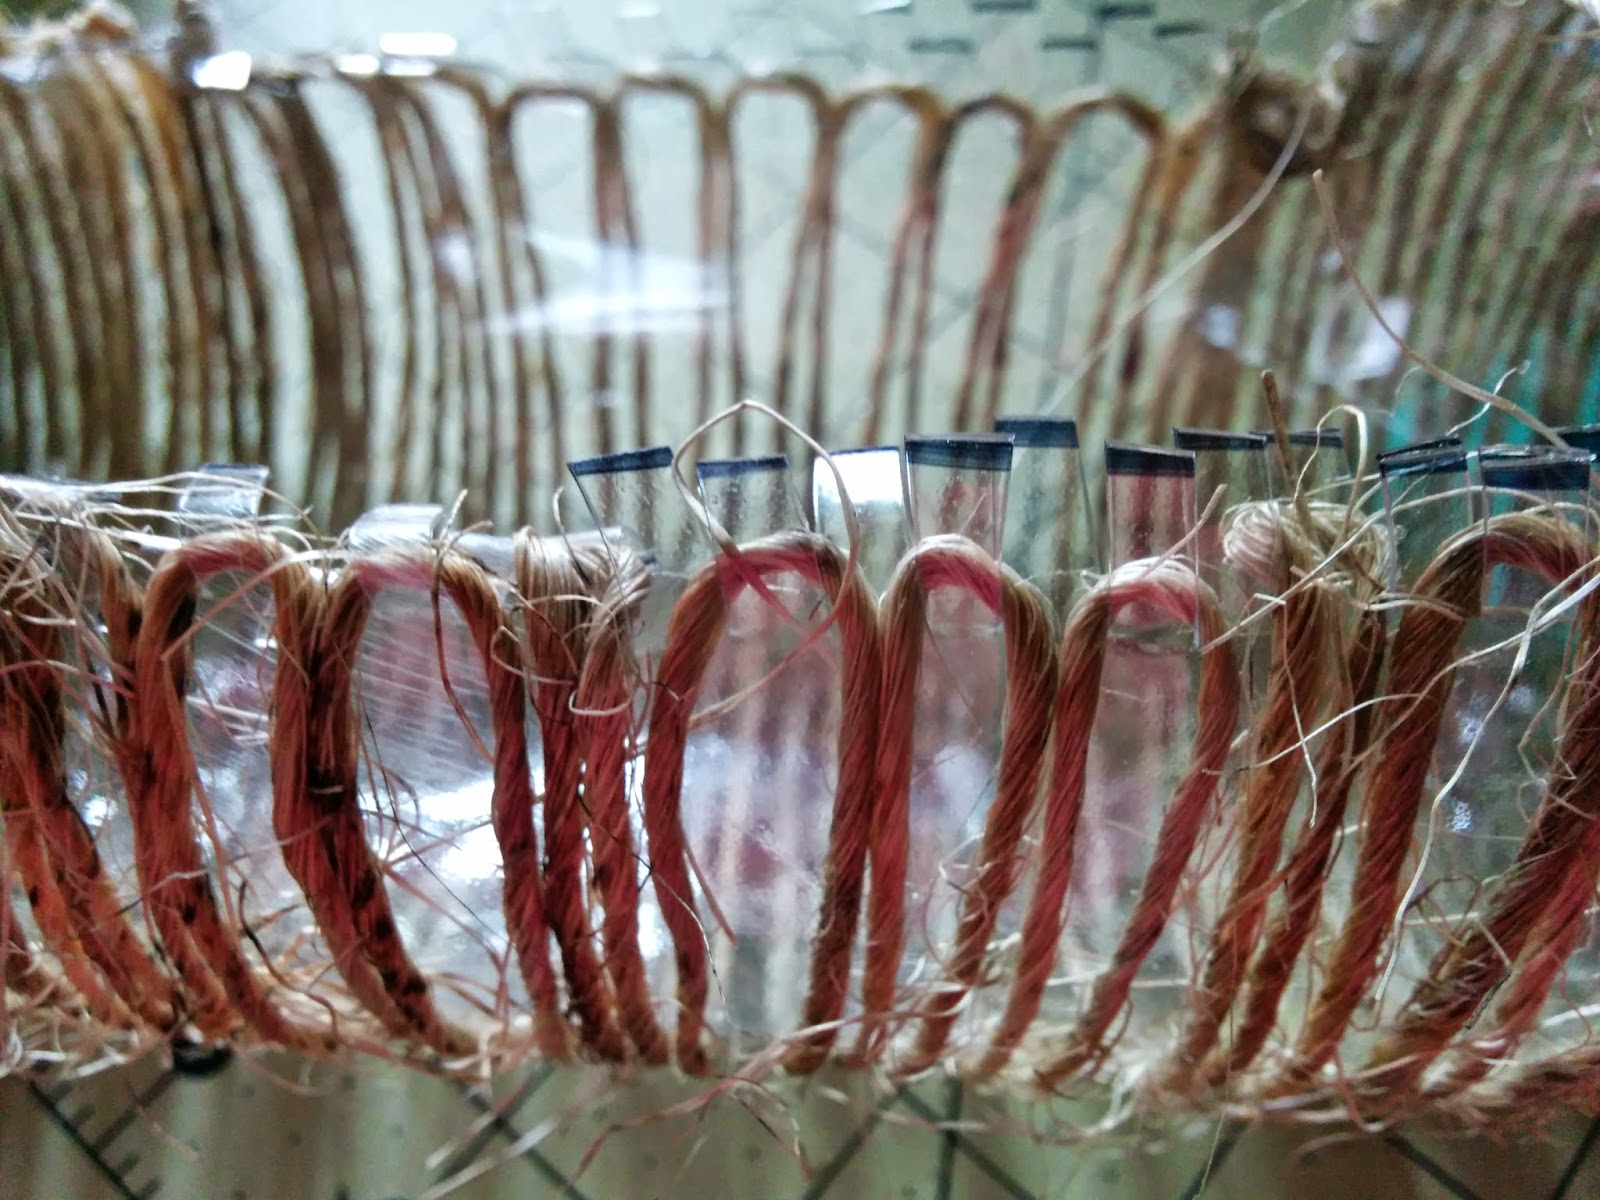
To twine better kept in the middle of the bottle, make a few cuts on the edges of the rectangle.
Fold the edges, and fix the result with hot glue.
At the bottom of the bottle, make drainage holes, and from above make slits for the buttons.
To securely fix the buttons to the invisible, and make a hedgehog eye.
It remains to fill the bottle with soil, plant the selected plant and put the hedgehog in the garden.


Via:


