Hi everyone! It’s Megan from Makewells and I’m back with my second post about lettering with a waterbrush! , I showed you the basics of using a waterbrush to get started lettering. If you missed that post, go have a looksy! There is a video that shows the 5 basic strokes you’ll need to create each lettering in the alphabet…because this time around, we’re going to start painting letters!
Again, I want to remind you that the biggest thing to remember when lettering with a waterbrush is to use MORE pressure when you create downstrokes, and less pressure when you create upstrokes. This will create a variation in line width, the downstrokes being heavier and the upstrokes being thinner.
I’ve provided a sample script alphabet for you to use as a reference for practicing.
Let’s begin with the letter A!
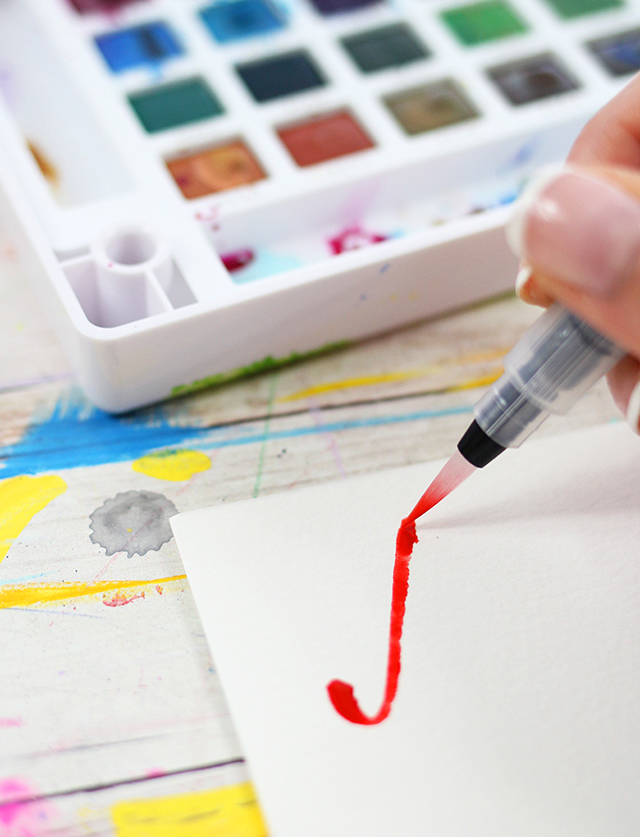
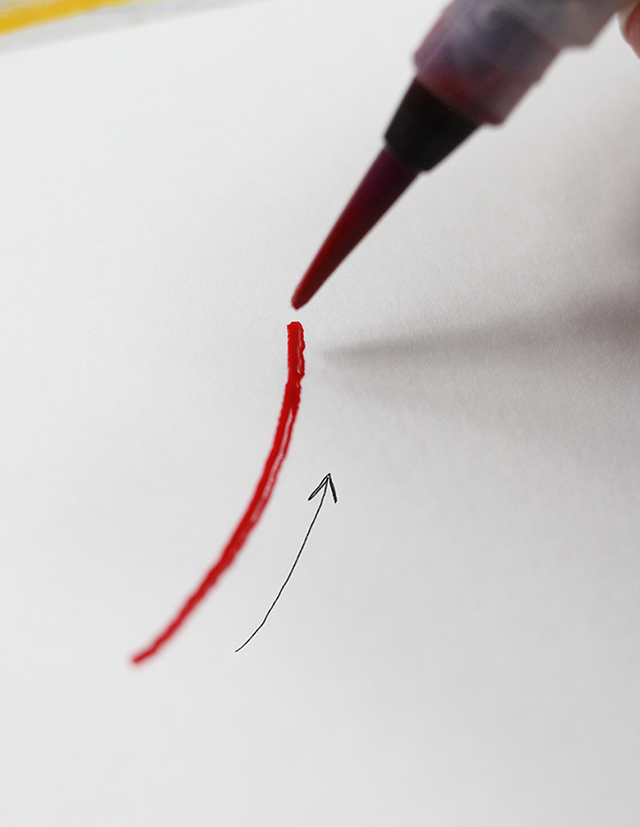
My first small stroke is down, and I create that just slightly thicker and then draw the thin upstroke of the capital A.

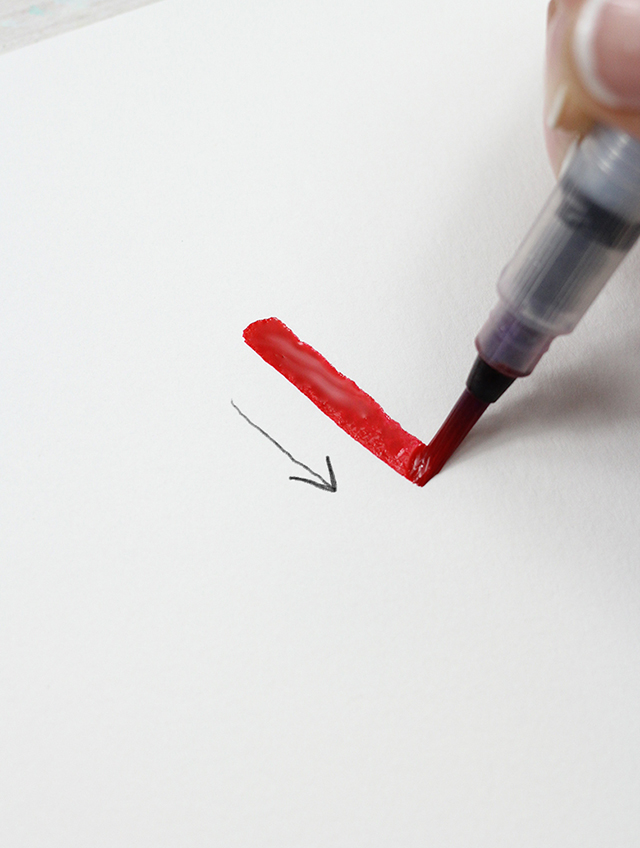
Next, I increse the pressure of my brush as I pull down to create the thicker downstroke of the A.

And finally, I make a thin wavy line through the A to create my crossbar.
This letter utilizes two of the 5 basic strokes we learned in the last lesson.
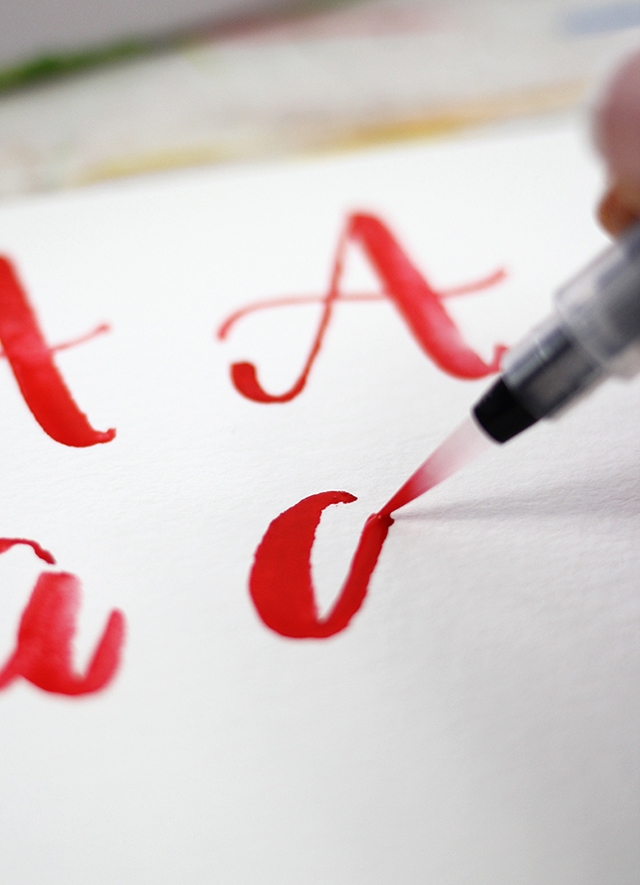
Next, let’s look at the lower case a.
The first stroke is a partial ‘o’ stroke, which is then followed by a thicker downstroke that leads back into the thin upstroke.
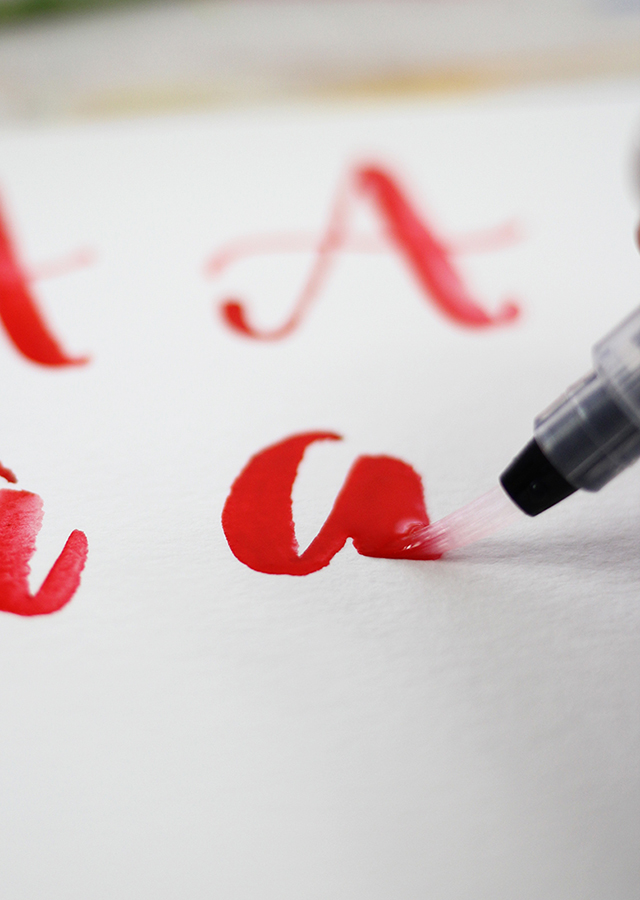
Here is a video of me painting both the upper and lowercase a’s.
from on .
Now work your way through the alphabet!
Lettering with a waterbrush takes a lot of practice! If you get frustrated, try going back and practicing some of the basic strokes again. Always remember…practice makes better!
I hope you’ve enjoyed today’s tutorial!
To see more of my work, follow along on Instagram –
Til next time friends!
Xo – Megan


