Bohemian Pom Poms DIY

Bohemian Pom Poms DIY


Welcome to my newest project!
I have had this idea of making bohemian pom poms running through my mind over and over again until I decided to give it a try.

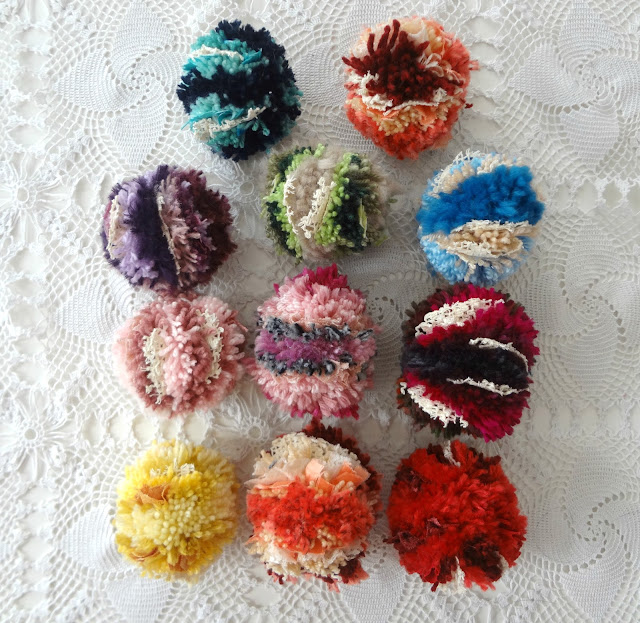
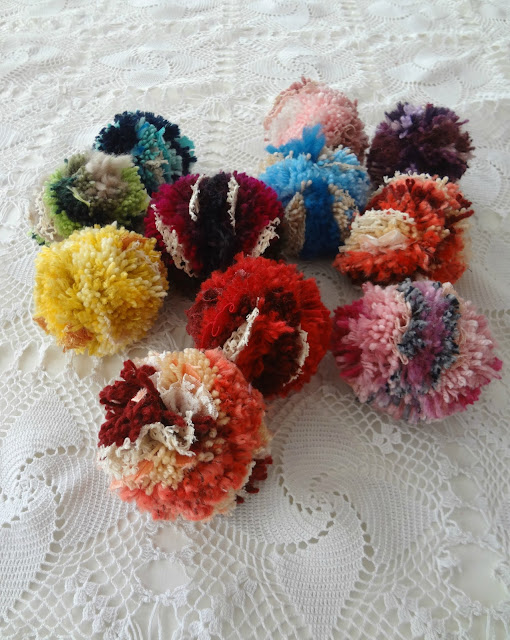
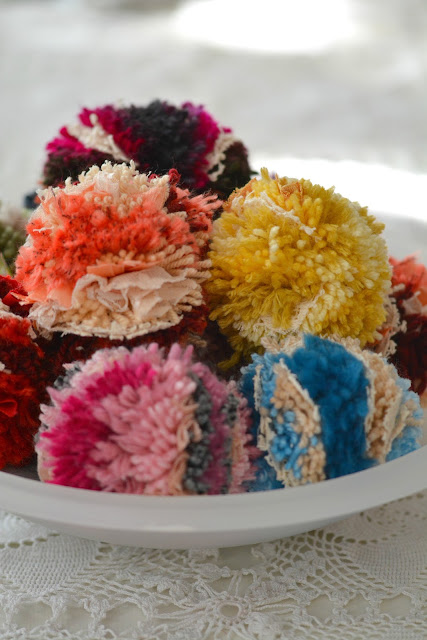
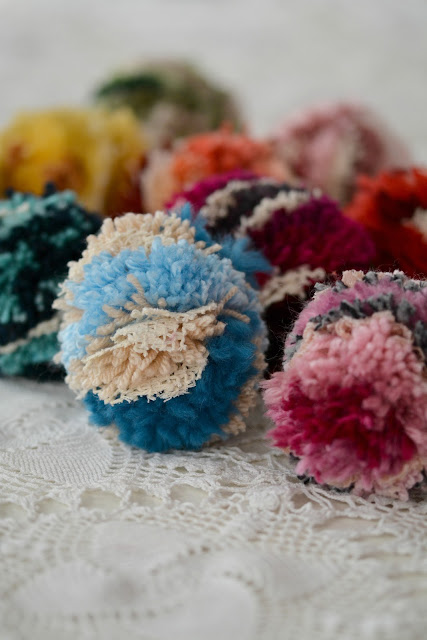
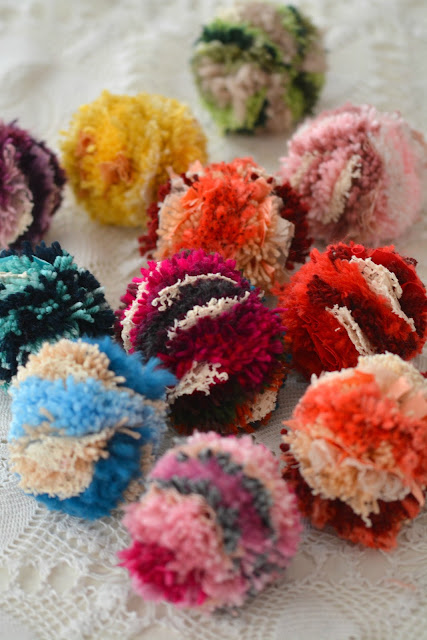
These babies turned out fantastically and I am absolutely delighted with them. I don’t think I would ever make an ordinary pompom after seeing how beautiful these turned out.

Bohemian Pom Poms DIY

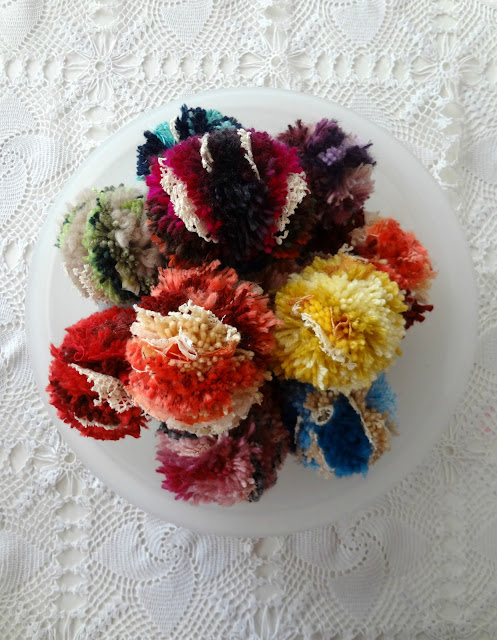
Do you like them? Here’s how I made them.

Supplies
 
Bohemian Pom Poms DIY
 
 
Gather your supplies. For these boho candies I recommend you use materials with different textures. Combine chunky yarn with thin mohair or sport yarn. Add ribbons both sateen and crocheted. I included elastic lace, some velvet, jersey strips… everything I could think of that would make it even more textured and rich. And of course – we shouldn’t forget the pompom maker.
 
For the pompom in this tutorial I used 3 different sizes of yarn (in orange, beige and burgundy), an elastic lace ribbon, sateen ribbon and crocheted (lace) ribbon.
Bohemian Pom Poms DIY


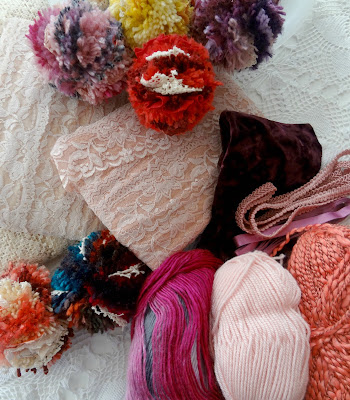
You can make a note which material is going to go first, second, etc. or work on a whim. I promise the effect will be equally attractive – you simply cannot go wrong.

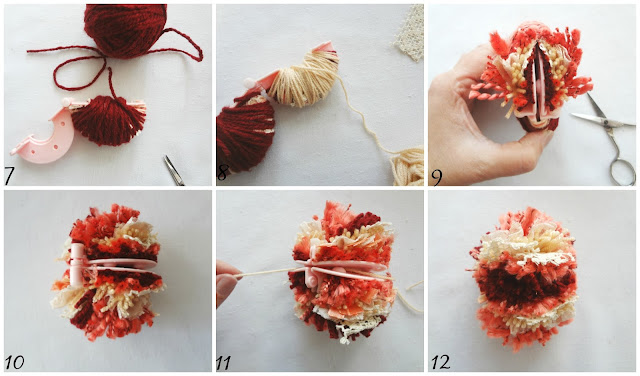
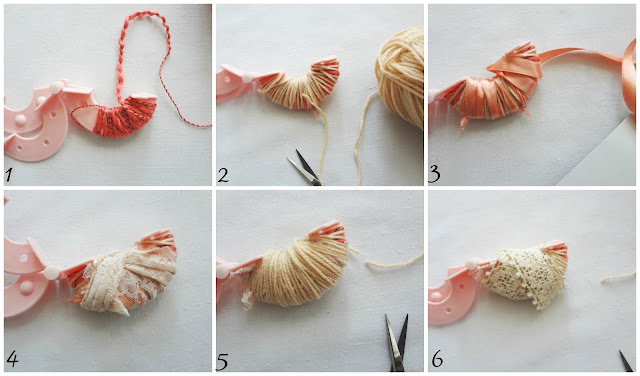
1. I like starting with chunky yarn (although the one in the picture changes into a thread and gets  chunky again after a few wraps). Wrap the yarn a couple of times. Cut it off at the upper side.
2. Add new yarn, preferably thinner (or thicker) than the first one. Cut it off as before. The number of wraps depends on you.
3. Add a sateen ribbon (all through the maker or just in a single spot). Cut it off.
4. Add elastic lace  ribbon – repeat as in 3 above.
5. Wrap yarn (whichever you like) to cover the lace and ribbon nicely and
6. Wrap the crochet ribbon.

Bohemian Pom Poms DIY


7. Cover it with a chunky yarn to finish it off.
8. Work the other side too.
9 -10 Cut it open (both sides)
11. Tie a strong knot. I usually use a long thread and wrap / tie around it a couple of times so that the yarns / other materials do not budge.
12. When it is done, trim it. And that is it!
I am going to use these for my next project but I am keeping that as a surprise.

Bohemian Pom Poms DIY

Bohemian Pom Poms DIY

Bohemian Pom Poms DIY


©