One day it happens. You’ve mastered and have created a beautiful tapestry with yarn scraps and lots of love, but how do you take it from a scruffy work-in-progress to a finished, usable rug or wall hanging? Turns out, it’s just a matter of some hand sewing and deciding how you want to display your handmade masterpiece. Today, let’s take a closer look at a basic method for finishing your latch hook projects!
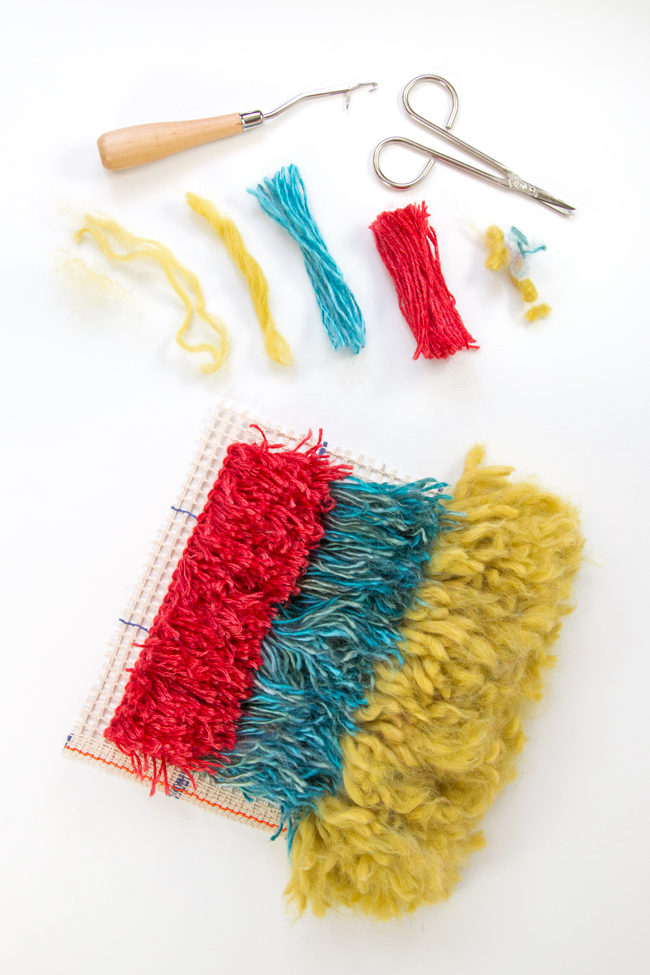
This might look familiar. 🙂 Here’s where we left off last week in our : We planned out our latch hook project, and worked every knot, leaving ourselves about an inch of rug canvas beyond the edge of our work. (The project pictured here is going to be a smaller scale wall hanging when we’re done with it, and if you’re interested in getting a pattern for it, check back in a couple days!)
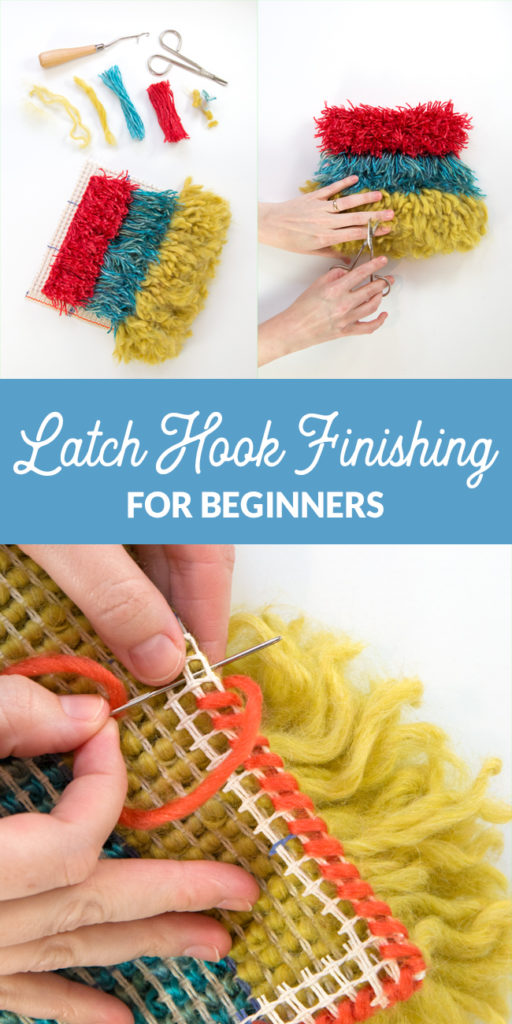
How to: Basic Latch Hook Finishing
Suppies your nearly finished latch hook with ~1″ of empty rug canvas on all sides
(sturdy) scissors
tapestry needle
yarn or strong thread
Directions
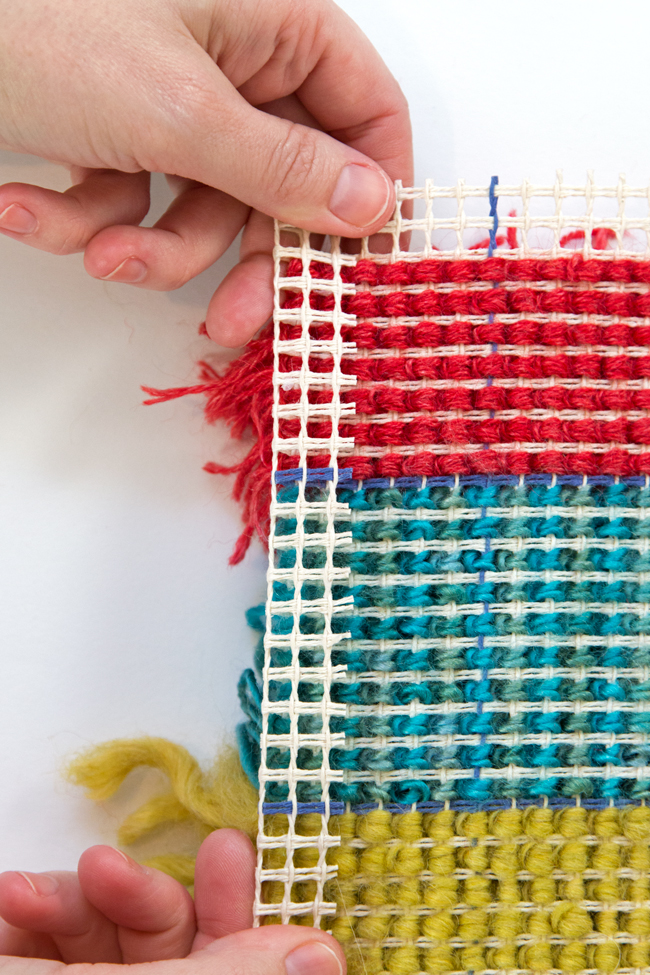
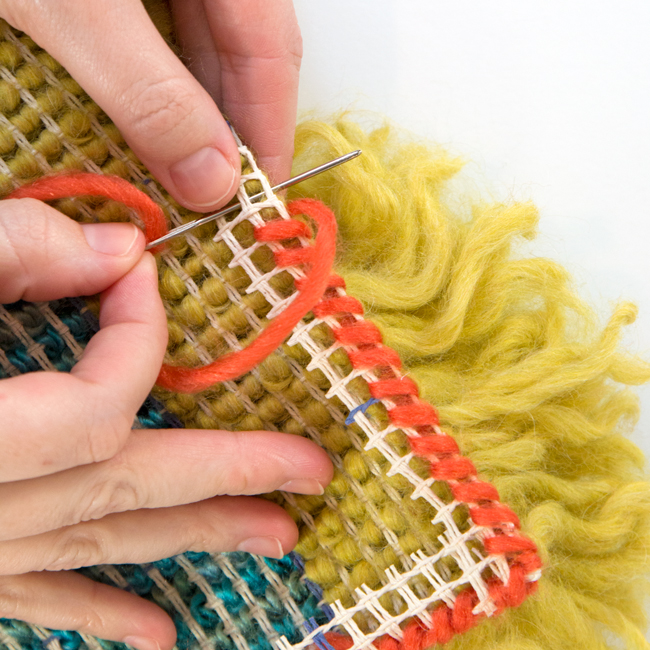
Fold your ~1″ of unused rug canvas down at the back of your latch hook project.
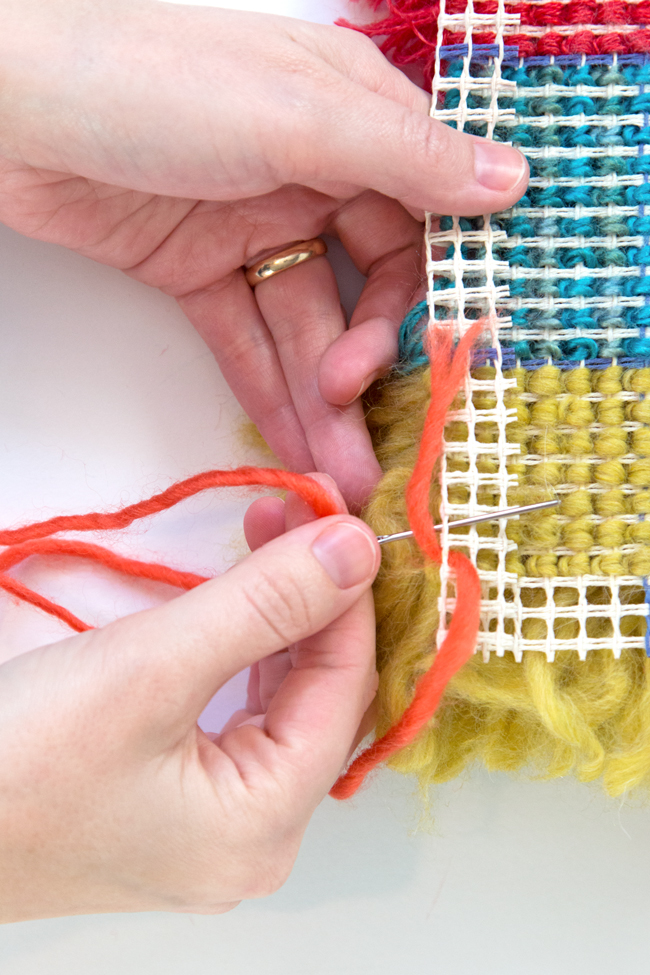
Thread your tapestry needle with sturdy yarn or thread. (For demonstration’s sake I’m using this bright orange roving so you can see my sewing in these tutorial photos, but I recommend using something strong.) Turn your latch hook project right/shaggy side down. Draw your yarn from back to front, leaving a few inches of a tail as shown. Using a , sew around the folded edge of your rug canvas as well as that tail to hold the extra rug canvas down at the back of your work, as well as secure the tail end of your yarn. If you want your tail to be extra secure and/or you’re not totally comfortable with sewing, feel free to use a small knot.
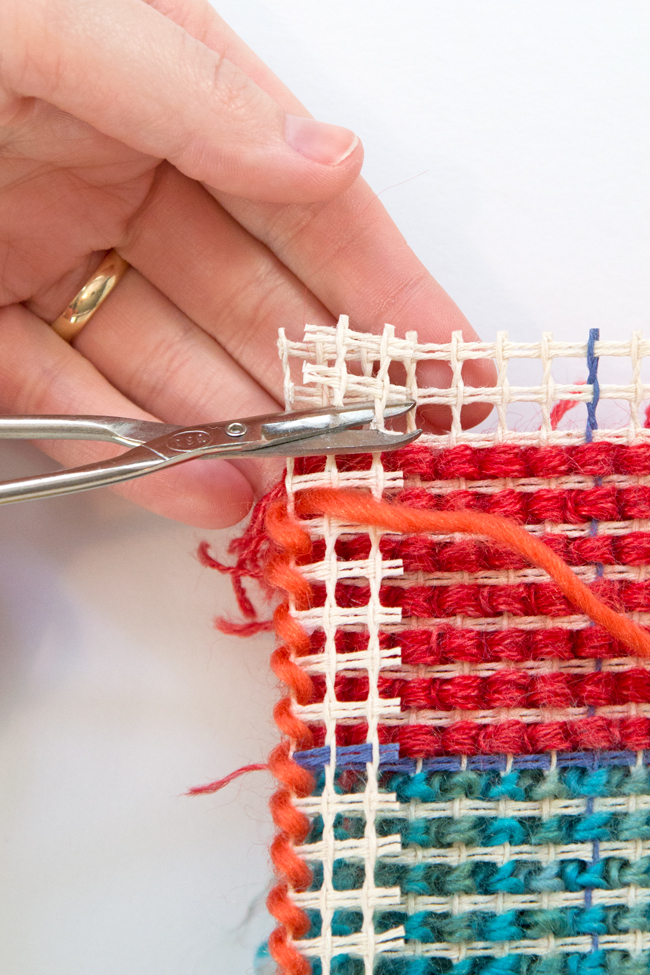
Continue whip stitching around the edge of your rug canvas until you reach the far end of your work. Set your tapestry needle down, but feel free to leave it threaded. Next, to reduce bulk at the corner, cut out the small square of rug canvas where your edges overlap (see above).
Fold down the next edge of your rug canvas just like you did the first edge. Whip stitch around the folded corner of your latch hook project to secure the corner, and keep whip stitching along the next edge of your project to secure the excess rug canvas at the back of your project once again.
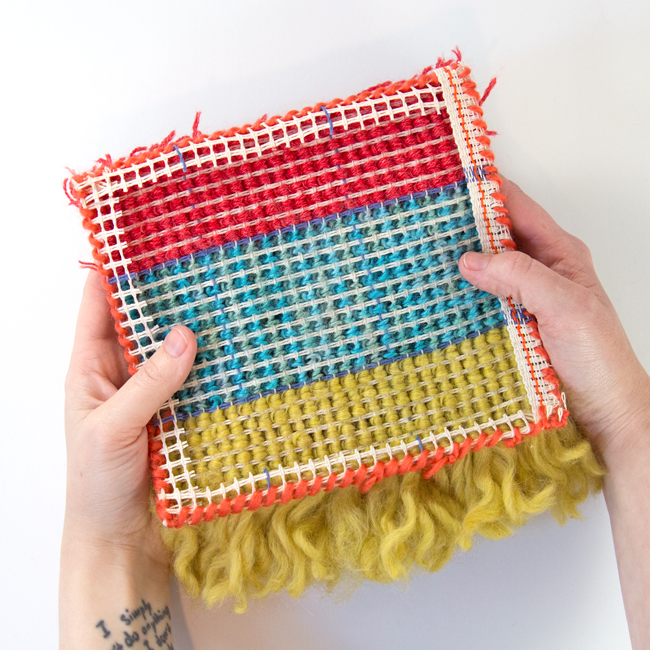
When you’ve worked all the way around all sides of your project, break your yarn and finish it with a knot. Sew the tail back through the whip stitching to weave it in. The back of your finished work should look something like this. (If you’re working with a sturdier yarn for your finishing, you’ll have an even crisper look than I was able to accomplish with my orange demo yarn here!)
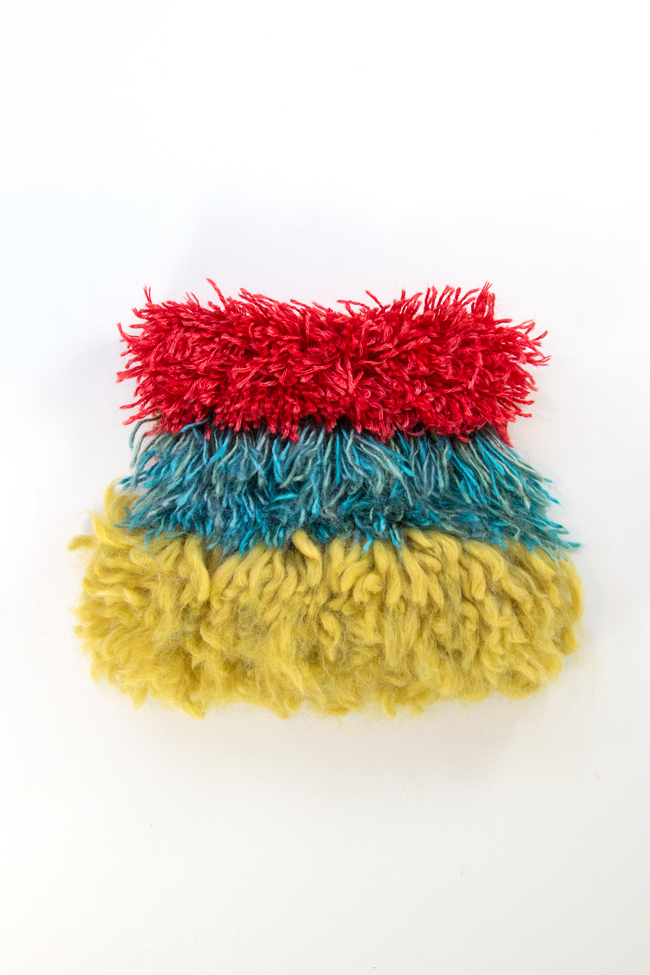
And here’s what it looks like from the front! No rug canvas sticking around the sides, and all edges are secured. The very final step in latch hook finishing is to give your shaggy yarn a trim to even out any yarn bits that are sticking out in ways you don’t prefer. For the pictured project, I mostly trimmed the excess fuzz from the yellow section (see photo at top of this post) to keep the strands of yarn visible. How much or how little you trim your latch hook projects is up to you!
If you’re loving the latch hook project pictured in this and basics tutorials, tune in Wednesday for the free pattern to get you latch hooking like a pro!
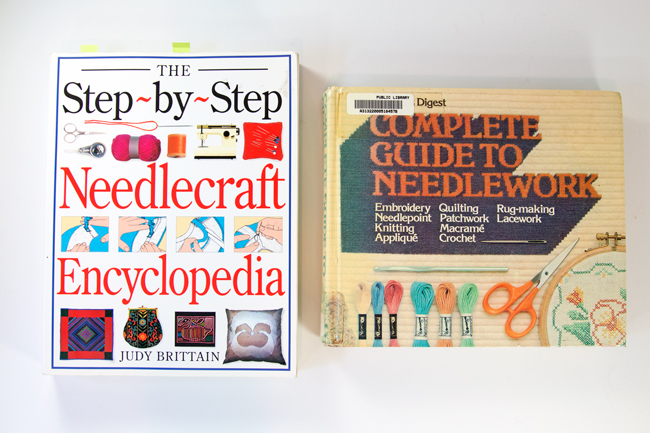
P.S. Looking to learn more about latch hook? These are two classic needlecraft books filled with great, in-depth instructions for making latch hook projects (and more)! I have sworn by these books as references for knit, crochet, embroidery, and so many other things since I was in elementary school: by Judy Brittain & the .