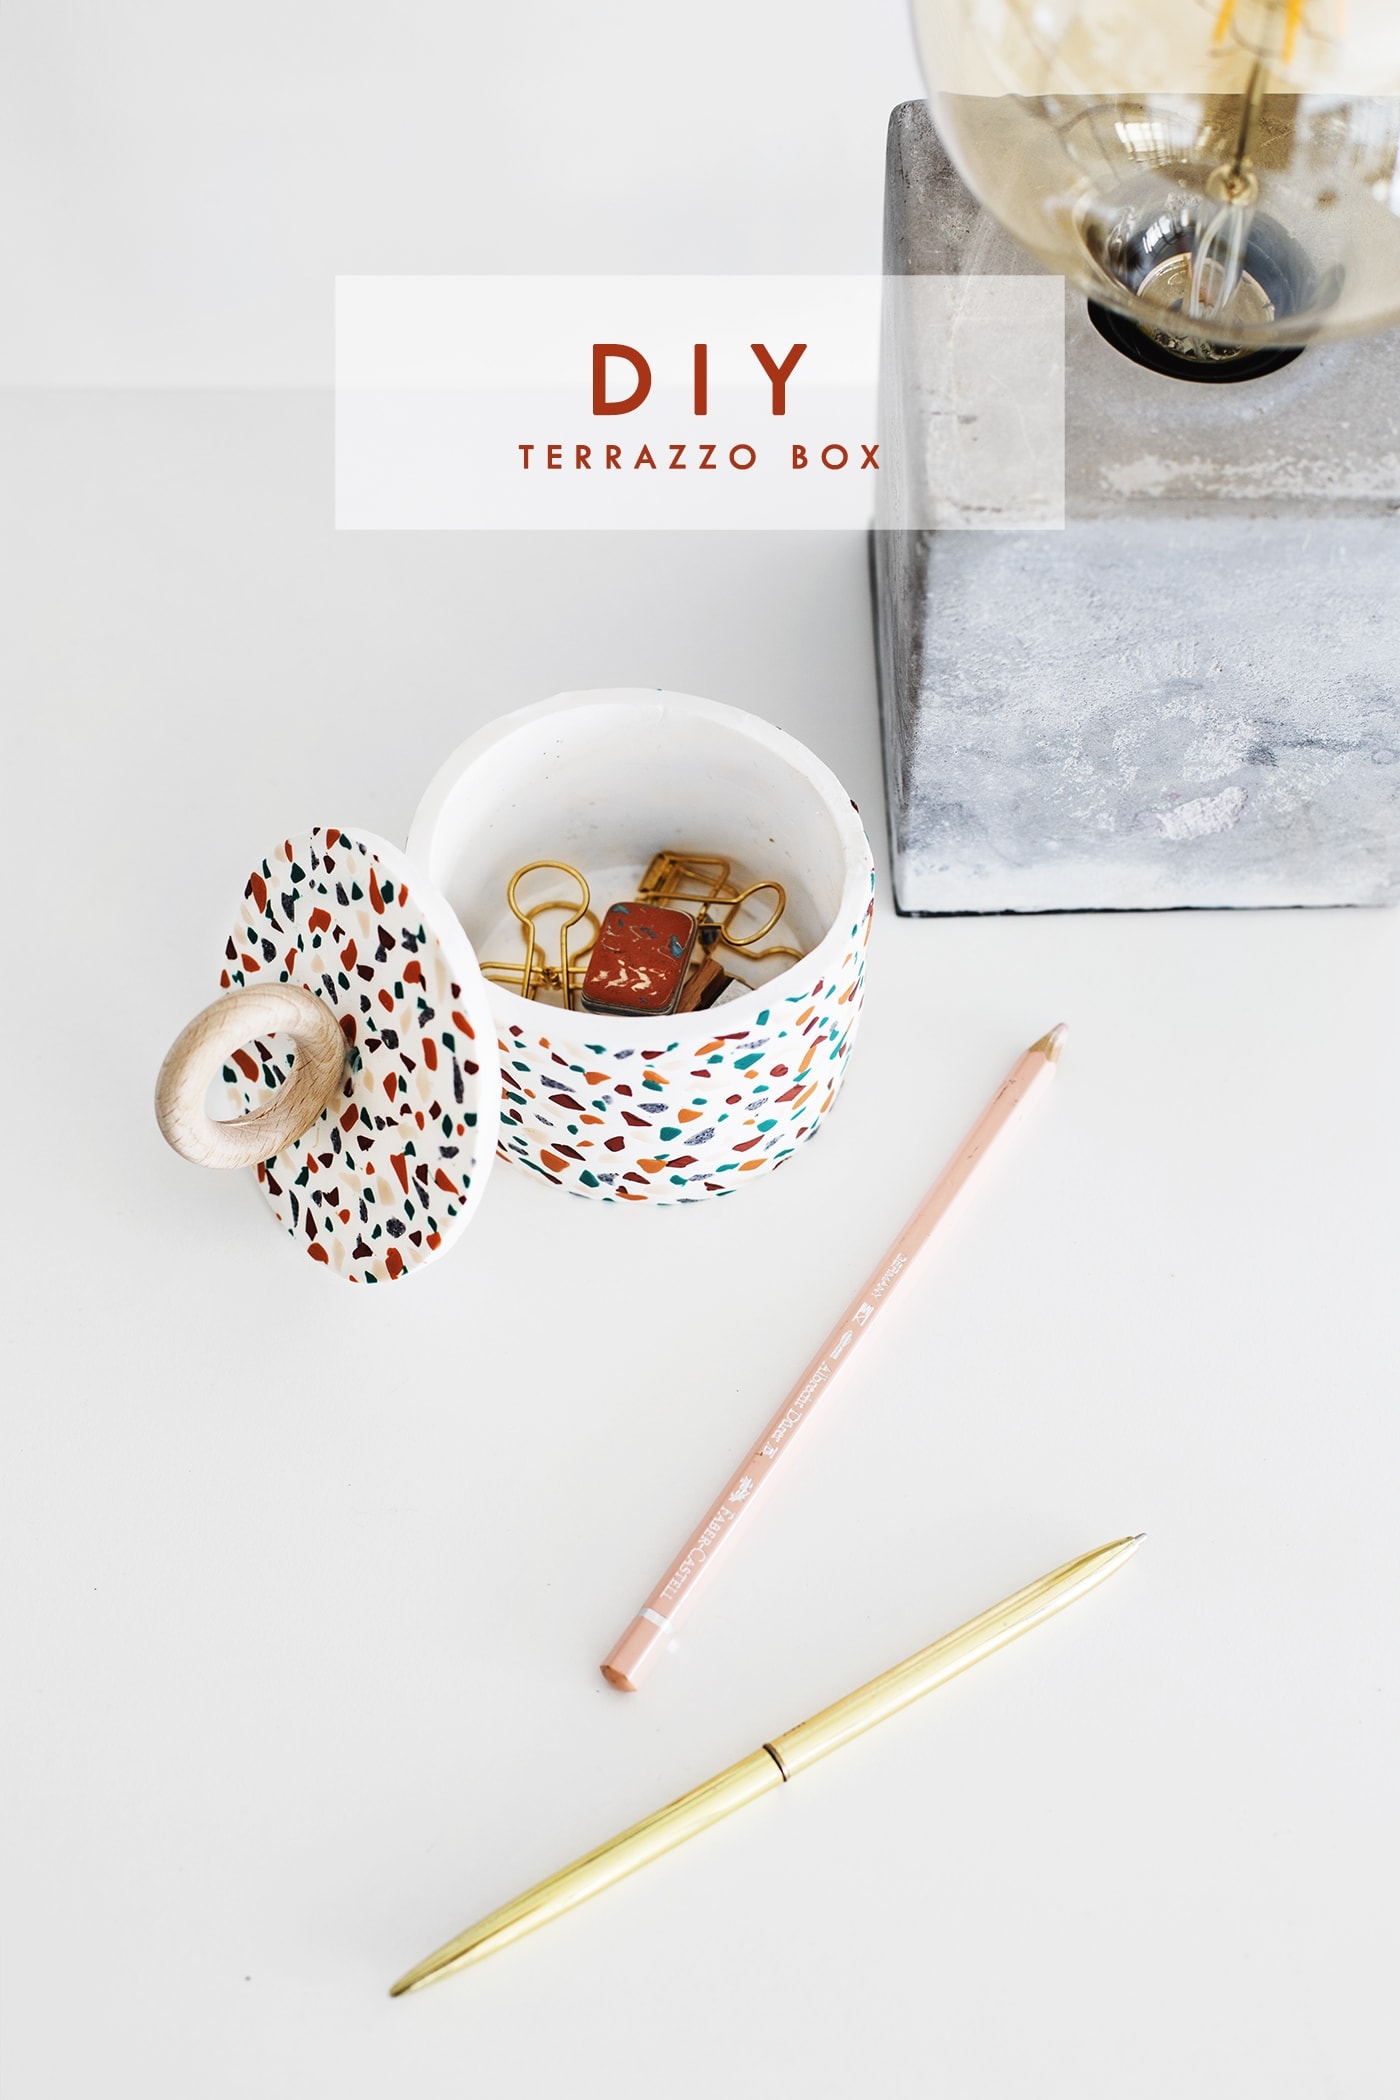
I don’t know about you but I’ve spent a lot of time lately, lusting after terrazzo everything. I was particularly in love with the technique when I visited in March and between the wall in Cafe Kitsuné and the gorgeous table tops in Peonies Cafe, I knew I had to recreate something similar for a DIY project and so friends, that’s exactly what I’ve done! And who would have thought it would involve Fimo???….umm everyone!
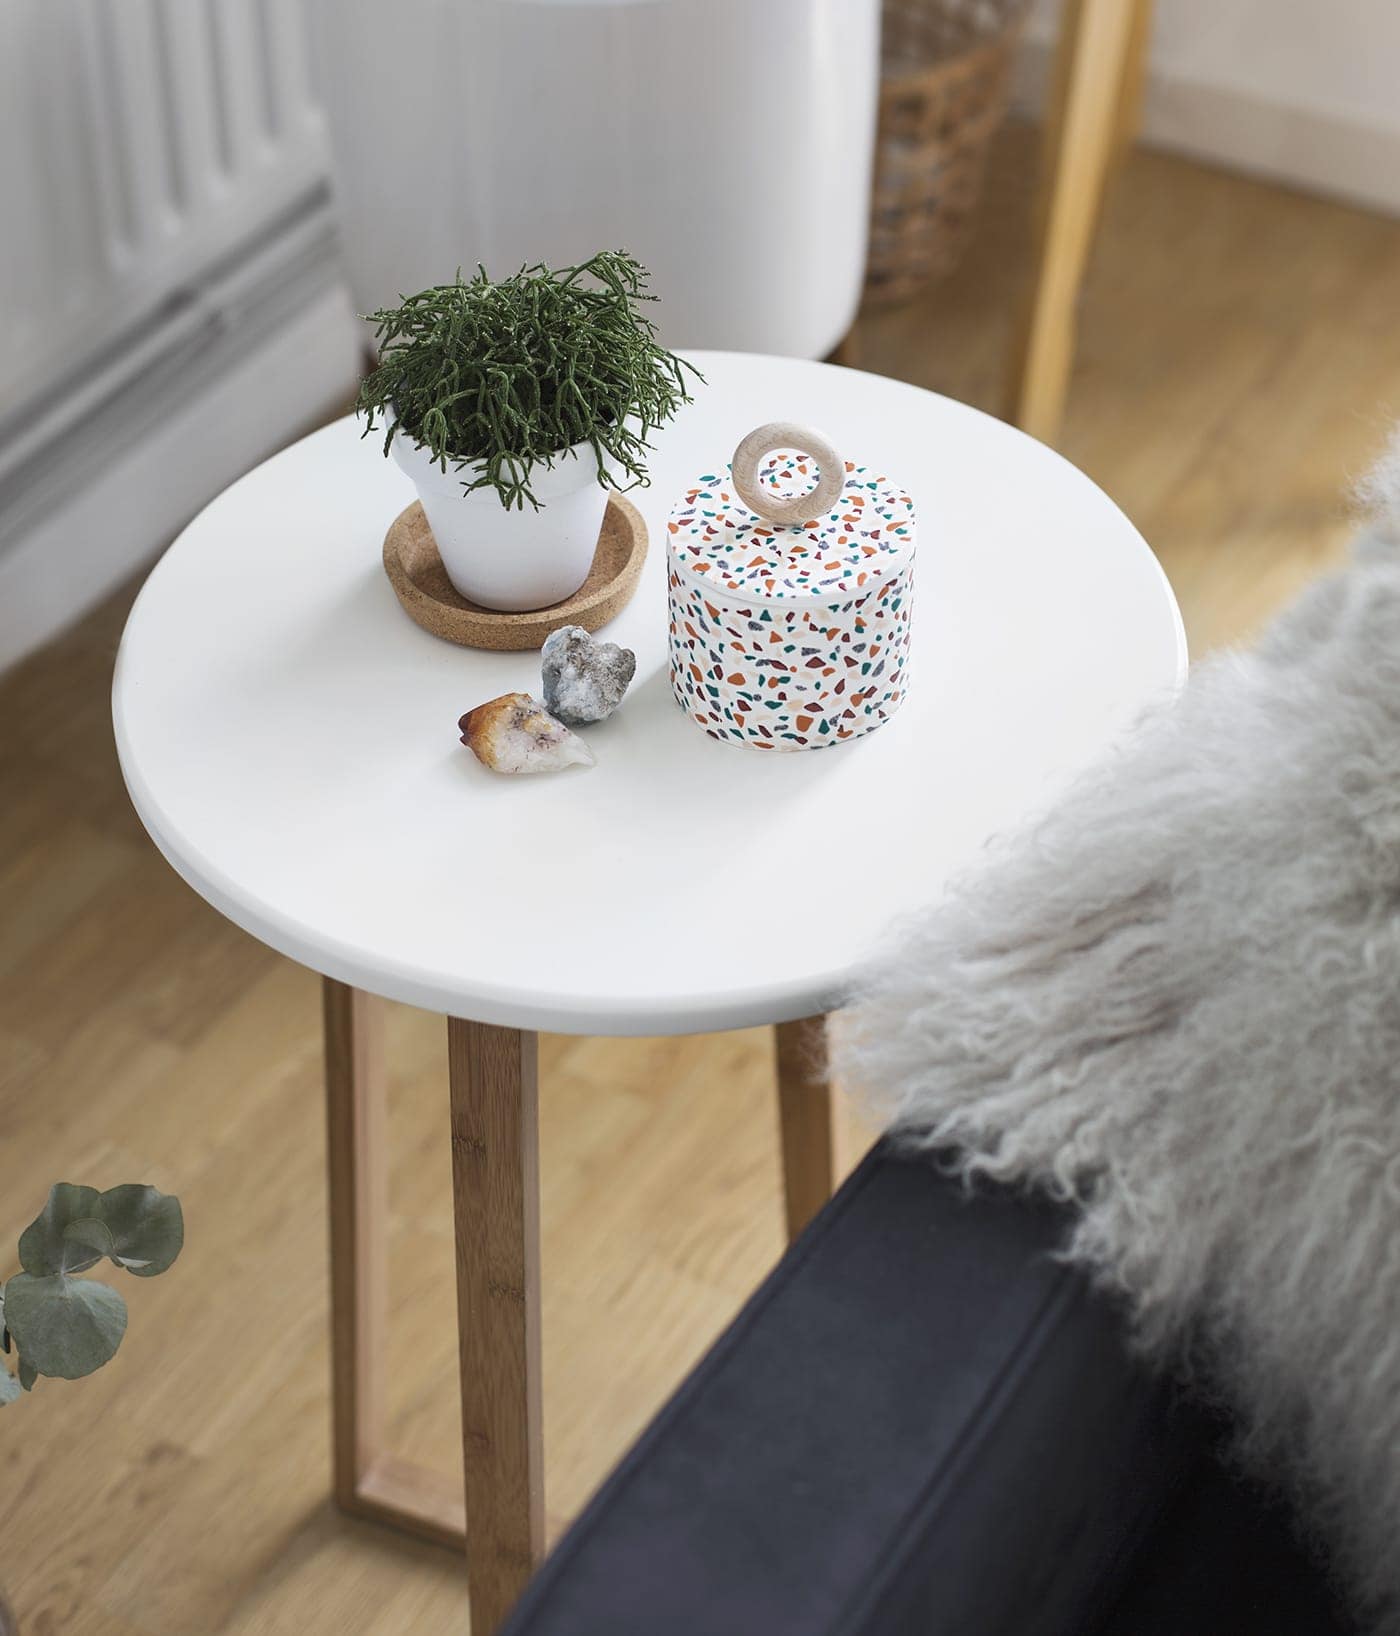
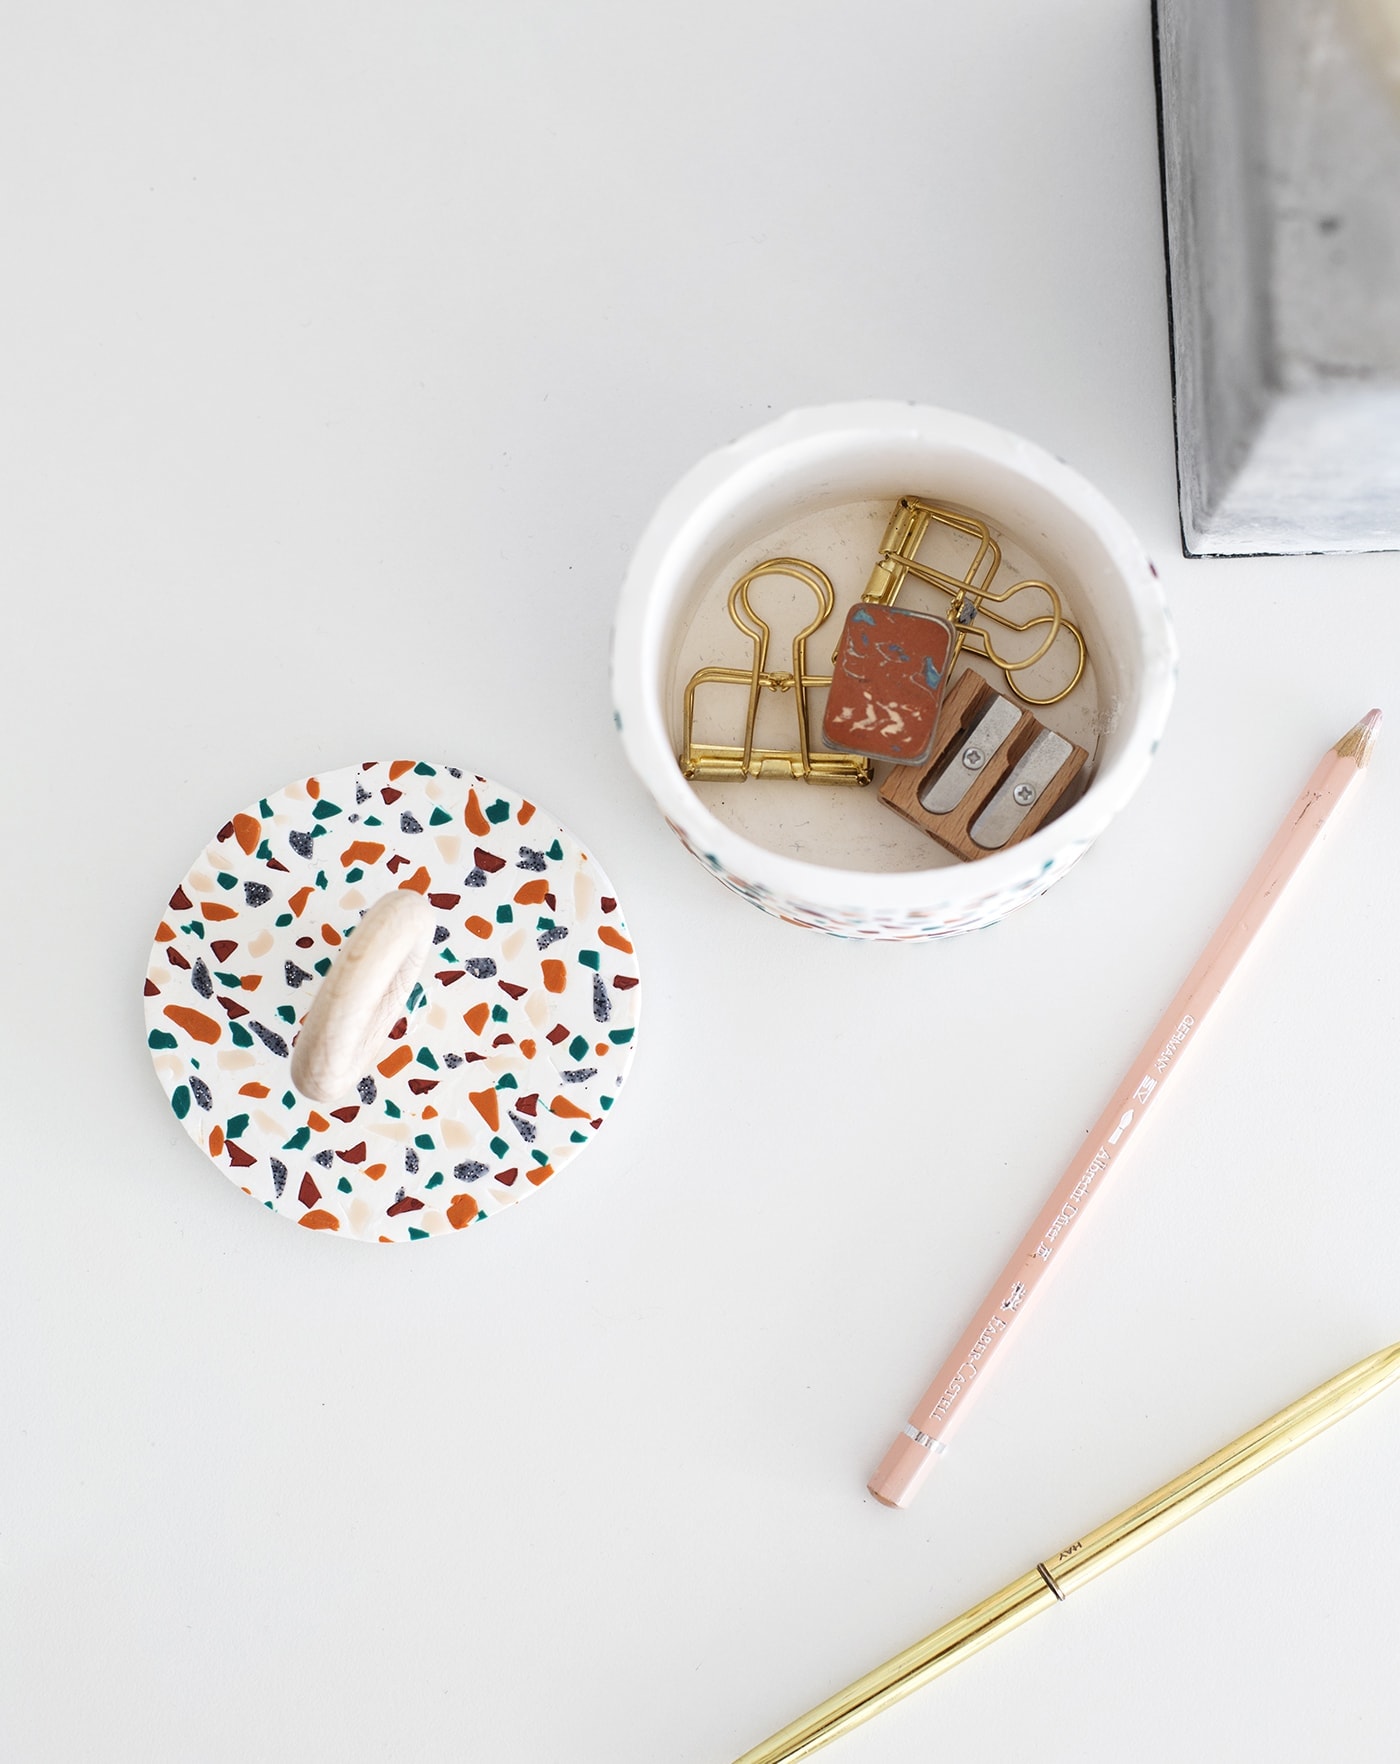
This little box can be used to organise your desk, hiding away rubbers, paperclips, sharpeners and the like or somewhere to store your earrings or keys. There’s always a need for another storage box in your life and this one looks so pretty to boot!
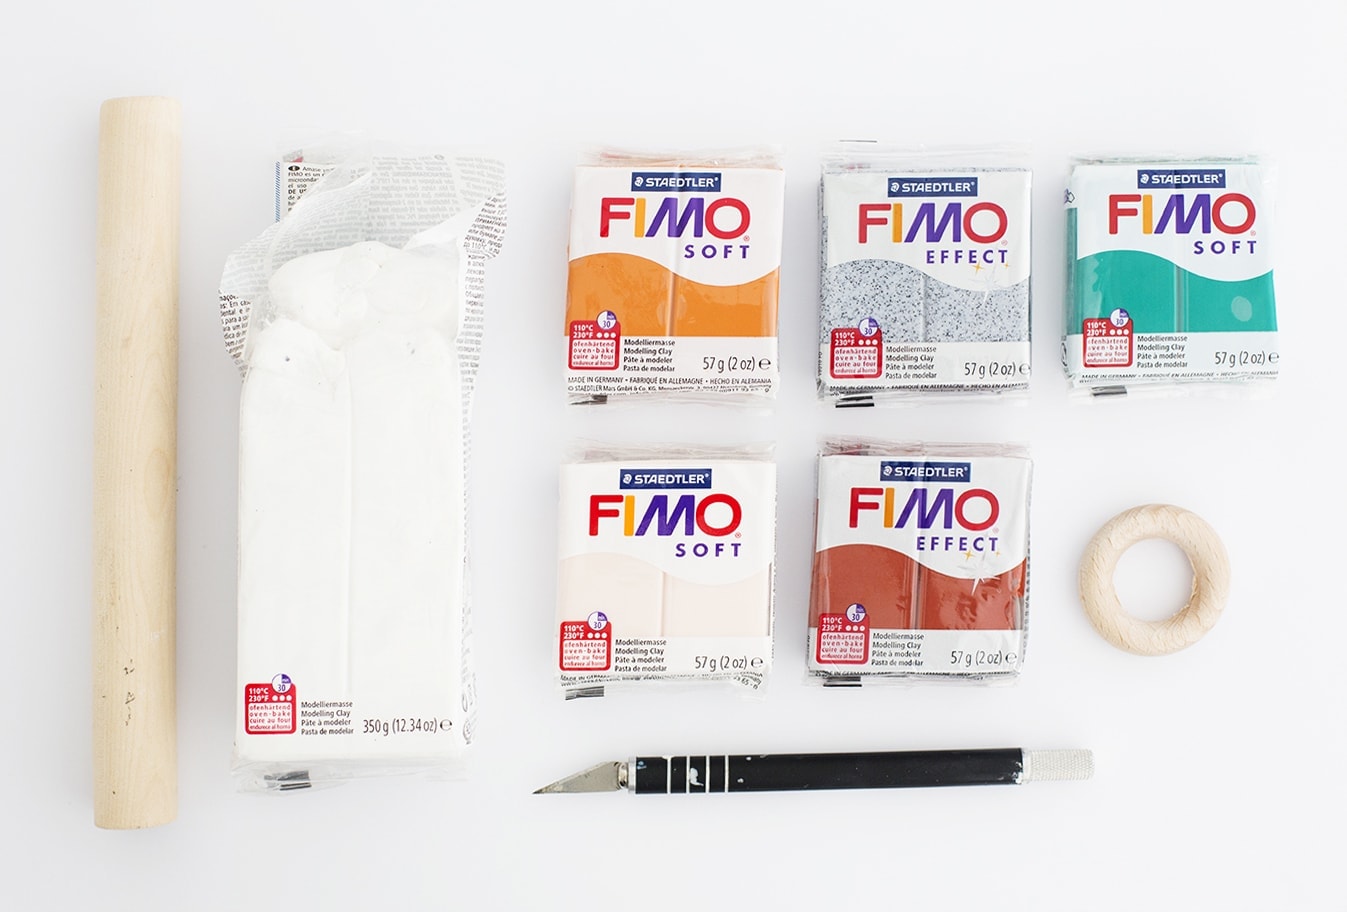
Materials
- Polymer clay in 4-5 different colours (it’s nice to mix flat colours with effects)
- A large 350g block of white polymer clay ( I used about 300g to make my box)
- Scalpel
- Rolling pin
- Wooden hoop
- Strong wood glue
- Cutting mat or surface protector
- Pot or glass roughly to the size you’d like yours (it helps to have flat sides)
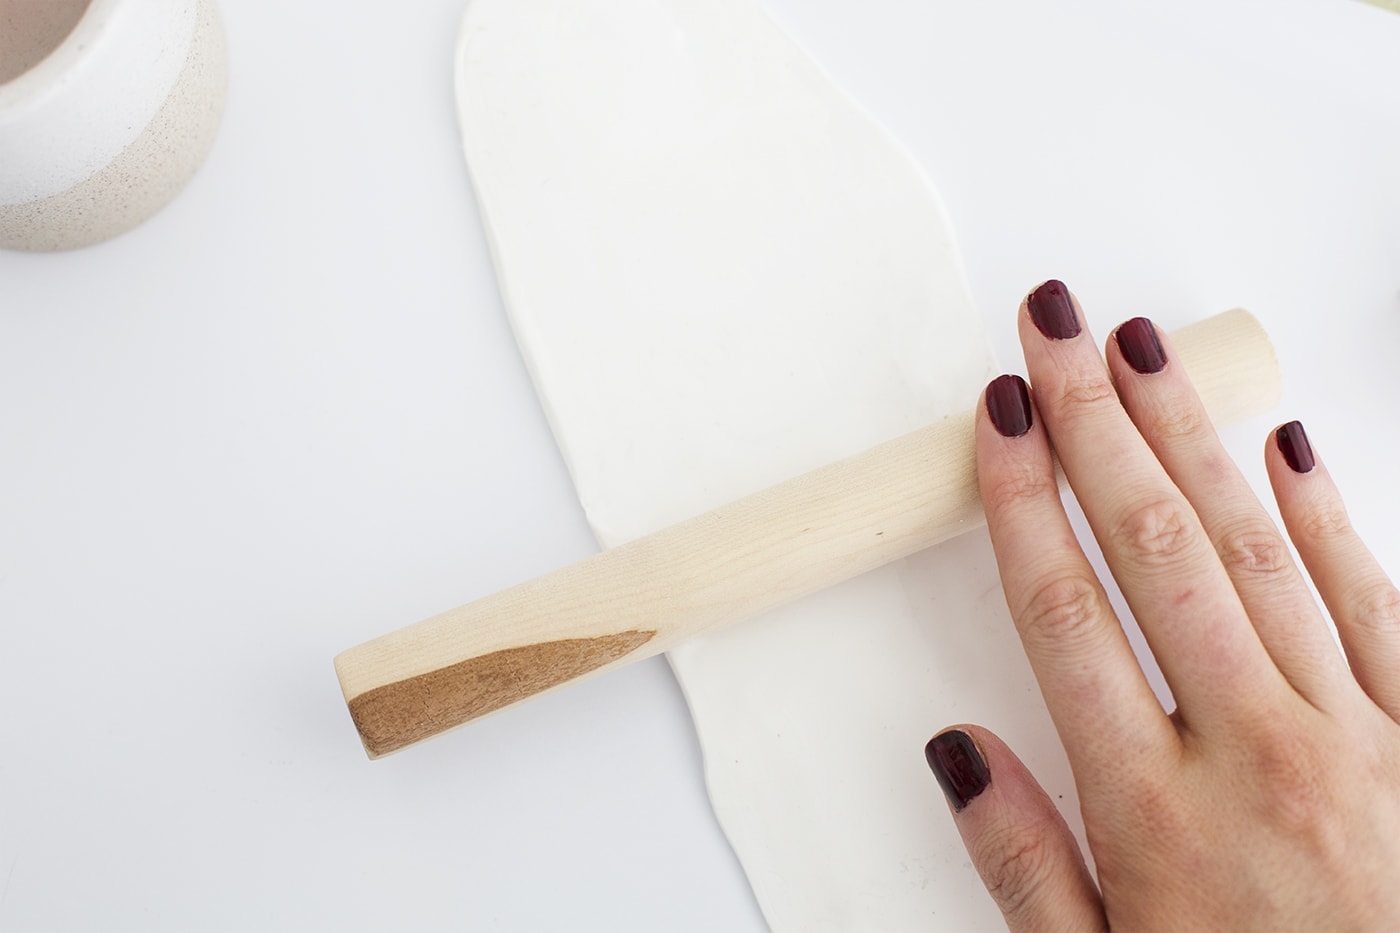
Take a large chunk of the white fimo and roll out to a thickness of roughly 1cm.

Making sure you have a protective layer underneath for this next step. Decide the height you would like your pot to be and then mark this out and cut with your scalpel. Set aside.
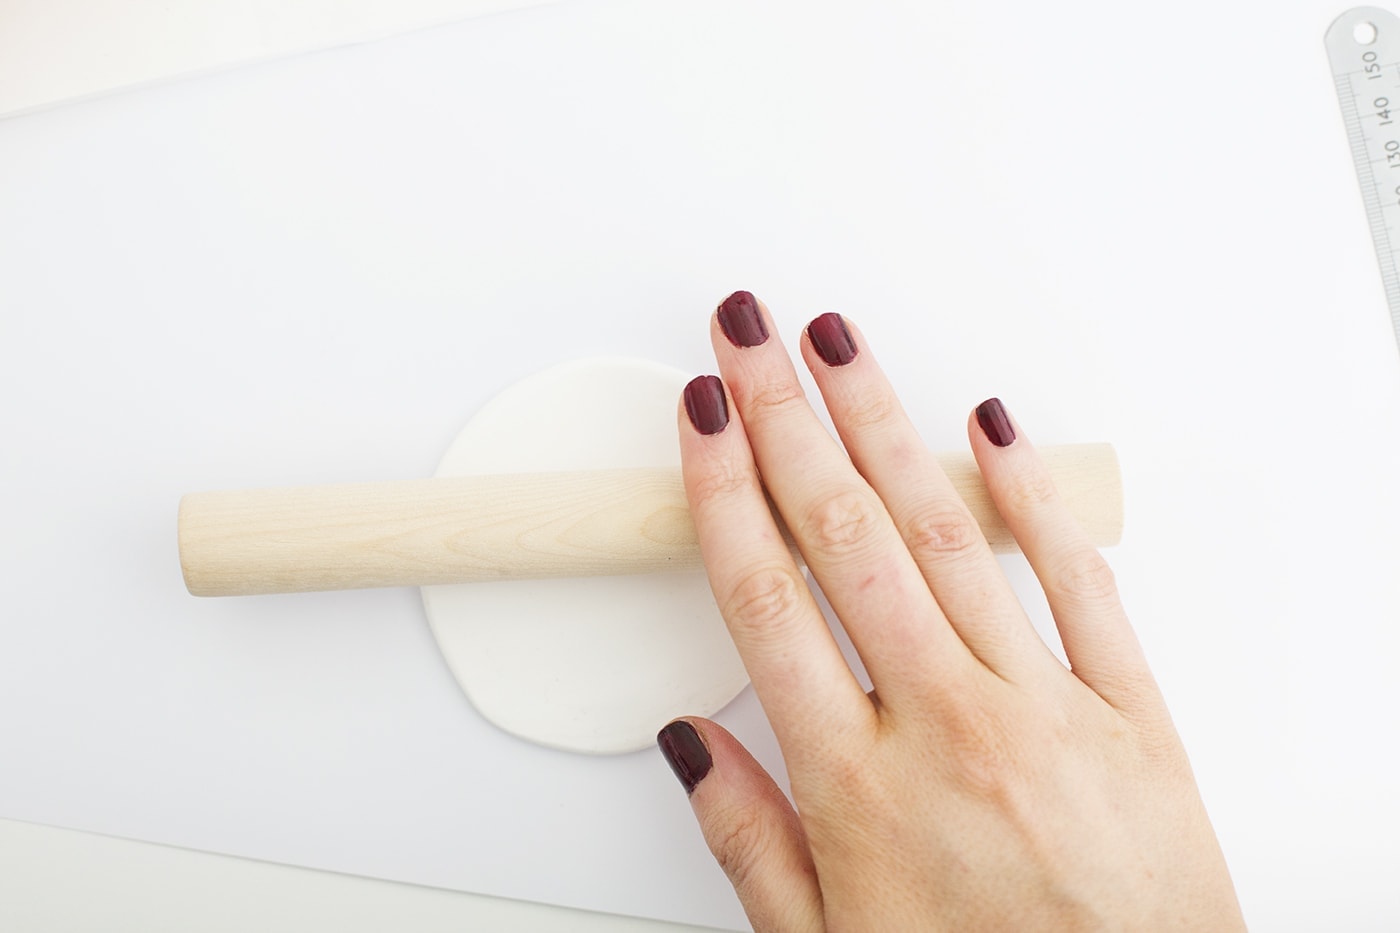
Now set take a smaller piece of fimo, roll into a ball and the use the rolling pin to flatten this out to roughly 1cm in thickness again. You’ll need two pieces like this.
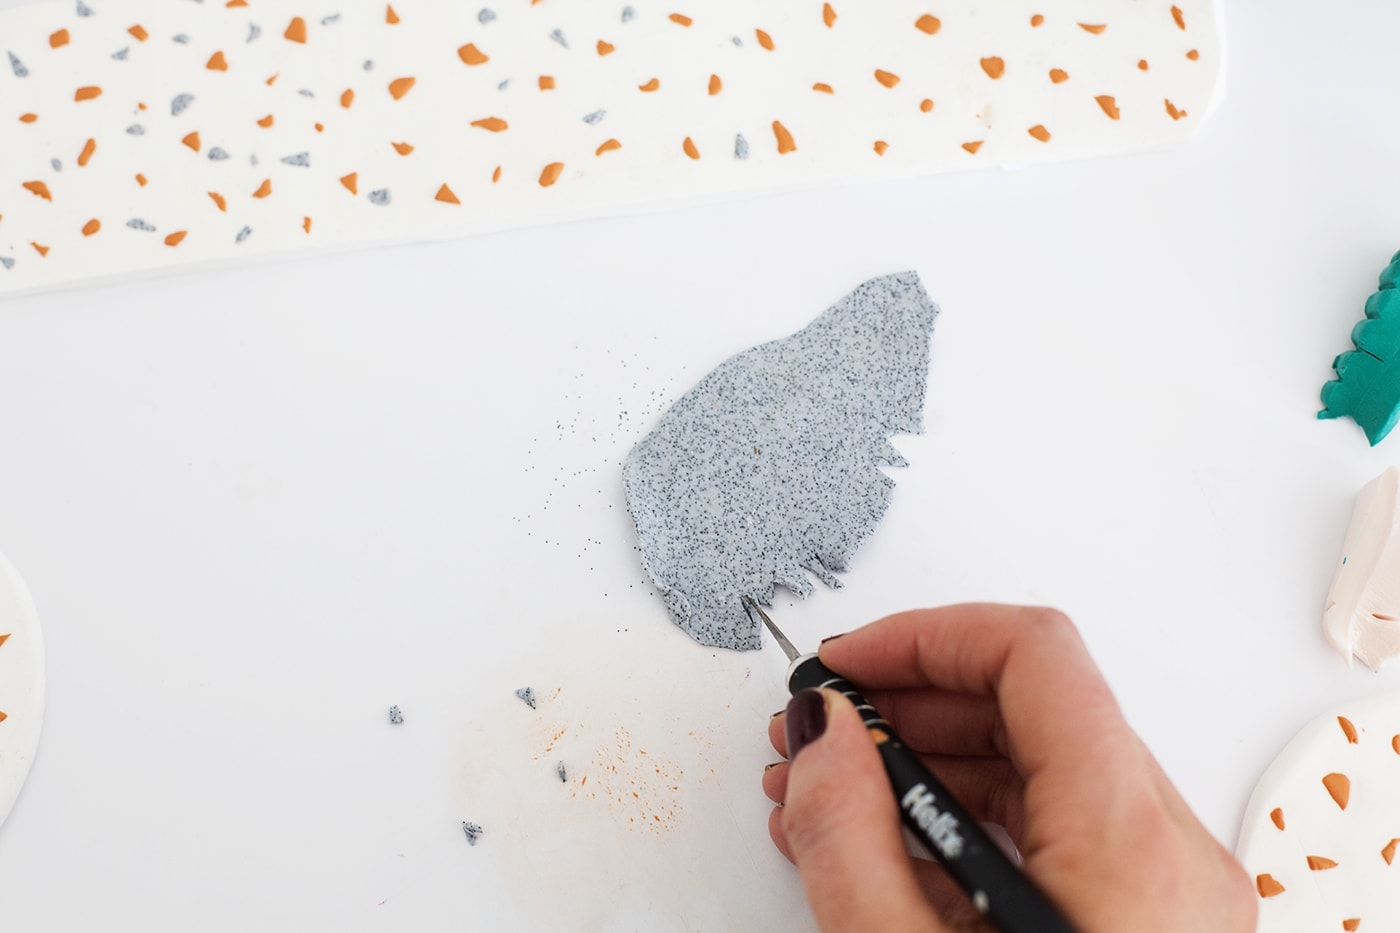
Now for the fun part! Take each of the other fimo colours one by one and roll a small amount in a ball and then roll flat with the rolling pin. Then cut small geometric sections out with the scalpel. Use the tip to place them on all three of your white fimo surfaces, trying to spread the colours evenly.
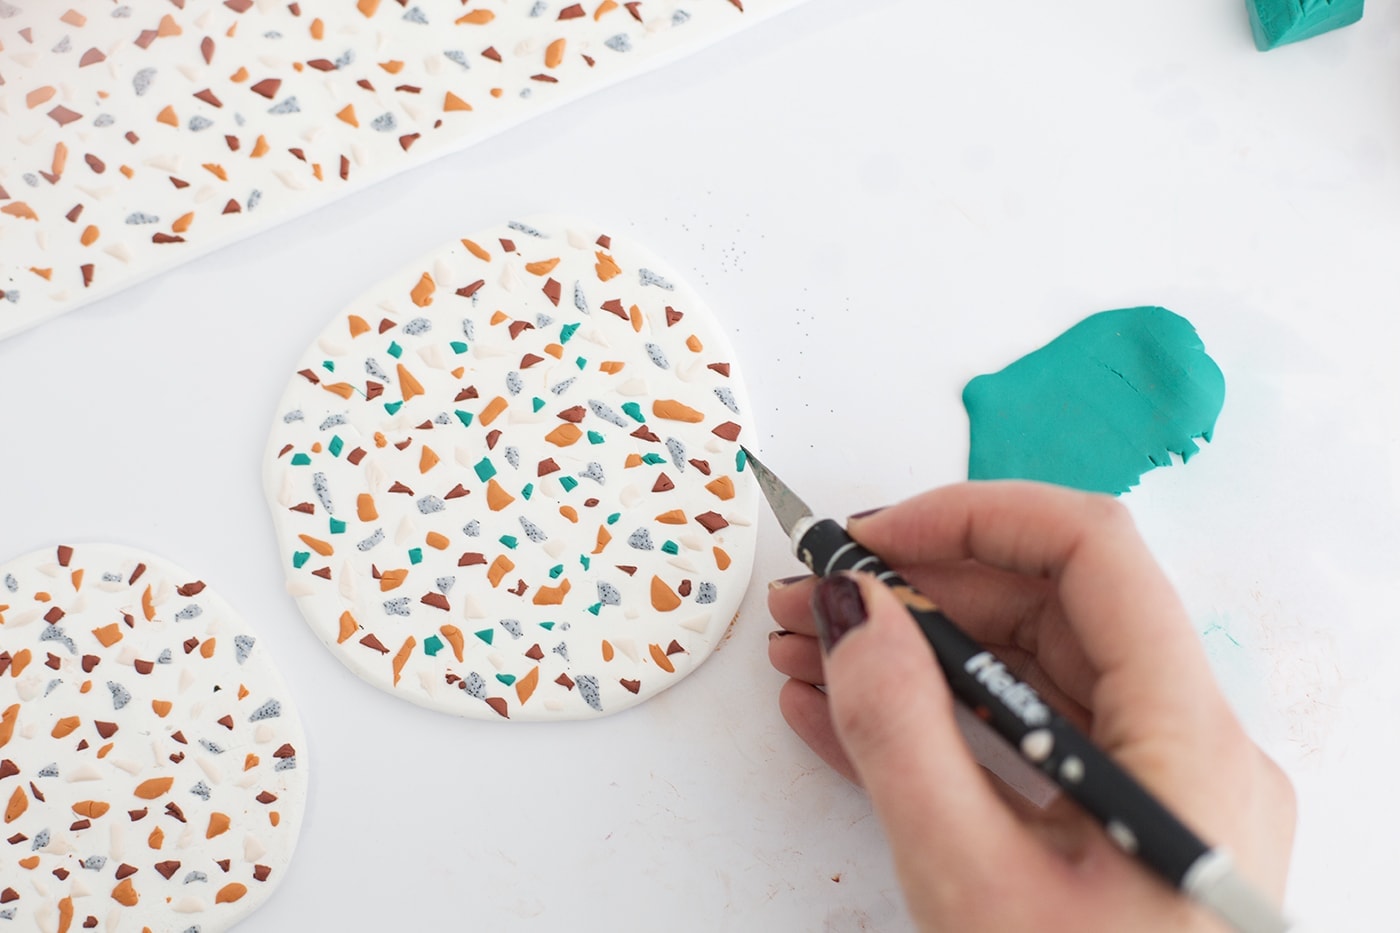
Keep on adding and filling in the spaces. Don’t worry about the shapes being rough as terazzo is usually a little rough around the edges.
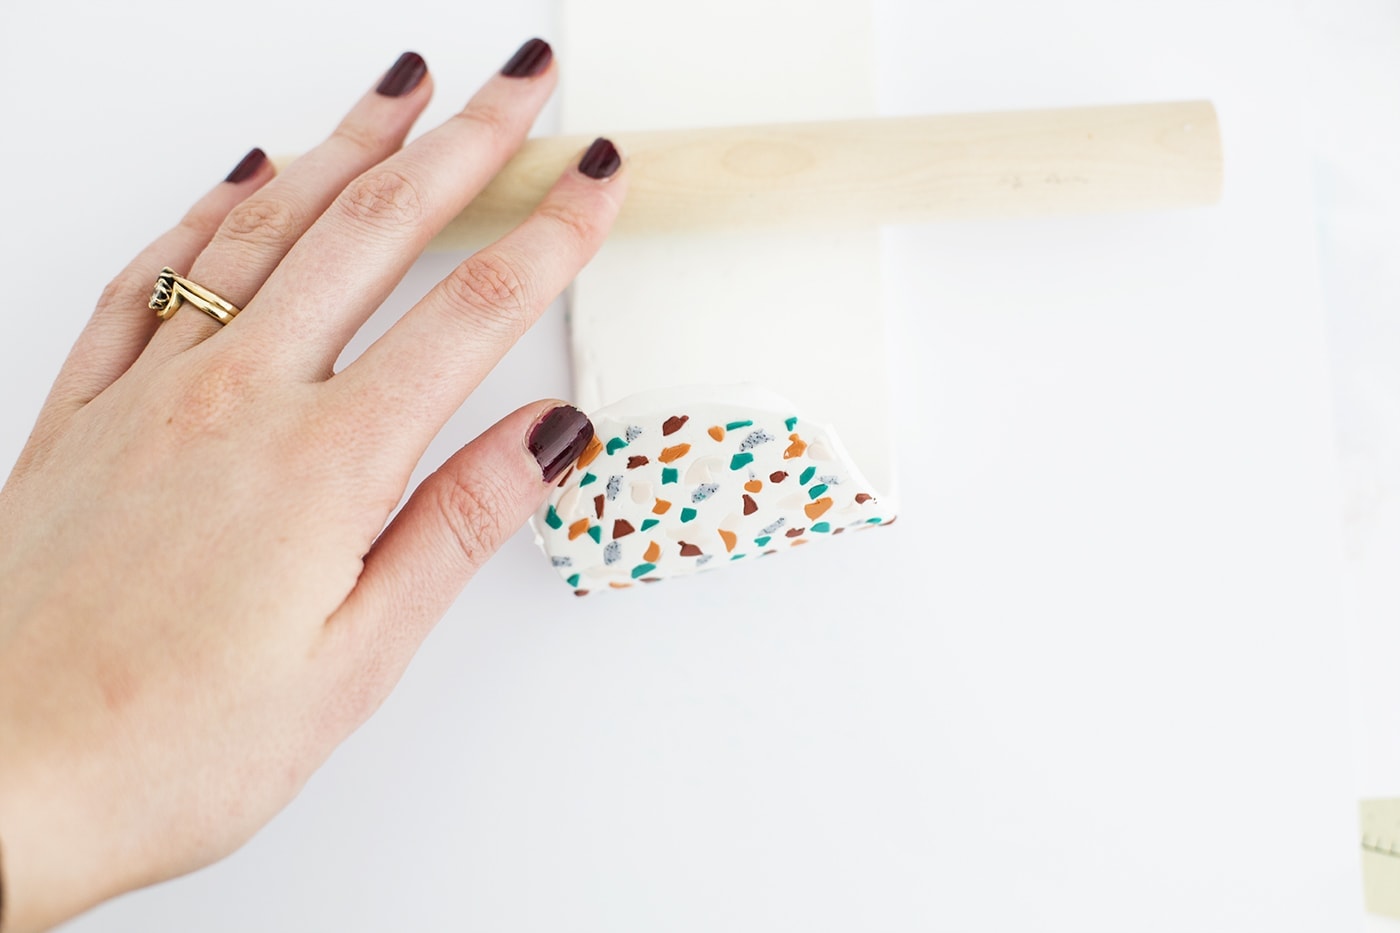
Once you filled all three fimo panels, turn each one over and give a few rolls with the rolling pin over the whole of the back. No need to be too hard as it just to press the coloured pieces in slightly.
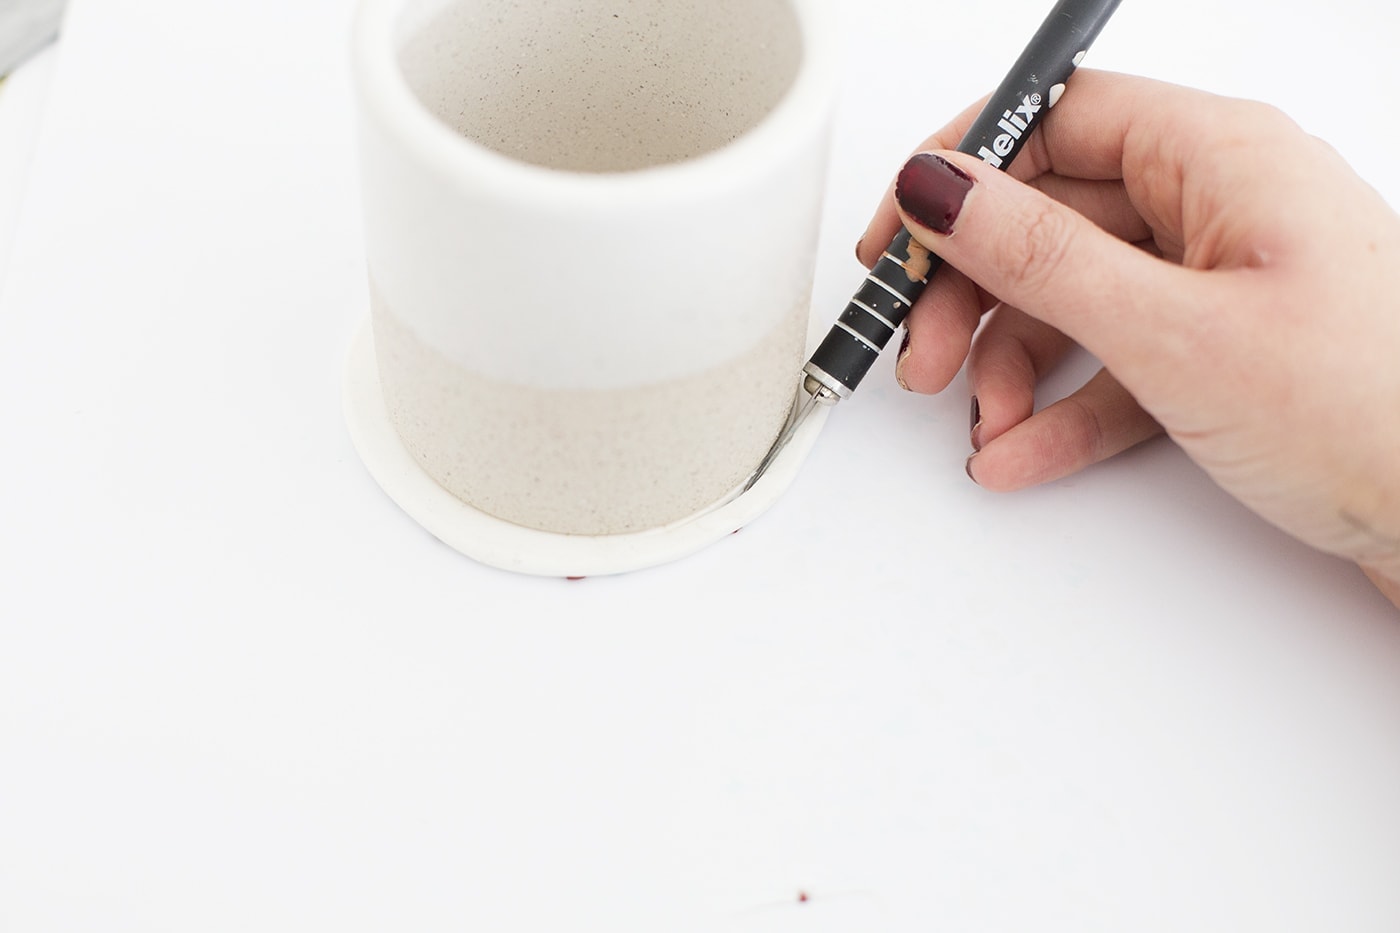
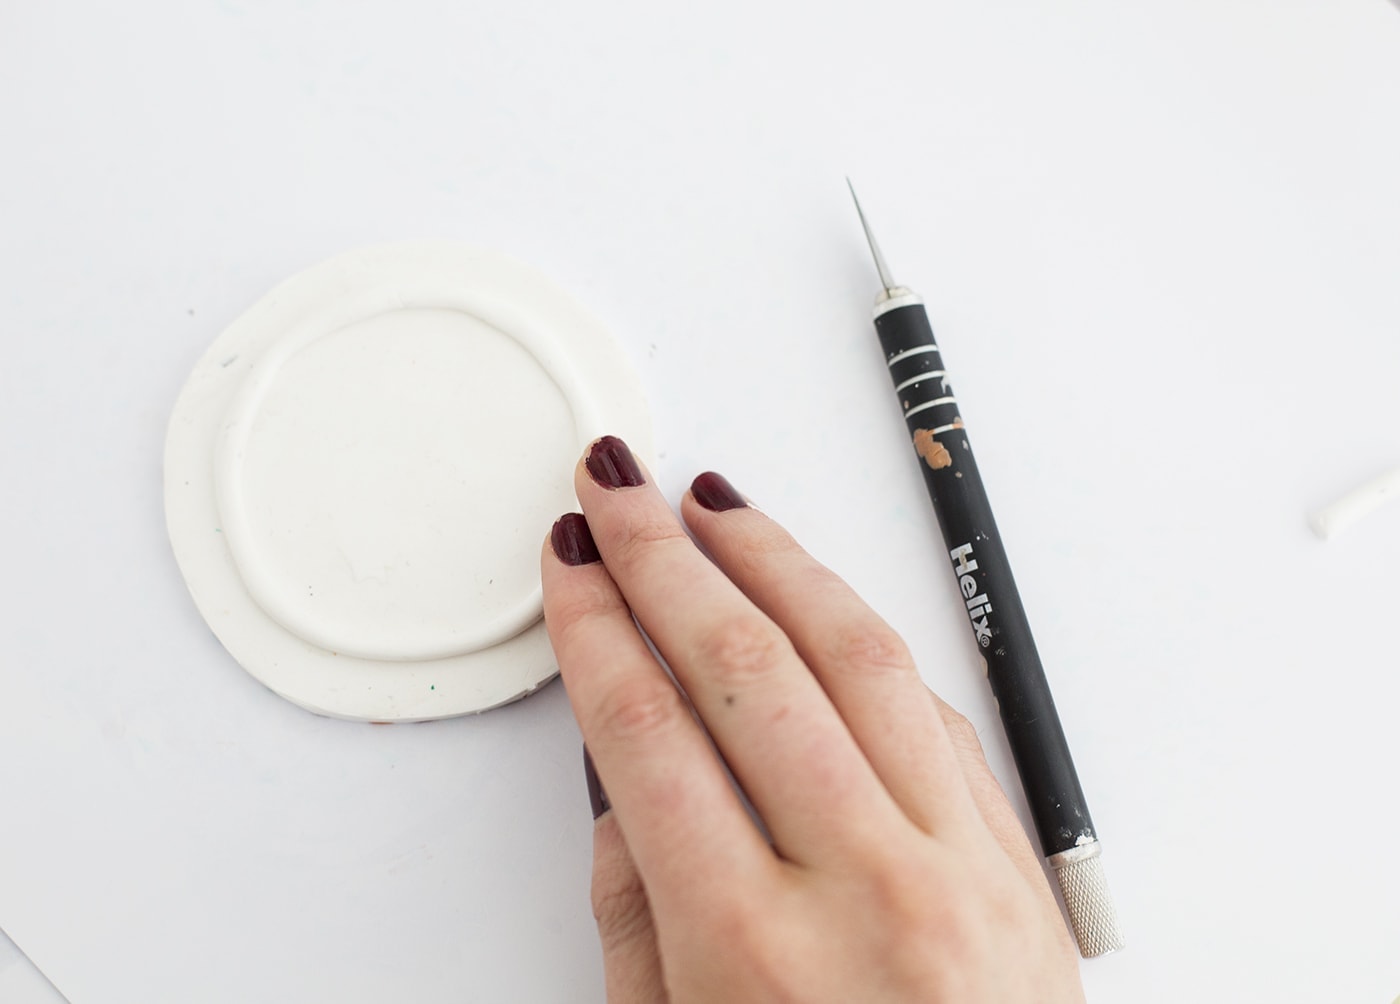
Now take one of those circular pieces (wrong side facing up) and place your template pot on top. Use your scalpel to trace around the bottom.
Then take your long piece and wrap it around the sides of your template pot, pressing it down to sit on the table as you guide it around. Its a god idea to even push it in slightly to the bottom circular piece for stronger attachment. Loosely bring the final bit together, just to see where to two ends need to be cut in order to just meet.
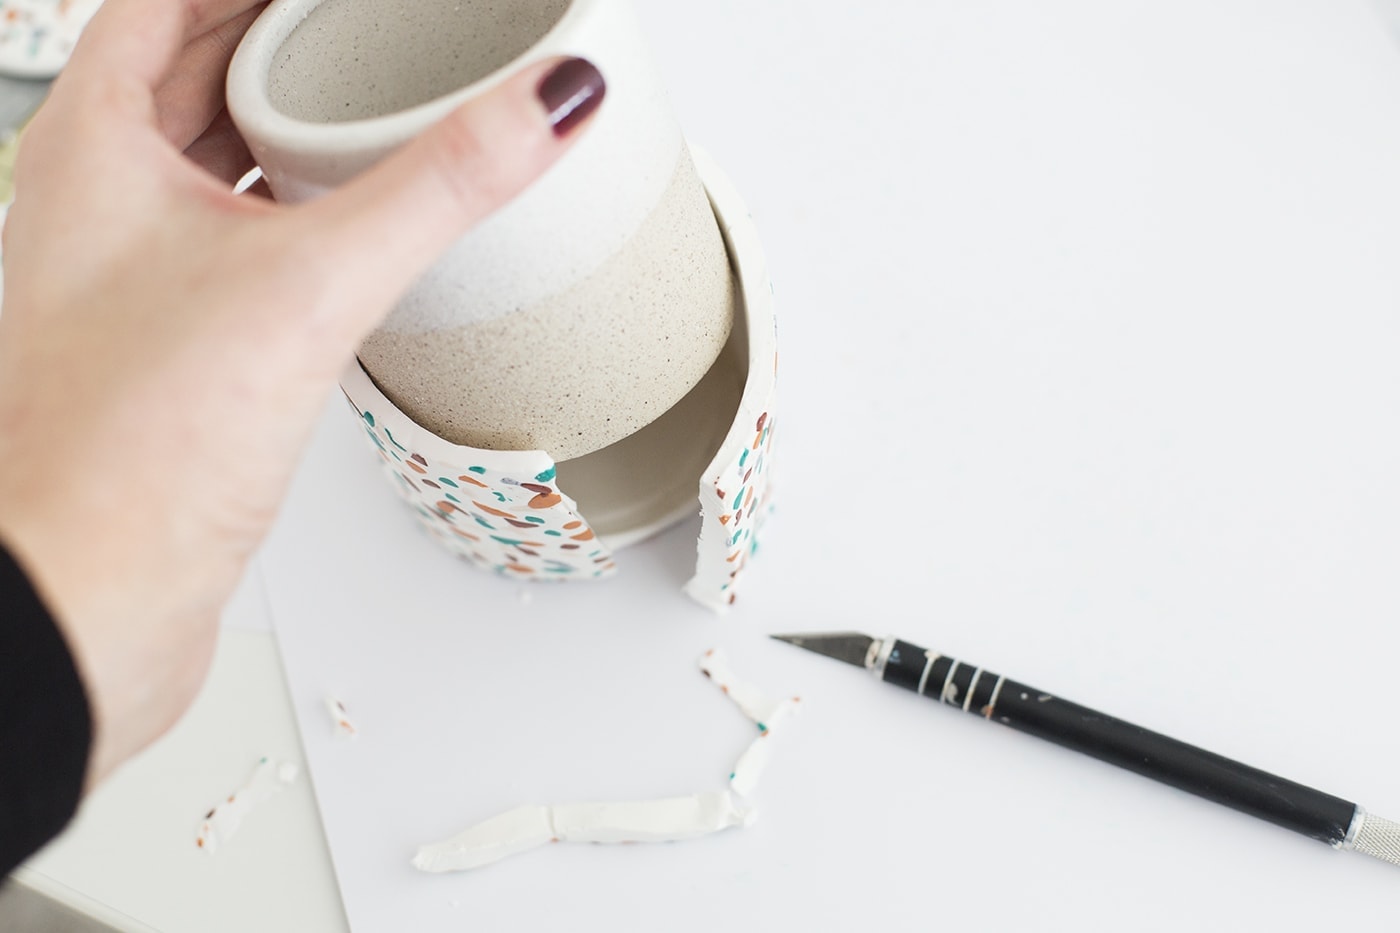
Use your scalpel to cut the extra away and then leaving that last part open, wiggle the template pot free. Now that’s no longer wedged inside you can bring the two ends together, pushing gently and then use the edge of the scalpel to criss cross the fimo over that joining line to strengthen it. You can also do this on the inside.

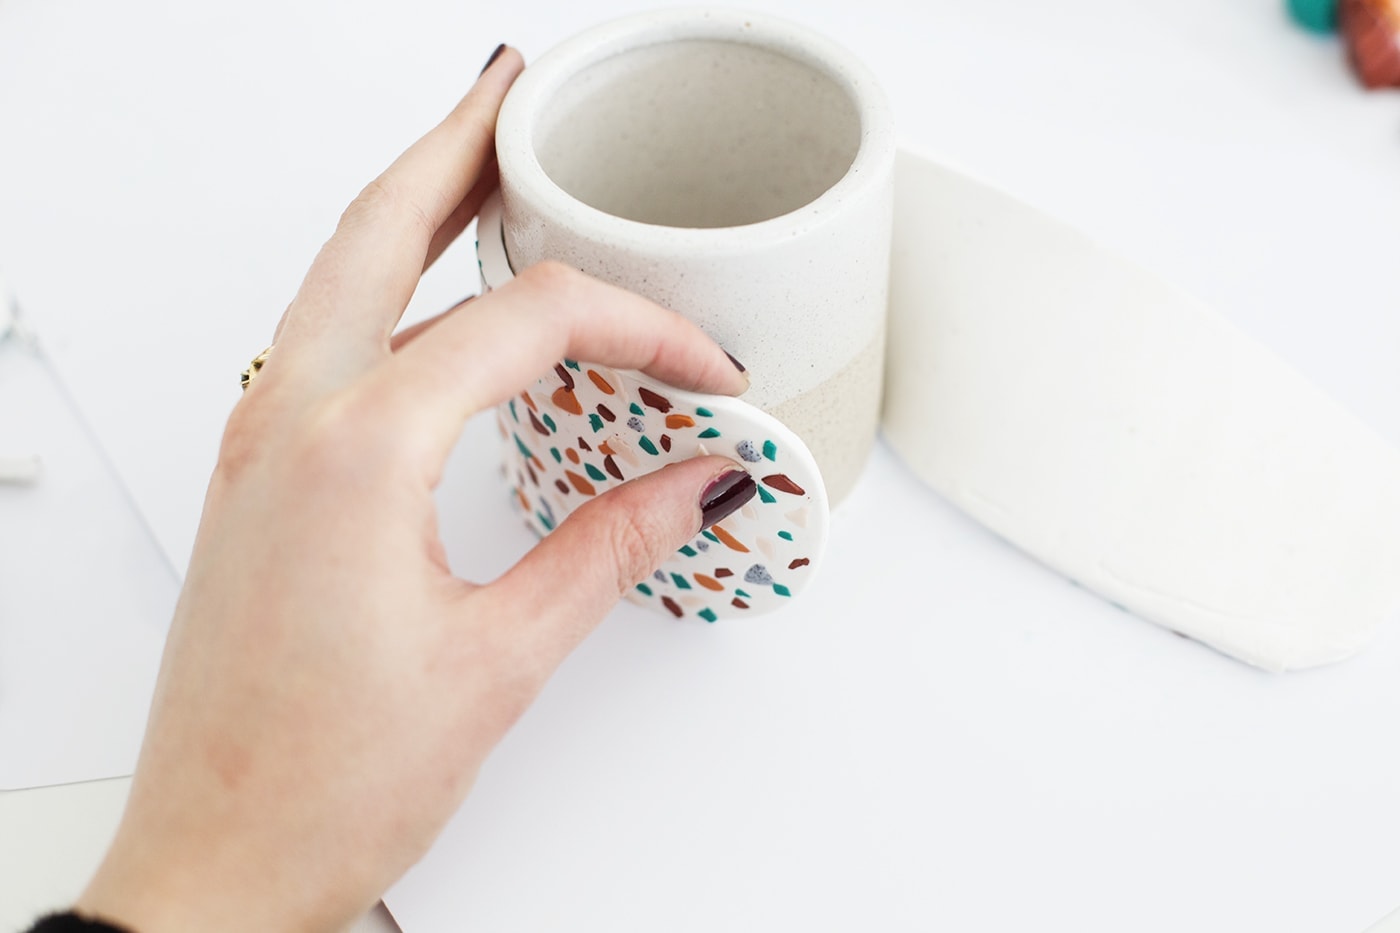
Take the remaining flat circular piece, place your pot on top and gently draw around with the scalpel to cut out.
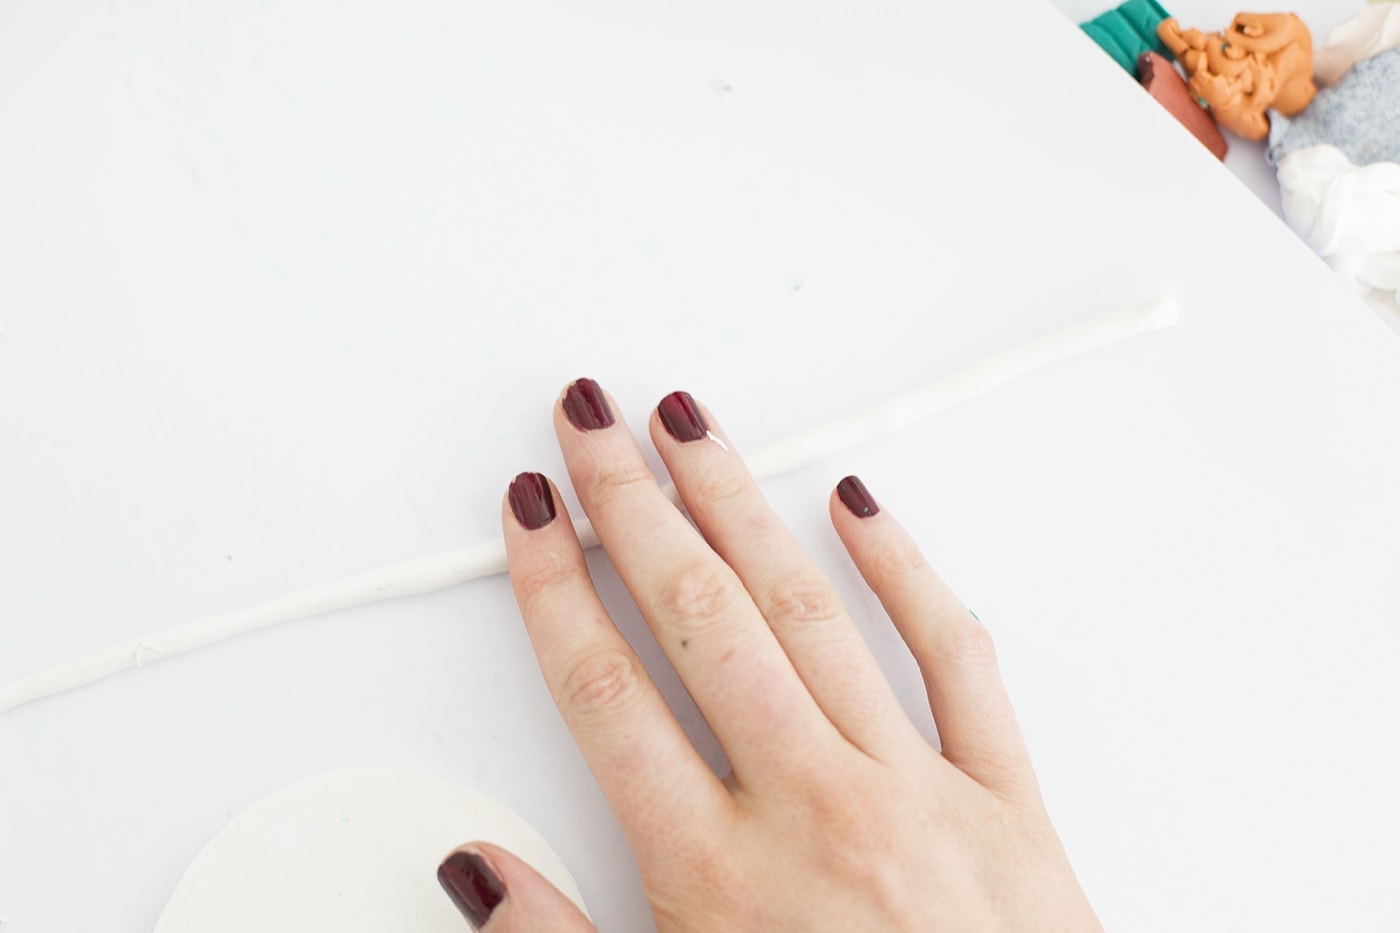
Now take another small piece of the white fimo and roll into a long sausage with your fingers. Hold this over your pot to see how large it needs to be in order for it to sit inside the top and keep the lid on.
Fix this loop in the correct position and push down gently and when you’re finished place both the lid and the rest of the pot onto a baking tray and bake in a 110C preheated oven for 30 minutes.
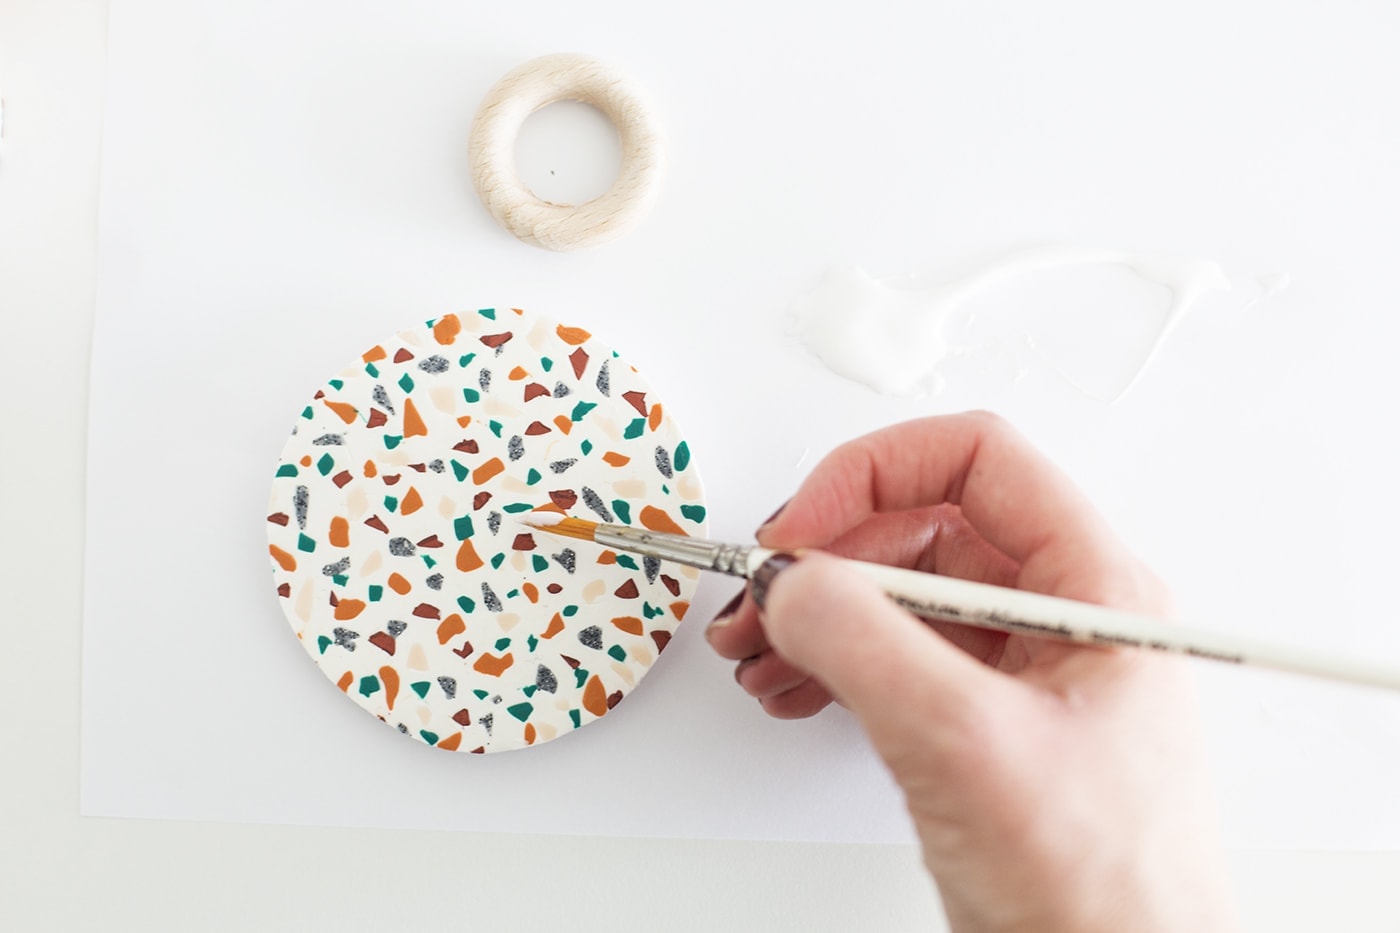
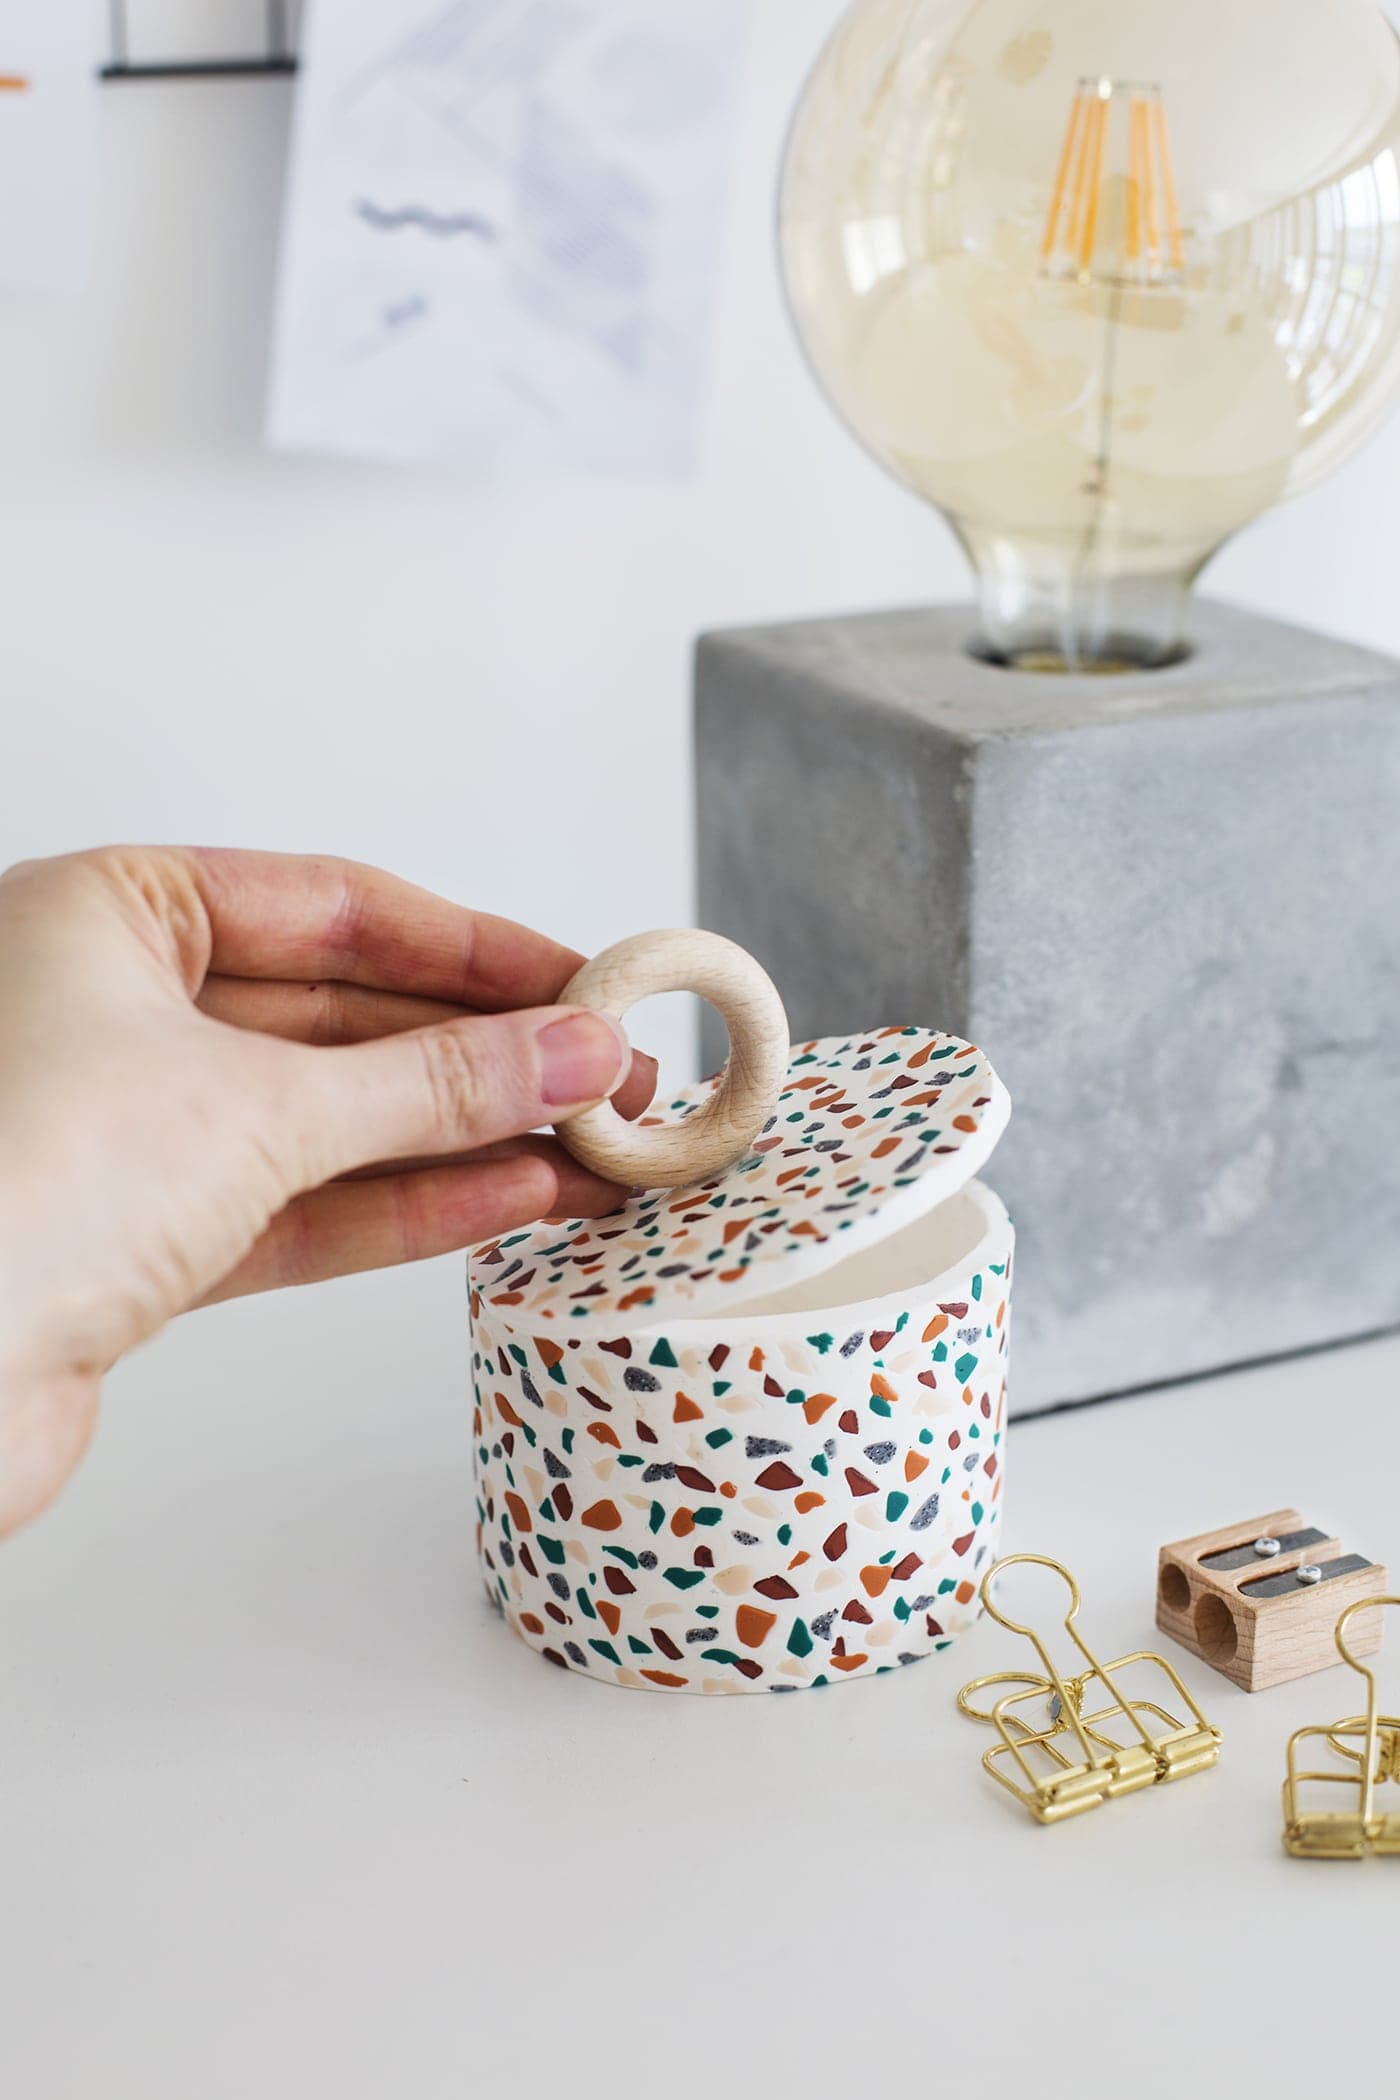
Once cooled pop a little of your strong wood glue onto the centre of the lid with a paint brush. Be generous but you don’t want it oozing everywhere and while it’s tacky press the wooden ring evenly on top. I held this in place for a few minutes and then placed items either side to hold it up as it dried. When it’s dry just put the lid on the box and voila!!
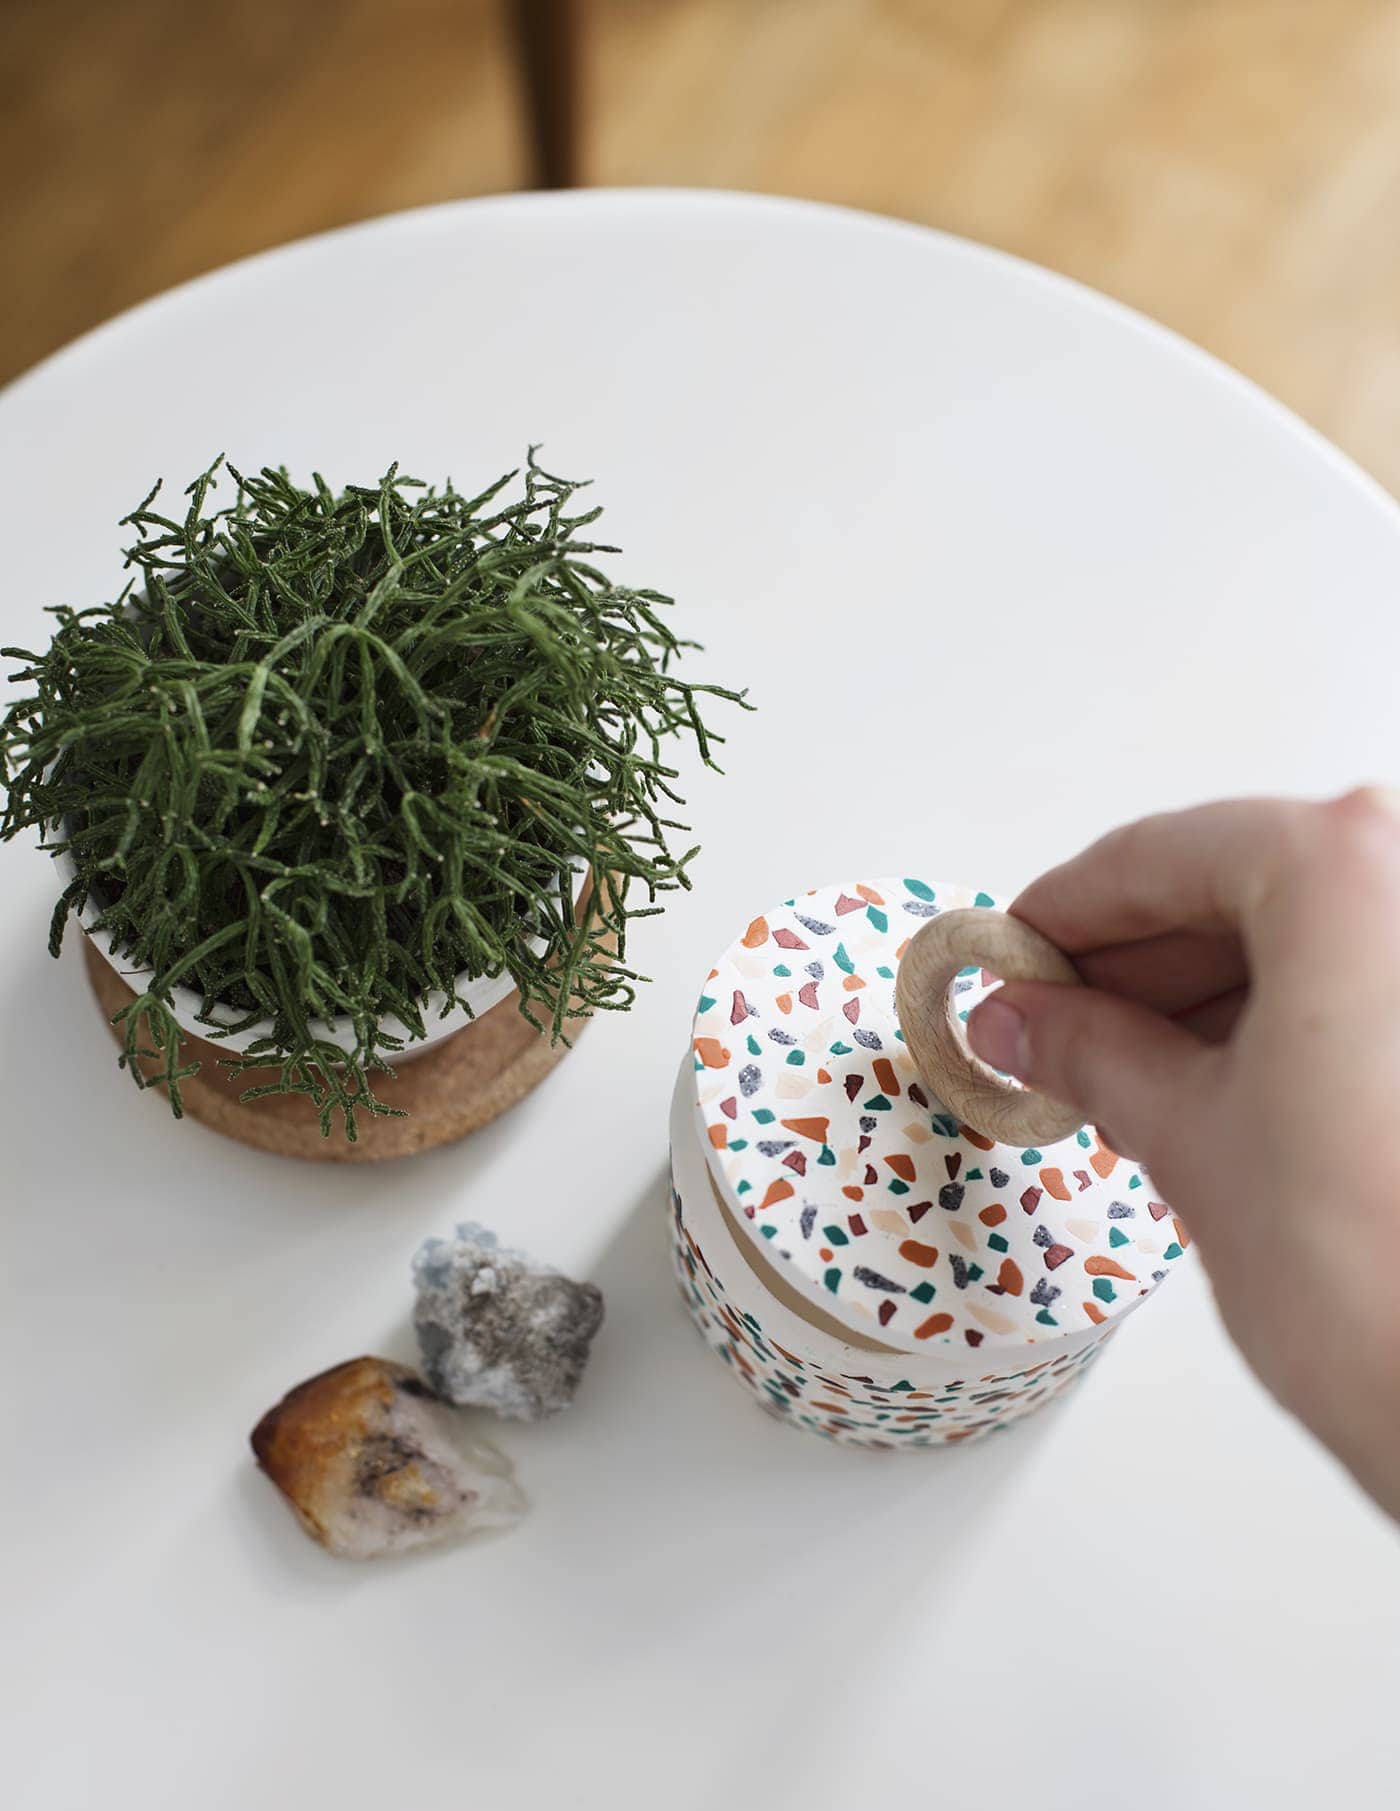
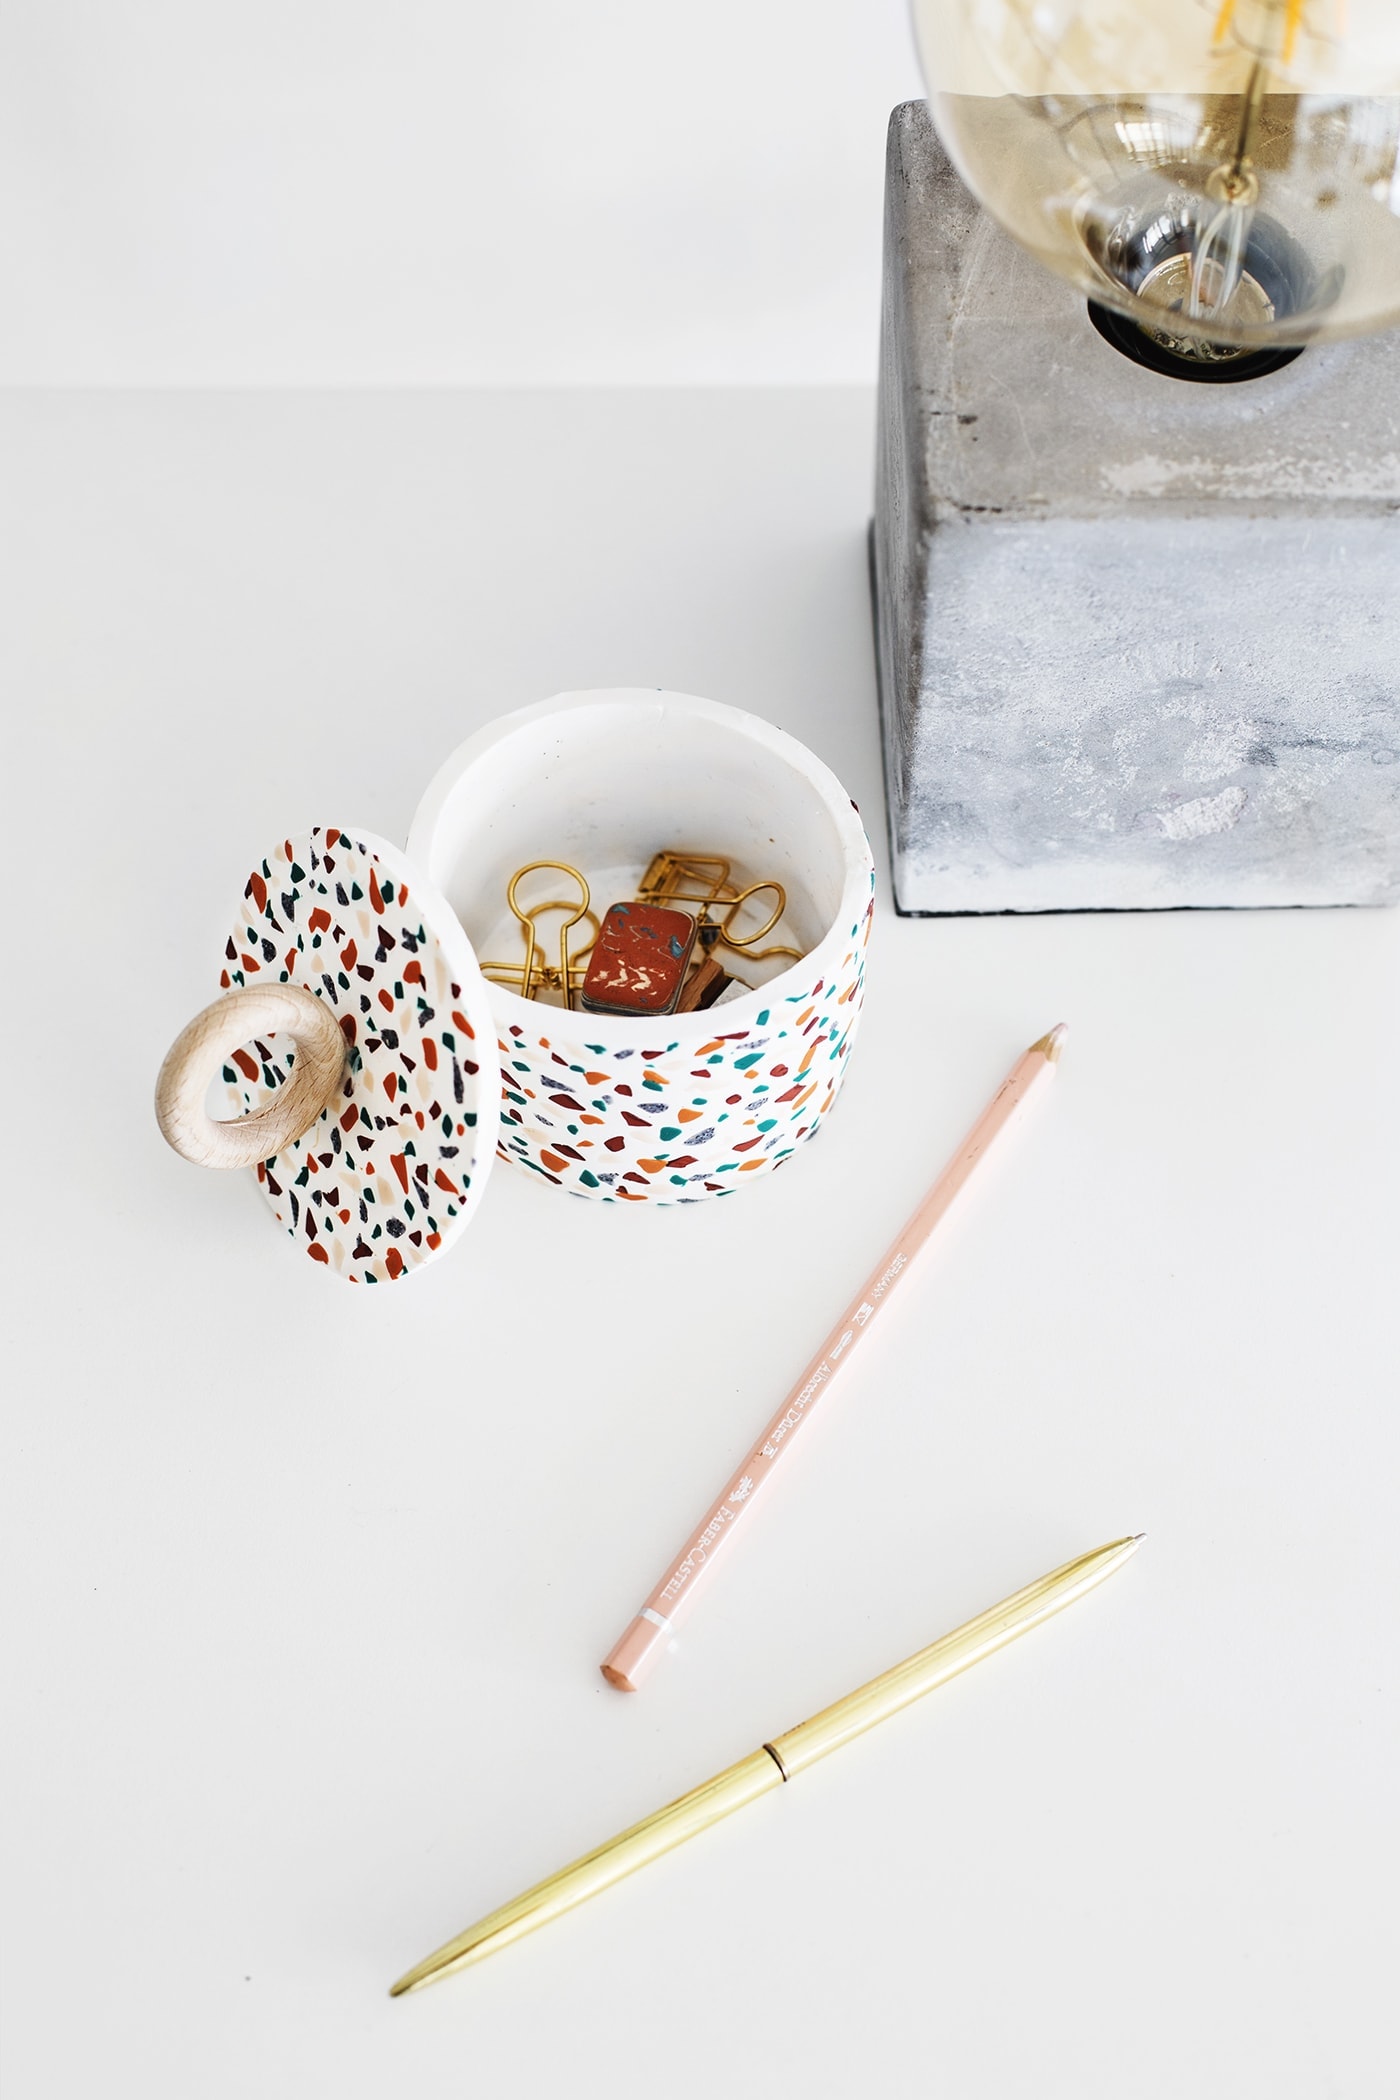
I reckon you can all give that a go! Get creative with your colour combinations too and even use a different colour for the base. Mine is currently doing it’s job, sat on my desk and I love it.


