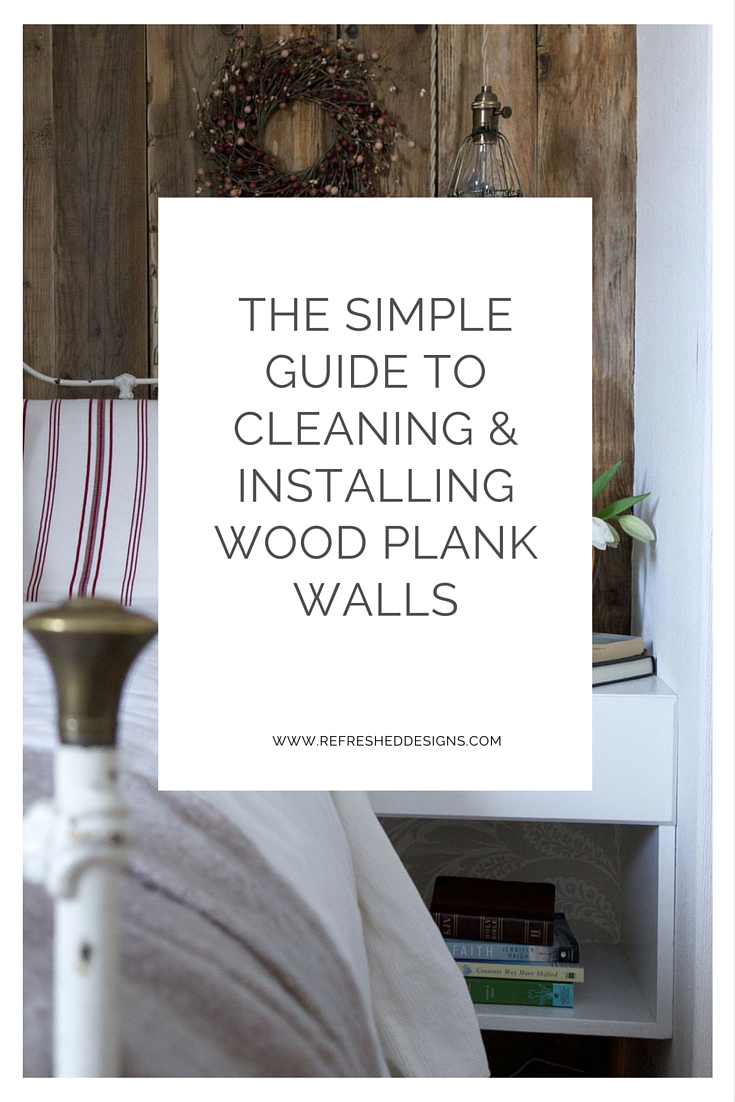
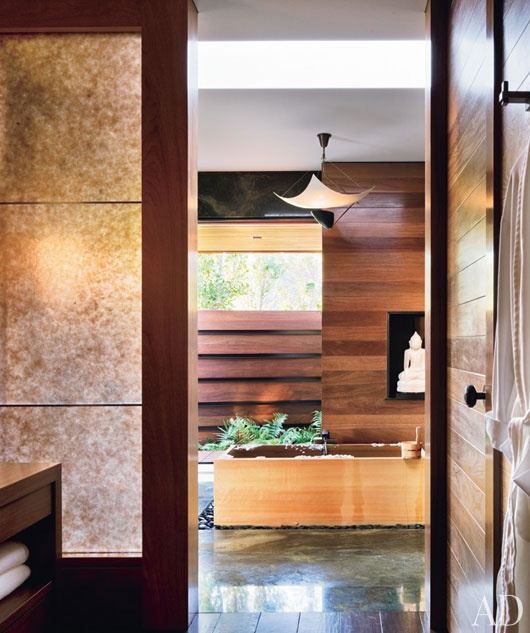
I’m loving wood plank walls right now, and by the look of Pinterest, so are lots of others. Wood accent walls can look modern or rustic, but what’s best about this trend is that it introduces a natural element in the home that immediately grounds us and connects us with nature.
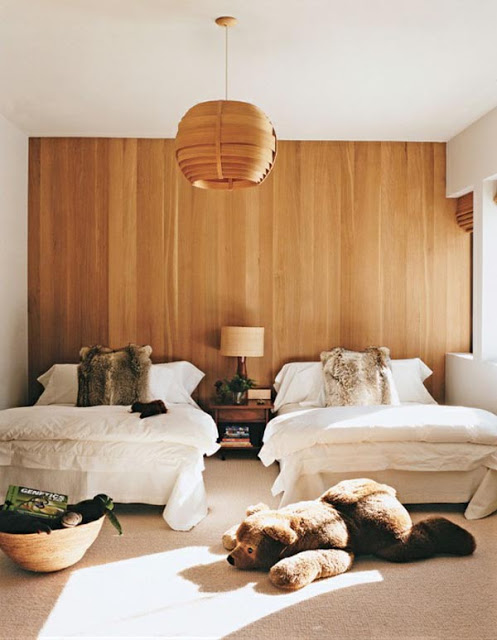
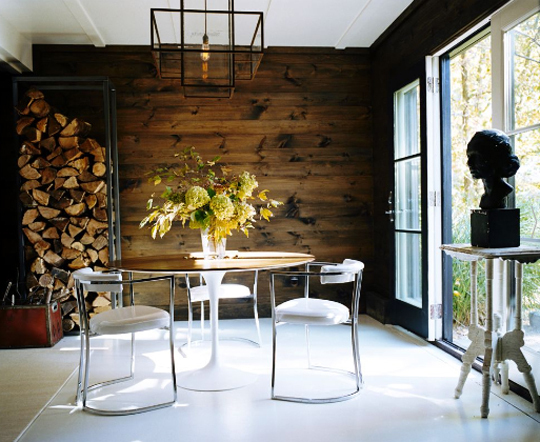
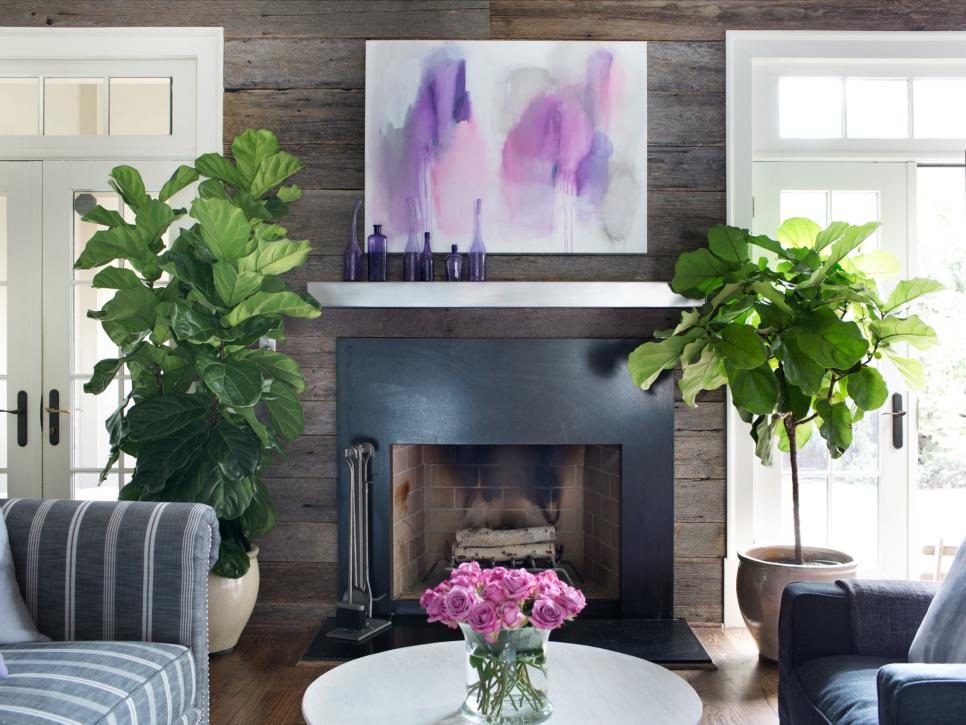
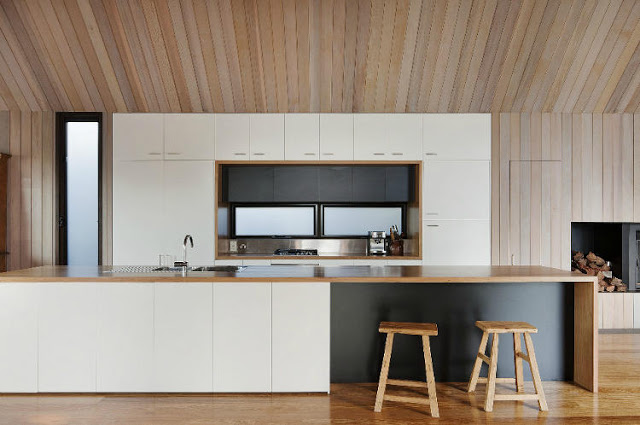
The trick to wood plank walls is to keep it simple. If you have boards that are 8-9ft in length, try installing them vertically to create the illusion of higher ceilings and to achieve a simple, uninterrupted expanse. If you have shorter boards, prefer a patchwork look, or are installing around a feature like a fireplace, place them horizontally and just go with the flow. Either way looks dynamite.
The reclaimed barn board look is popular, and one that I use a lot. However, lots of people are nervous about bringing old barn boards into the house because of a fear of bugs. I’ve never had a problem with this, as long as they are cleaned and thoroughly dried before installing. Barn boards add such character with their unique grain and imperfections, plus they add a sense of history. And they’re super easy to install, because the more imperfect they are, the better they look.
Don’t stress over or delay installing barn boards or shiplap or any other kind of wood plank wall. It’s a beautiful way to reap the benefits of a warm and organic feel for your home. Below are some tips for cleaning and installing plank boards on a wall in your home.
1. Choose your wood, then clean and prep it.
Barn boards give a rustic look, maple or oak a more modern feel, and MDF or tongue and groove boards painted white used as shiplap are great for farmhouse style. You’ll want to choose a board that’s as light as possible, so thin is good, but not too thin that it will bow over time or in a dry winter home. Barn boards are very dry so they’re light to begin with. Tongue and groove floor boards are quite light and work well.
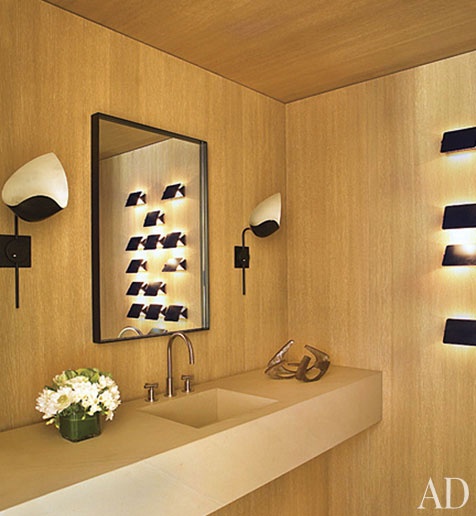
Prepare the boards for the look you are going for – shiplap is often painted white (use a small roller and a no-VOC latex paint). I don’t usually put a top coat sealant on, unless they’ll be in a high traffic or damp zone, like a bathroom or kitchen. In that case brush a water-based polyurethane on top to keep them from chipping or getting water logged. Maple or oak or pine boards may need to be stained to the tone you want, or simply just use a paintbrush or small roller to coat them with a water-based sealer like polyurethane in a matte or semi-gloss finish.
If using barn boards clean them with a steel brush to remove dirt and grime, then give them a good scrubbing with borax and water. Let them dry completely – outdoors in the sun and then inside sometimes even for a few weeks if they were damp to begin with. I lightly sand them with a palm sander as a final step, which takes out any splinters and brings out the knots and grain. I don’t typically treat them unless they are going in a wet zone like a bathroom. For these spots I’ll coat them with a water-based poly sealer in a matte finish so it doesn’t affect the look I want.
2. Prep the walls.
If using barn boards, you may want to paint the wall black or brown so that you can’t see a white wall poking through the cracks. Of course, paint your walls white if using white shiplap. And if you’re installing your boards vertically you’ll need to install strapping for them to be nailed to – every 12 inches or so horizontally across the wall. Use a stud finder and an air nailer or an old fashioned hammer and nails to secure the strapping to the studs behind the walls.
3. Cut your boards.
First, square off your board, then measure the length you’ll need and use a speed square and pencil to mark off where you need to cut. Cut your pieces with a chop saw or hand saw. If installing vertically, all of your boards will be the same length (but double check this in different spots along your wall in case the floor or ceiling isn’t level). If installing horizontally, use scraps of various lengths.
4. Lay them out.
Starting in the middle, line up your boards to ensure a level and tight fit. You may need to play around here a bit to see which boards fit best next to each other. Don’t worry about a few gaps- it will add to the unique look. and just make a random pattern. If installing horizontally, it typically it looks best with the shortest pieces closest to the ends and the longest in the middle of the feature wall, but again, don’t fret over it. Just go with the flow. Secure the boards to the wall studs (if laying horizontally) or your strapping boards (if laying vertically) with a nail gun (if you don’t own one, rent one for the day – totally worth the small investment).
5. Finish off, but don’t try for perfection.
If your floors or ceilings are very unlevel, you may need to add a piece of trim at the top or bottom of a vertical plank wall to hide major gaps (just cut a narrow piece of board the length you need and secure with a nail gun). This is rarely necessary though, and I think that some gaps make the wall more interesting anyway. Imperfection is beautiful! Touch up with paint if needed ( if you’re working with painted shiplap). I find that barn boards are very forgiving so you really don’t need to do anything more with them.
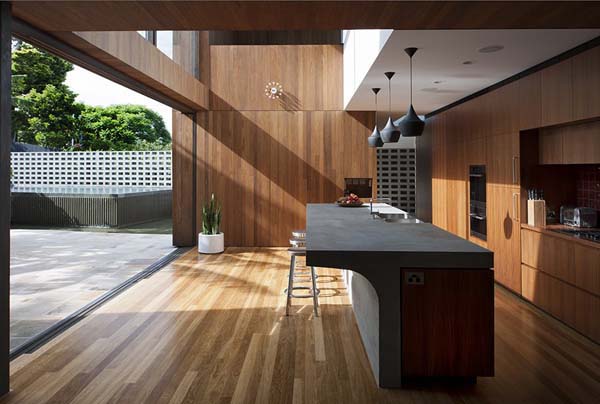
Now you have a unique accent wall that brings warmth, character and natural beauty to your home. Enjoy! Here are some lovely plank walls to get you inspired.
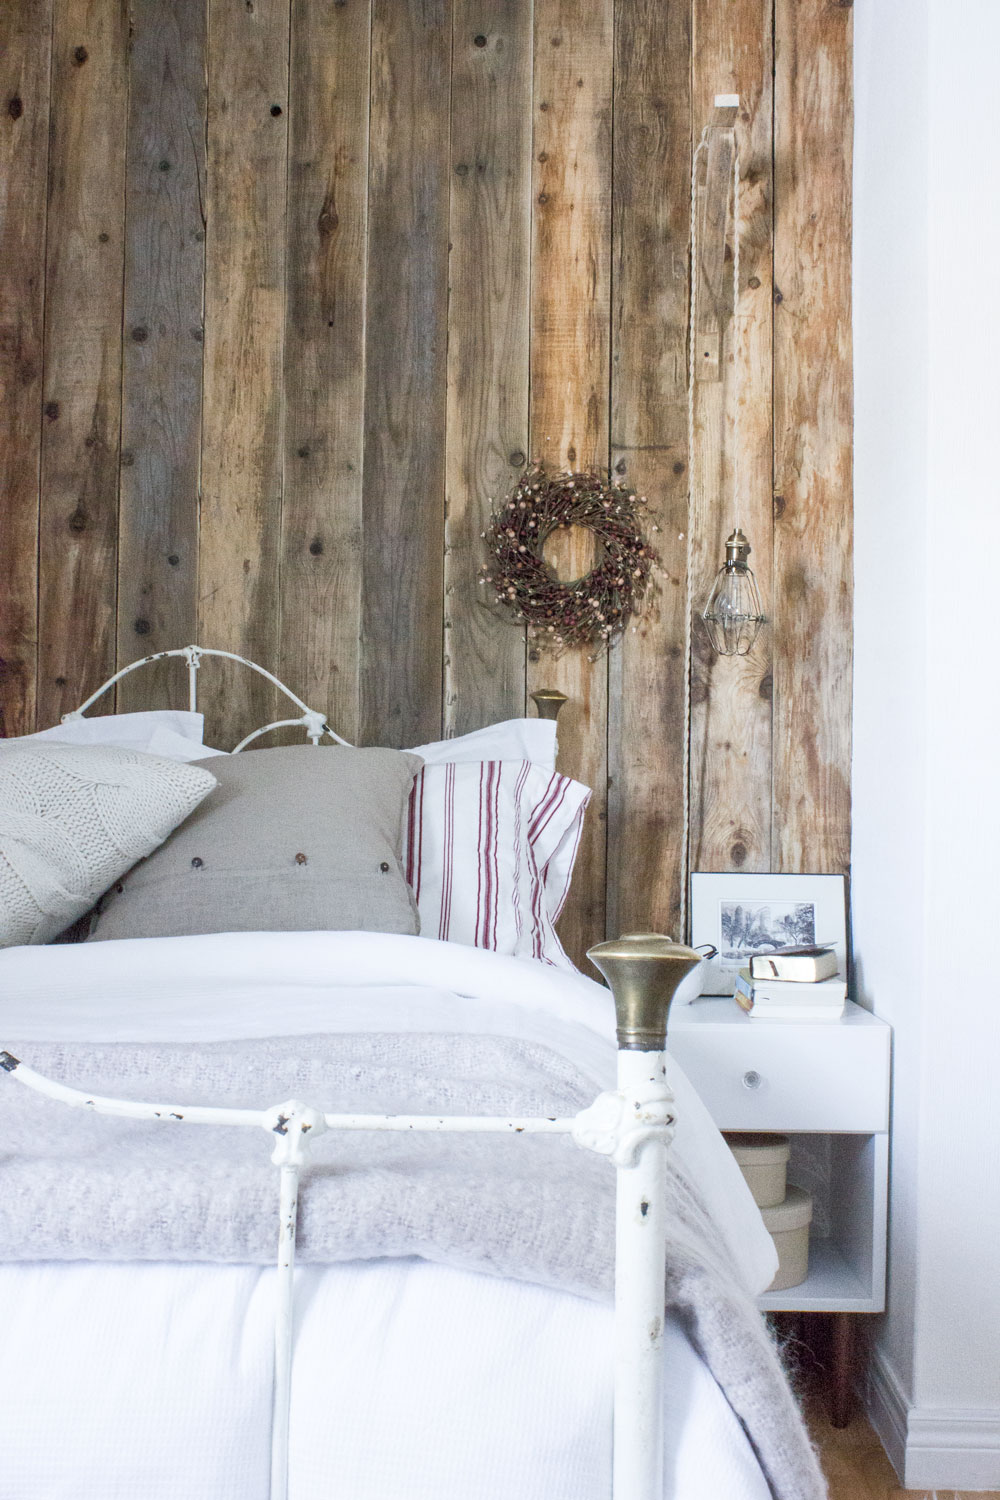
Recent guest room project – click for details


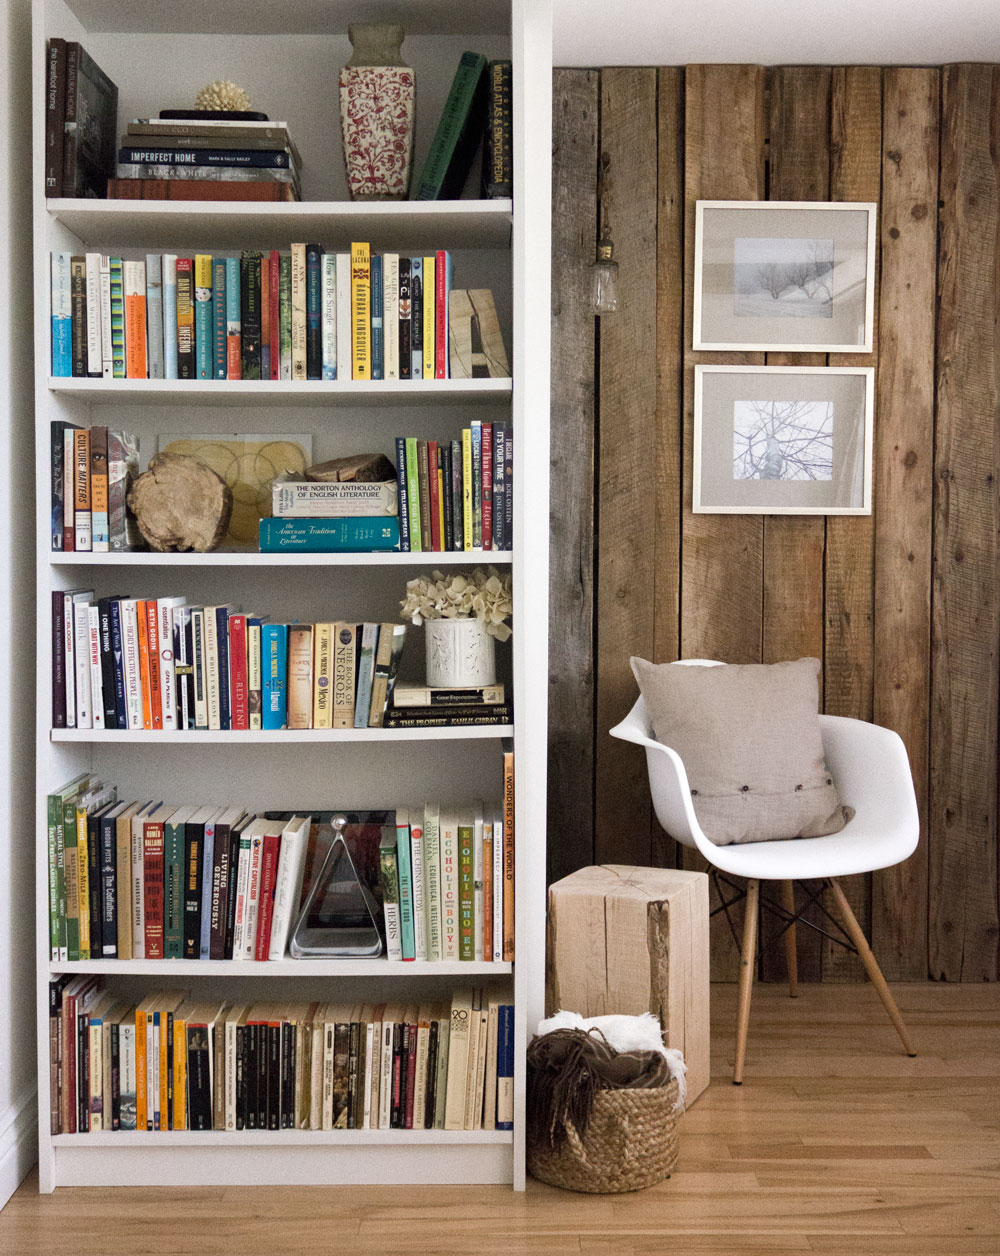
My living room barn board accent wall.
Related: