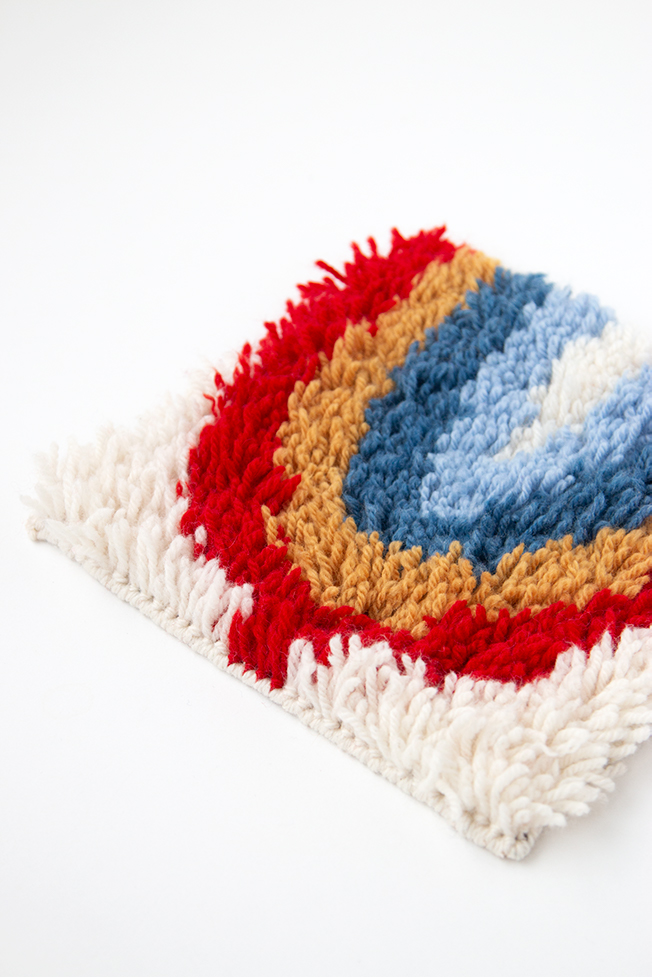
Last winter, I spent most of my time writing an introductory latch hook book. (More on that !) During the design and writing process, several requests came via comments and emails for more latch hook tutorials on Hands Occupied, and for the folks who have patiently waited, thank you! Today we’ll be getting back into the swing of things by tackling how to finish a square latch hook project. Something easy to get us started, but a useful technique that I wish I’d known as a latch hooking beginner!
When hooking a square latch hook project – that is, a latch hooking project with four square corners, you may elect to finish your canvas as you work, rather than saving all finishing and binding of your rug canvas edges for after your project has been knotted.
Lost? Let’s talk vocabulary.
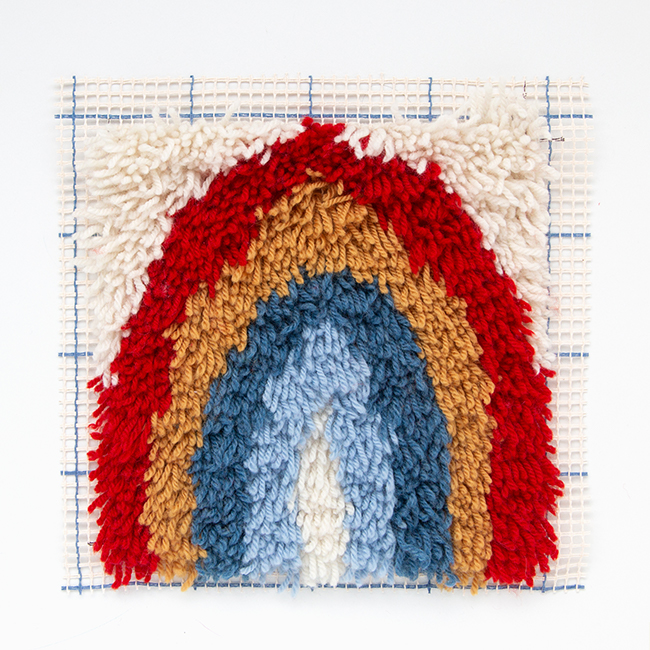
Seam allowance in latch hook is not unlike seam allowance in sewing for sewists in the room. Seam allowance is the excess canvas beyond where the knotted portion of your work ends. In the photo below, it’s the canvas that remains plain all around the edges of the knotted work.
Finishing vs. Binding in Latch Hook
In my that’s coming out this fall and on this blog, I differentiate between finishing and binding processes in latch hooking. At some point, project seam allowance needs to be folded to the back of your work and secured in place with hand stitching or knotting. This is called finishing.
In quilting, binding is the process makers use to finish the raw edge of a quilt, preventing fraying and securing layers together. In latch hook, binding refers to finishing the raw edge of a seam, preventing fraying but largely done to hide and reinforce the folded canvas edges and help prop up yarn strands at the edge of a project. The binding process can vary a lot from project to project (or be skipped entirely). When it is done in latch hook, binding occurs after finishing.

Square Latch Hook Project Finishing
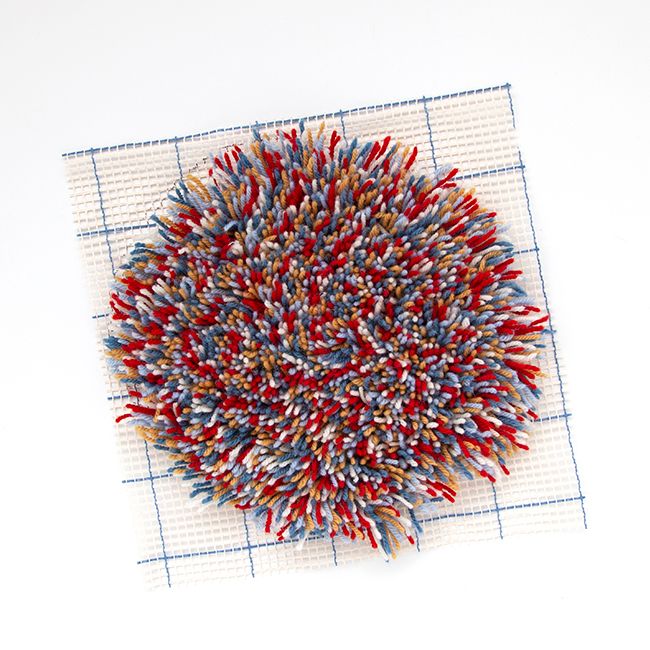
You may knot an entire latch hook project, leaving your seam allowance intact and untouched. (If you’re hooking a project without square corners, that is the only way to do it- but that’s a subject for another tutorial!)
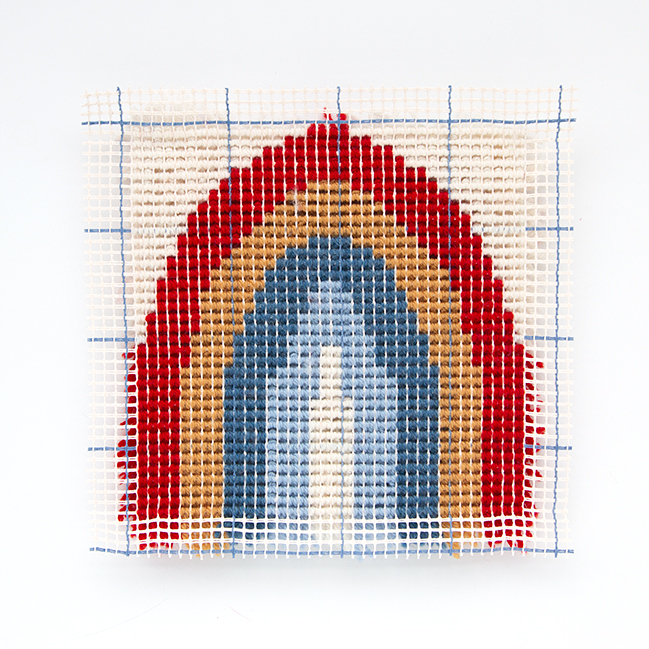
If you’re hooking a project with square corners, you may finish your project as you go, saving yourself needing to stop to finish edges by hand after the fact. You may also use this finishing technique on part of a project if you’re working on a rug with a combination of square and non-square corners.
How to accomplish square finishing as you knot
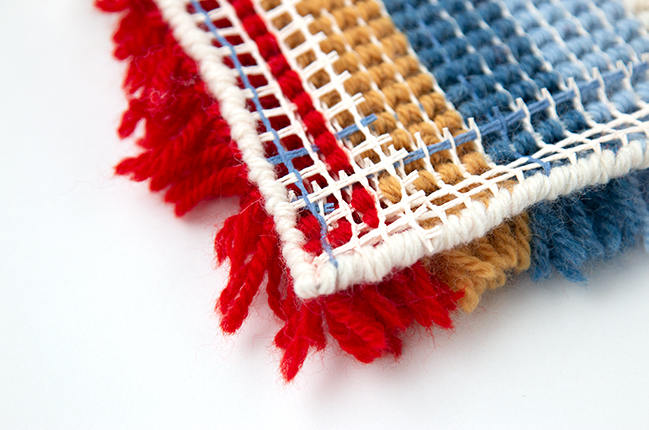
To finish a square edge, fold the unhooked seam allowance to the back (non-fuzzy side) of your work, aligning the grid of your canvas to avoid a twisted edge.
If you haven’t already knotted the rows of canvas stitches that your seam allowance will be folded over, please do so now. When folding back seam allowance, I recommend using clothespins or sewing clips to hold it in place as you work to maintain canvas alignment. (Similar to straight pins in sewing, but better suited for working a rug.  )
)
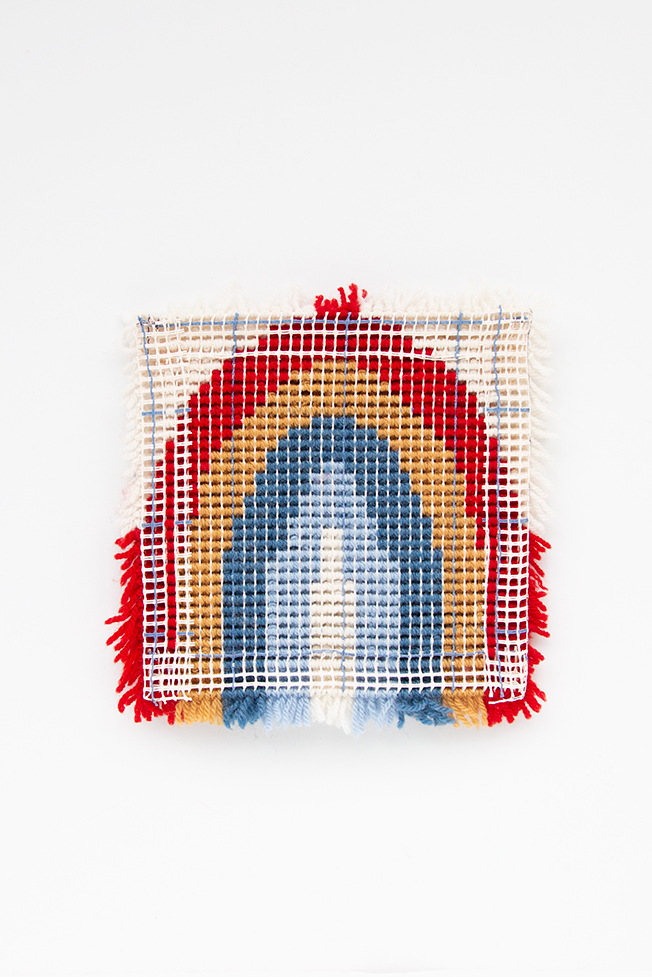
The actual finishing is simple. With your grid aligned, hook your latch hook knots around two layers of rug canvas: the canvas comprising the body of your latch hook project and the folded back seam allowance canvas. Doing this holds back the raw canvas from the right side of your finished project, in addition to providing some strength and structure to your work.
When square finishing the edge perpendicular to your first square finished edge, you’ll notice something. There will always be a small rectangle of unnecessary canvas at each corner. Simply cut out or fold under the unnecessary piece of canvas before finishing its perpendicular edge. “Unnecessary canvas” isn’t an official latch hook vocabulary word – it’s just canvas that needs to be removed to avoid excess bulk at the back of your work. At the corner of a square project, you could end up with up to 6 layers of overlapping canvas because of how the canvas must be folded to create a corner.
Pro tip: If your canvas is falling apart or fraying at the edge, you may want to knot through two canvas layers to reinforce an edge that’s feeling/looking weak to you. Often by “weak” I mean literally shredding before your eyes – lock it down by working through more layers of canvas.
About the Rainbow Latch Hook Project Featured in this Tutorial
If the rainbow in this tutorial looked familiar, that’s because it’s from the teaser my upcoming latch hook book. The Rainbow Back Patch pattern will be exclusively available in the book, coming out this fall. Never fear, though! If you’re impatient like me, but also like my design style, I have a few fresh patterns headed to the blog this summer – stay tuned. 
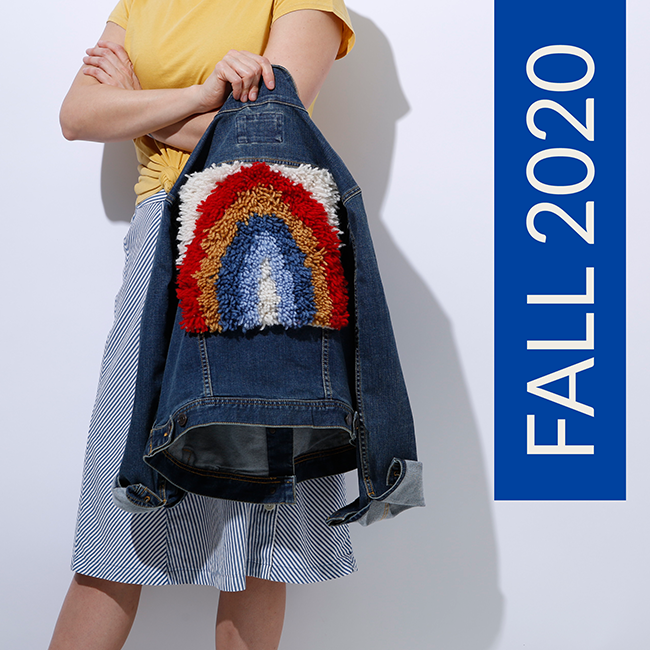
Image credit: Jason Masters, Photographer / Lori Wenger, Stylist
All images featured in this post are by me save for the book teaser image.


