Yarn pictured was provided by .
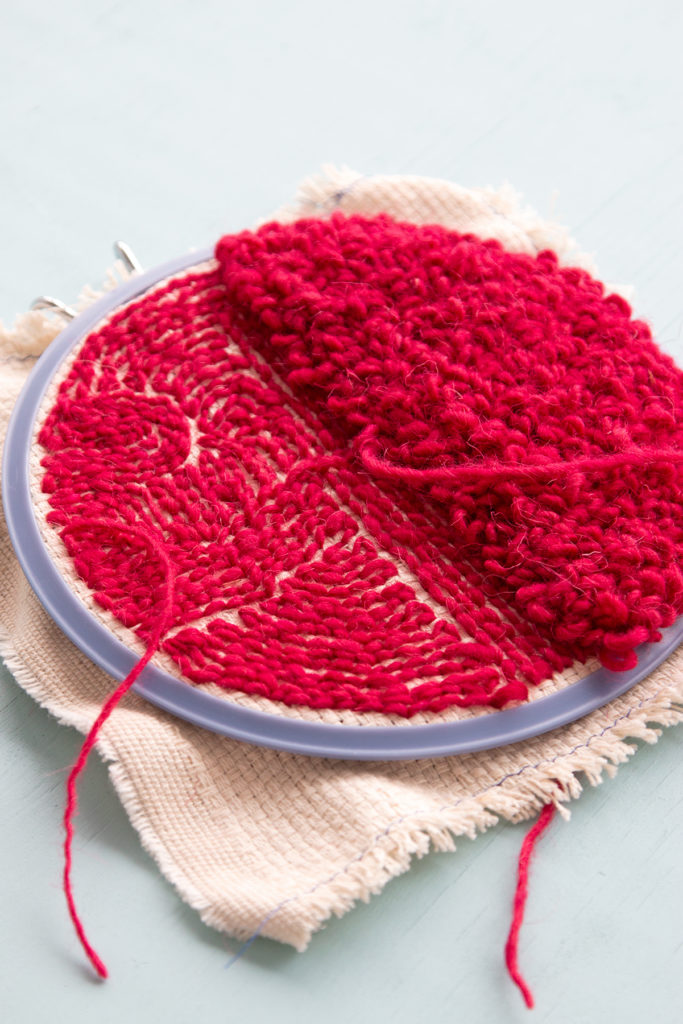
One of the trendiest yarn crafts around these days appears to be a rug making & embroidery method. Using a special punch needle tool, makers create loops of yarn through canvas stretched on a frame or hoop. One loop at a time, it’s easy to create embroidery-like wall hangings and fluffy cushion covers without a huge amount of skill. That’s right – the learning curve for beginning punch needle is shallow, so this is a low-risk way to try your hands at another yarn craft!
A couple quick notes:
- For the purposes of this tutorial, we’re focusing on the rug making version of punch needle.
- This post is designed for first time punch needlers to help get you started on your first project.
- Keep your eyes peeled for the next post in our punch needle series: basic punch needle project finishing.
Basic Punch Needle Project Setup
Supplies
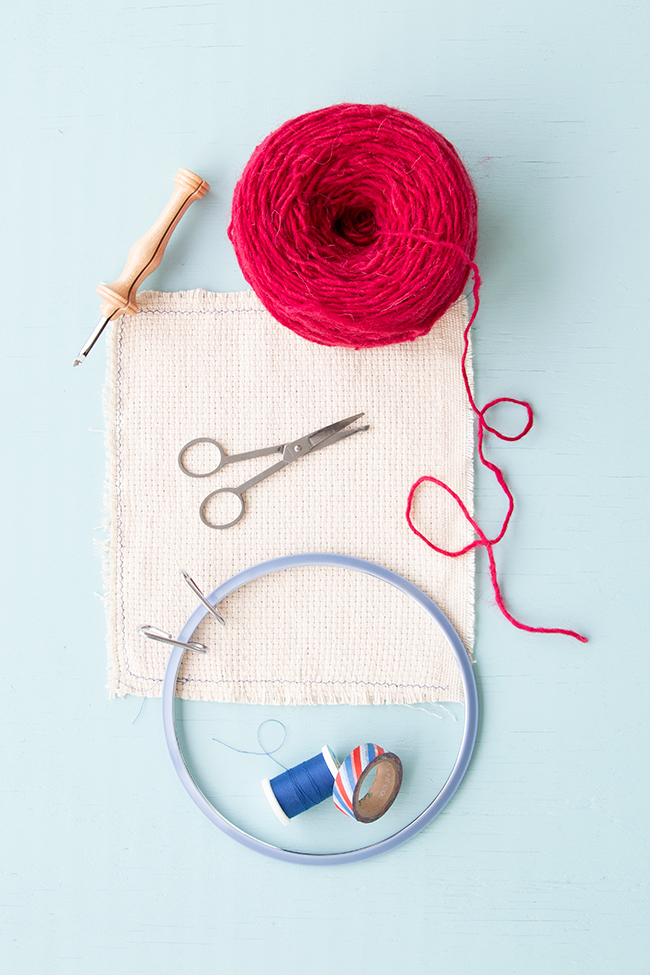
scissors
iron (optional)
canvas (shown: monk’s cloth)
masking tape OR a sewing machine with thread in a color contrasting with your canvas
embroidery hoop
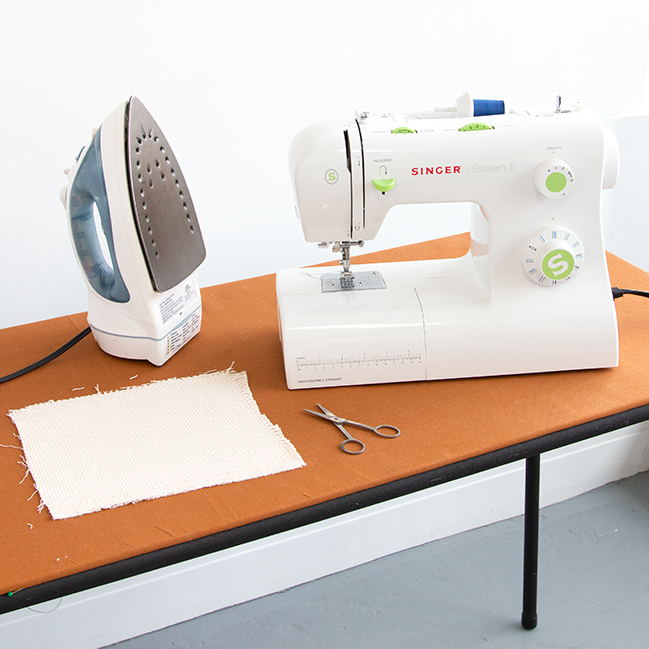
Begin by cutting a piece of canvas to a size that suits your project. For the sake of demonstration, the canvas pictured is about an inch-and-a-half wider than the widest point of my embroidery hoop. Before prepping the canvas any further, I like to iron my punch needle canvas to ensure the fabric is laying nice and straight before prepping any furter. This is optional.
Canvas prep option 1: Sew along the raw edge to prevent fraying
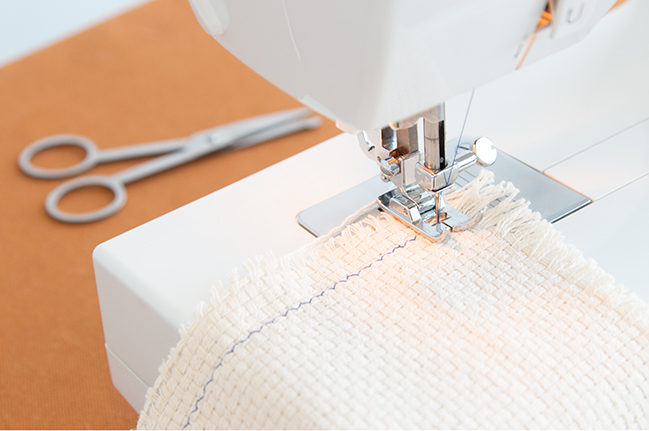
Using a long zig zag stitch*, sew all the way around your canvas, parallel to the raw edge. If any of the edges of your canvas include a edge, you don’t need to sew along that edge because it won’t fray.
*And if you have a serger at home, you’re in luck! You can easily use that to prepare your canvas edges instead of the zig zag stitch on a regular sewing machine.
Canvas prep option 2: Just use masking tape
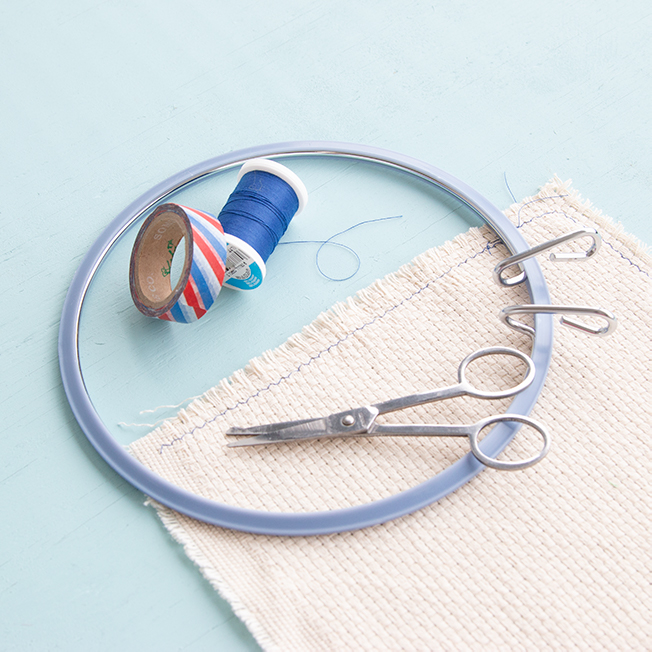
You can simply cover the raw edges of your punch needle canvas with masking or washi tape to prevent your canvas from fraying. (Personally, I prefer the sewn method because it’s softer. The masking tape edge feels a little crunchy in on my hands as I work, so it’s a sensory type thing.) Either option does the job just fine!
Stretch your canvas
As much as serious punch needle artists and hobbyists have special frames for working their rug hooking projects, an embroidery hoop does the job well, especially if you’re just looking to try the technique on for size to see if it’s for you.
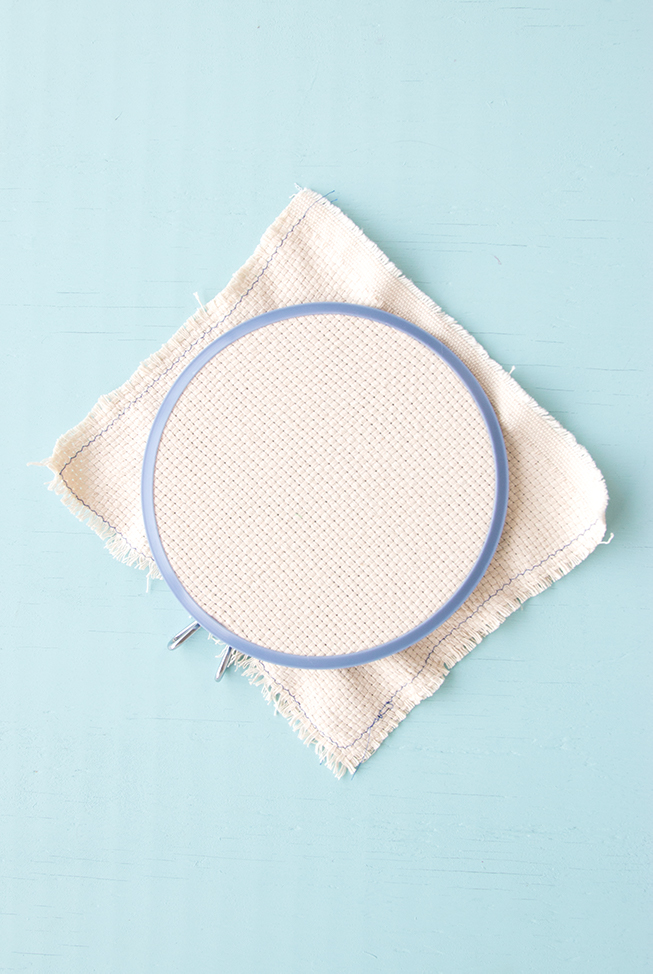
The last step before actually punching loops to create your project is to gently stretch your canvas over a frame and then secure that stretch in place. If you’re using an embroidery hoop, it’s just like setting up to work a cross-stitch or embroidery project. You stretch the canvas across one hoop before securing it with a second, tightening hoop.
How to Punch Needle
Supplies
punch needle tool (shown: )
wool yarn (shown: )
scissors
prepped punch needle project canvas (be it monk’s cloth, burlap, aida cloth, etc.)
Thread your punch needle tool
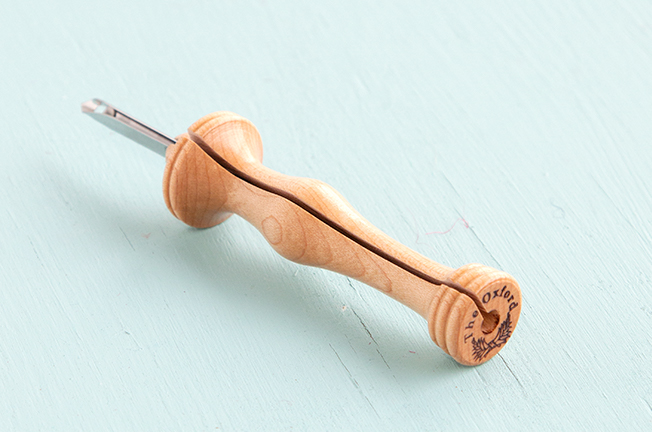
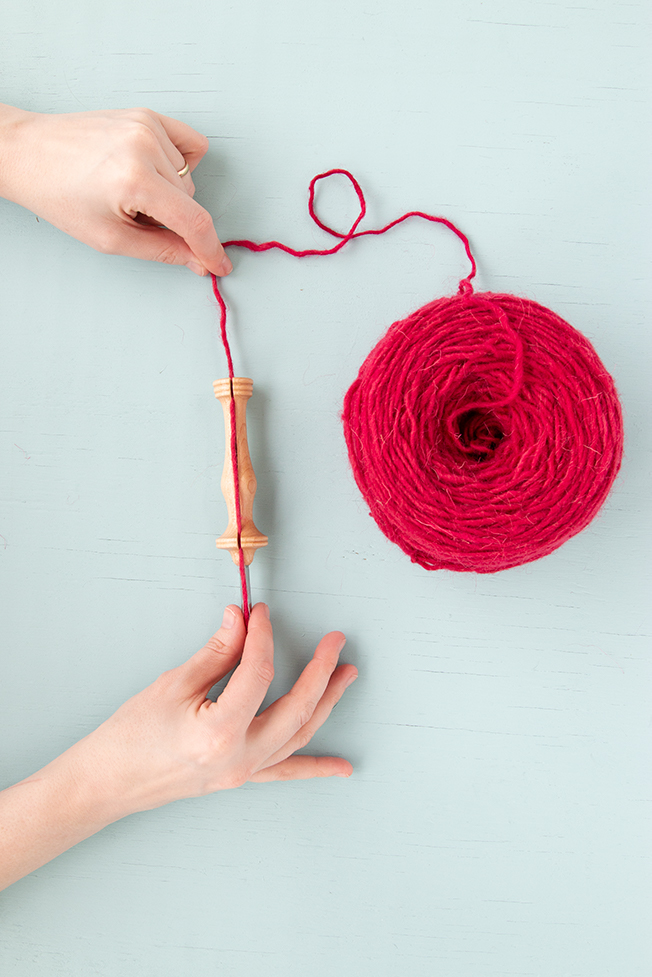
Punch needle tools work almost like a sewing machine needle. There’s a hole near the pointy end. To thread it, you insert the tail end of a ball of yarn through the eye of the needle. In punch needle, the eye of that needle is at the end of a hollow channel that runs the length of the tool.
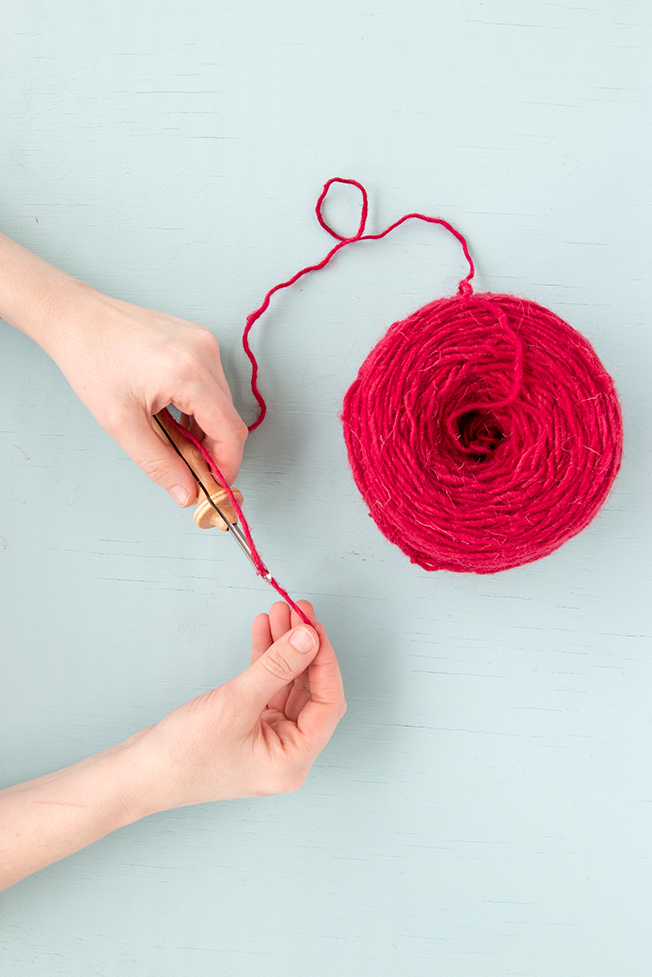
Once threaded, ease the ball end of your yarn into the channel of your punch needle, as shown below. As you work your punch needle project, the yarn will run from the ball, through the punch needle tool, and into your project canvas, one loop at a time.
How to punch a loop with your punch needle tool
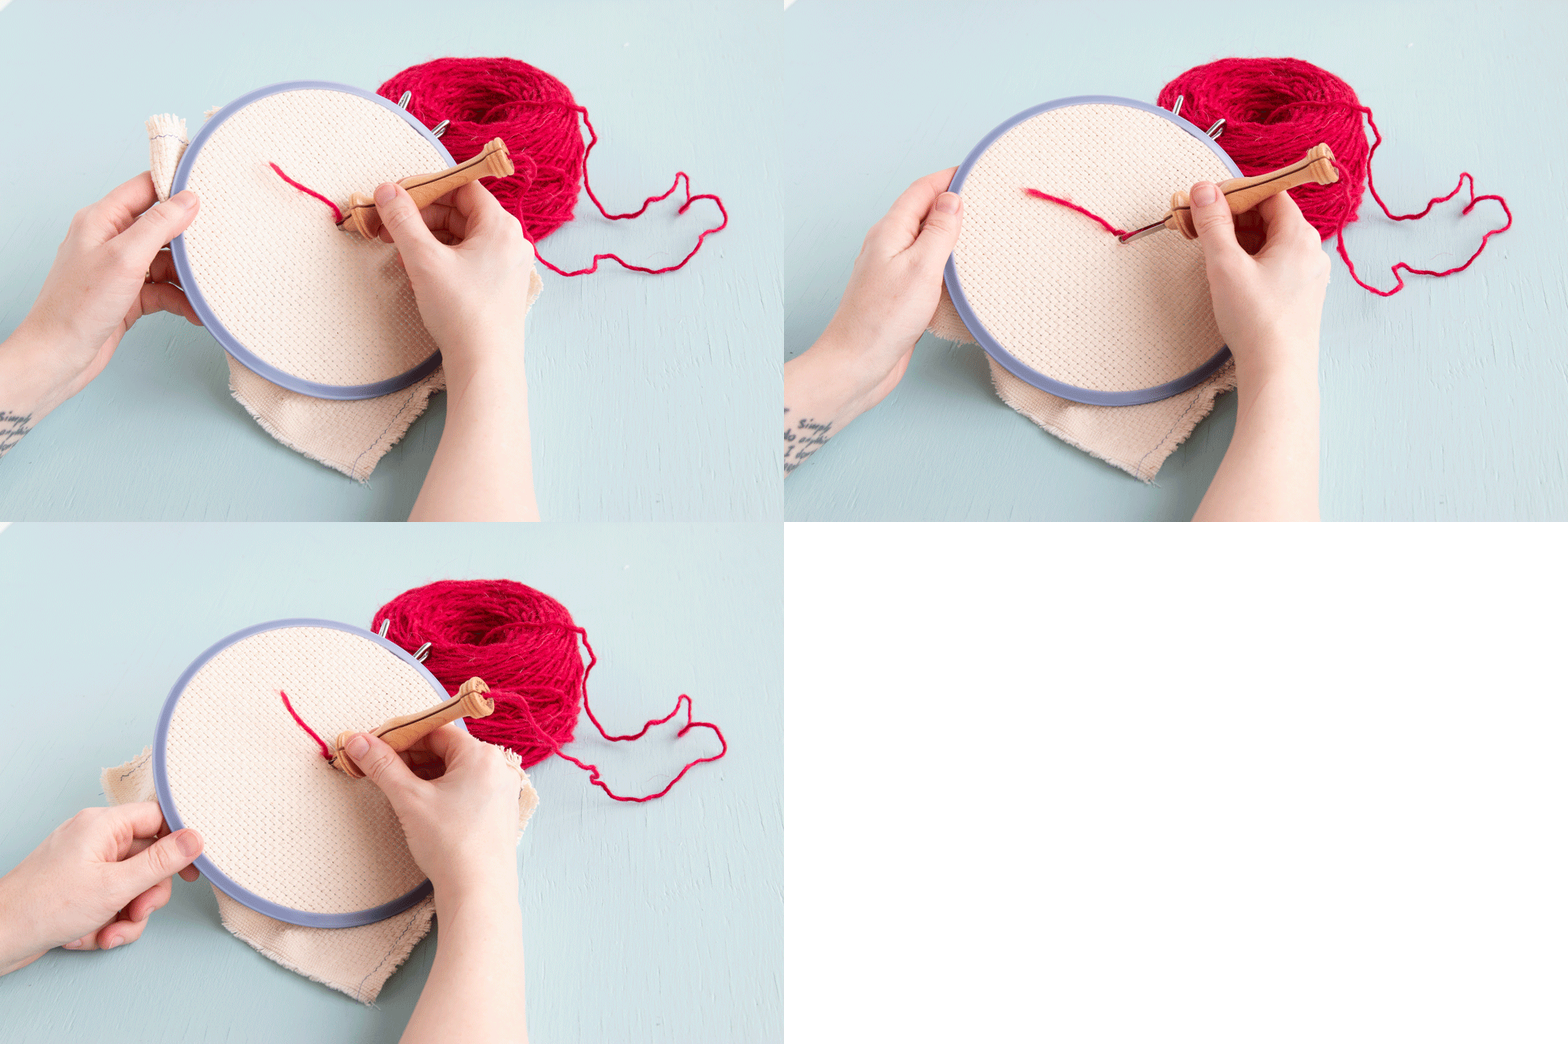
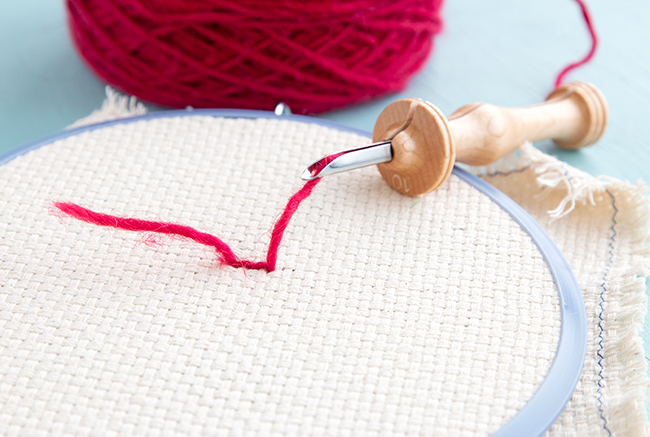
Hold your punch needle as you would a writing utensil. Use your non-dominant hand to hold the tail end of your yarn to keep your tool threaded as you create the first loop. Insert the pointy end of the needle into your project canvas (which should already be prepped and framed, per the instructions above). Insert the tool until the tool’s handle hits your canvas, then draw it straight back up through the canvas. A loop will now be formed at the back of your work.
Being careful to avoid pulling your yarn from the tool, insert your punch needle tool into your canvas again, slightly away from your initial loop. When the tool handle hits the canvas, draw it back up, and voila! You’ve created a second loop that should be approximately the same size as the first.
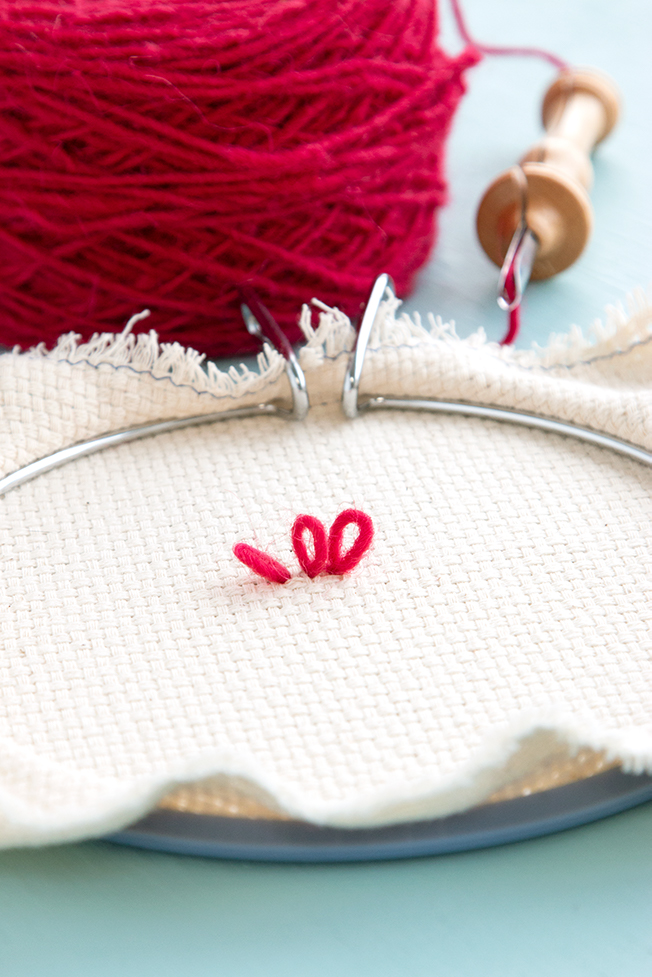
Which one is the right side?
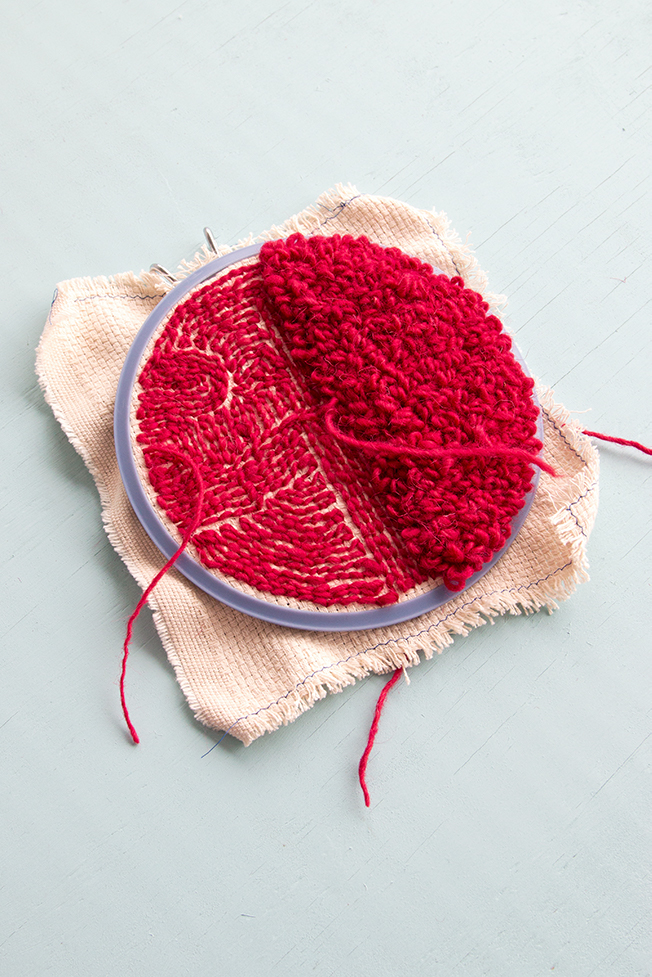
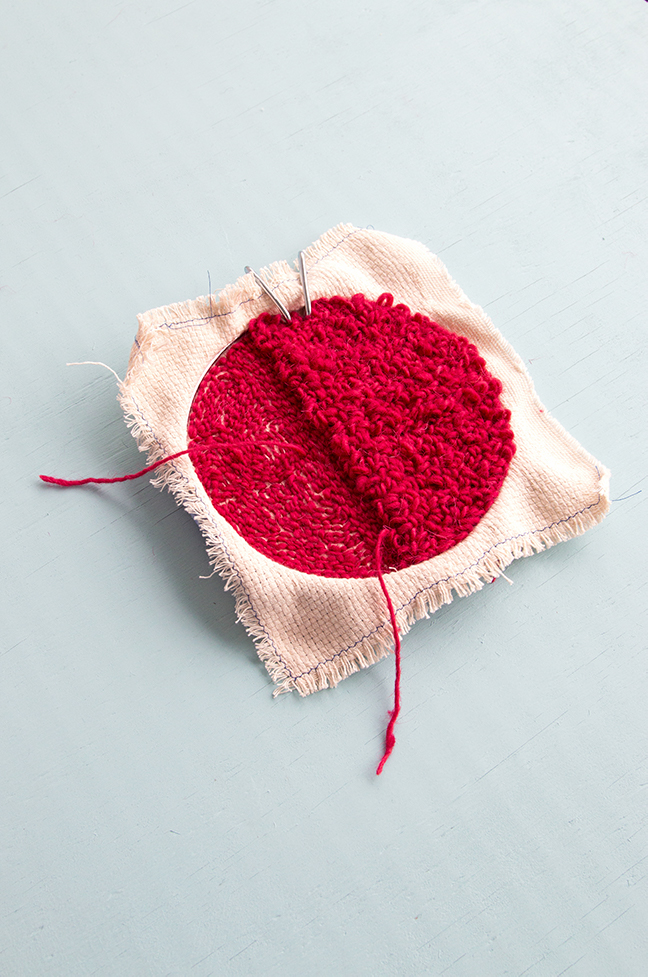
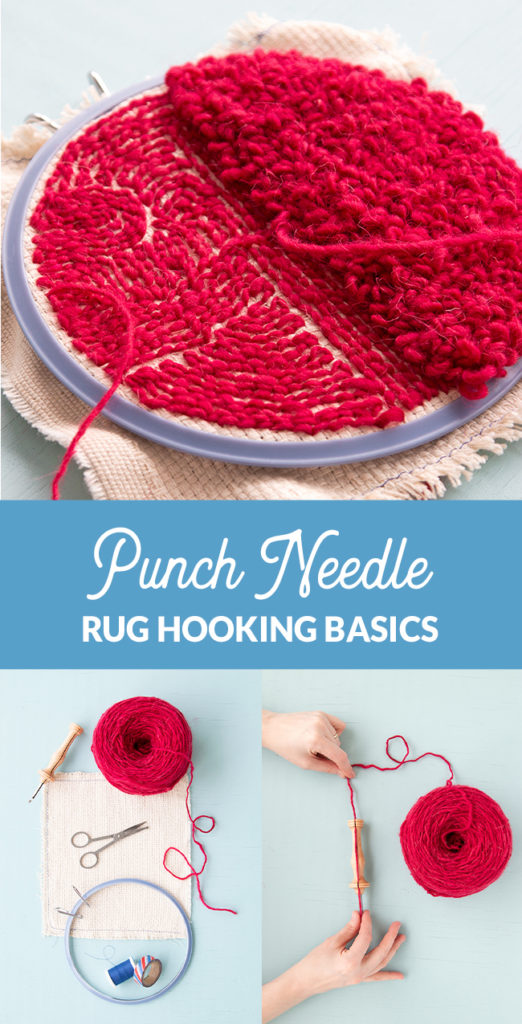
Whichever one you want it to be, my friend! Some folks prefer the running stitch look of the working side of a punch needle project (the non-loop side). And some prefer the loops. You can also experiment with combining the two. For your first punch needle project, I recommend putting together a little sampler like the one pictured for this tutorial. That will allow you to play with your technique on something small, experimenting also with textures, shapes and what more vs. less dense loops look like. Just remember to pair the right yarn with the right tool and canvas, and you’ll be on your way to having fun with this rug making method!
Don’t forget to keep your eyes peeled for the next post in our punch needle series: basic punch needle project finishing!
Yarn pictured was provided by .


