
 It’s my first time back on the blog since the birth of our little babe! If you follow me on you may know we had Magda Lisbeth Muncey on the 12th September at 10.17am and have been besotted with her ever since. It’s crazy that the last post all about her nursery was scheduled ahead of time to go out on what happened to be the day she was born! All the prep that went into getting ready for her and now she’s here and yet it feels like she’s always been a part of the family. One of the things I did in the weeks leading up to her birth was this cute DIY project and now I have a little bean to make use of it…and to lend me her modelling abilities.
You may have read my about the struggle to find simple baby gear that doesn’t look like a rainbow threw up everywhere. Baby play gyms are a perfect example of that very issue as it seems that companies think everyone wants a trippy, mini theme park for a their new bubba. If you’ve embraced that then fab but I just couldn’t bring myself to. The only stylish baby gym and playmats seemed to cost a fair penny so I decided it was the perfect opportunity to make one myself and share the ‘how to’ with you guys, just incase you’re in the same dilemna as me. For this project I recruited some help from my Mum-in-Law who is a pro seamstress (she made my wedding dress don’t you know). I can sew but I wanted to make sure the playmat was made as well as it could be so that it’s nice and durable for playtime. I tend to cut corners when sewing so I knew I needed someone to curb my hap hazard approach. The idea of creating an even circle also felt a little overwhelming so she came for an afternoon to help figure out the best way to tackle it. We tried to keep it as simple as possible for you all but I’m not going to lie, there are a fair few steps. Don’t be put off.

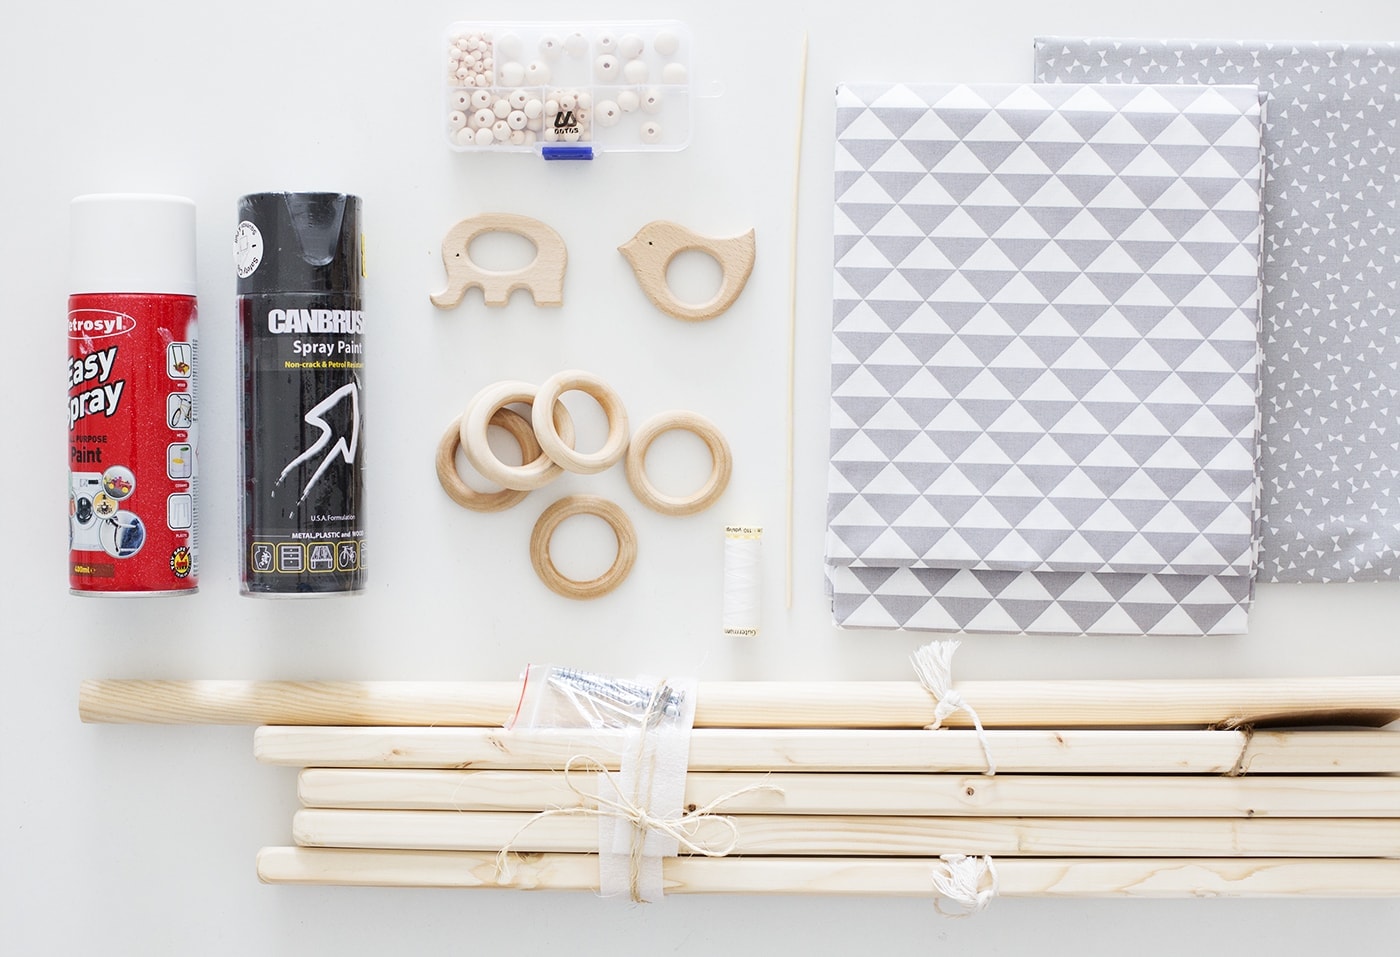
Materials:
Babygym
- (without toys/teethers)
- I also added some faceted beads
- x 2
- x 6
- Wooden skewers
- Black spray paint
- White spray paint
- White embroidery thread
- Bin liners or newspaper to protect the floor or table
Playmat
- Sewing machine
- White machine thread
- Pins
- Pencil
- 1m in one pattern and 1m in another
- 1m batting or wadding
- White bias binding
- Measuring tape
Babygym…
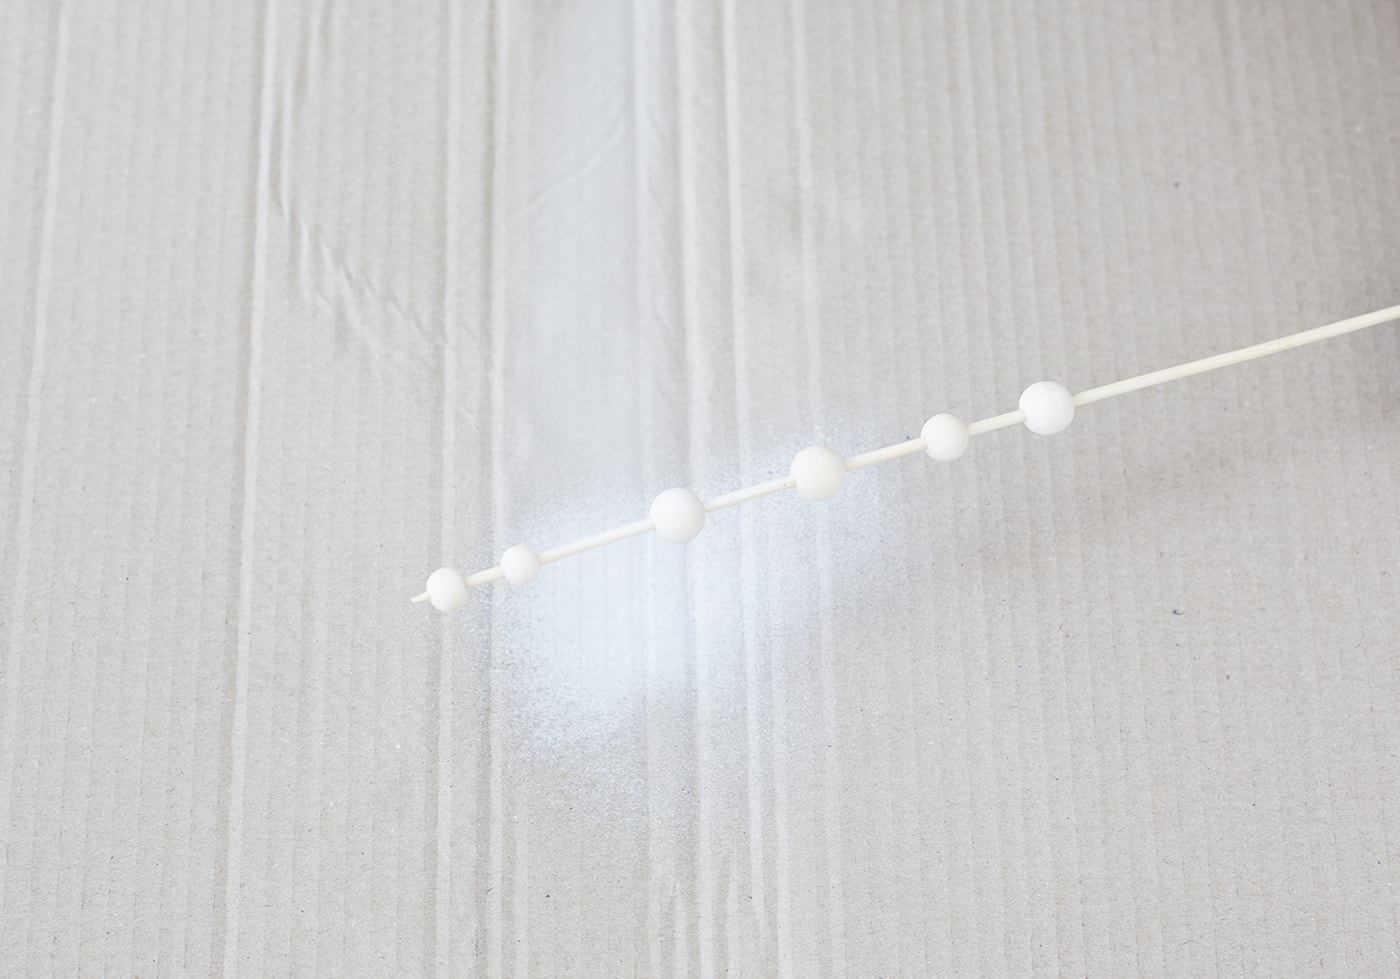
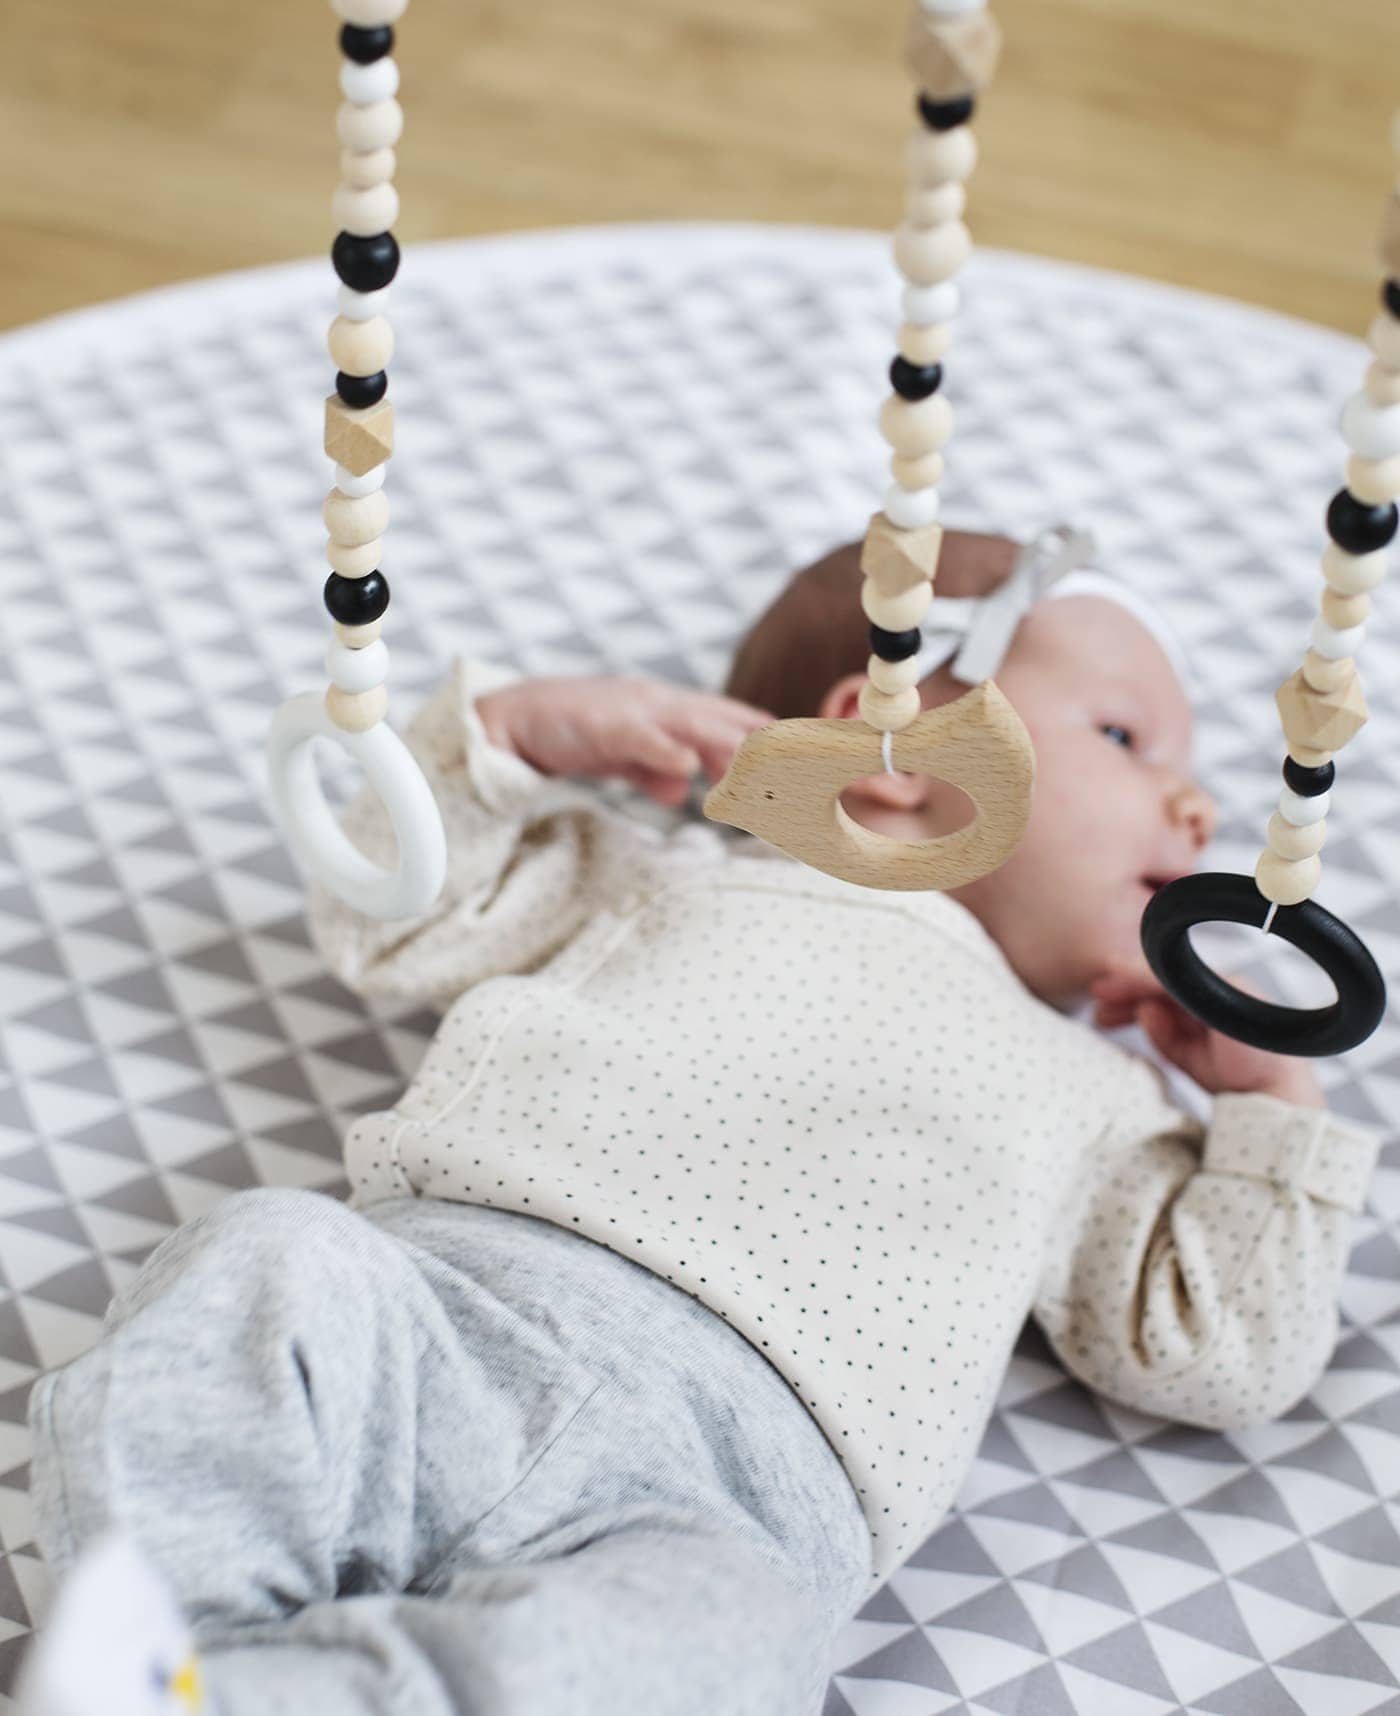
Start by threading an assortment of sized beads onto the BBQ skewers and spray paint over a protected surface, making sure you catch all angles of the beads. I also spray painted two of the rings. It’s fine to use spray paint for these as your baby won’t be putting them in it’s mouth.
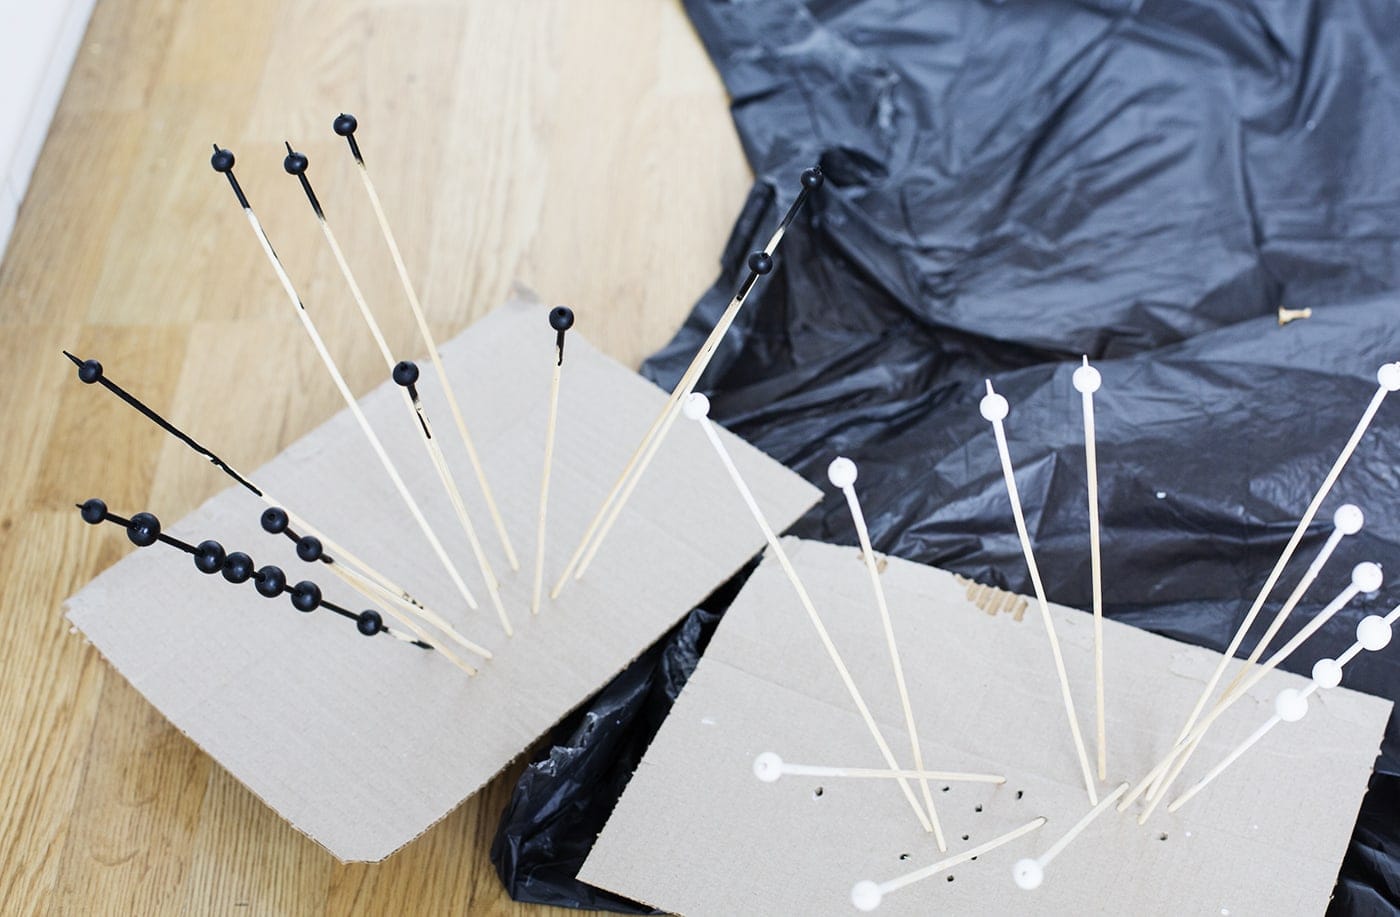
Alternate the skewers with black and white spray paint and poke holes in some cardboard to keep them propped up while they dry.
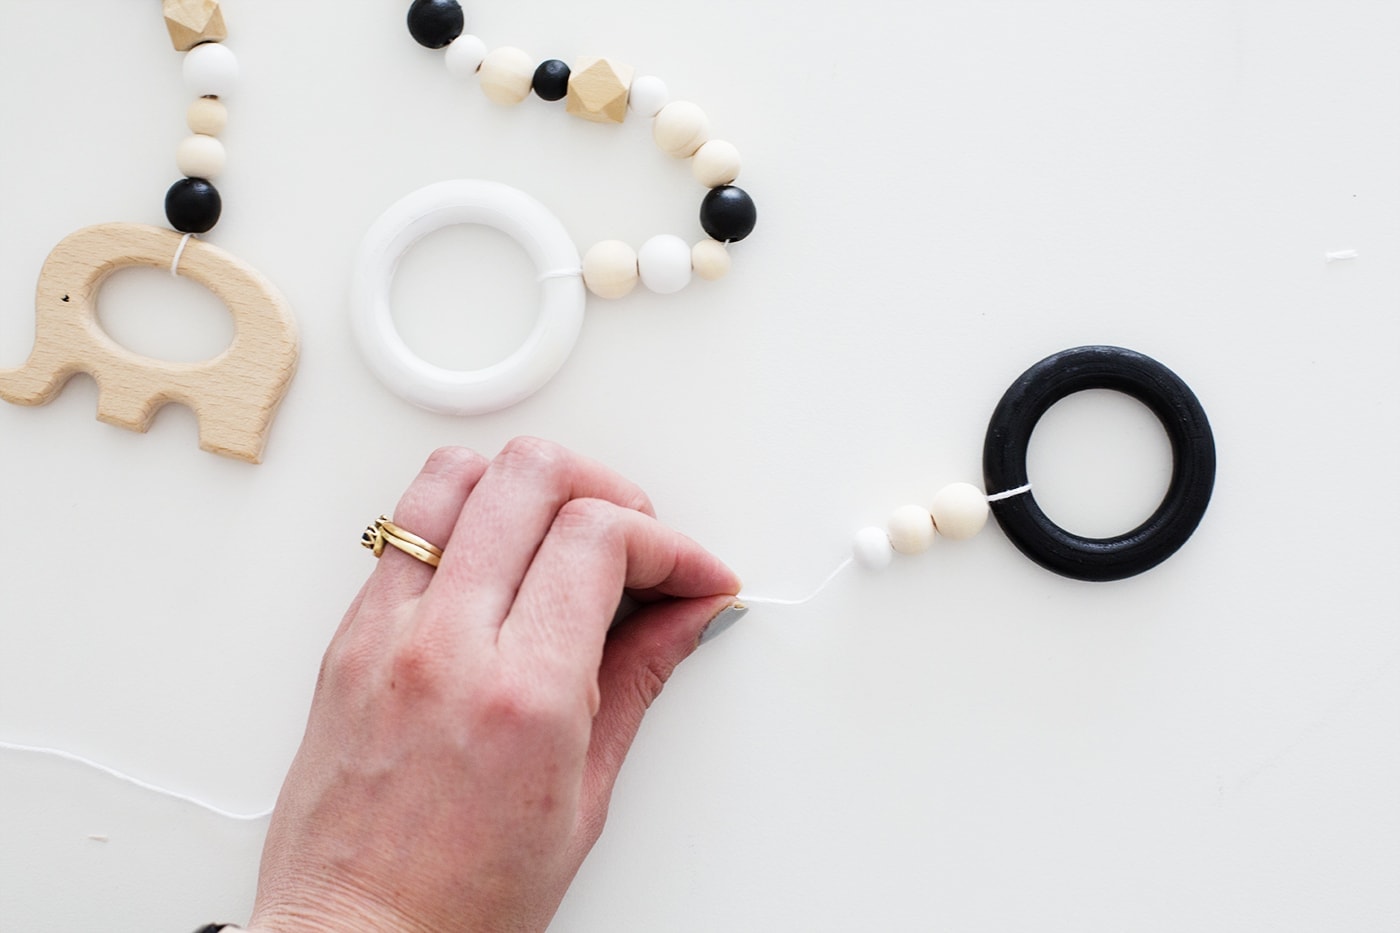
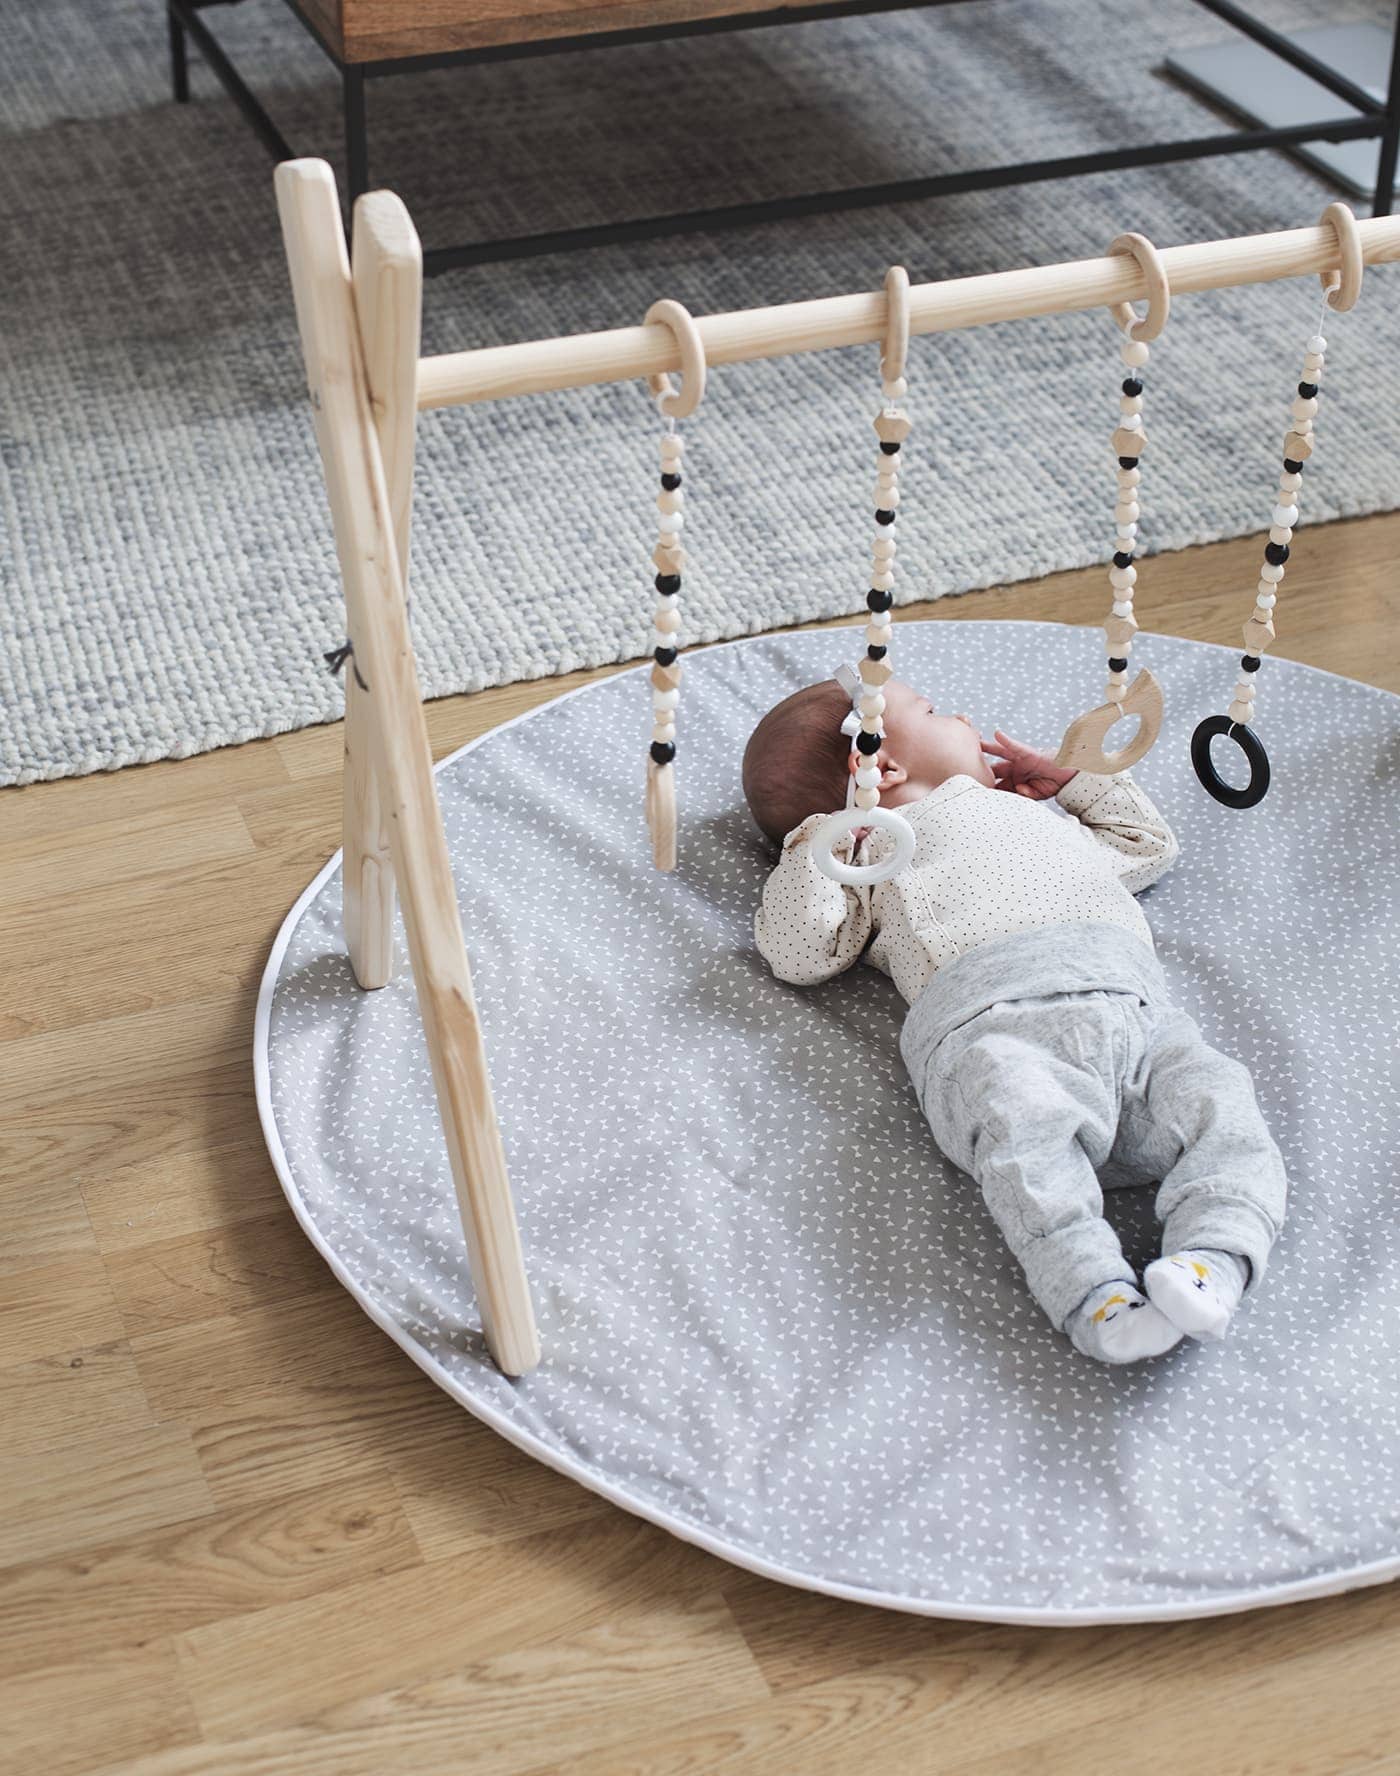
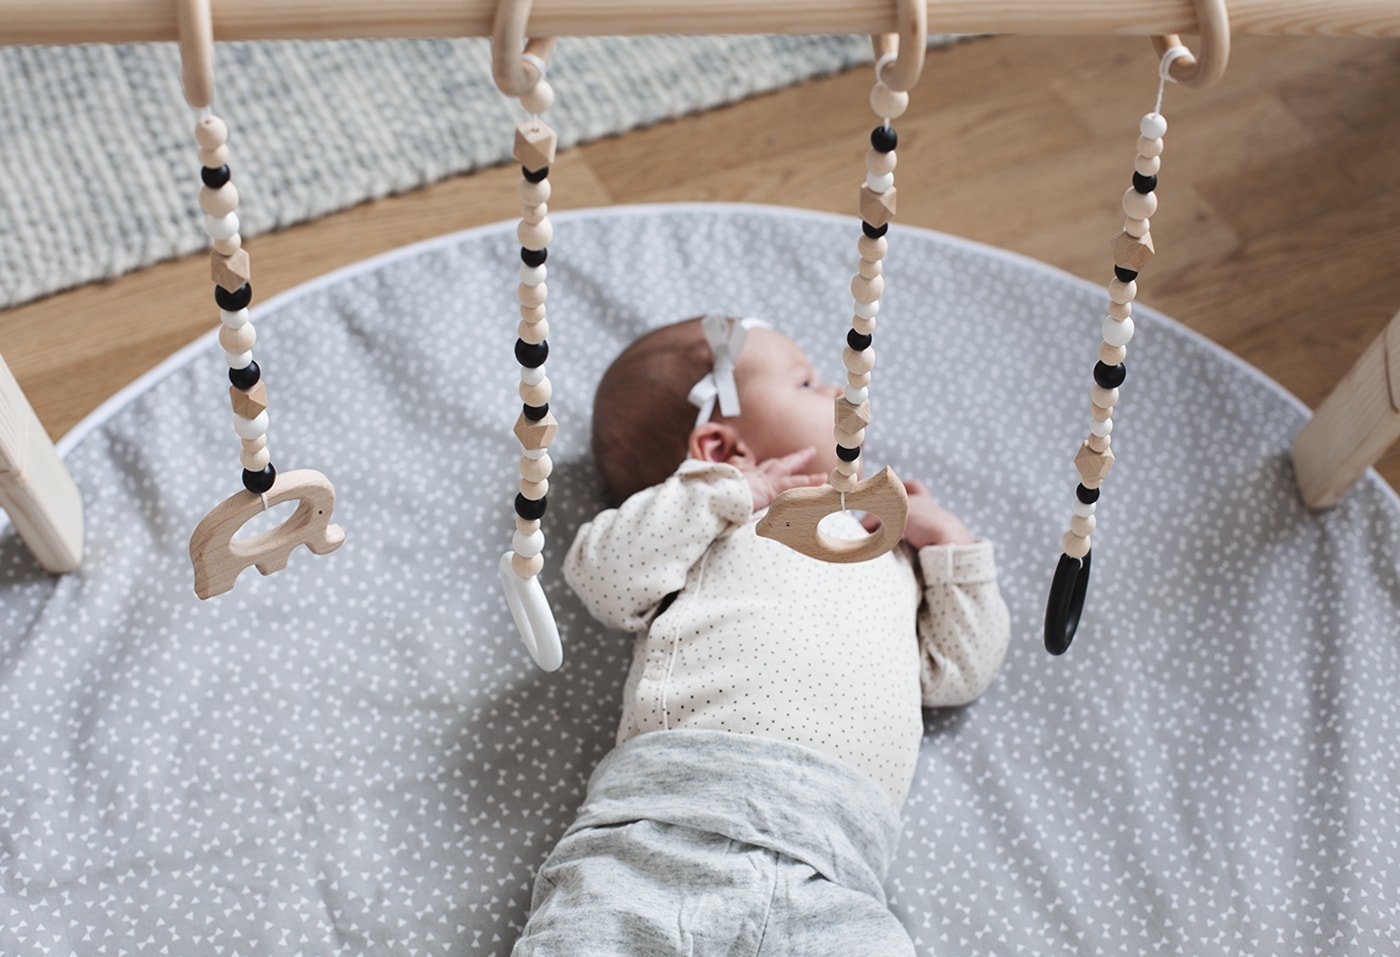
Now thread these onto lengths of the white embroidery thread, started with either a ring or animal teether at the bottom , tied on with a double knot. Alternate the bead sizes and colours as you work your way up. It’s nice to make each length slightly different so they hang down varying amounts. Finish each one off with a plain wooden ring at the top, tying a double knot again.
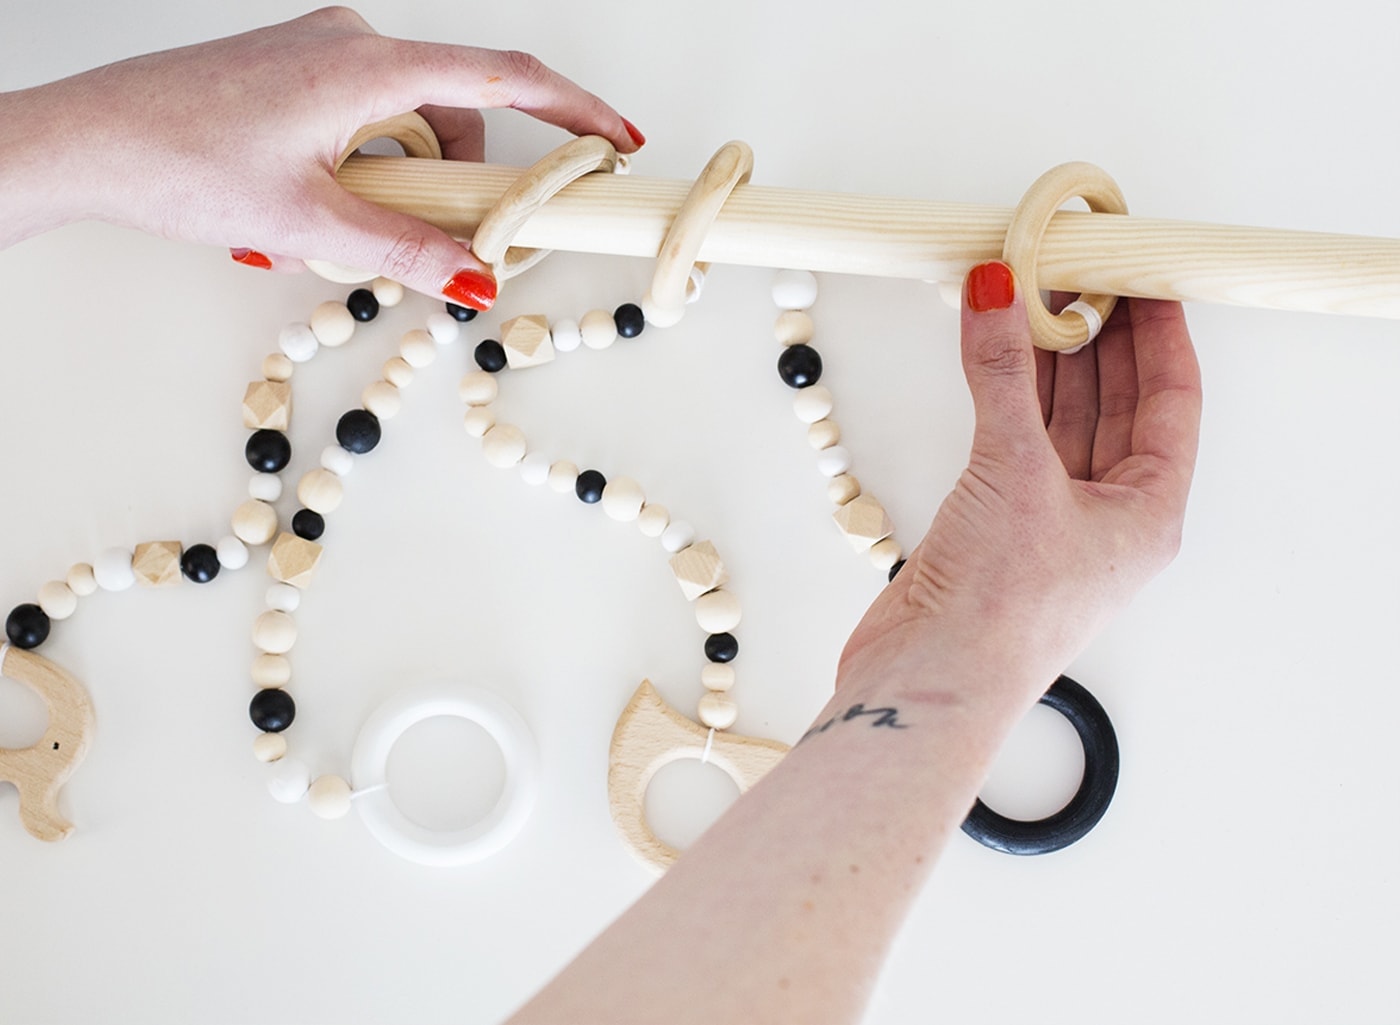
Take the overhead section of the playgym and thread each beaded length on. Set aside.
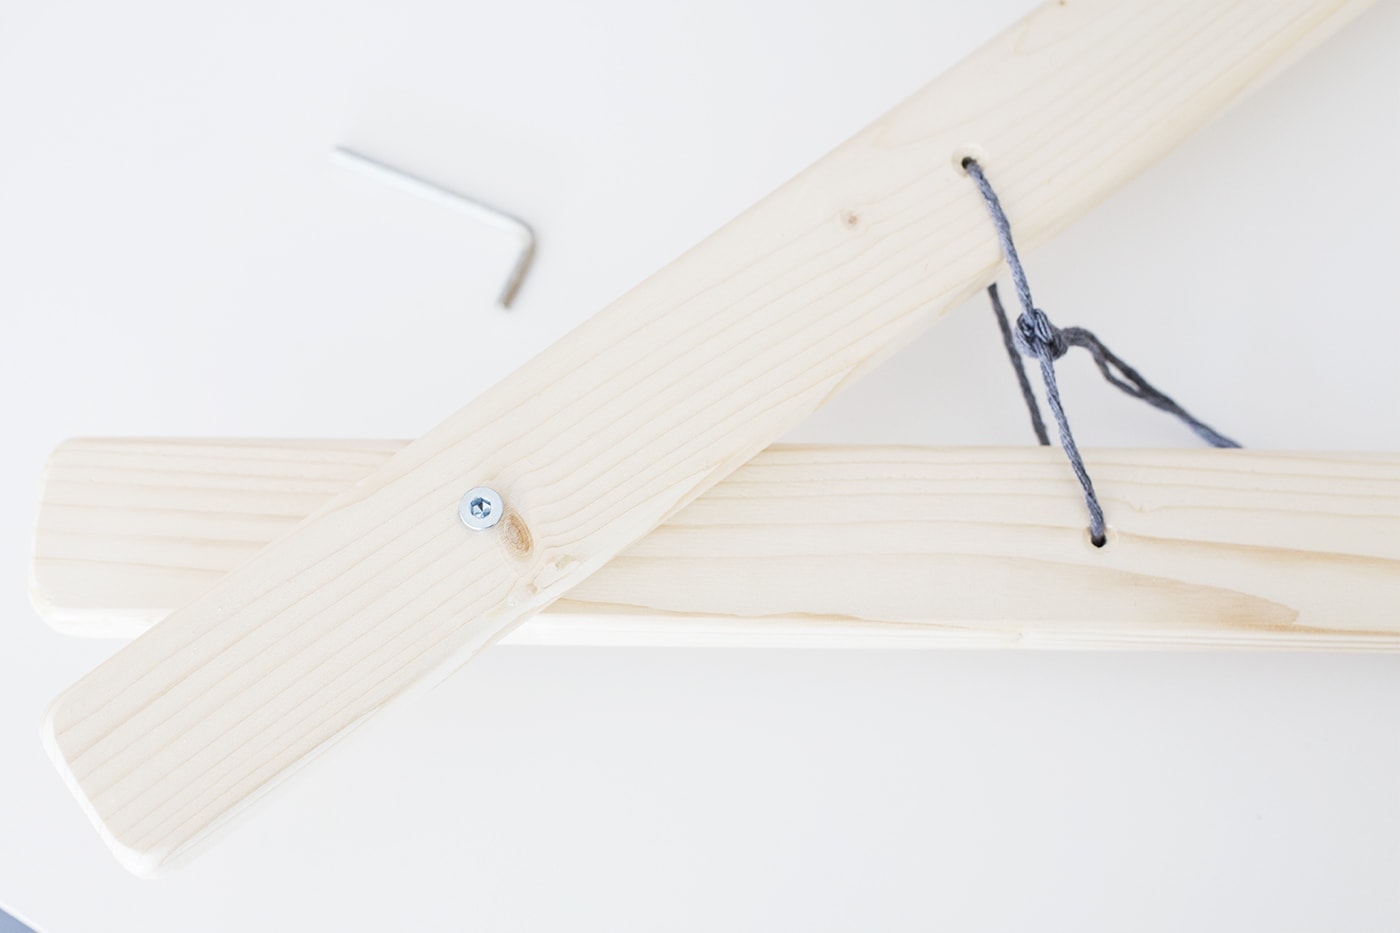
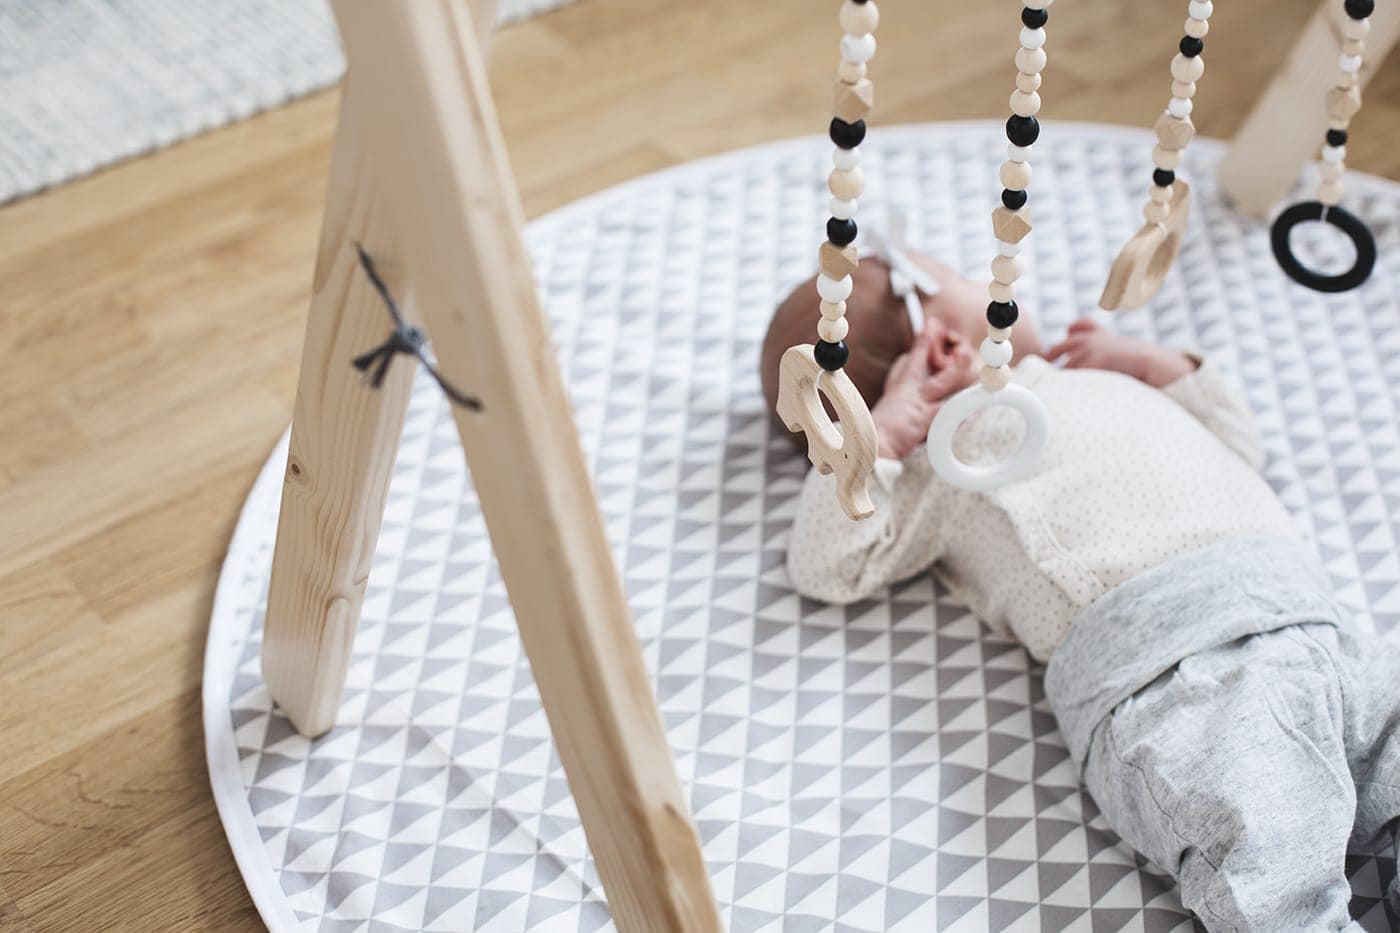
You should have received 2 screws and an allen key with the babygym so use the allen key to add the screw in place either side.
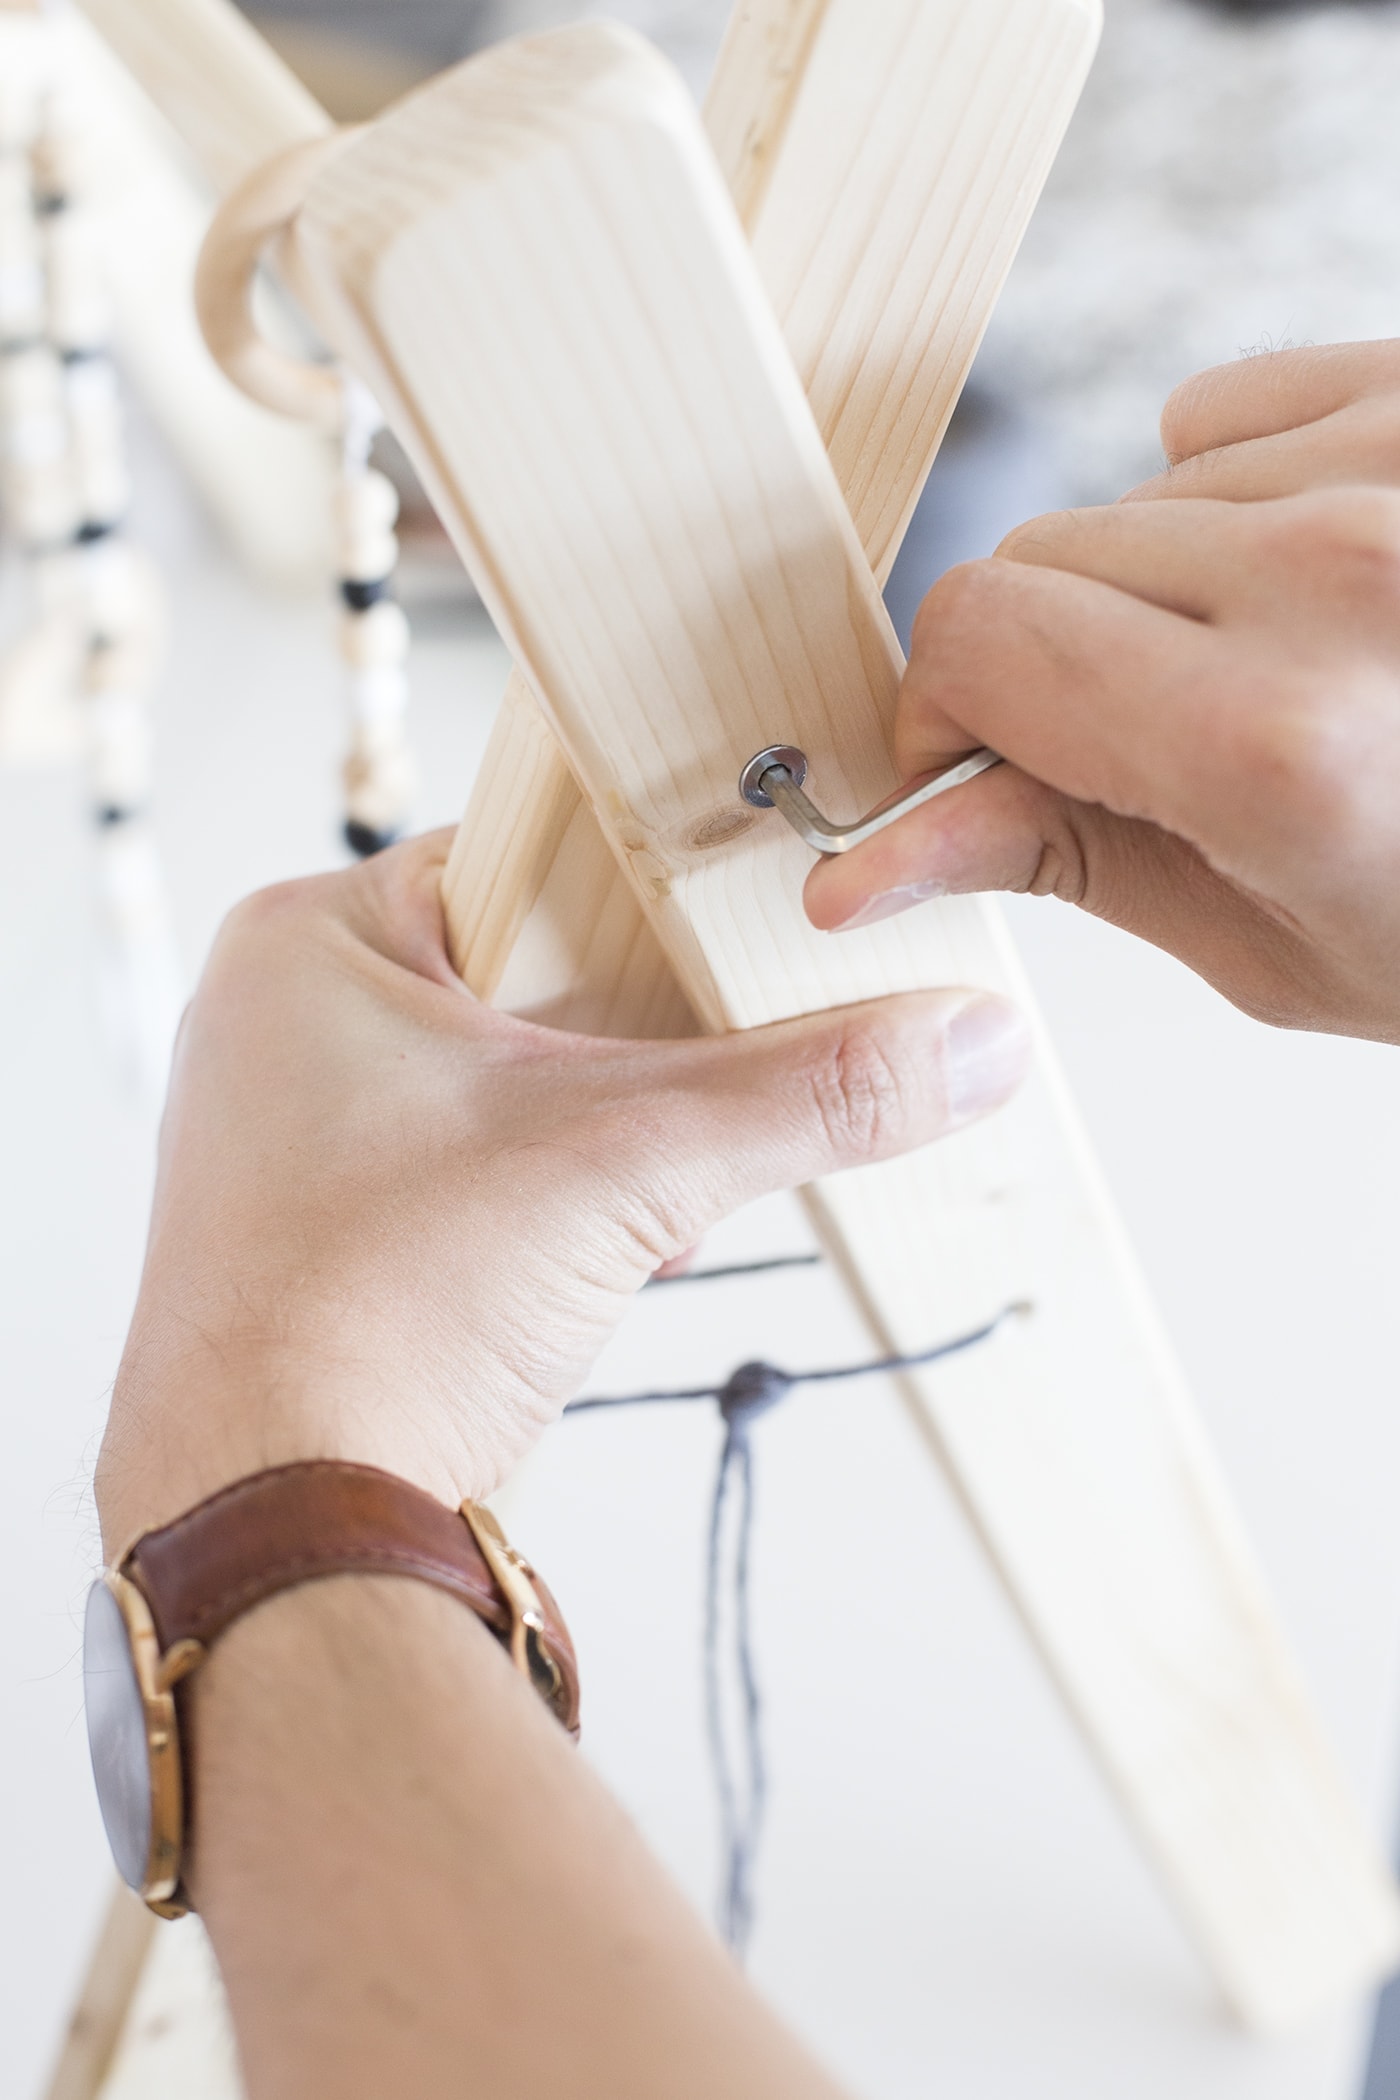
Now add the overhead piece in the circular clot and tighten the screws on either side.
Playmat…
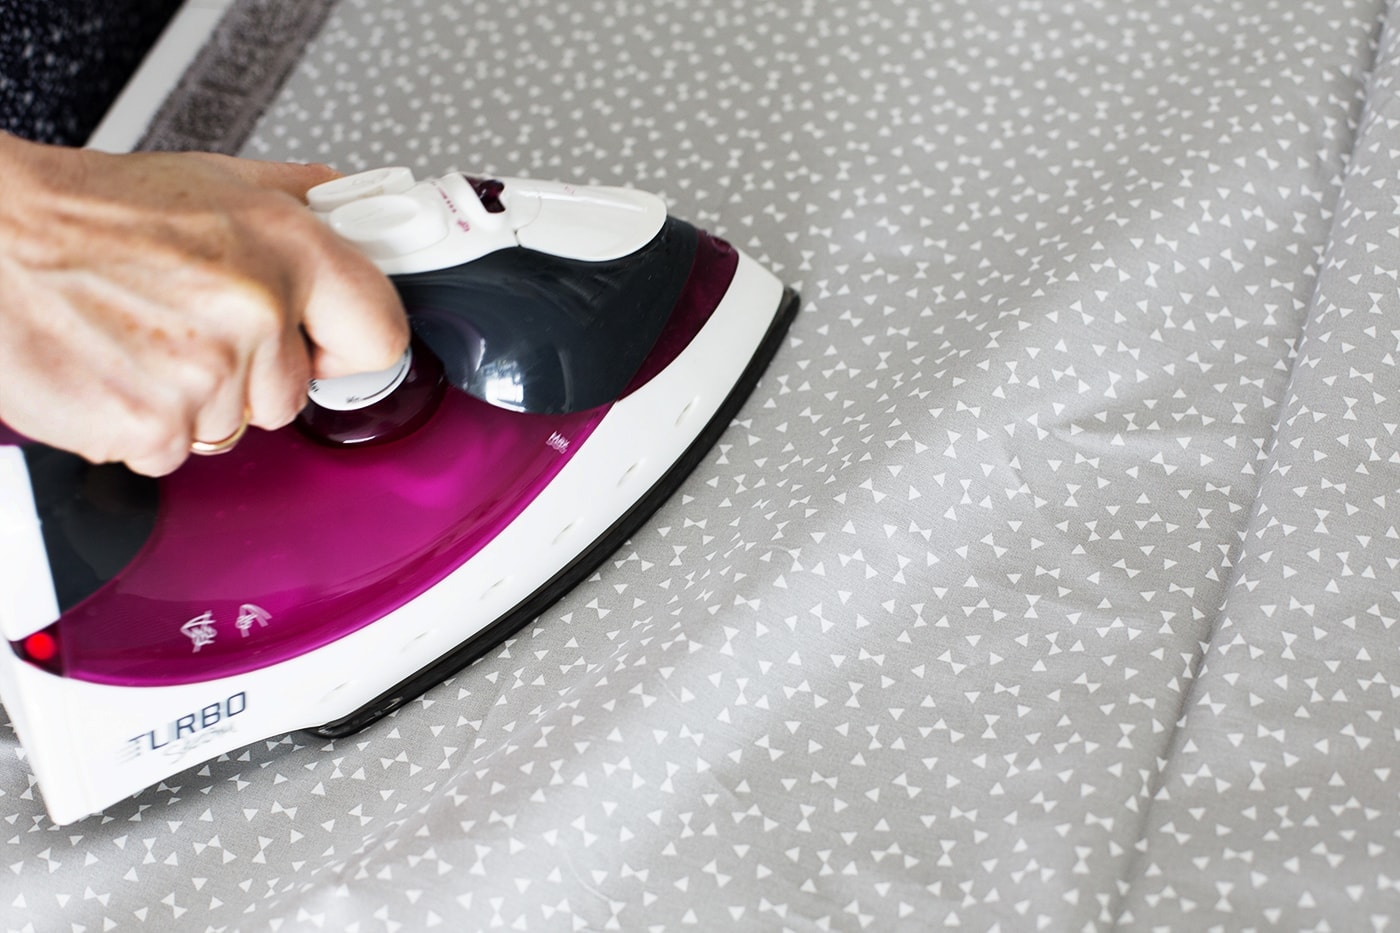
Wash and iron your cotton fabric before beginning. Washing is particularly important incase the fabric shrinks.
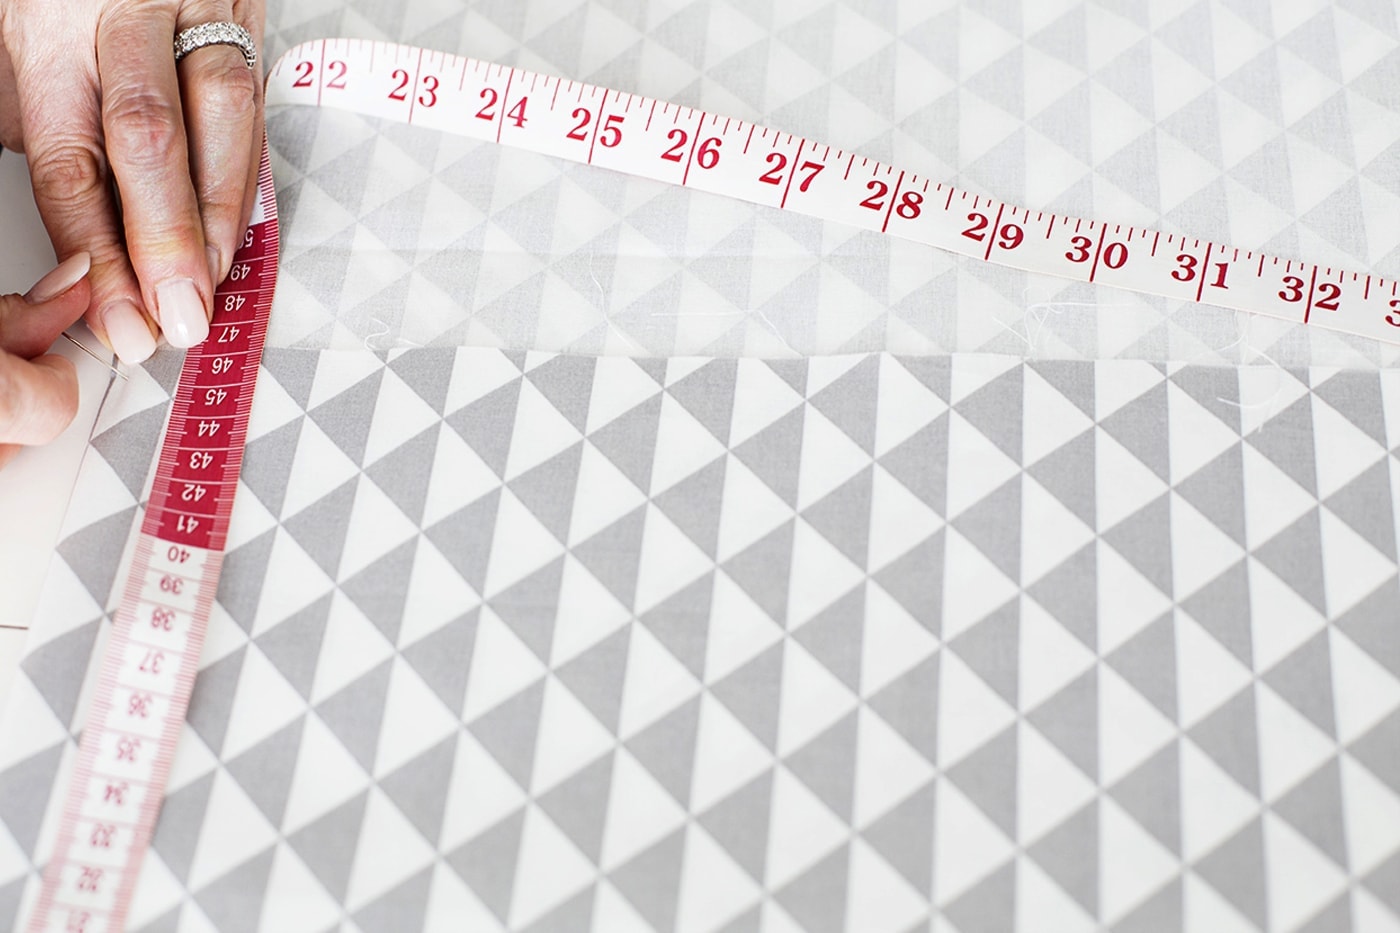
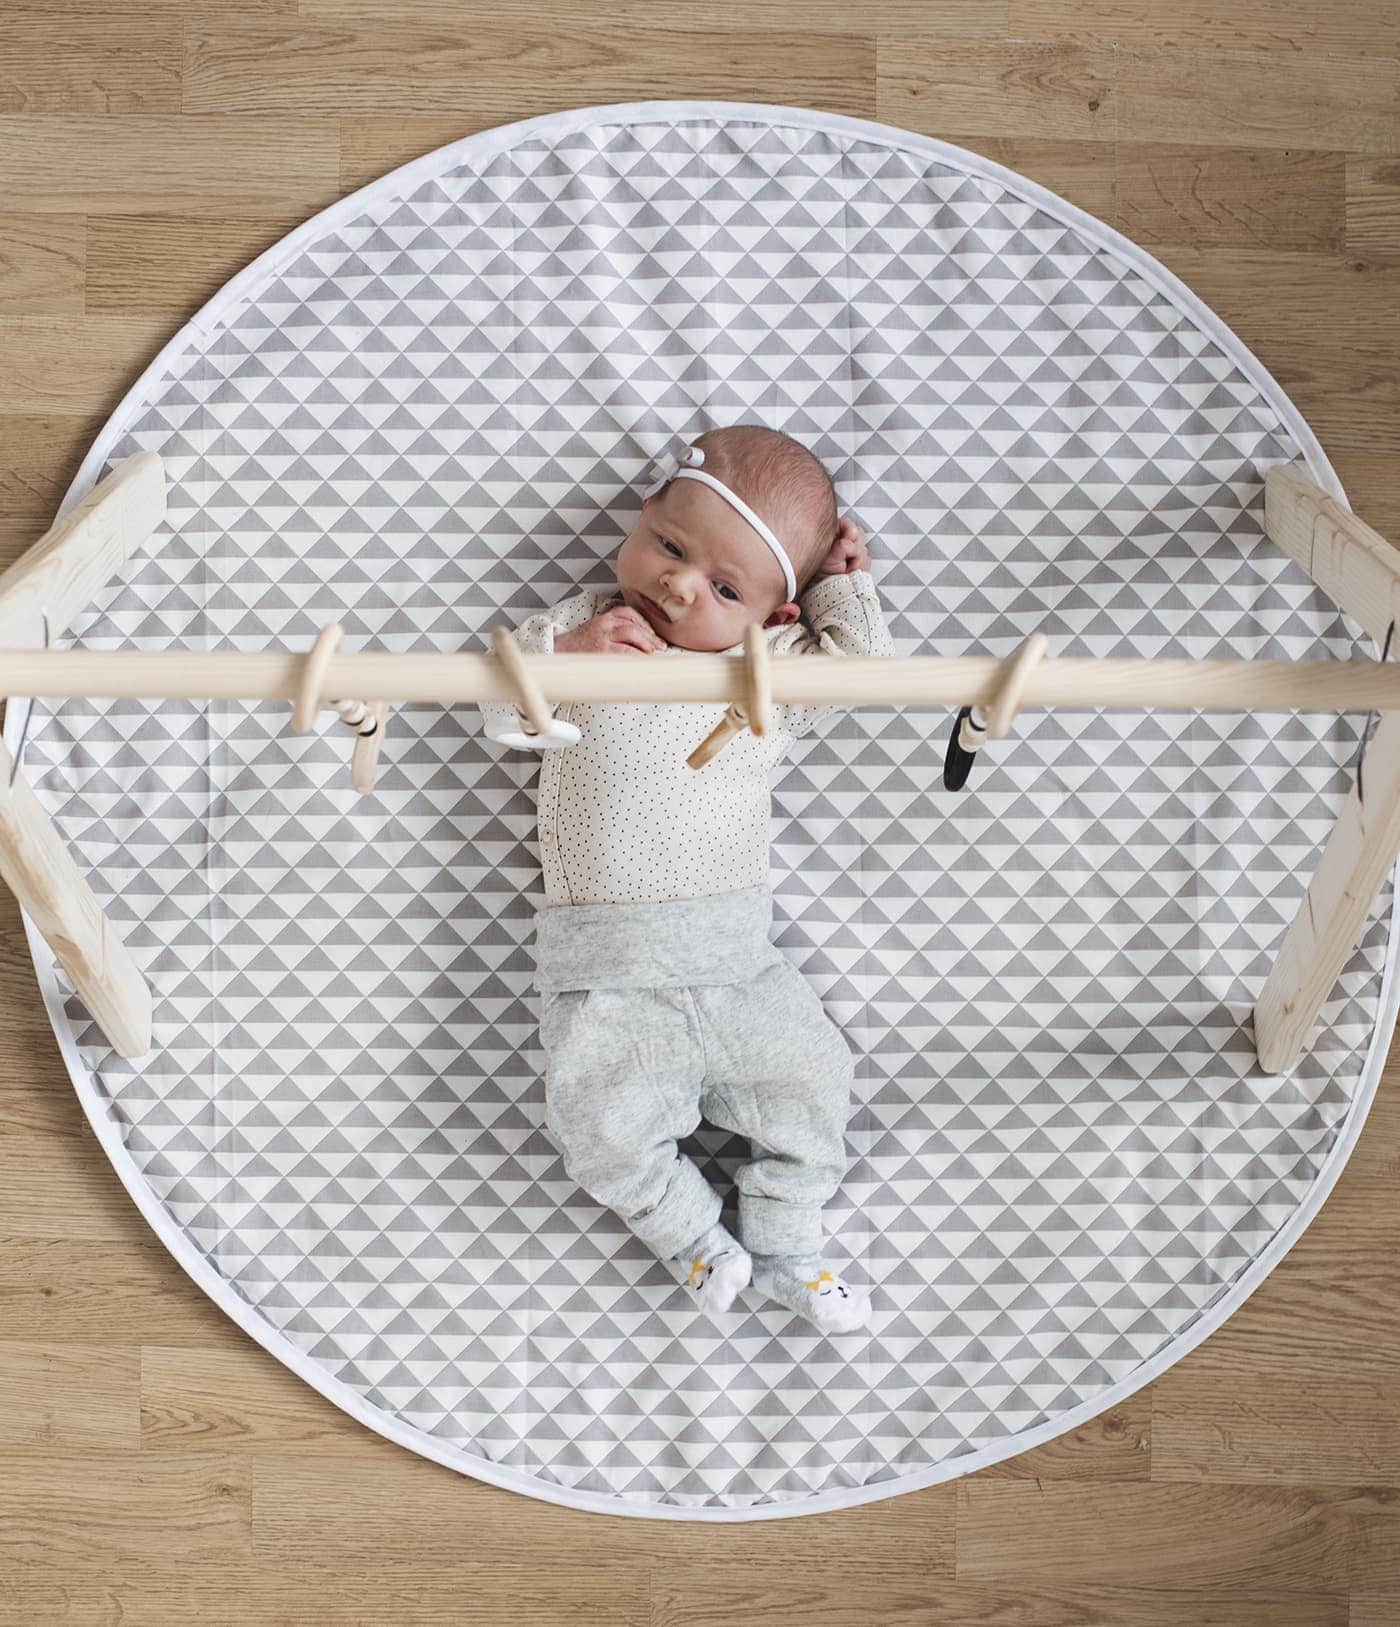
The babygym listing should tell you the measurement for the playzone so you’ll want the diameter of your mat to be a little bigger. For me that worked out to 90cm so you’ll need both cotton fabrics cut to 90cm along with you batting too. Fold the cotton fabric and measure half the diameter across the top and put a pin in through both layers to mark. For me the marker was therefore at 45cm along.
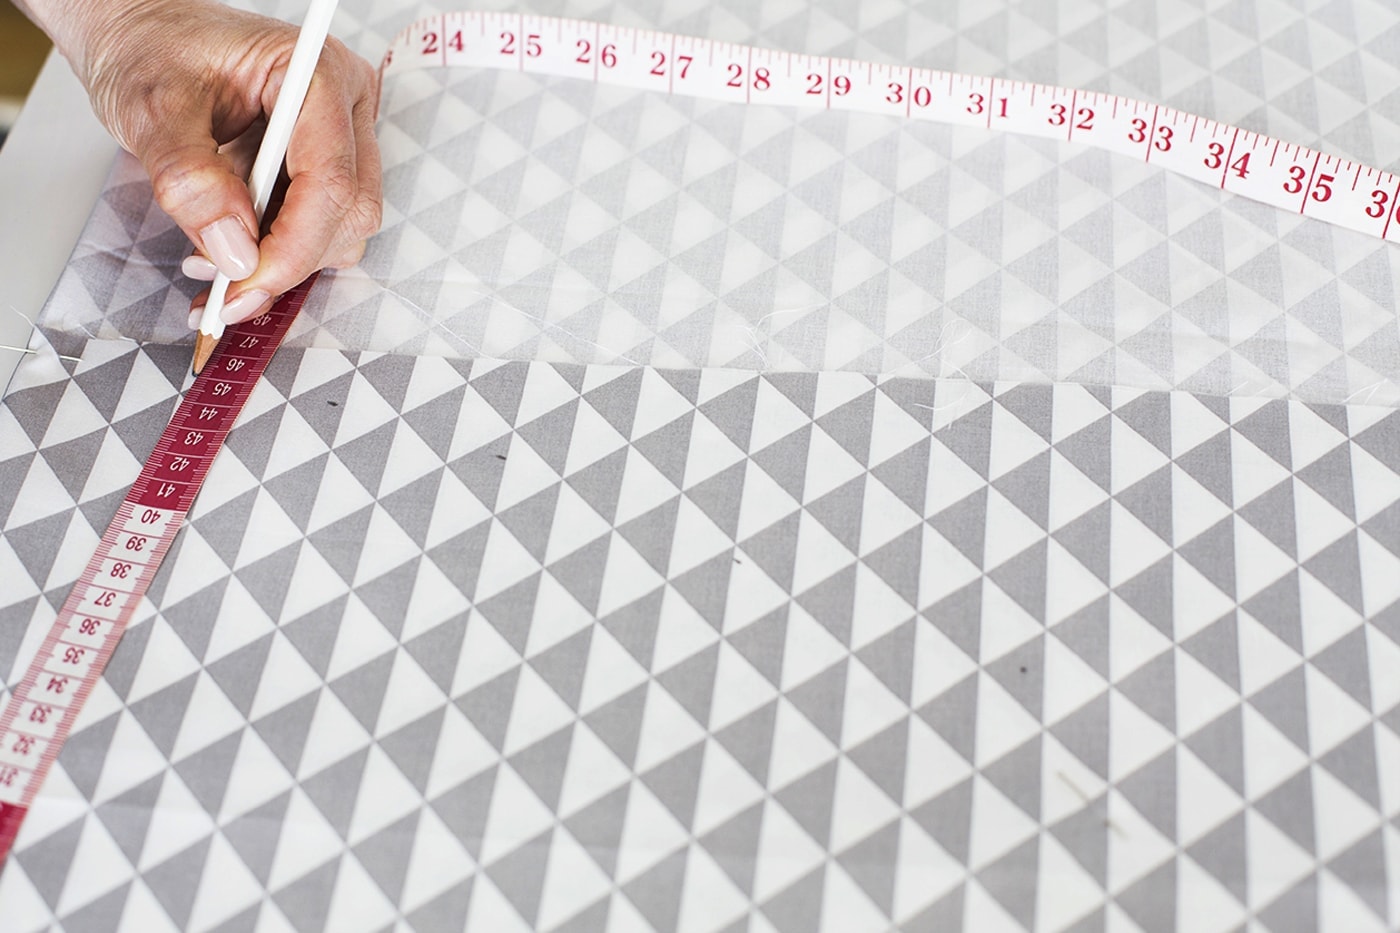
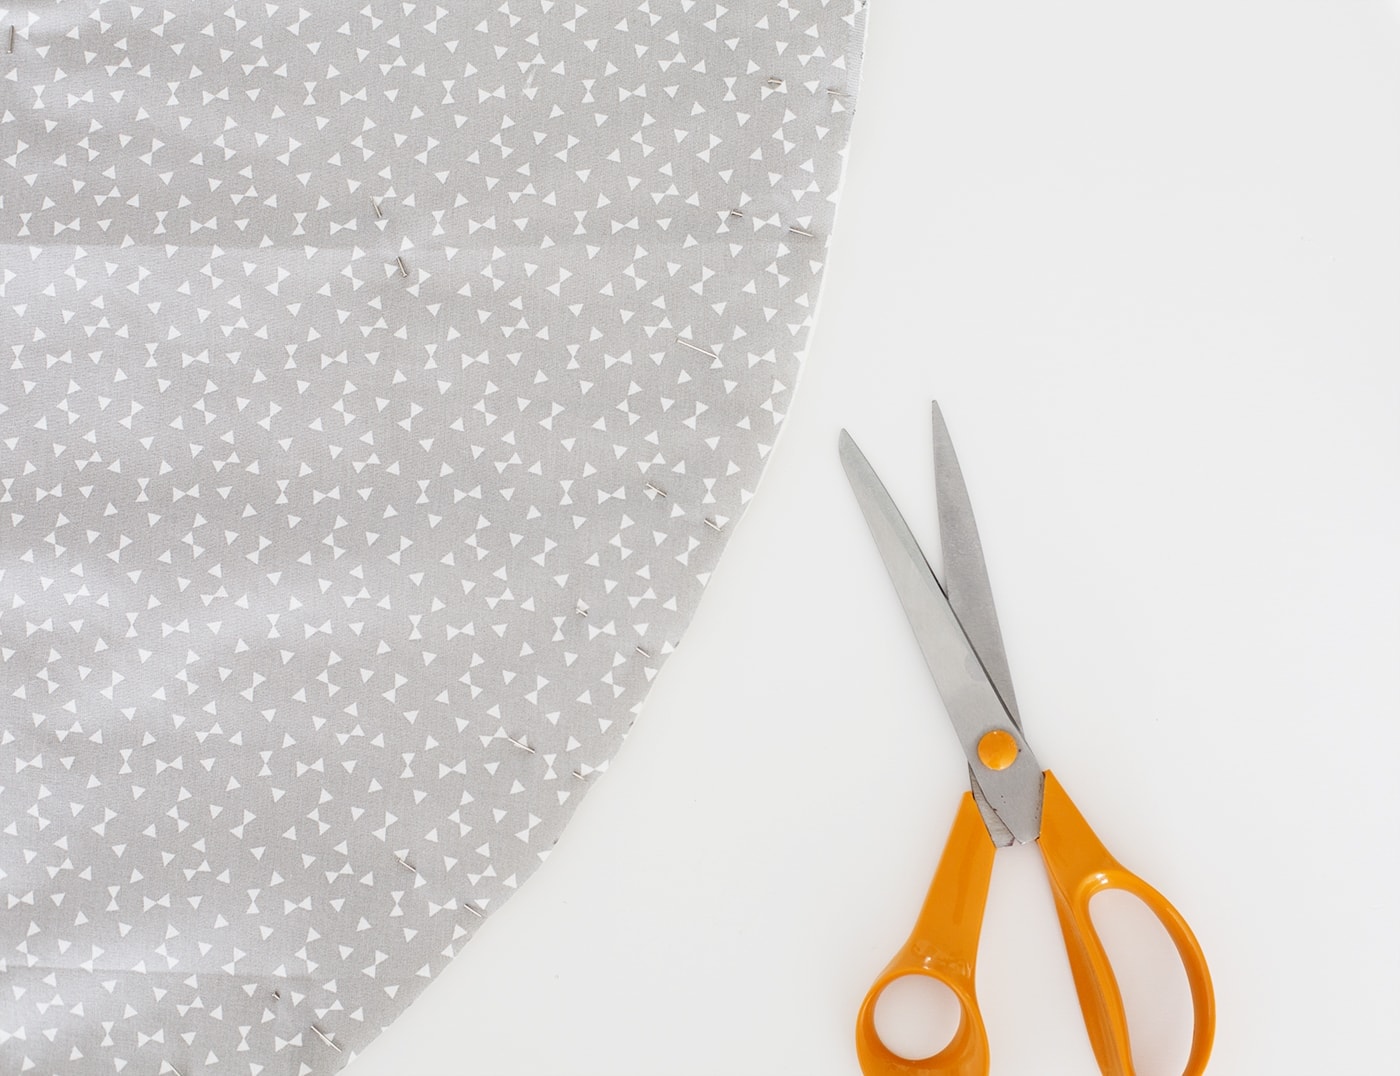
Then use zero as the pivet point to move the other end round on. Mark points with a pencil following the shape around to create a semi circle. The more points the easier it will be to cut evenly.
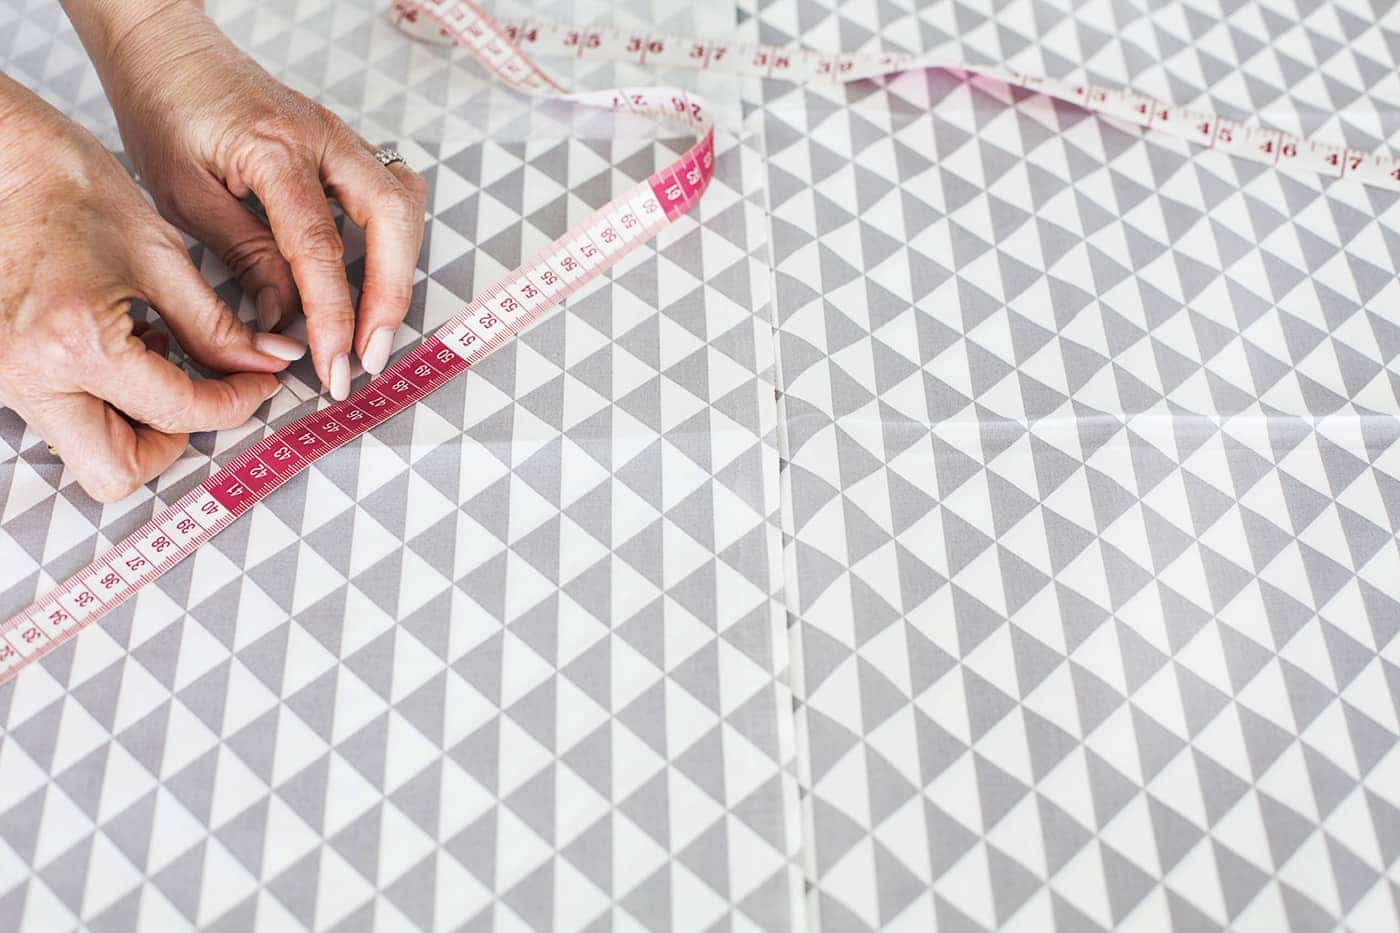
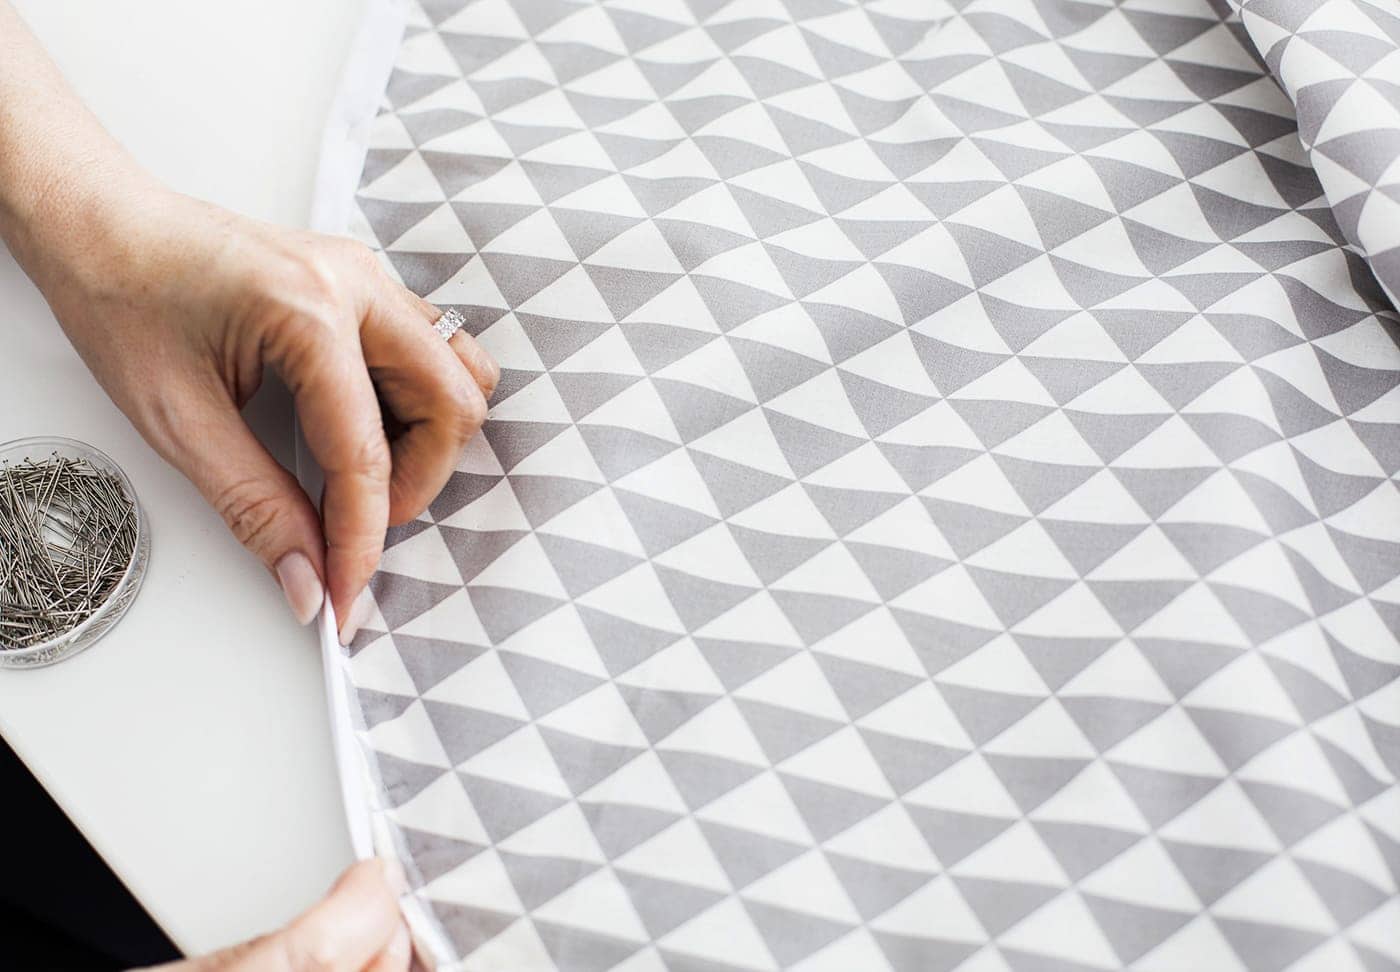
Now pin along the inside of those markings, through both layers to secure the folded material and cut along the marks to get your semi circle.
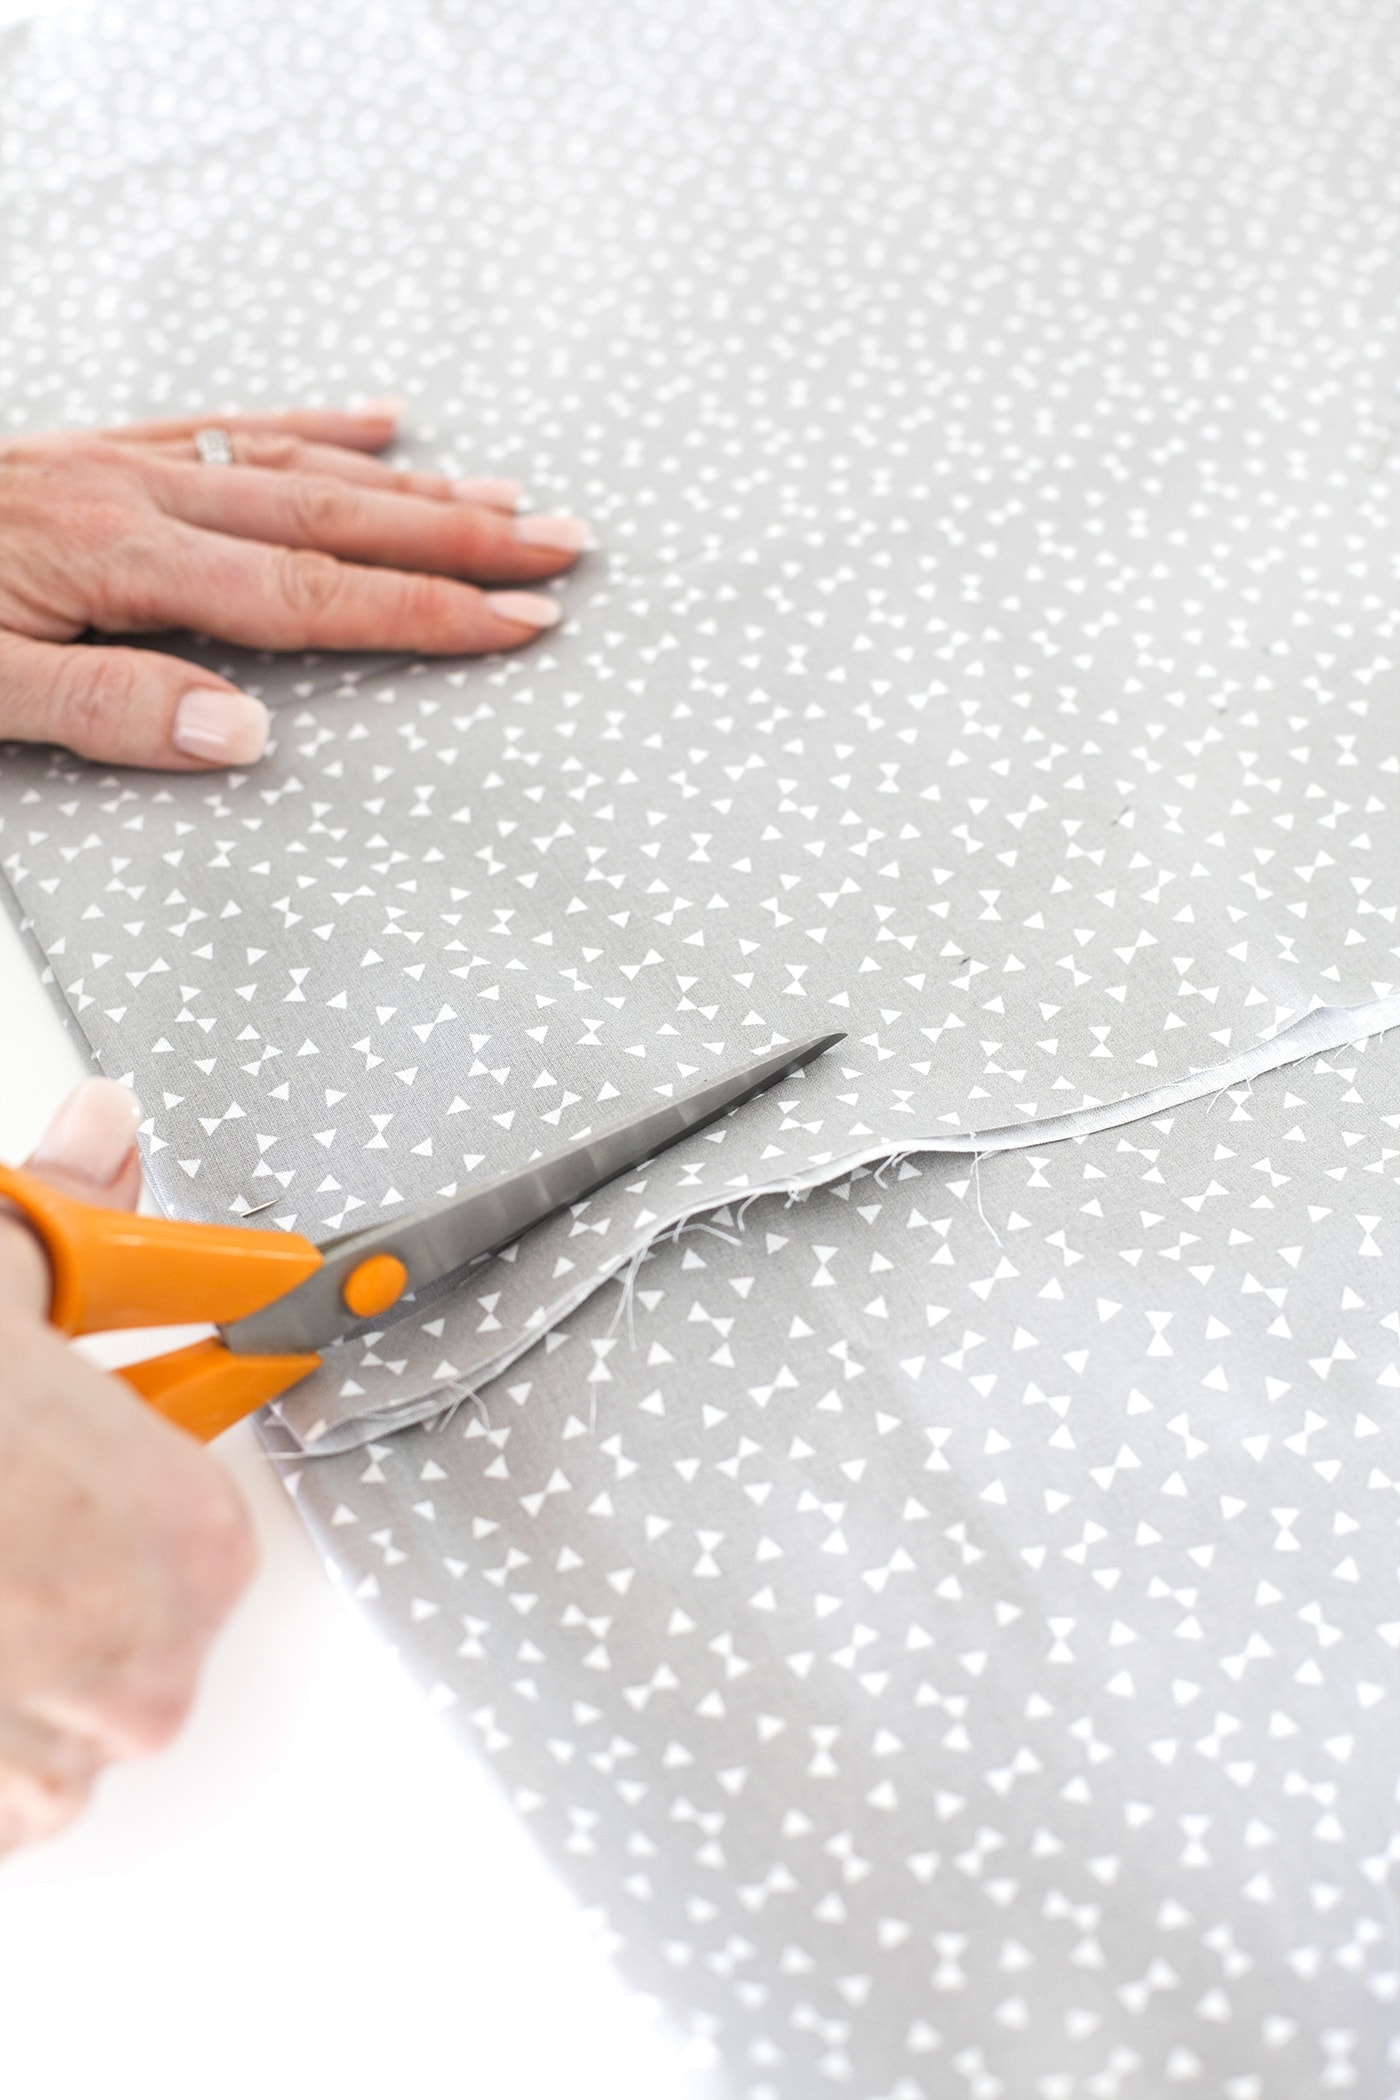
Then do the same to cut out the other patterned fabric into a folded circle.
Unfold both circles then pin one on top of the batting as a guide to cut that into a circle as well. Be generous with pins and careful with your cutting to make sure it lines up.
Follow the line of the top fabric circle round as you cut, so you end up with a three layer fabric sandwich in a circle shape.
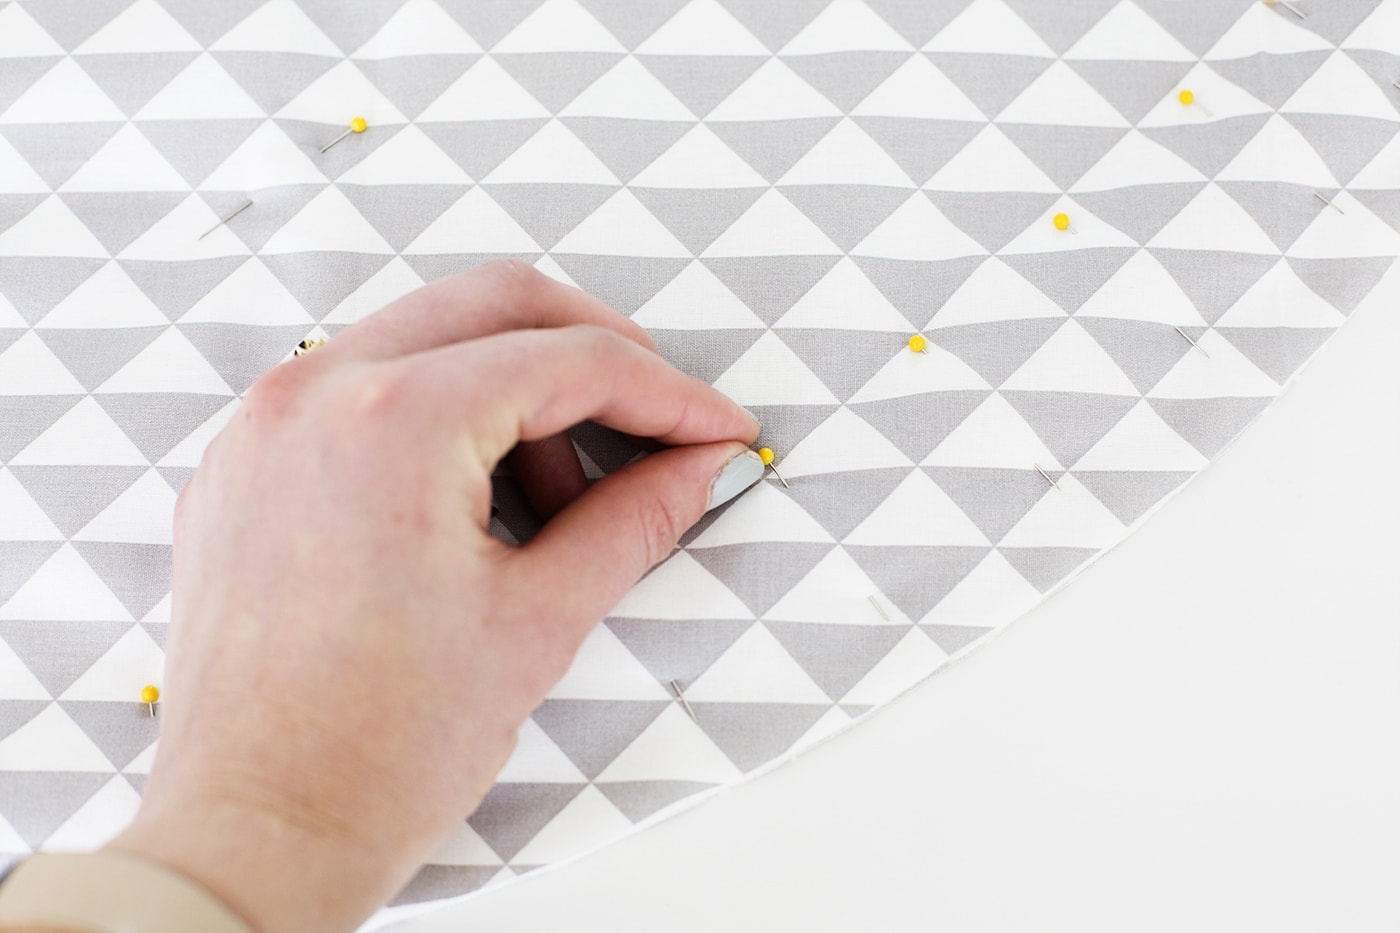
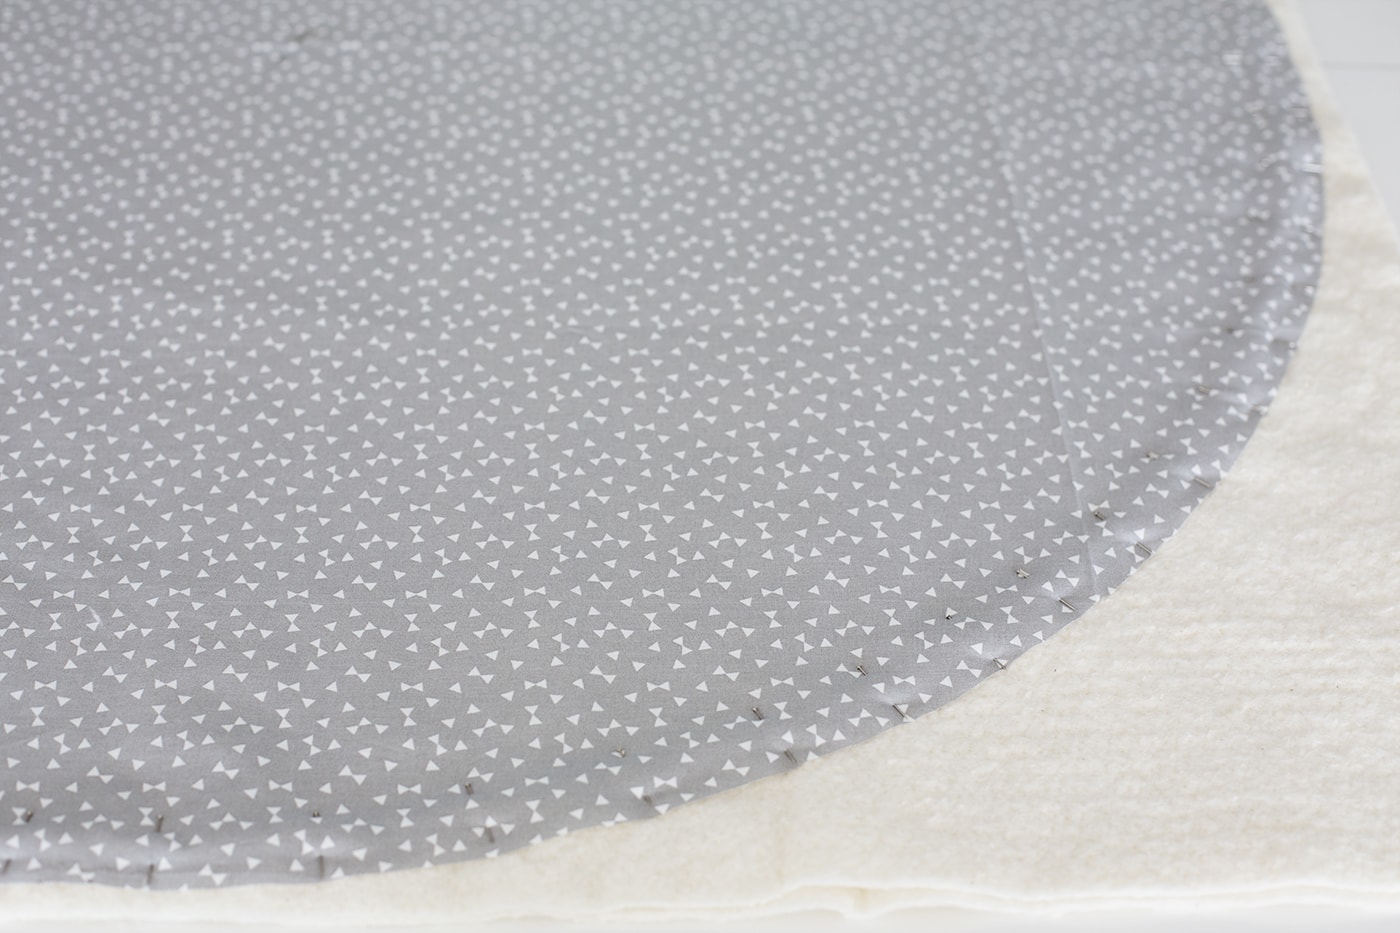
Pin the other fabric circle on the other side of the batting with the pattern facing outwards. Make sure these pins don’t go right to the edge of the circle to allow room for the batting but they must go right through all three layers. It would also be a good idea to put some pins in and around the middle to keep it all nicely flat. Remove the original pins on the other side.
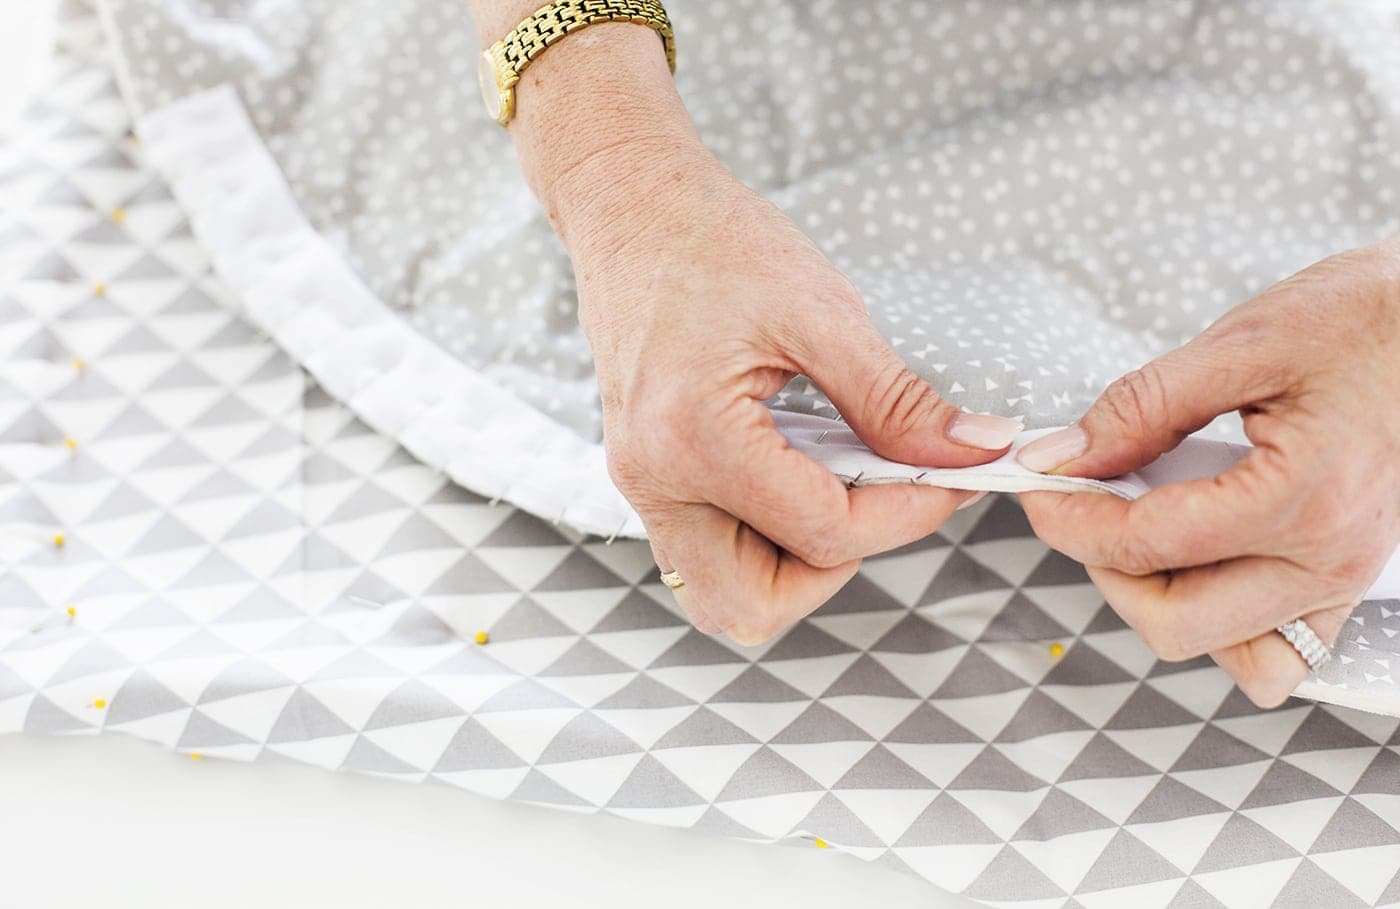
Iron batting open and then fold in half and press. Fold in the edge and start to pin all the way around the outer edge of the fabric (top side and through all layers), pulling a bit as you go, to create tension.
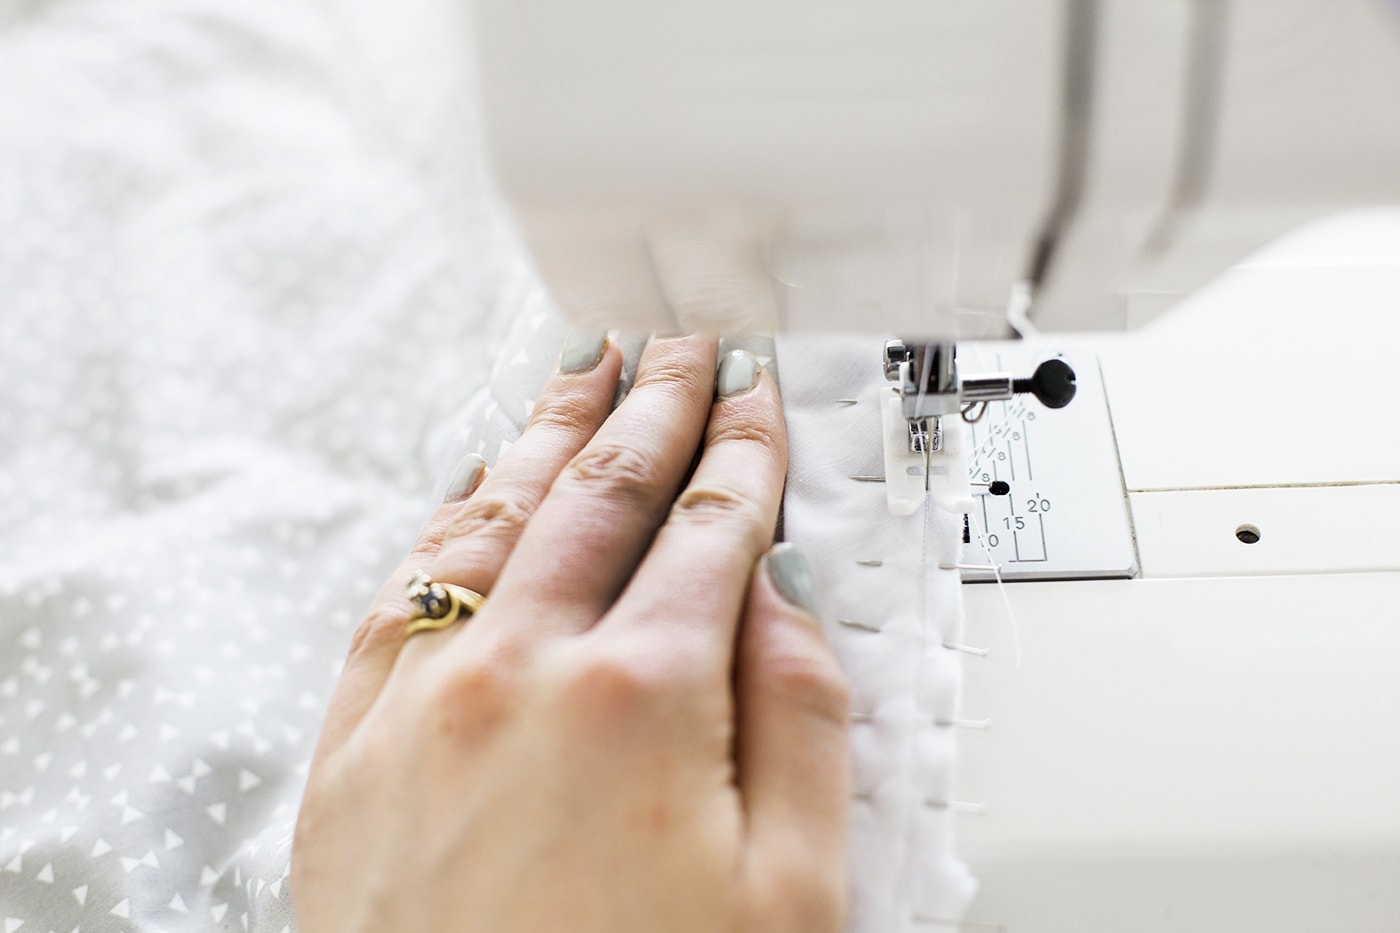
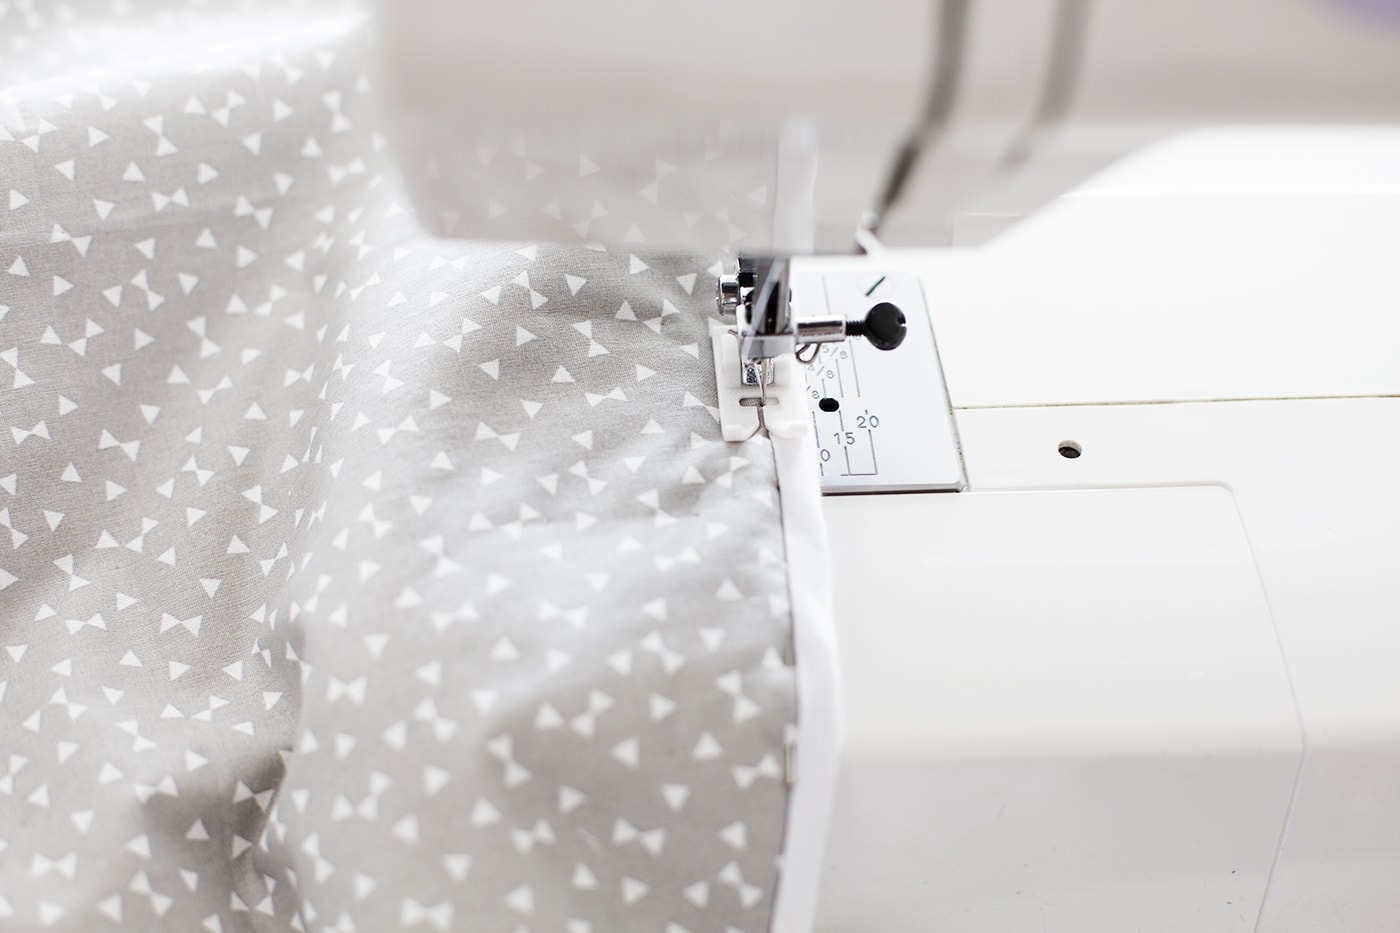
Straight stitch your binding on a 1/2 cm away from the edge, making sure to catch all layers and going over the pins rather than into them.
Remove those pins and fold the binding over the sandwich edge and round to the back, making sure all layers are lying flat. Pin from the top, through all layers and along the join. Do this all the way around, making sure all the pins are going in from right to left.
Lengthen your stitch slightly for this next bit of sewing and sew along the join, removing the pins as you go. Stitch slowly!
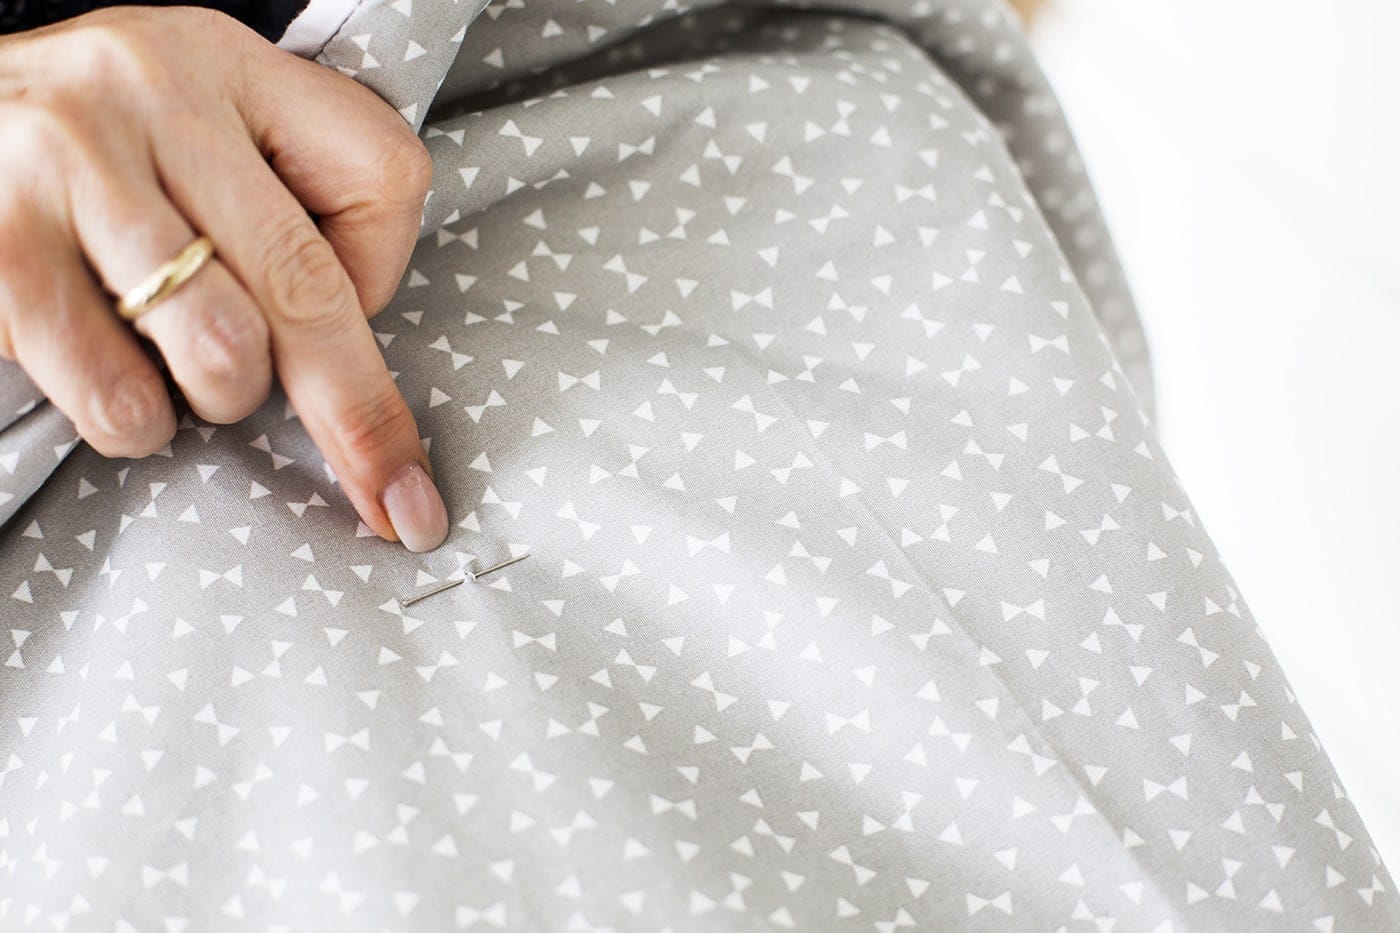
Now measure the mid point of the circle and mark with a pin. Put a few stitches here to hold all the layers in place. Iron and then put another pin halfway on each quarter line so you can add a few stitches to these points too. This last step will keep all the fabric from shifting around and losing it’s shape when washed. Now both parts of this DIY is complete and it’s officially playtime!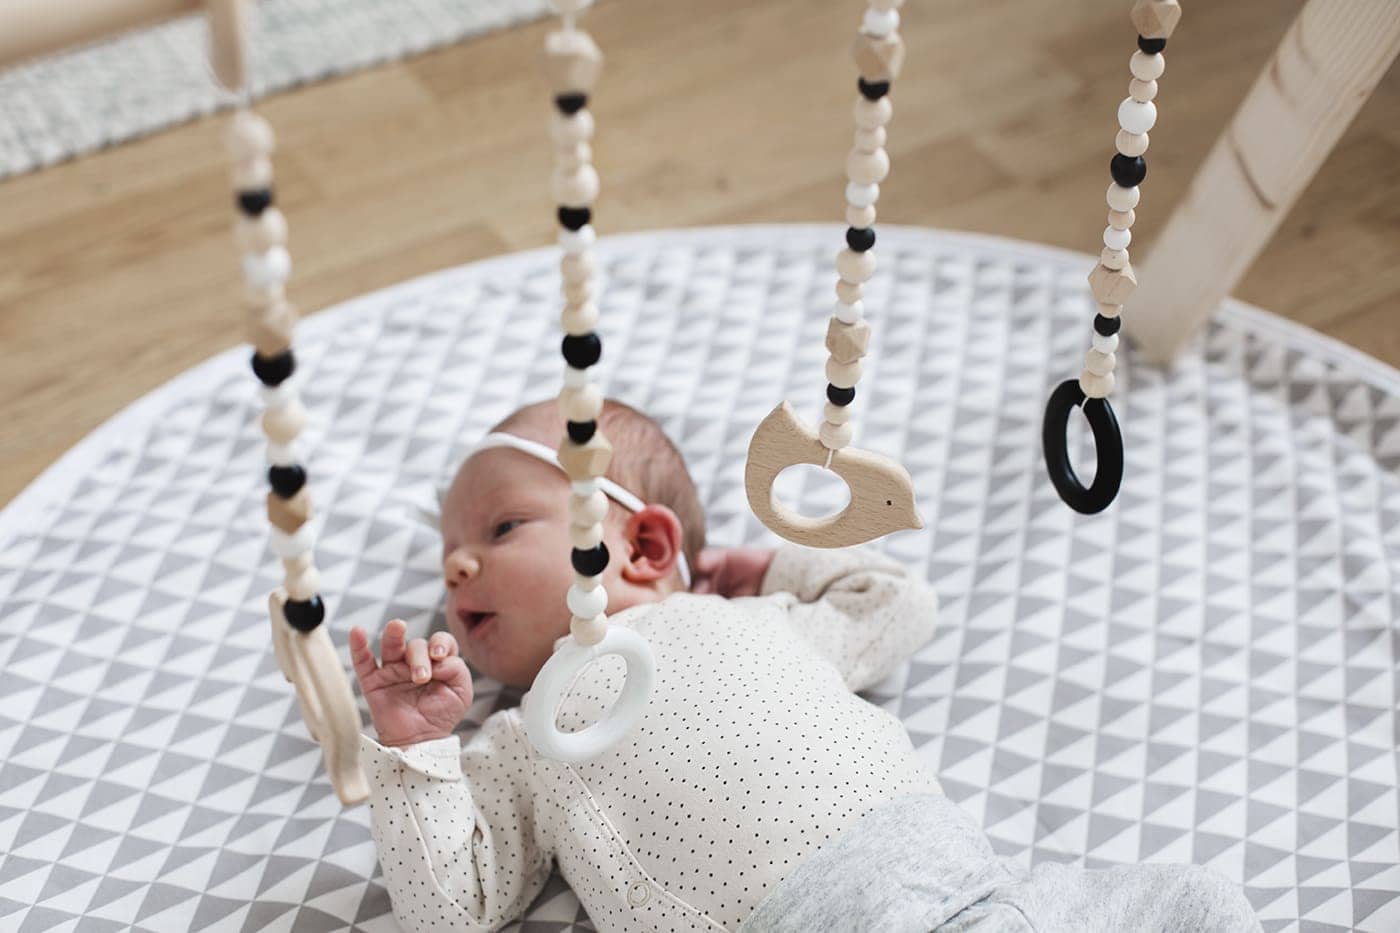
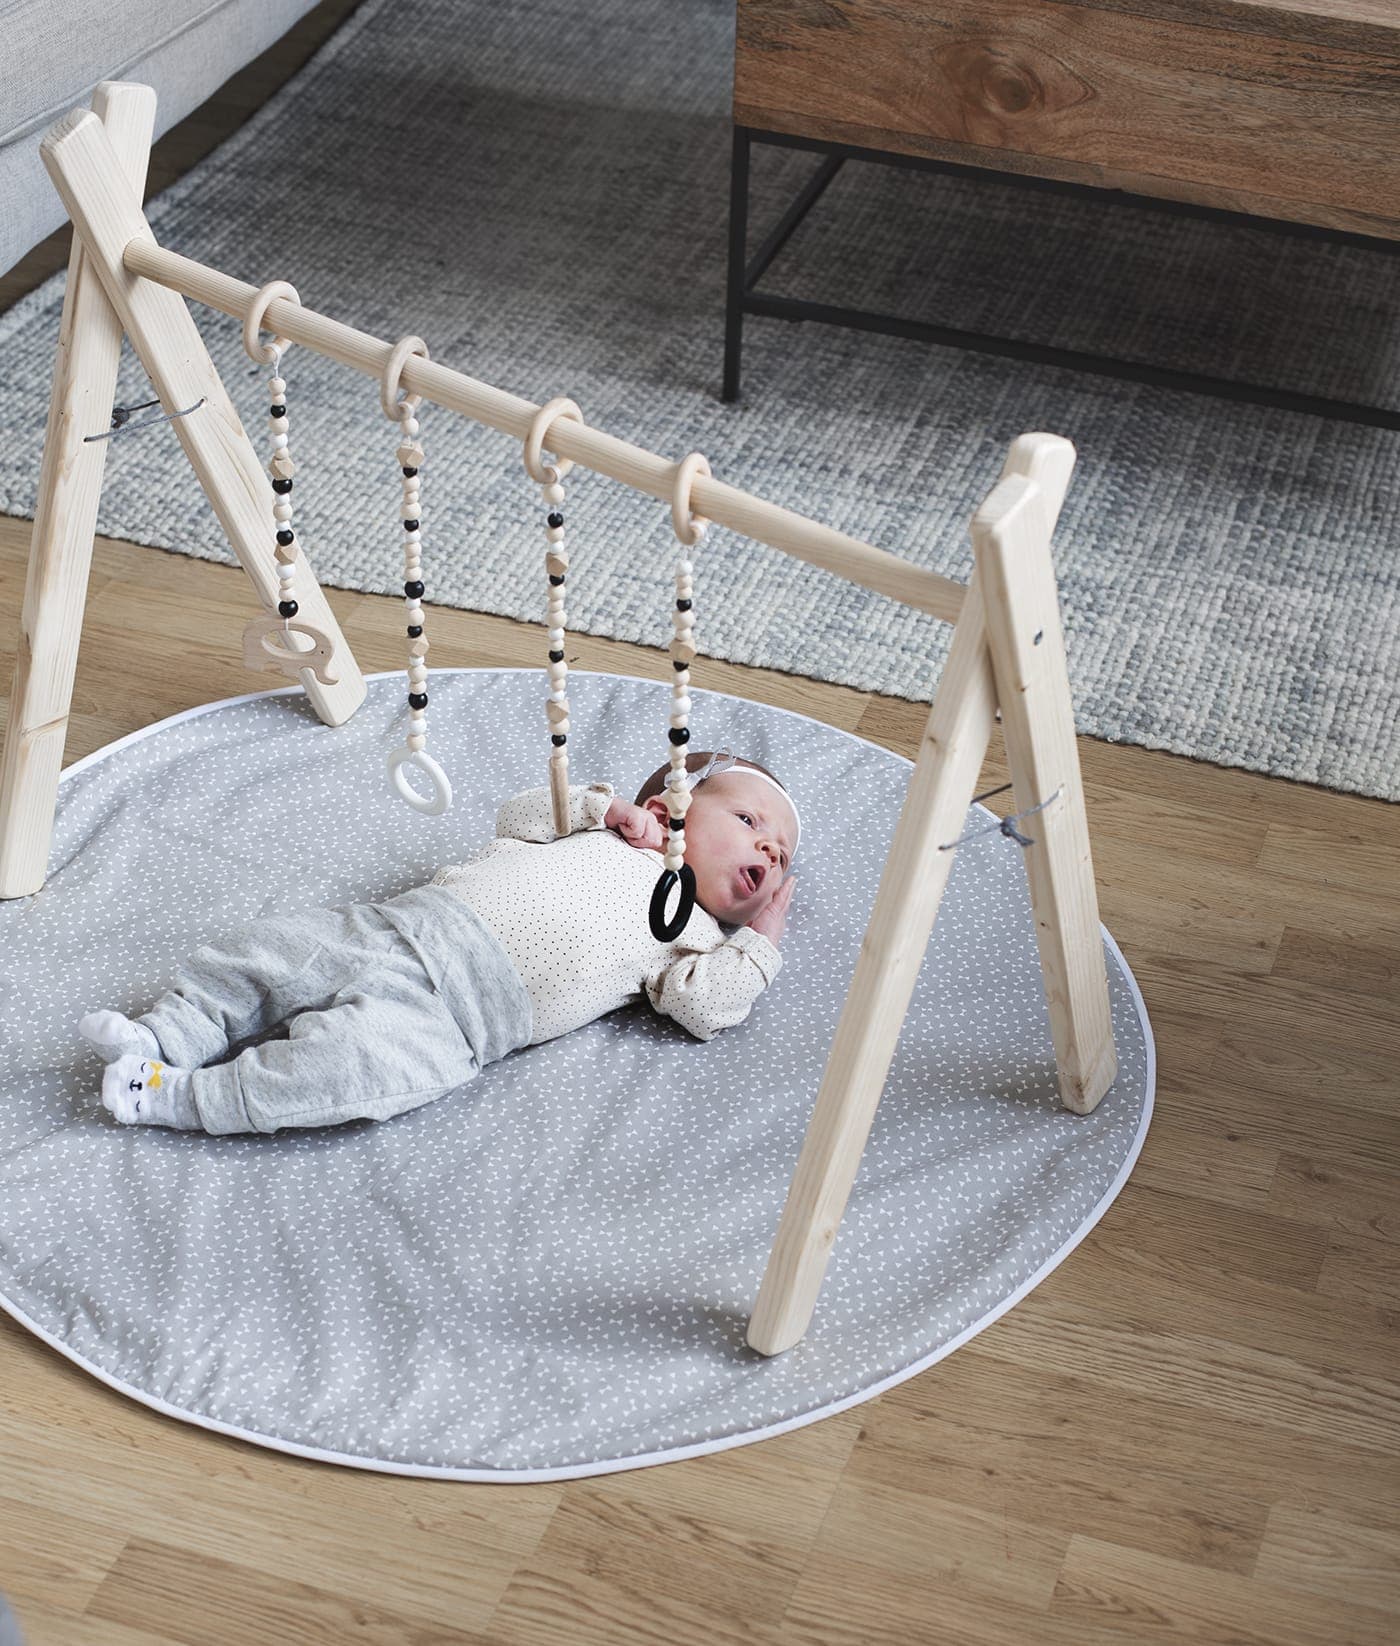
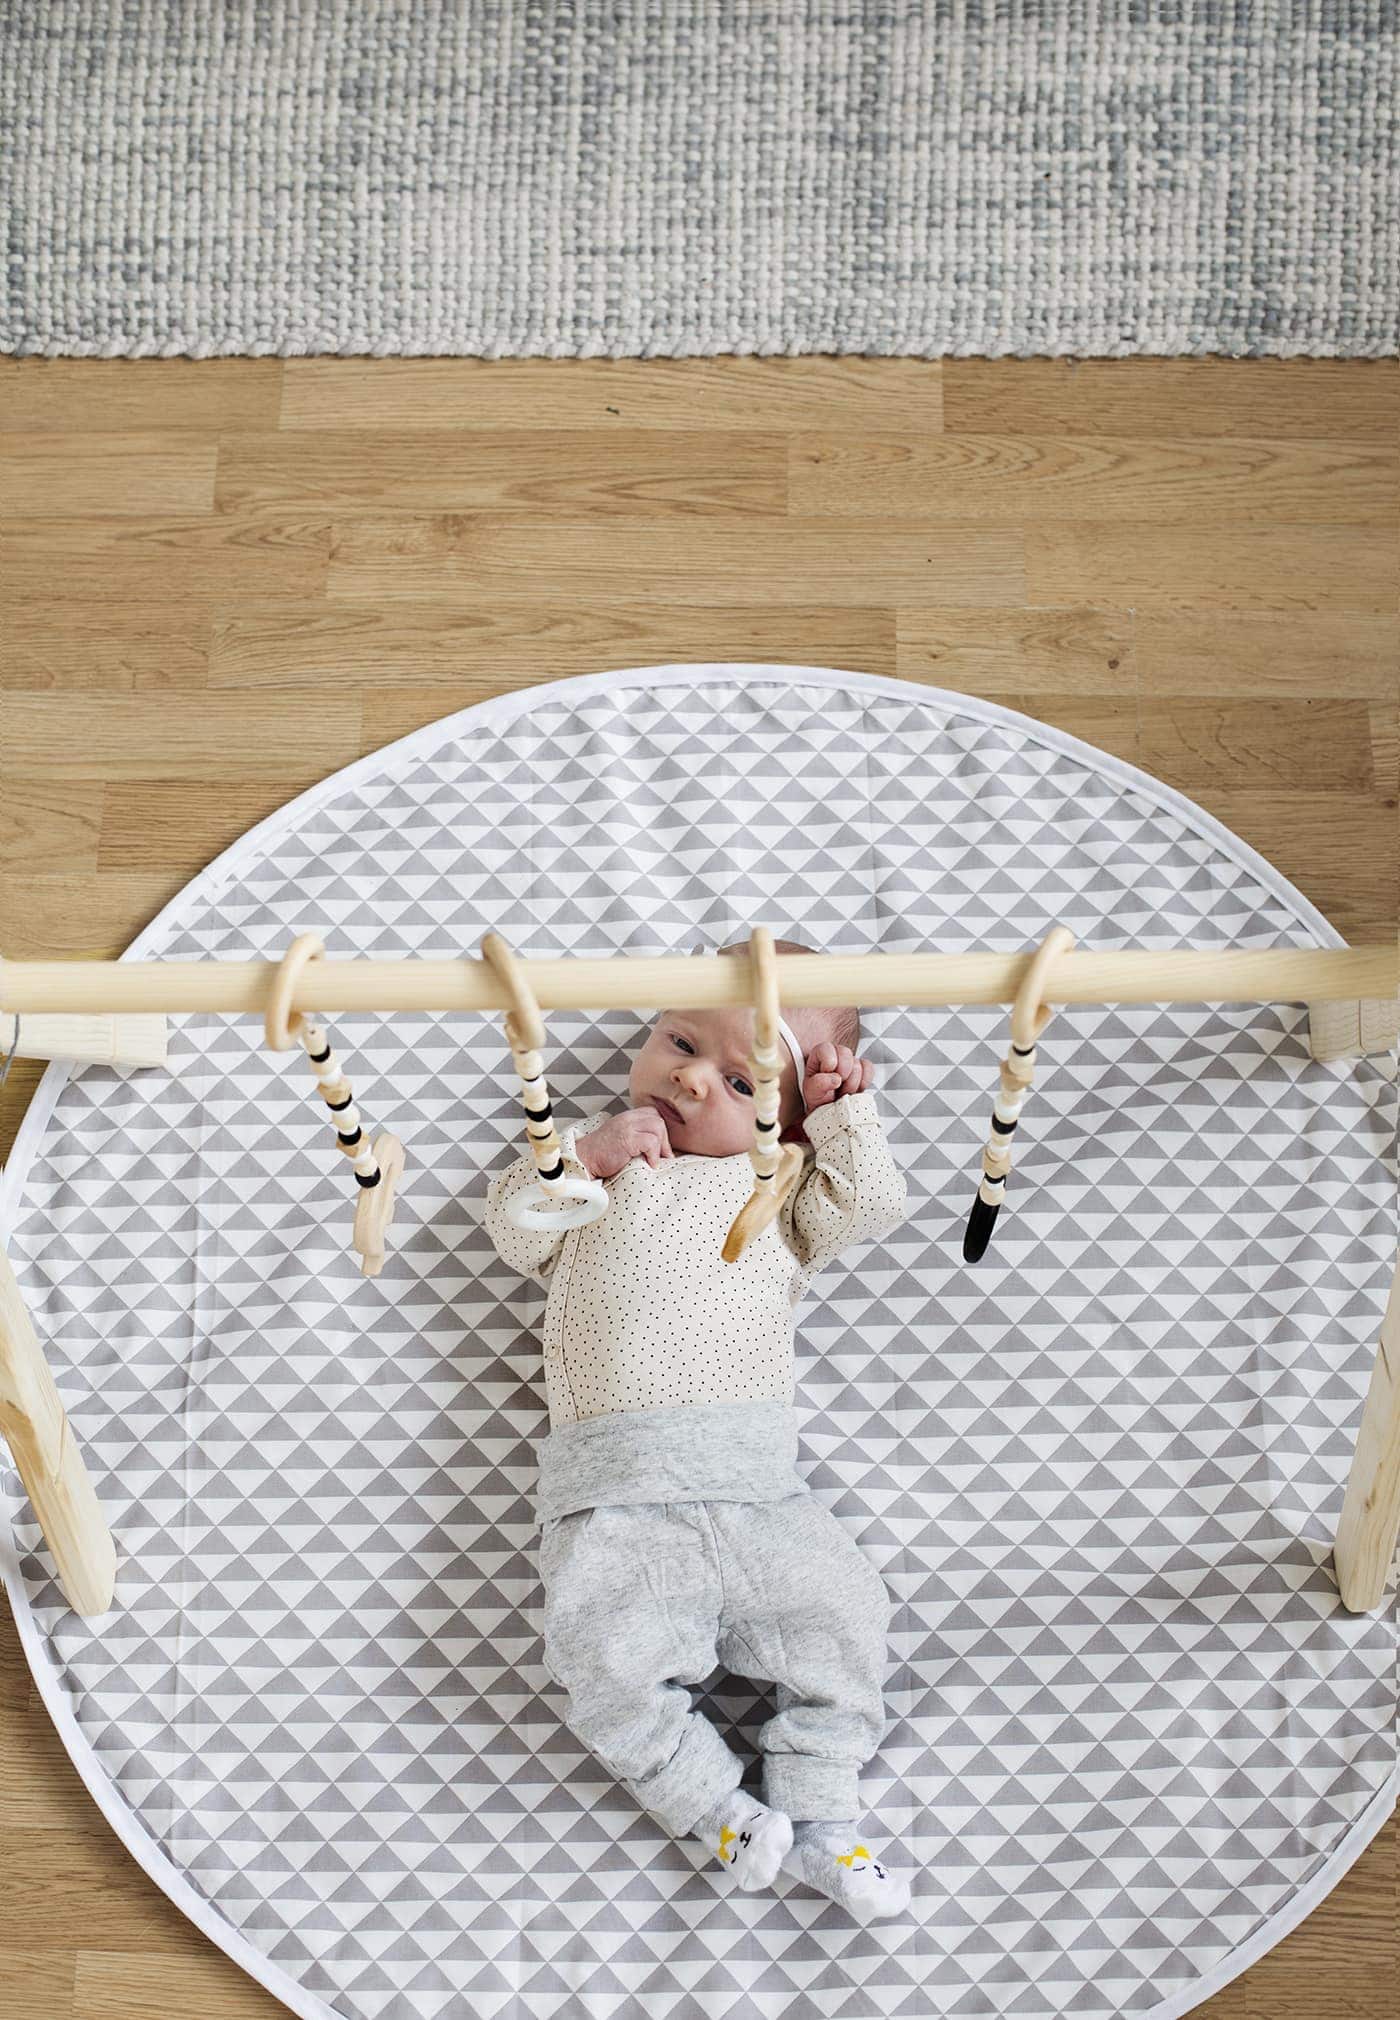
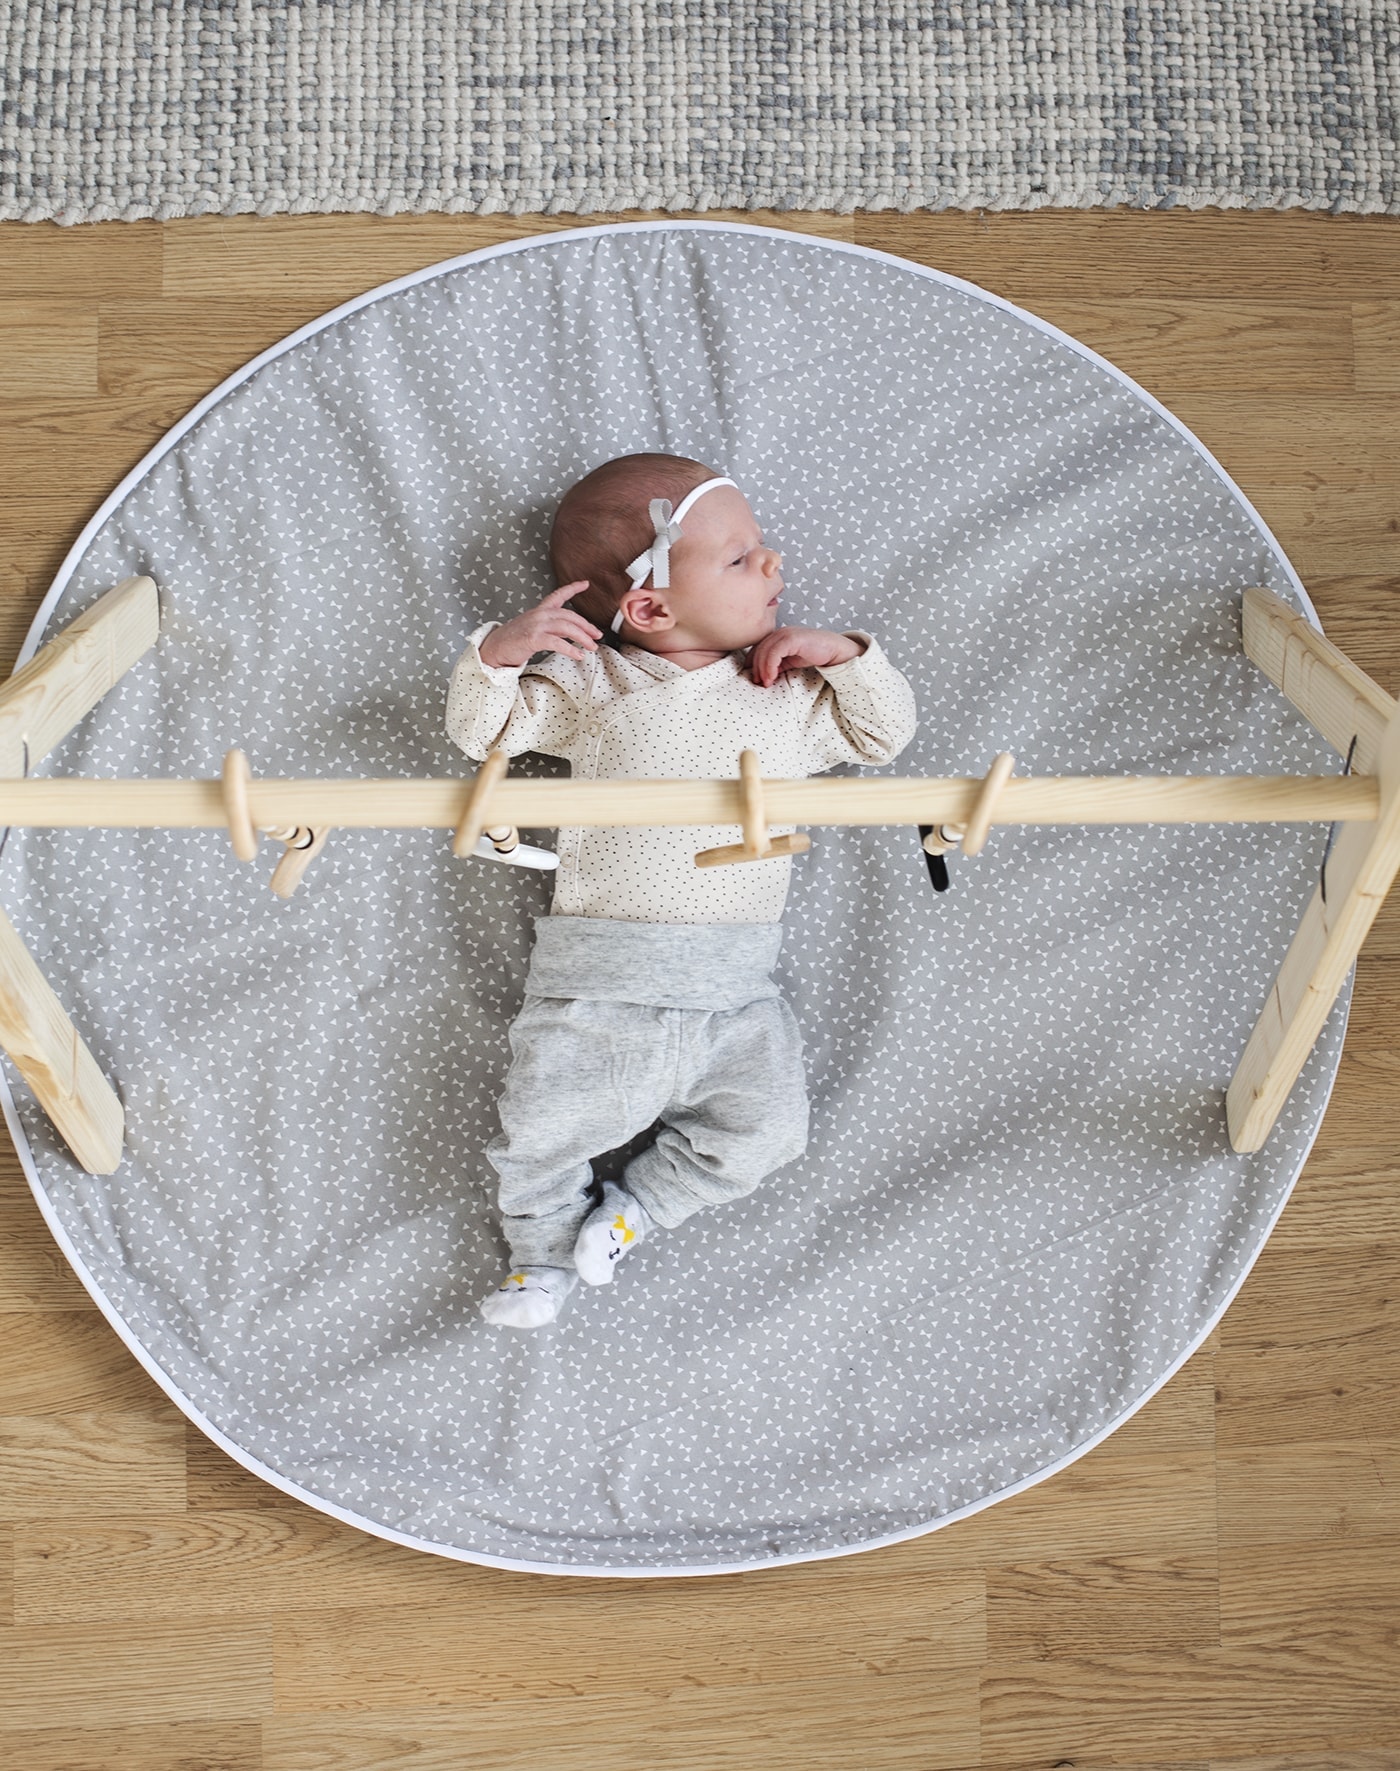
I’m so happy with the final result and love the fact the play mat is reversible, prefect for a change of mood or just flip it over if one side gets dirty. This little munchkin seemed to enjoy her first experience so why not give it a try and banish unsightly play-ware, at least until they’re old enough to demand all the colours, bells and whistles!


