Hello everyone! Thank you so much for being a part of this extra special KAL for the Peace Hat! This beanie was specially designed for Lion Brand Yarn’s Hat Not Hate campaign, which is the newest craftivism movement to help prevent bullying. Knitters and crocheters are being encouraged to make and wear blue hats throughout the month of October to show solidarity and start conversation in an effort to eradicate the bullying epidemic. The Peace Hat and this KAL are my small contributions to the cause, and it means so much to me that you’re here to join me!

If you haven’t checked out the pattern yet and are interested in learning more about the inspiration and Hat Not Hate, check out my previous blog post with a bit more info and the free pattern .
You can also purchase a printable, ad-free PDF .
Videos, photos, and updates will be added to THIS blog post each Friday of the KAL, so bookmark it now and check back next Friday for the next steps. If you’d like to sign up for the Peace Hat KAL newsletter to get notified as soon as new posts are up, click here.
WEEK 1:
This week we are gathering any last minute supplies, working up a gauge swatch if you so choose, casting on, and working the ribbed cuff. Stay tuned for next week when we will be working the body of the hat.
Don’t forget to share your photos and tag #HatNotHate and #PeaceHatKal. It will help spread awareness, create a conversion, and inspire others! I’ll be re-posting select images so make sure to tag me too 🙂 I can’t wait to see all of your progress!
I’ll be working on a Peace Hat right along side you, and as promised I’ll be creating tutorial videos and photos for those of you who are on the beginner side and need a little support. So to kick things off, please find the first video and photos below! I also have more specific tutorial videos for the following techniques available if you need even more help this week:
(not the same technique I used for this hat, but you’re welcome to use this one too).
.
.
.
Ready to get started!? Check out my first video:
Video too speedy for you? Check out these step-by-step photos casting on and working the ribbed cuff.
CAST ON:
Work from the center tail.
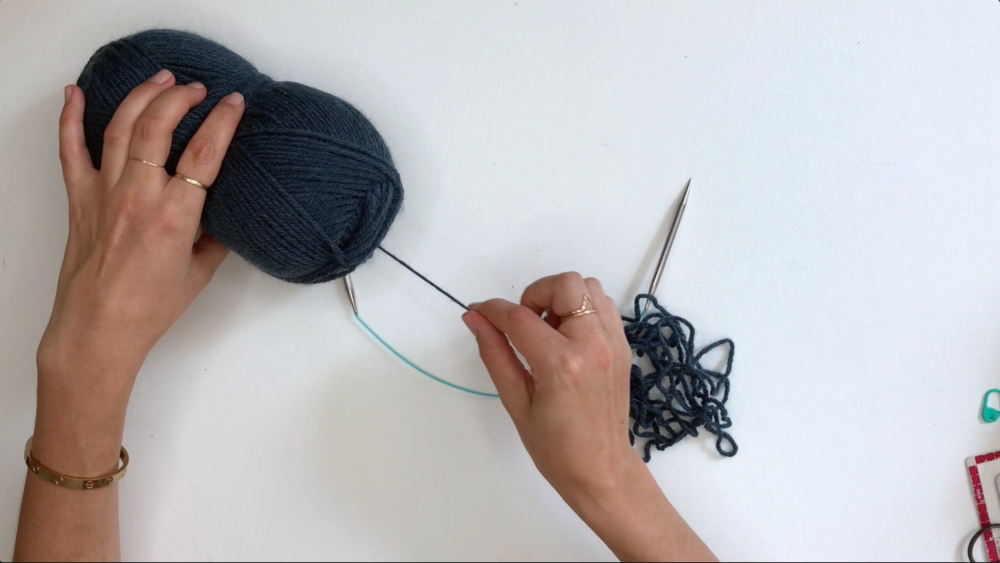
To start out, wrap the outer end of the ball of yarn around the outer edge of the skein and tuck the end under to secure it. Pull the center end out from the middle of the ball and use this for your working yarn. It will help keep the ball of yarn stabilized so it doesn’t roll around!
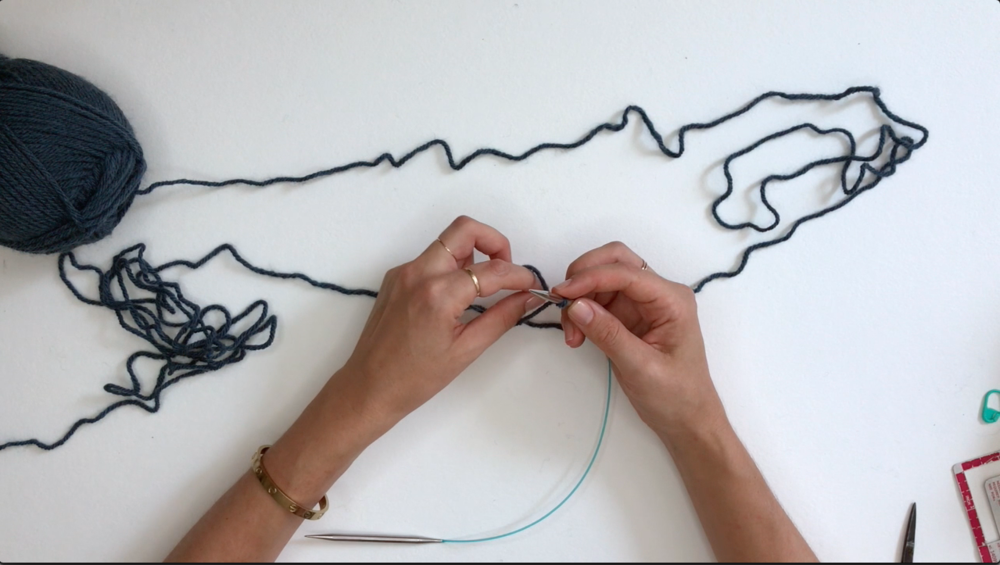
The slip knot.
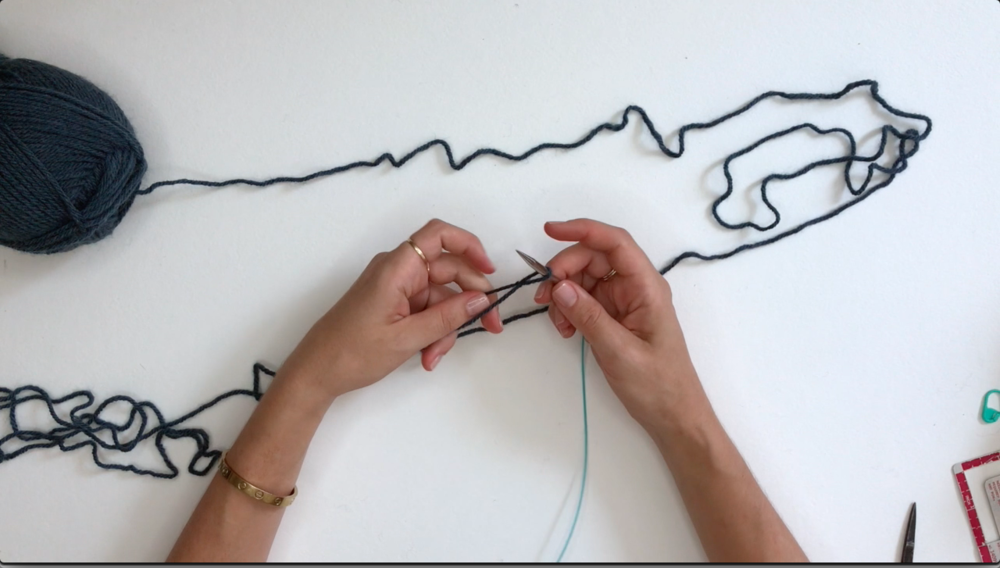
Pull out a generous length (two wingspans) of yarn. Create a slip knot in that spot and place it on one needle.

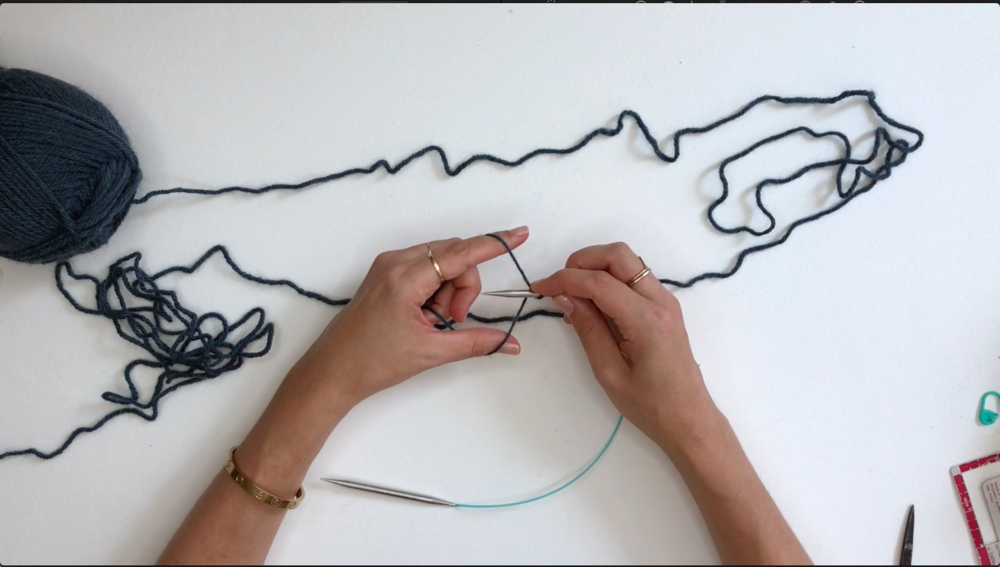
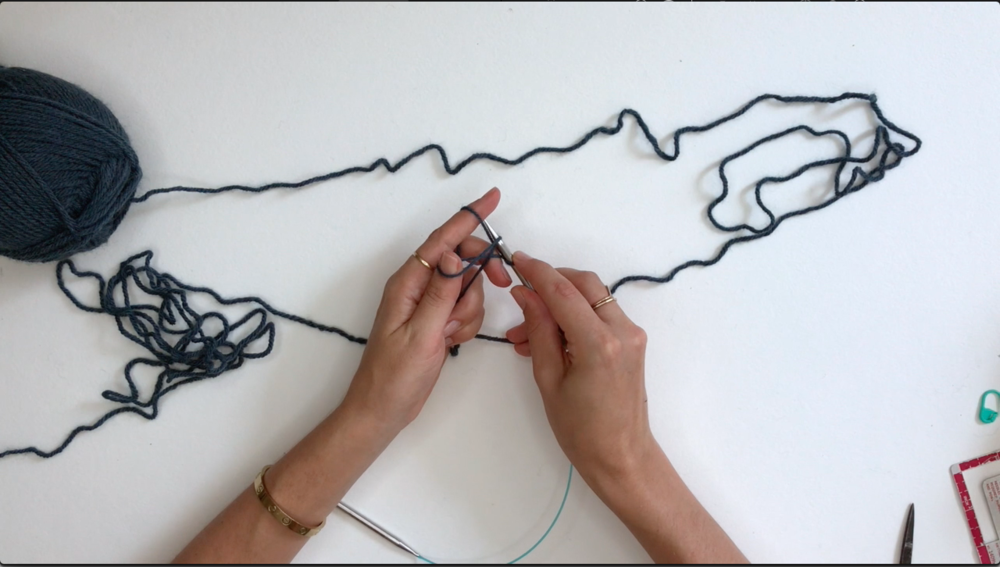
Left finger position.
Holding the needle with the slip knot in your right hand, and with the yarn arranged so that the tail end is above the the working yarn, pinch your left thumb and index finger together.
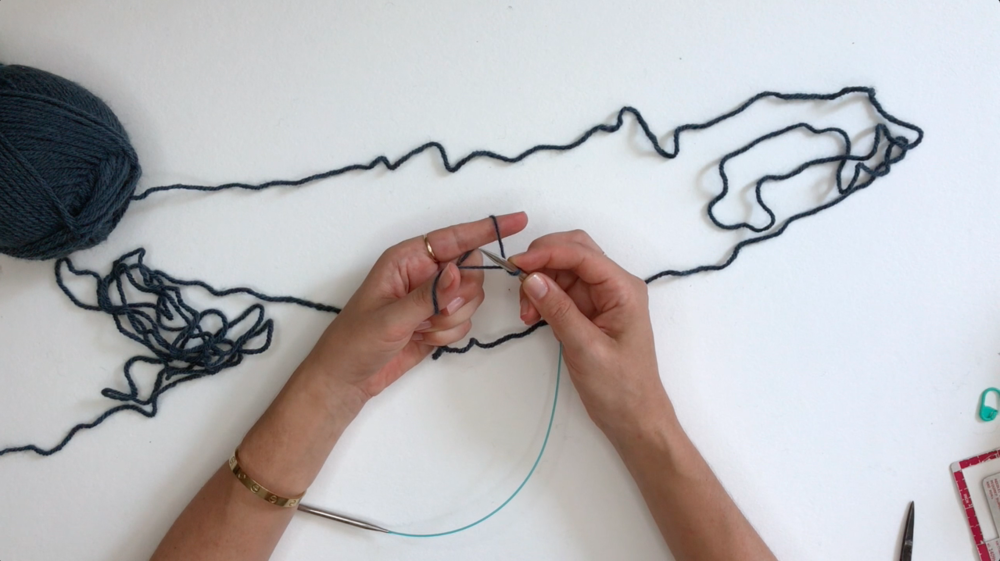
Insert finger between yarn.
Insert your left index finger and thumb between the two strands coming out of the slip knot, with the tail end at top and the working yarn at bottom.
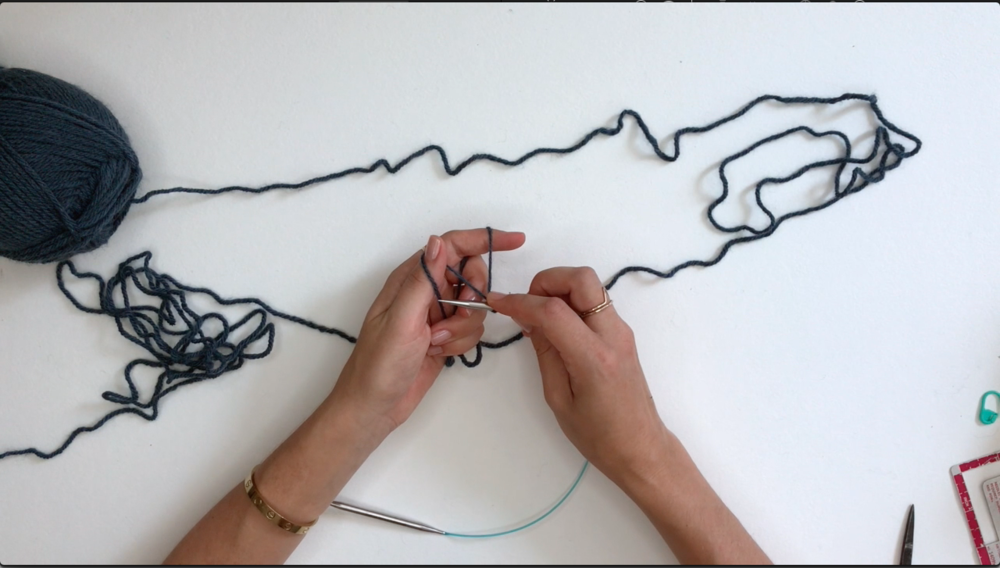
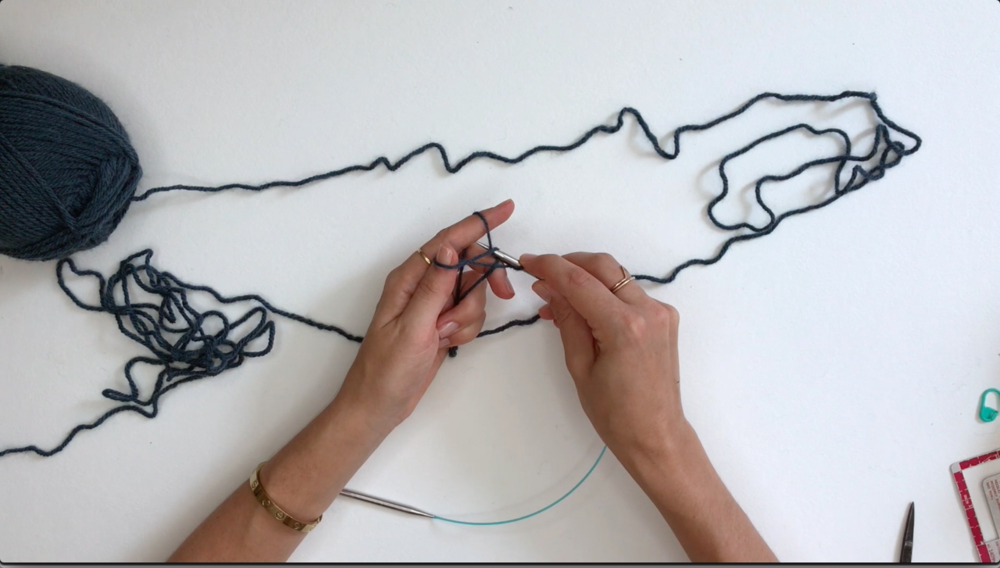
Separate fingers.
Guide the strands of yarn away from each other by separating your fingers apart. Hold on to both ends of the yarn with your middle, ring, and pinky fingers in a fist to give it some tension.
Tilt hand.
Rotate thumb up slightly so that the underside of your wrist is facing up.
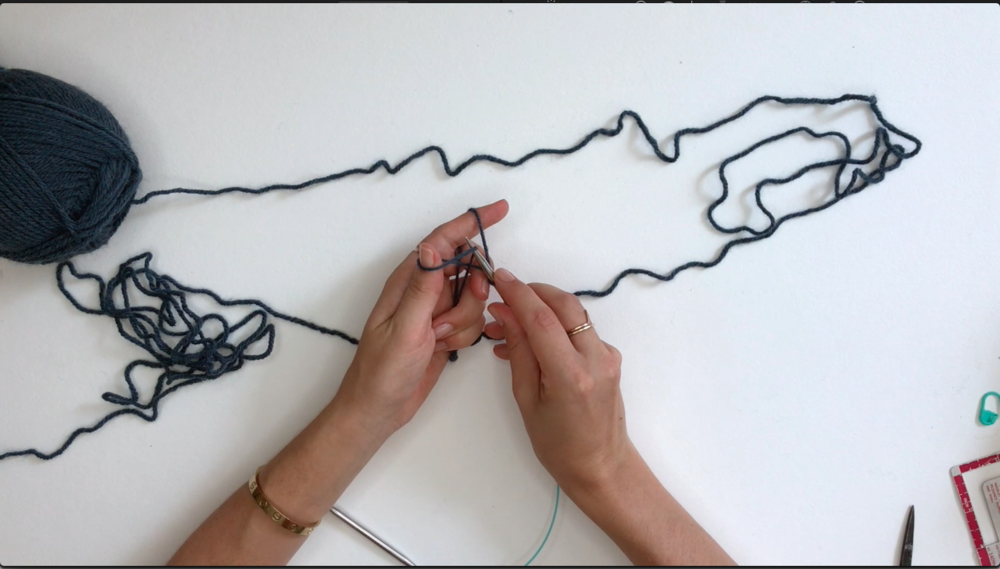
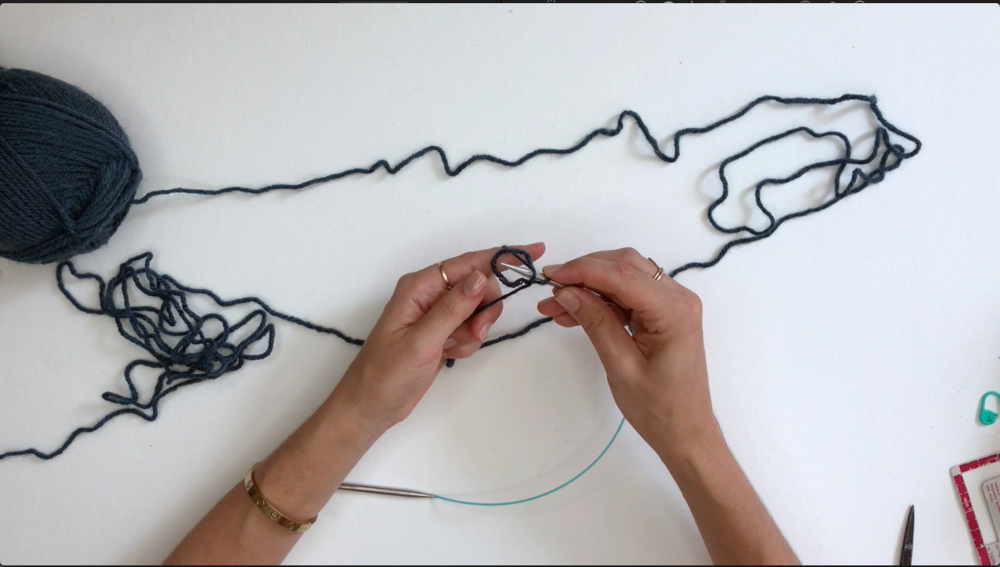
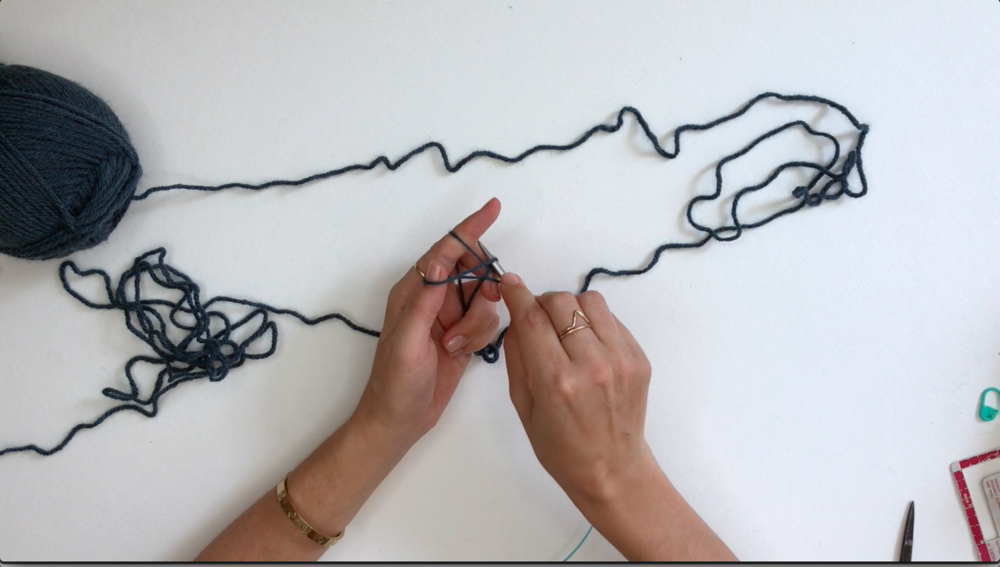
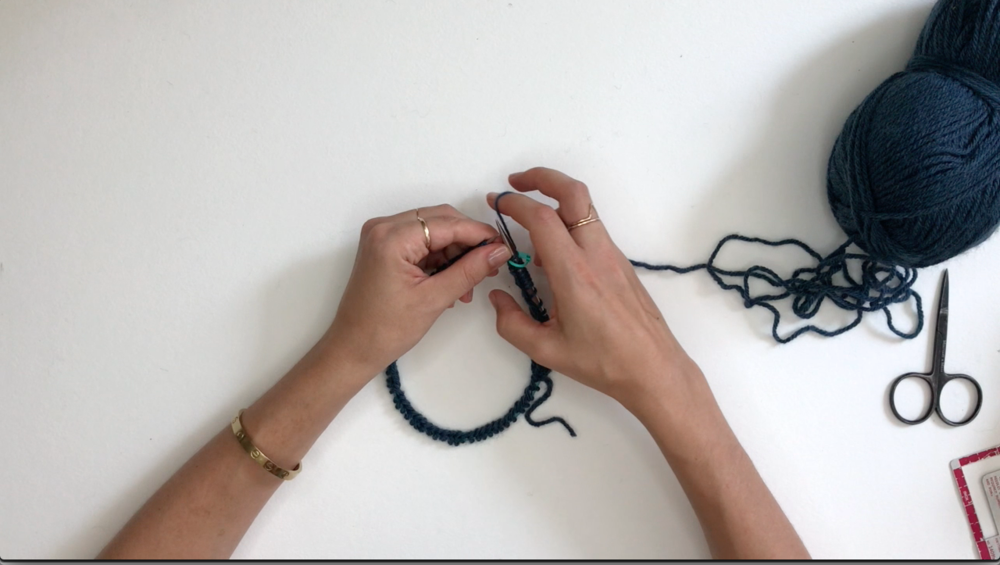
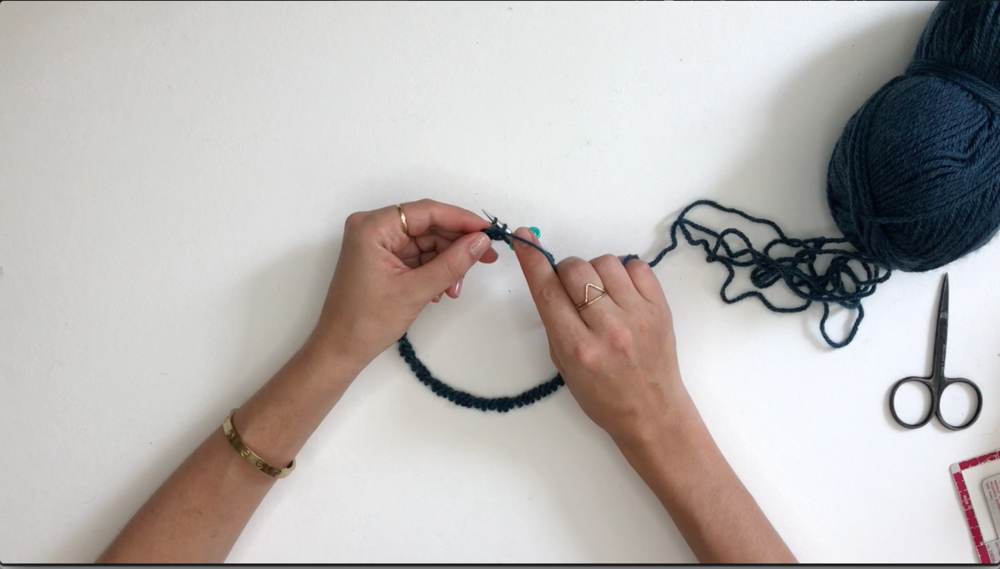
Begin cast on.
Use right hand to guide the needle to the left of your thumb.
Nudge the first strand over.
Use needle to push left outermost strand over to the right.
Cross over to other side.
Guide the strand all the way over to cross it over the rightmost strand. The needle is now between the two strands.
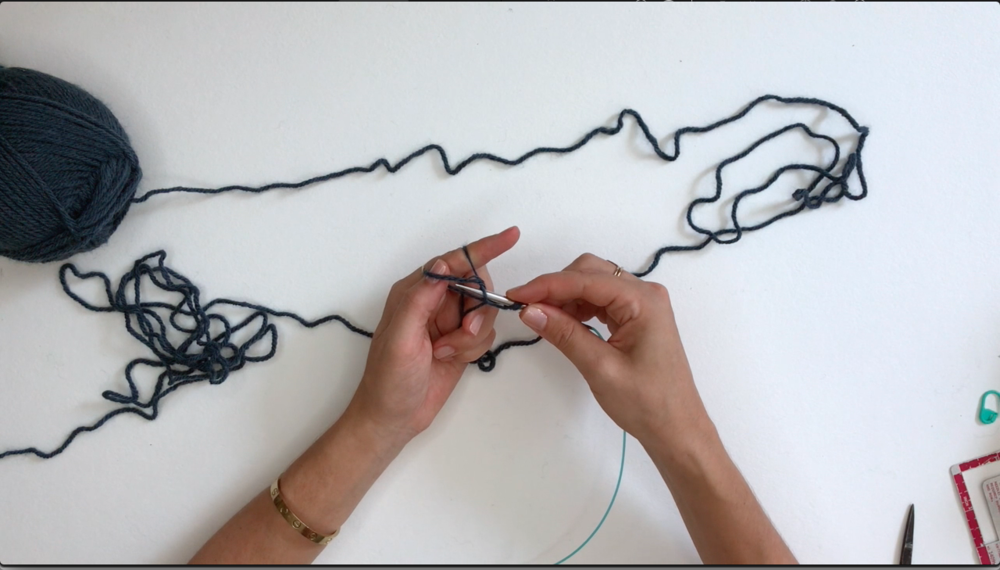
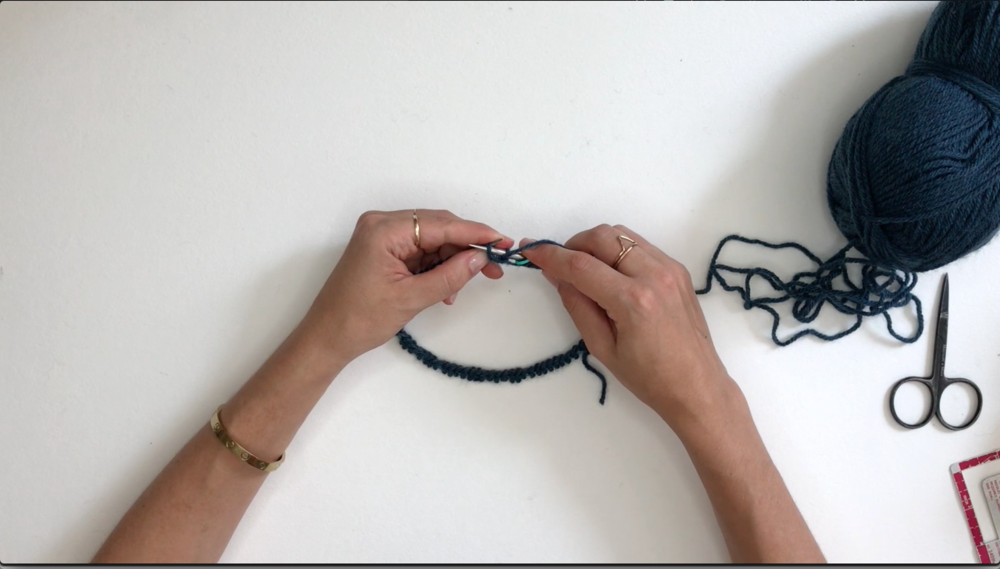
Move back over.
Now being nudging the needle back over to the left, pushing the rightmost strand over with it.

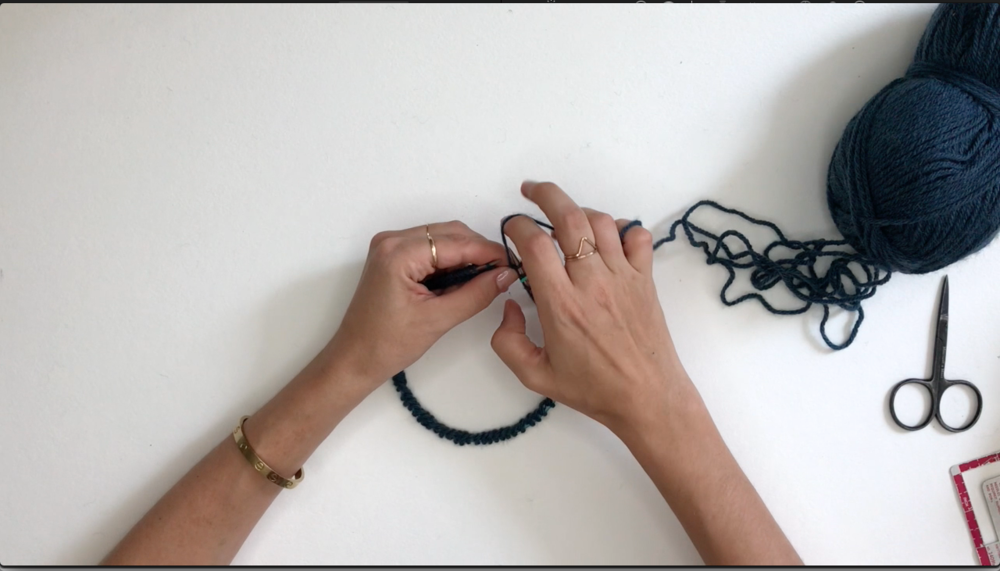
Pull it through.
Tilt the right needle up to guide and pull the yarn through the loop that’s been created.
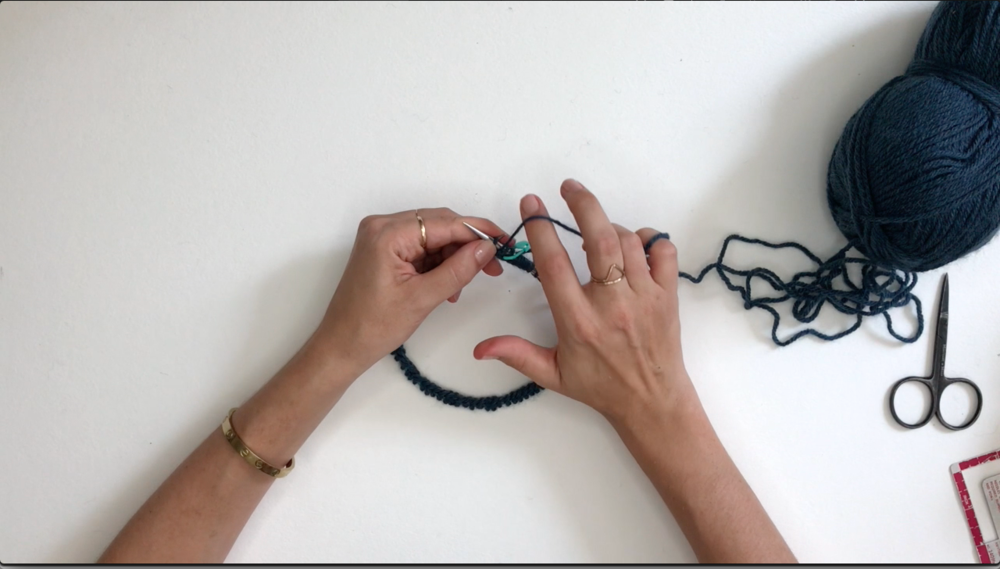
Let it go.
Let the yarn fall off your left thumb.
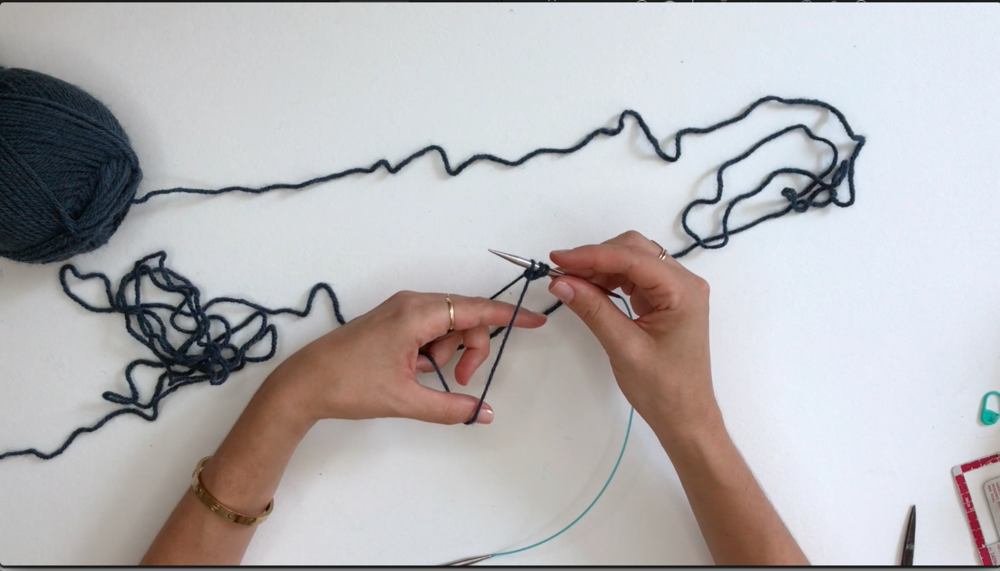
Tug gently.
Put your left forefinger and thumb back in the first position between the two strands of yarn and use your thumb to push down gently which will tighten the new stitch around the needle. Make sure to keep the new stitch nice and loose so that a second needle can pass through it when you begin working your first round!
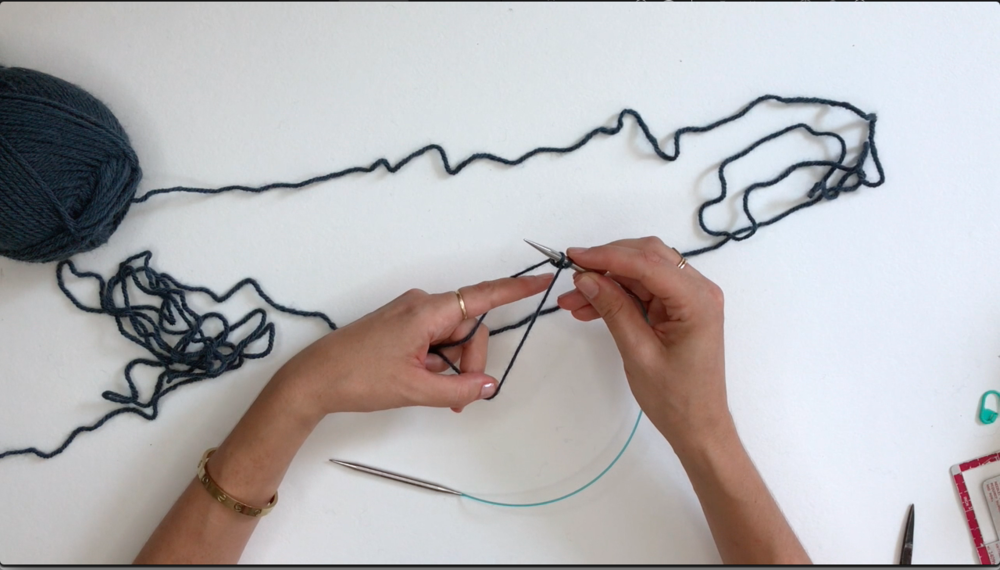
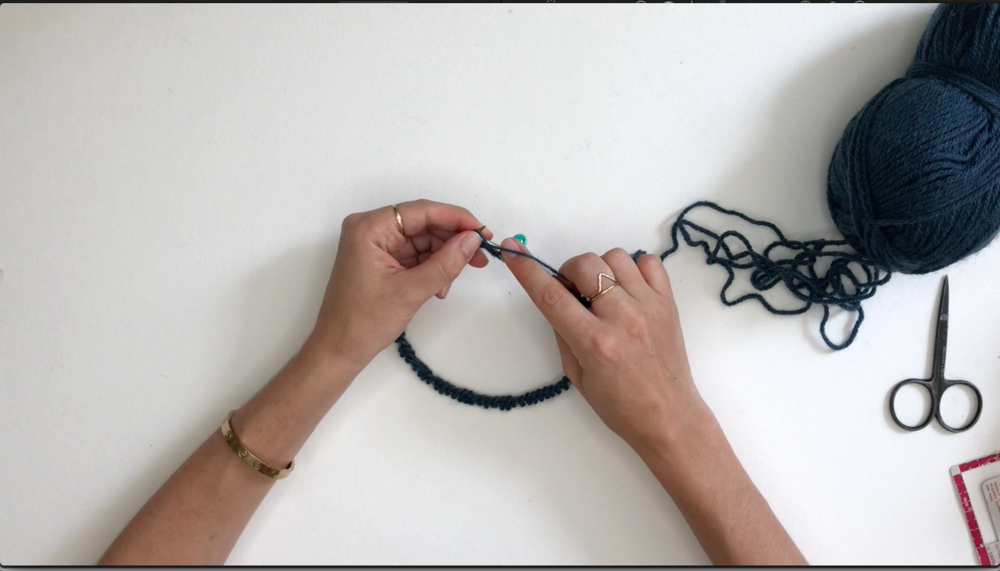
Continue.
Continue casting on until you have 80 sts.
Continue.
Continue casting on until you have 80 sts.
Continue.
Continue casting on until you have 80 sts.

Trim the tail.
Once you have all 80 stitches cast on, trim the tail to a manageable length.

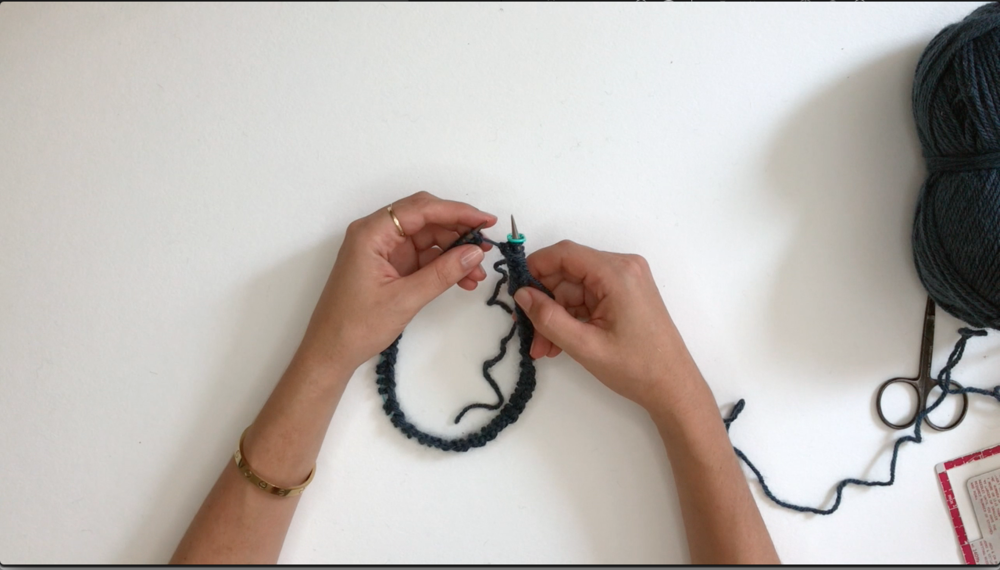
Untwist stitches.
Make sure stitches are all untwisted (cast on edge facing inward) before you join in the round.
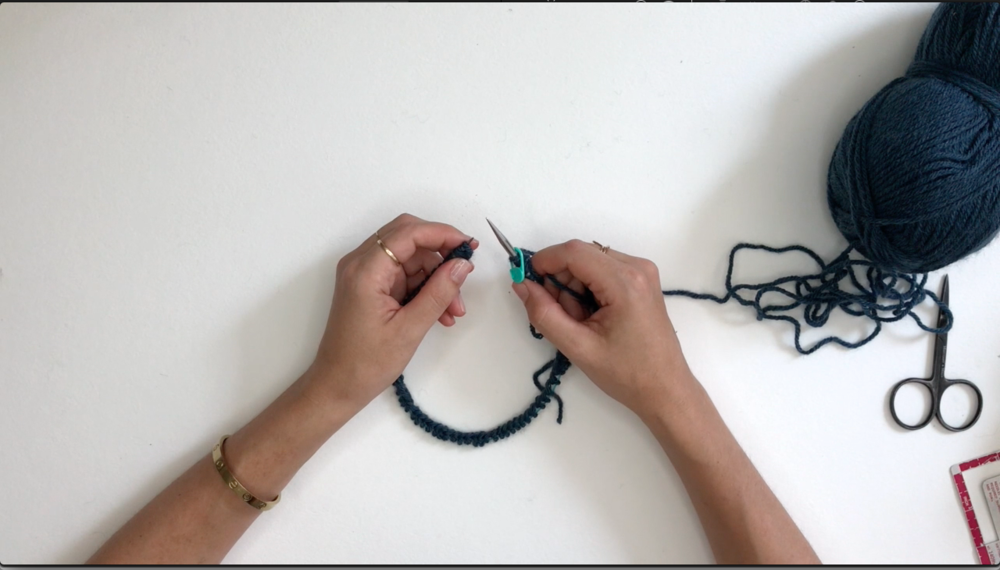
Place stitch marker.
Place a stitch marker on the right needle to mark the beginning of the round.
RIBBED CUFF:
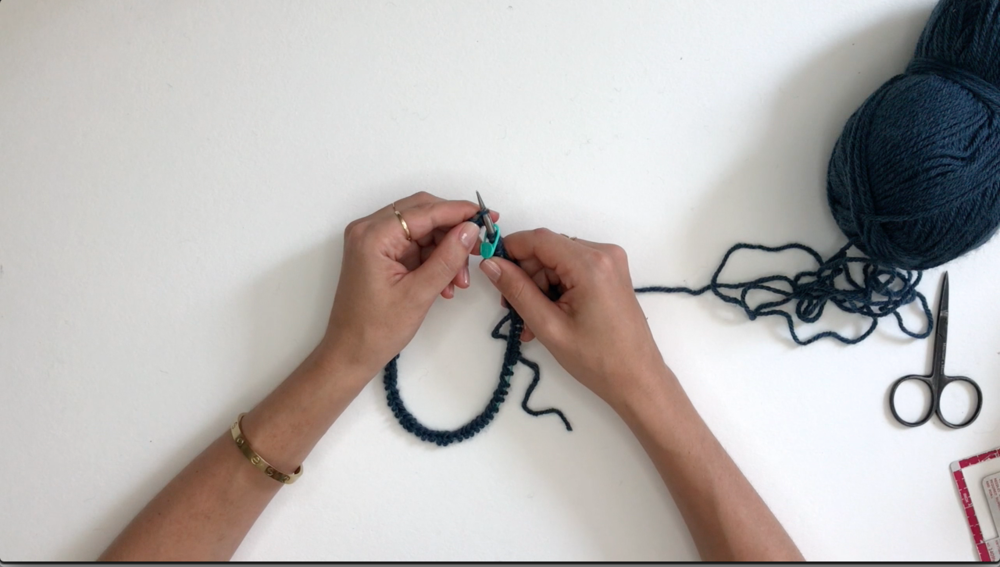
Start the knit stitch.
Insert the right needle up into the first stitch on the left needle.
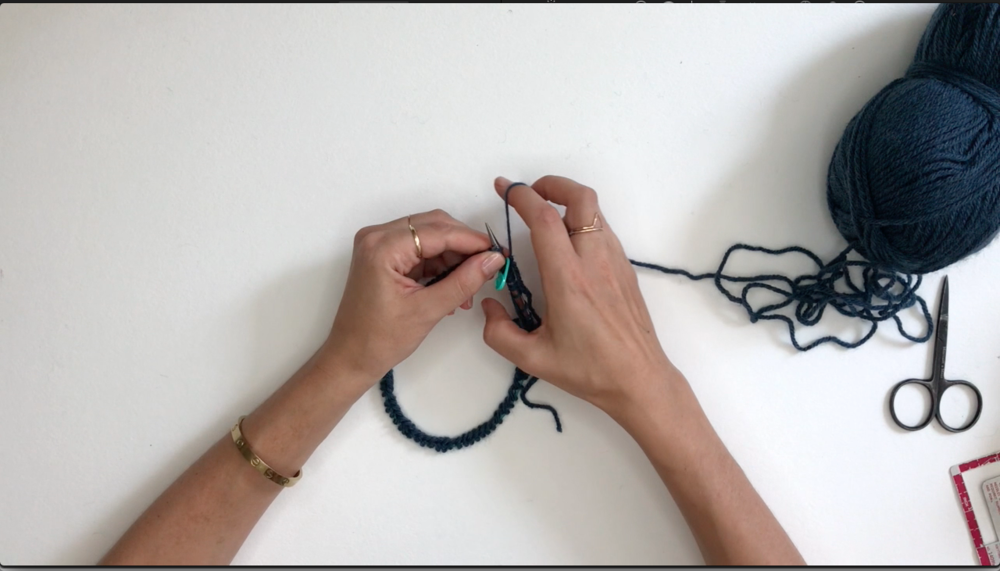
Wrap the working yarn around.
Making sure to hold the working yarn coming out of the ball rather than the short tail end, wrap the the yarn around the tip of the right needle counterclockwise.
Bring it back.
After wrapping the yarn all the way around the needle, bring it to the back side of the work again so it makes a full loop.
Slide the right needle out.
Keeping the new loop (stitch) on the right needle, gently slide it down and out of the left stitch.

Let it go.
Let the stitch just worked fall off the tip of the left needle. One knit stitch just completed.
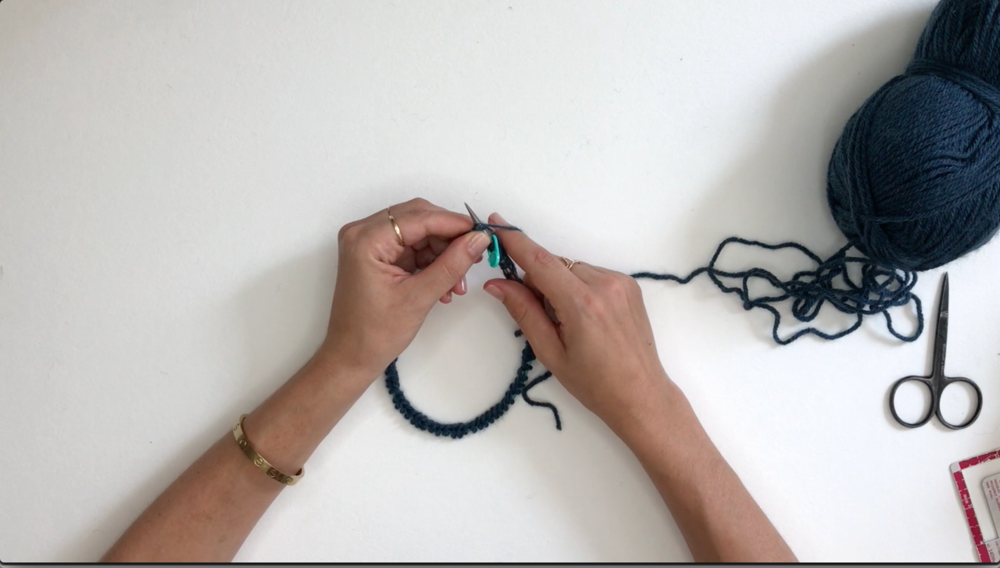
Bring the yarn forward.
Before beginning your purl stitch, bring the working yarn forward in between the two needles so that it is at the front of the work.
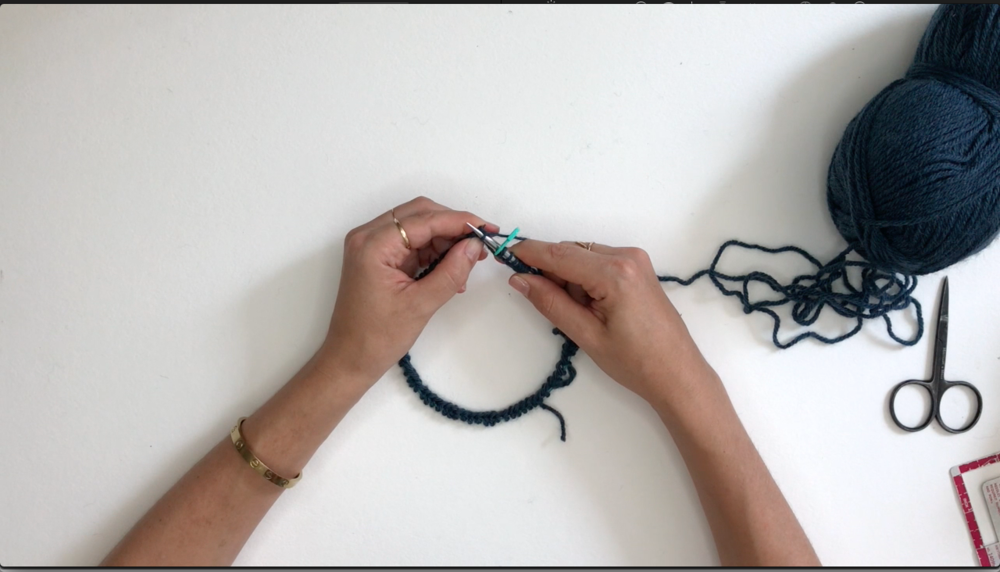
Insert right needle.
To work the purl stitch, insert the right needle DOWN into the first stitch on the left needle.
Wrap the yarn around.
Wrap the working yarn clockwise around the tip of the right needle.

Bring it back.
Bring the yarn all the way around so that it’s back to the front of the work.
Slide the right needle out.
Keeping the new loop (stitch) on the right needle, slide it up and out of the stitch on the left needle.
Let it go.
Let the stitch just worked fall off of the tip of the left needle.
Continue.
Bring the yarn back to the back of the work in between the needles to being a knit stitch. Start back at the first step and continue switching between a knit stitch and purl stitch all the way around the hat until you reach the stitch marker. It should end with a purl stitch.
Slip the marker.
When you reach the end of the round, slip the marker from the left needle to the right needle. Begin the next round.
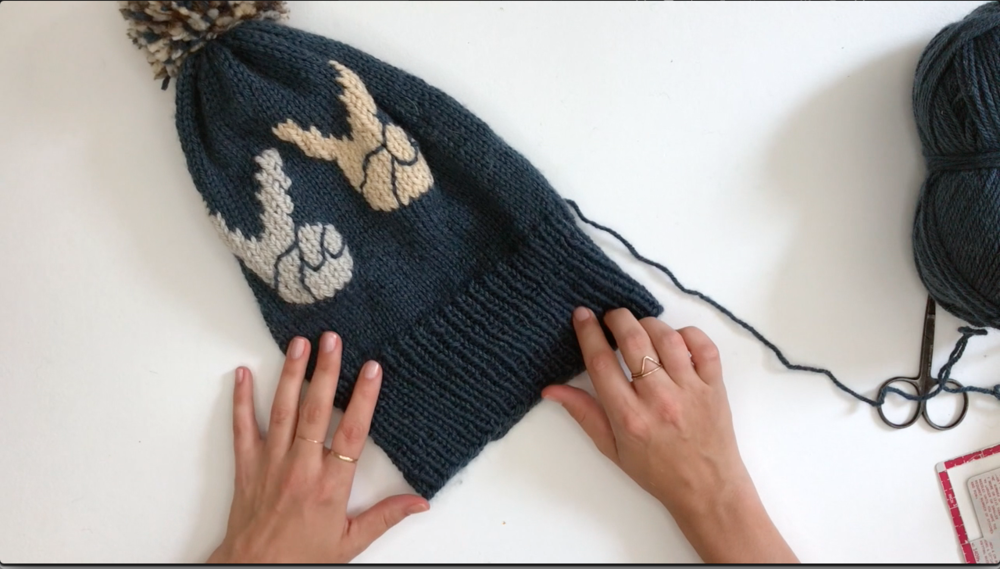
Continue.
Continue working in rounds until fabric measures 4”/10cm from the cast on edge to complete the ribbed cuff (completed hat shown in photo as an example).
That’s it! We will be re-grouping next Friday, September 7th to begin working the body of the hat. In the meantime, don’t forget to share your progress on social media with the hashtags #HatNotHate and #PeaceHatKAL. I can’t wait to see all these beauties in my feed!
Please share any feedback or questions in the comments below! xo
Happy knitting everyone 🙂


