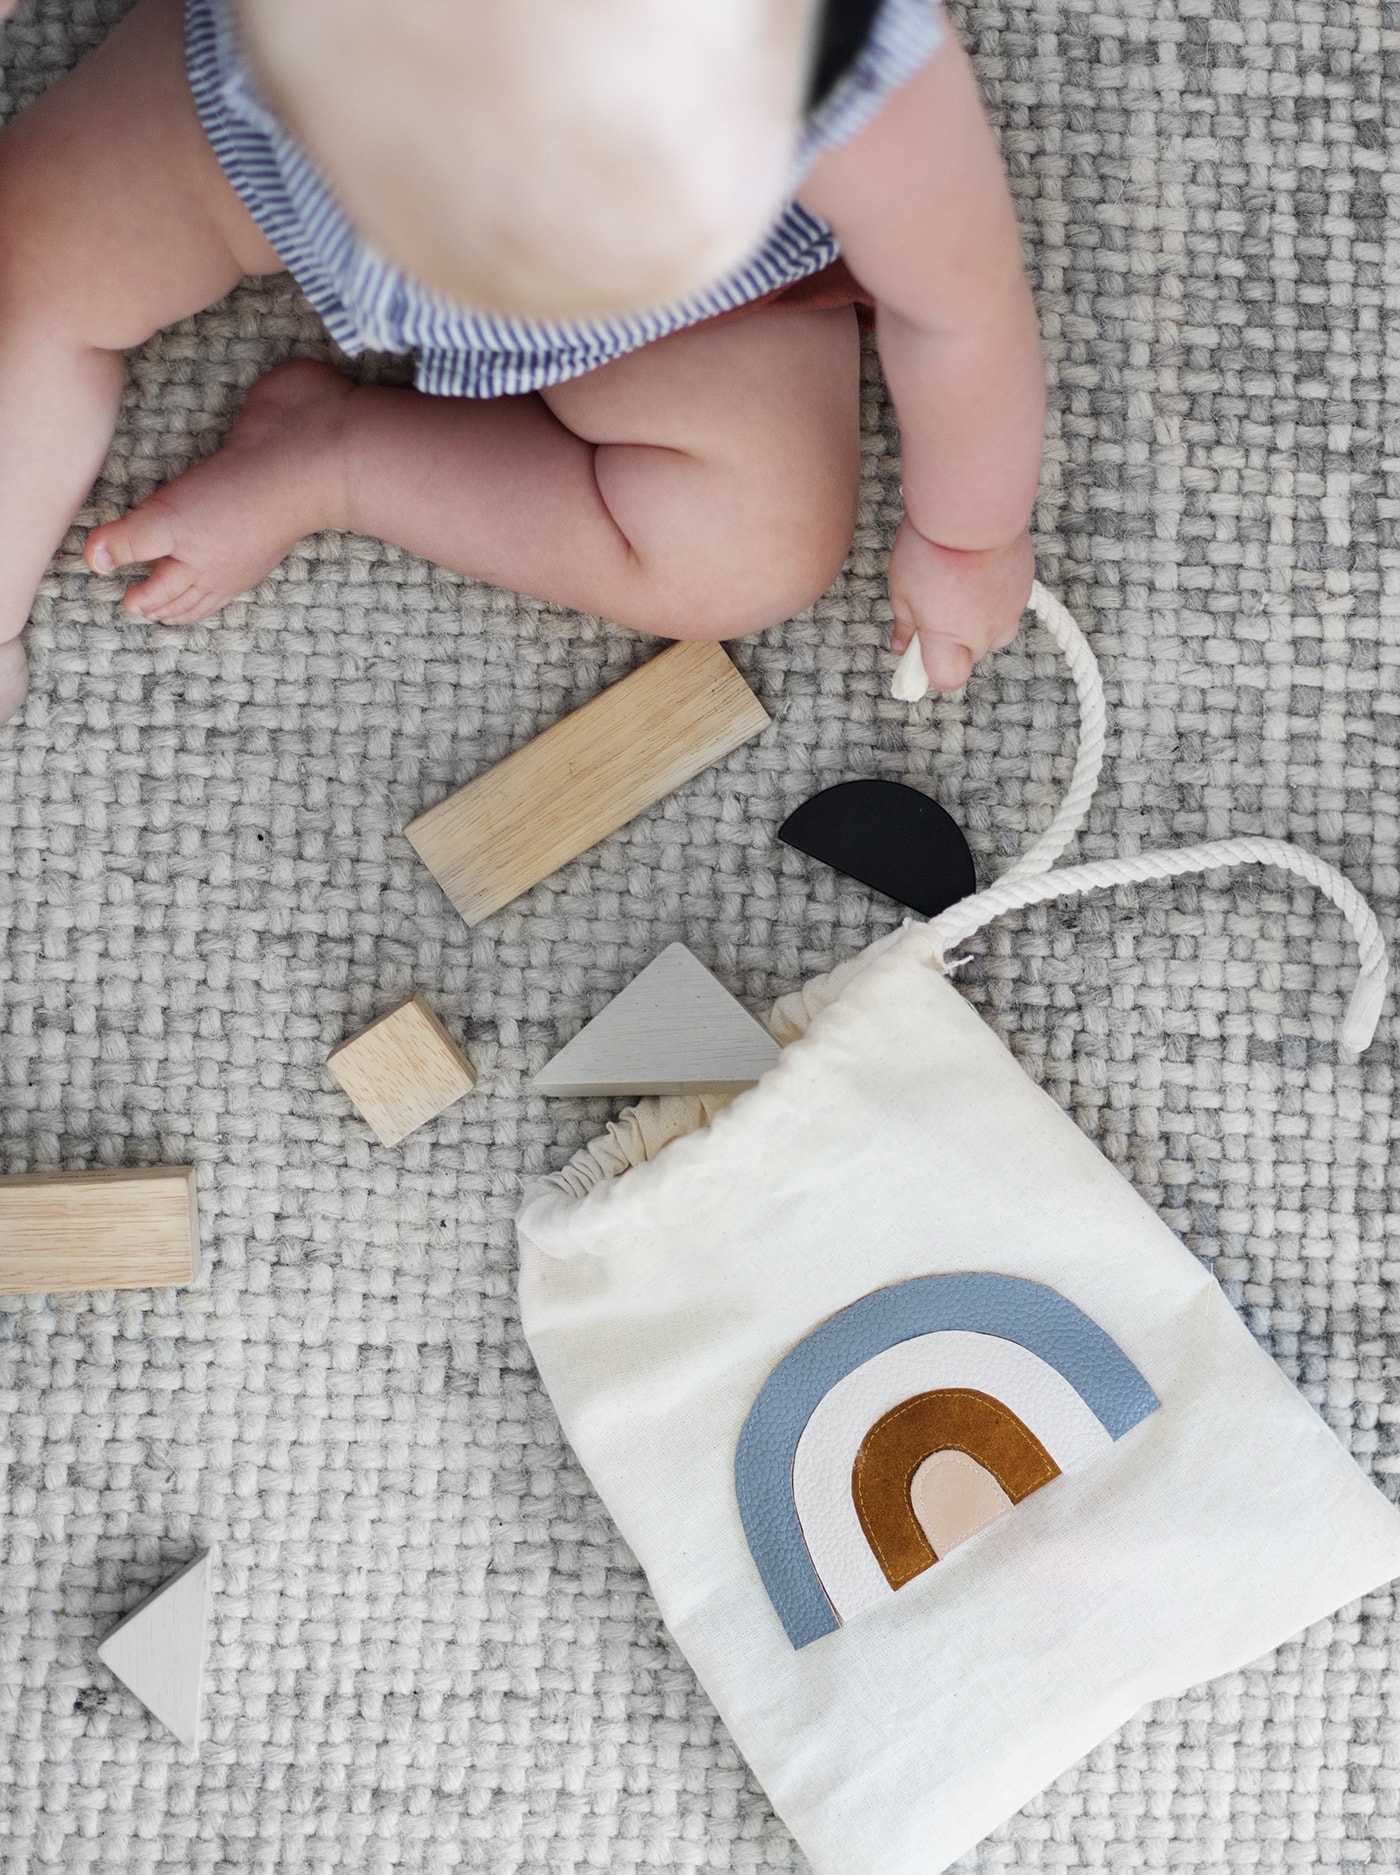
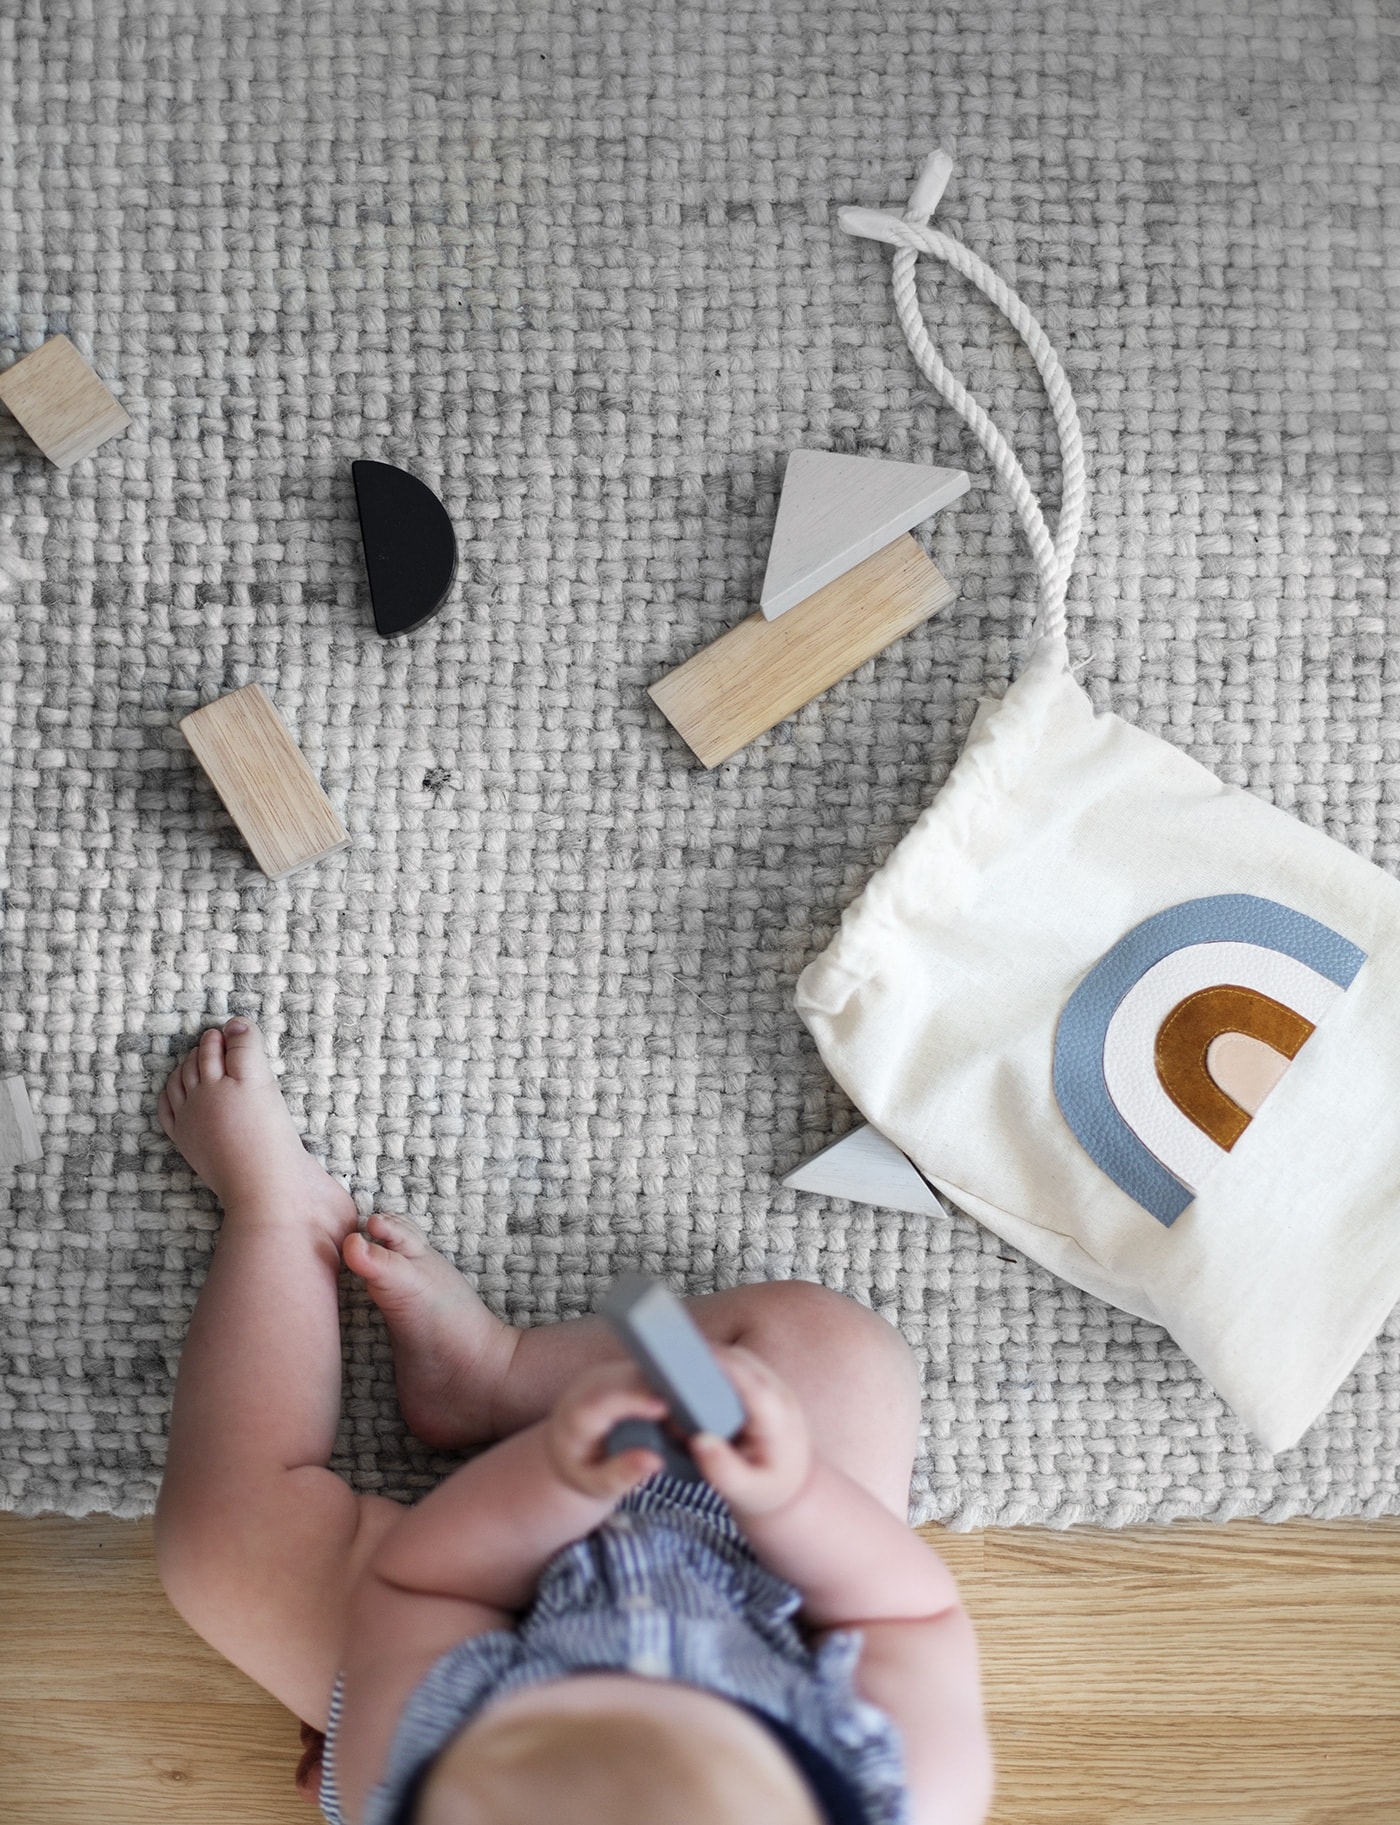
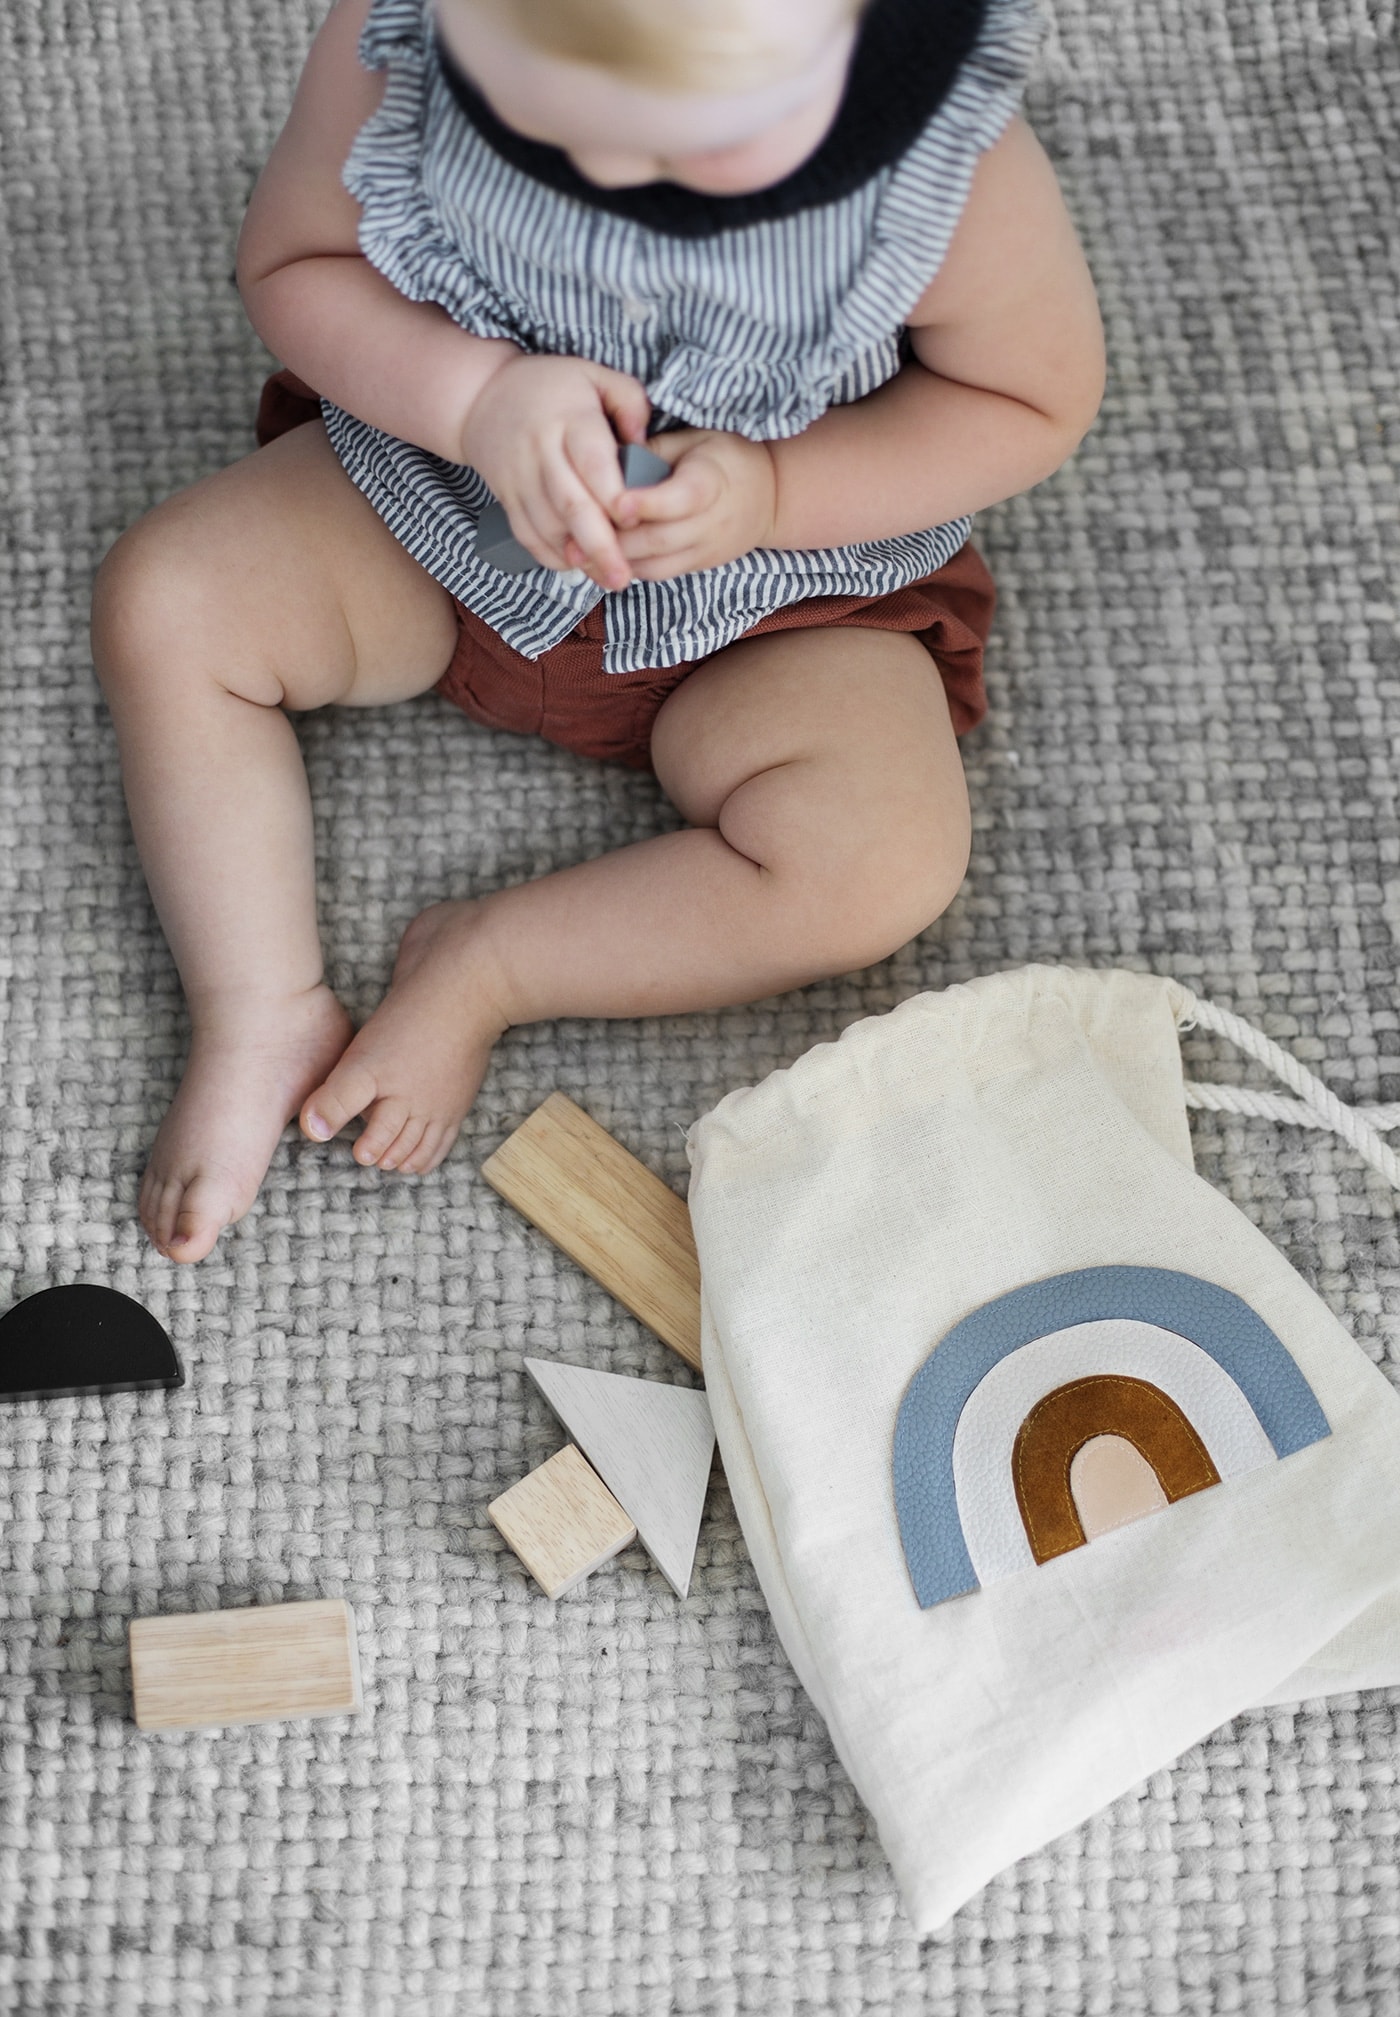
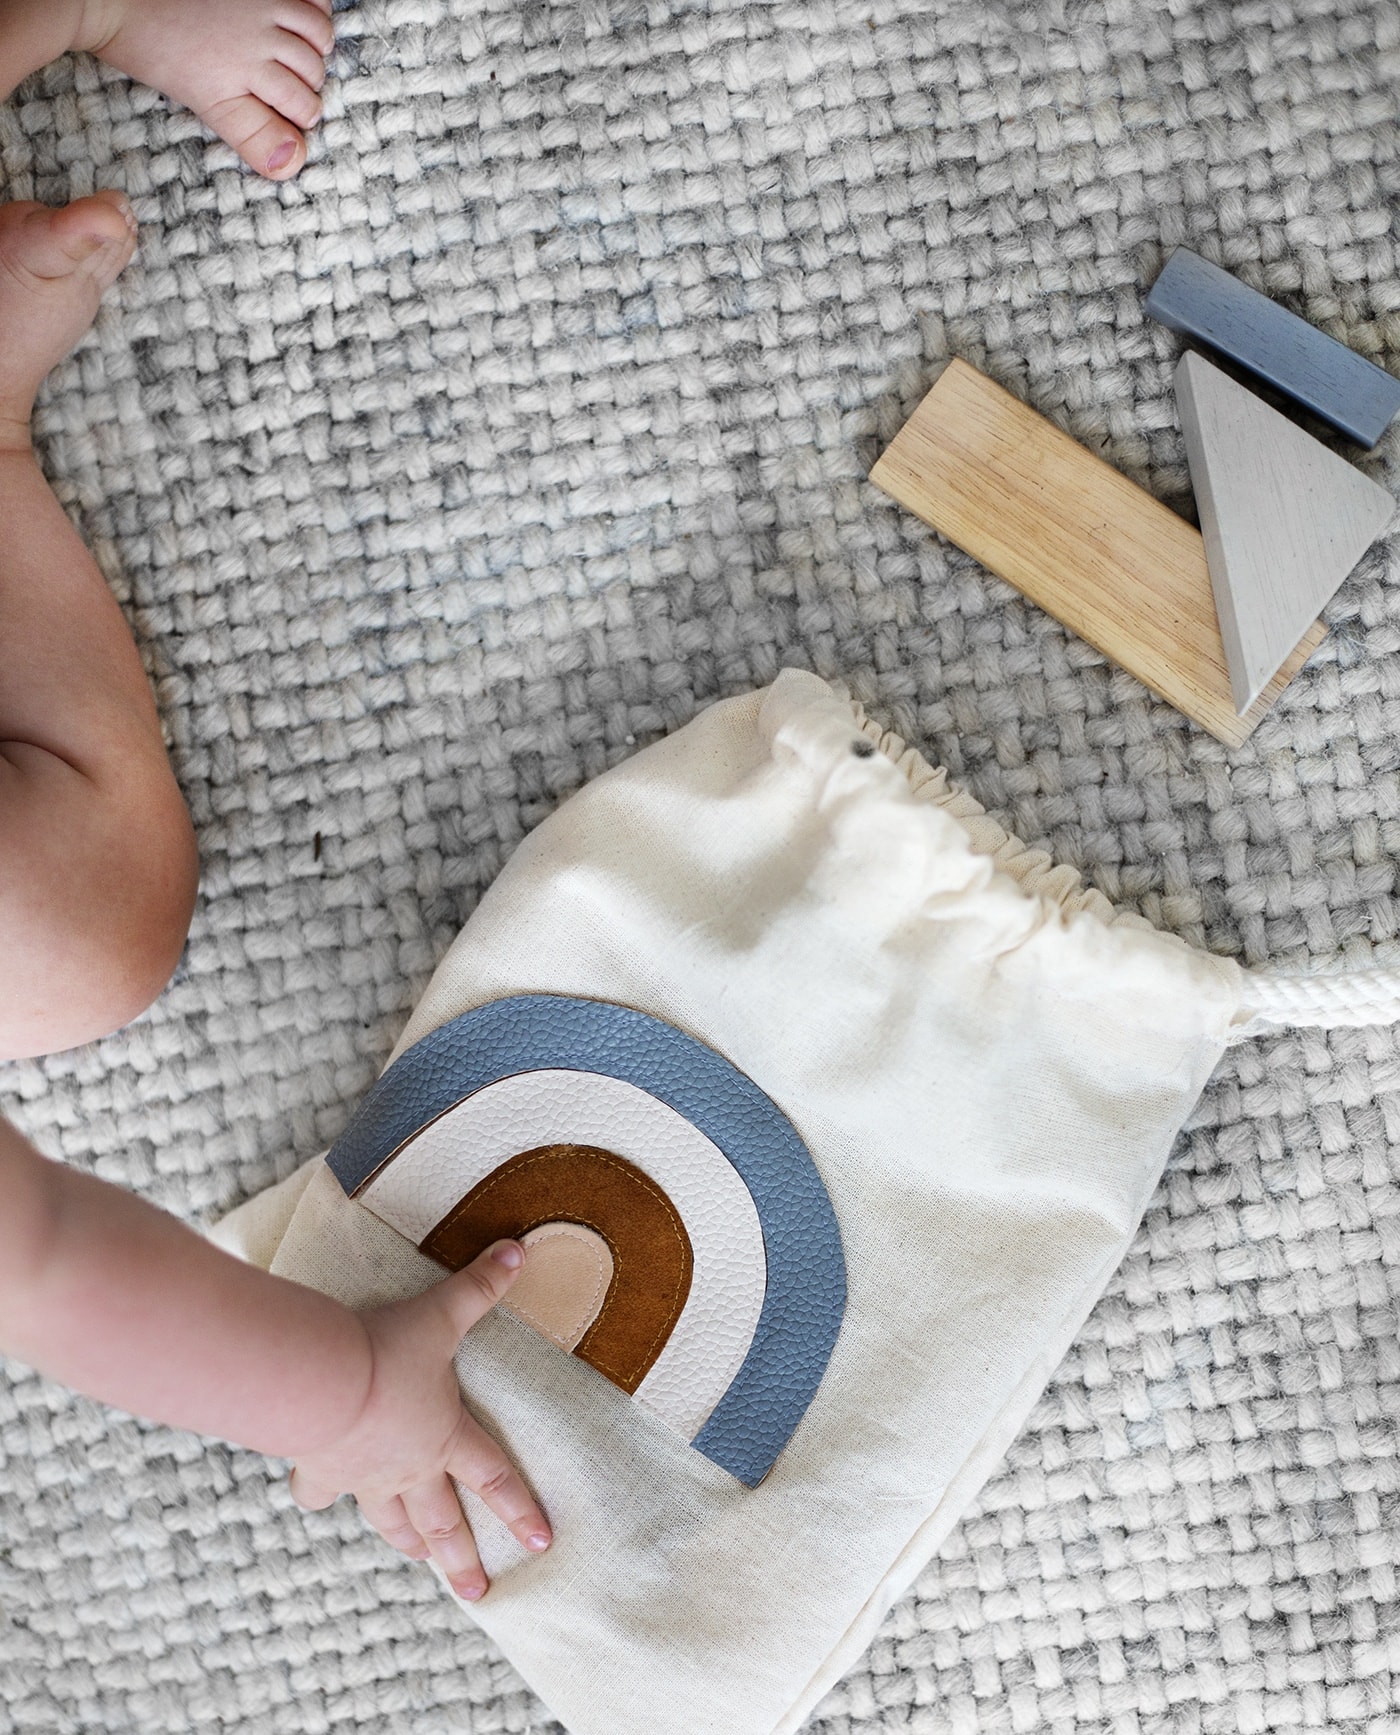
It’s so much fun to see Maggie grow and work her way through different interests and therefore different toys. There were some that she looked at as a 3 month old with a ‘what do you call this?’ face and then a few months later they couldn’t be prized from her little hands and there were some she instantly loved and now lie untouched at the bottom of her toy basket. One toy that seems to have stood the test of time however, a must have when I pack our bag to leave the house, is her wooden blocks.
At first she loved sucking them, then bashing them together, then throwing them and more recently knocking the towers I build with them down. I’ve literally kept them in the brown paper bag they arrived in from the get-go, which 8 months down the line and a whole lot of use later, ain’t in great condition. In fact it’s full of rips and essentially falling apart so a new sturdy bag to keep all her blocks in was definitely in order!

Materials
- Scraps of material ( I used leather and suede)
- Machine thread to roughly match your material scraps
- Natural canvas (I cut the backs off two canvas bags as I have an abundance lying around)
- Rope
- Paper, pencil, scissors
- Sewing machine
- Pins
- Fabric glue
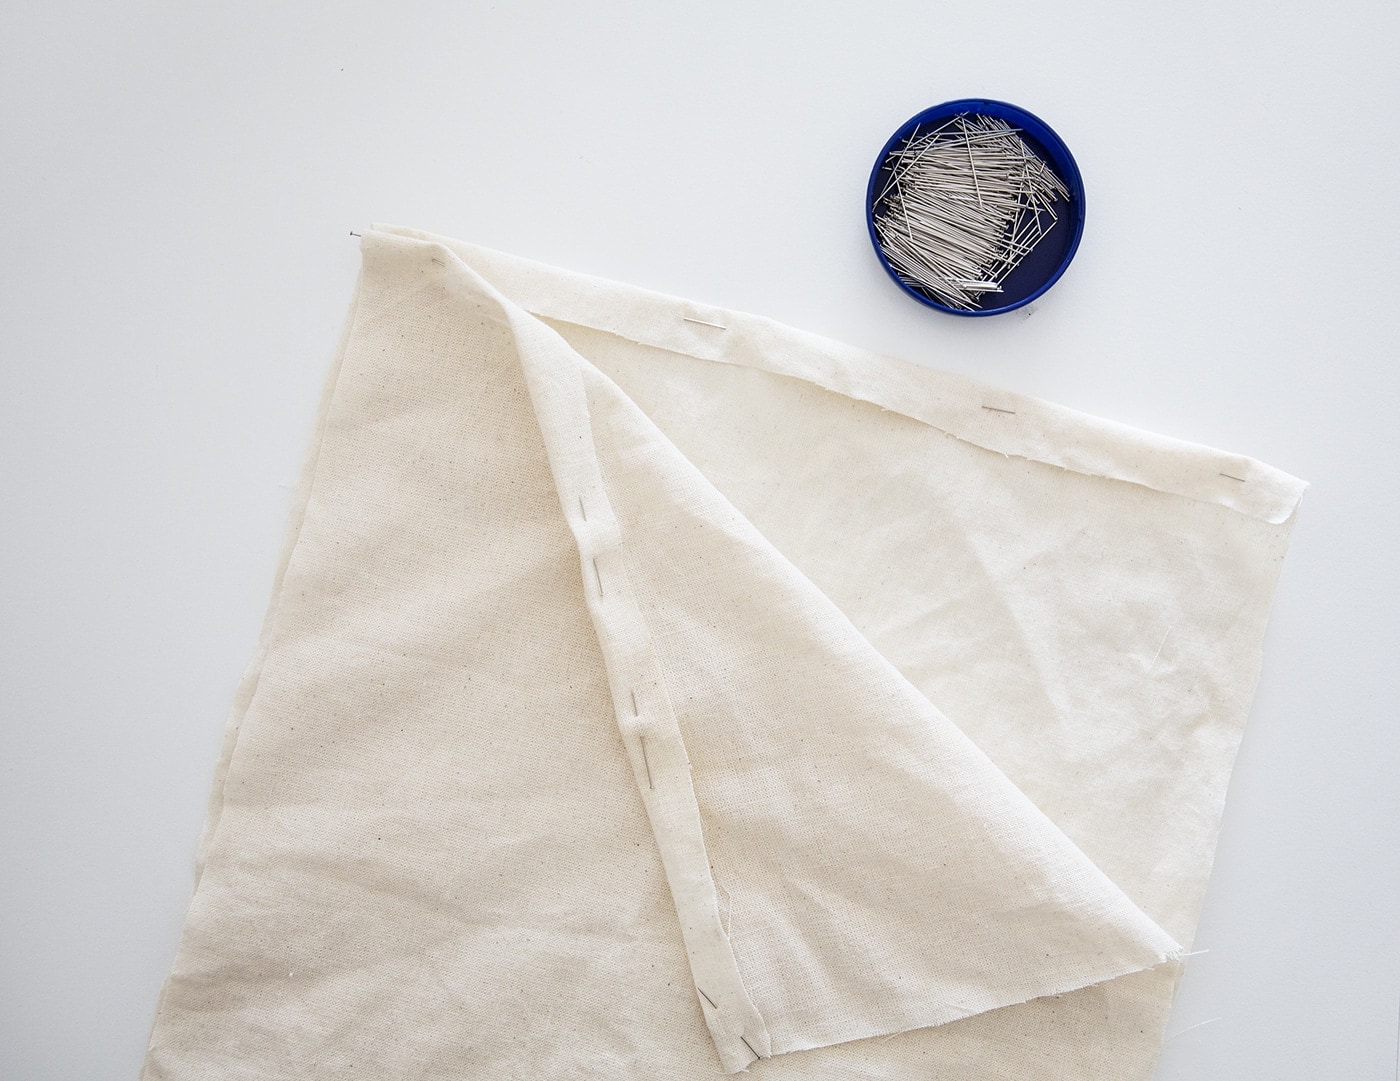
Start by cutting two identical pieces of canvas to the size you’d like your bag. Remember to add on 2-3cm for seam allowance all the way round and roughly 6cm extra along what will be the top (opening) of your bag. Then pin the opening side of both pieces of canvas over about 2cm.
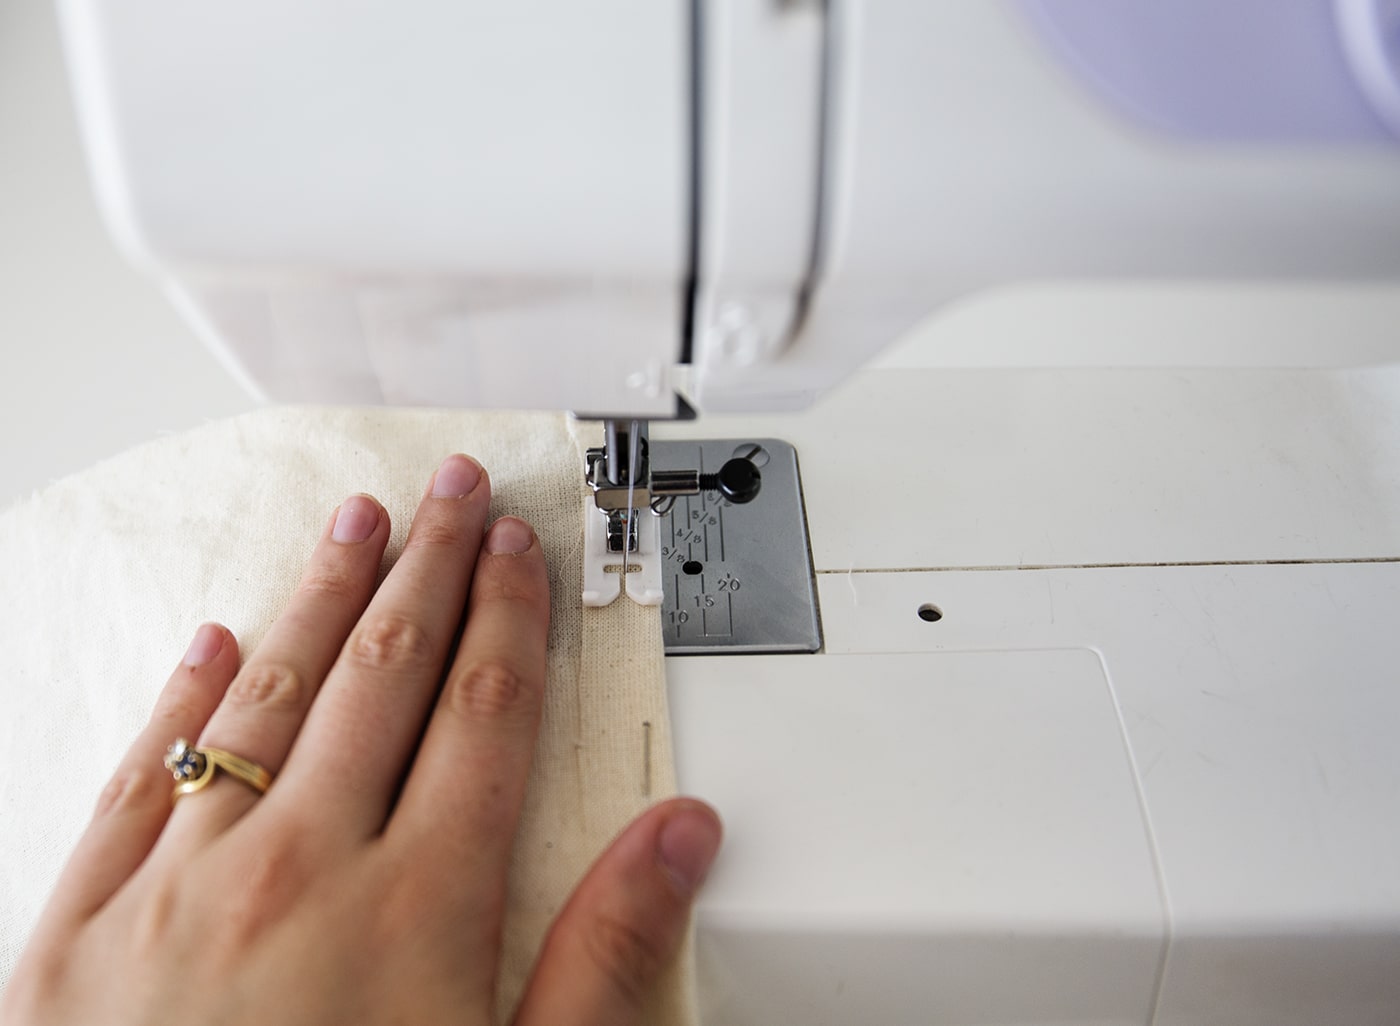
Using a straight stitch, sew along this line of pins, staying fairly close to the edge all the way along.

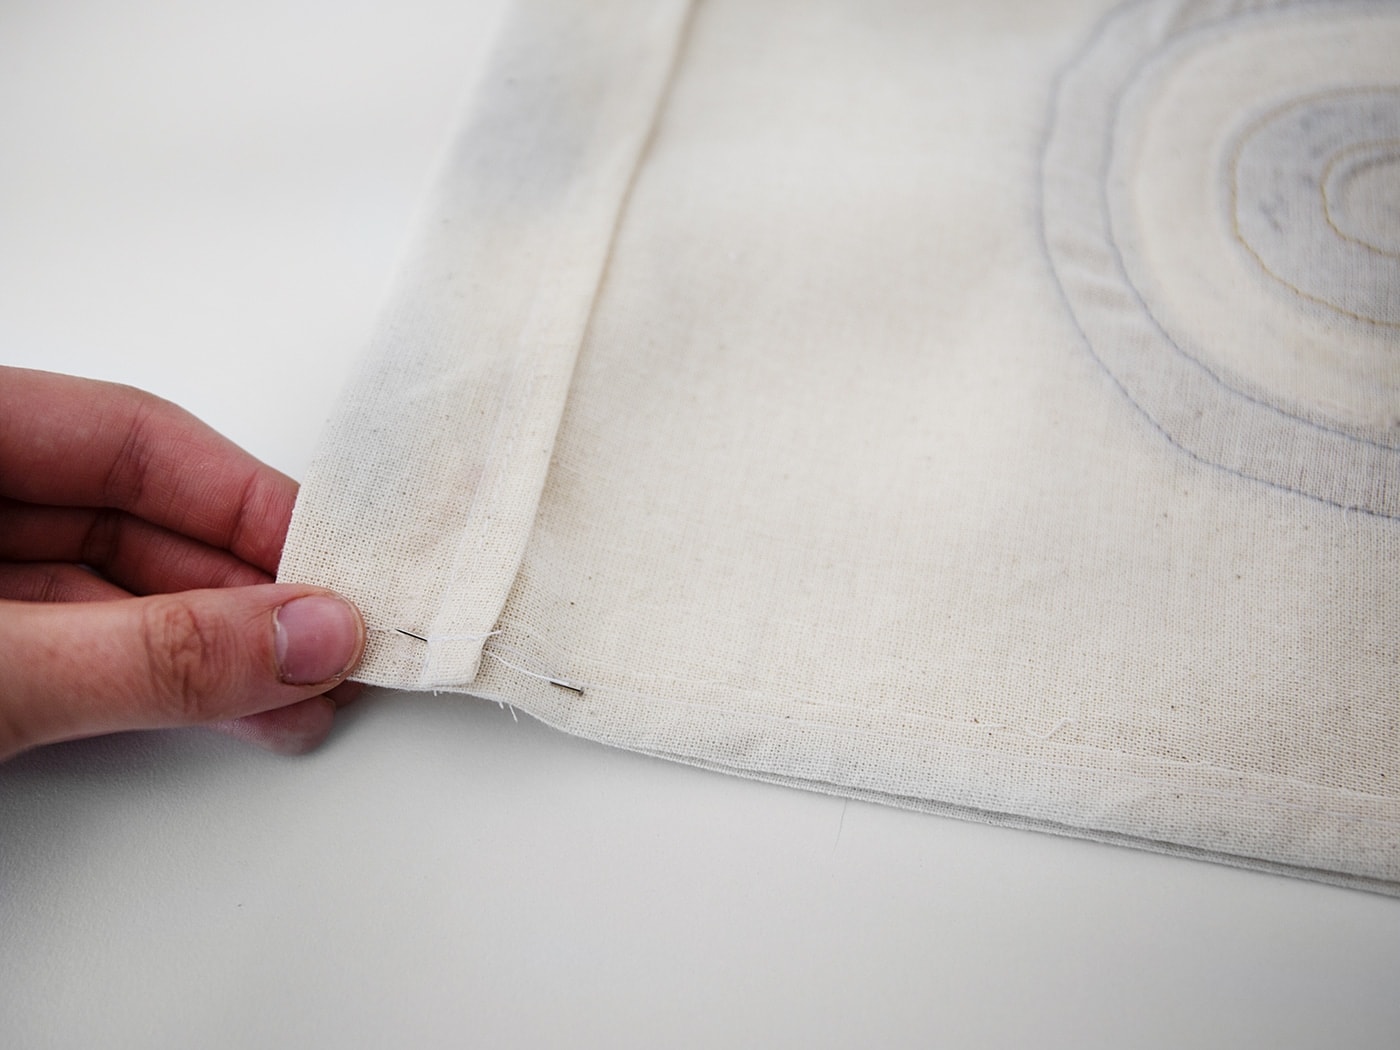
Now fold over the sides of each piece of canvas and do the same. Pinning all the way along and then stitch this once again on the sewing machine.
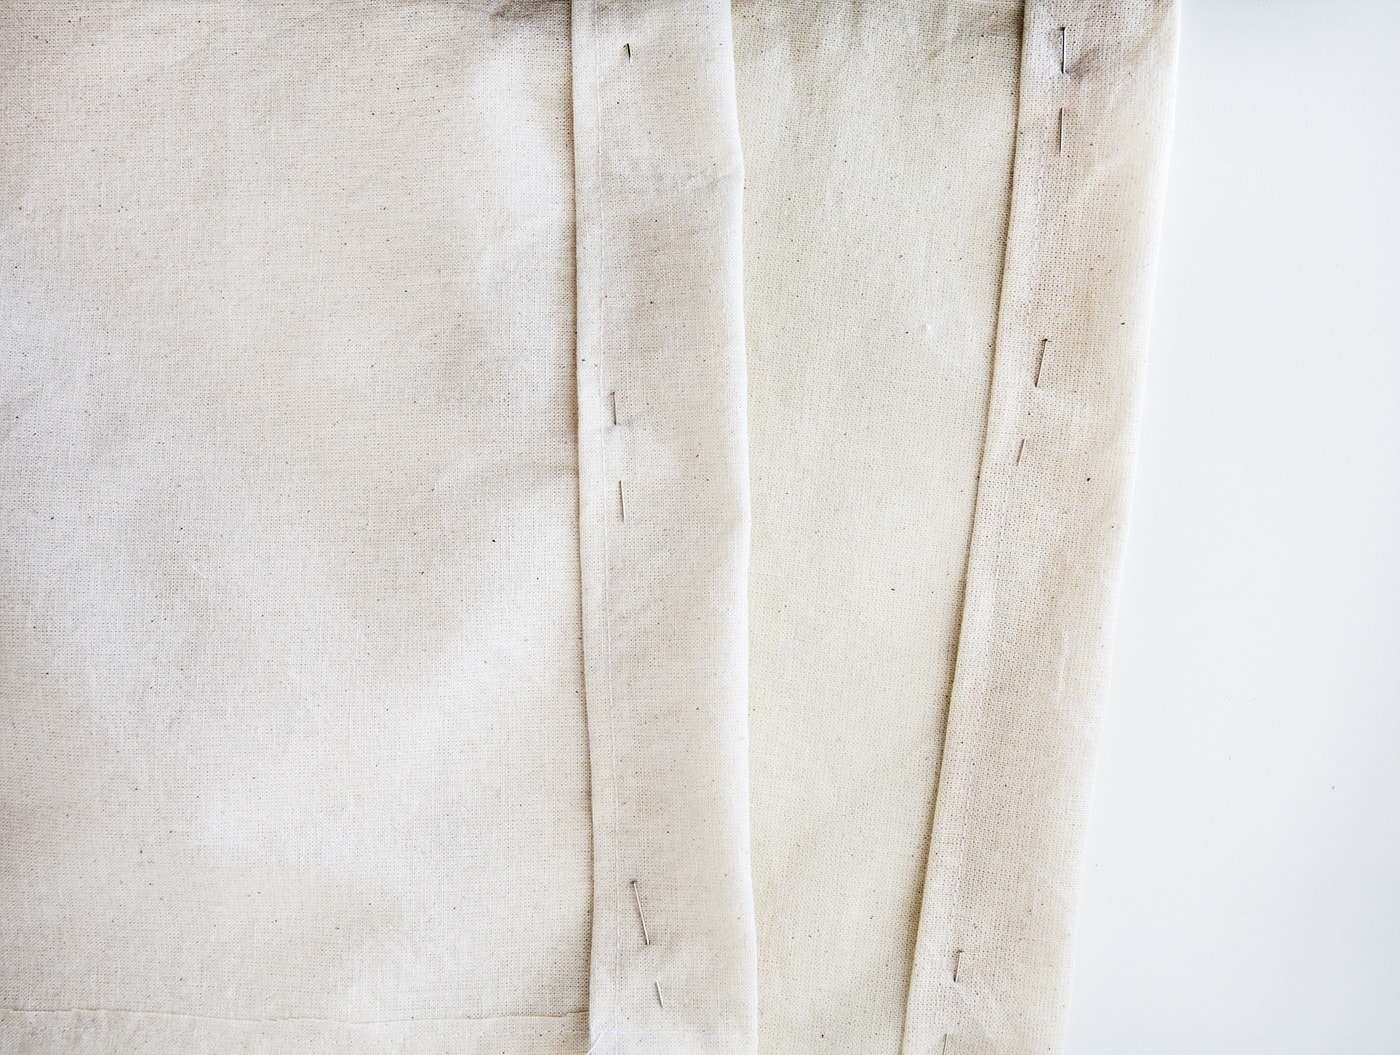
Now fold over the top (opening edges) again but this time pin to allow for enough space for the rope to go through once it’s sewn. Sew again on the sewing machine, keeping close the edge.
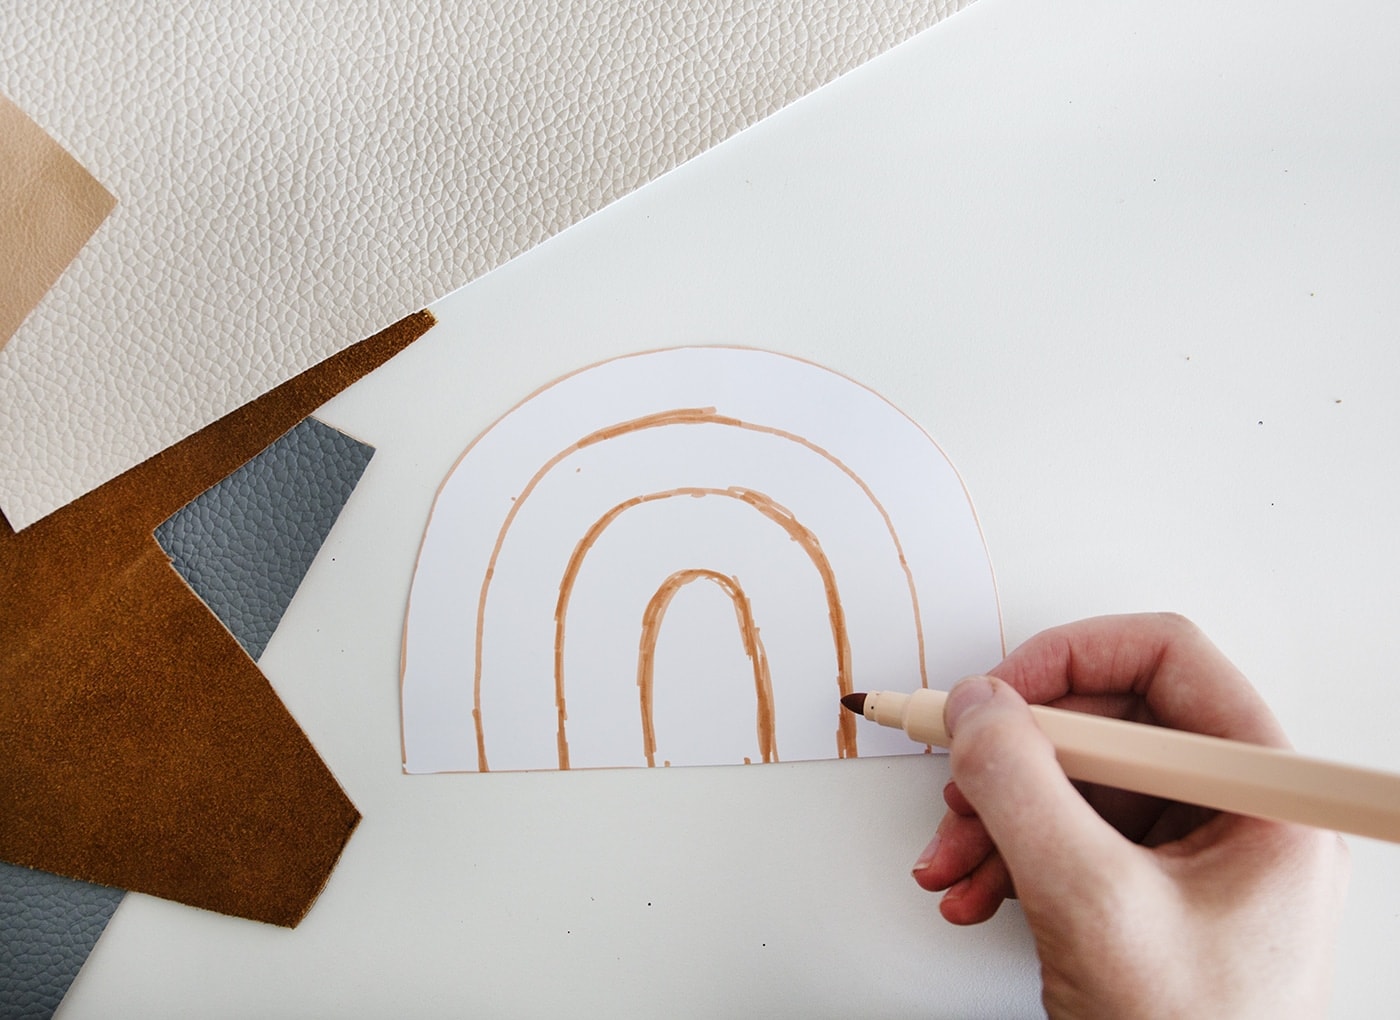
Before you sew the bag together you need to add the design as this will involve stitching to the front. Create a template by drawing a semi circle (draw around something if you need to) and then drawing in the rainbow lines, sketching them until they’re roughly equal.
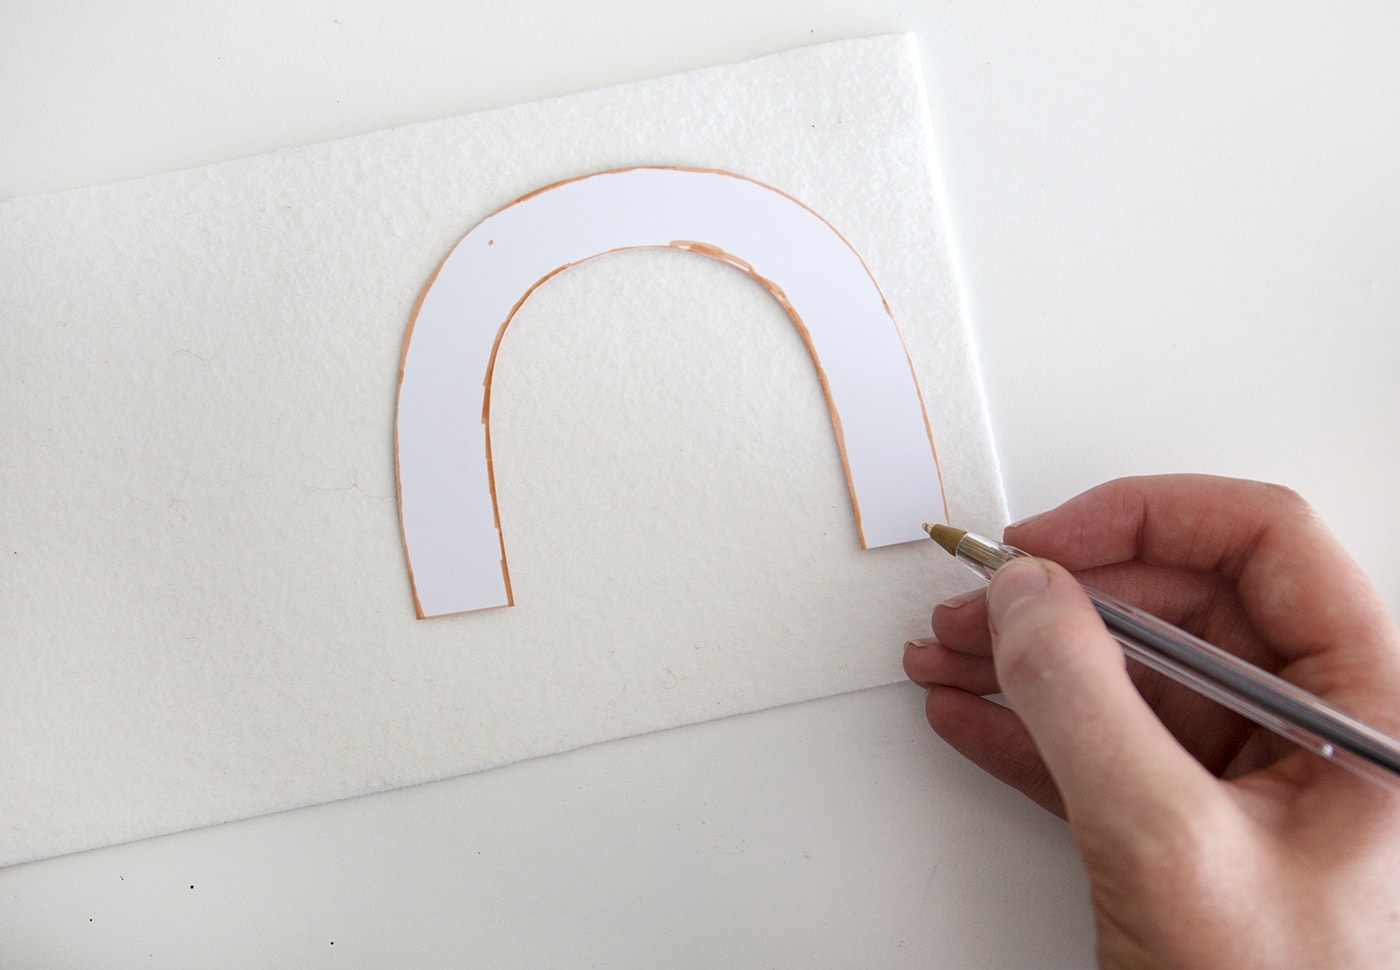
Cut each one out and then flip the wrong way and place on the back of your fabric scraps to draw around.
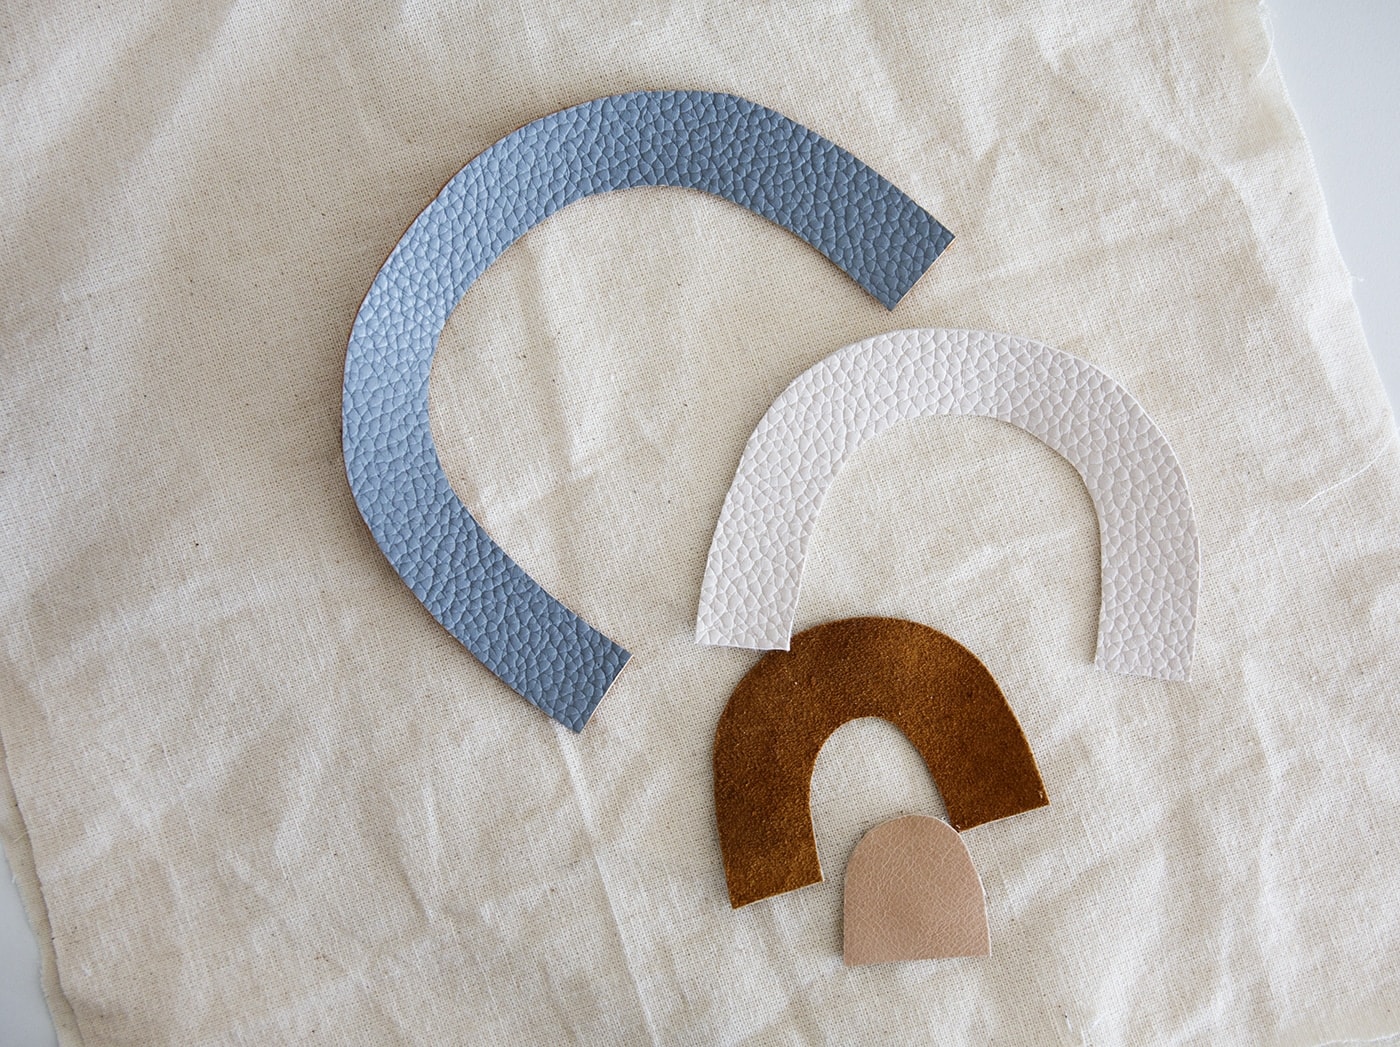
Cut them all out and place them together to see that they all fit nicely as a whole.
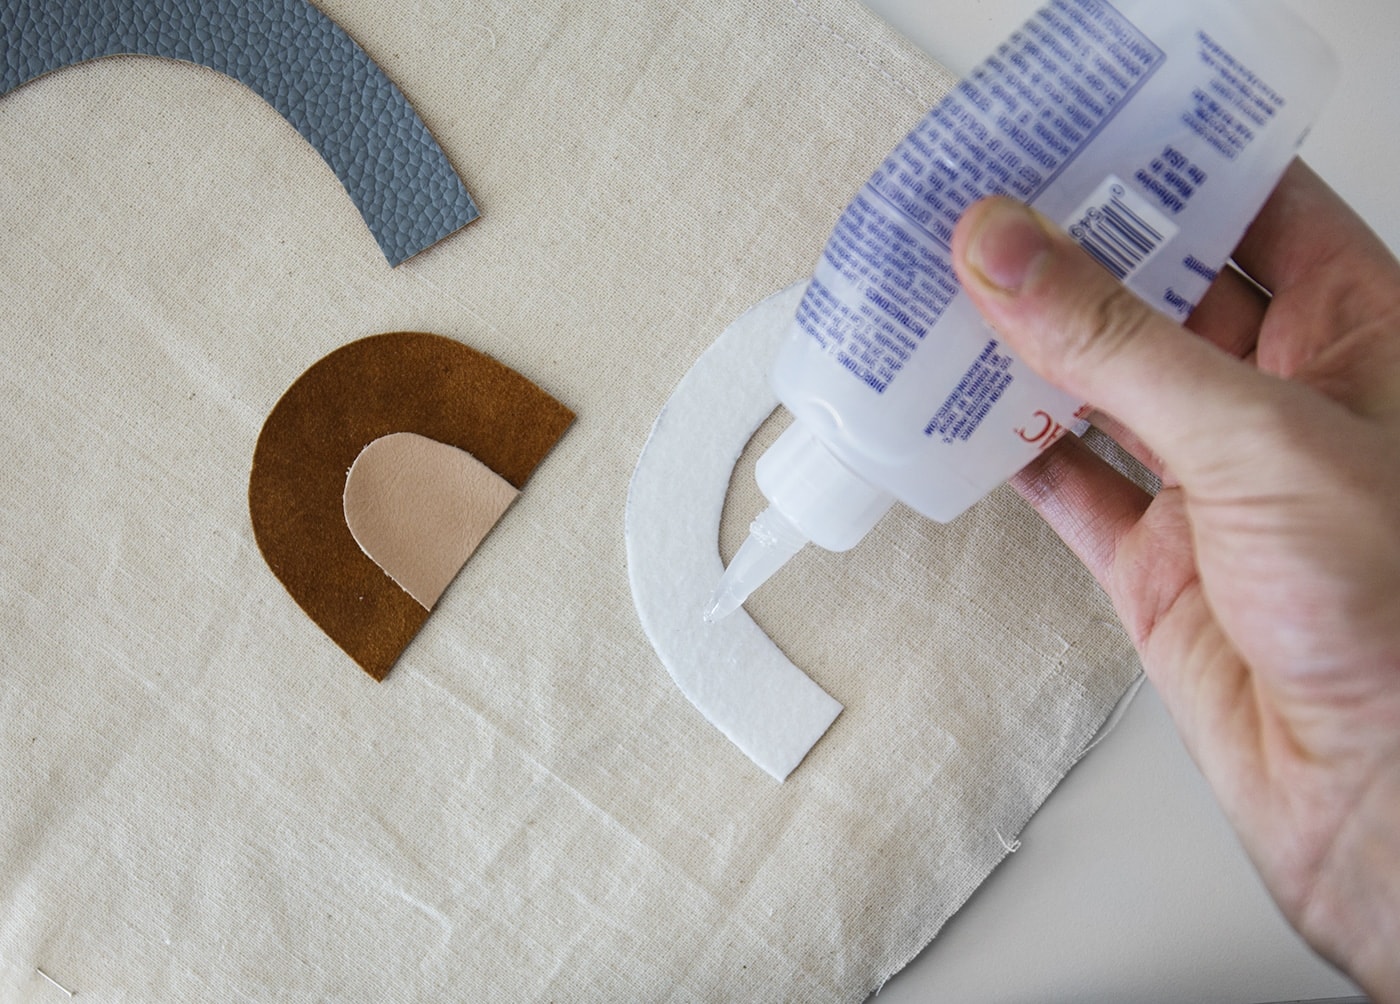
Tack the rainbow segments on with a little fabric glue. No need to go cray, it just a flatter way of holding them in place when you sew, rather than pins which tend to warp thicker fabrics. Leave to dry.
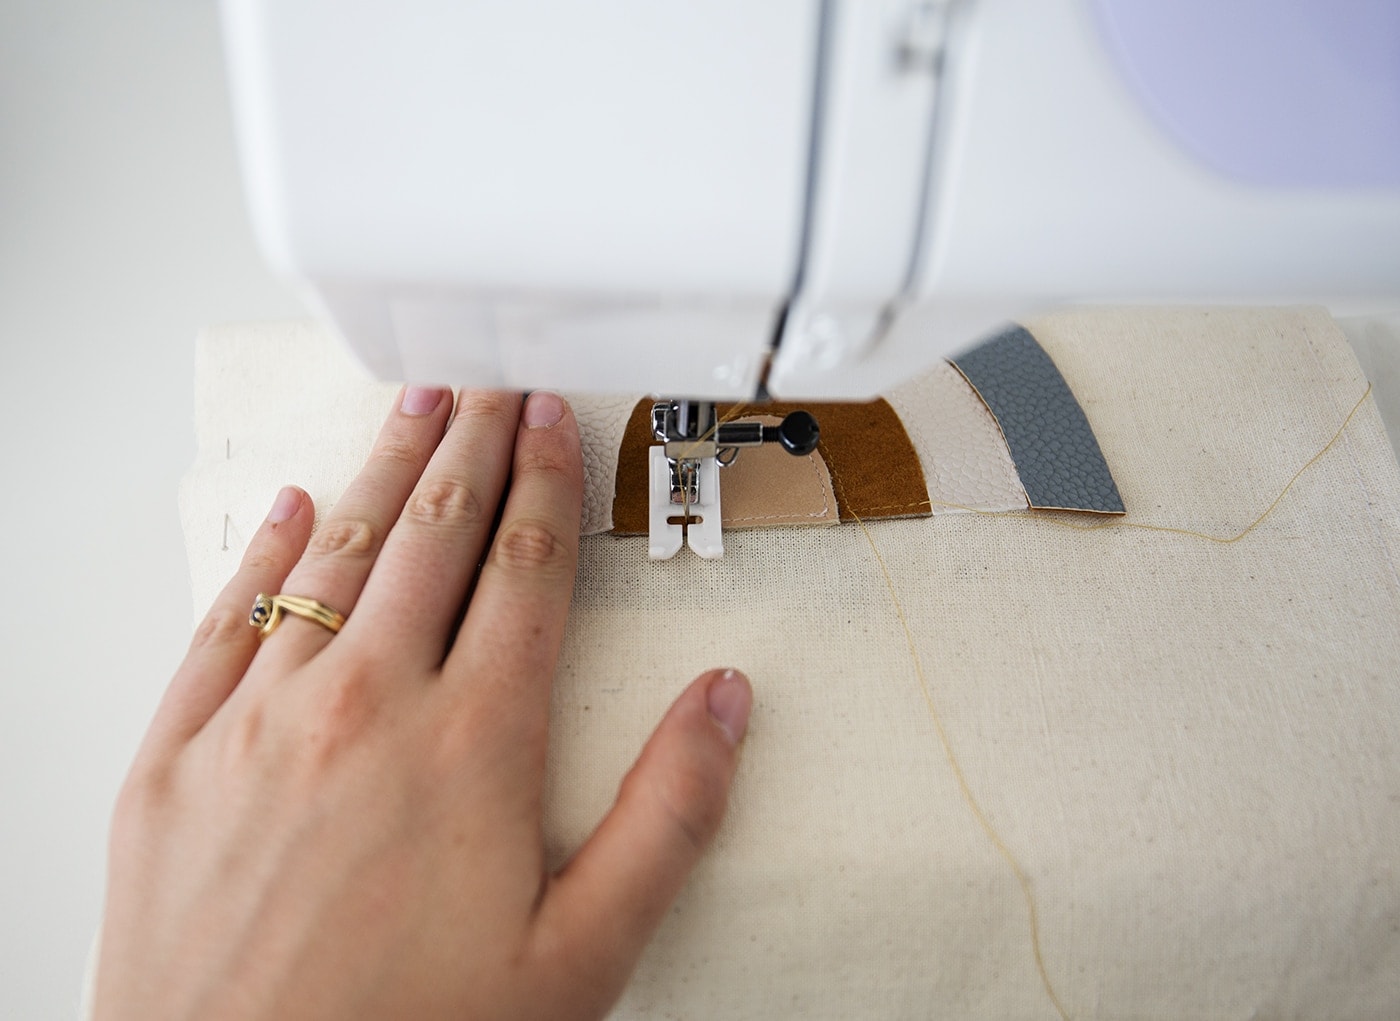
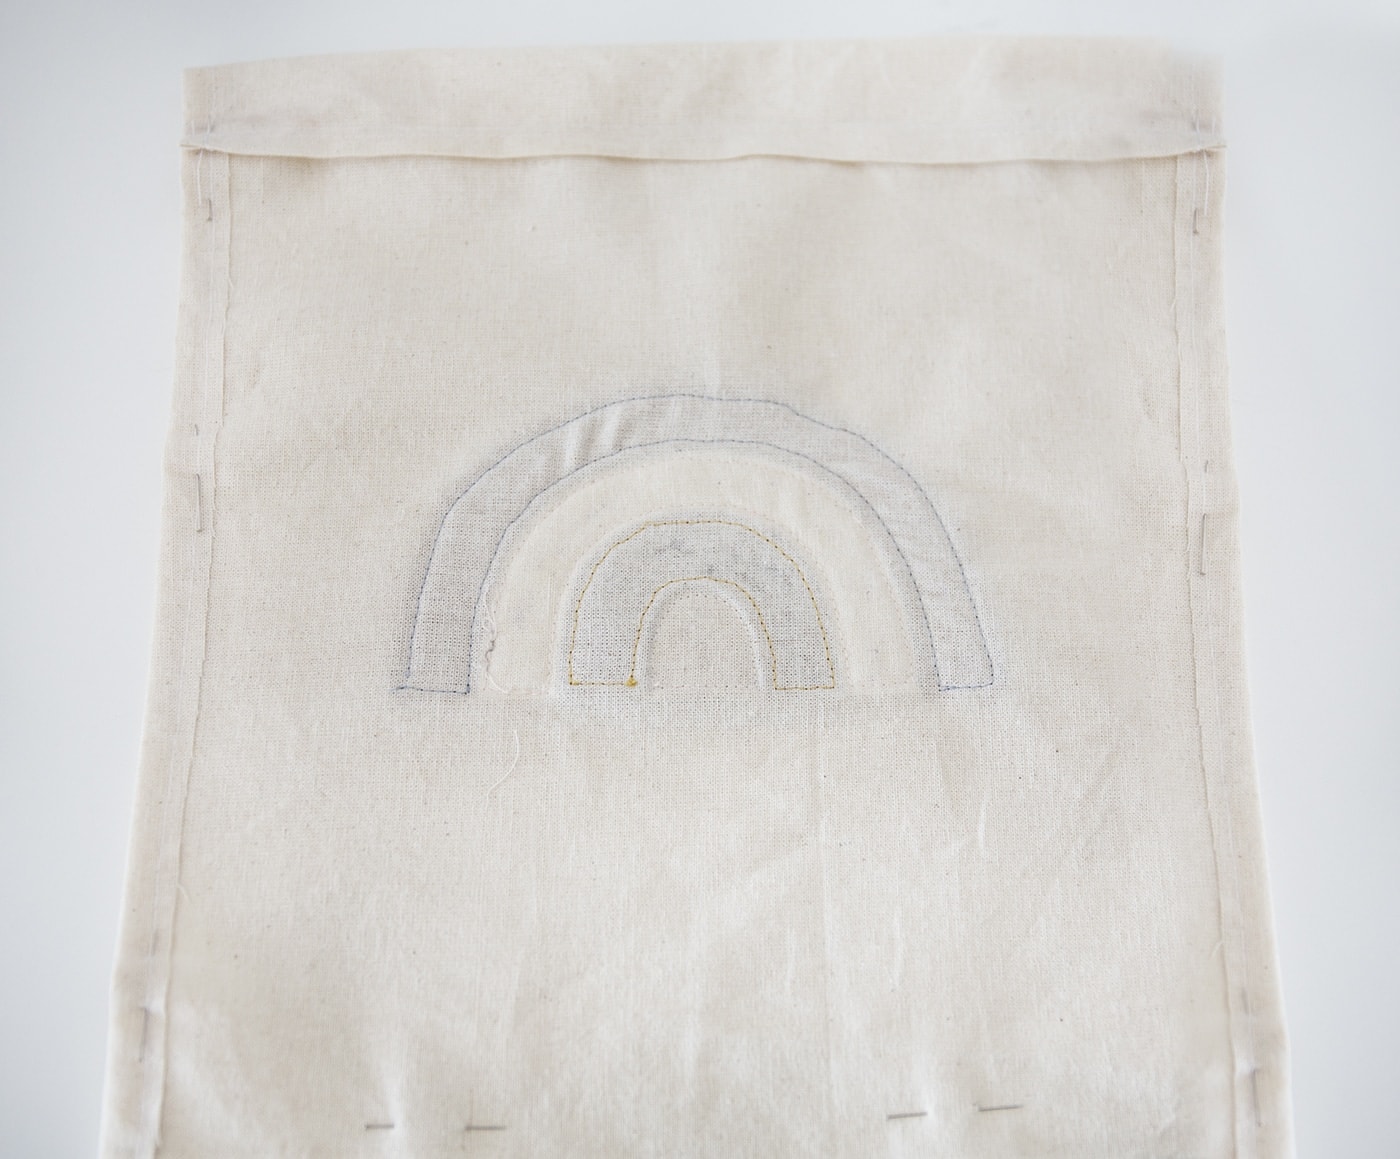
New use each coloured thread to fix each coloured rainbow segment to the canvas. Sew all the way around each about 5mm from the edge.
Now pin the bag together (right side to right side so the inside is facing outwards). Make sure that your pins start below the tube at the top, designed to hold the rope. If you close the ends then the rope cn no longer be threaded through.
Pin around the rest of the bag in the same way as before and when you come to sew, do this as close to the edge as you can go,
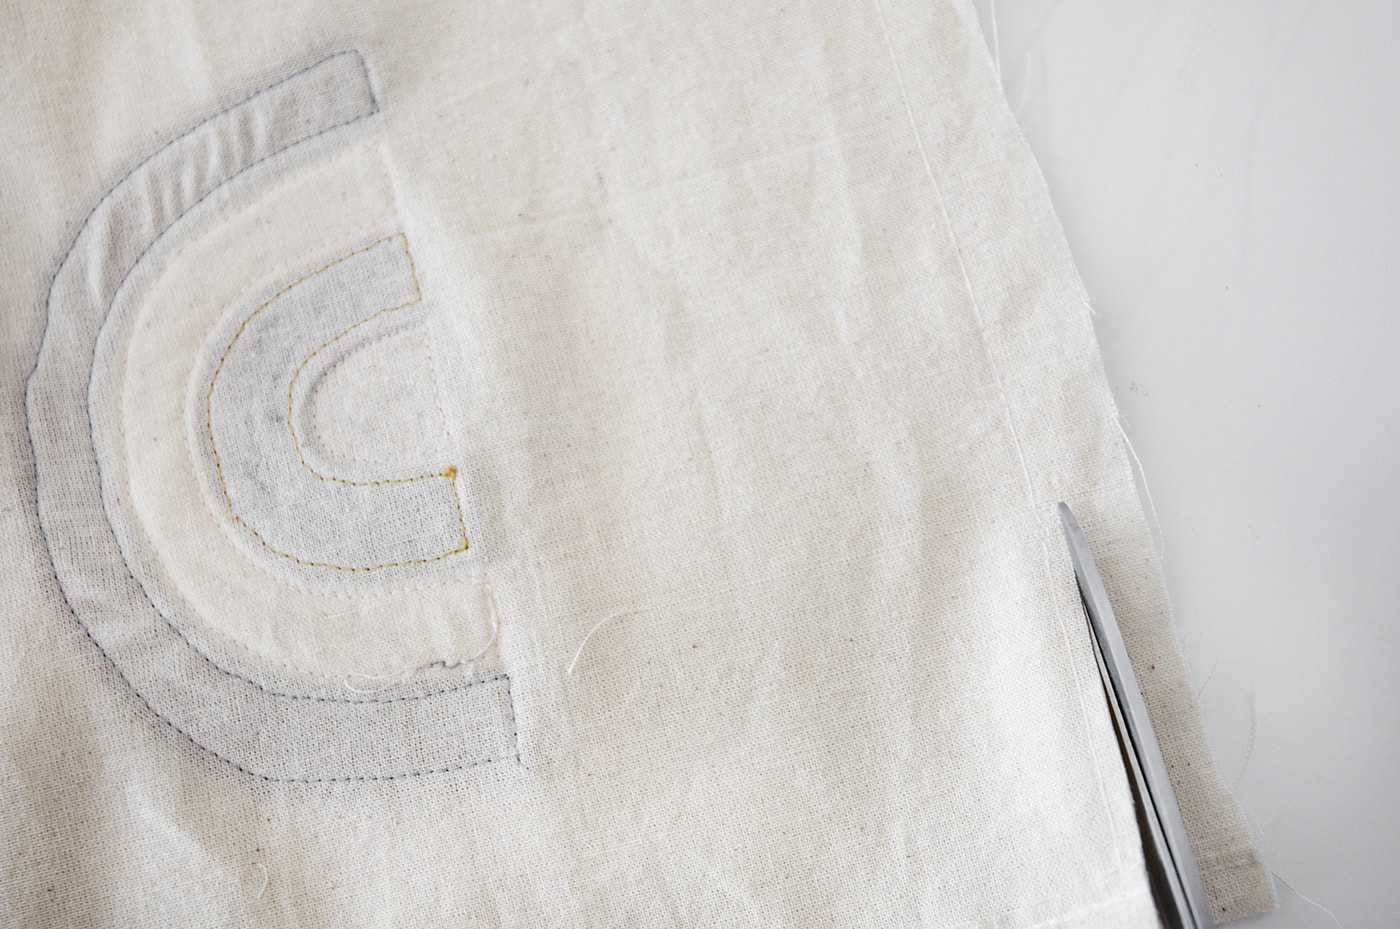
Snip the excess all the way around and snip diagonally at each corner to make sure it’s easy to turn inside out.

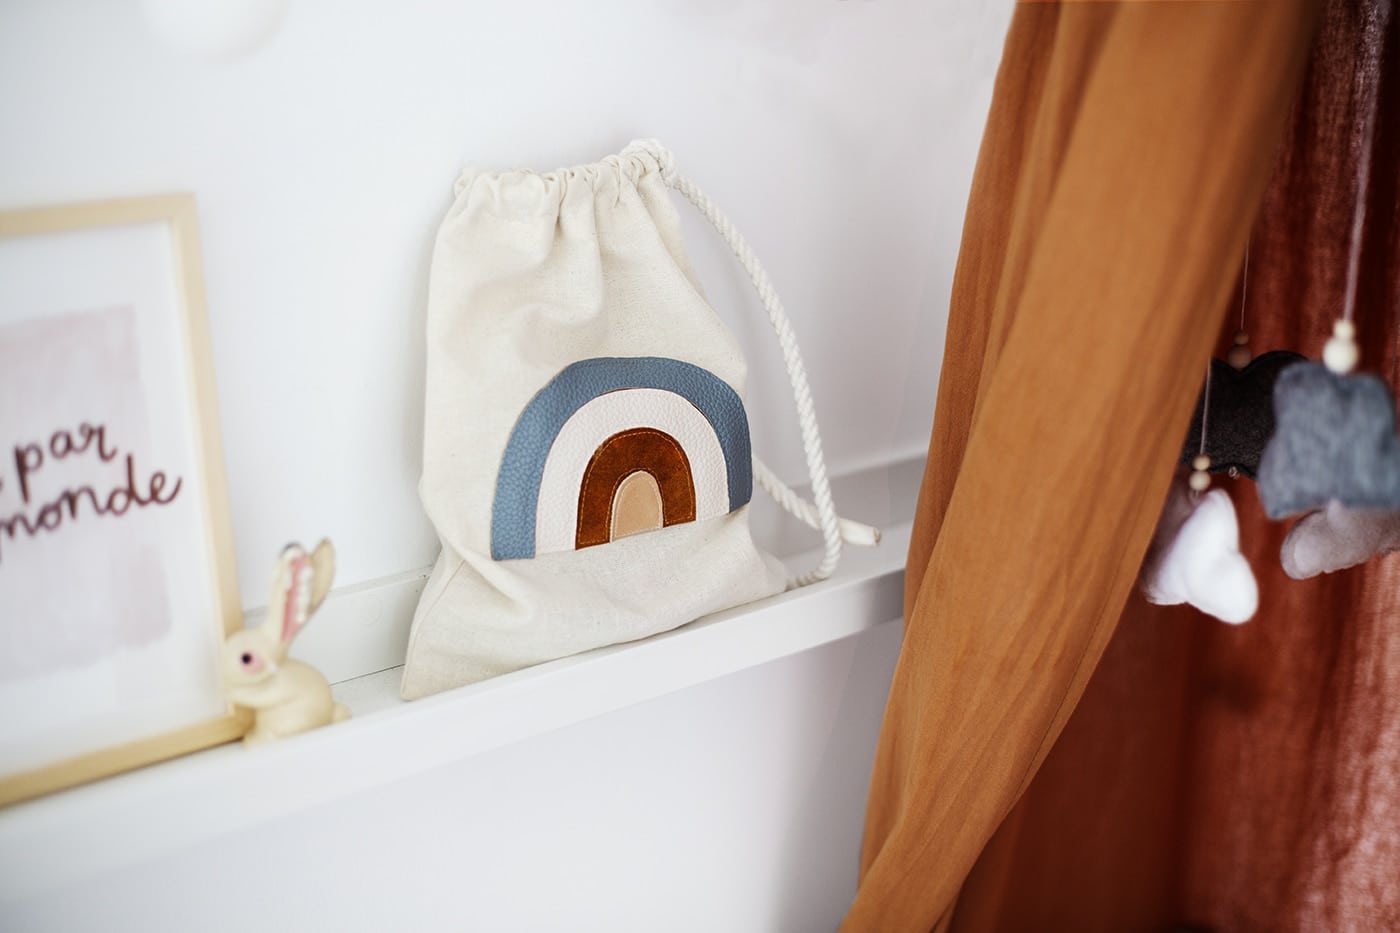
Now you can thread the rope through and gather and tighten to close as you wish. Add some tape or fray check to either end to stop it unravelling.
Another approach would be to create a separate canvas tube and attach this to the bag so that the rope can go all the way through without peeking out. It depends how you want your bag to look really. Either way there you have it…a new and far superior bag for Maggie’s blocks but realistically you could use this for any small toys to keep them from going astray.