
The countdown to Christmas is one of my favourite times of the year. As it gets colder and darker, reminding us that the end (of the year) is nigh, the countdown to Christmas feels like the time to look back and remember. I love using my advent calendar to take stock of the last year and actually make time to remember the good things,because it’s way too easy to dwell on the bad.
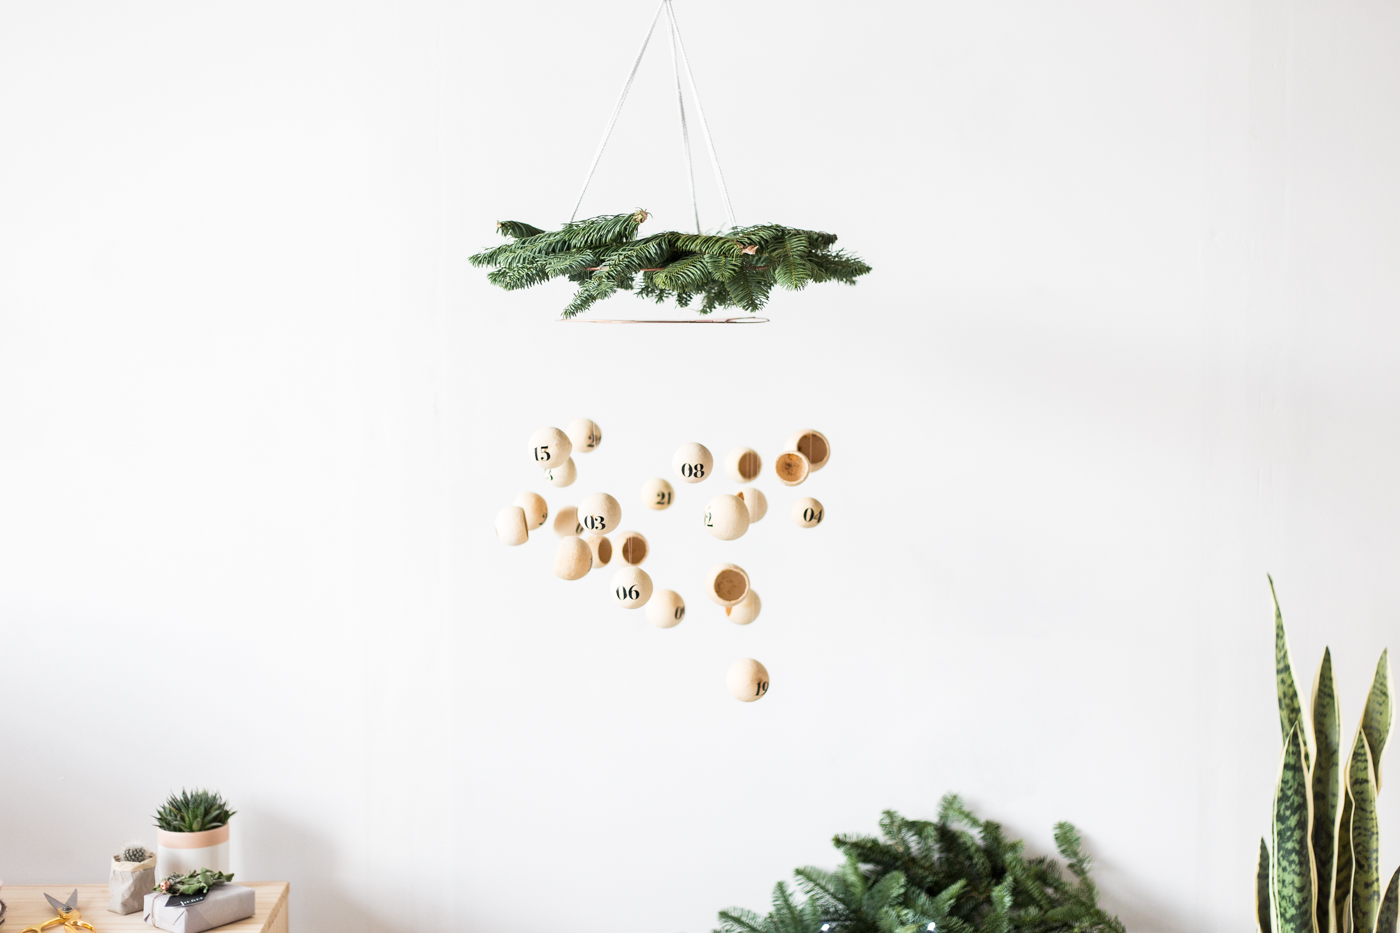
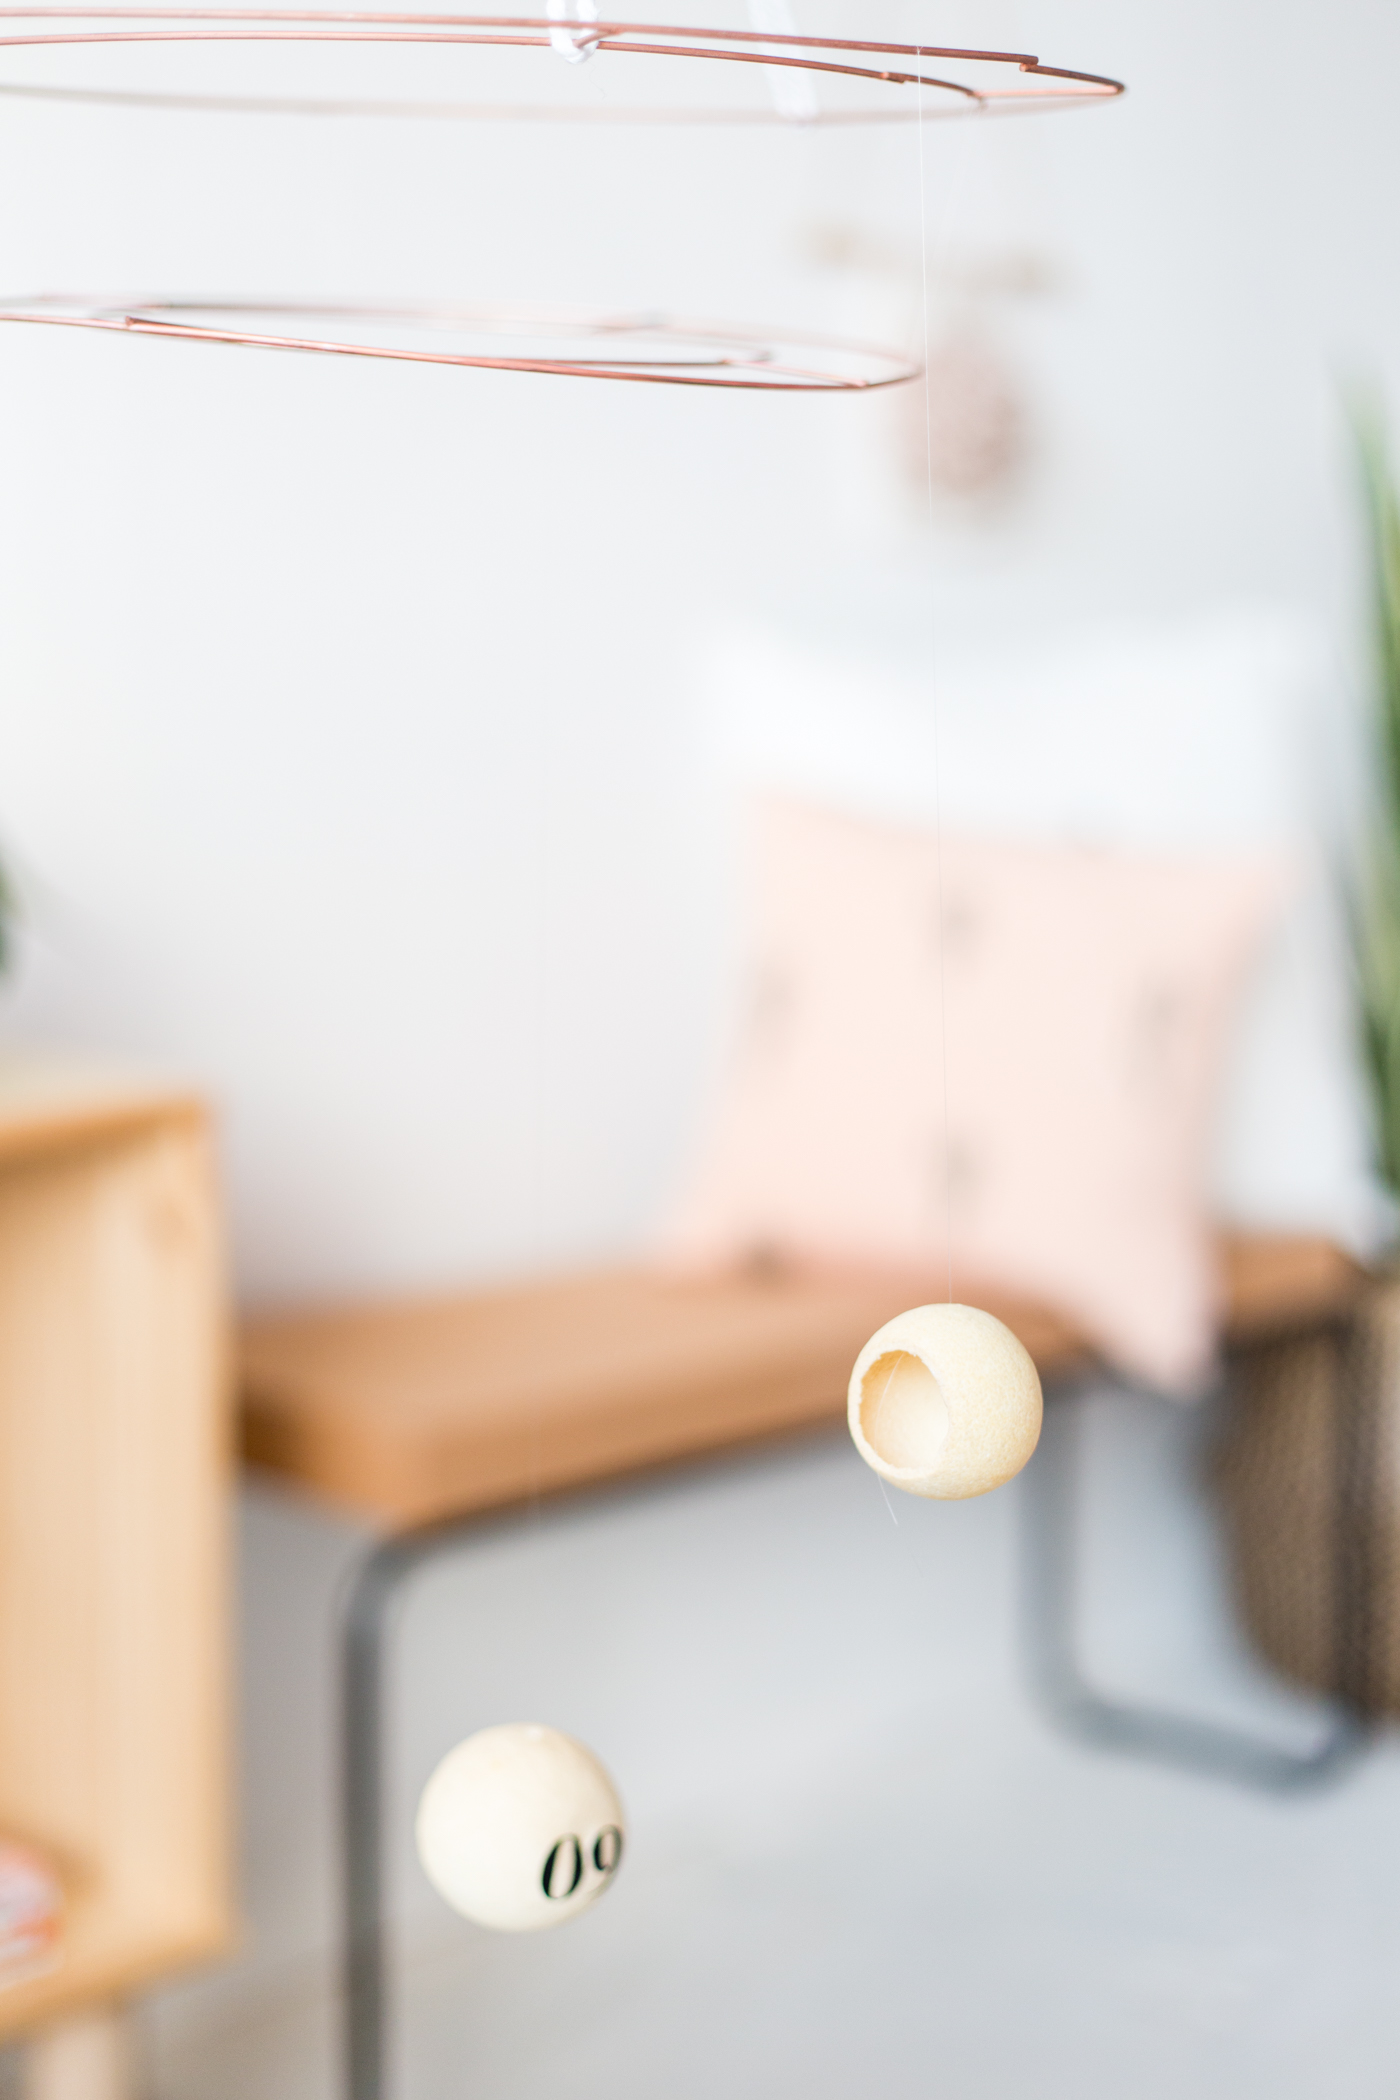
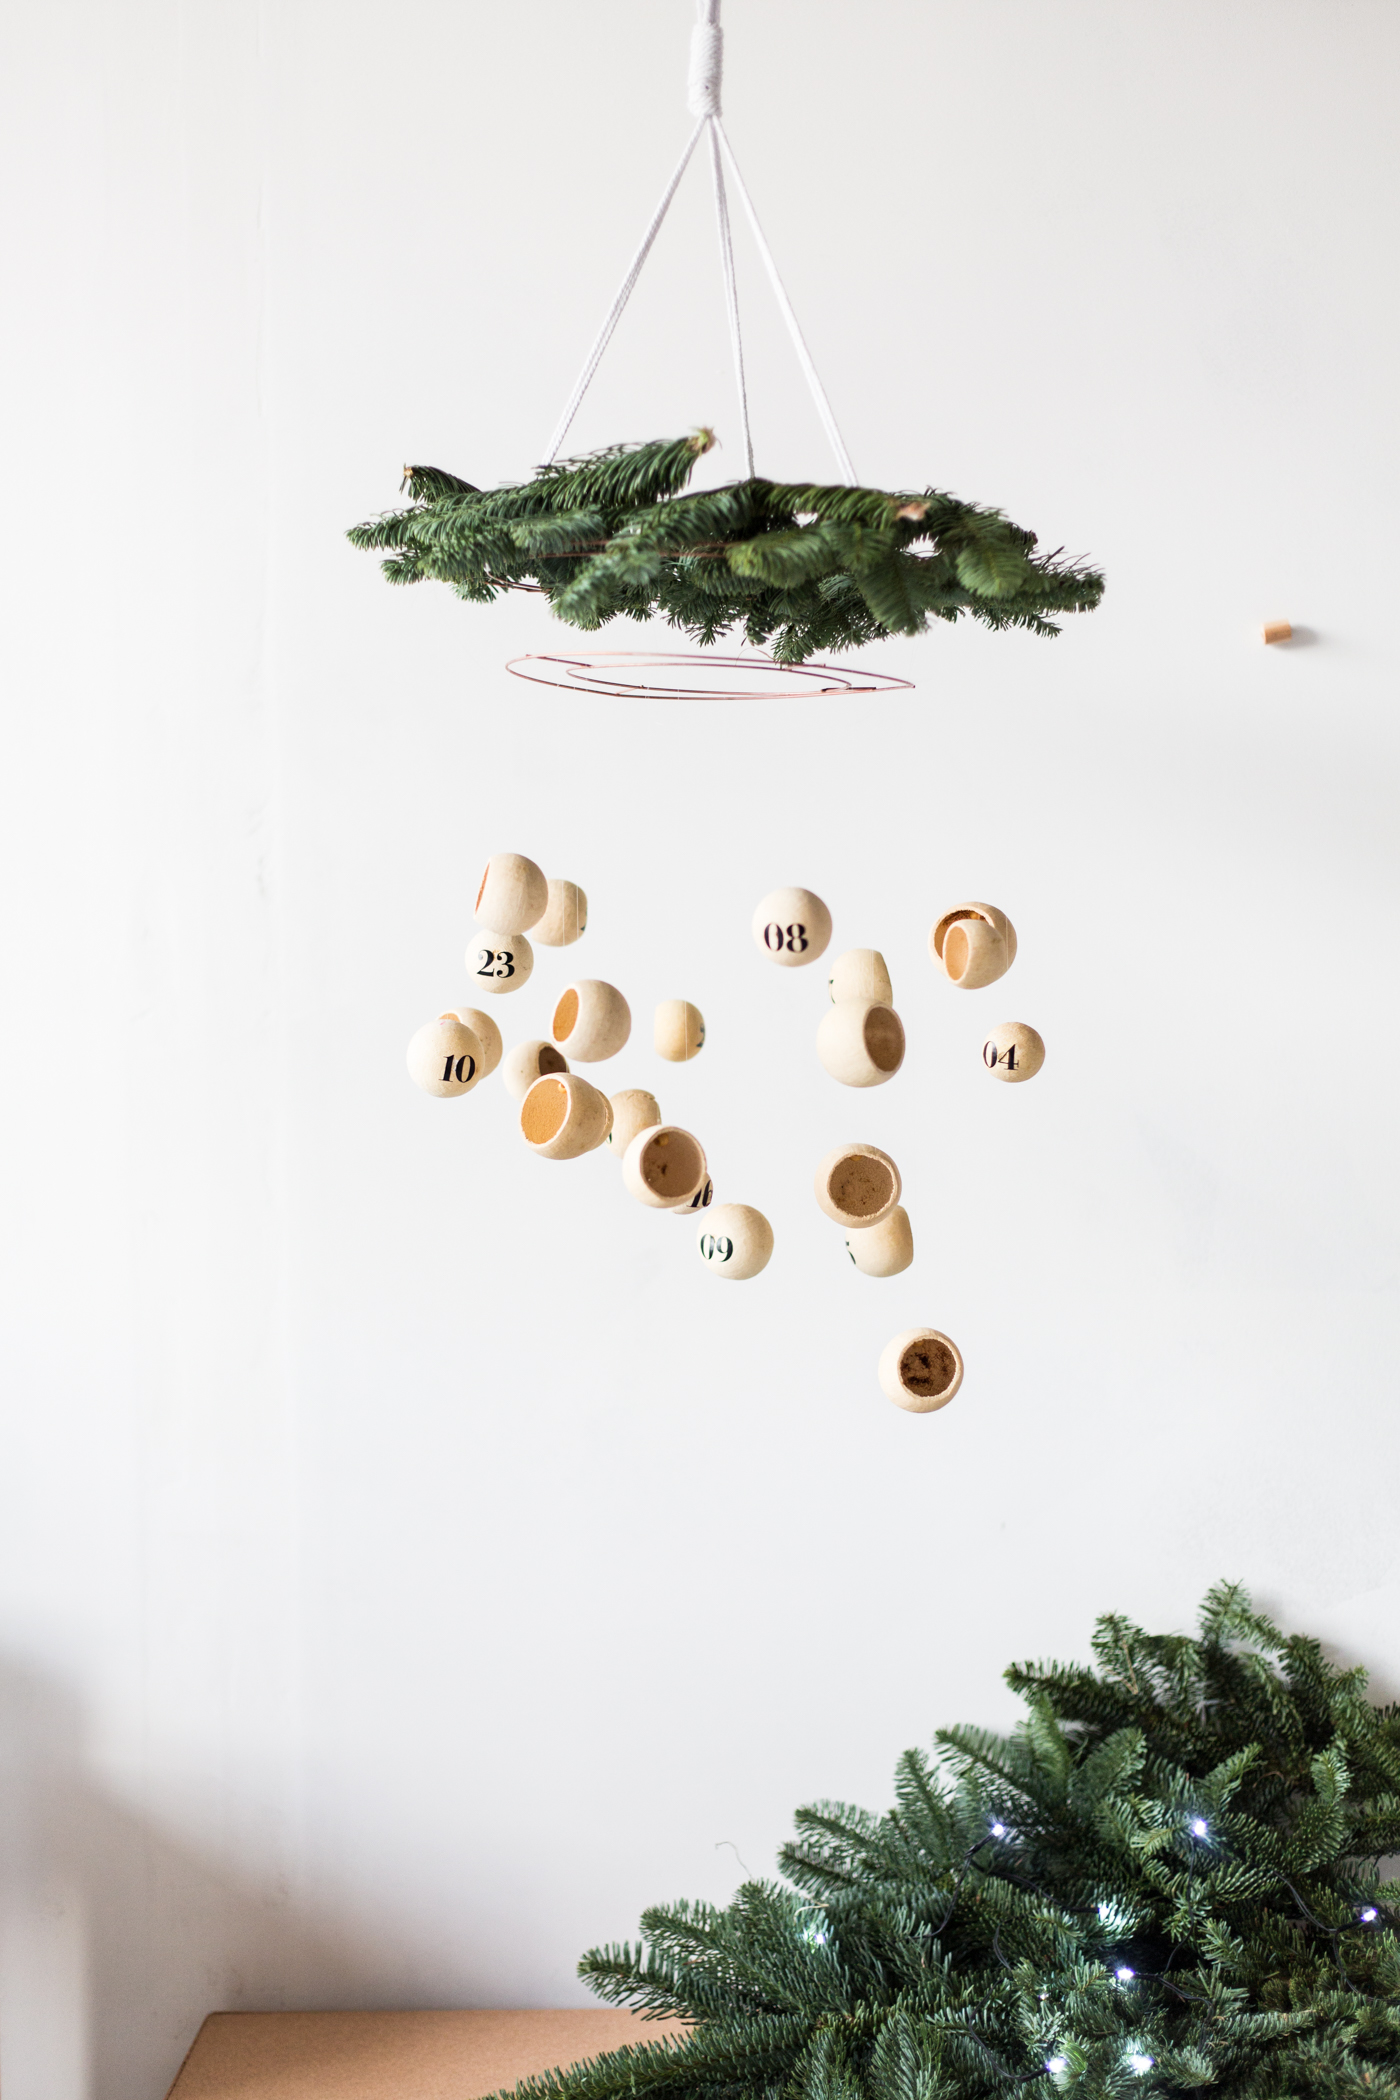
Last year I did this with a memory , but I missed having a little treat every day too! (I’m a sucker for a chocolate countdown.) So this year I’ve made this DIY floating pod advent calendar mobile with enough space in each pod to store a memory and a small gift – be it sweet and edible, a souvenir or a fun surprise for each new morning.
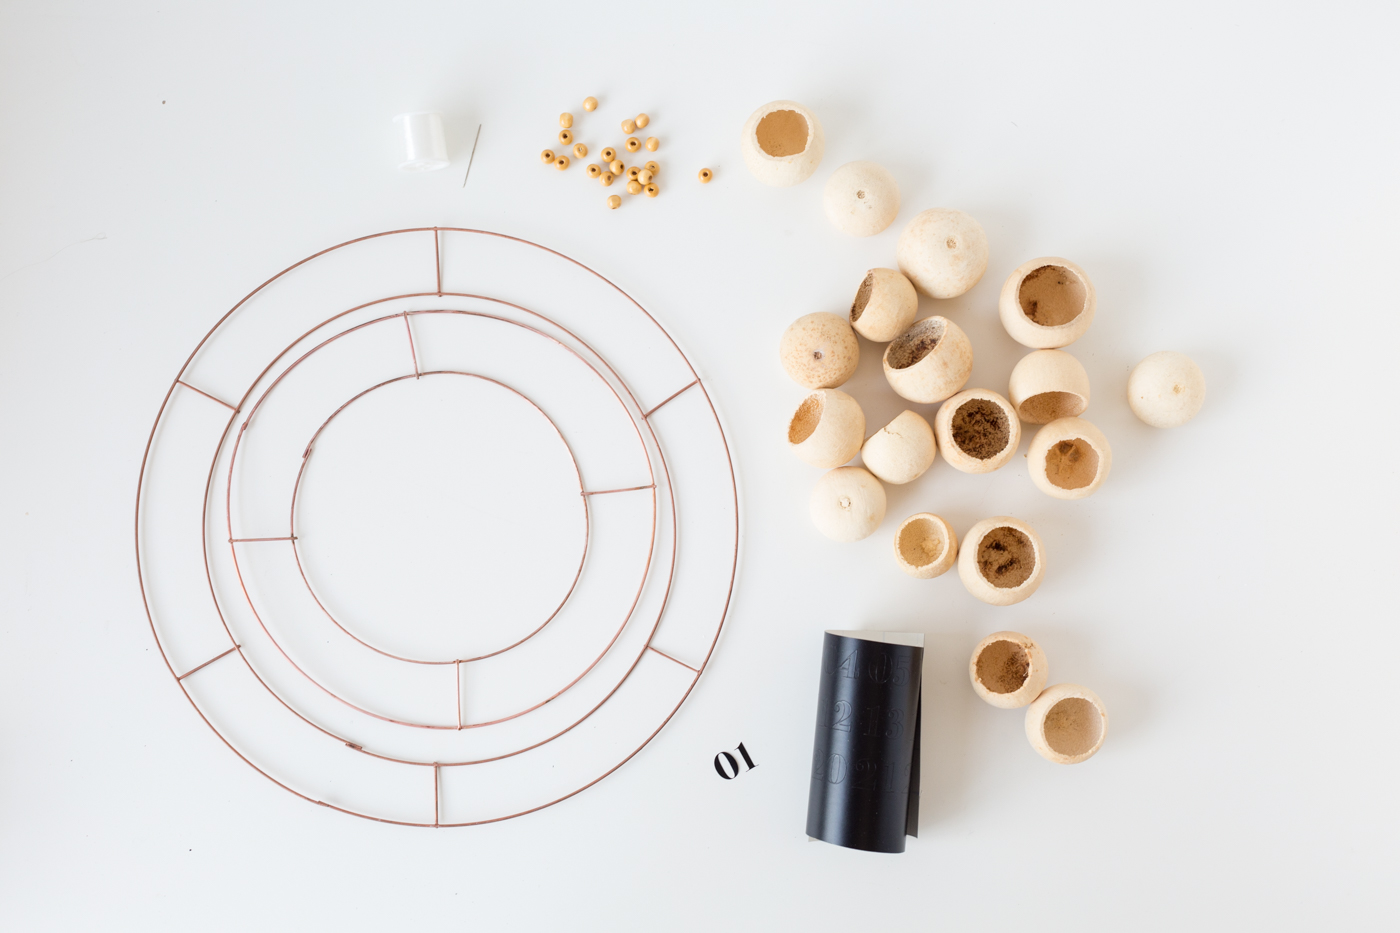
Materials
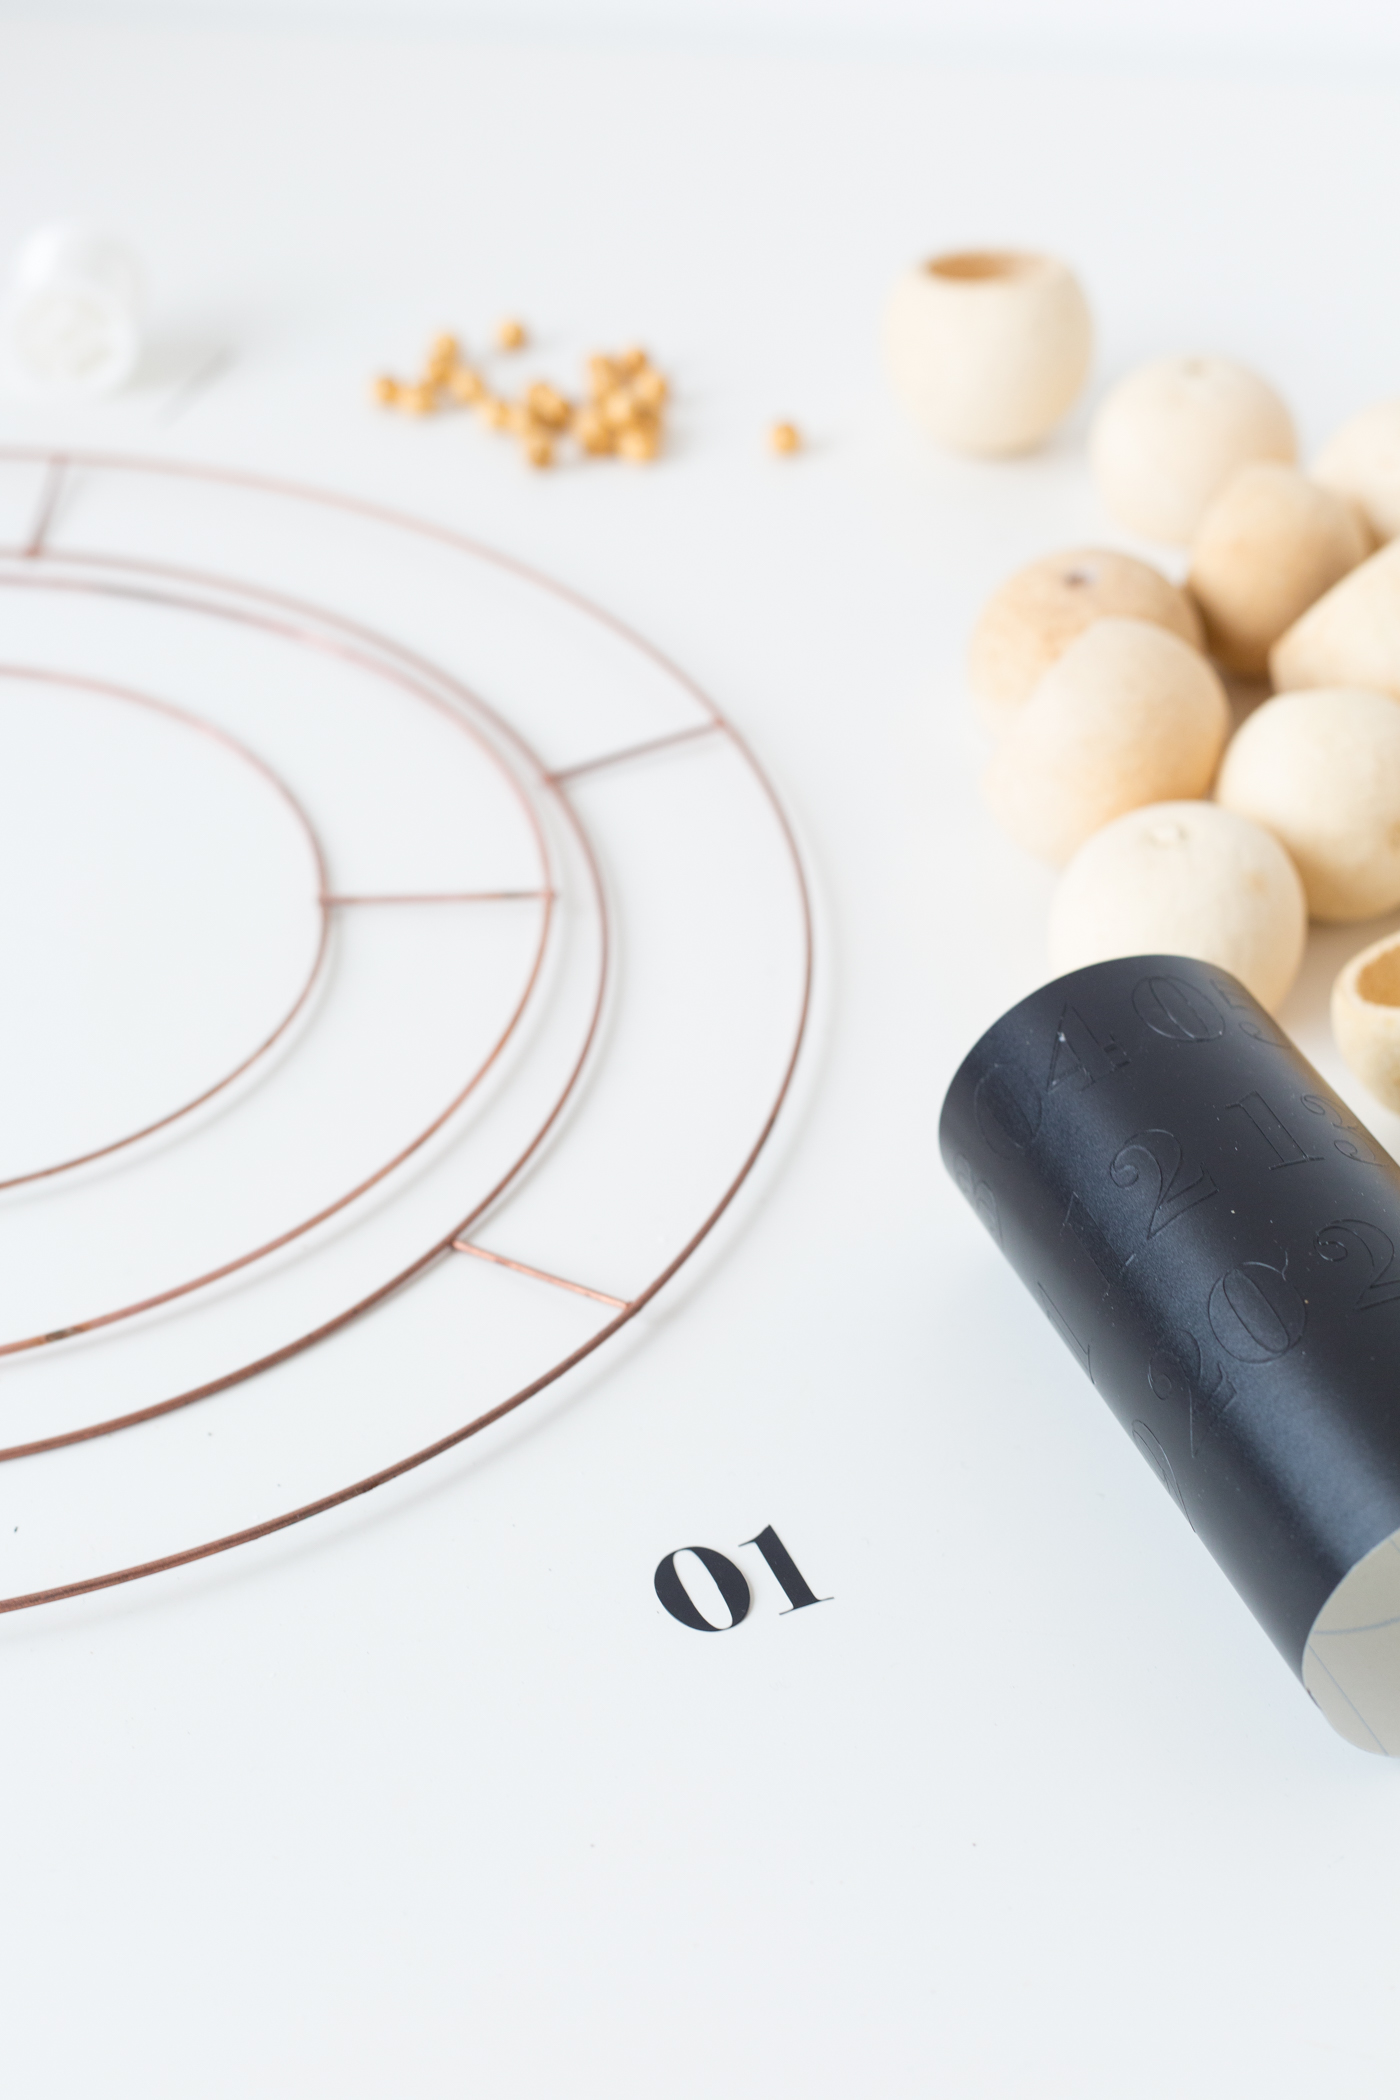
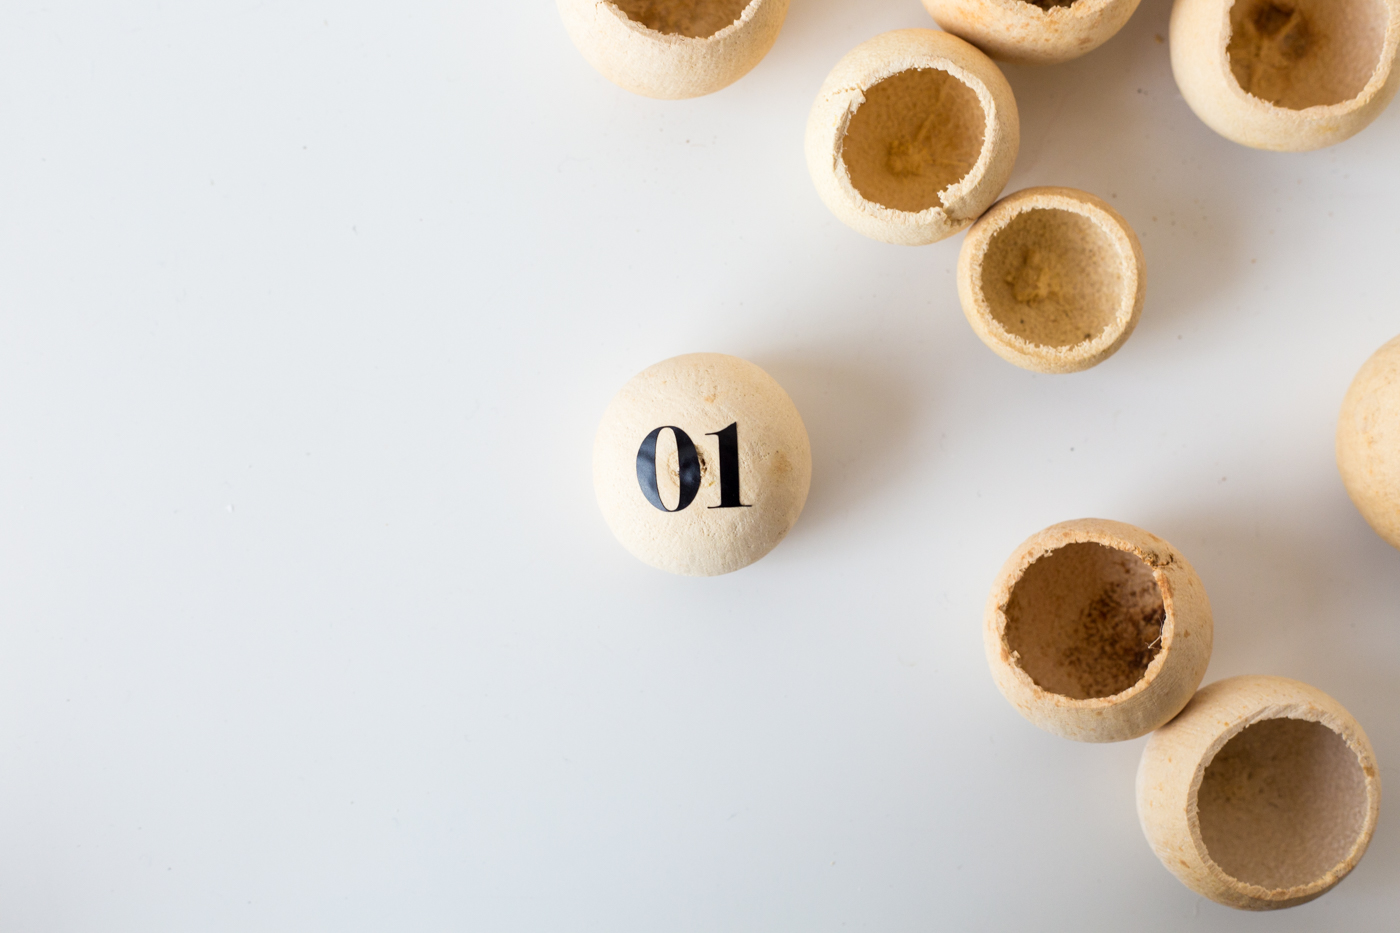
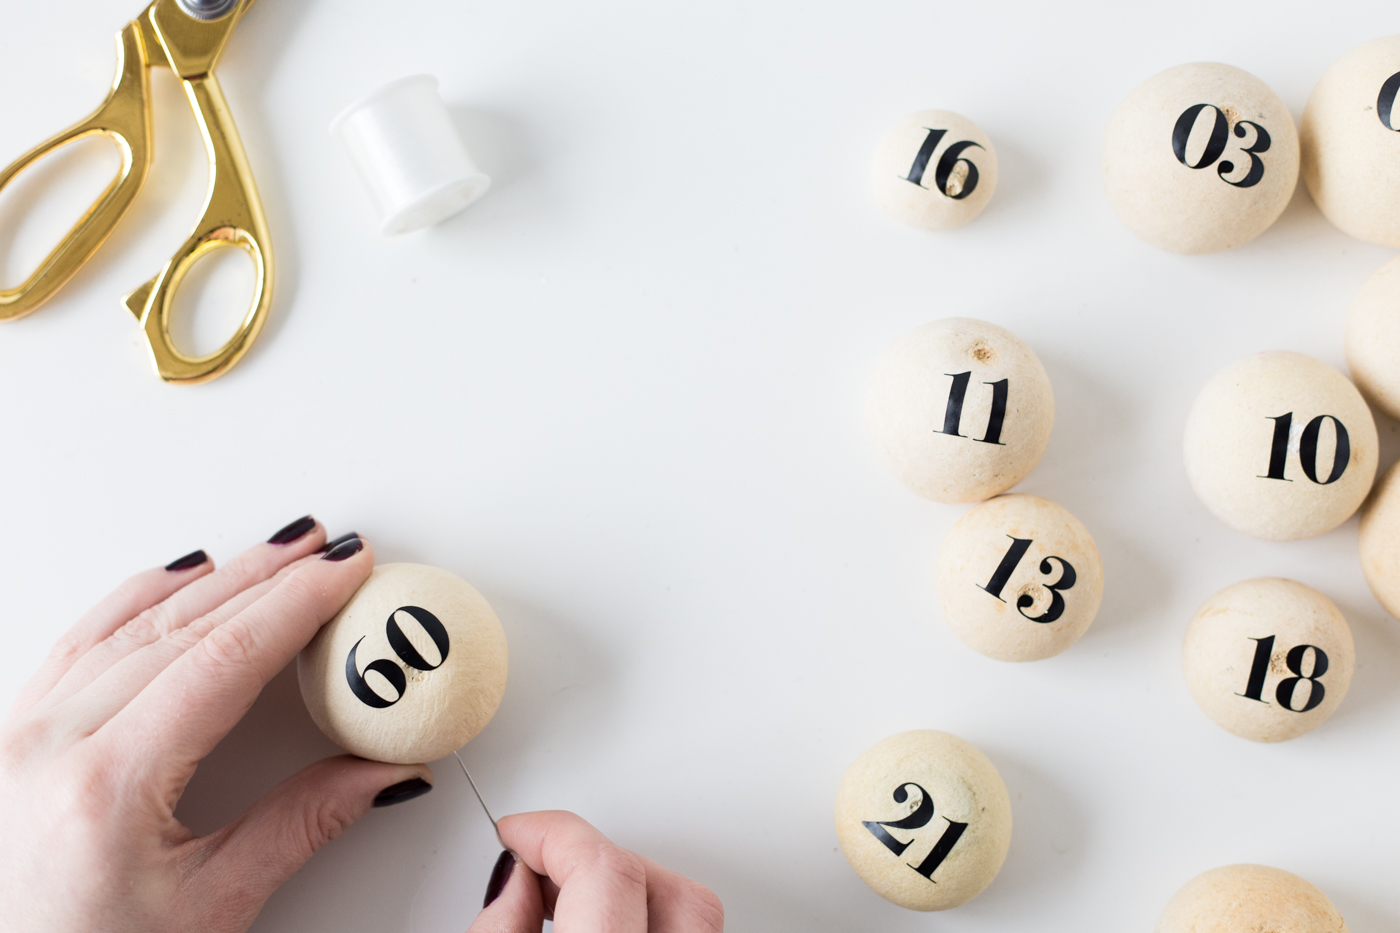
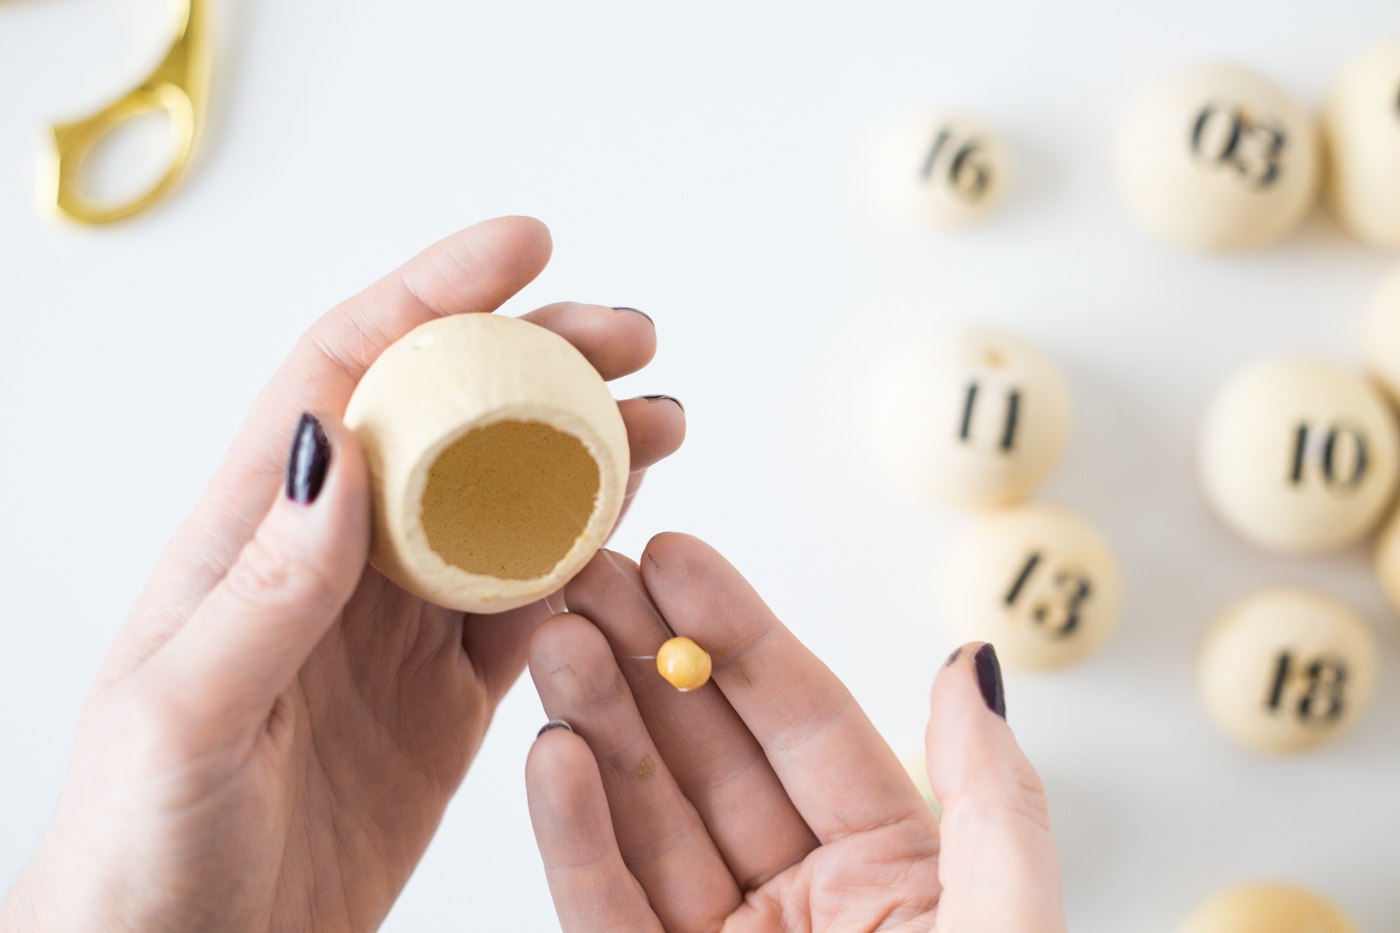
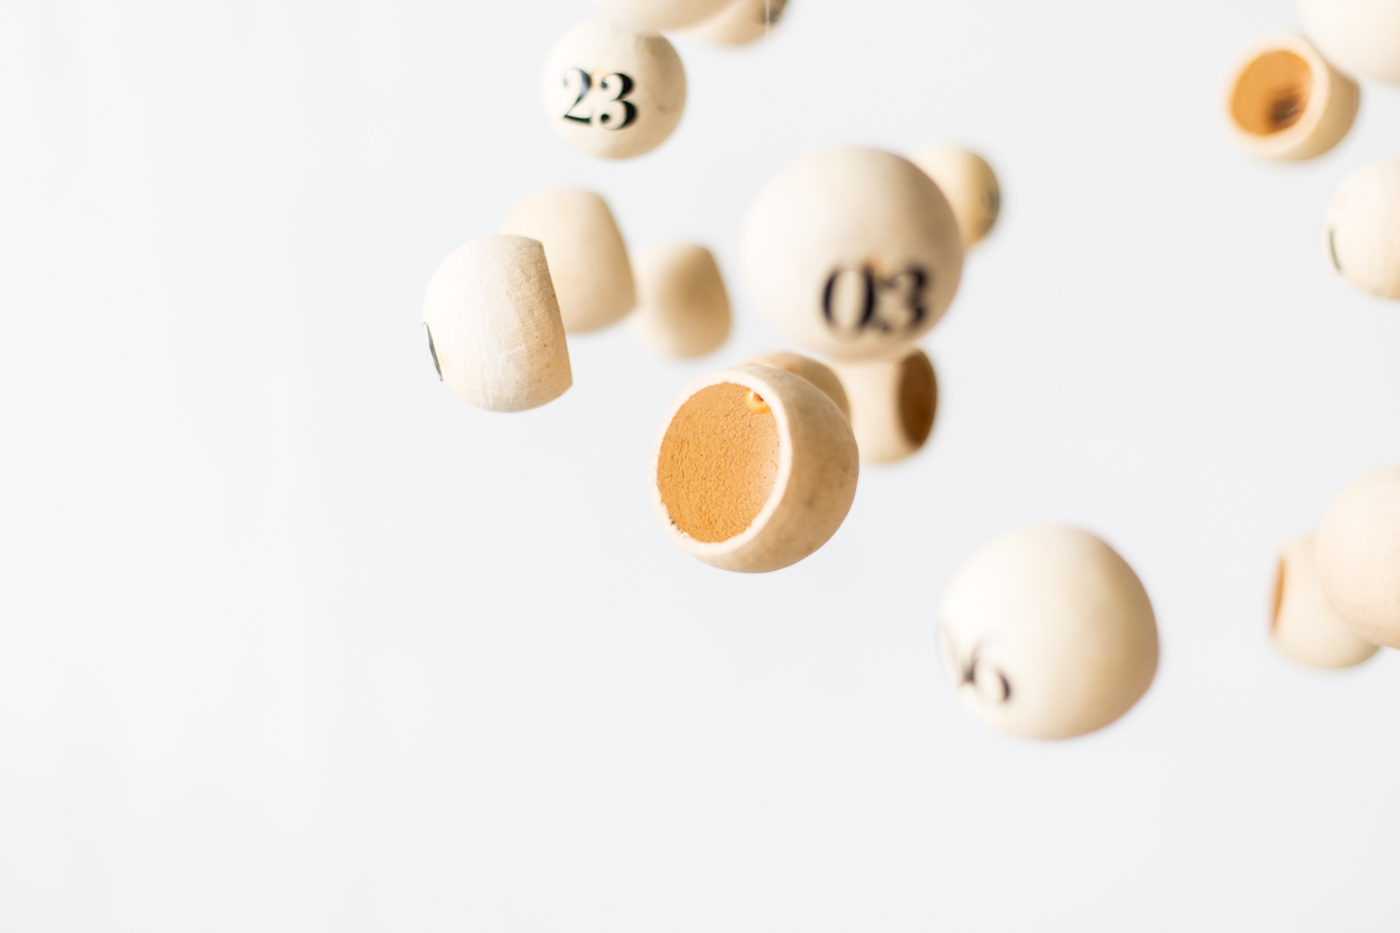
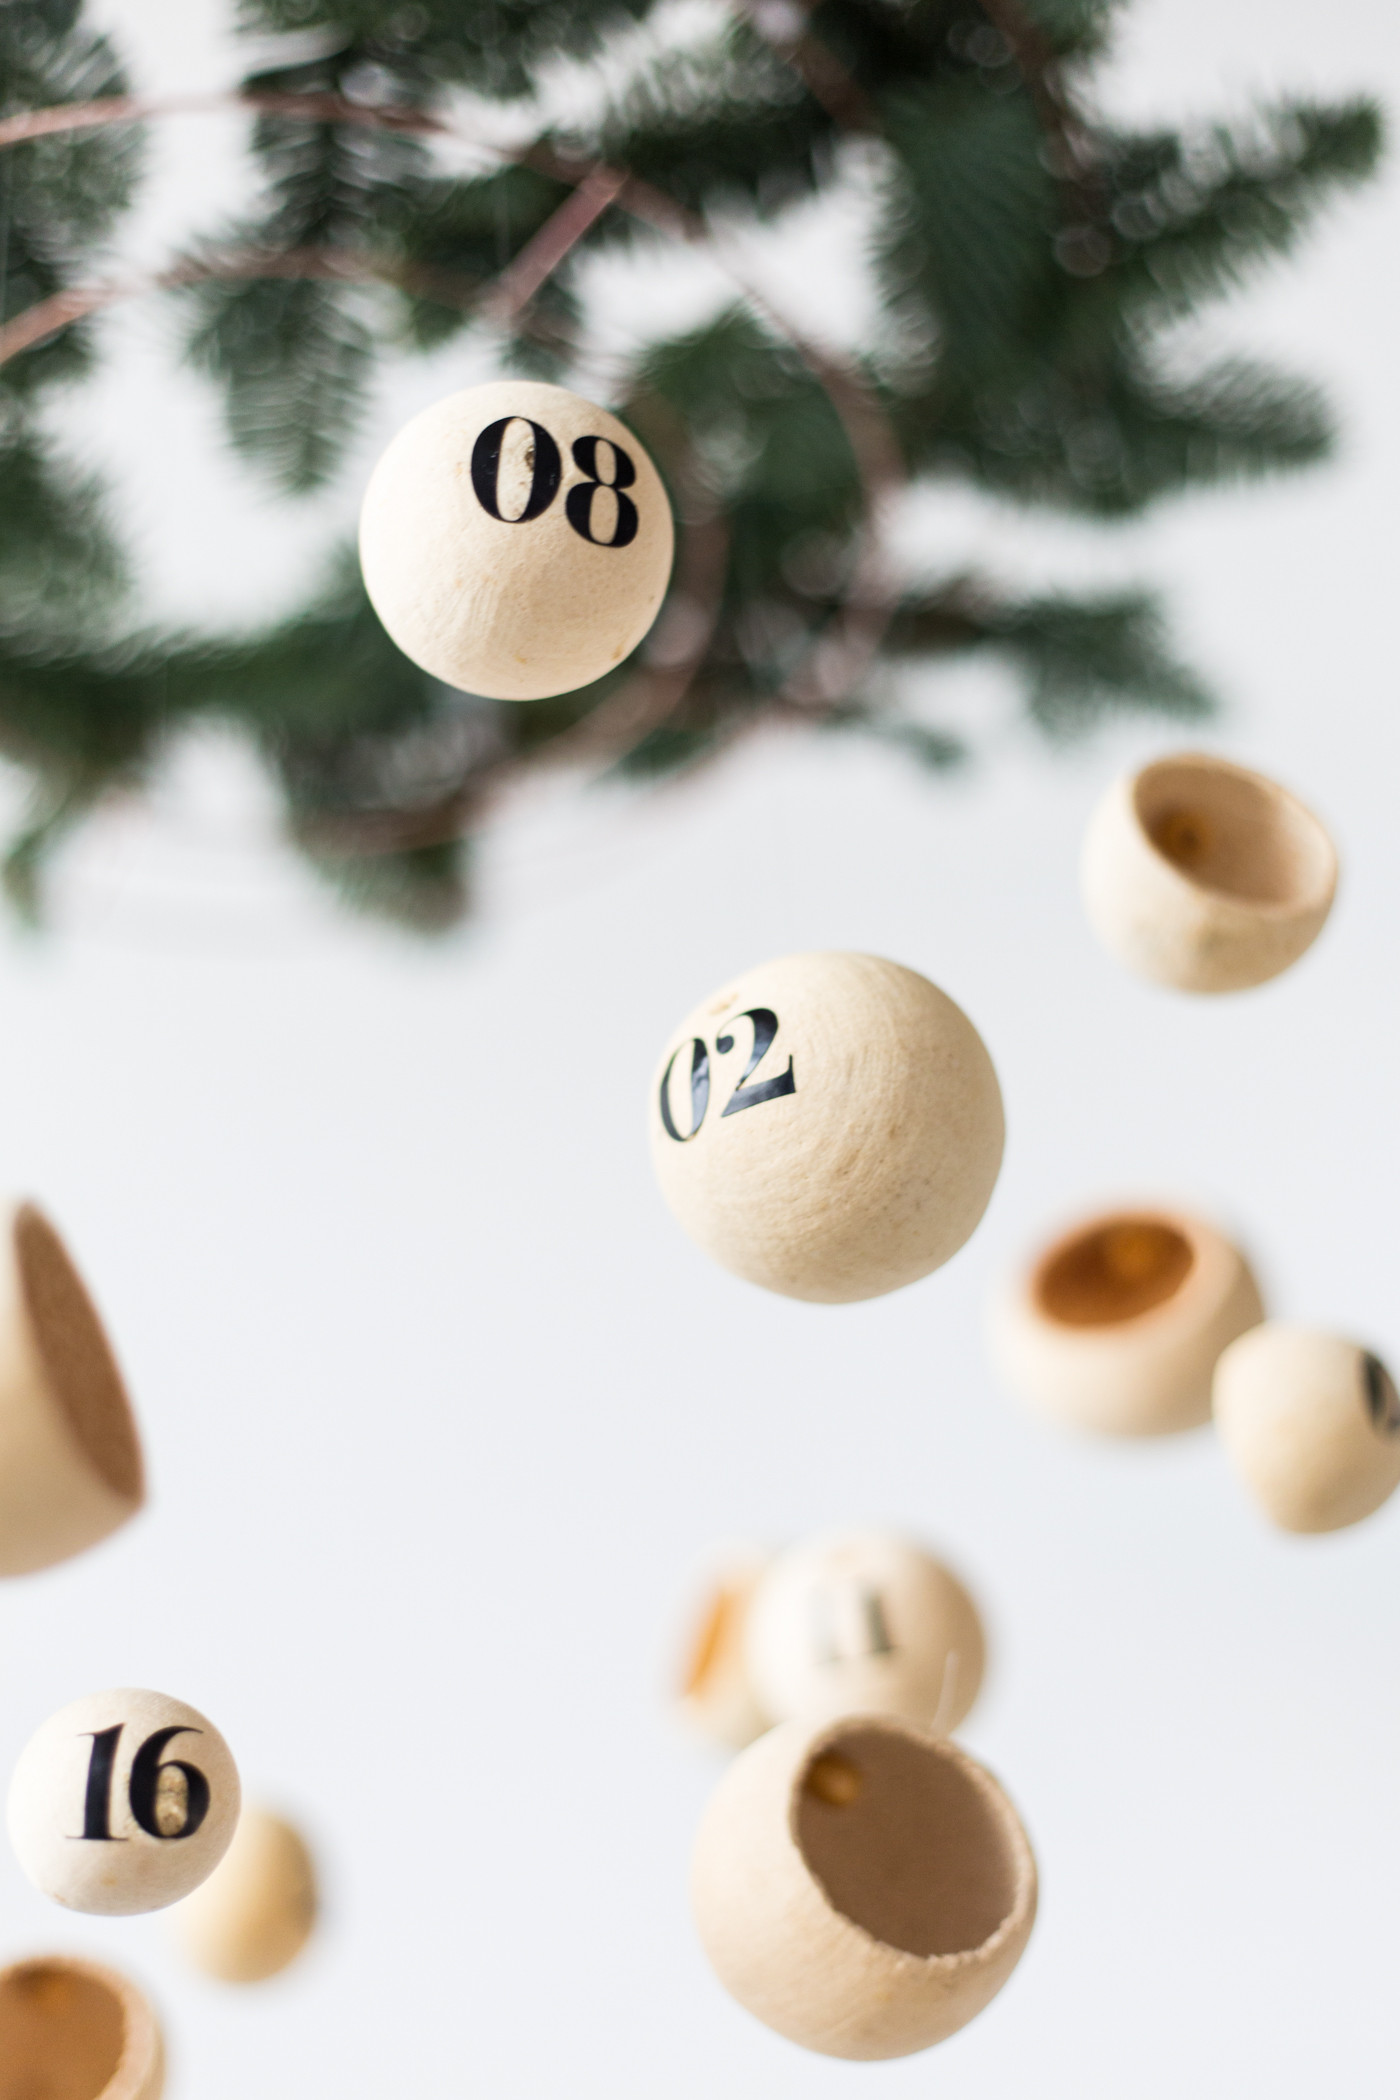
Bell Cups (from the florist) | | | Small Beads | Needle and Thread | Craft Drill or Awl
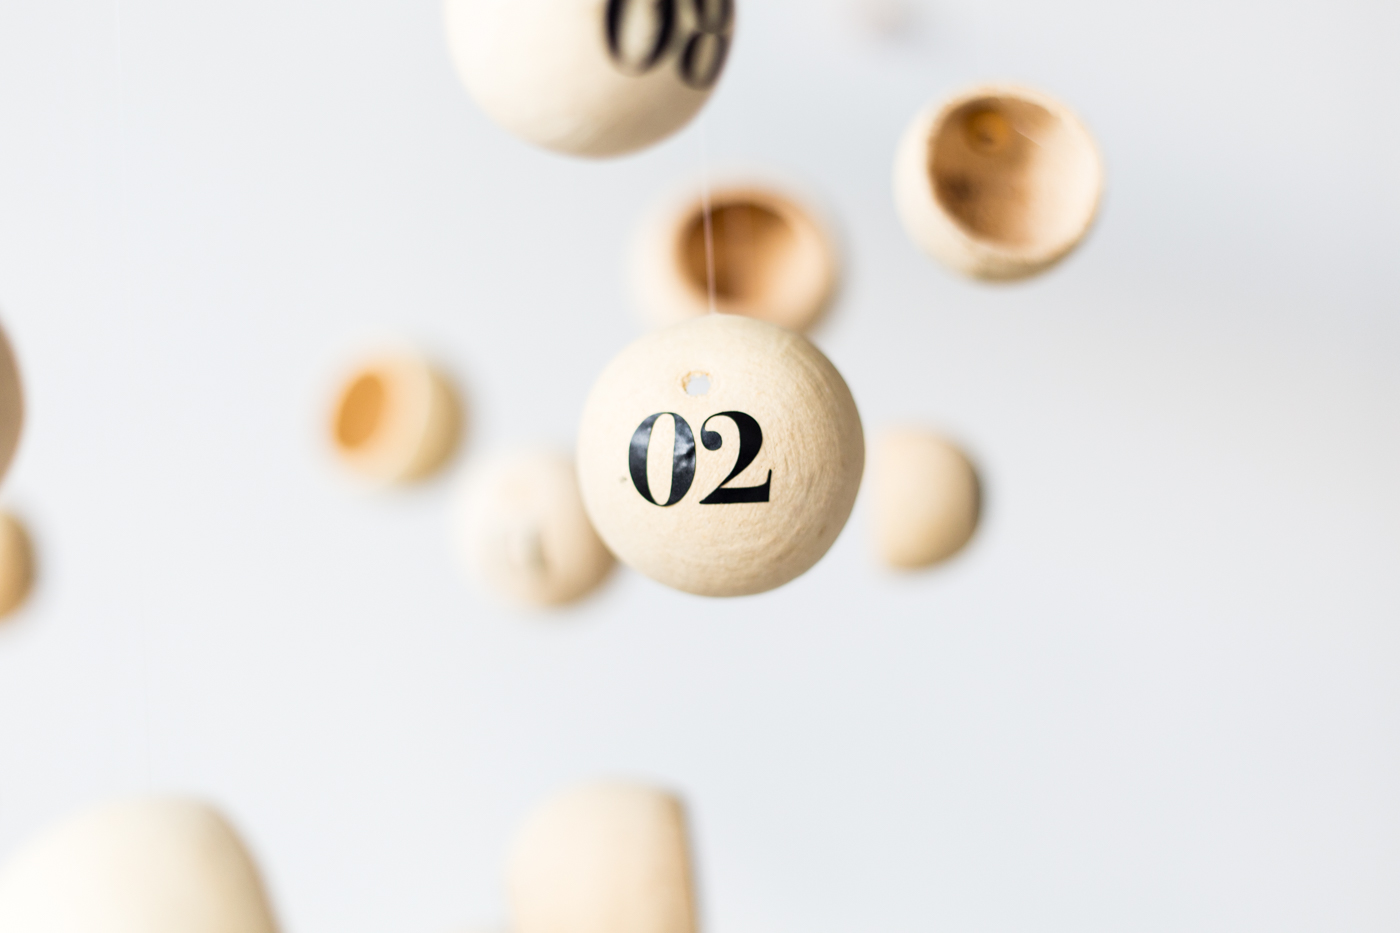
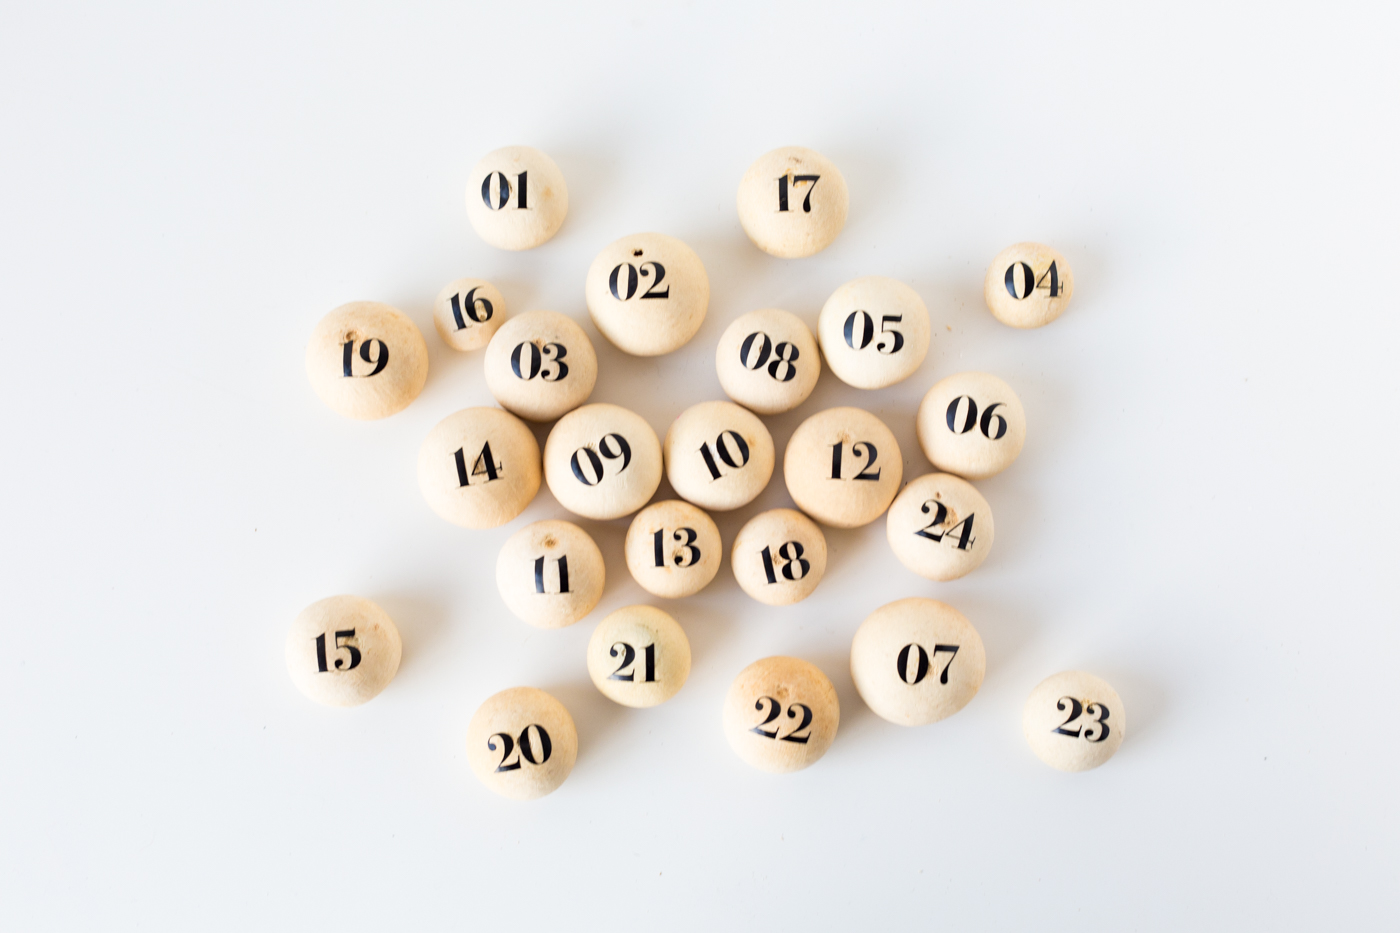
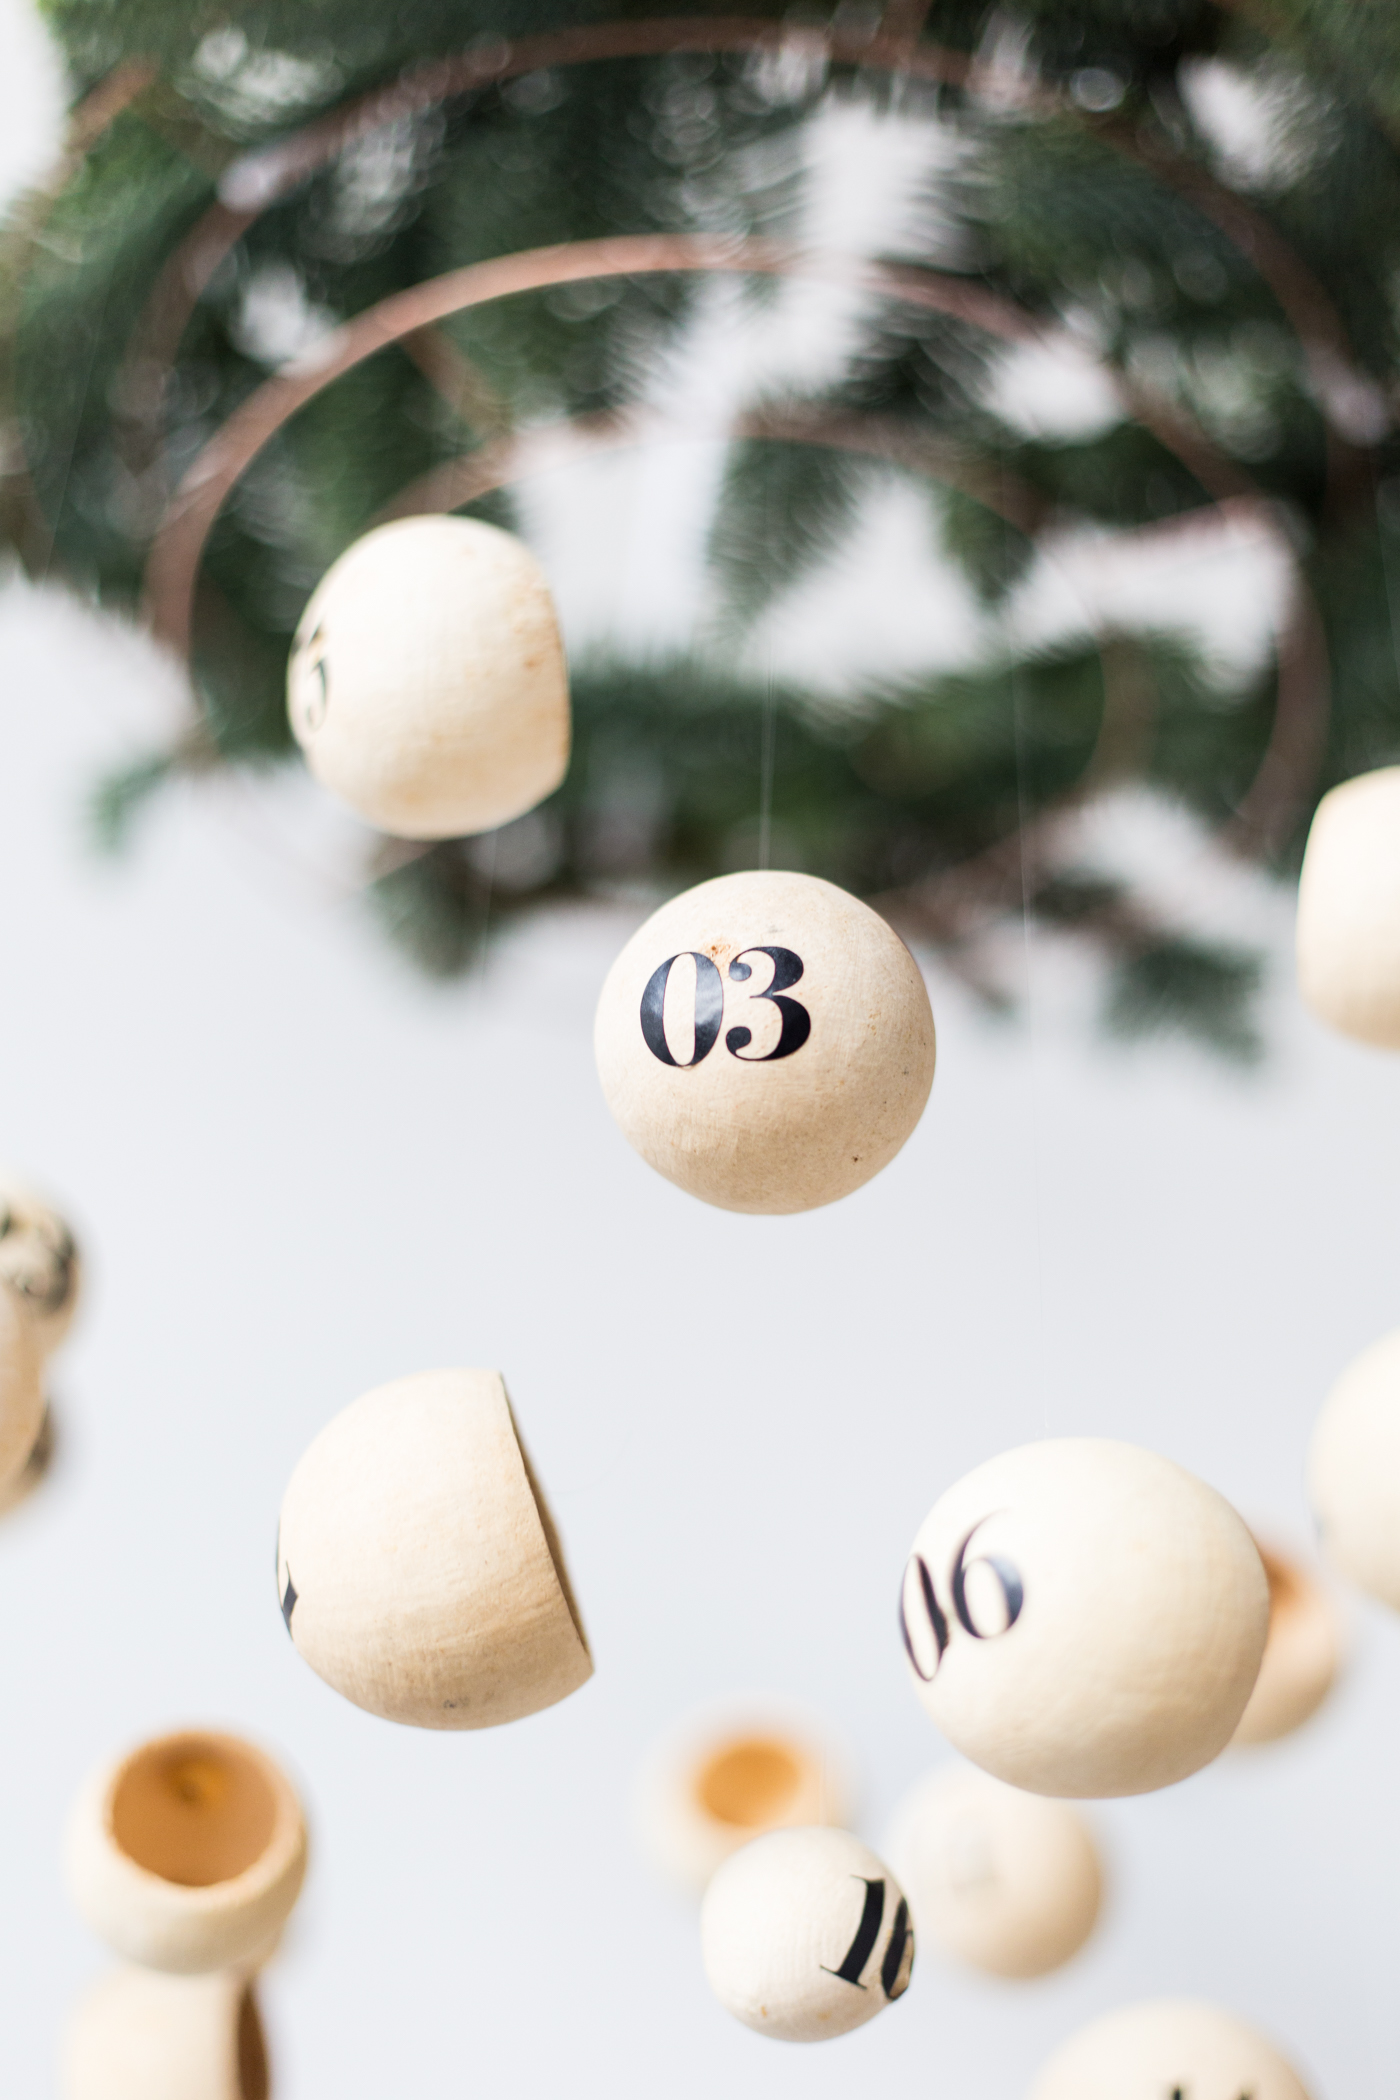
I made my numbers using my () and black vinyl which means I can get the exact size and style I wanted for this project. Very handy!
Instructions
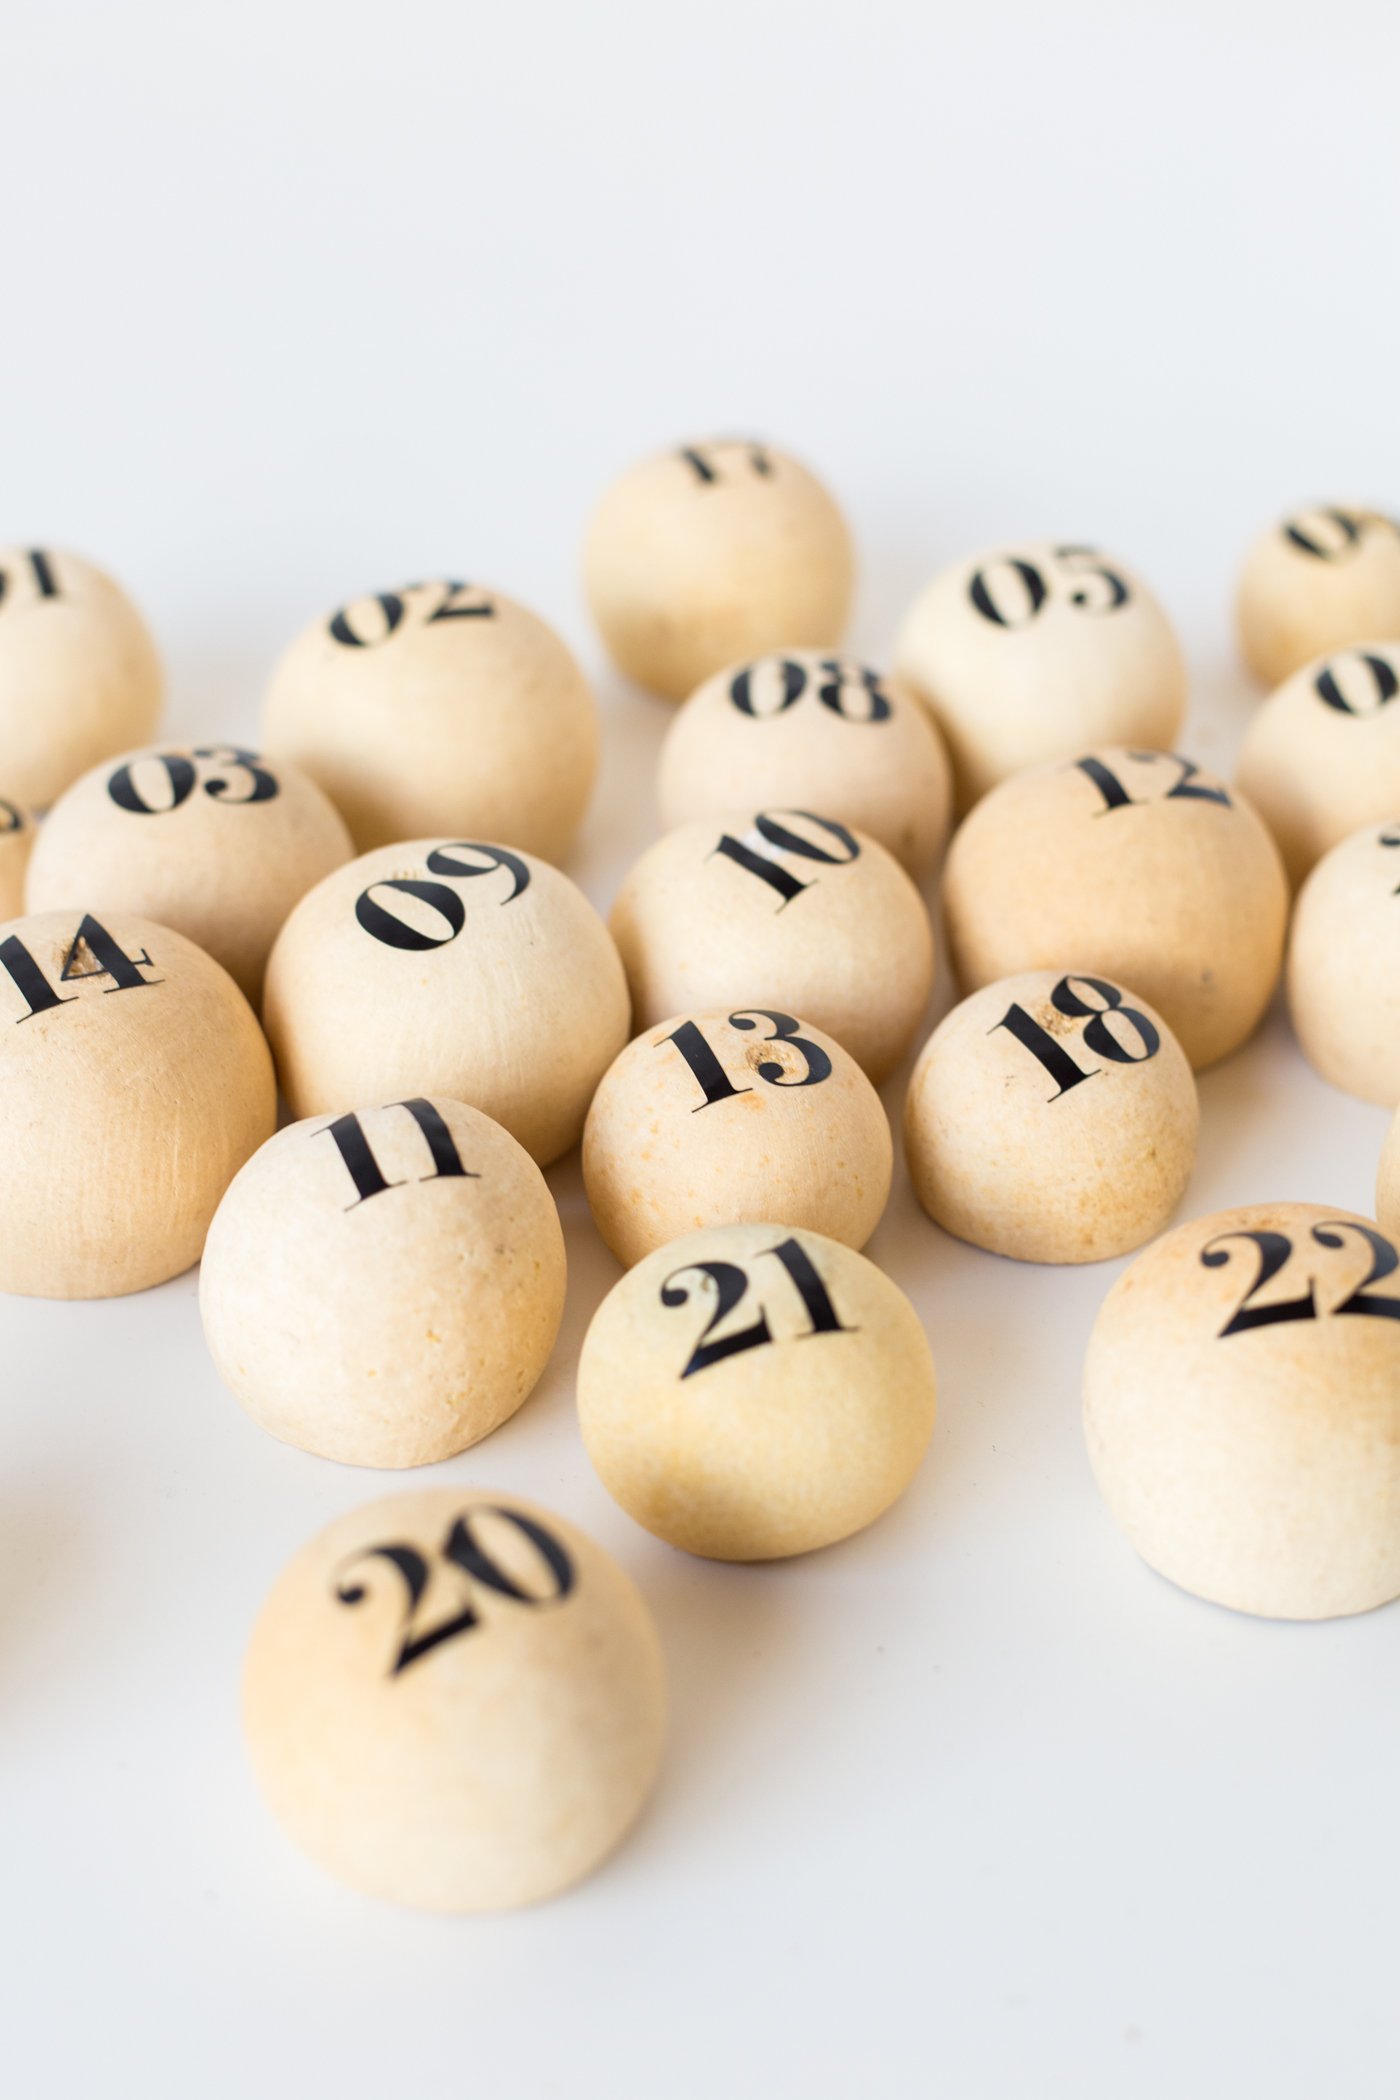
1. Peel off the stickers and lay them carefully onto the cups, directly opposite the holes.
2. Using a small drill bit or jewellery awl poke a hole into the top of the cup. This just needs to be thick enough for the thread to go through.
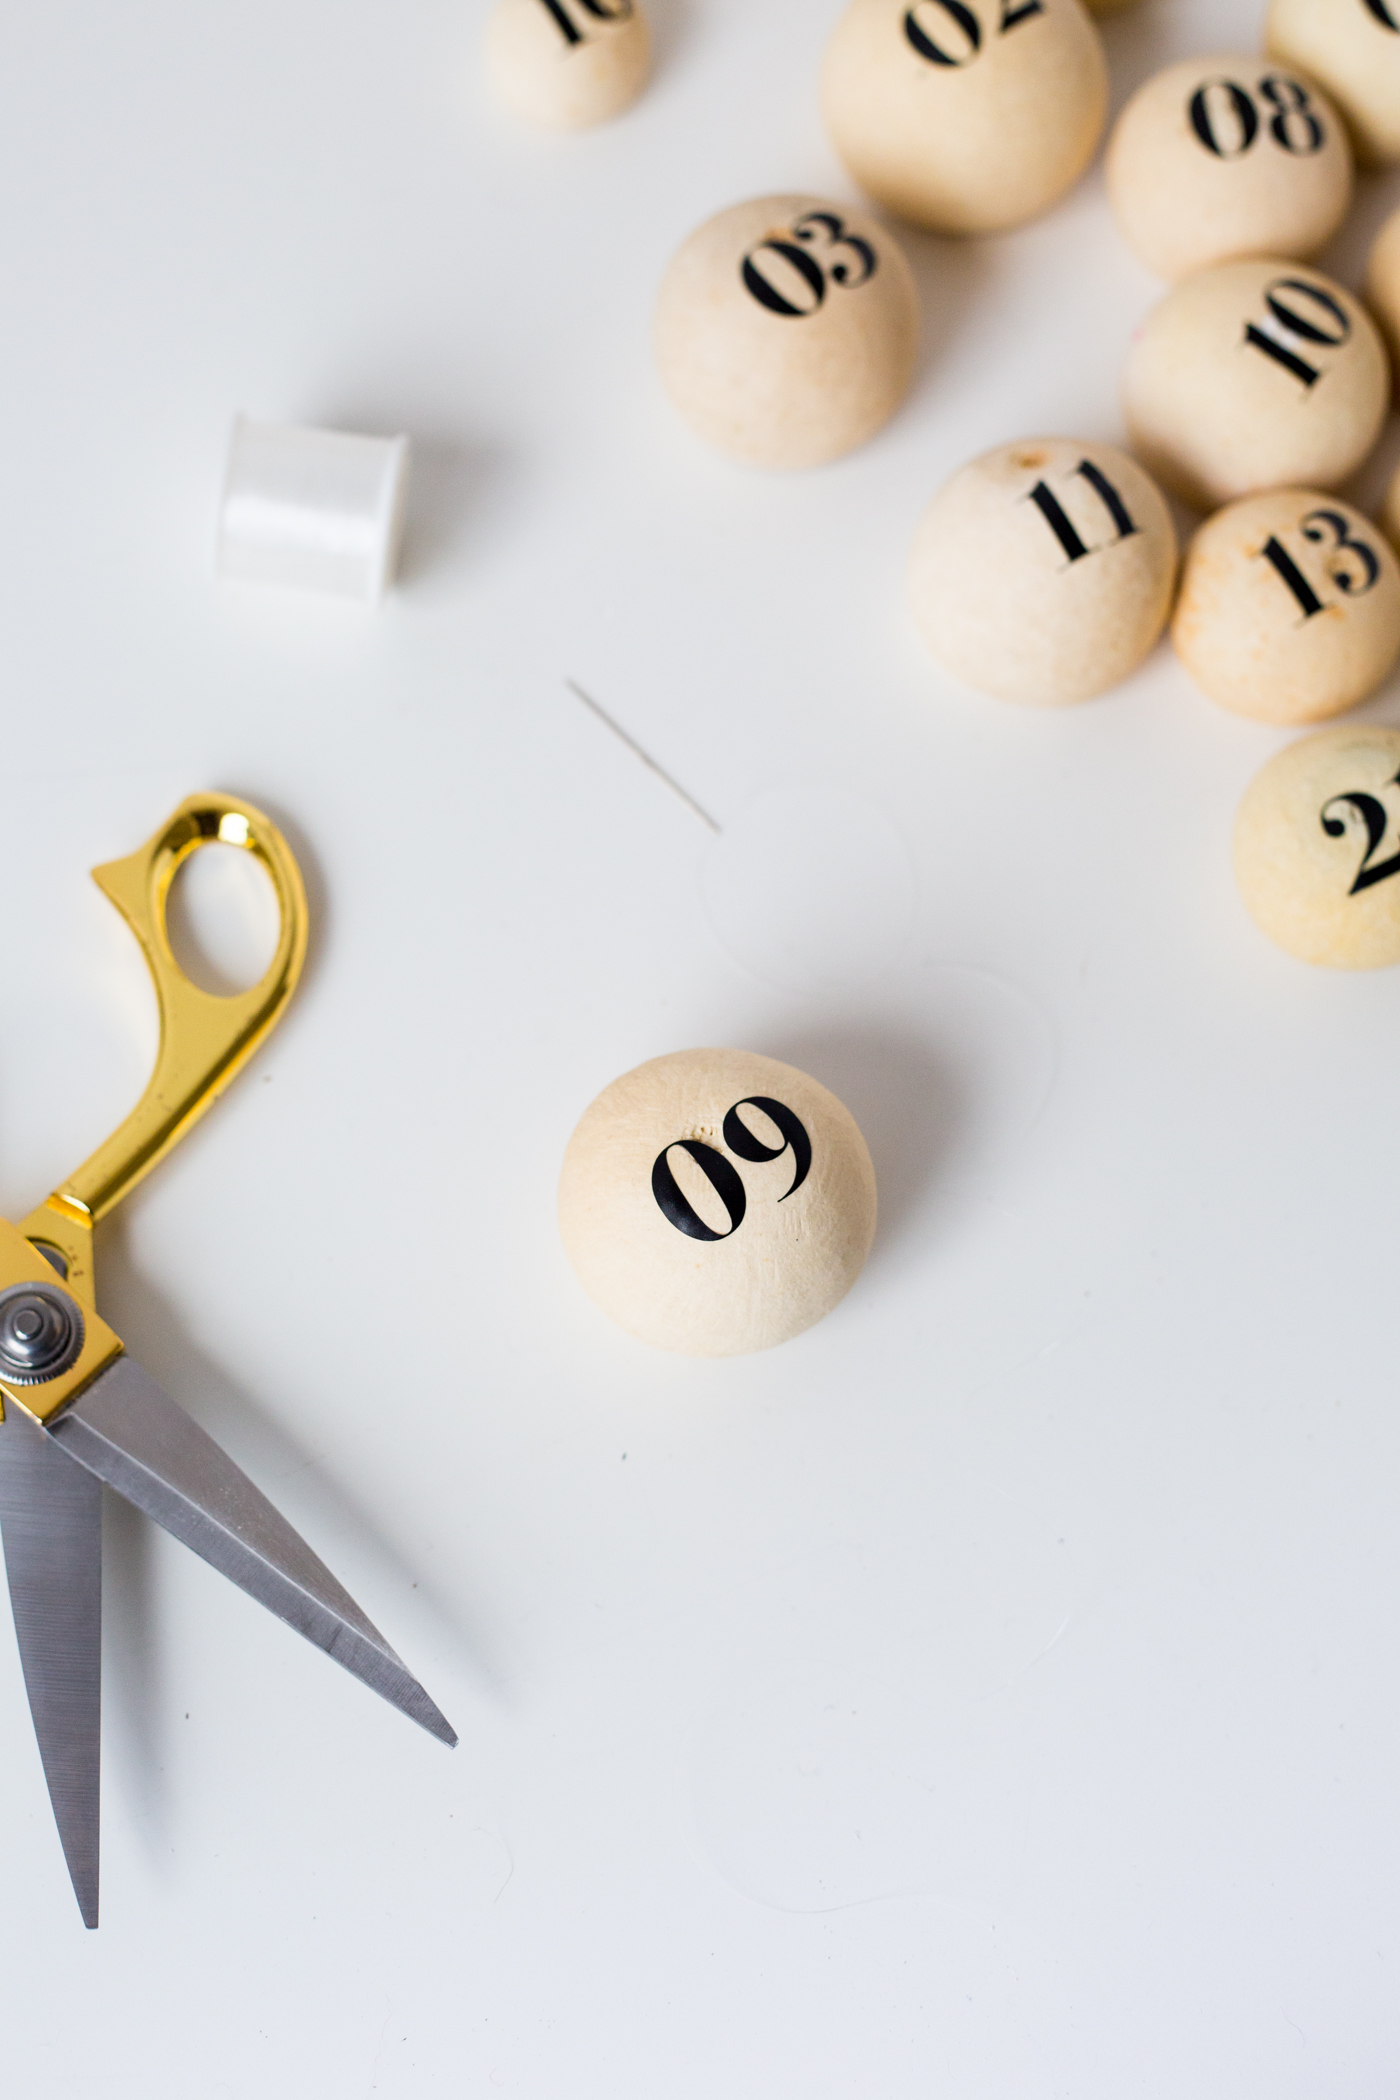
3. Cut off a piece of thread. I’m using invisible thread but you could use white cotton also. Thread it through the hole and in the cup and through a small bead. Tie the end over the bead to secure in place. Pull the other end of the cord so that the bead is pulled back into the cup. This should hold in place so you can hang the cup from the thread. Do this for each cup.
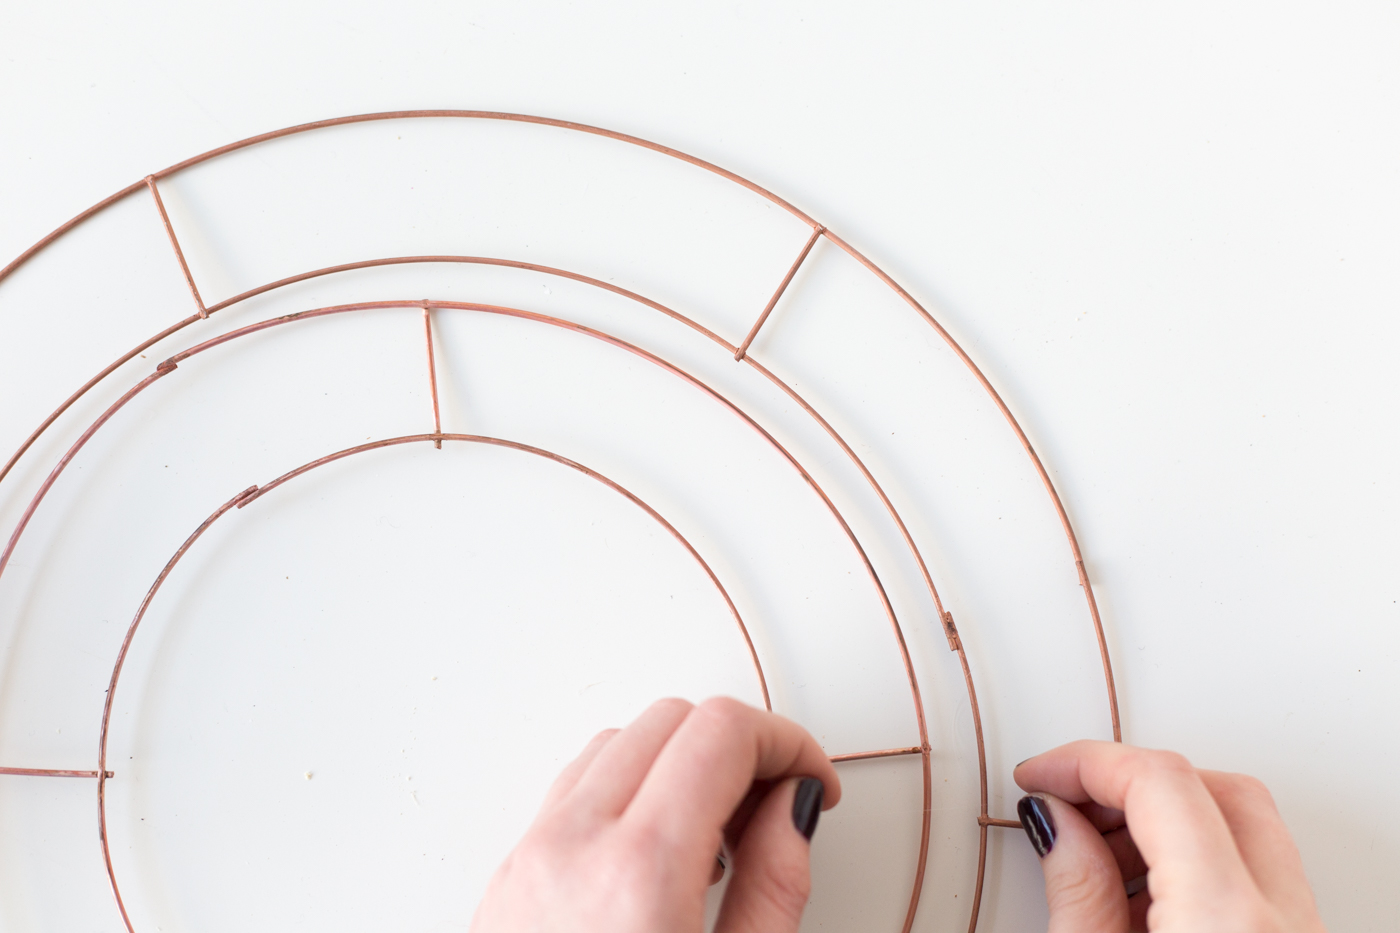
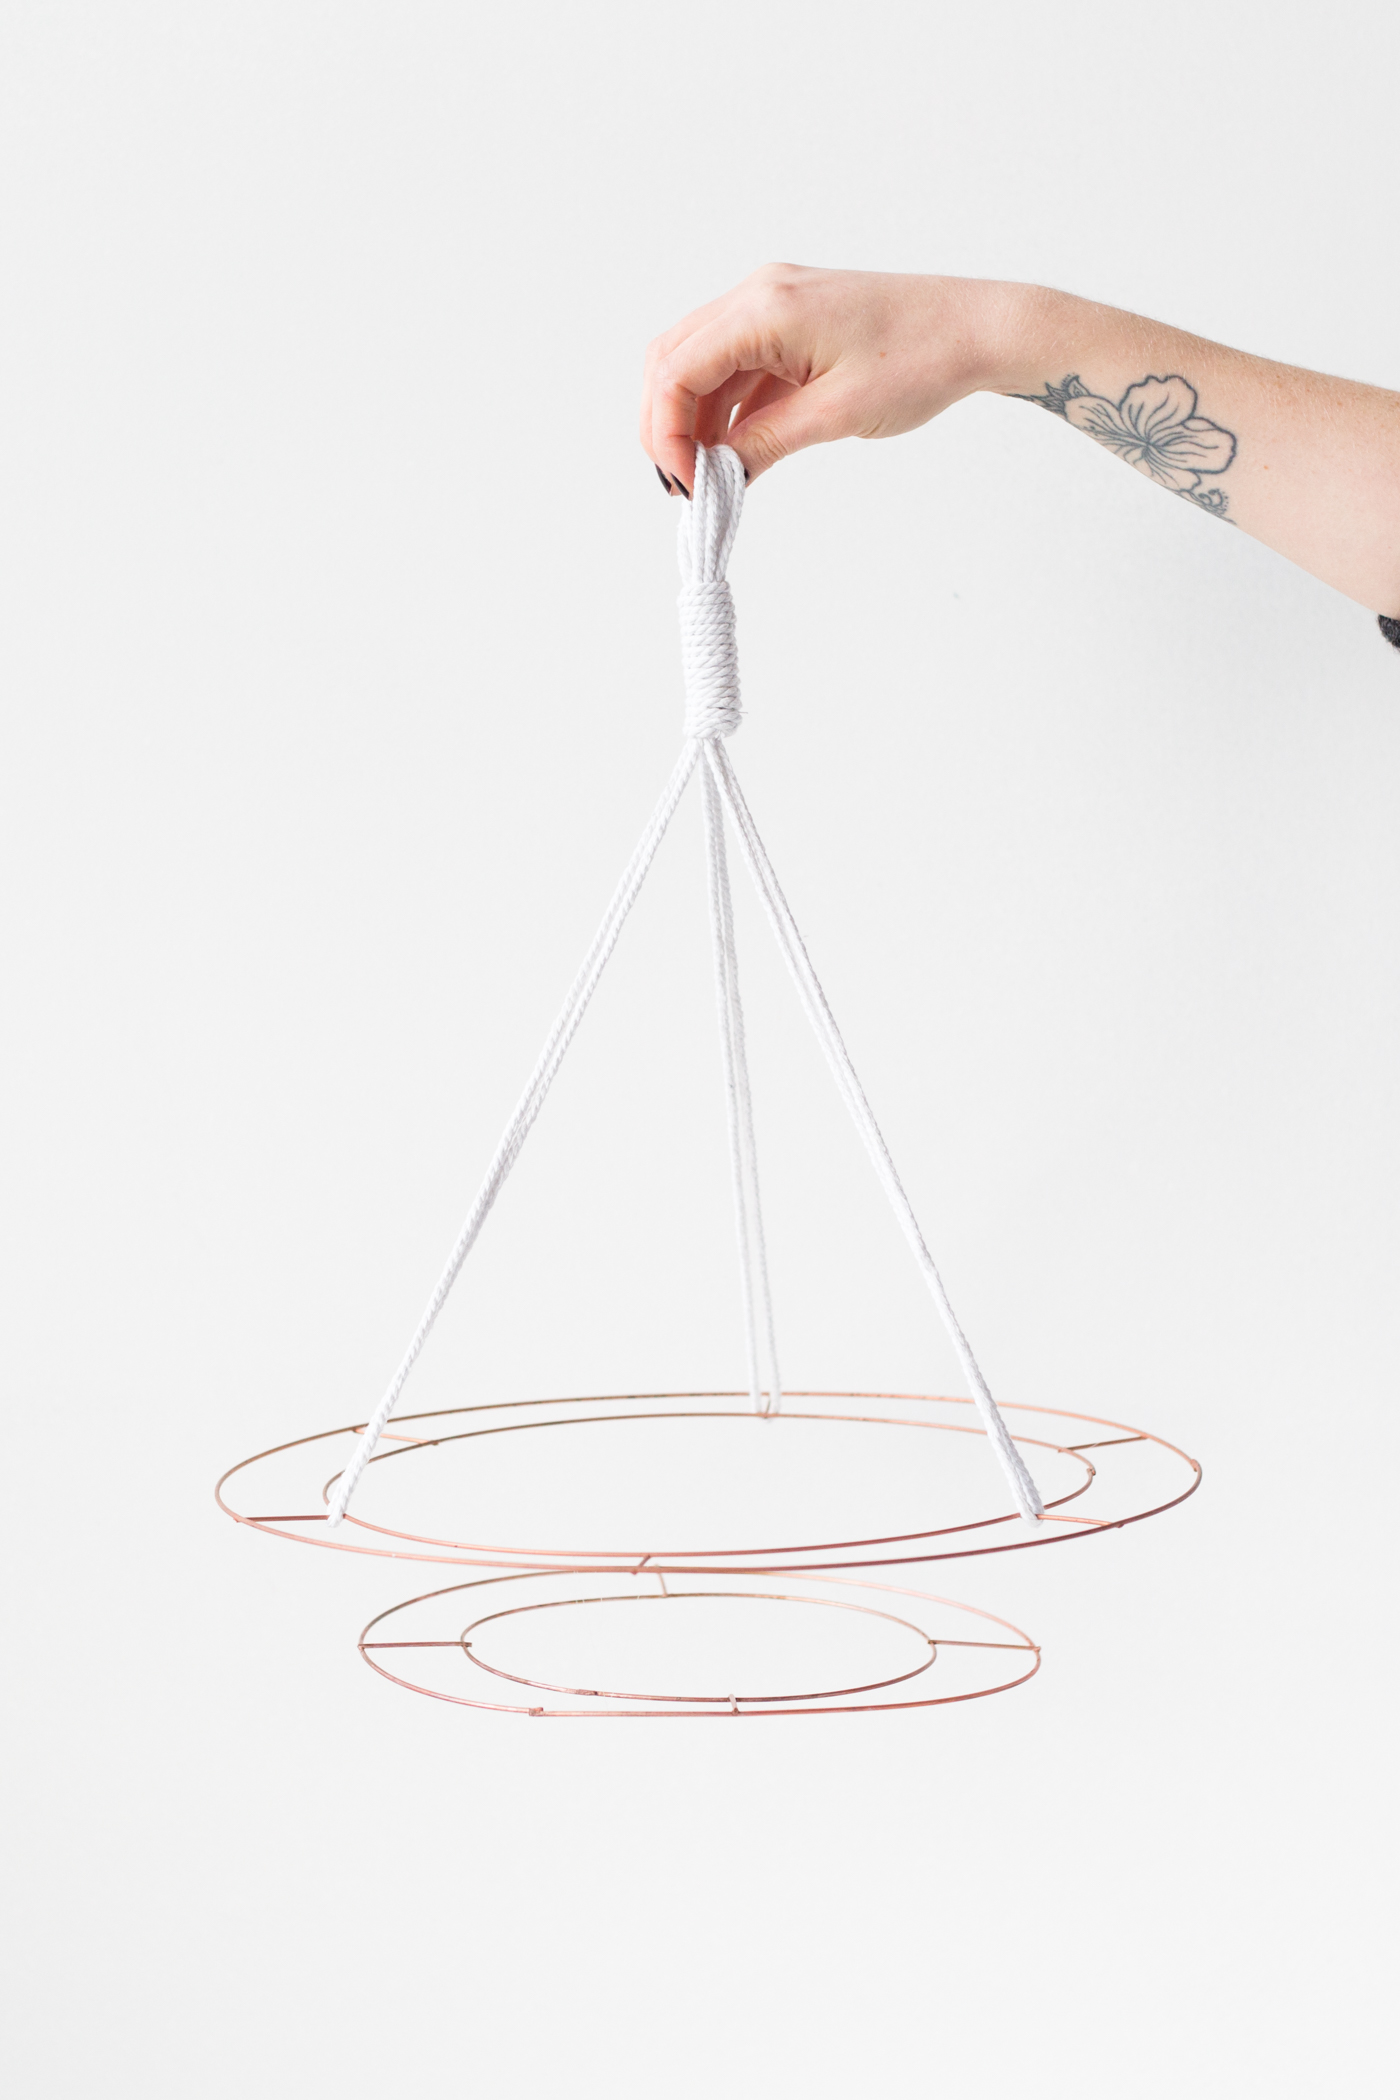
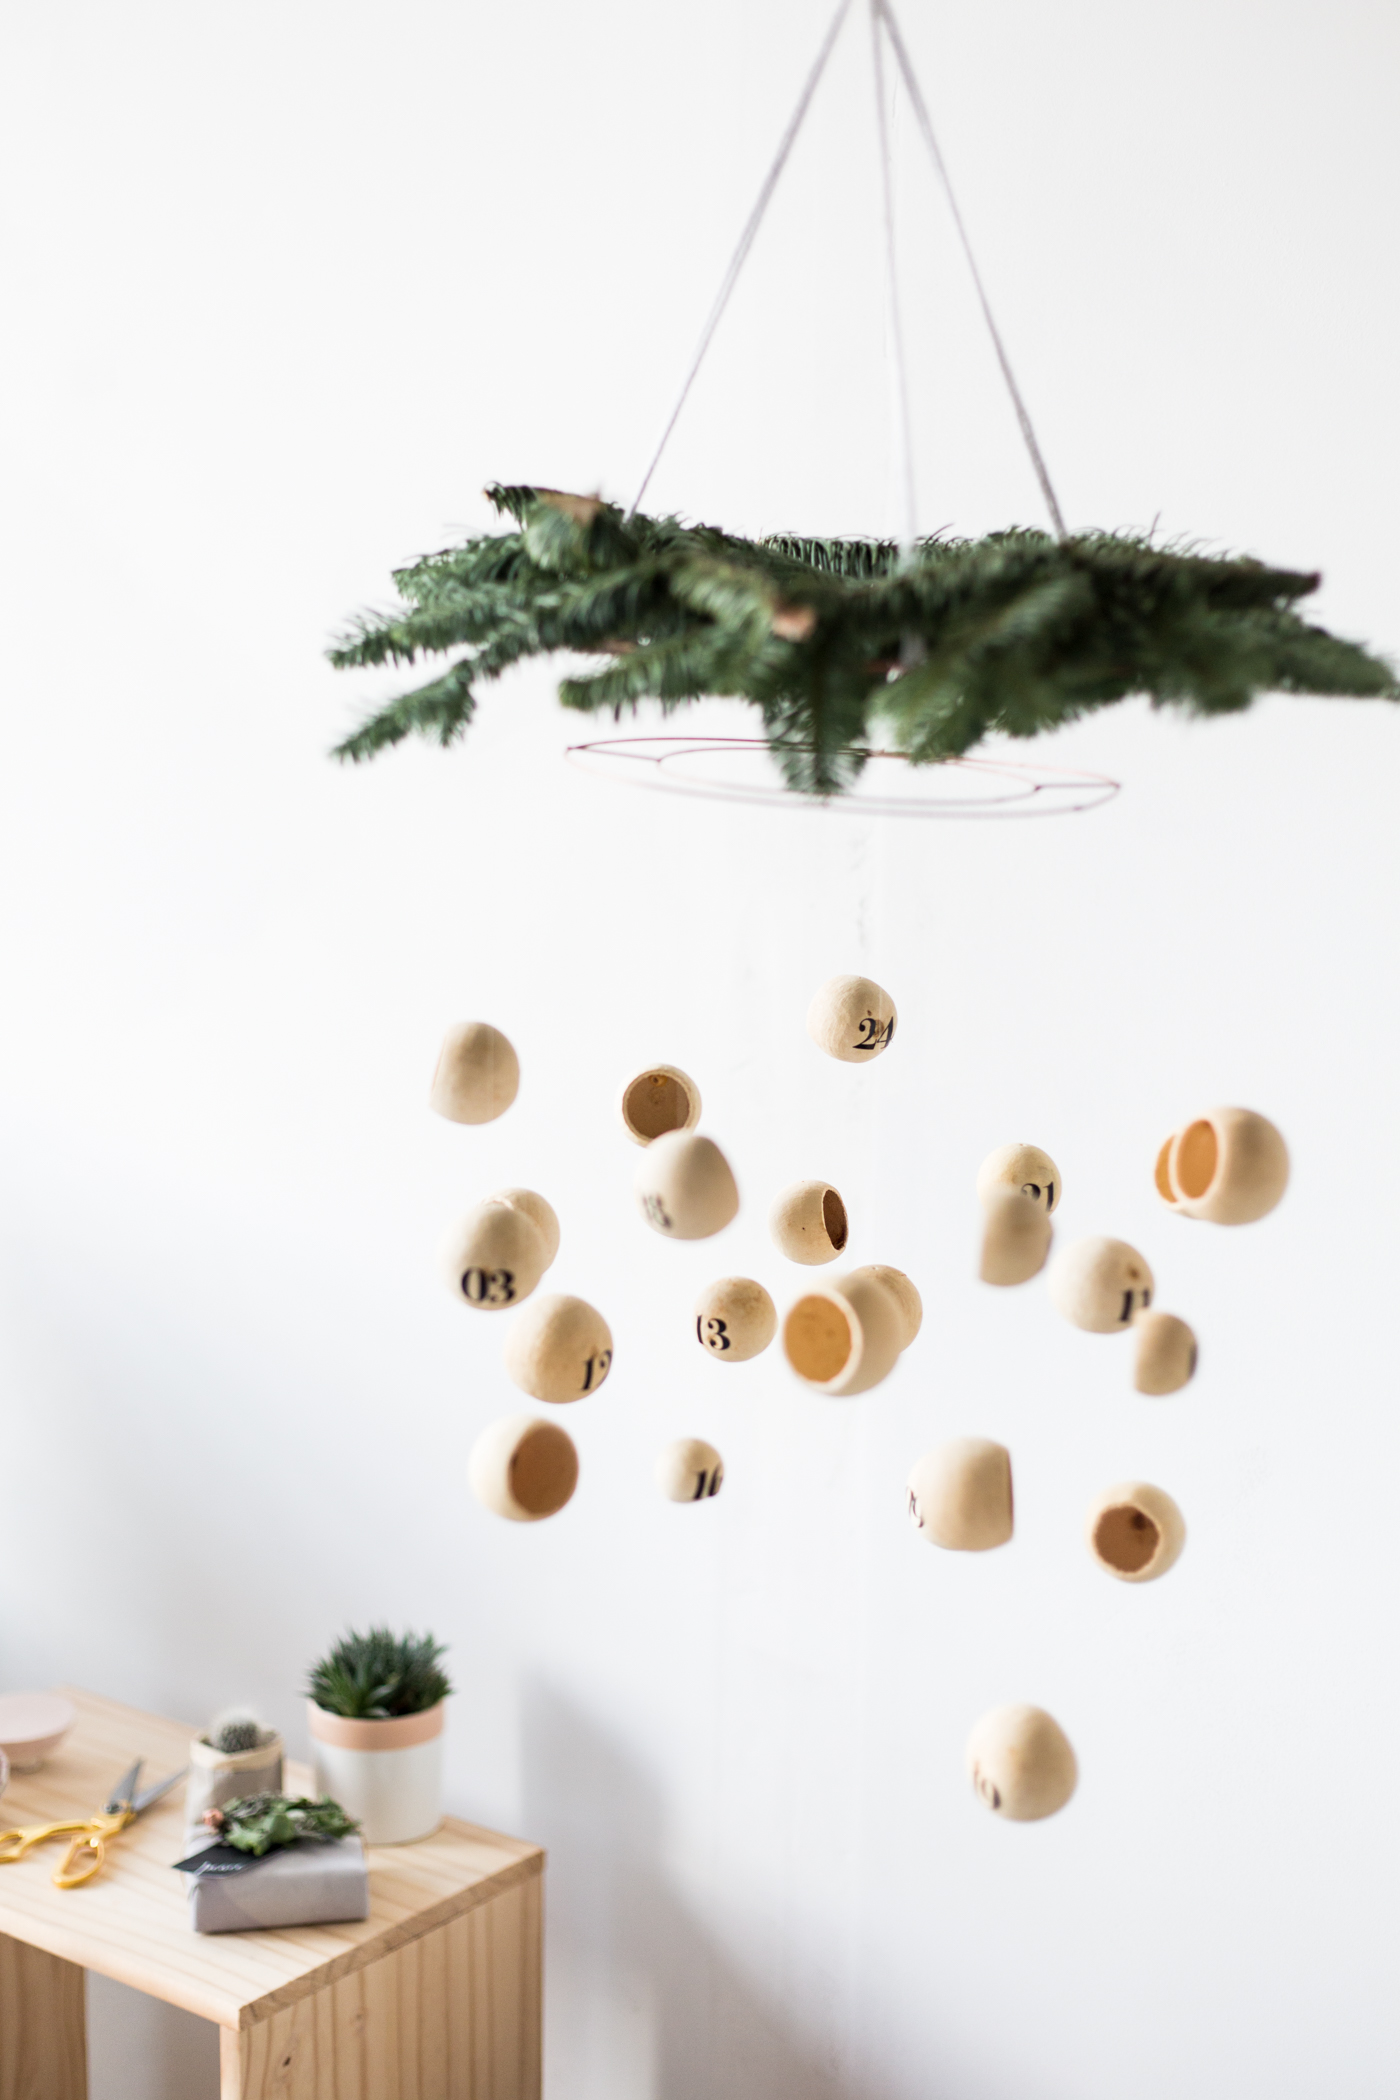
4. Using the thread tie two wreath rings together so one hangs below the other. I’ve used two sizes to make this a bit easier. Attach rope or cord to the outer ring so you can hang the mobile.
5. Tie the cups onto the wreath rings varying the lengths of the threads to make each cup visible.
All that’s left to do is add some greenery to the wreath rings and fill the cups with your countdown treats. And then the fun begins!


The post appeared first on .


