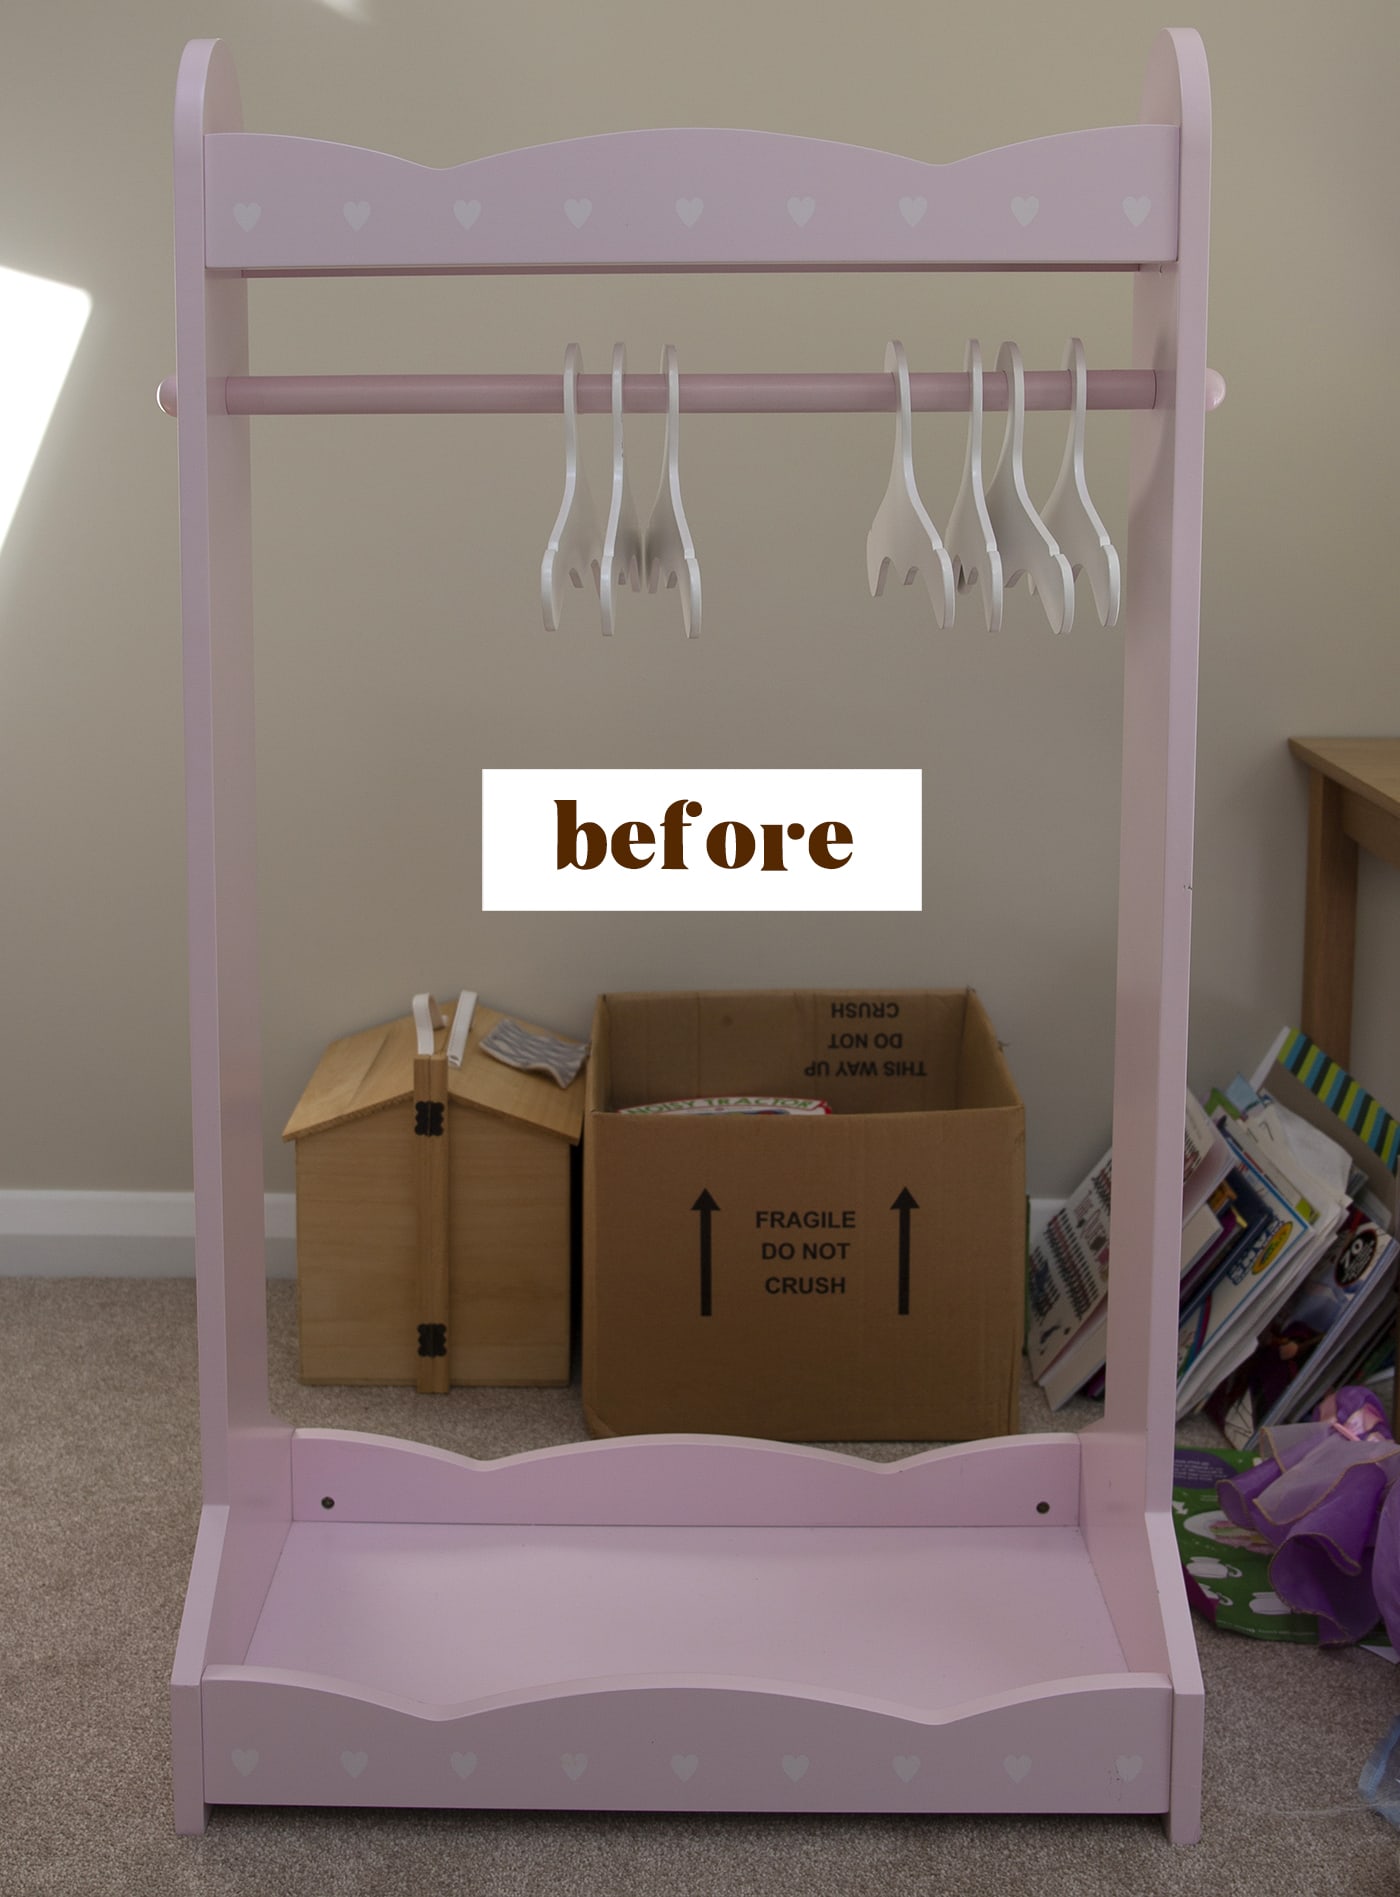
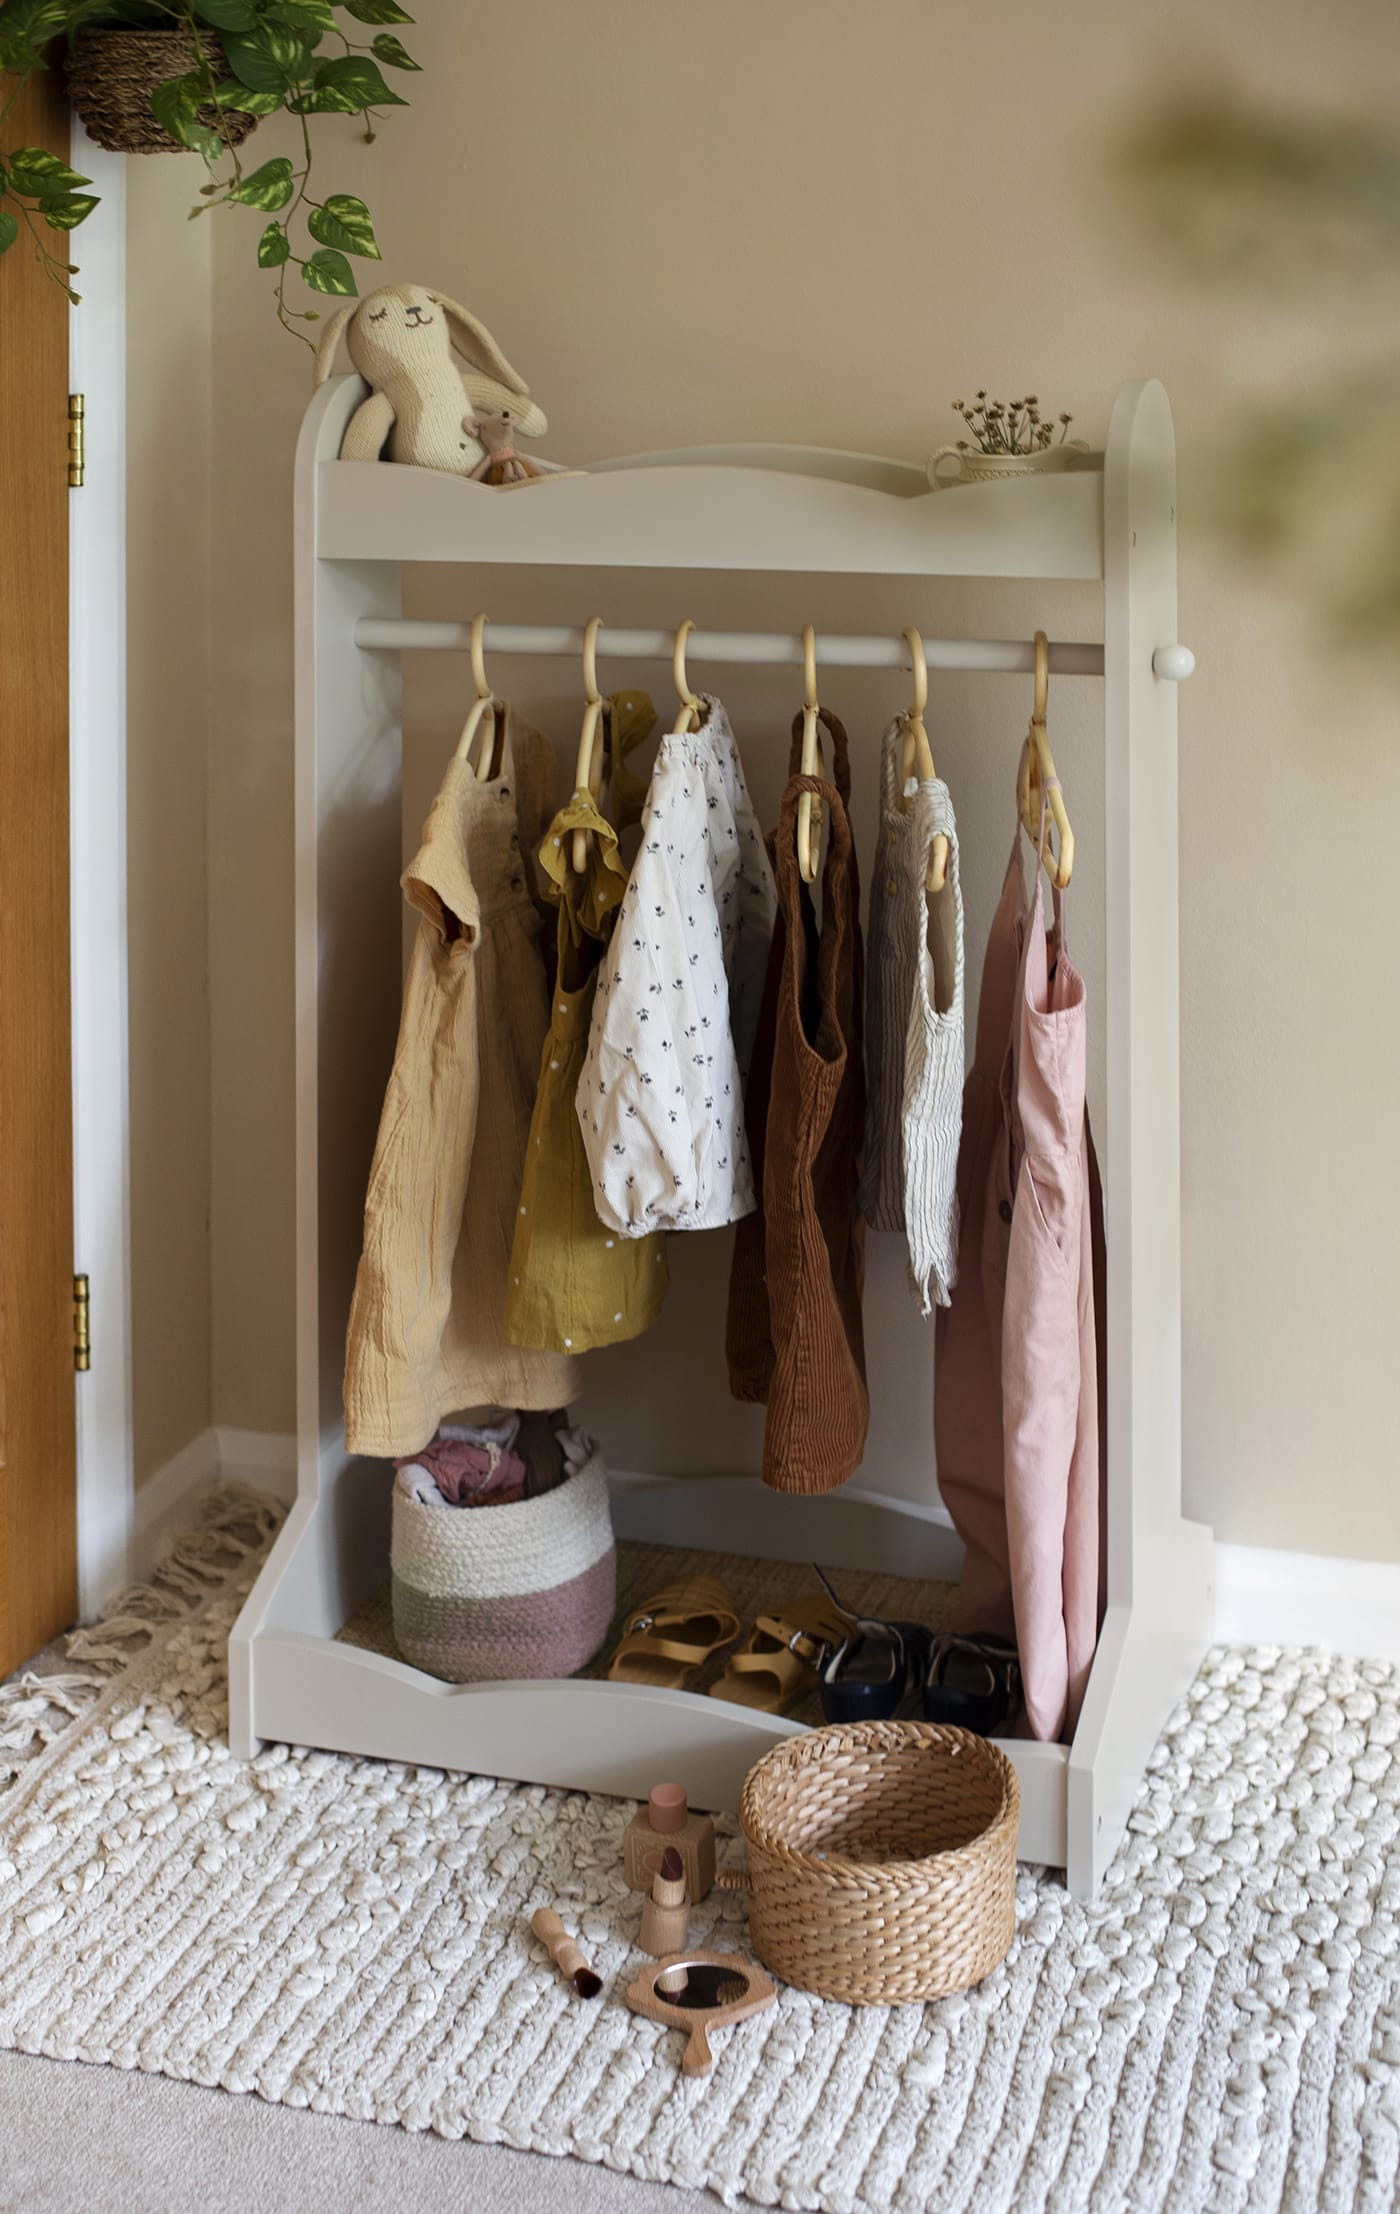
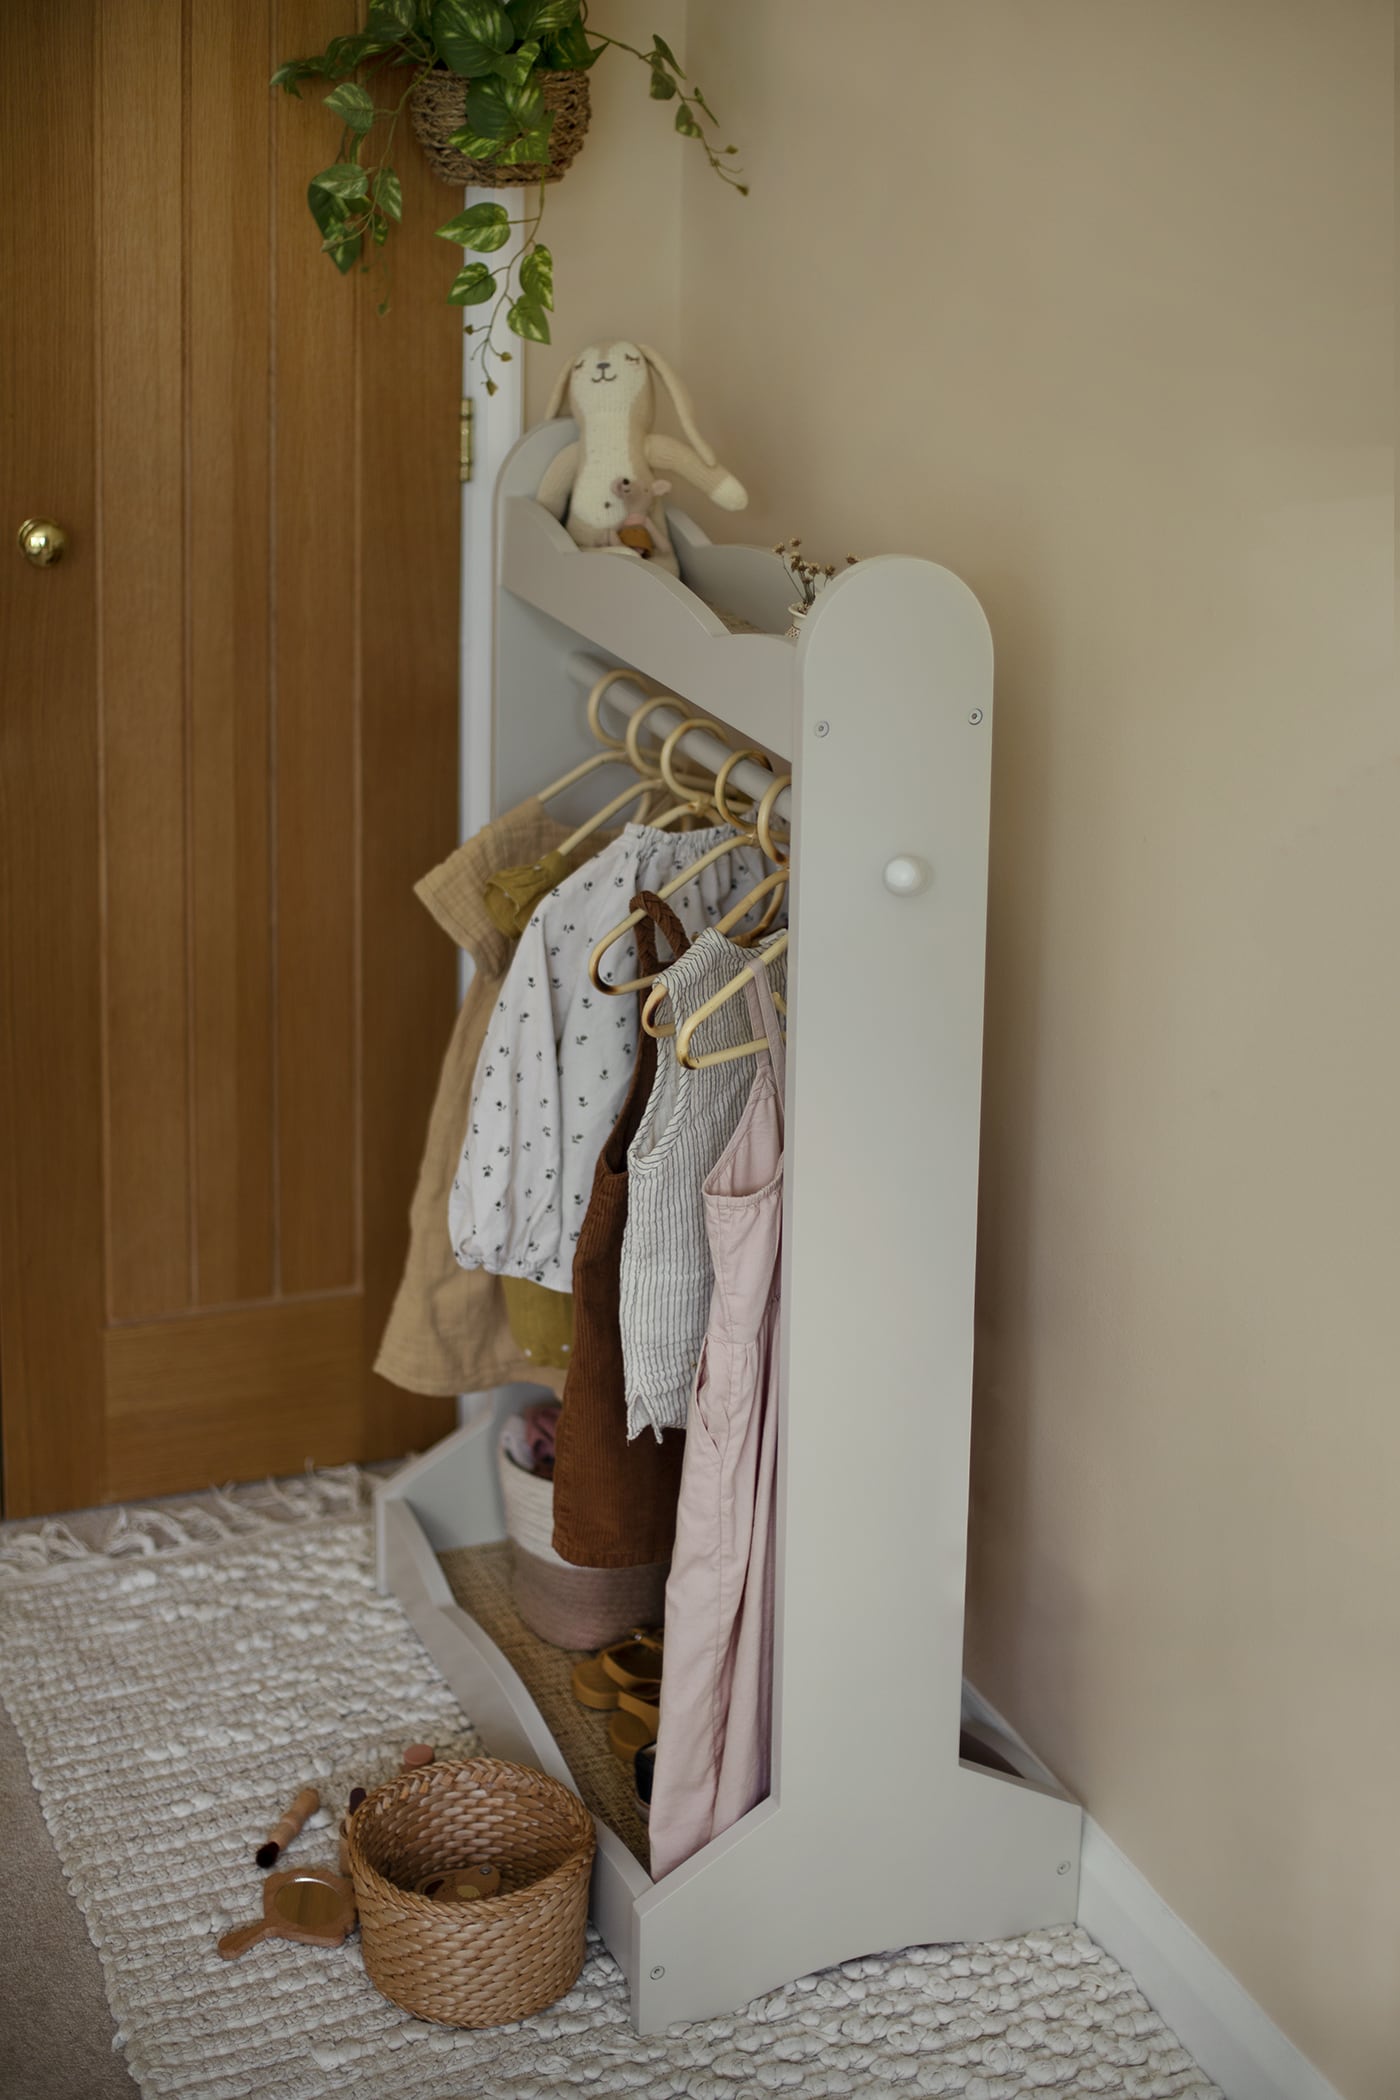
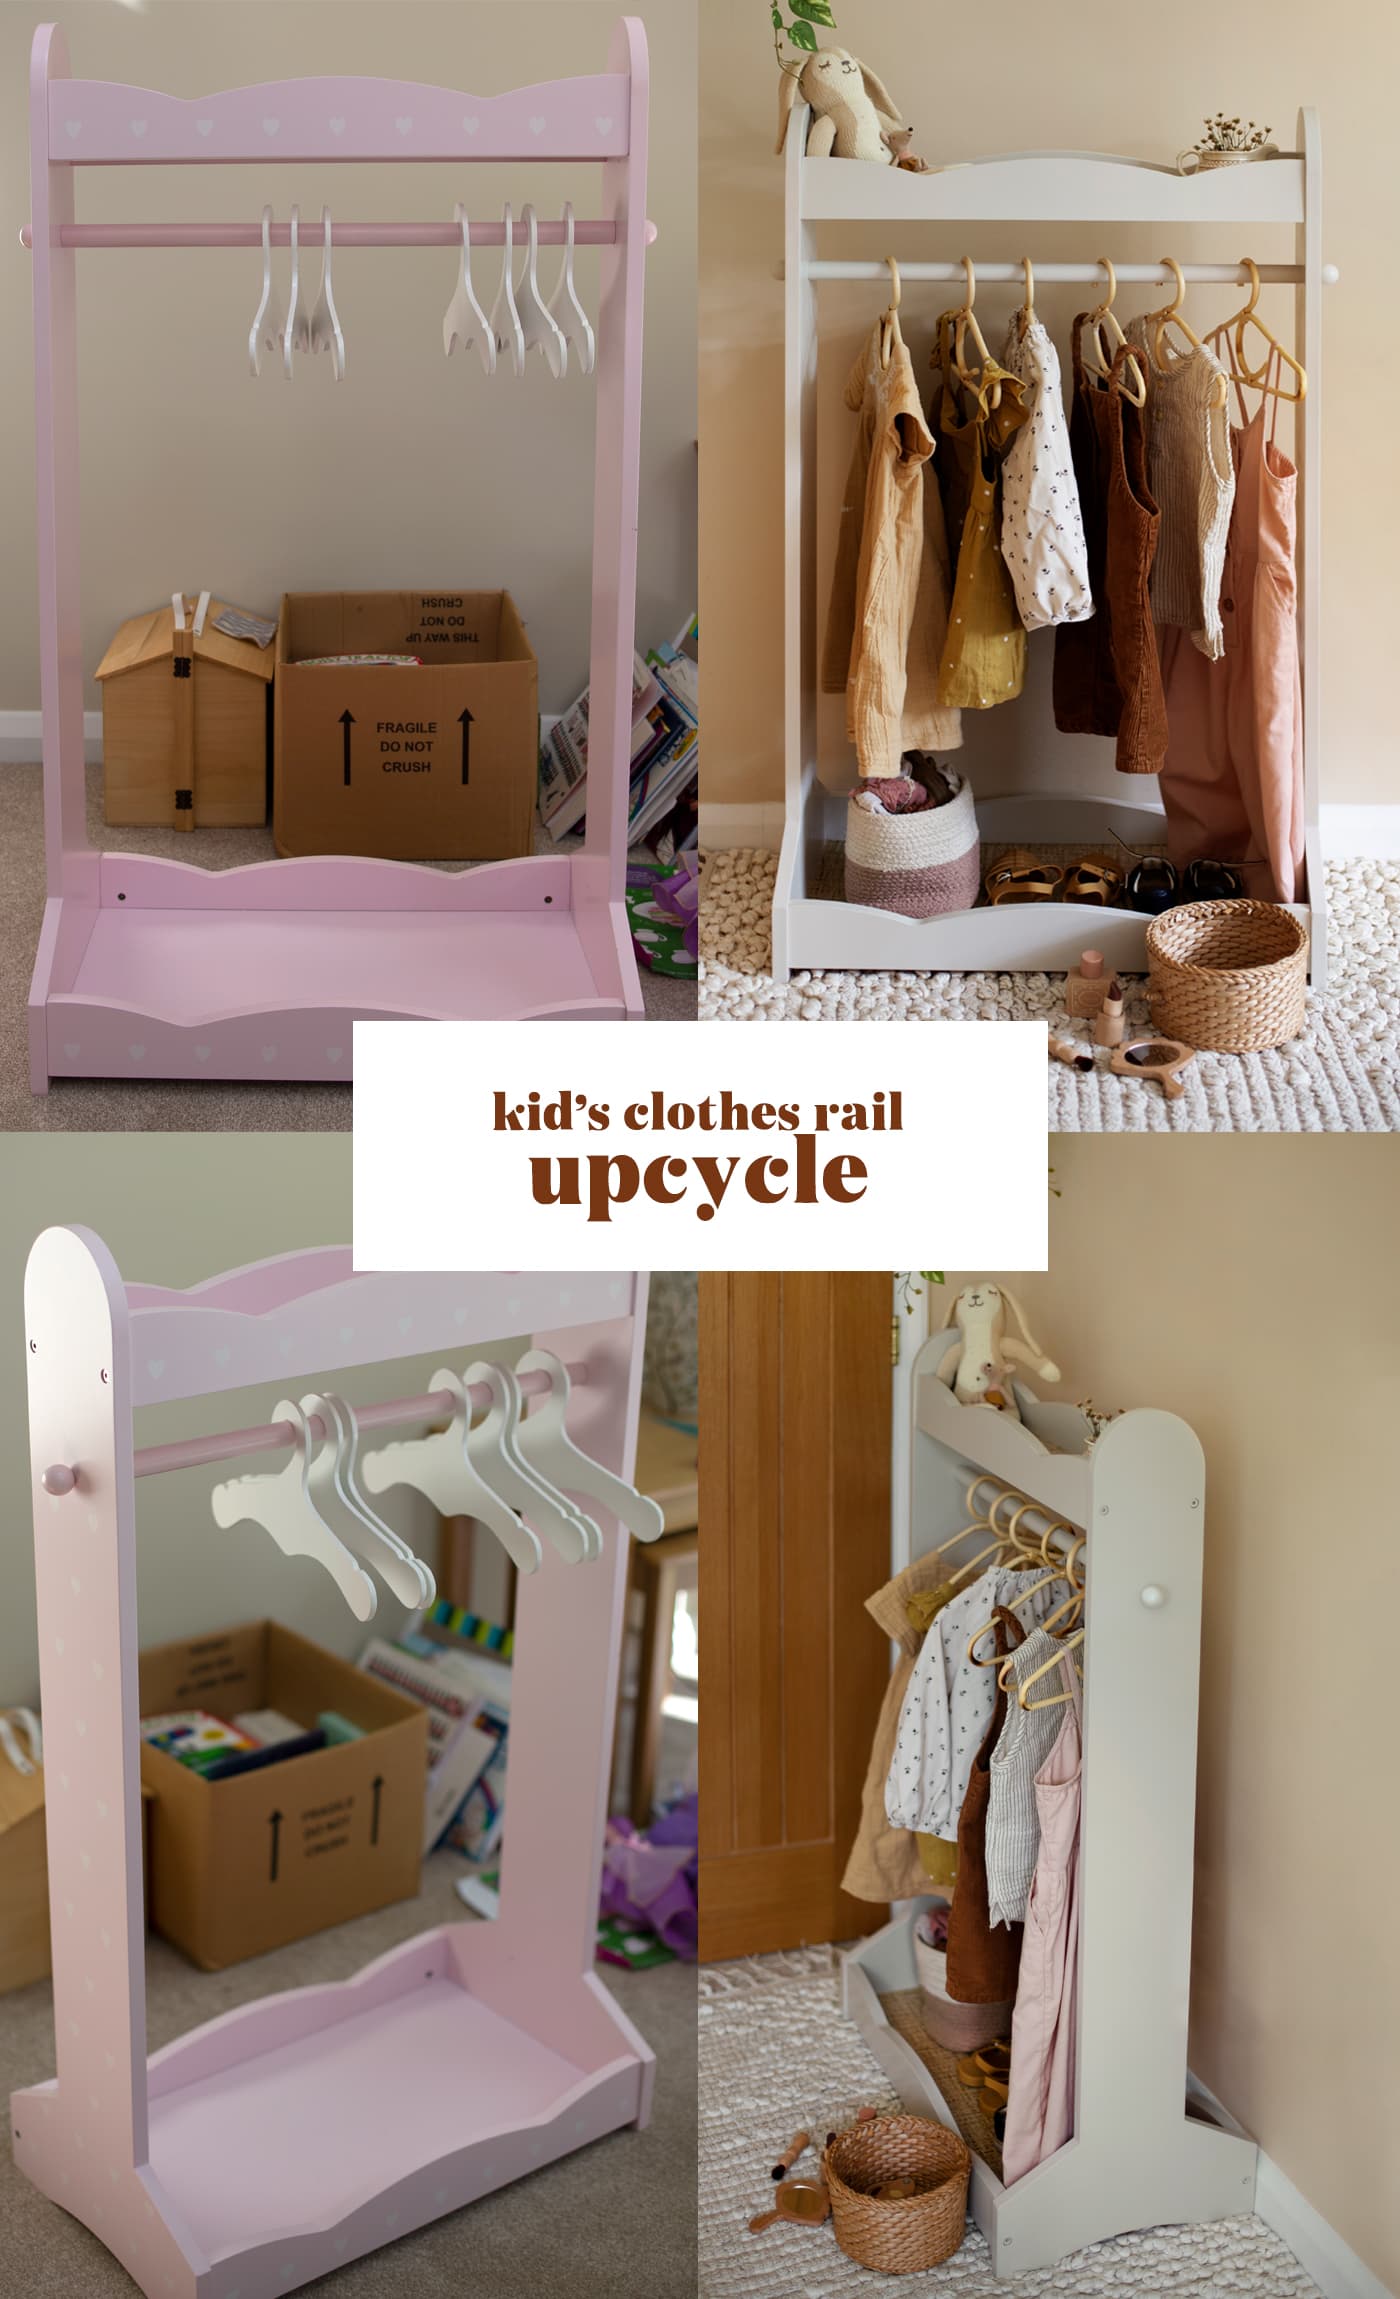
I thoroughly enjoy a thrift flip, particularly when the goods are free from next door neighbours.We were given this kid’s clothing rail and I immediately had a vision for a transformation that was less barbie-vibes and more neutral-calm. I think I definitely executed the brief and it wasn’t tricky at all. I’ll take you through the process. If you were wondering, Maggie obviously preferred the pink. 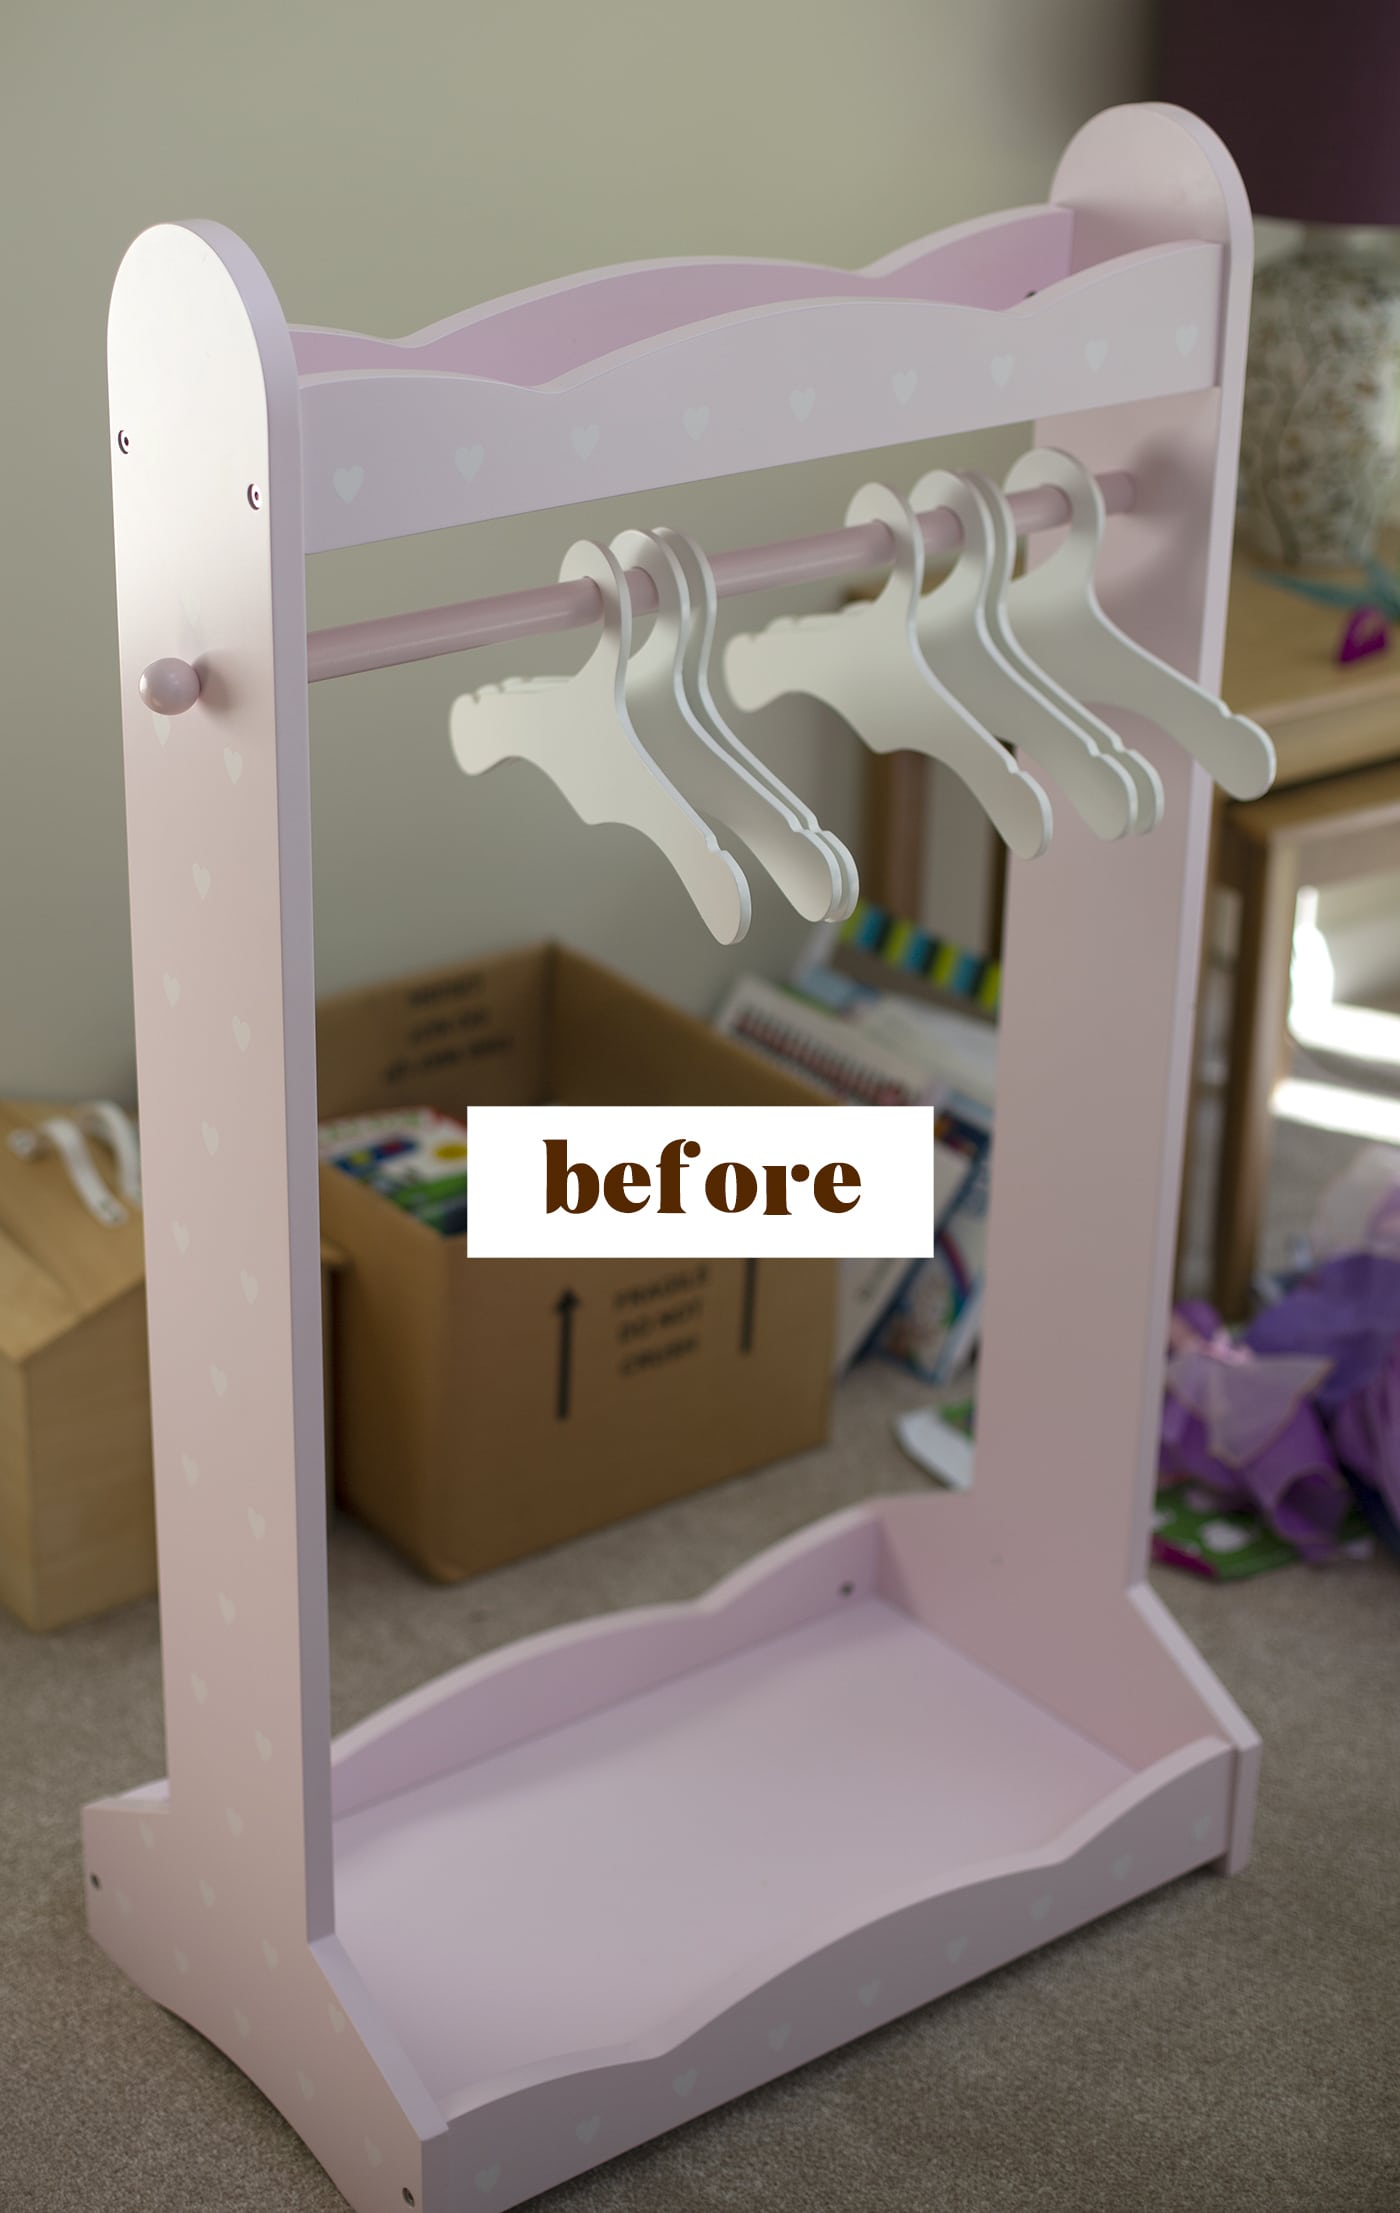

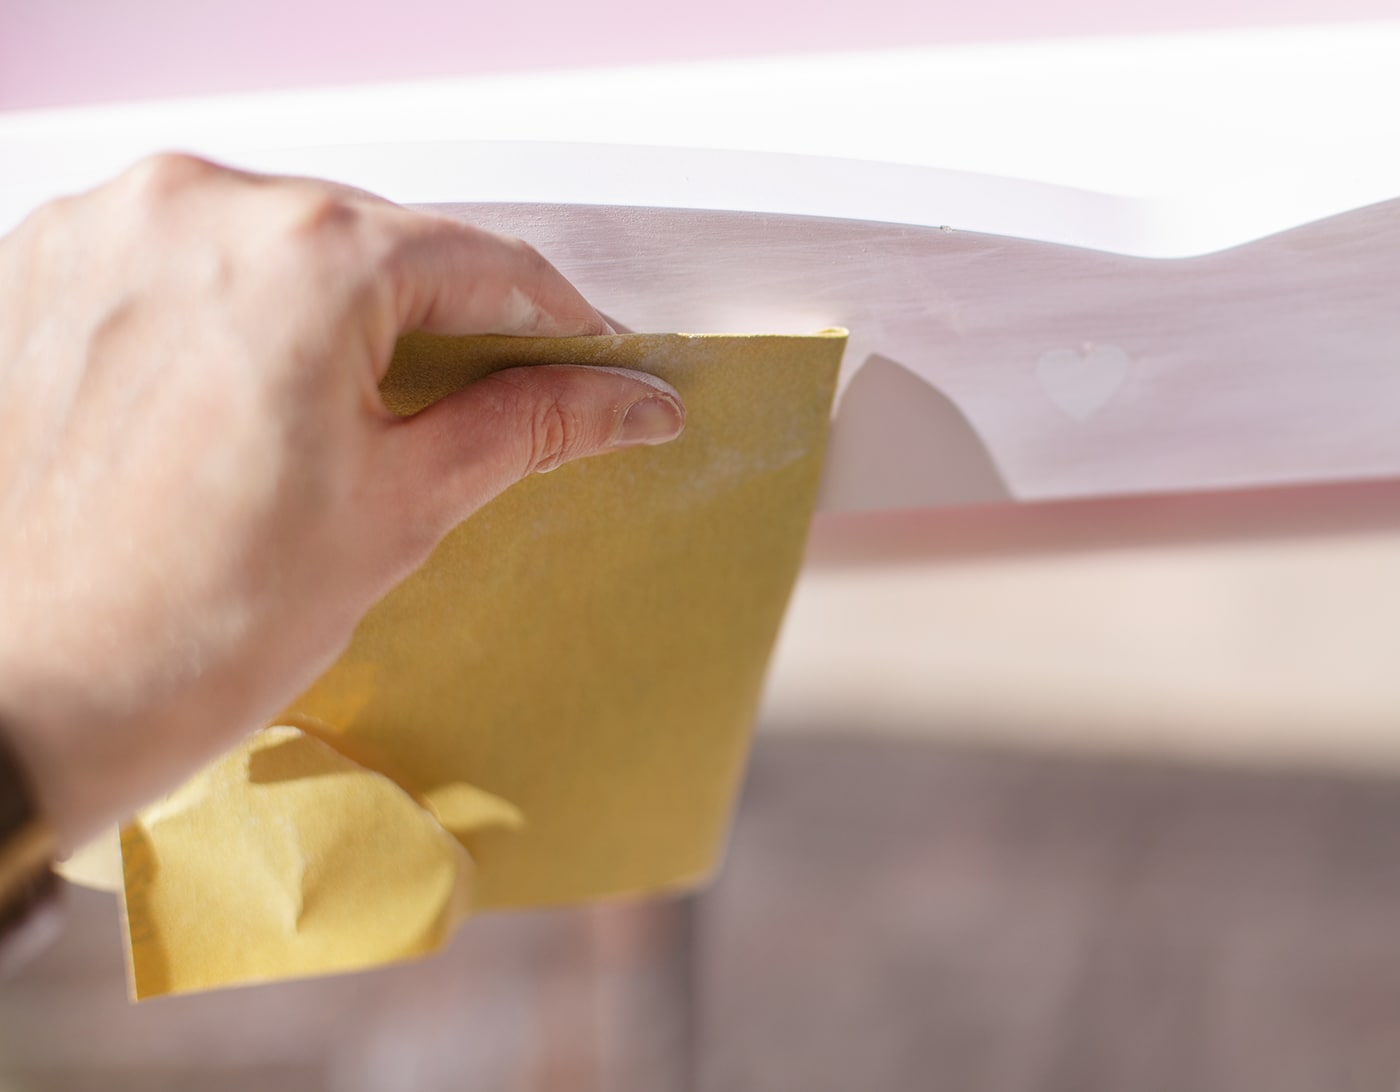
Use a fine grain sand paper to smooth any rough parts of the surface.
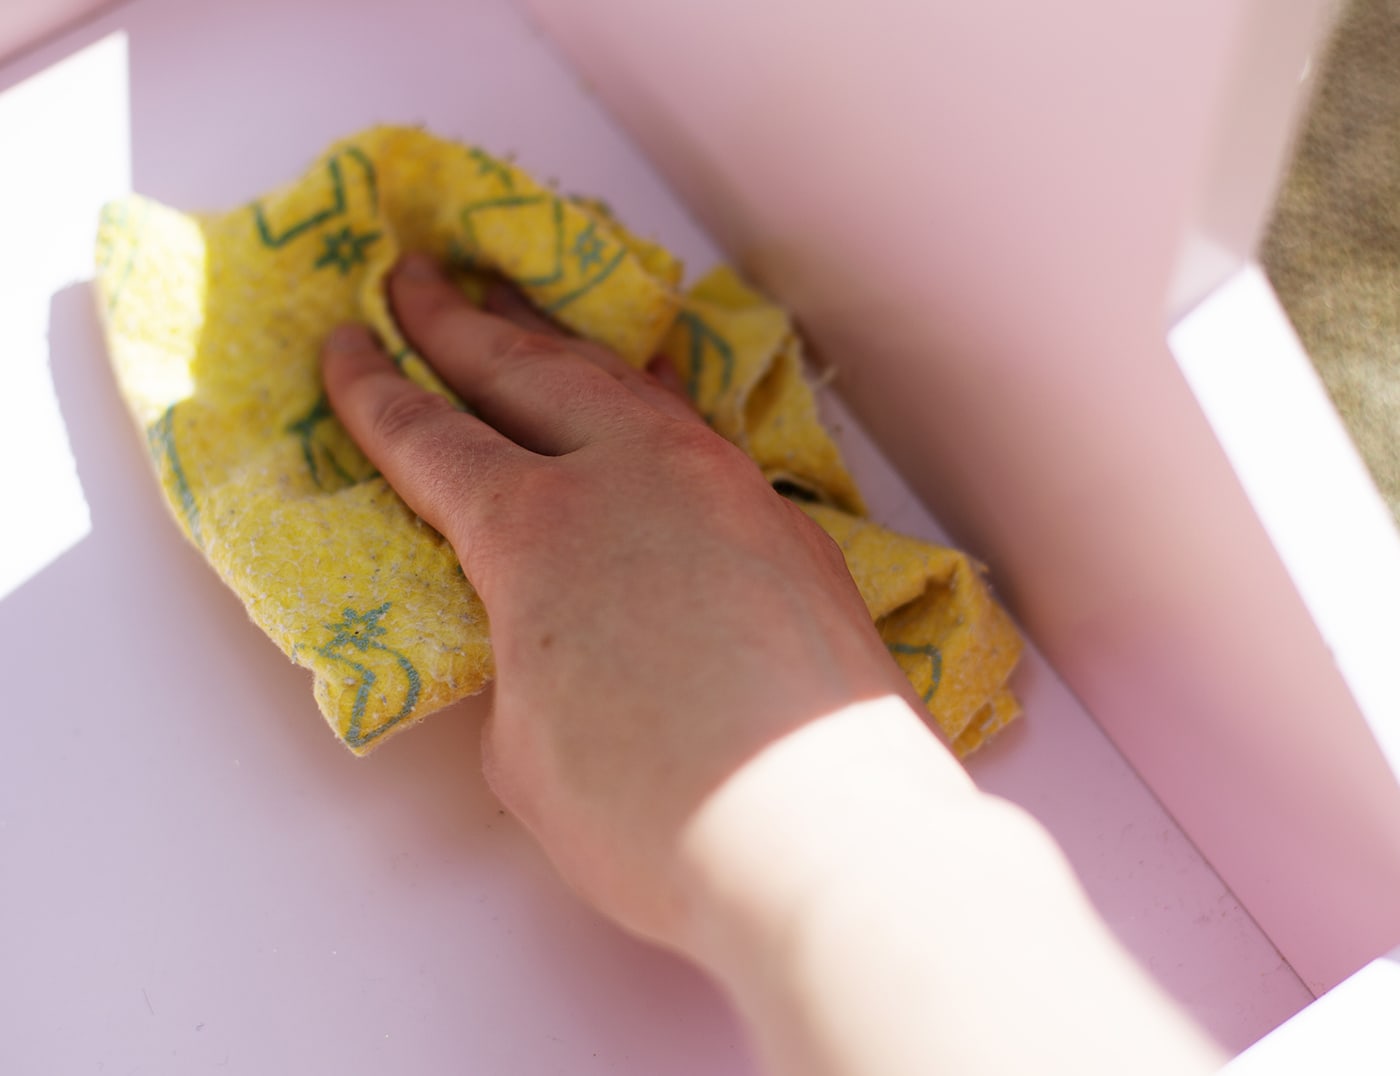
Then wipe with a damp cloth to fully clean any dust and dirt off the surface.
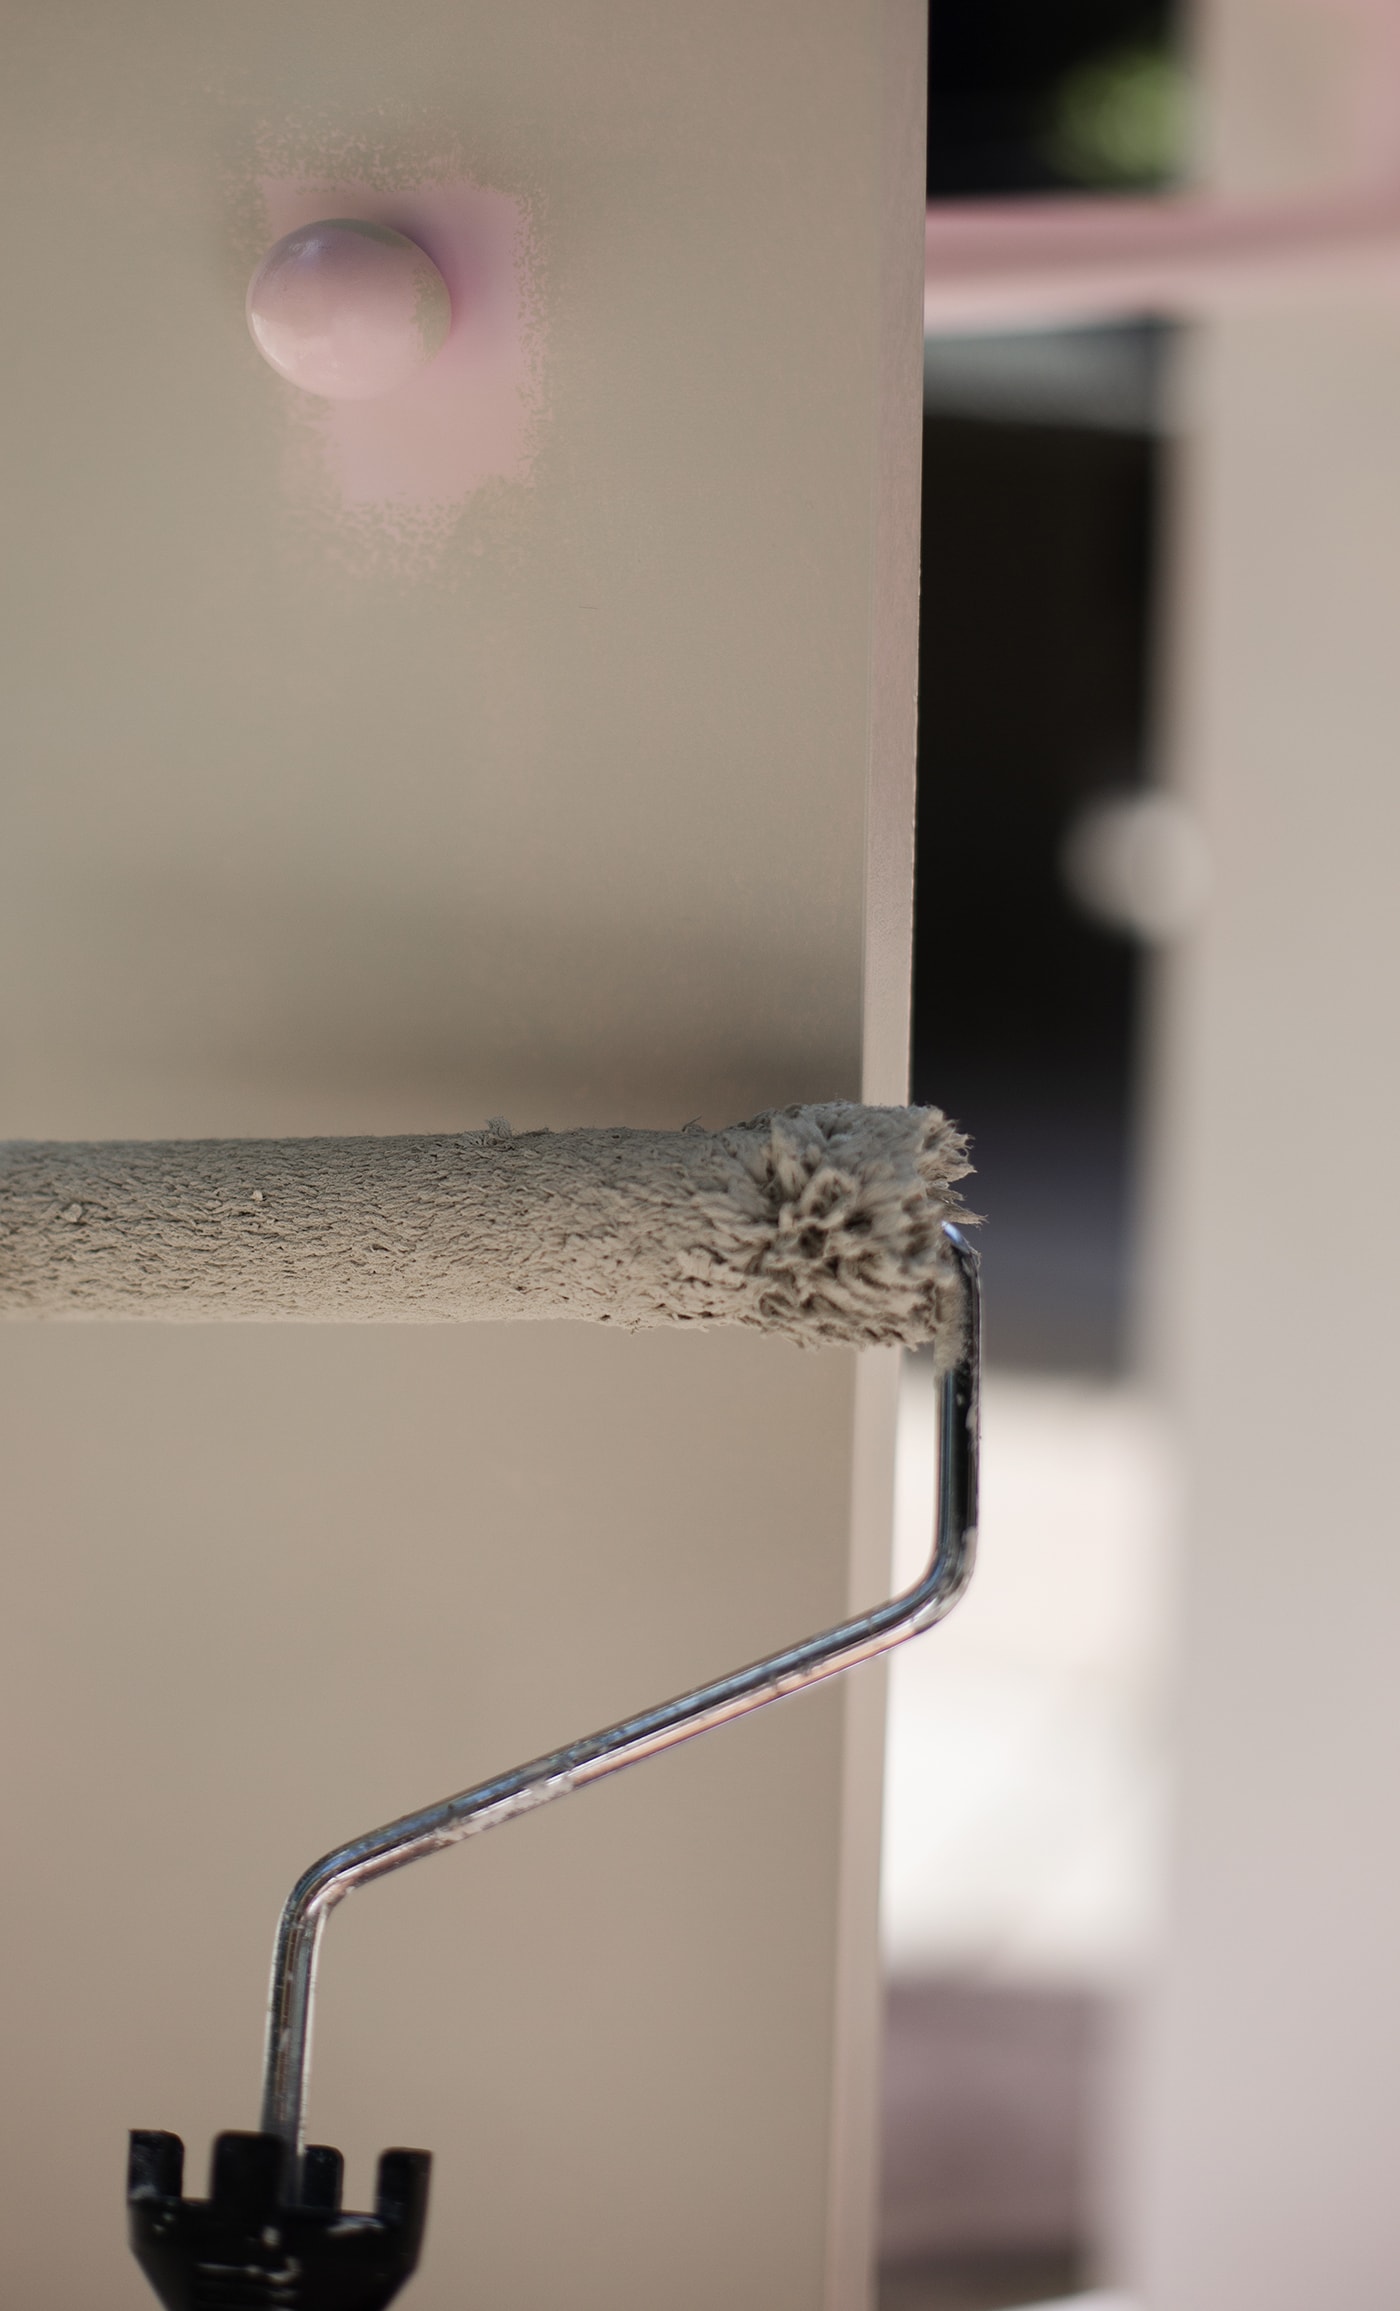
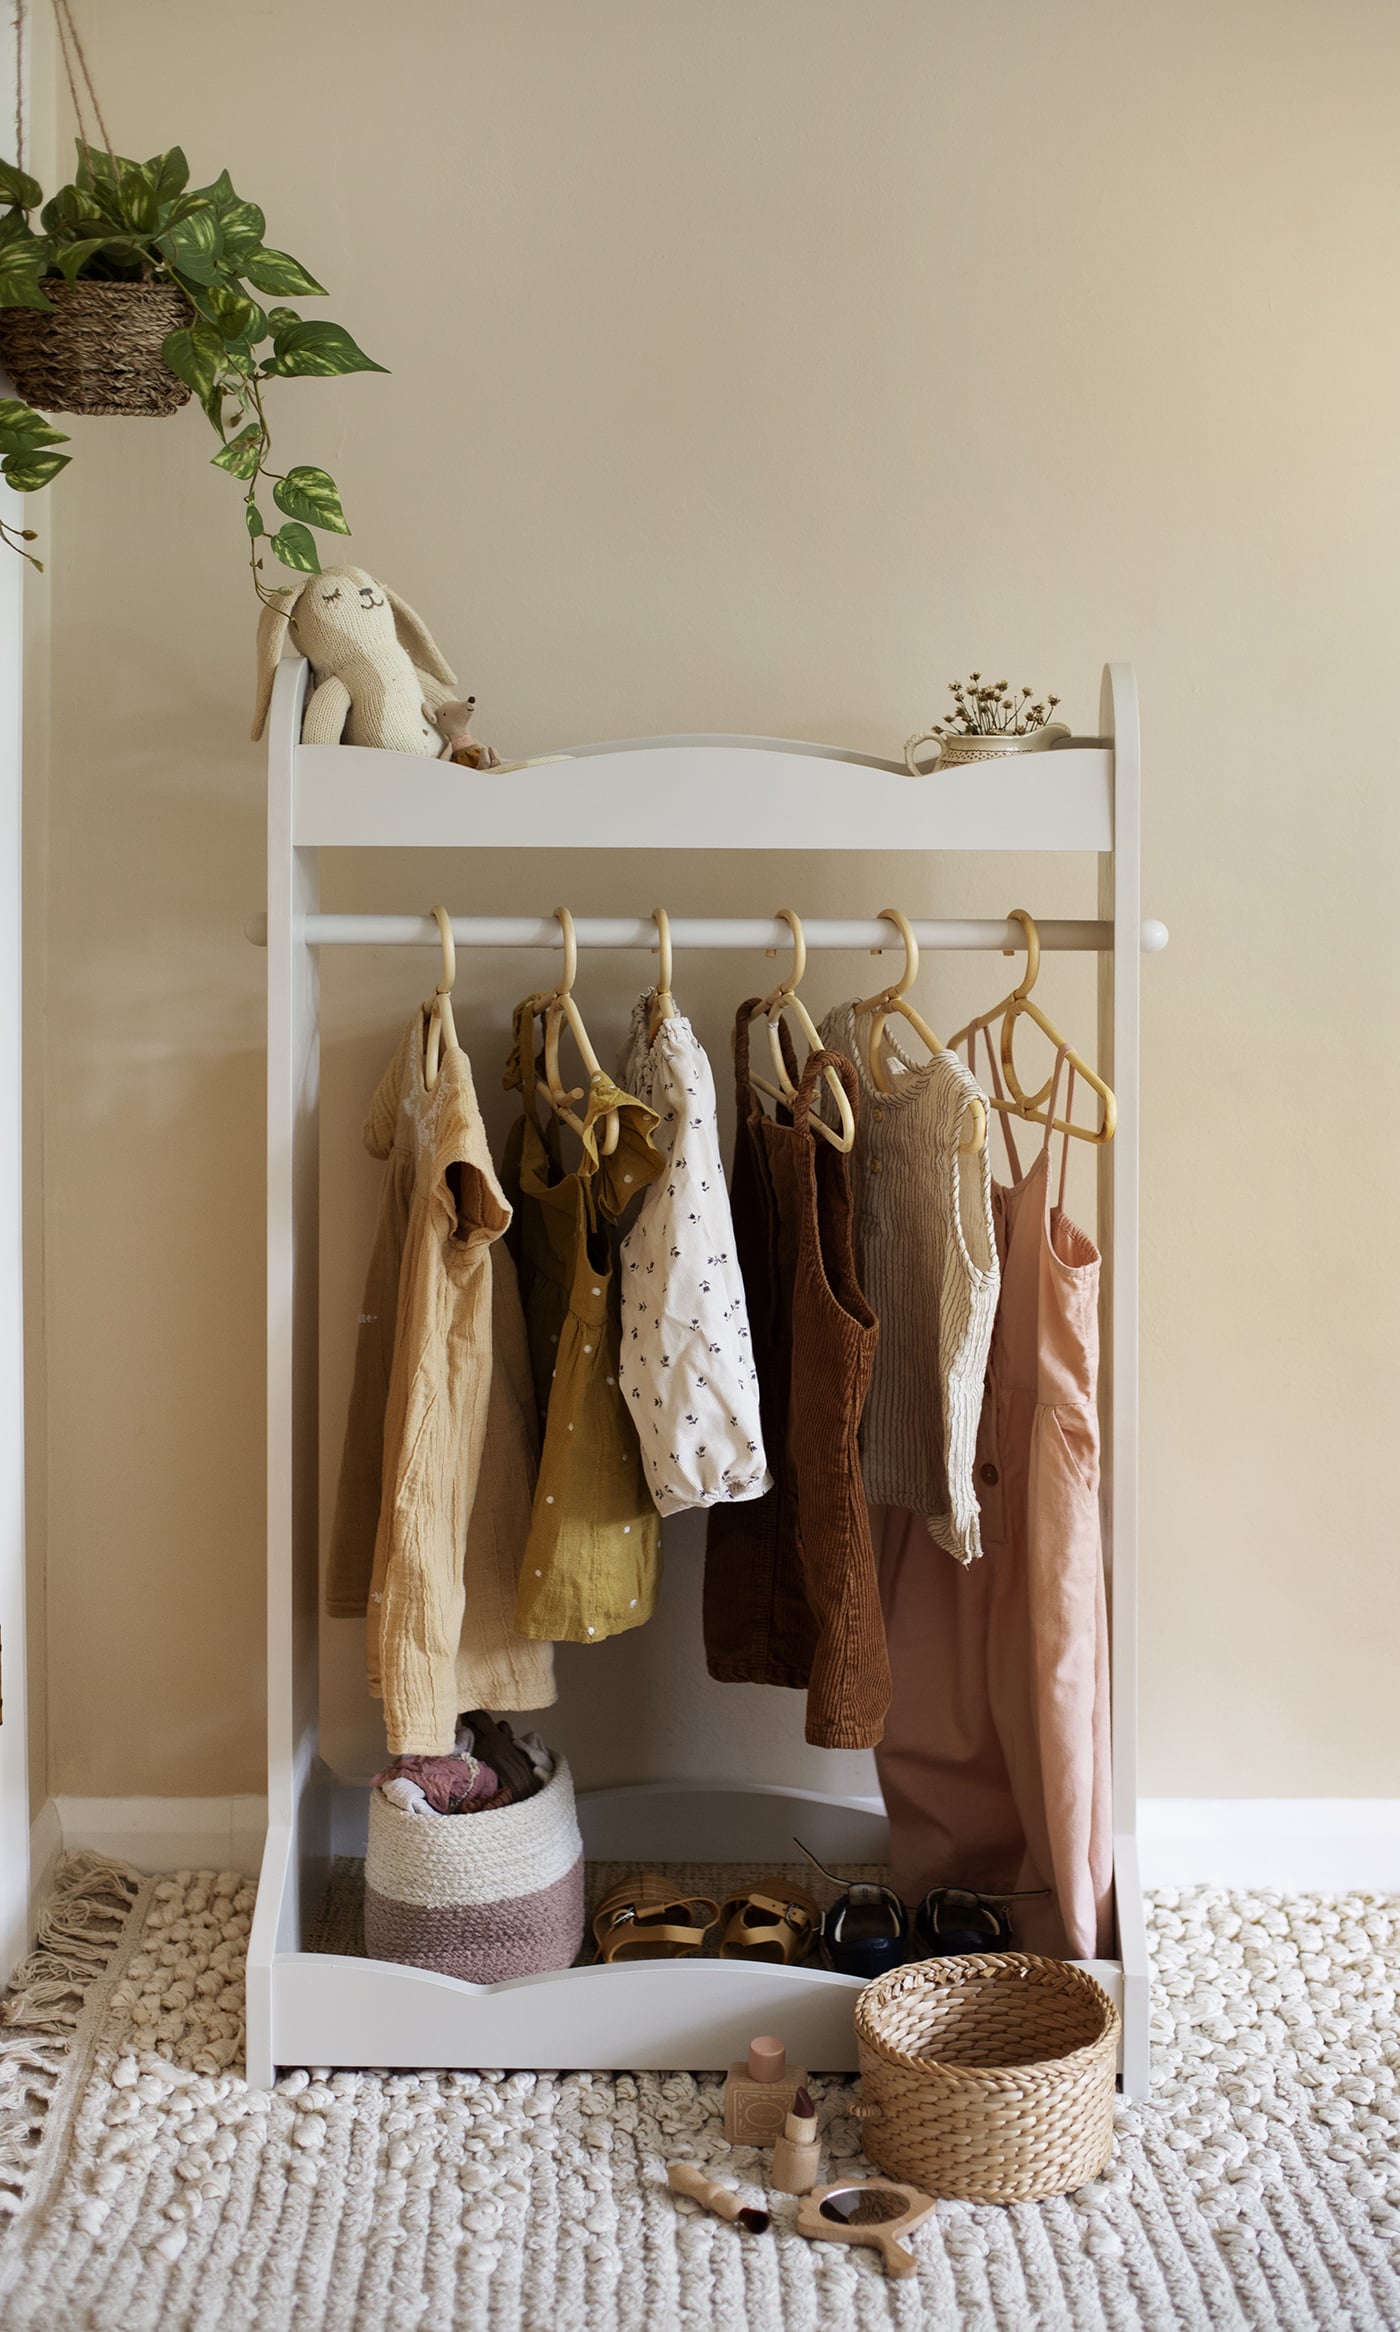
Use a roller to paint the large, flat areas of the item. My favourite wood paint to use is Dulux Satinwood Quick Dry and this time I chose the shade . Due to the coated, surface I decided not to prime the wood and it seemed to work just fine.
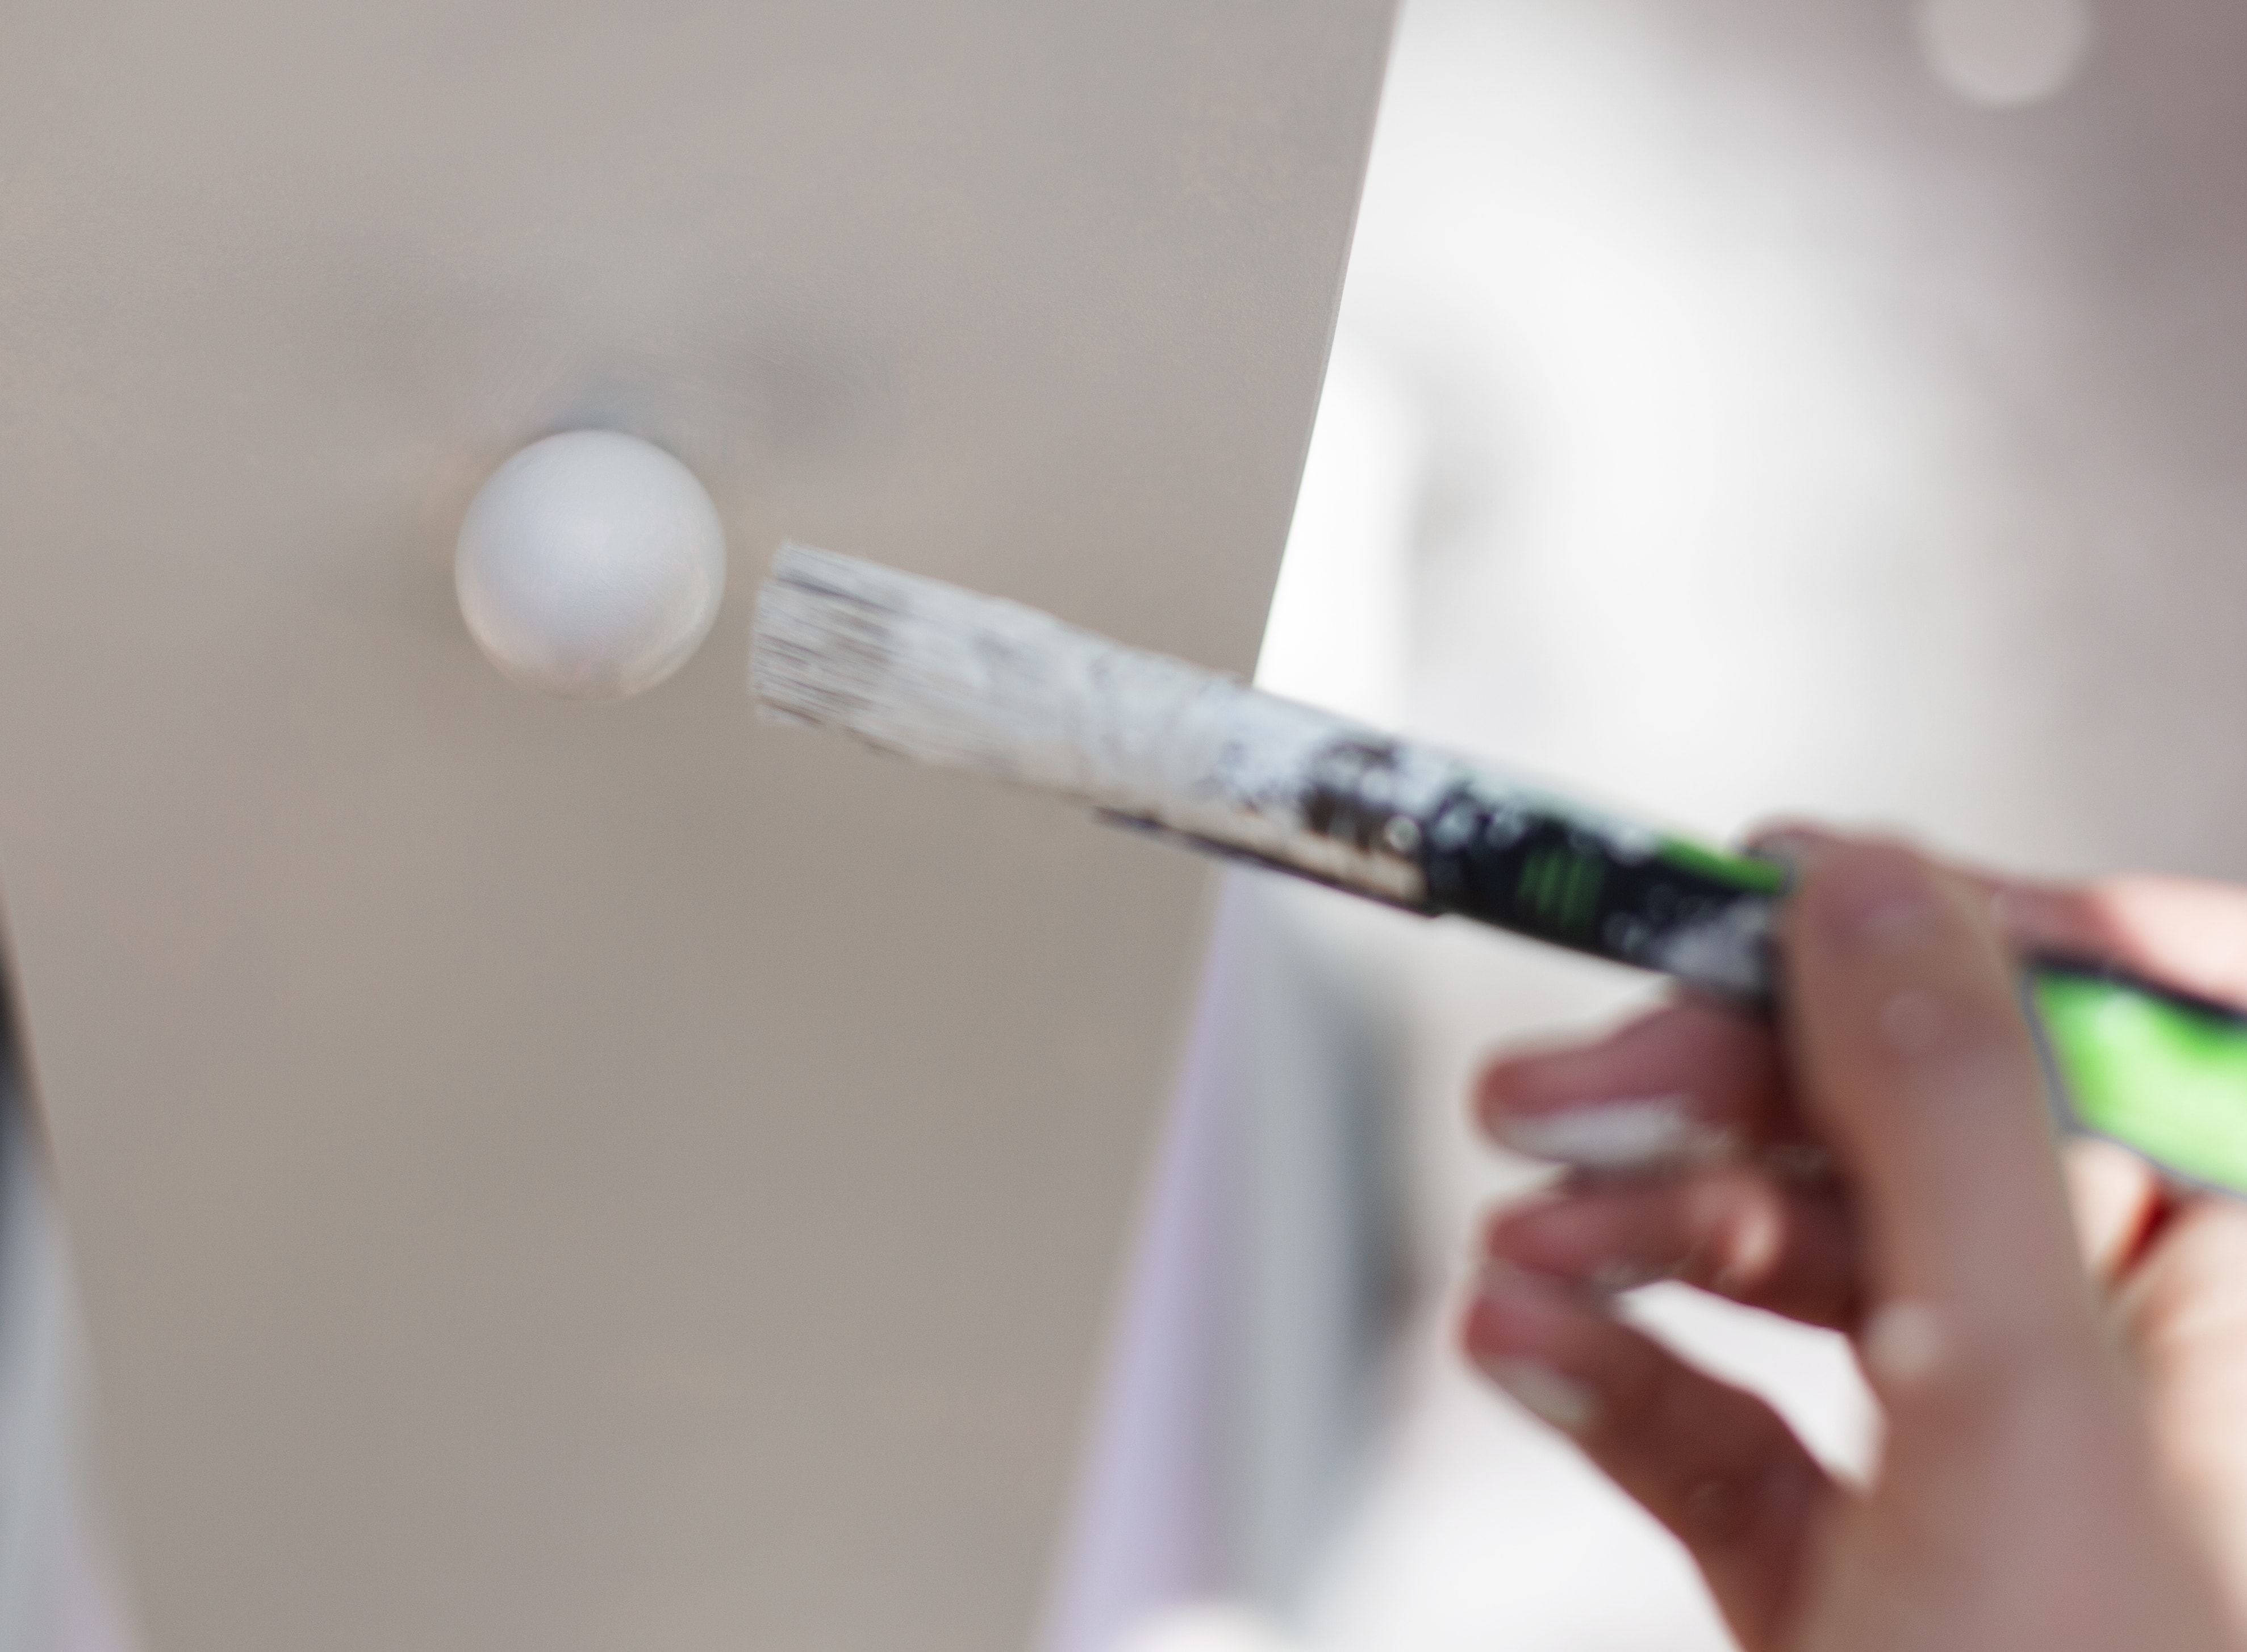
Use a brush to fill in the details and parts that aren’t easy to reach with a roller. I did two coats, leaving to dry fully in between.
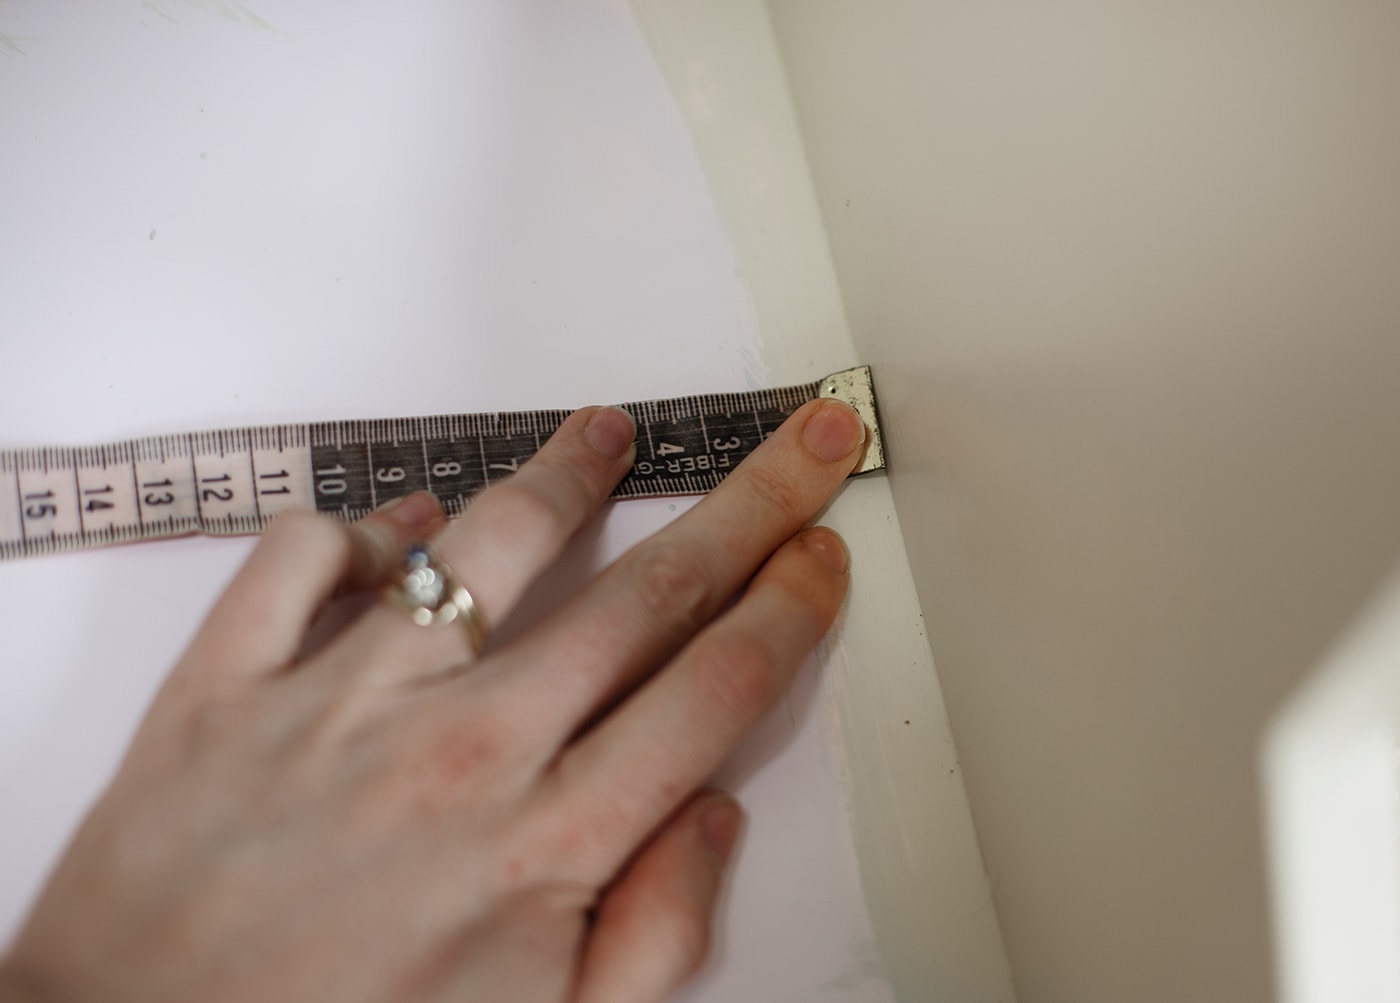
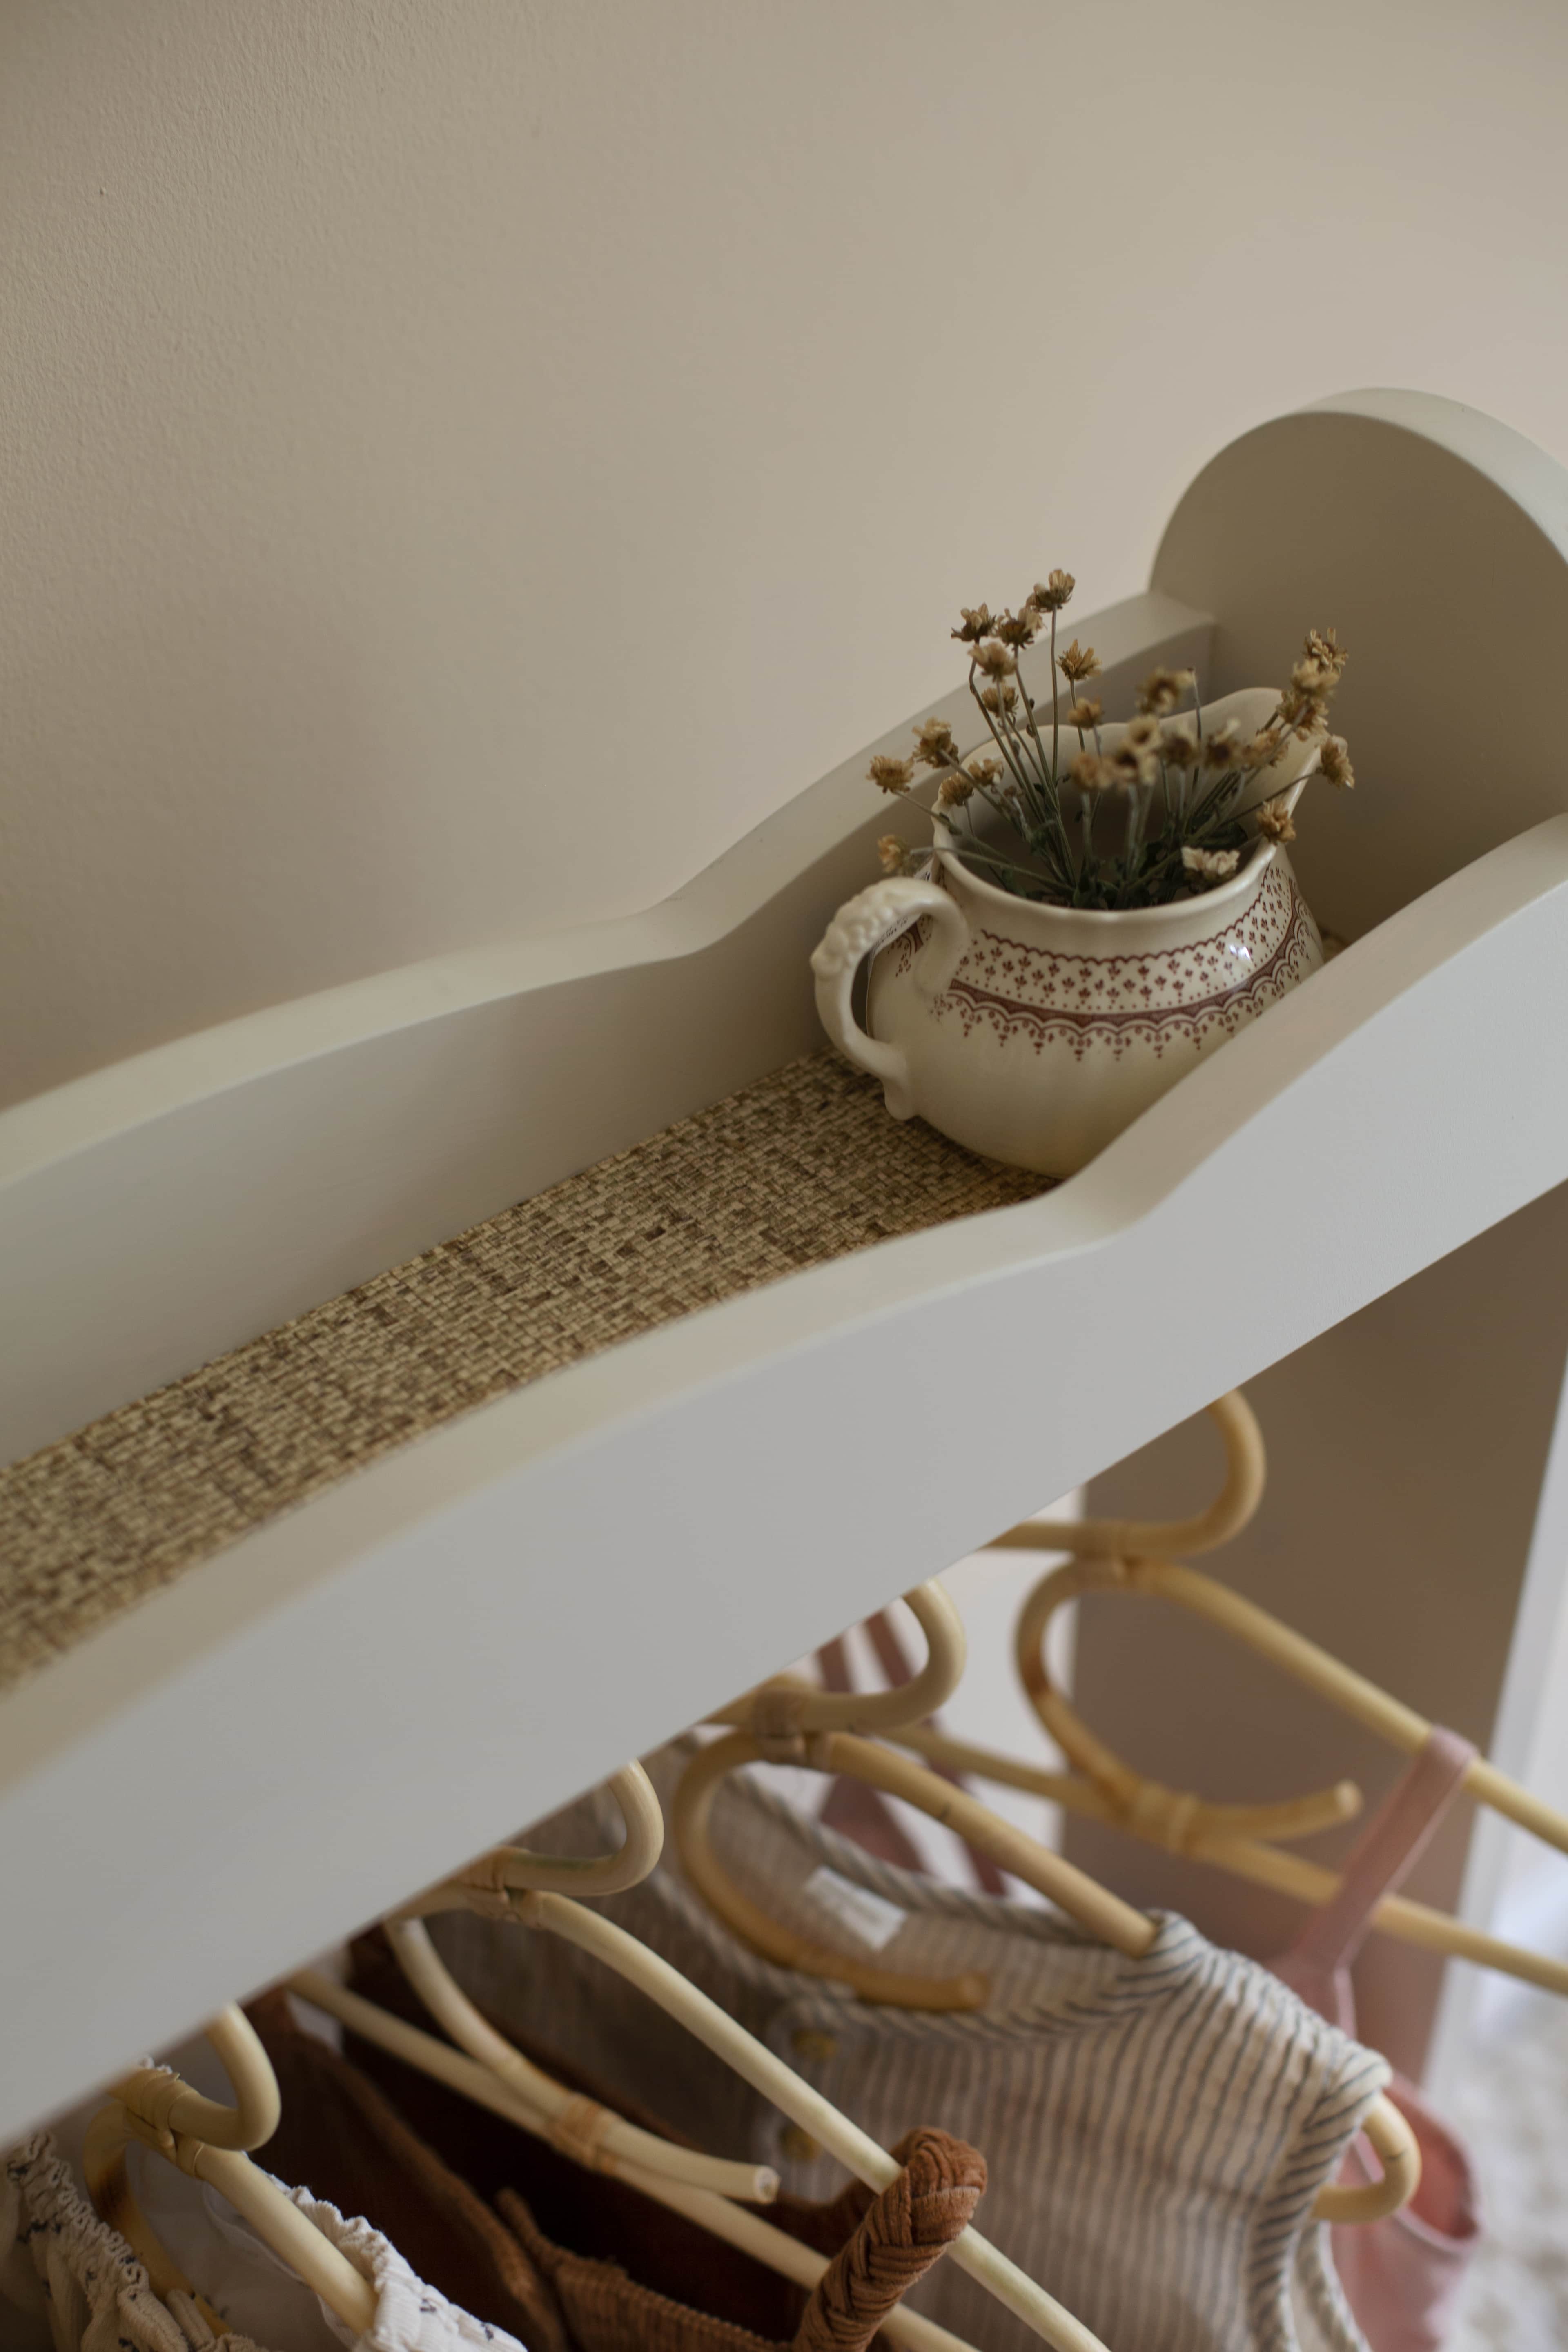
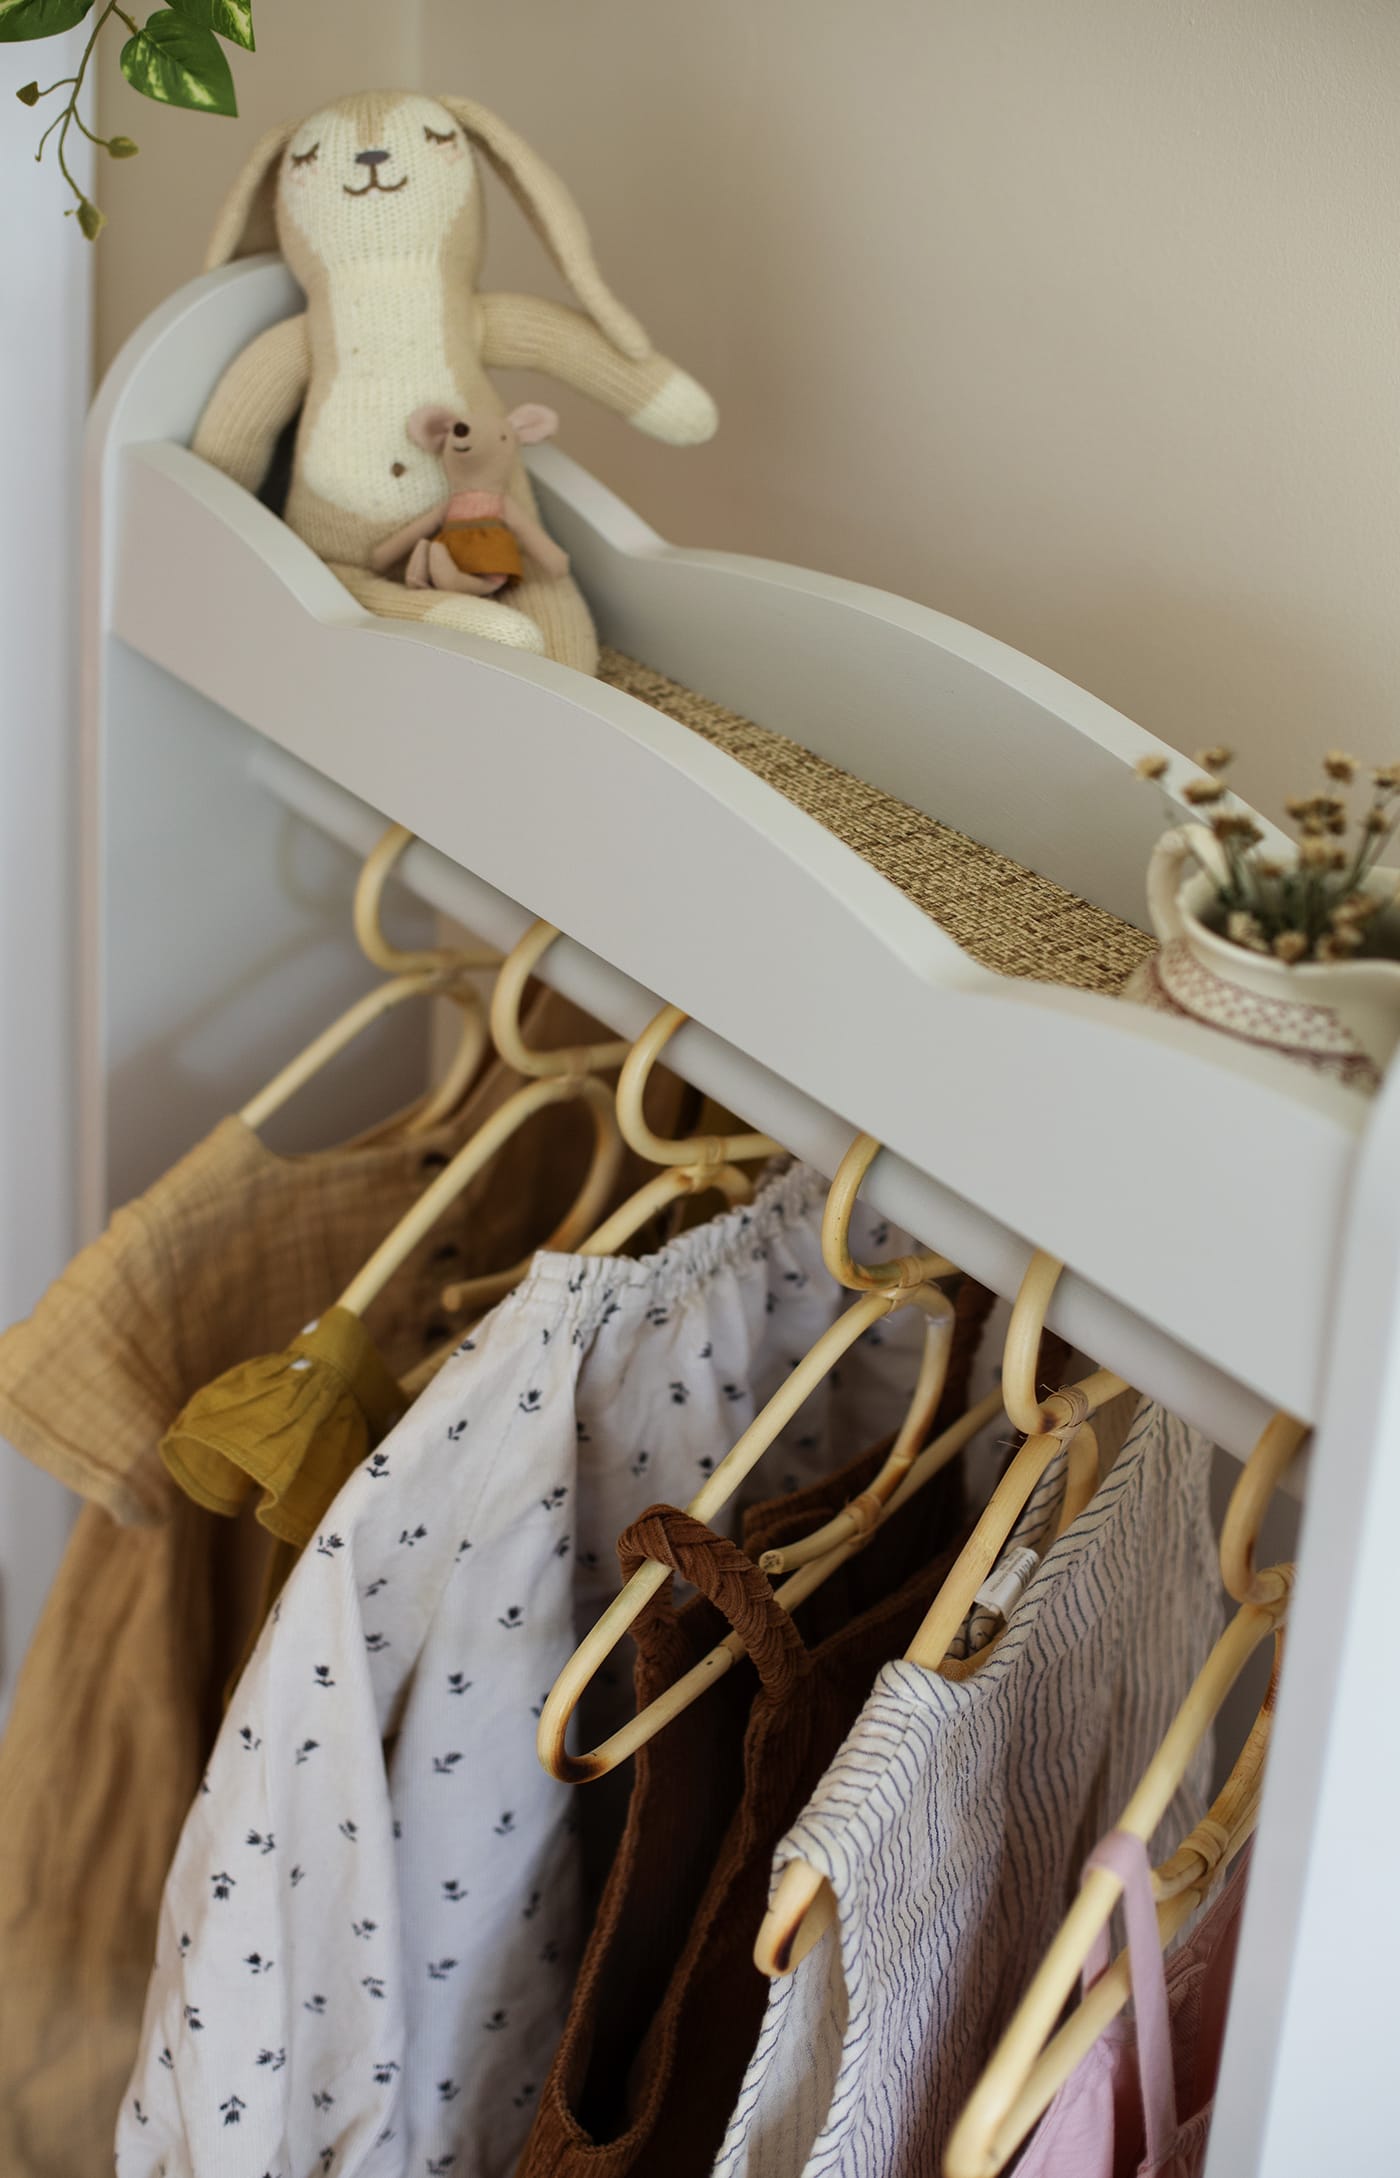
I left most of the top and bottom sections unpainted as I knew I’d cover this with a textured . Measure the area you need to cover and write down the dimensions.
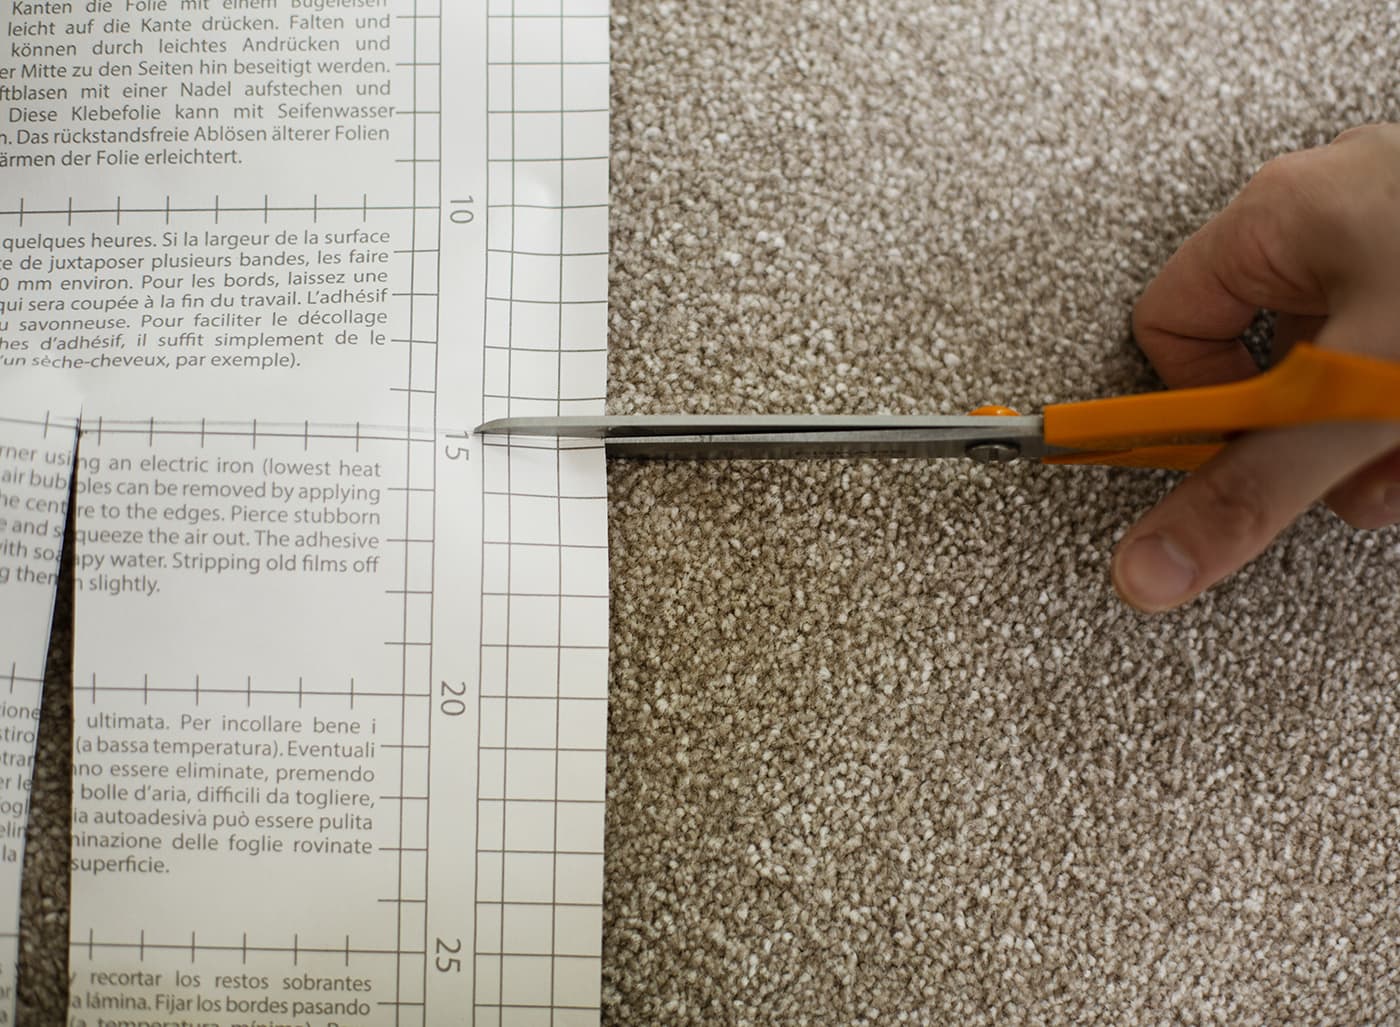
Then mark the measurements on the fablon and cut out.
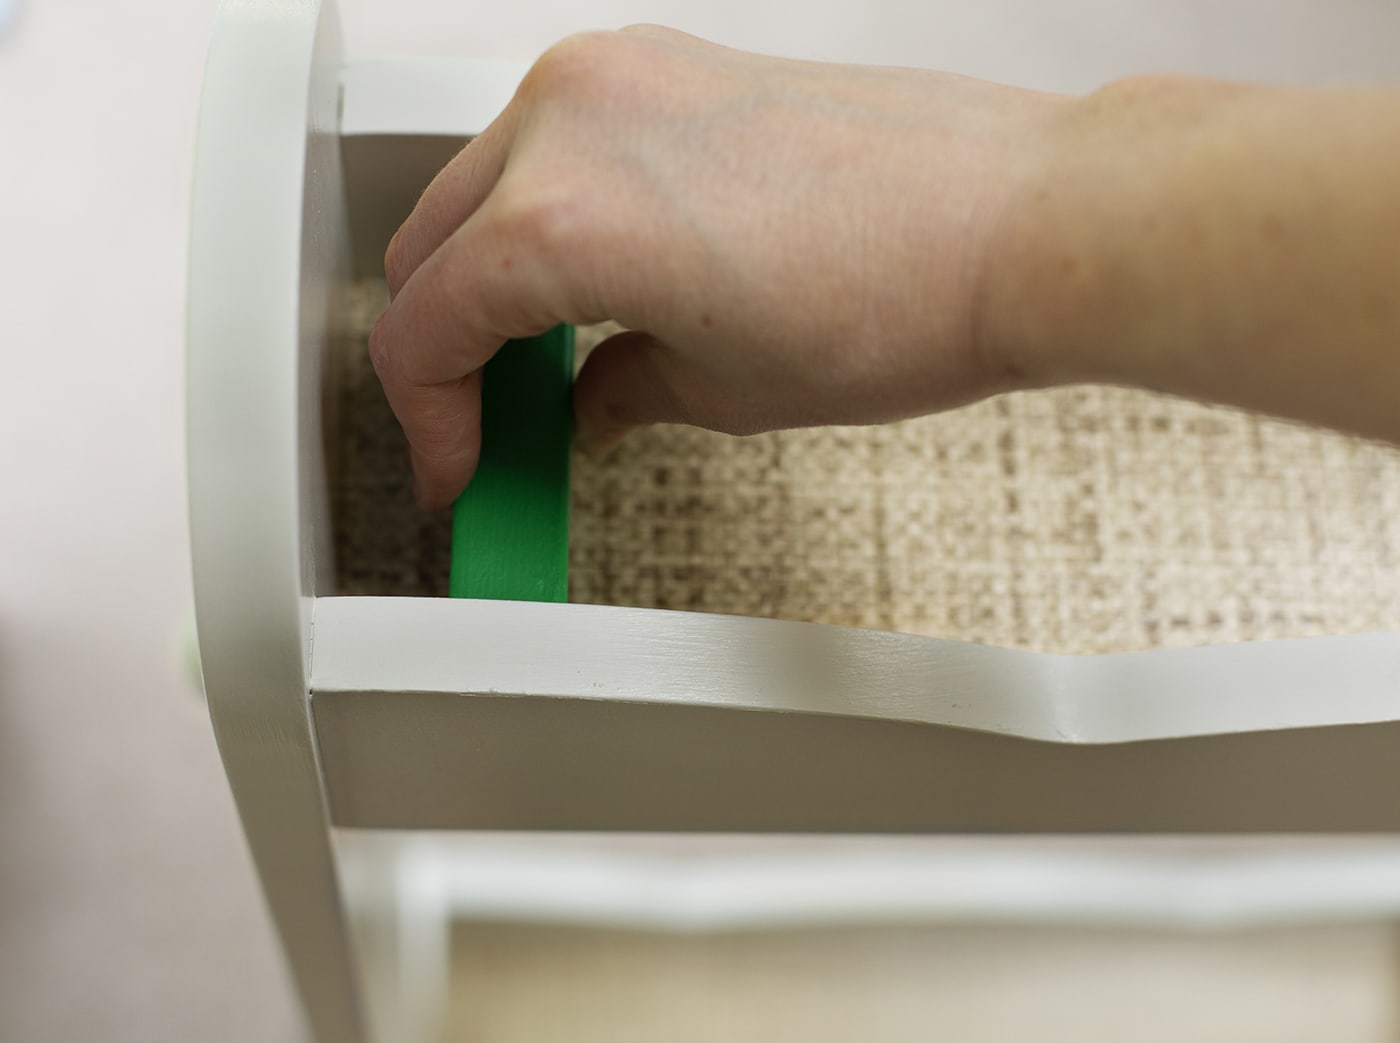
Apply gradually, working from one side to the other and using something to smooth out any air bubbles as you go.
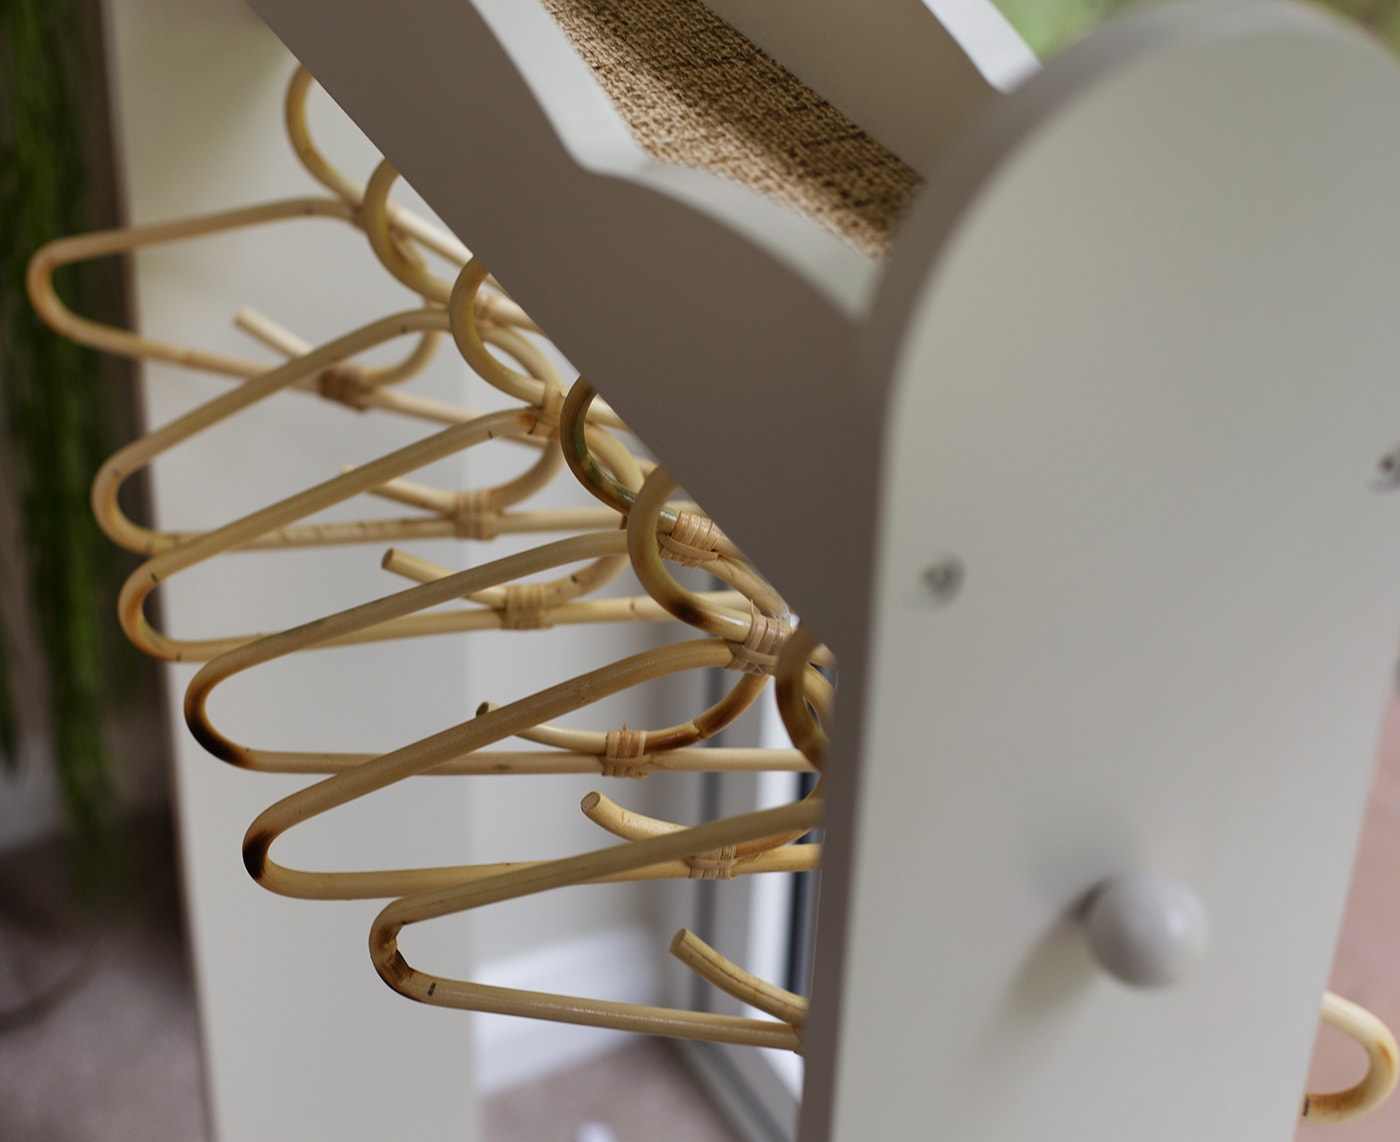
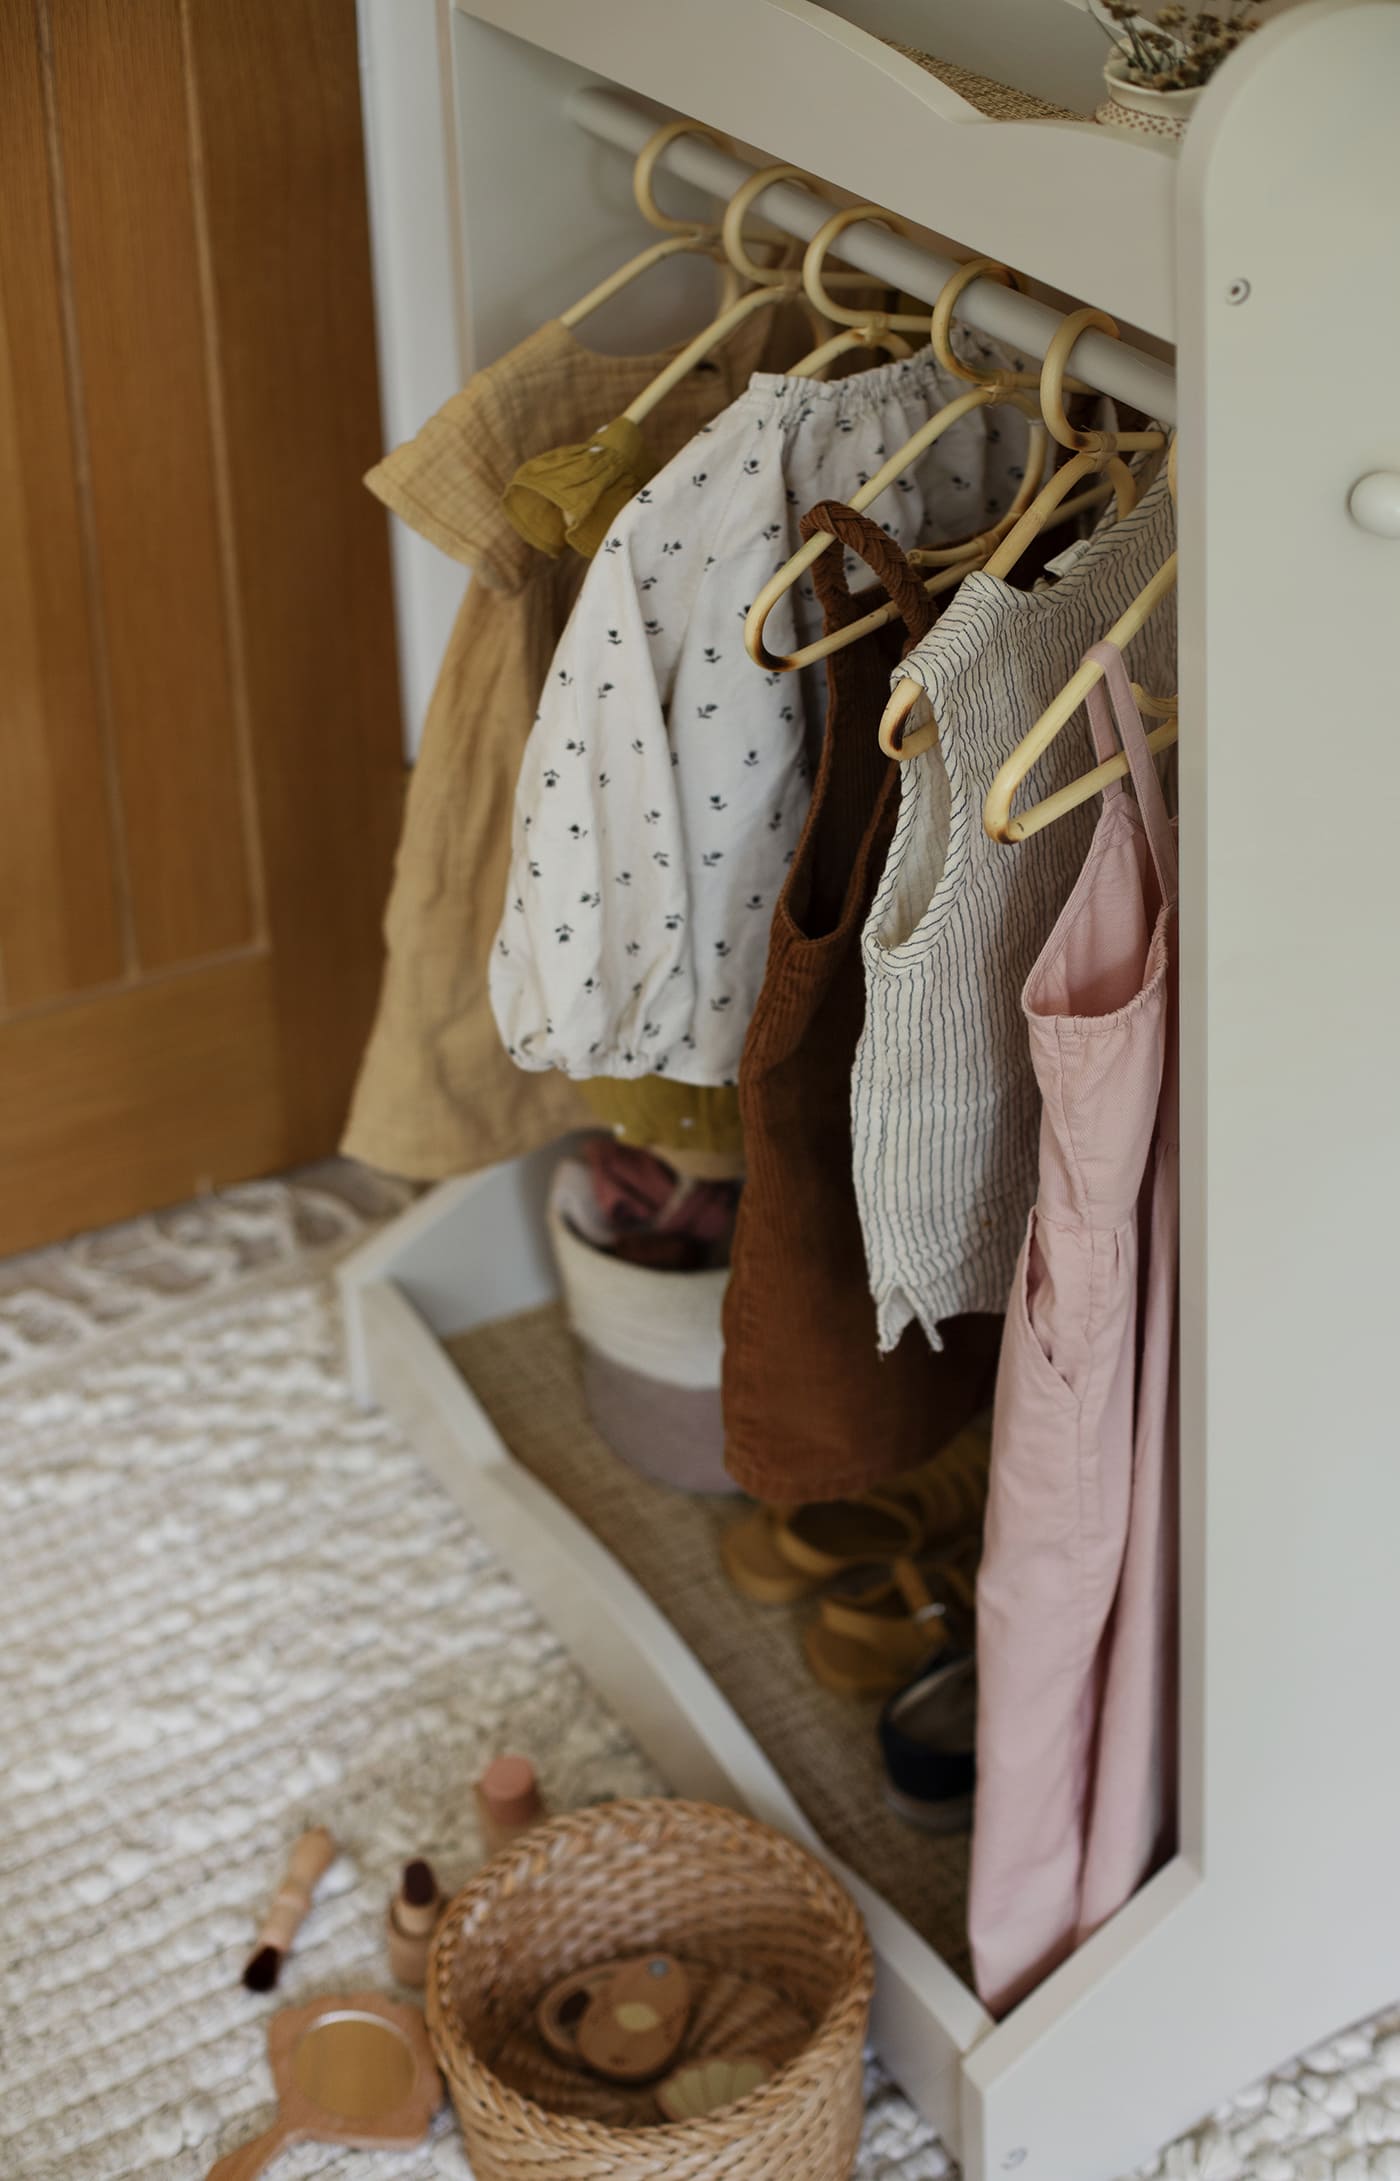
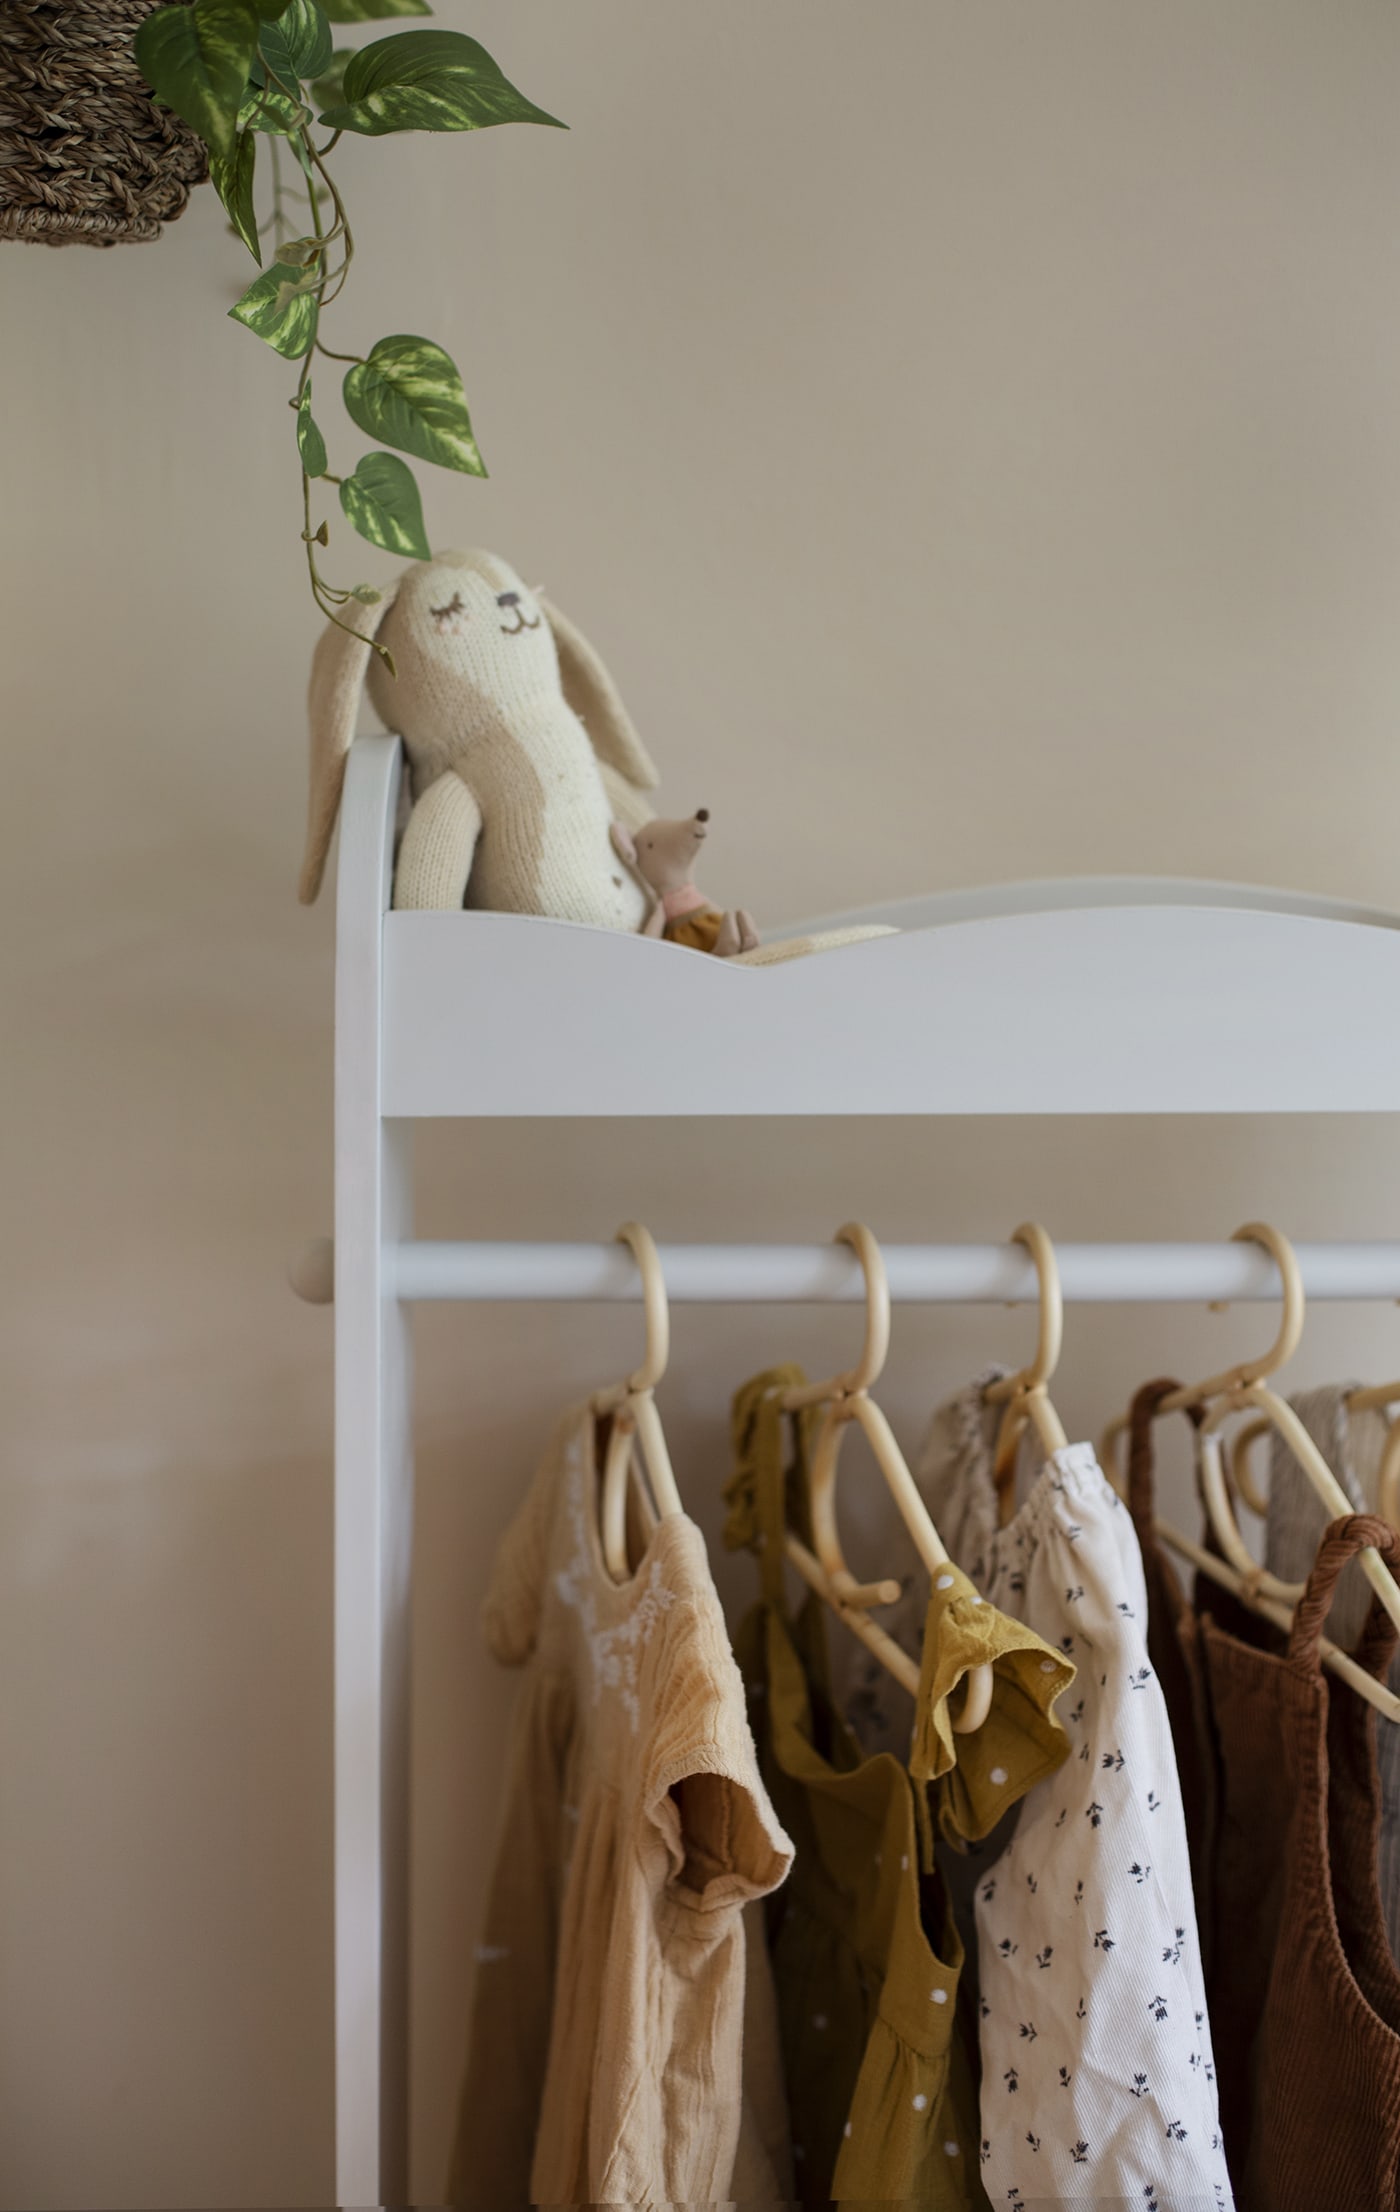
Then the finishing touch was replacing the hangers with these gorgeous instead and the job’s done!
The post appeared first on .


