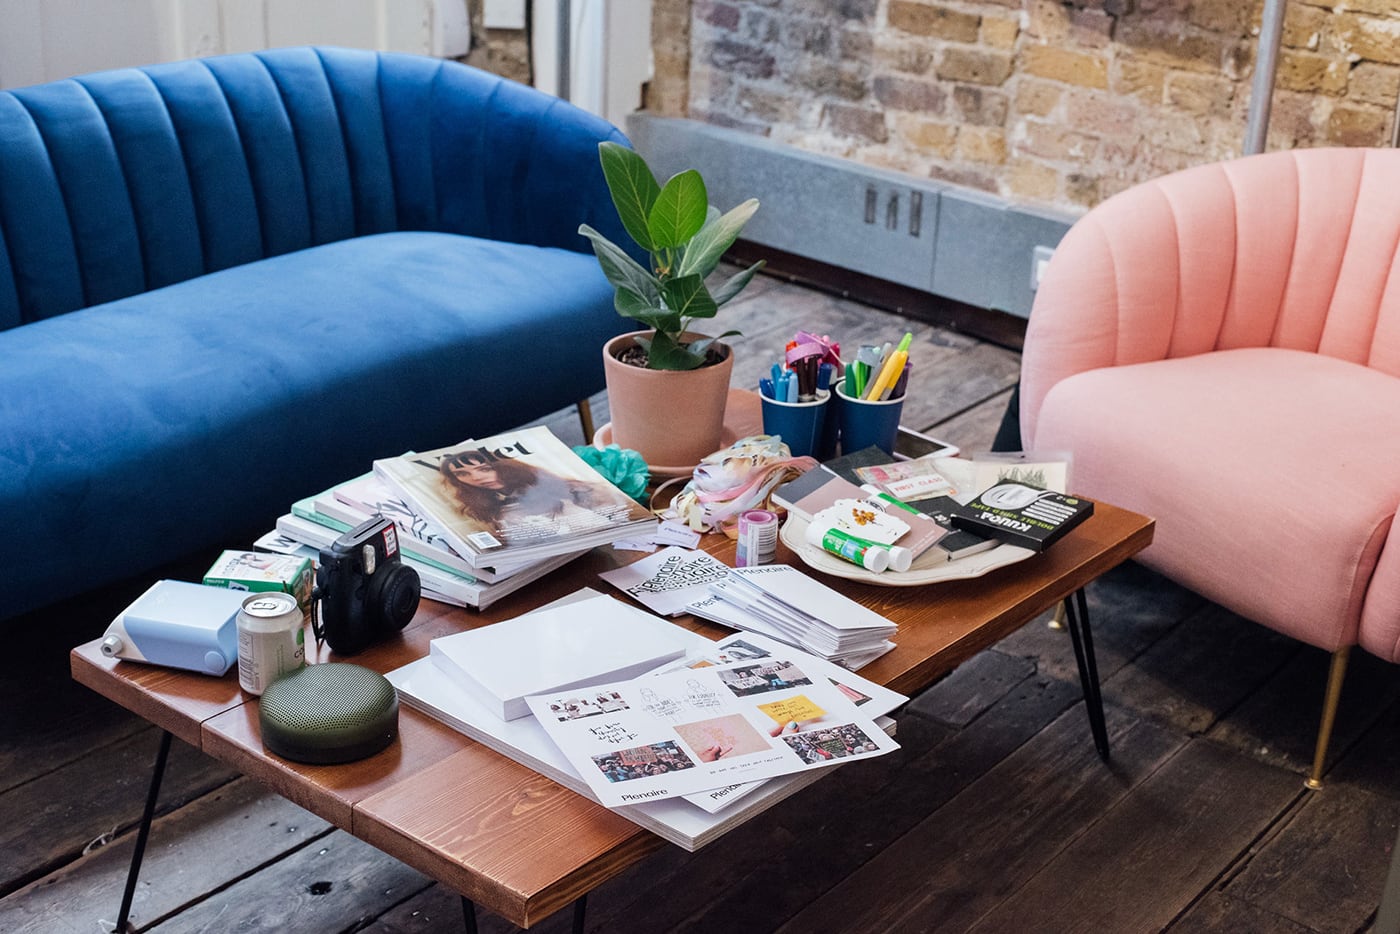
Last week I had an entire toddler free day which was a dream in itself but I also had a whole day of creative workshops which felt like a total indulgence!I was particularly taken with the mood boarding workshop, having not done anything like that in so long! It felt lovely to create something without a specific brief or with a need to make money from it and I honestly used to live my life through collage. All of my design work through school, college and uni were all centred around collaged layers and my sketchbooks (my favourite part) were essentially a series of mood boards! When I came to work for an in-house design team, mood boards are the way we would present new concepts and ideas to get feedback. It’s a fantastic means of visual communication!
I don’t know about you but with the invention of Pinterest I often forget to get off the computer and create an inspiration board by hand! It takes a bit more time but then so does anything that means we step out of our digital bubble. Mood boarding can be an amazing tool to plan a new project or series of work for a client, a means of testing out a look for home updates or renovations, a way of collating your aesthetic for a wedding or event or just a way of collecting together a series of memories.
I find it really therapeutic and it often helps me to pull together all the ideas in my head and I have always asked any branding clients to create a mood board for me to work from at the very start. It’s a window into someones mind and useful to clearly see how colours and textures work together. It’s such a powerful tool that can be easily underestimated! So where to start? Great question…
 candid photography by
Collect, collect, collect
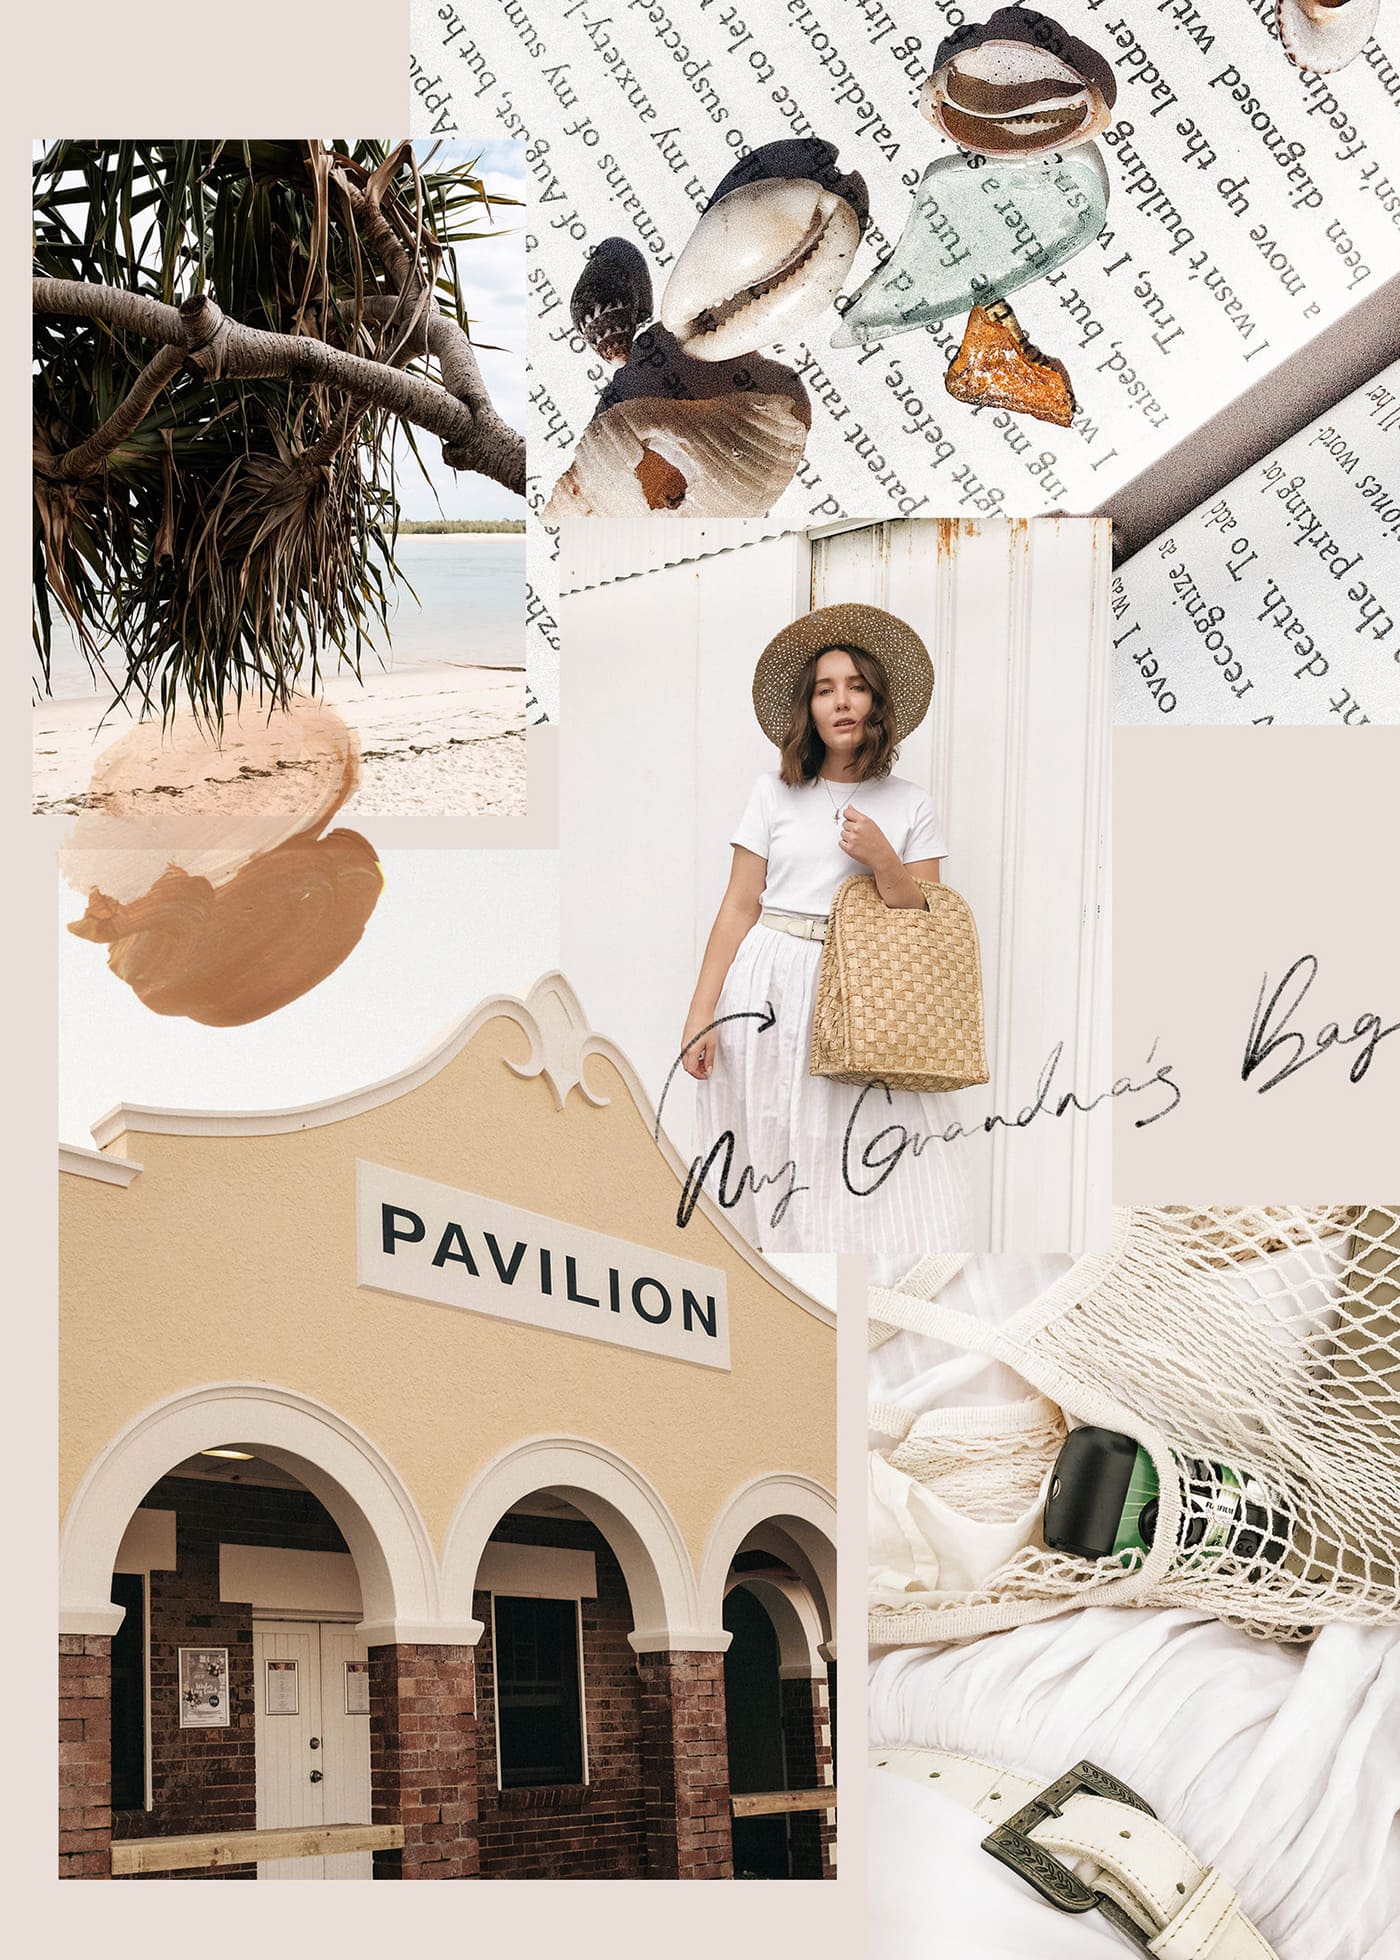
A lot of the time that goes into a mood board comes from collecting the things you’ll need. A great practise to get into is saving things in a box as you go about normal life or travels. You might find a bundle of old postcards in a charity shop, collect shells on the beach, press flowers and foliage over summer, save scraps of fabric from sewing projects, have a stash of stylish magazines or literally just have a few boards on the go on Pinterest, saving inspiring images as you see them, so that you can then print out when needed. Think about building up a stash of items with different properties and textures to choose from when the time comes to give you a rich board.
Two different approaches
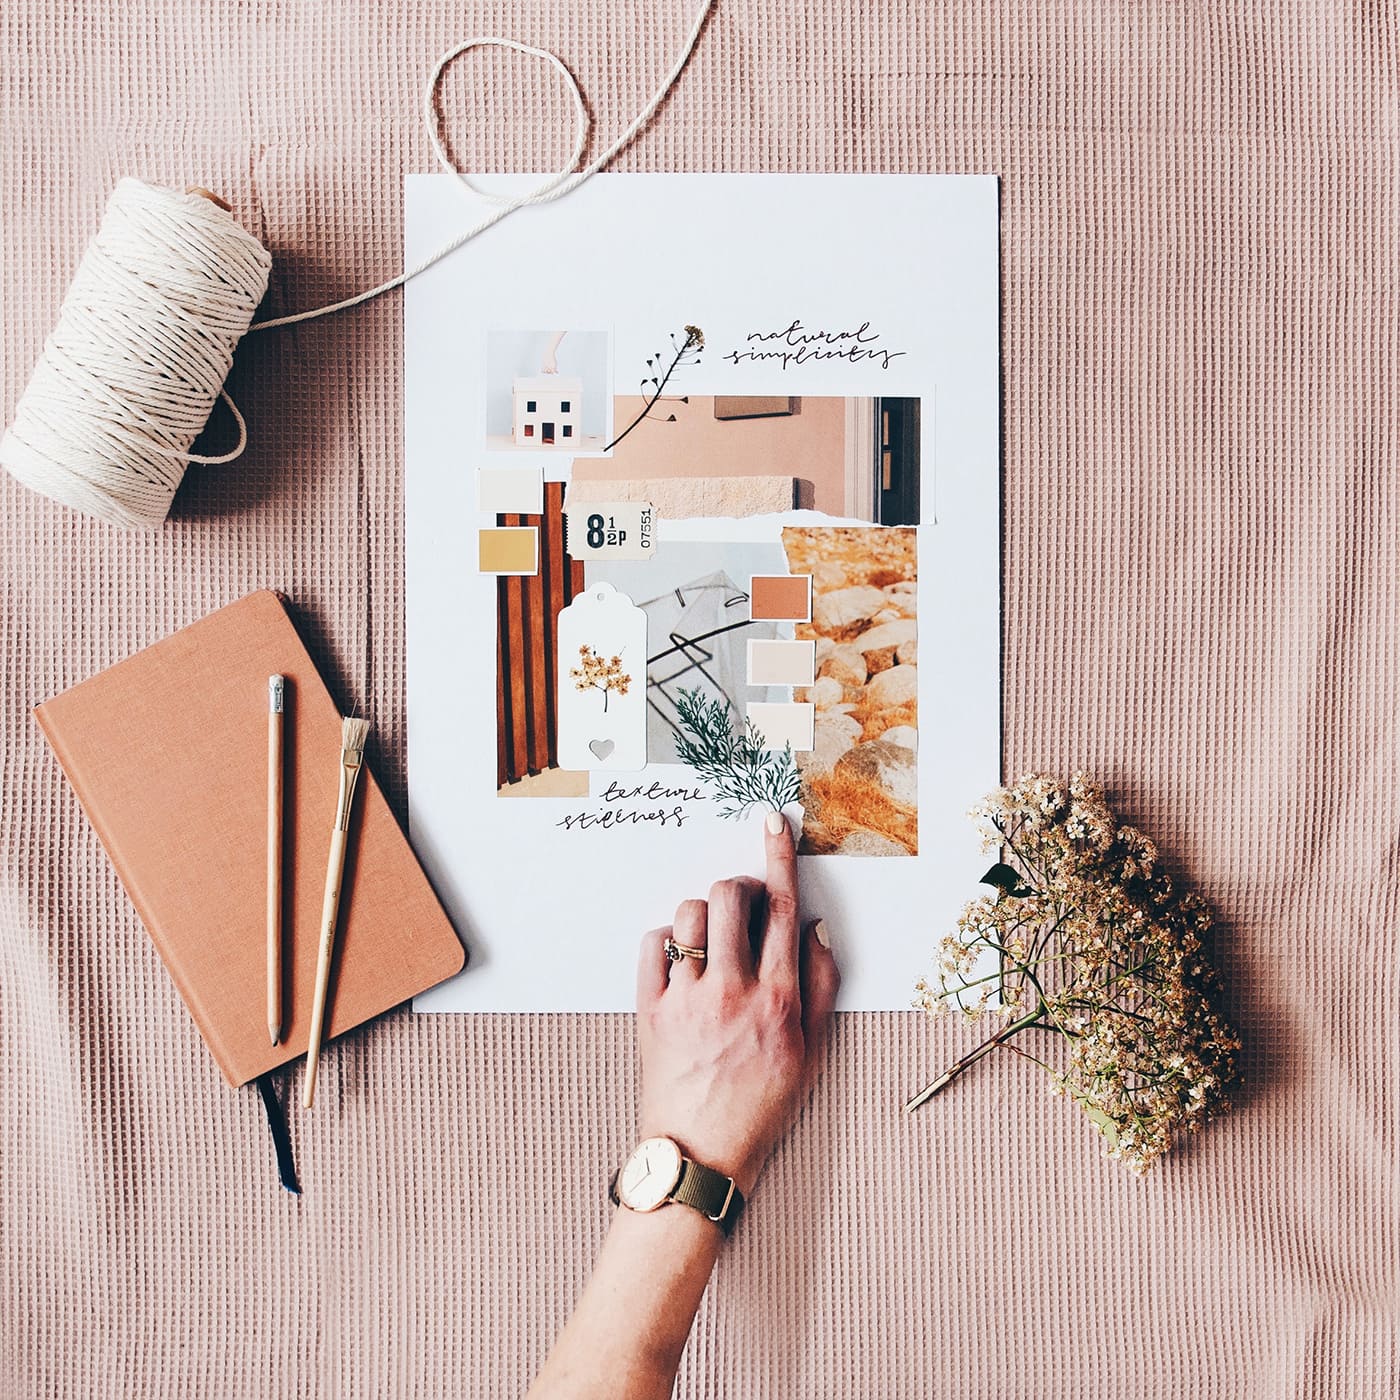
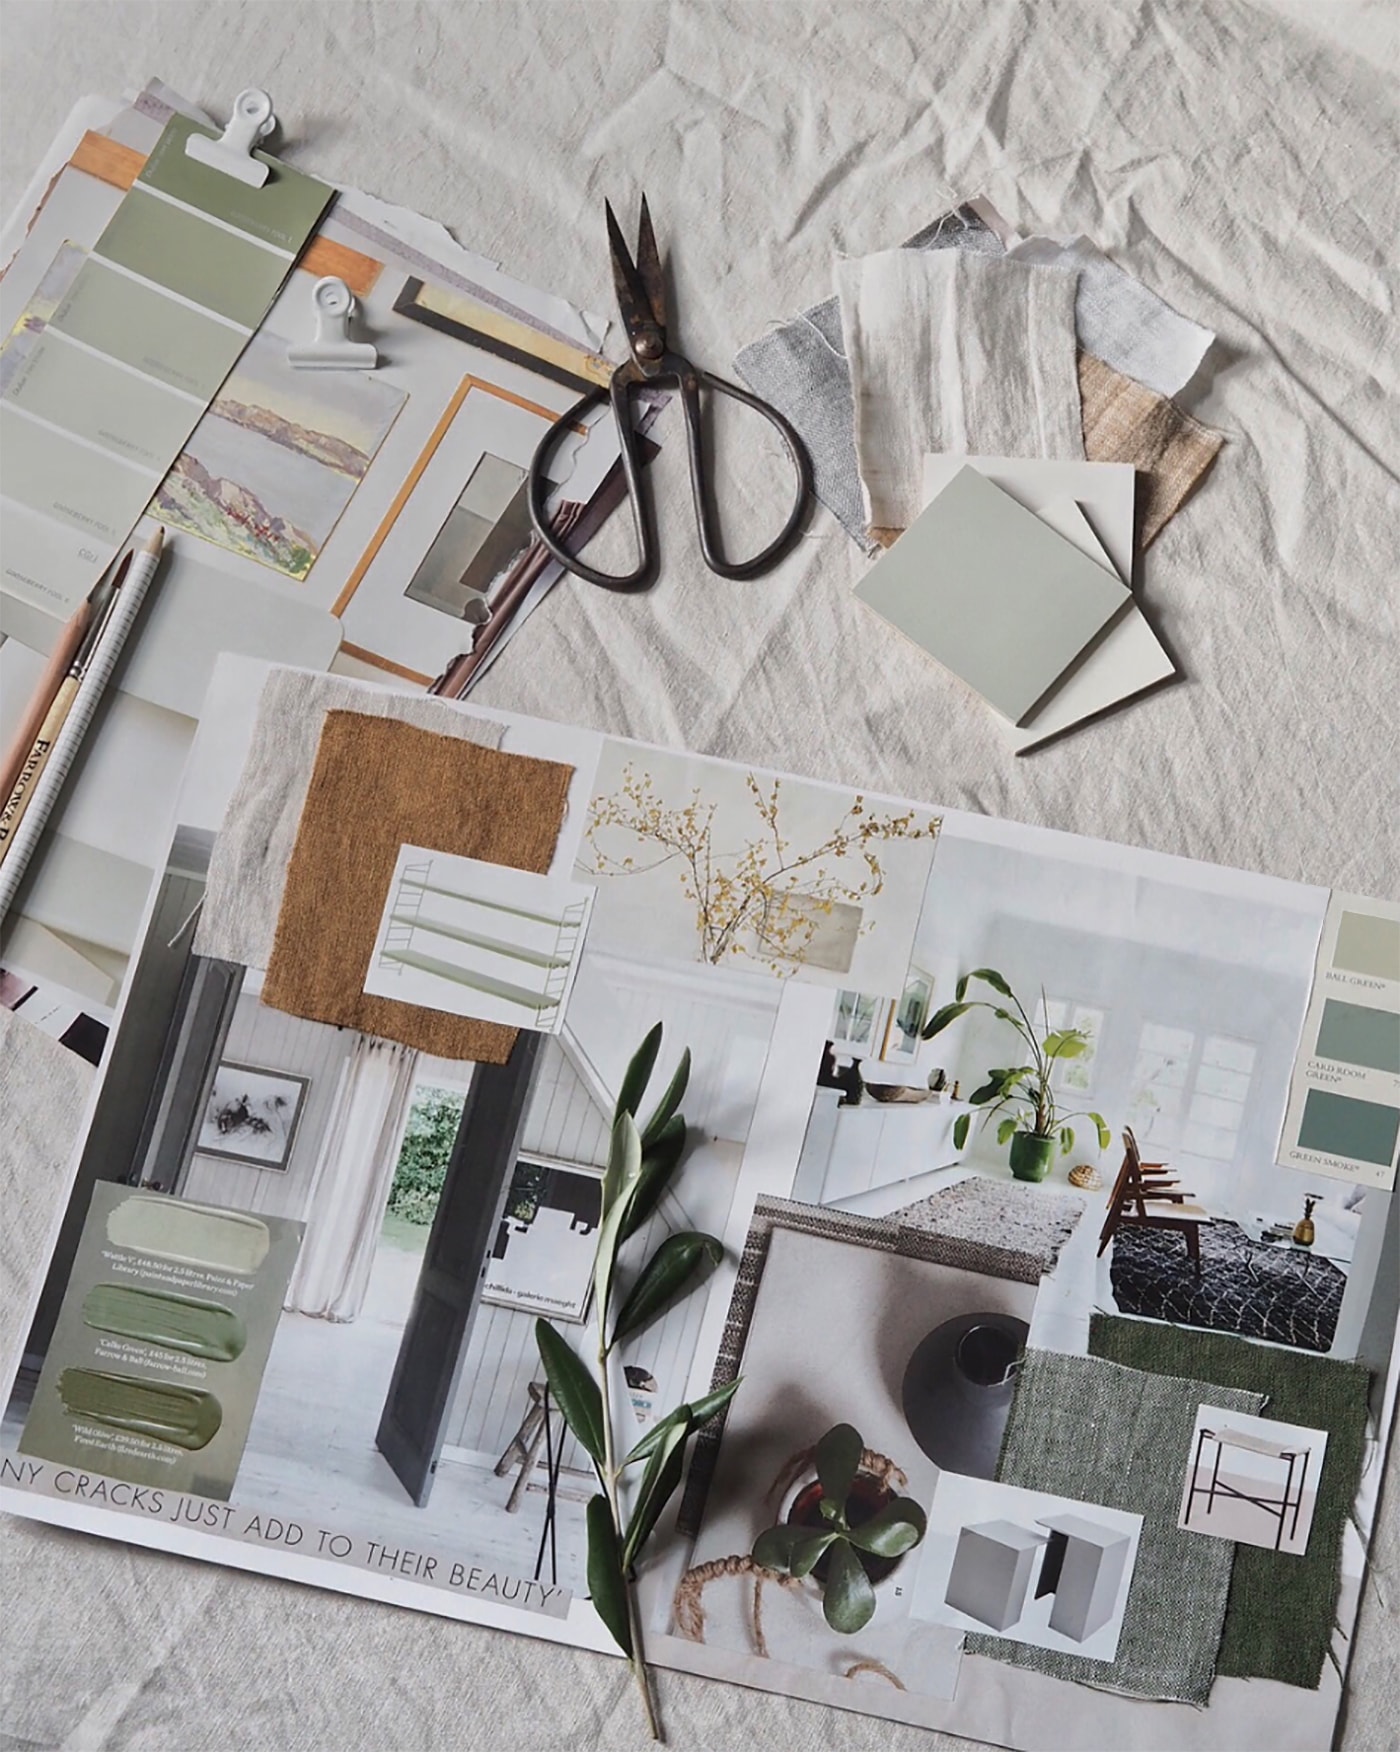
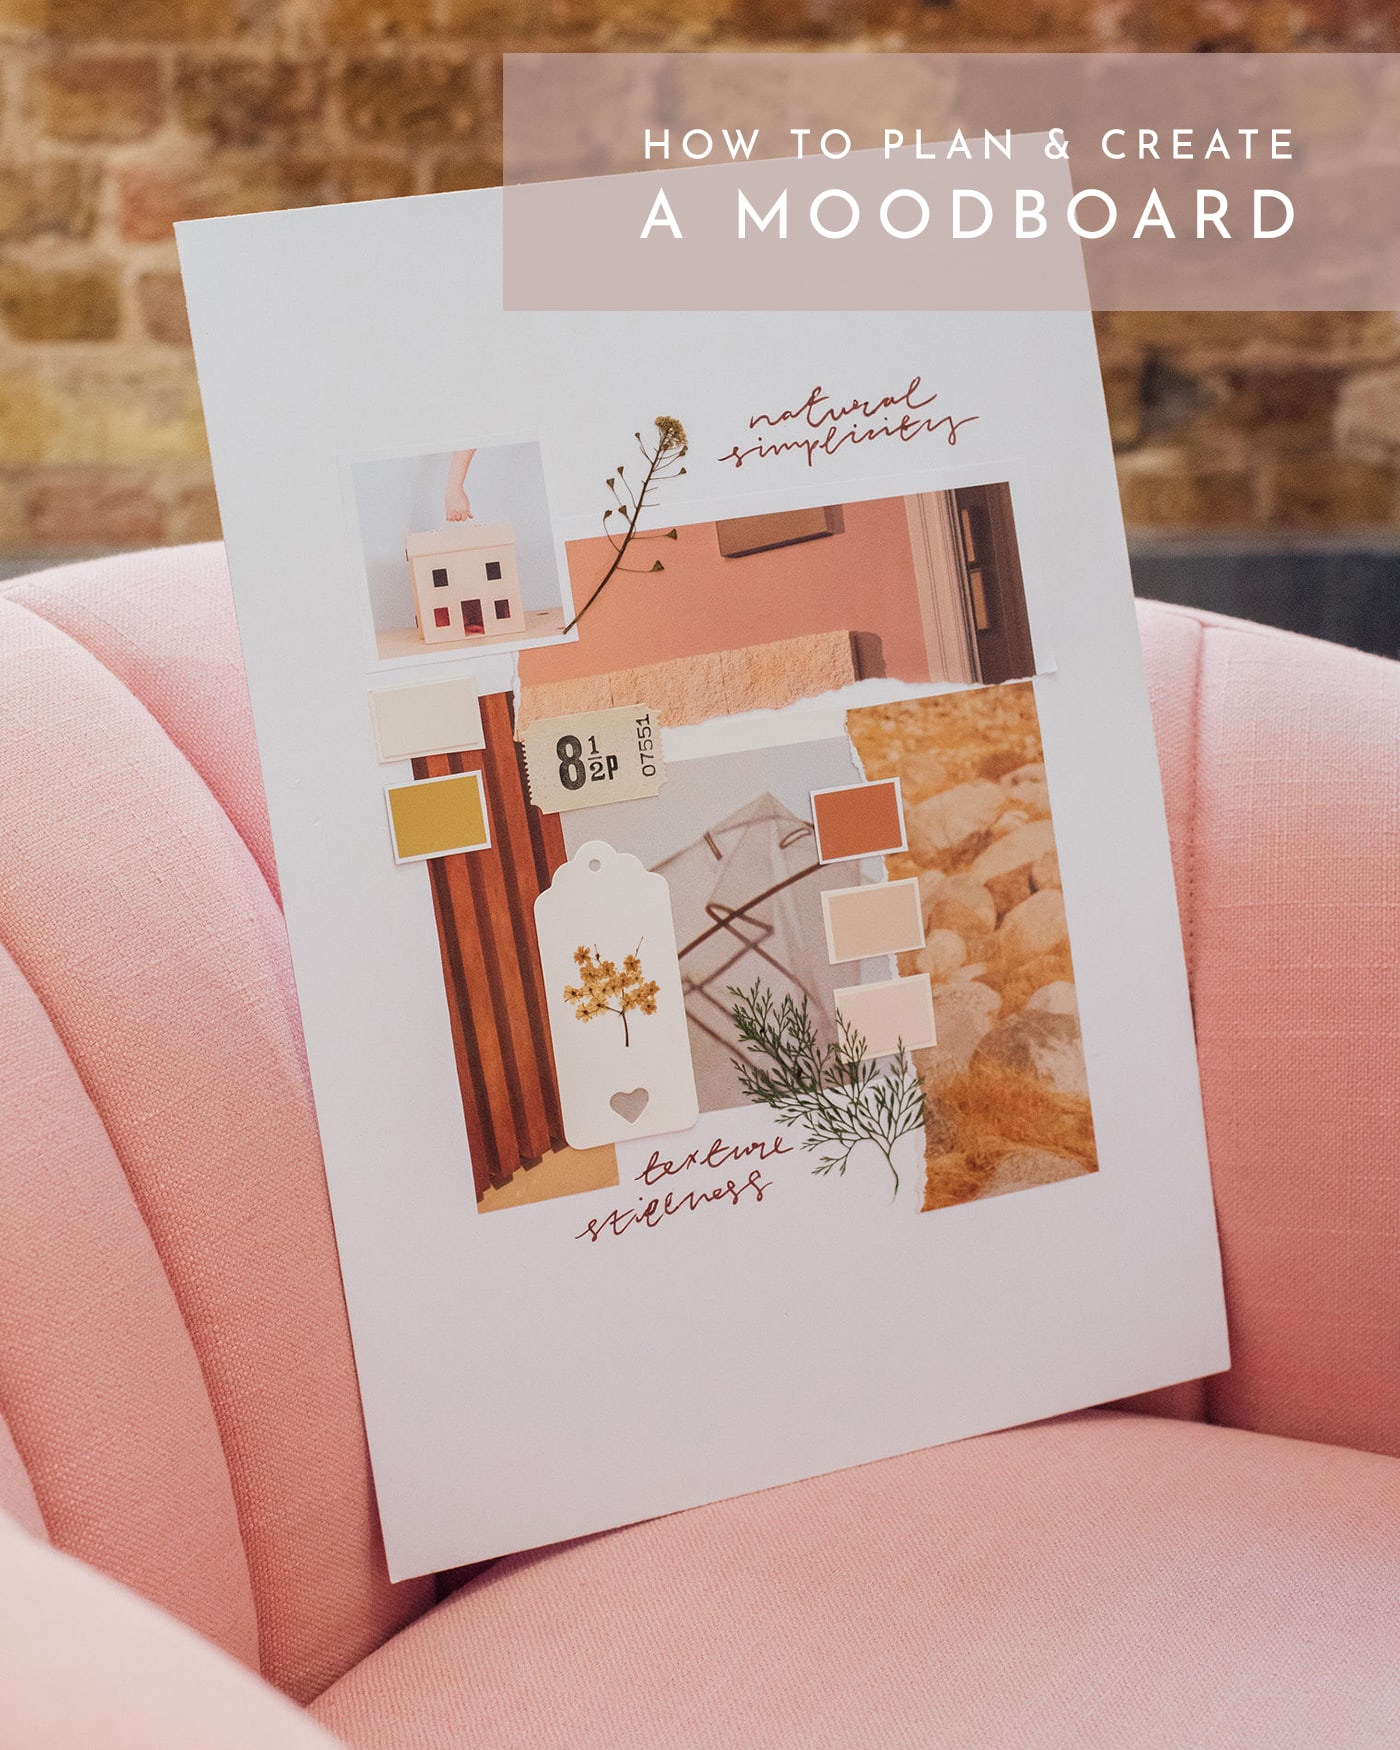
You may have a vague idea of where you’re heading with your mood board which will help focus what you pick and is usually the case if you’re working for a client but don’t rule too much out as it’s much better to start with more and then shed things as you play around. On the other hand you could find an image or item as your starting point and let that guide you. I cut out a ‘rust’ colour sample and found a delicate dried flower in my workshop which set the tone for everything else I picked and the whole look worked outwards from those two things. It could be a picture from a magazine or even a quote you’ve cut out that sets your mind running.
Create a feeling
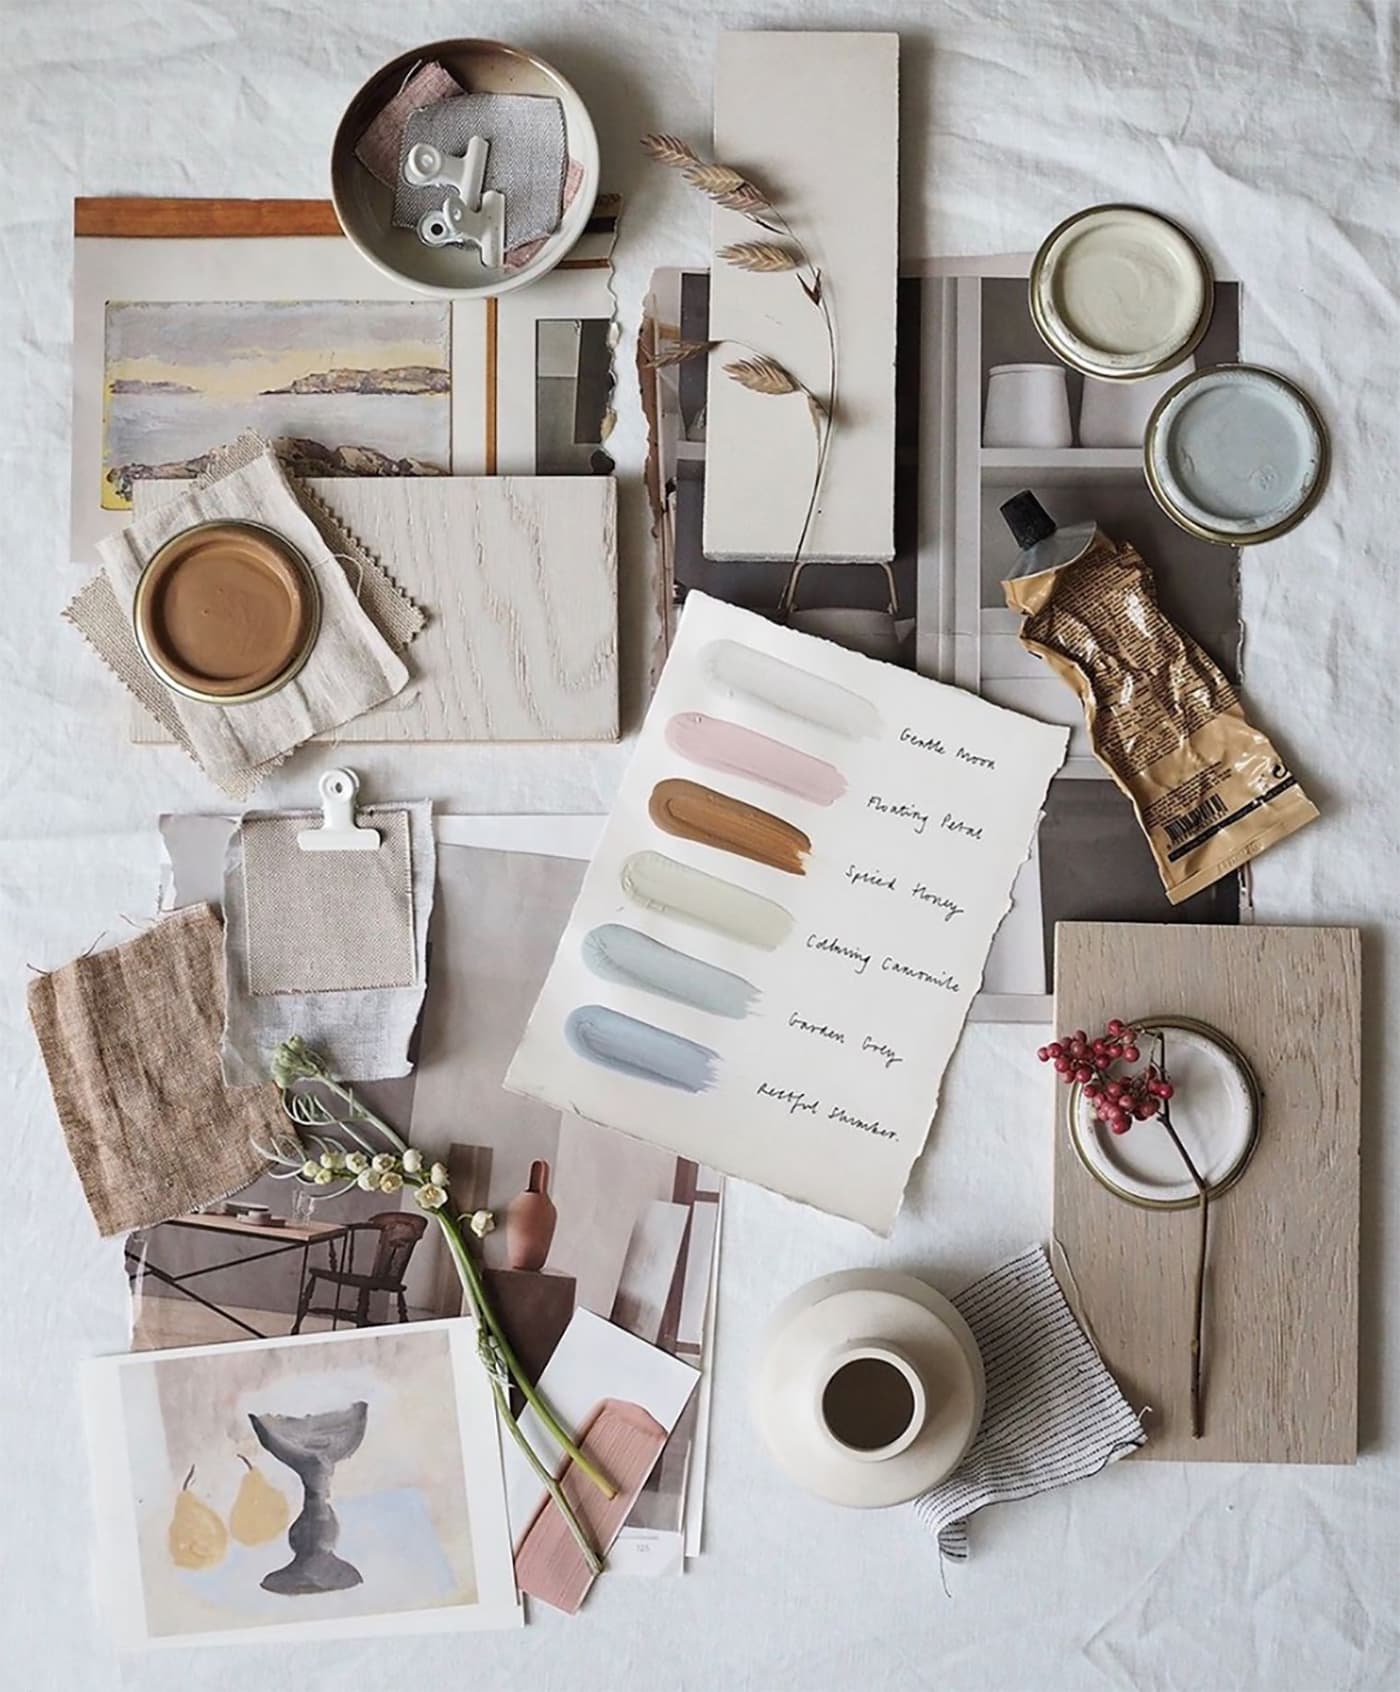
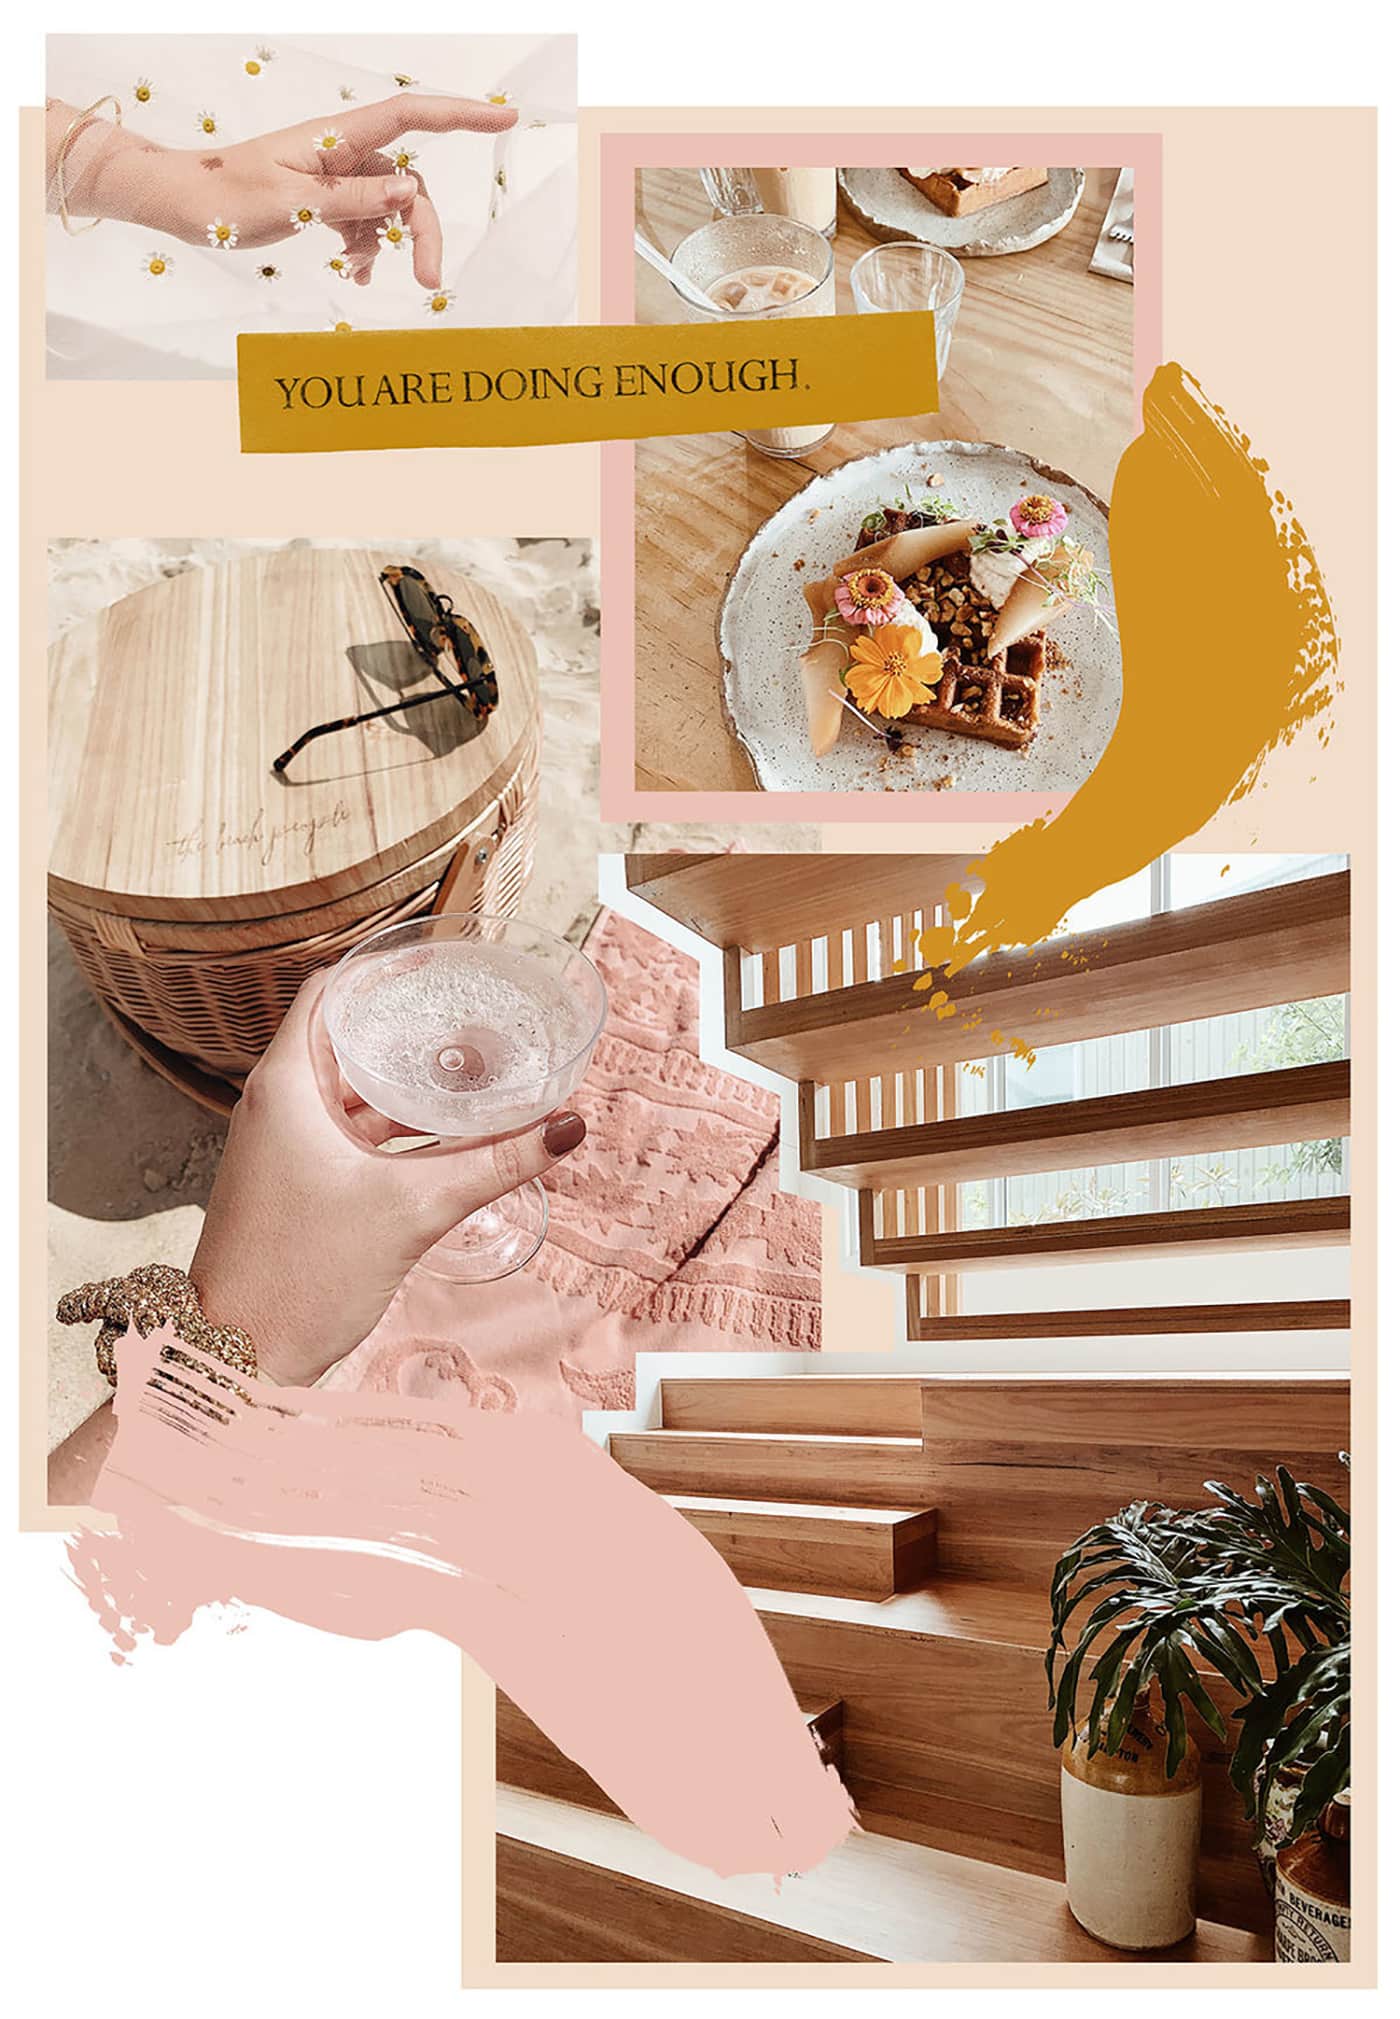
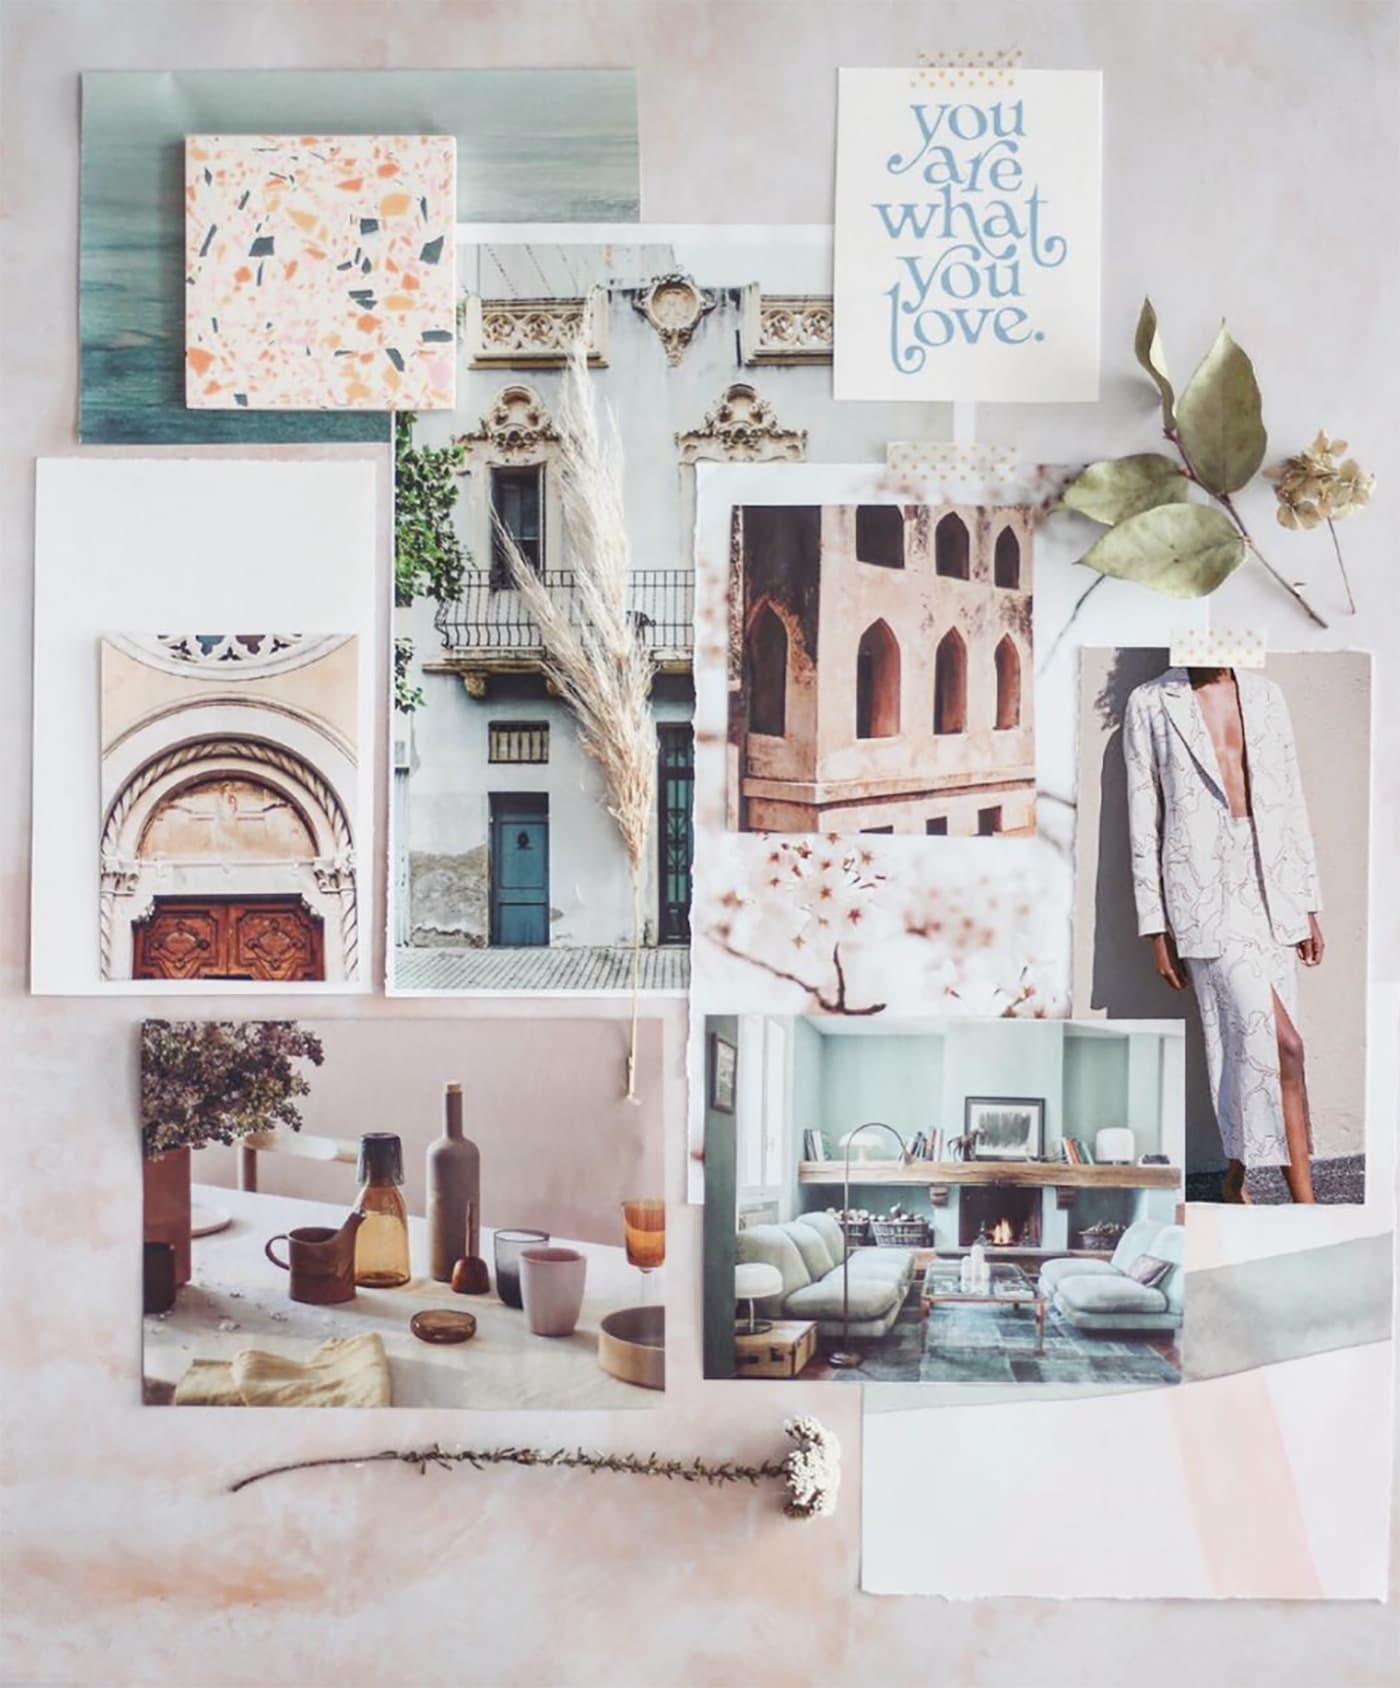
You’re not just trying to create a ‘look’ in of itself in your mood board. I’m sure it sounds a little bit arty-farty pretentious but it’s about how you’re using that look to capture a feeling. Think about the feelings you want people to have as they look at your final piece. Do you want it to exude calm tranquility or a vibrant busyness? Do you want to focus on natural, organic shapes and colours or something that feels neat, ordered and sleek? Do you want to spark feelings of happiness and for it to put a spring in your step or perhaps something more moody and pensive? You want to look at your mood board and for it to take you somewhere, whether that’s a room in a house, a different country or just to a memory. This is why you need not be literal in what you choose. I love cutting out close ups of textures from magazines or finding words to write that capture the essence of that feeling.
Curation
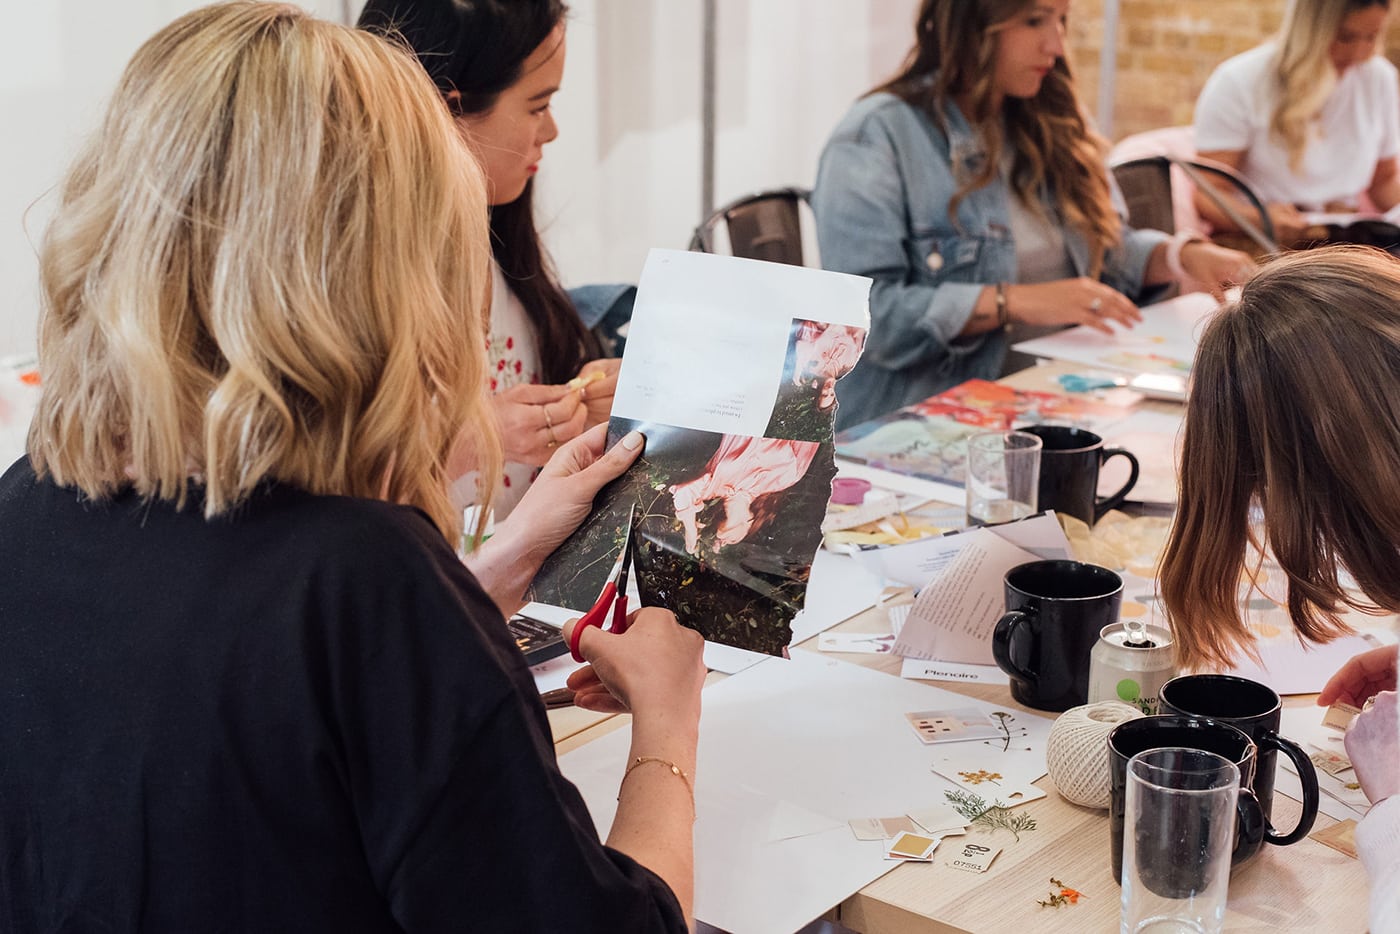
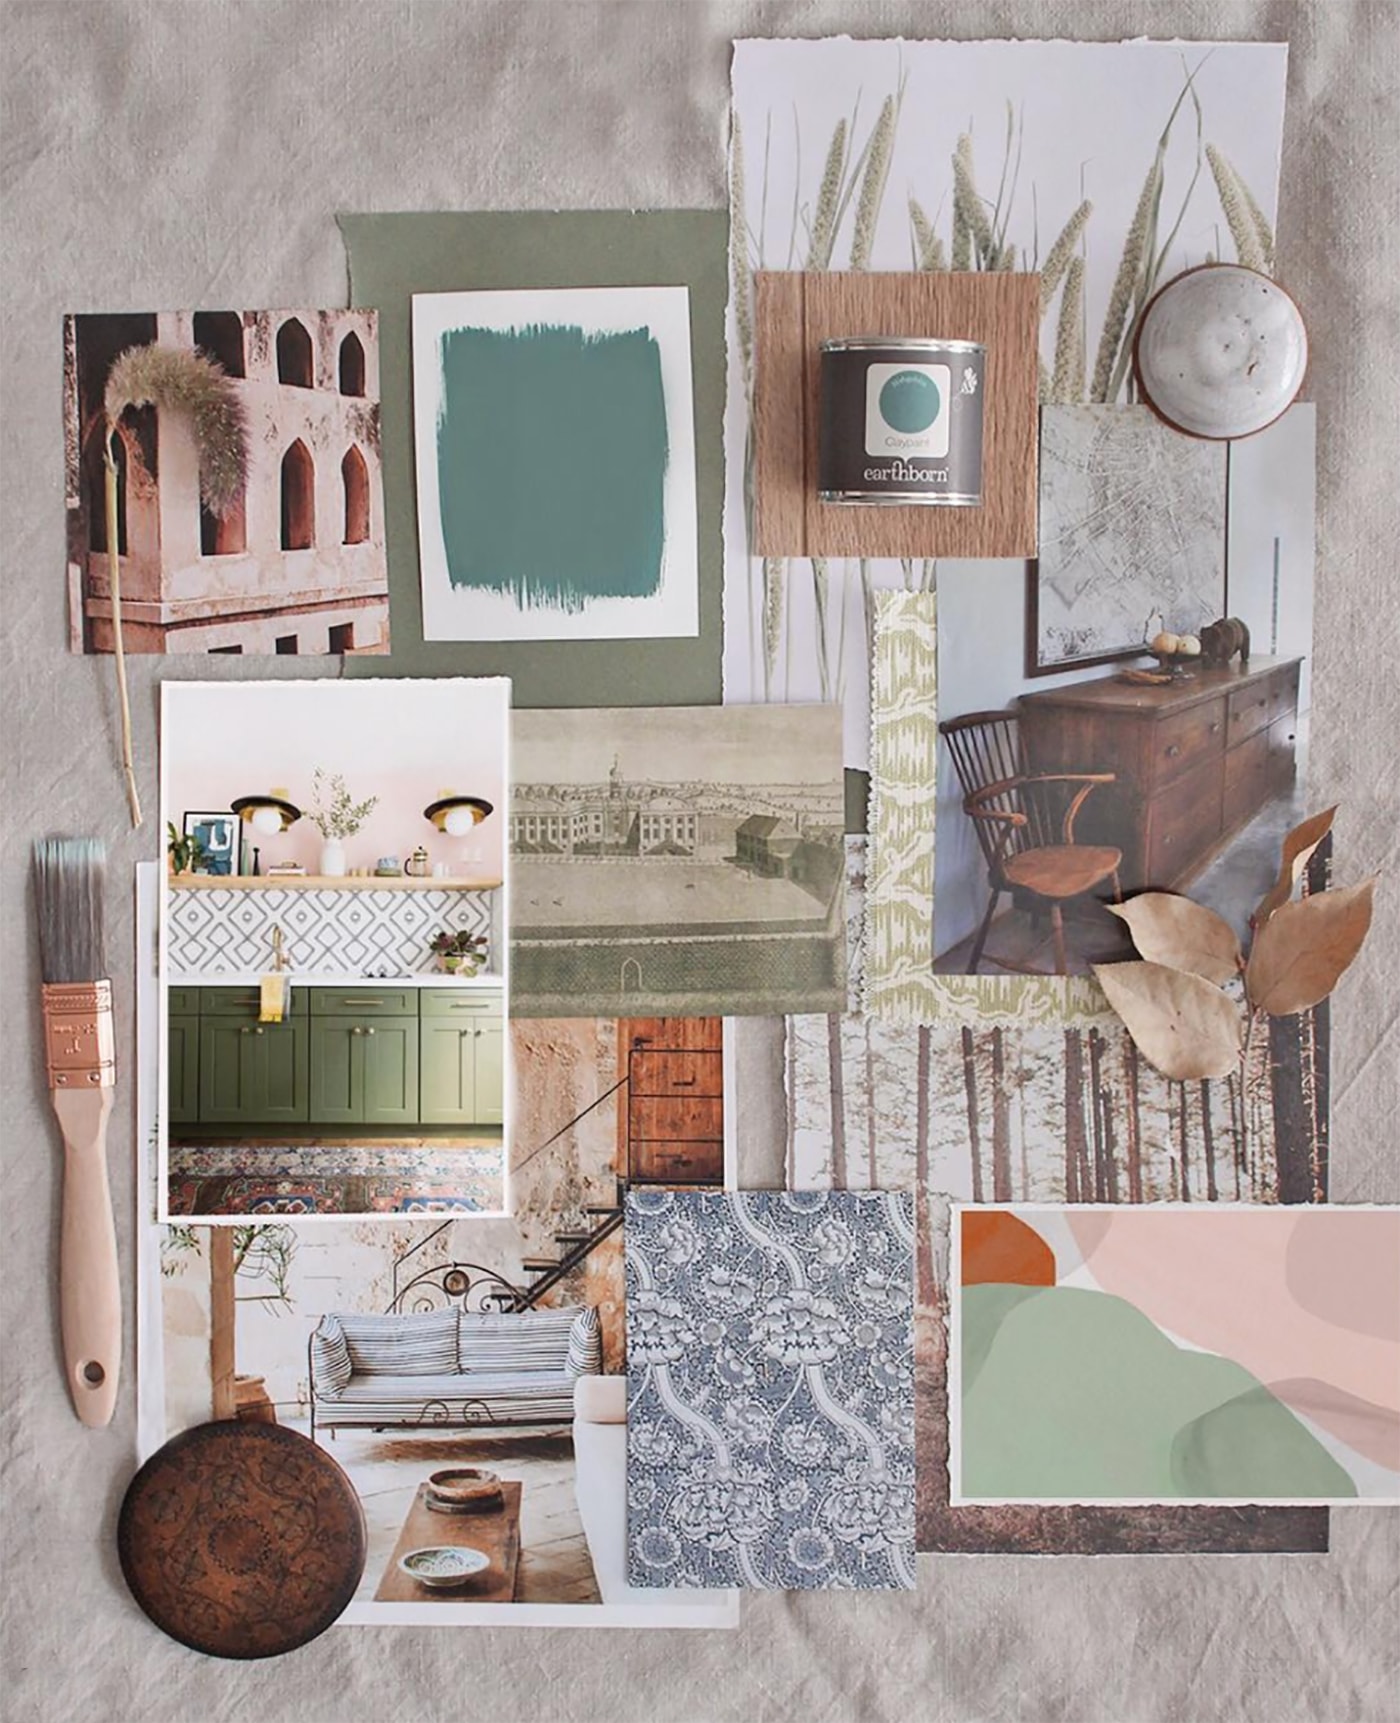
Now you have an assortment of things to choose from you can start the hard part which is choosing what really works together. Have fun playing with laying your items next to each other on your board and see what enhances the look and feeling you want and what takes away from it. Last week I found the most beautiful image in a magazine that I loved but when I came to lay it next to everything else I had, I just couldn’t ignore that it stood out like a sore thumb. Whilst the wild flowers in the image were a very similar tone and the models pose backed up the idea of freedom I was after, the very dark green foliage behind was too overpowering for the over all colour palette of my board. I tried cropping the image to help but it was a lost cause, so be prepared to put things aside. They can always go back in your box for a future mood board. In my opinion less is more so be decisive in what you pick and try and include a variety of photography, pattern/textures, 3D objects as well as text to help make it look complete.
Layout shouldn’t be an afterthought
Your mission is to create balance throughout the mood board. So try not to have every photo side by side or be mindful of how you pick up the colours running through from corner to corner. Don’t be afraid of space either! I love to overlap things so they flow together but there’s room to give pieces a breather with a little space between. I even like leaving a fair bit of space around the whole collage to have a kind of gallery effect if you will. Sometimes a collage bled right to the edge of it’s mount can be a bit stressful for the eyes to consume. Once again I sound like an artistic knob but I promise you it helps! Be playful and shuffle things around to find the best and most balanced look. You can take a quick phone snap of each tweaked layout, to compare them all before committing and sticking everything down.
Inspiration
If you’re in need of some inspiration to get things flowing then here’s three of my fave mood boarders if you will, all with a slightly different style!
The post appeared first on .


